Fairey Fisherman 27 Motor Sailer

Fairey Fisherman 27 Motor Sailer

Home Forums Build Blogs Fairey Fisherman 27 Motor Sailer

Viewing 25 posts - 126 through 150 (of 181 total)
  • Author
    Posts
  • #126894
    Colin Bishop
    Moderator
      @colinbishop34627

      Nice work Chris. My Silver Mist is evolving into a 3D jigsaw puzzle with elements of Vic Smeed’s plan and my amendments. I hope to post some updted photos soon.

      Colin

      #126895
      Chris Fellows
      Participant
        @chrisfellows72943

        That’s what makes these builds so interesting, I think that’s the word I’m looking for!

        #126896
        Tim Rowe
        Participant
          @timrowe83142

          Hi Chris

          I like seeing the way your boats evolve.  I think everyone should have a go at plank on frame at some time in their modelling career.  It is so rewarding.

          I am waiting for Ray to publish his Spring 25 plan to add to my list of builds to do

          Tim R

          #126897
          Ray Wood 3
          Participant
            @raywood3

            Hi All,

            So no pressure then 🙂 just finishing off Jim’s Puffer before I press on

            The cold snap has been good for productivity 🙂

            Regards RayDSCF3030

            #126967
            Chris Fellows
            Participant
              @chrisfellows72943

              Had a bit of a break with doing other things including upgrading the PC as the old one was getting slow and freezing on occasions, just like me really!

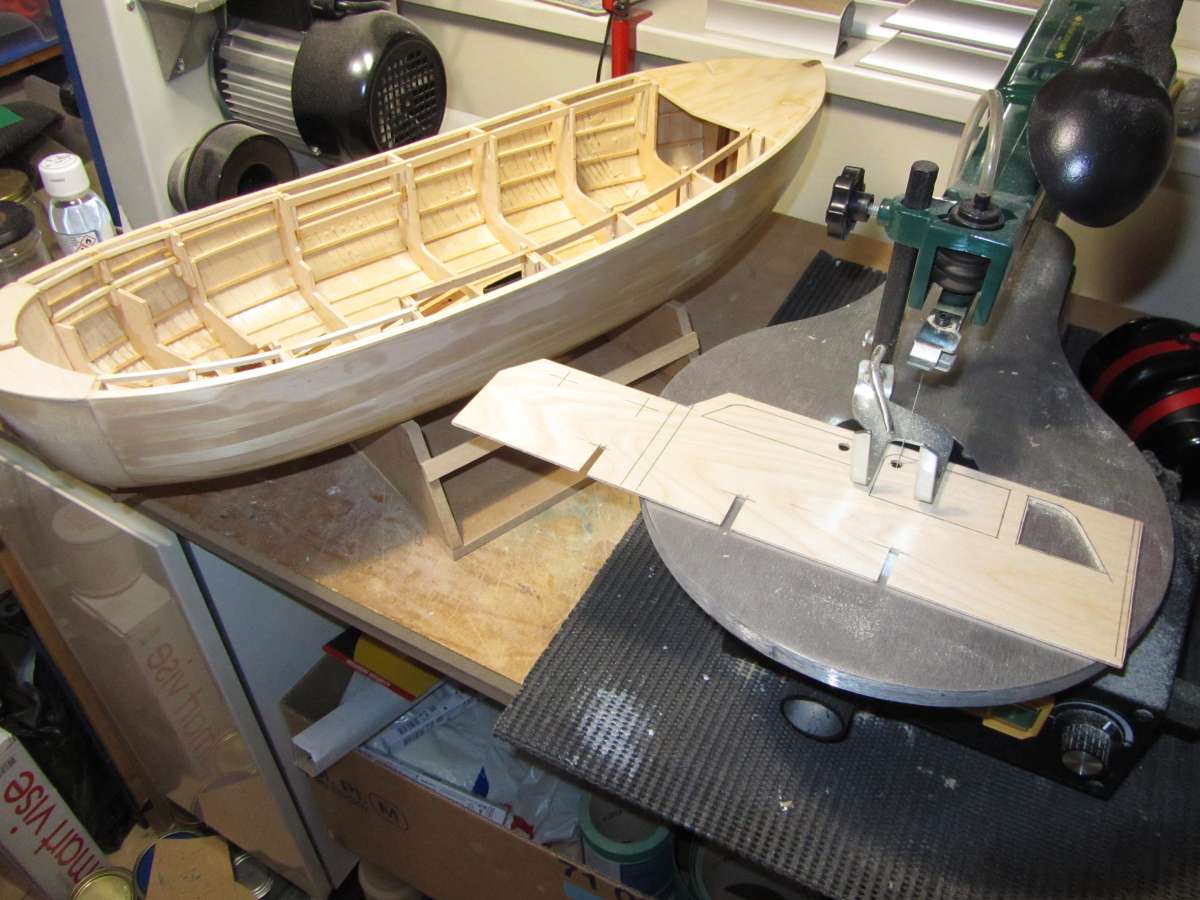
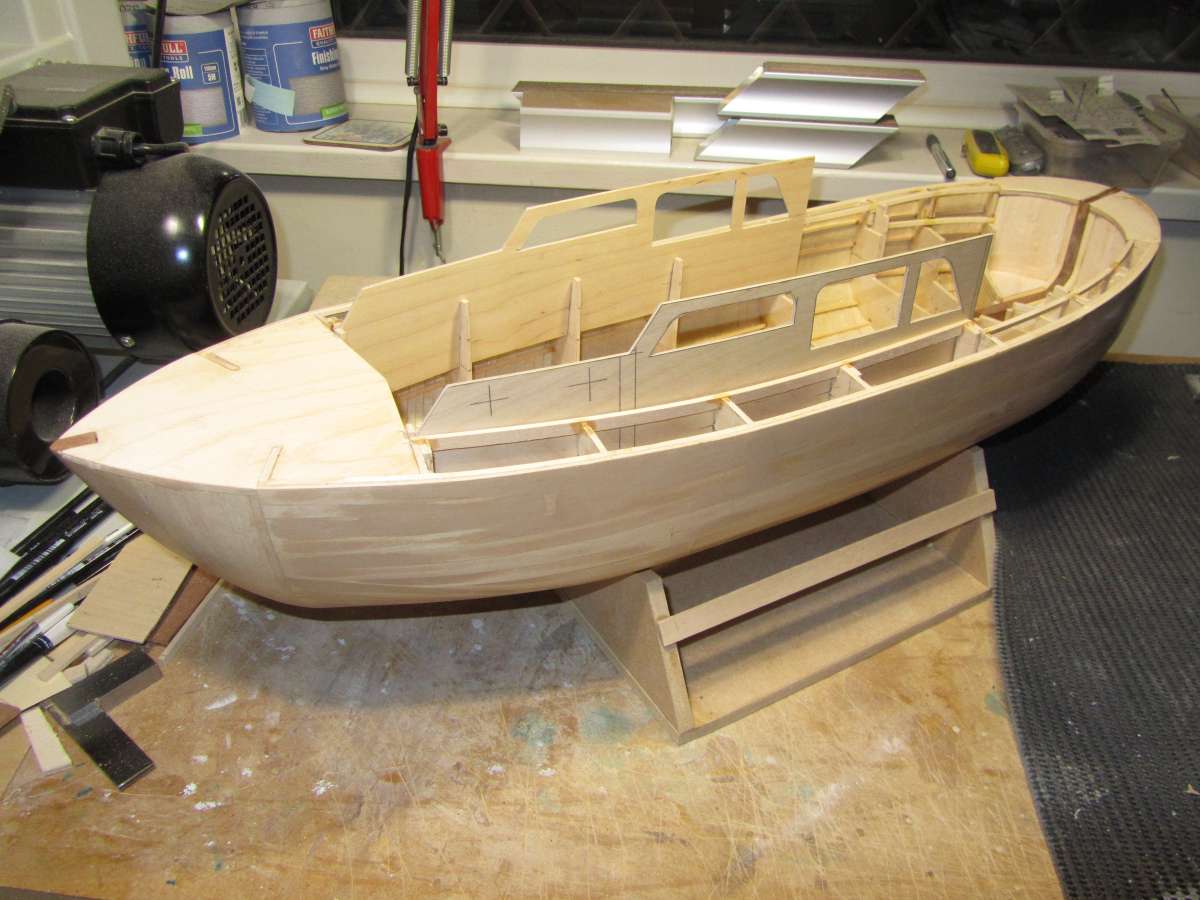
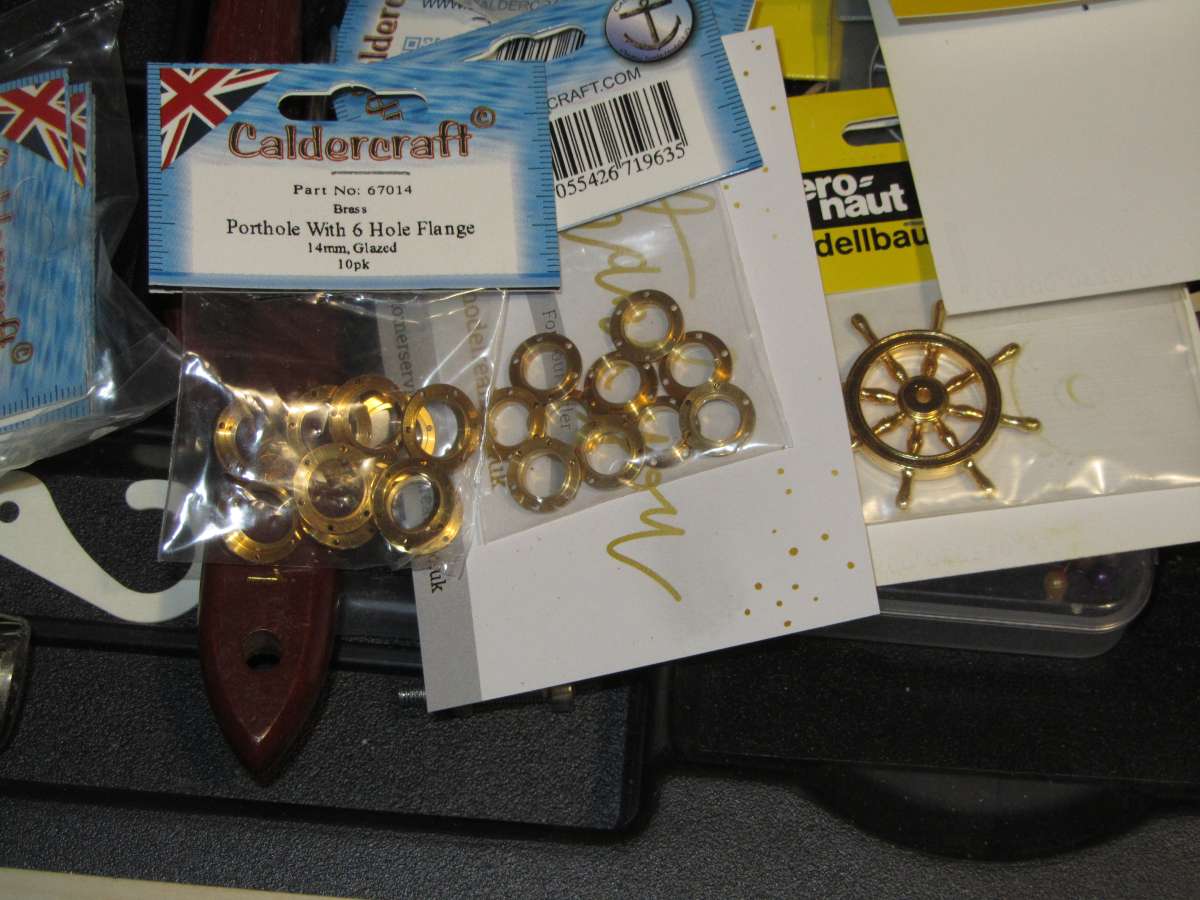
              Anyhow, I’ve added the inner deck stringers and cut out the cabin sides and dry fitted them. The glazed portholes have arrived so I will be cutting the holes out for those before assembling the cabin.

              Hull 47

              Hull 48

              Hull 49

              Hull 51

              #126968
              Tim Rowe
              Participant
                @timrowe83142

                Nice Portholes Chris.

                I am struggling a bit to get the right look for the portholes on Eventide which still needs a bit more work to finish.  The fact that they are glazed is particularly interesting.  Do you think they are reasonably strong and watertight to go below main deck level?

                Tim R

                #126969
                Ray Wood 3
                Participant
                  @raywood3

                  Hi Tim/Chris

                  Those brass portholes are very posh 🙂

                  I’m cheap and nasty, fibre washers painted black in the centre work for me in most places, my bits come from Lidl or Aldi 🙂

                  Regards  Ray

                  #126970
                  Chris Fellows
                  Participant
                    @chrisfellows72943

                    As I’ve said before, only the best for my Faireys Ray!

                    They are solid brass and very strong added to by having a 2mm rebate. They are nicely made and look as though they would be water-proof, certainly splash-proof.

                    I’ve got some small hex head bolts but may have to get some even smaller ones.

                    I bought mine from Model Realm who are worth a look as they do different sizes and ones without a flange which will be better for some circumstances.

                    And they are pretty cheap at around a pound each once tax and post has been added and a bit more for larger sizes.

                    Chris

                    #126971
                    Colin Bishop
                    Moderator
                      @colinbishop34627

                      I have got the same for Silver Mist, sold under the Radioactive label. Mine are the plain variety. They do look very good and the glazing seems firm enough to keep out any leaks.

                      The description says they are brass. If they are not protected then they may tarnish over time (or go green in salt water!). I have coated mine with Rustins Metal Lacquer. To protect the glazing I used a stationery hole punch to cut out disks of masking tape and cover it before using a fine brush to apply the lacquer. Hopefully that will do the job.

                      Colin

                      #126972
                      Chris Fellows
                      Participant
                        @chrisfellows72943

                        Mine are bigger so it would be fiddly to cover the glazing with masking tape but a good tip. Whilst nice they are a bit bright and so I think that a bit of tarnishing probably won’t go amiss – I won’t be going near salt water though!

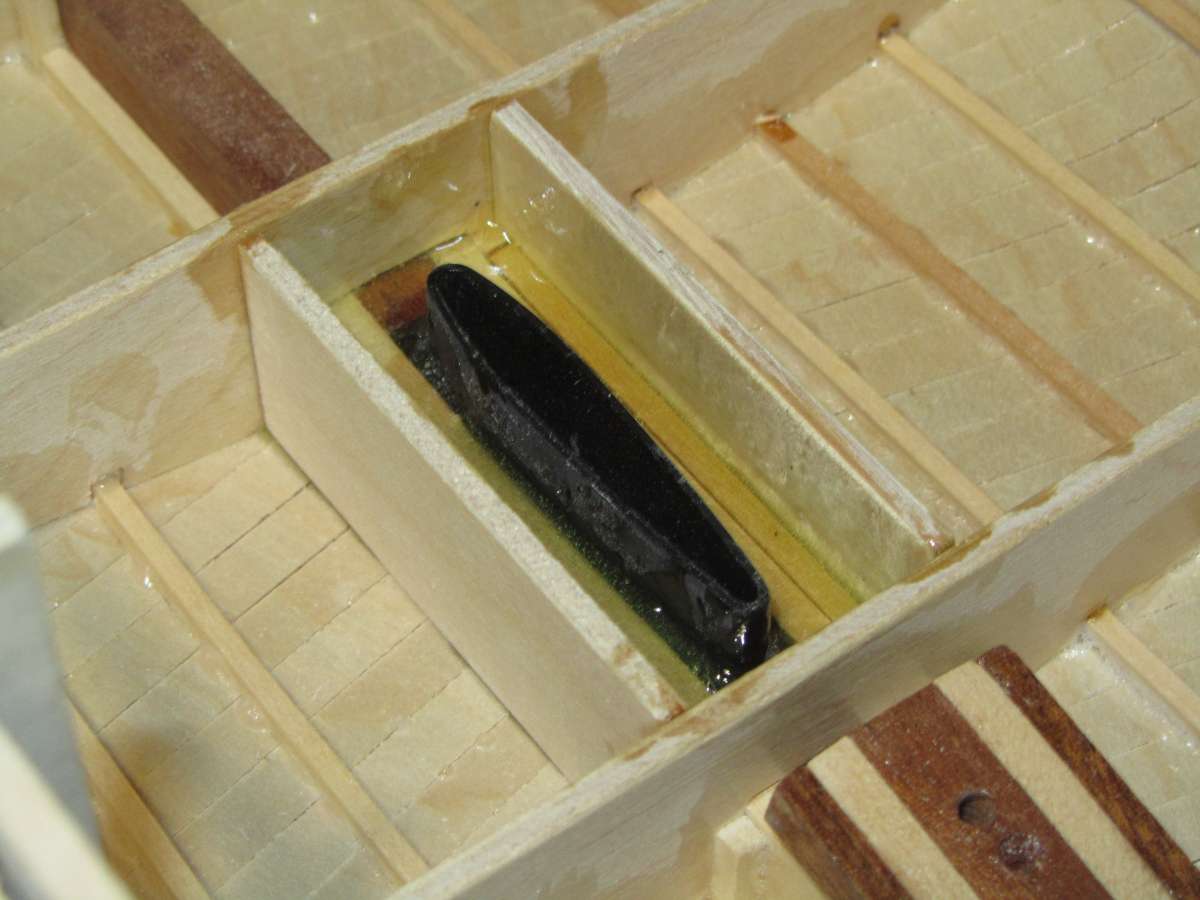
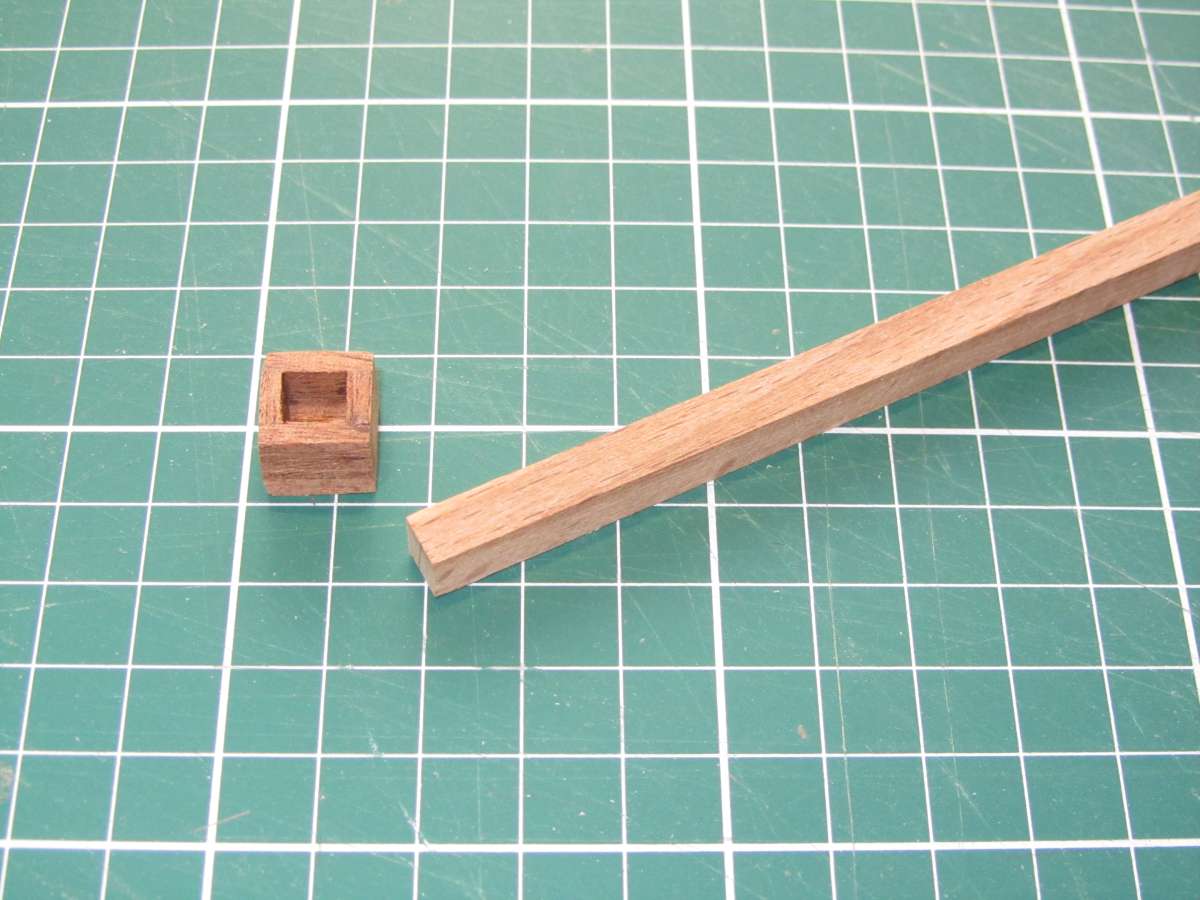
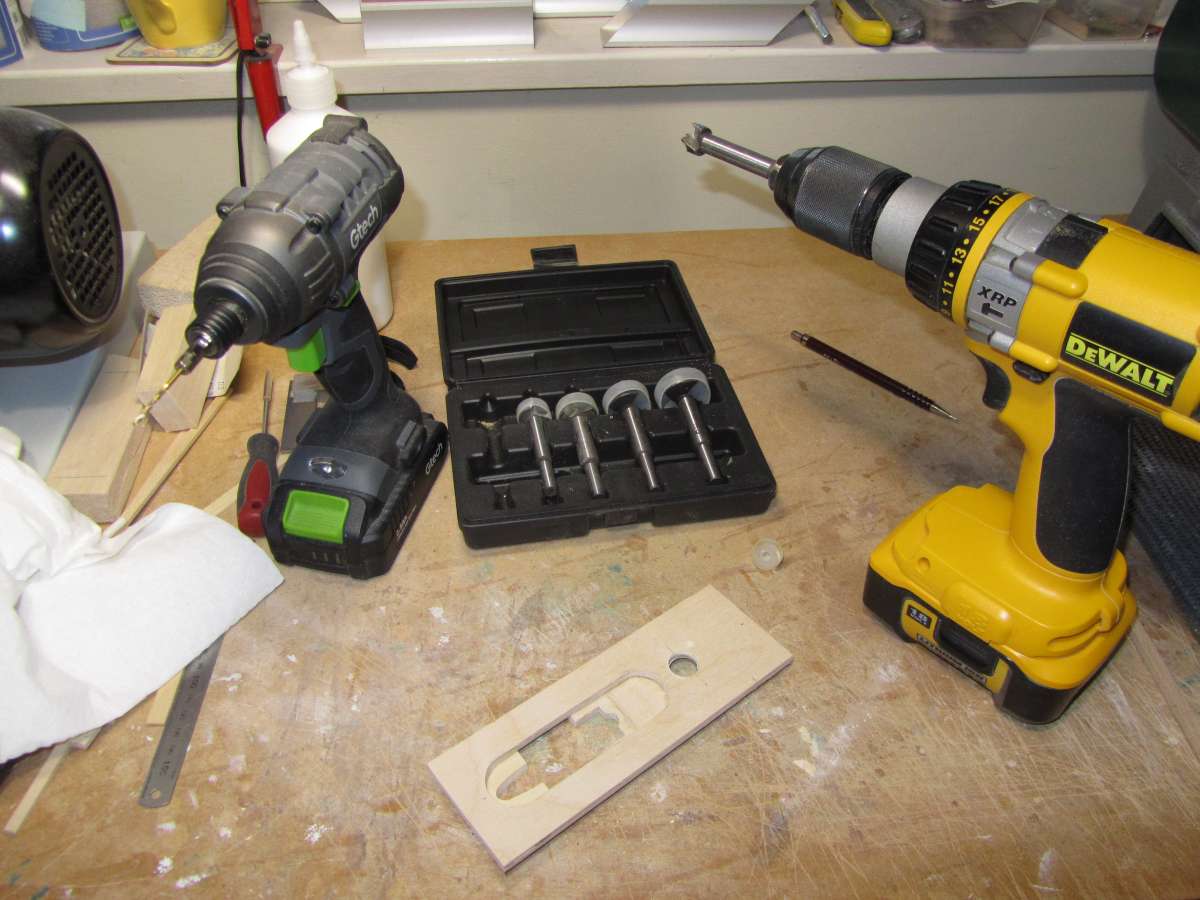
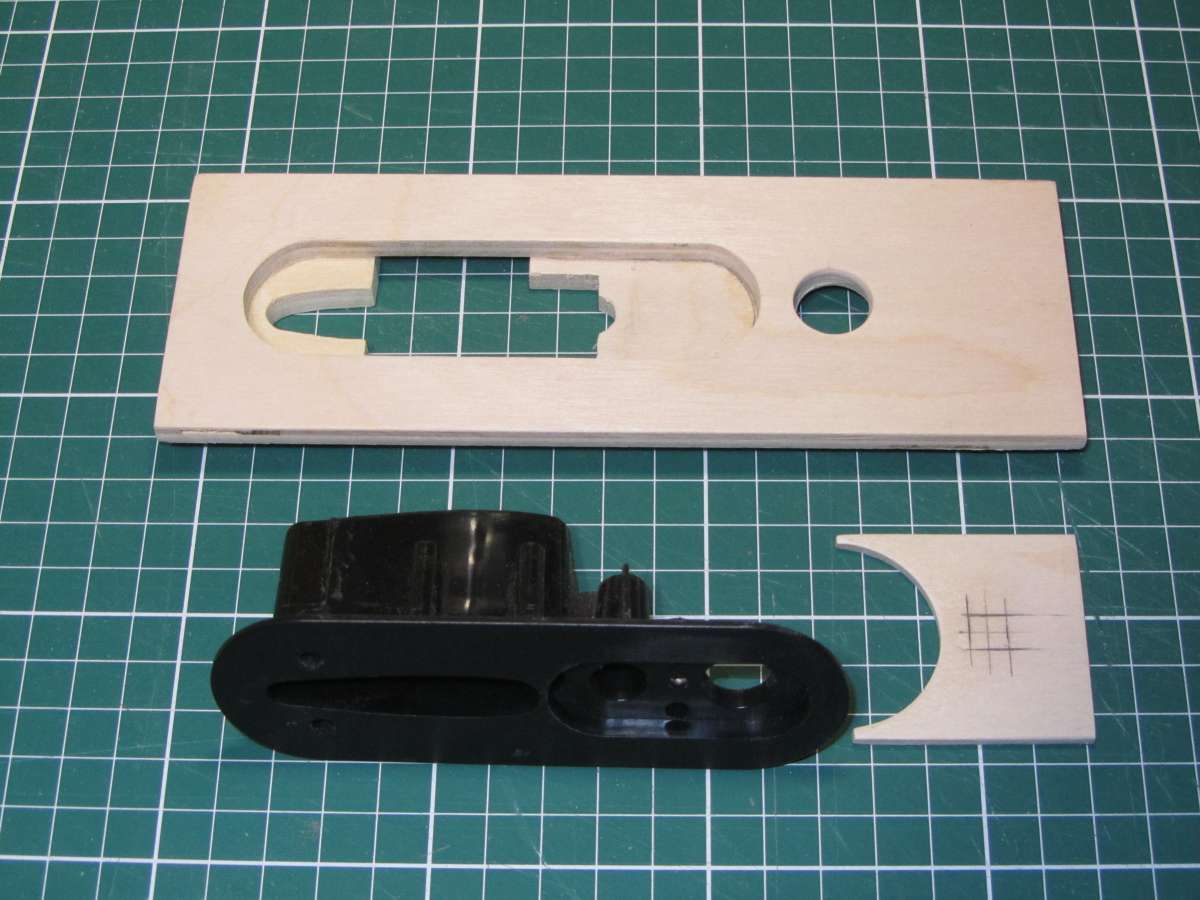
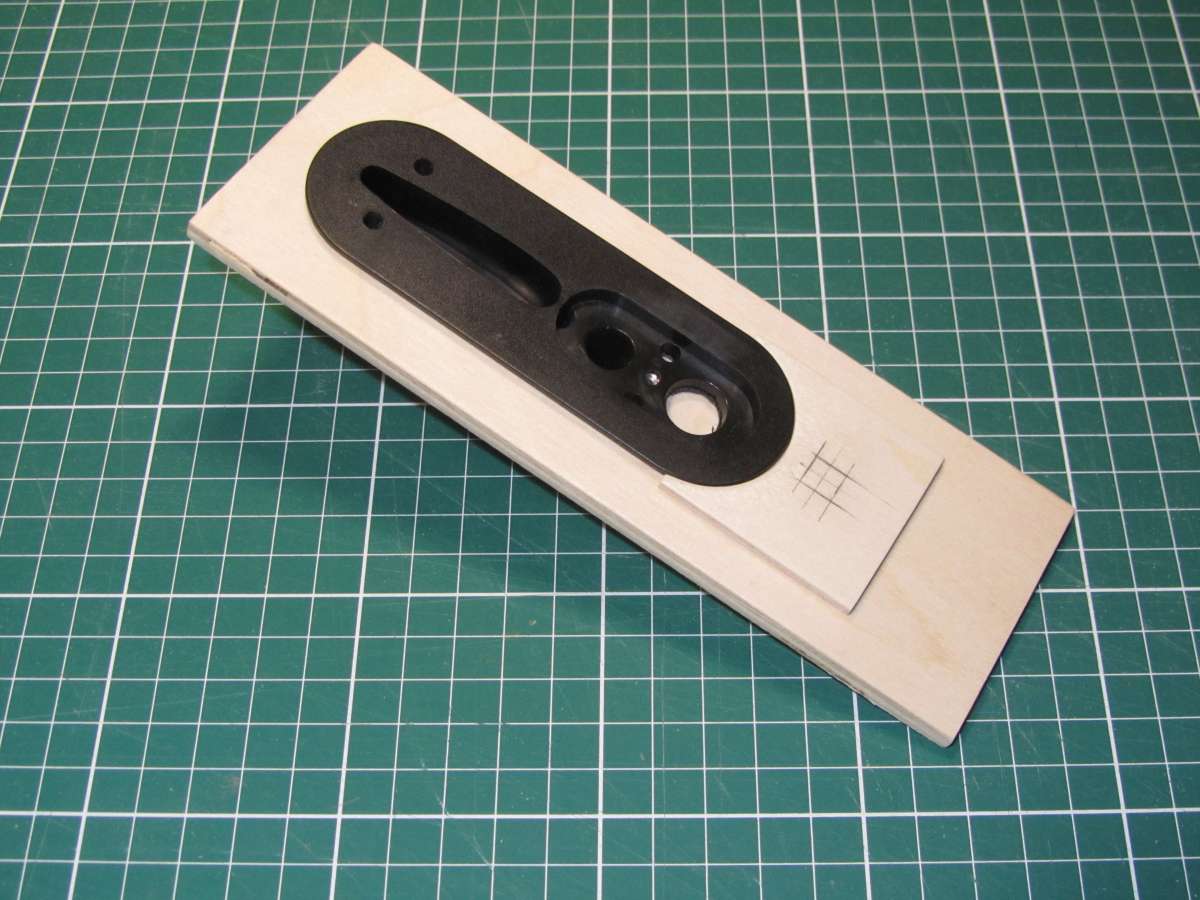
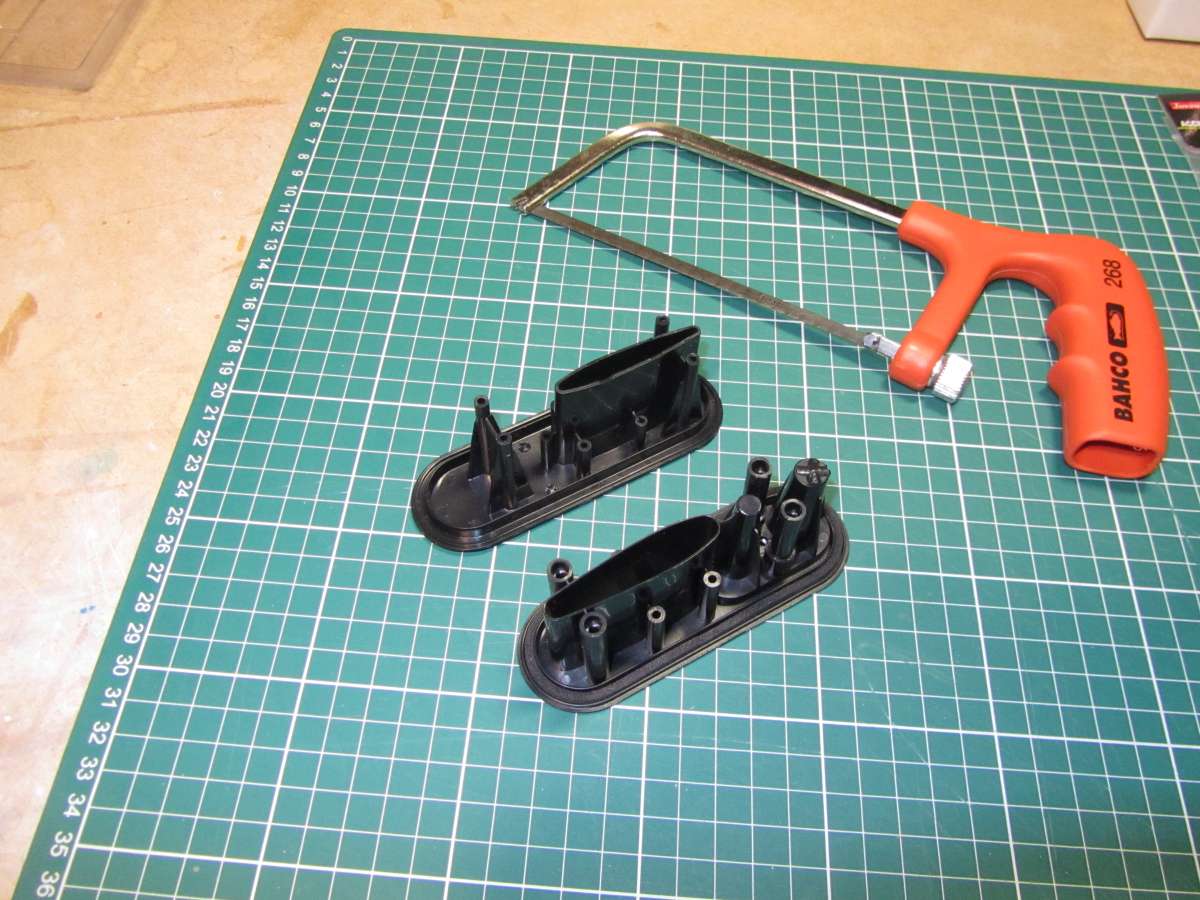
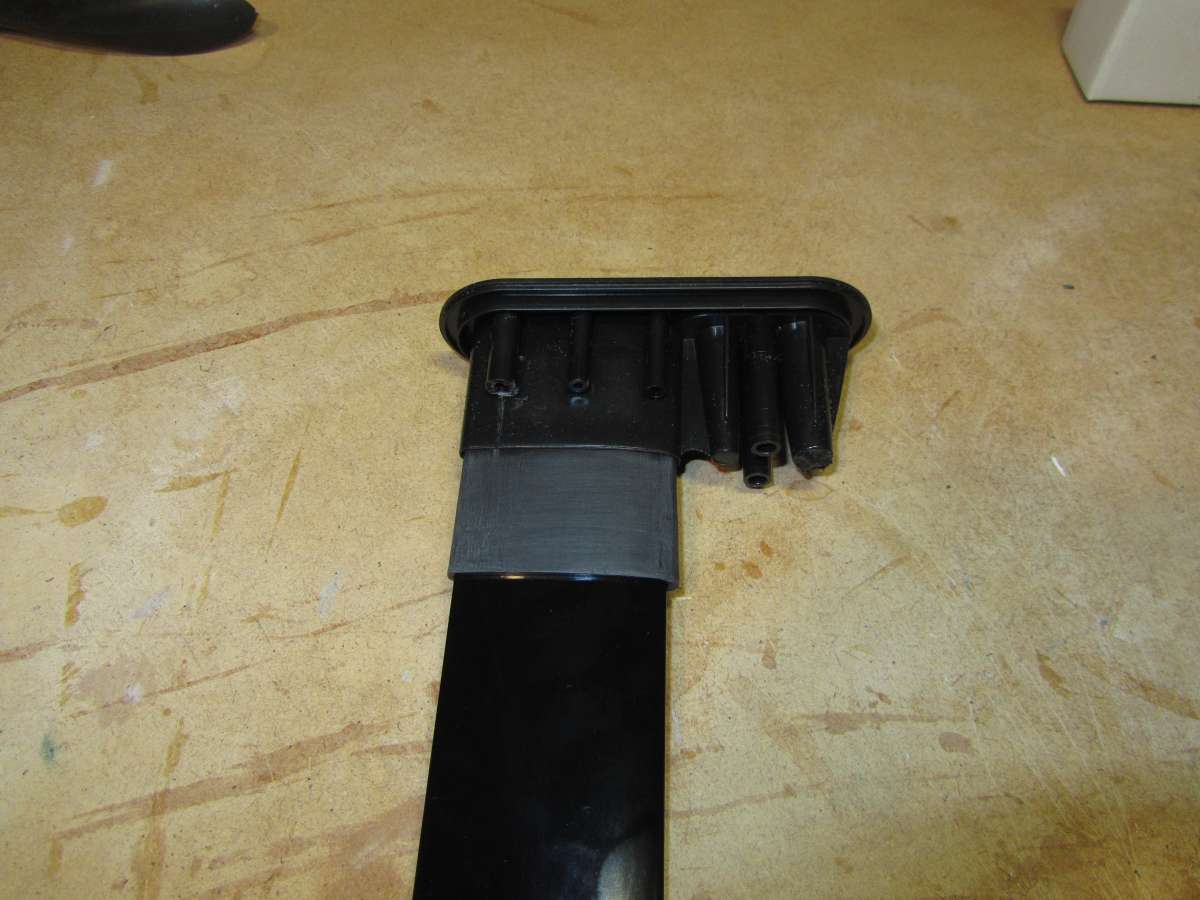
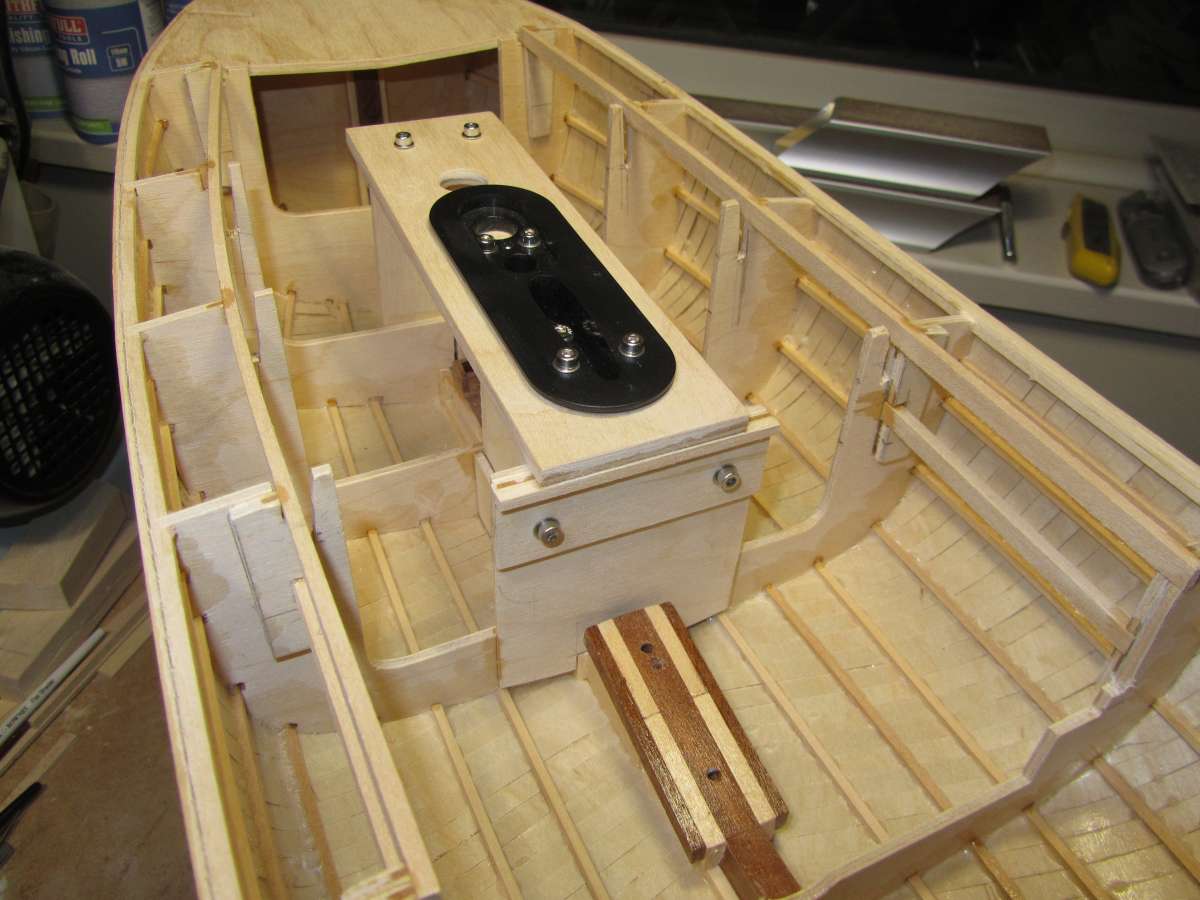
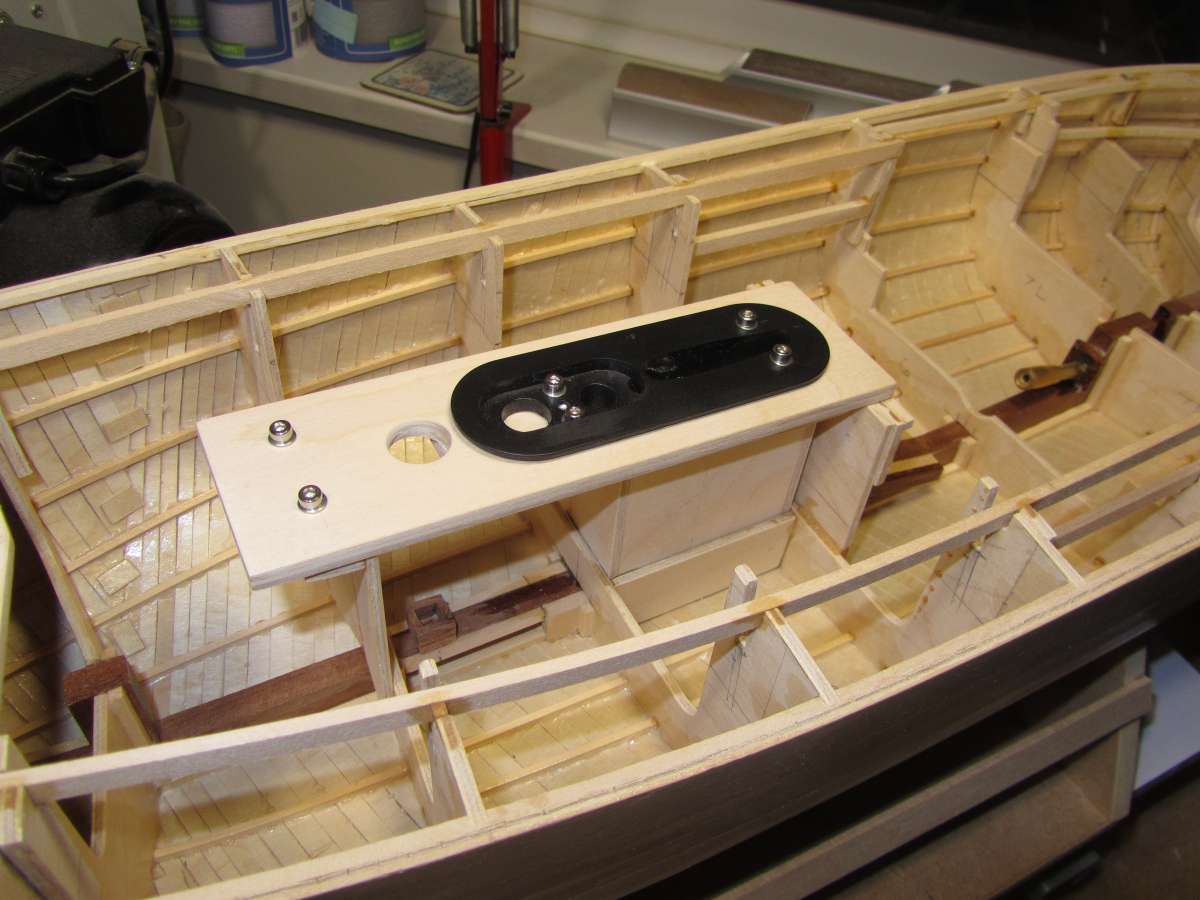
                        I’ve made a box for making the joint between the keel sleeves and glued and coated the inside faces with epoxy. Pity that the sleeves aren’t longer but I’m working with adapted Dragonforce 65 parts. It would have been simpler to follow Ray’s solution but I’m limited by the width of the hull keel I’m going through which has resulted in a much more complicated build. The sleeve joint will be coated with bathroom sealant and then the box filled to above the joint. Hopefully that does the trick but if I do get any water ingress I can go to Plan B and thicken the keel locally which in hindsight probably would have been a better choice. But that’s the risk with scratch building what is effectively a prototype.

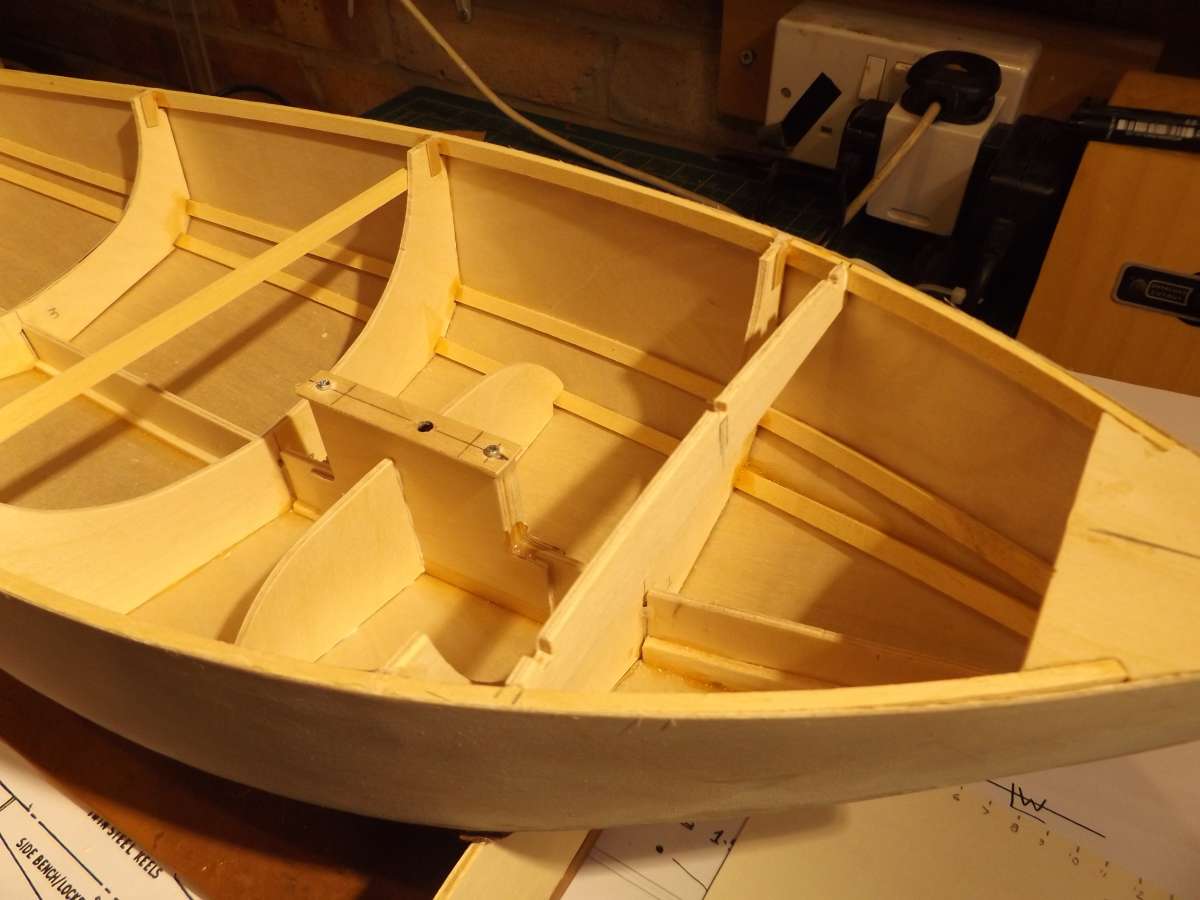
                        Was going to use dowel for the mast support but found some beech which is straight and strong and being square section will make things easier at the roof connection. The hole in the restraining “plate” will be cut out once the cabin progresses and the mast support is accurately positioned.

                        Will then move onto the support for the keel top mount. Everything is being done in such a way that it can be taken apart if needs be.

                        Hull 52

                        Hull 53

                        Hull 54

                        Hull 55

                        Hull 56

                        #126973
                        Ray Wood 3
                        Participant
                          @raywood3

                          Hi Chris,

                          You have lost me somewhere along the way 🙂 are you bonding another part of the DF65 fin tube onto what’s built into the hull ? hindsight is a gift 🙂

                          Regards  RayL6

                          #126975
                          Tim Rowe
                          Participant
                            @timrowe83142

                            I am a bit lost too Chris.  Do the two keel sleeves join up so that the join is watertight?  The casing only has to come above the waterline for it stop the water coming in.  This was marginal on my Wild Duck so I just put a fibre washer under the head of the keel retaining bolt to seal it.

                            Tim R

                            #126976
                            Chris Fellows
                            Participant
                              @chrisfellows72943

                              Hi chaps. The upper part of the sleeve fits over the lower part and isn’t water-tight, which isn’t a problem in the Dragonforce yacht because the sleeves are fitted inside a channel that runs from the bottom to the top of the hull. Hence why I was going to surround the joint with sealant as it does lie below the waterline. I did have thoughts on using epoxy but access once the top plate is fitted is restricted and glue would get inside the sleeve causing problems with the keel blade – also I wouldn’t be able to take apart easily. It would be difficult to get the sealant in as well but it is doable.

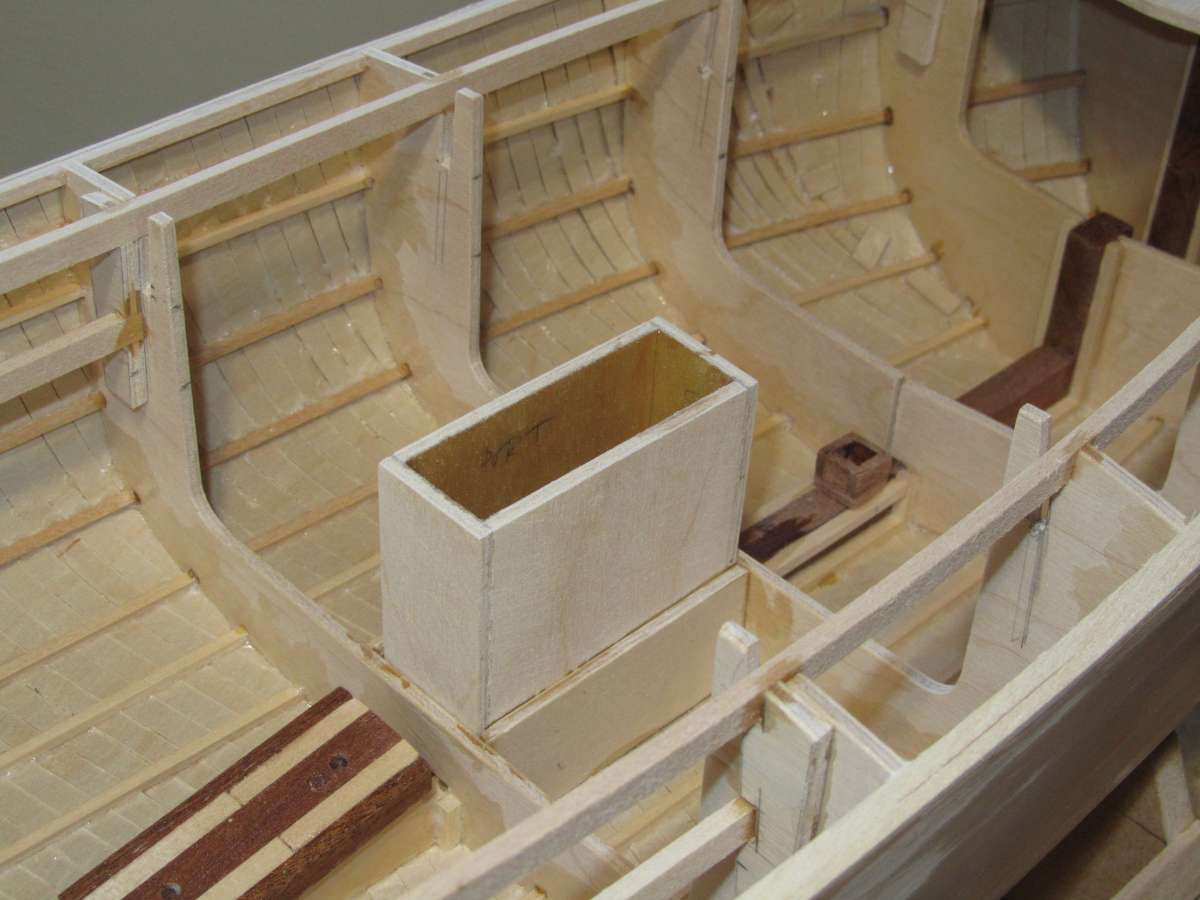
                              But I was mulling it over anyway, particularly after my previous post and have pretty much decided to abandon that idea and extend the box much higher, well above the waterline. The bottom of the existing box will be raised with epoxy so that water won’t get trapped.

                              It seemed like a good idea at the time!

                              Keel 1

                              Keel 3

                              #126977
                              Chris Fellows
                              Participant
                                @chrisfellows72943

                                Plan C has been carried out! Taller boxing constructed with joints glued with 20 min. epoxy and and then glued in place with epoxy and the inner faces given a liberal coating. Finished off by filling the base to the top of the sleeve with epoxy.

                                The top of the boxing will remain open so any water remaining in the bottom of the keel box will soon dry off.

                                The original idea would have been fine if say a longer sleeve was available, maybe 3D printed.

                                Hull 57

                                #126990
                                Chris Fellows
                                Participant
                                  @chrisfellows72943

                                  Much happier with this. Top support is pretty much at deck level and will tie the keel and mast forces nicely together.

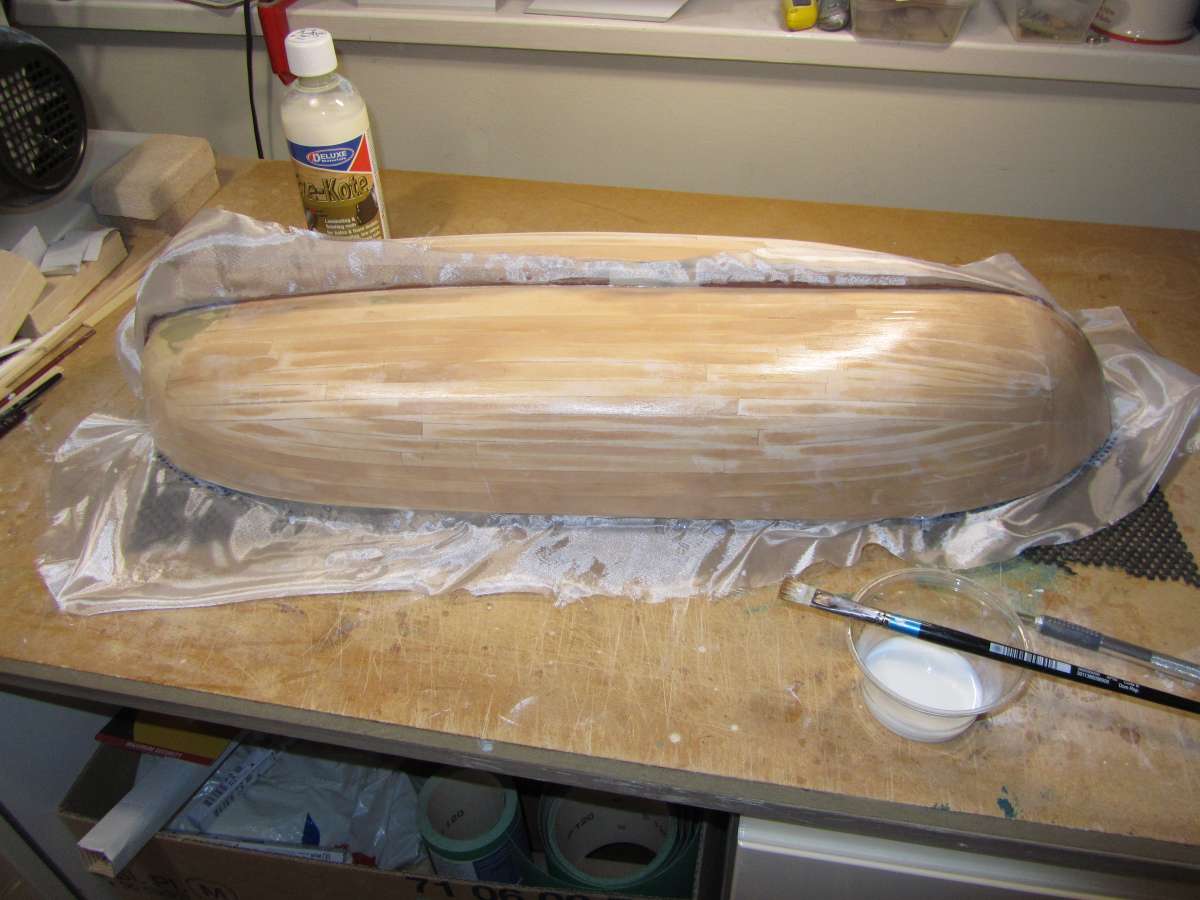
                                  Before returning to the superstructure I need to spend some time on the hull. Some of the planking has cupped slightly after applying Eze-Kote which I’m a little surprised at given that it is fully glued to the first layer and the stern needs a bit more shaping.

                                  Hull 58

                                  Hull 59

                                  Hull 60

                                  #126995
                                  Ray Wood 3
                                  Participant
                                    @raywood3

                                    Hi Chris,

                                    I think problem solving is half the fun of model making 🙂 In reality I spent much time thinking how to the make the keels removable on my 3 designs so far but in reality I never took the keels off Wild Duck & Eventide, the stock DF65 keel will be taken off Lysander occasionally for the new designs to come, the next yacht will be the Spring 25 from Howards Way next year with the very expensive DF 95 fin and bulb !!

                                    Happy Christmas

                                    Ray

                                    #127001
                                    Chris Fellows
                                    Participant
                                      @chrisfellows72943

                                      Yes, it certainly is, though it can be frustrating some times as well! The keel and bulb for the DF 65 is a reasonable price but as you say for the DF 95 it is expensive!

                                      Happy Christmas to you as well Ray. It will soon be upon us!

                                      Chris

                                      #127007
                                      Richard Simpson
                                      Moderator
                                        @richardsimpson88330

                                        That hull really is looking lovely Chris, it’ll be a shame to paint over that hull.

                                        Christmas, when’s that then, anytime soon?  Is it time to buy presents yet again already?

                                        #127012
                                        Chris Fellows
                                        Participant
                                          @chrisfellows72943

                                          It only seems like 12 months since last time!

                                          I totally agree Richard, it is a shame, with the bass turning to a nice mellow honey colour once coated with Eze-Kote, but paint it’s got to be. When building Faun I thought about using something lighter than mahogany, wished I had done so now, as mahogany can be a bit dark for small models, but I’m happy with it. Perhaps I will with this build?

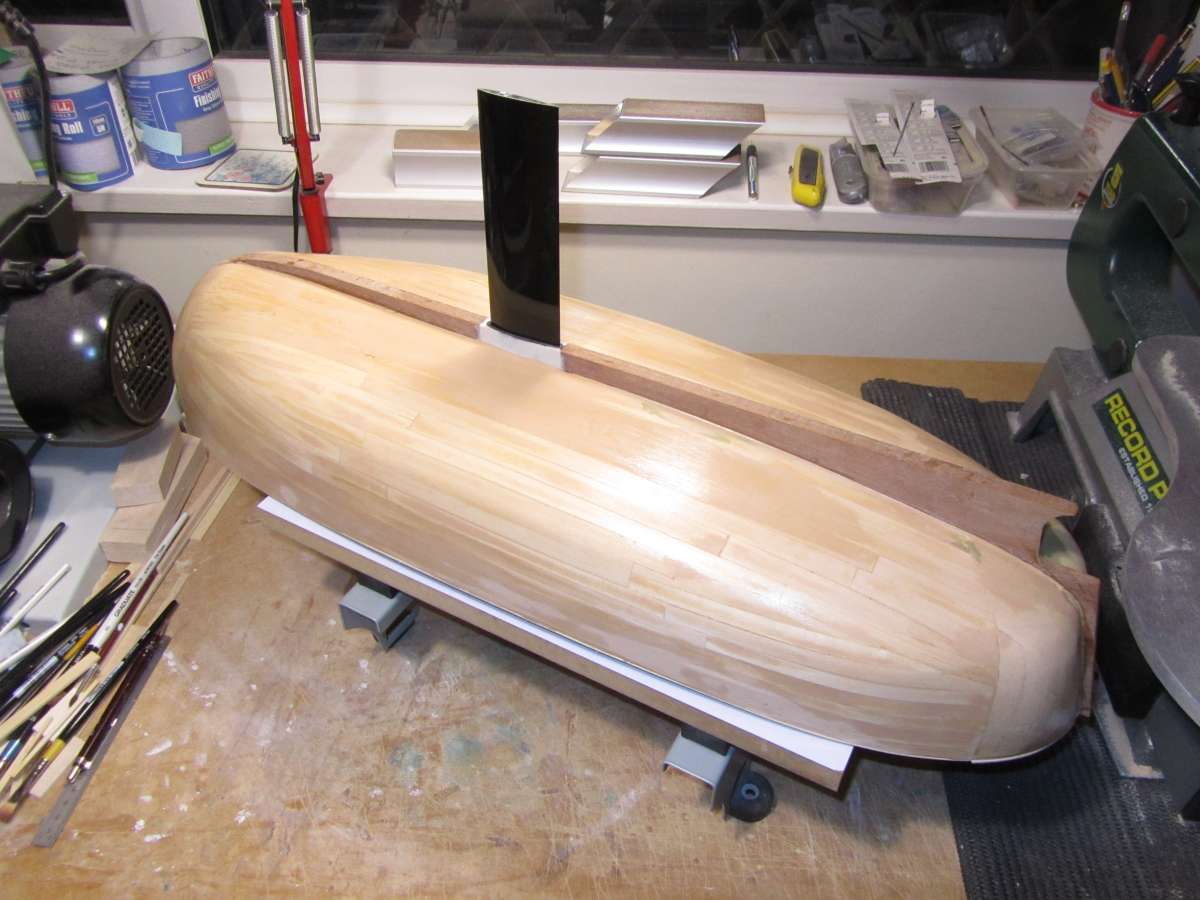
                                          On further inspection the cupping is only minor and mainly at the turn between sides and bottom so has been easily cured with sanding, also taken a bit off one side at the stern so I’m going to leave it there, ready for Eze-Kote and lightweight cloth.

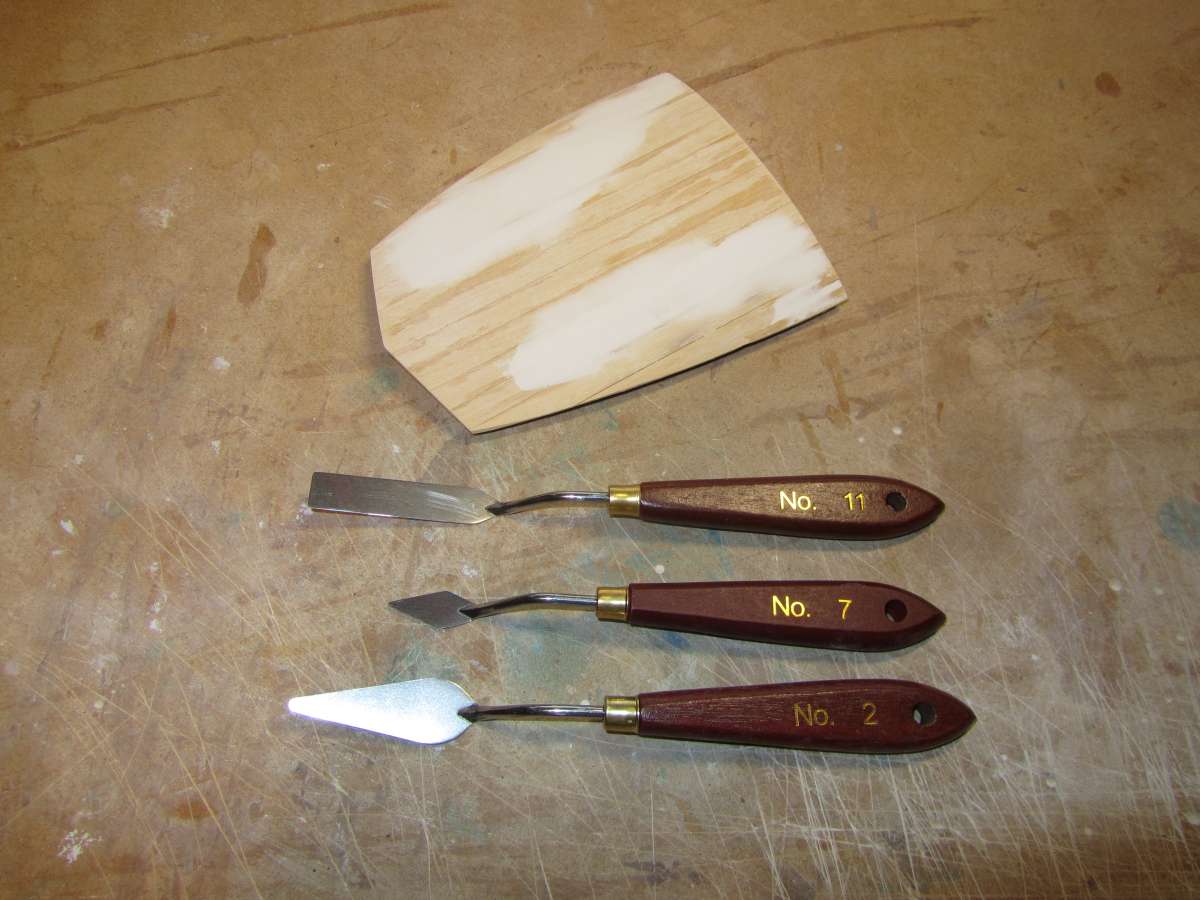
                                          Others may be ahead of me on this but I bought some palette knives to try for filling a while back and they are ideal for small areas.

                                          IMG_7556

                                          #127023
                                          Chris Fellows
                                          Participant
                                            @chrisfellows72943

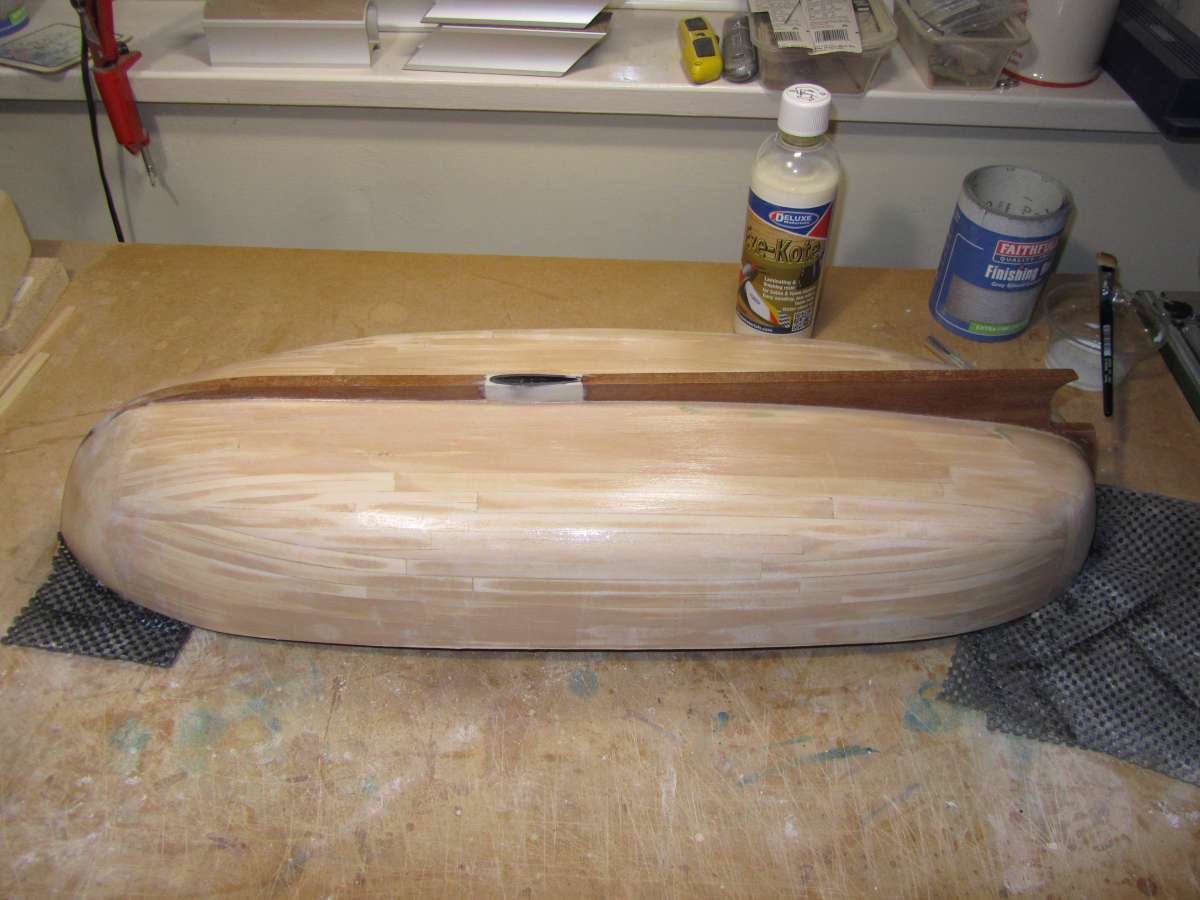
                                            Gave the hull another sanding with 240 grit and happy with the surface. Then applied the lightweight cloth and Eze-Kote, followed by another sanding and another two coats of resin. I’m always happy to get this done as I think of it as an important milestone and know that the outside of the hull is now pretty much finished and ready for painting. That is a little way off though as I can now return to the superstructure but that won’t be for a few days now.

                                            Talking of Eze-Kote, it now looks different. My old bottle is a greyish translucent colour but the new one is a cream colour like aliphatic glue. Does the same job though.

                                            Chris

                                            Hull 61

                                            Hull 62

                                            #127102
                                            Chris Fellows
                                            Participant
                                              @chrisfellows72943

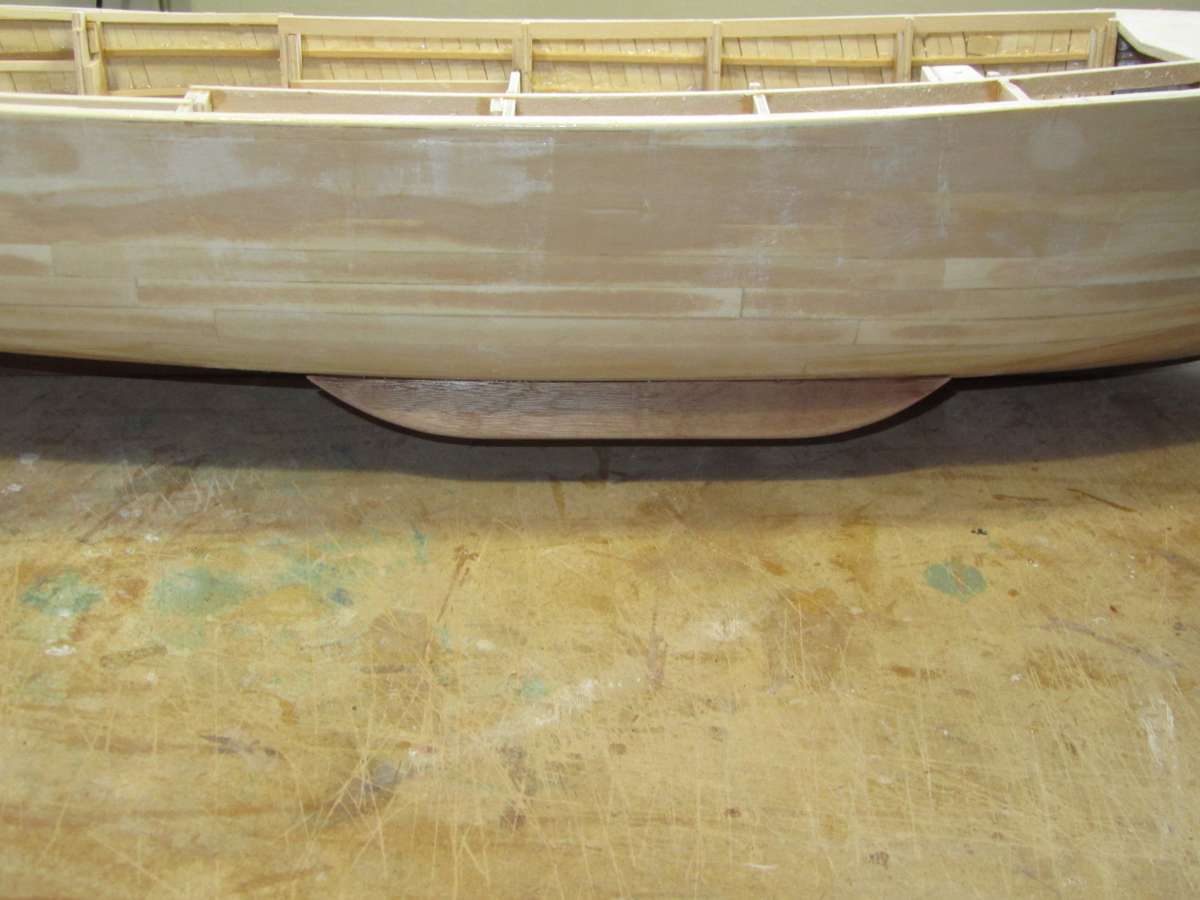
                                              Before returning to the superstructure I needed to finish off the building works (apart from painting which ideally could have been done) on the underside of the hull as once the cabin sides etc. are fixed in place it will be difficult holding the hull in a stable manner when upside down.

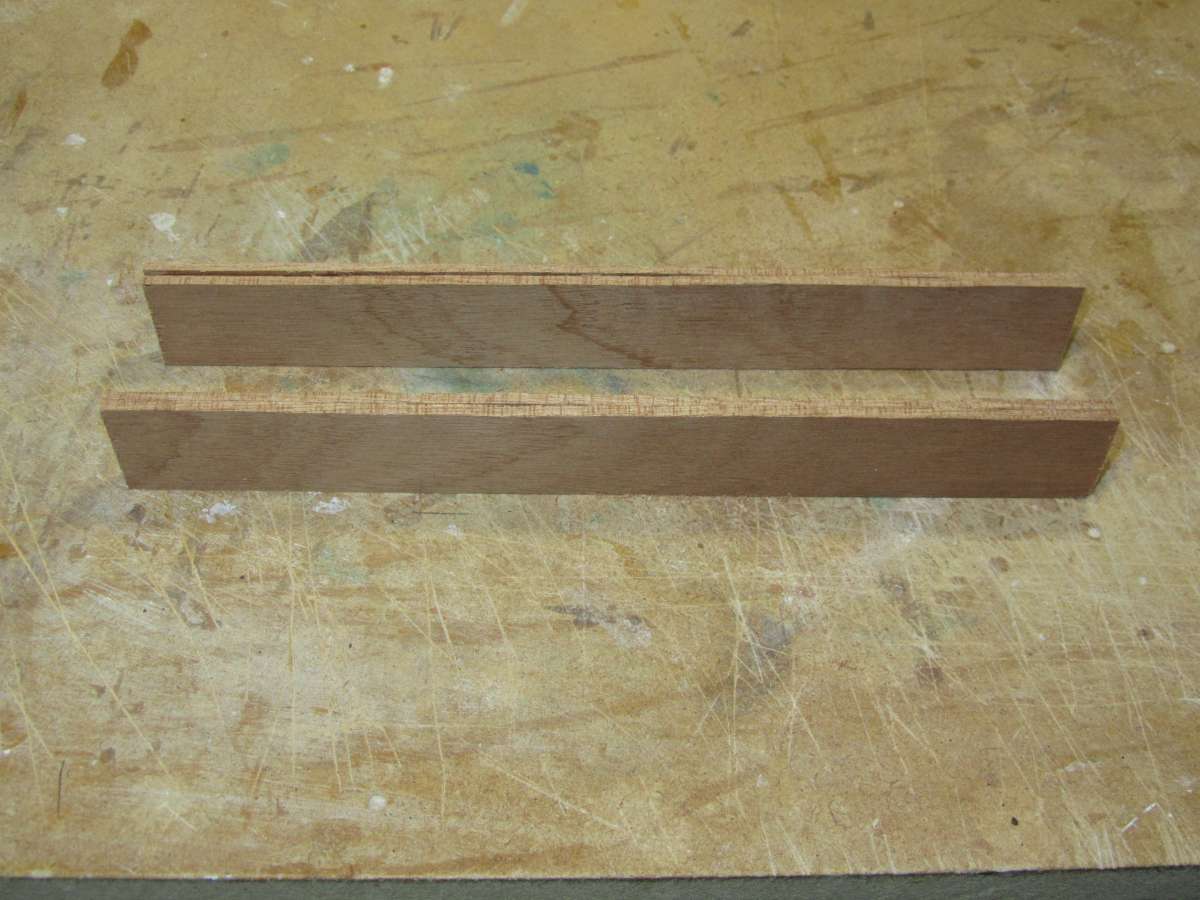
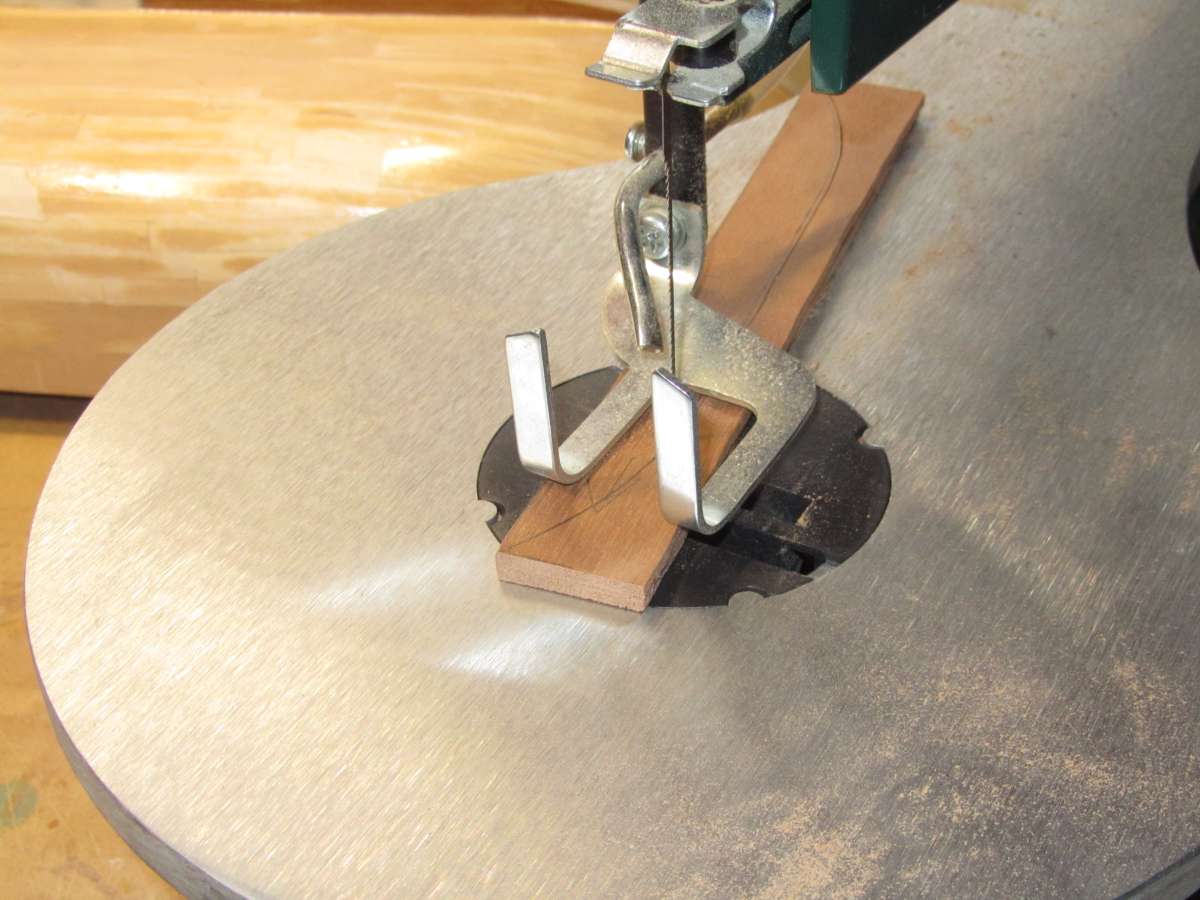
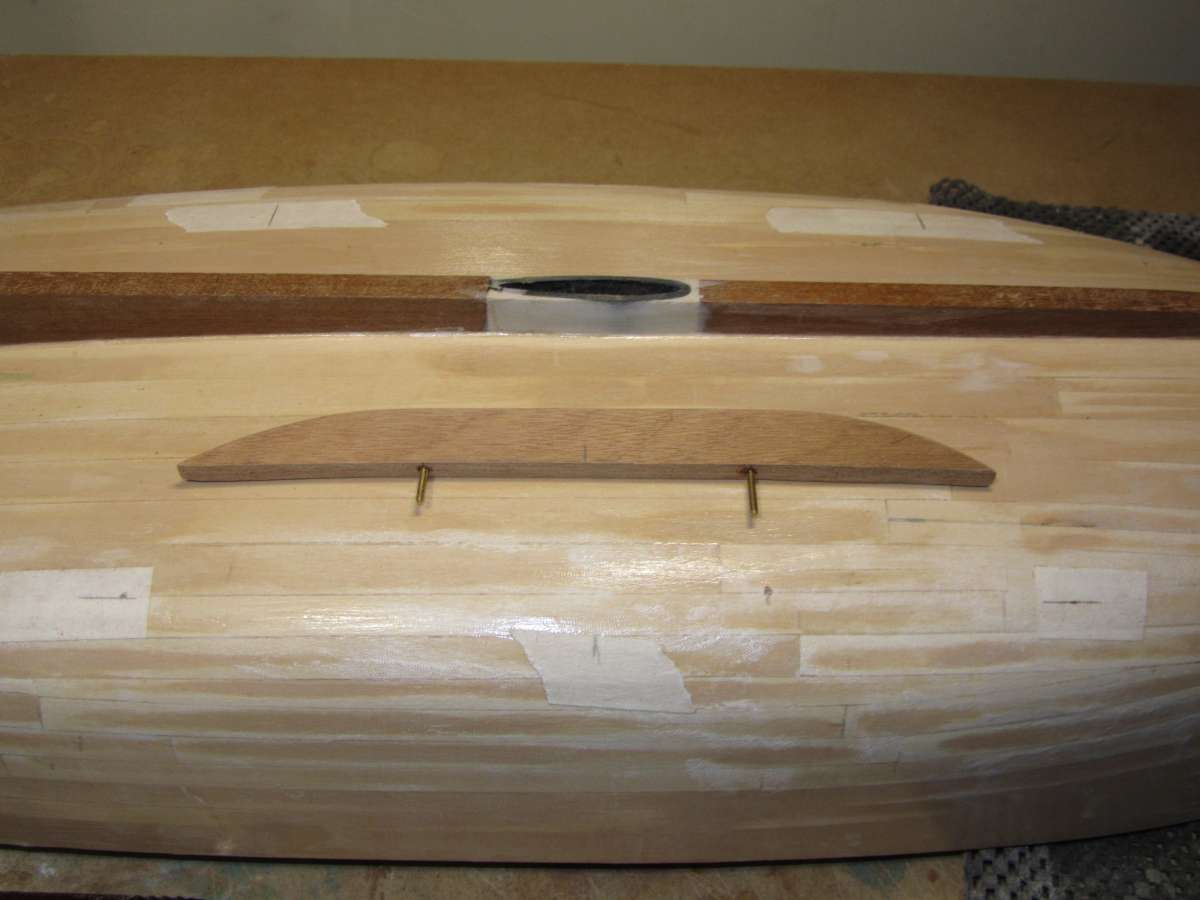
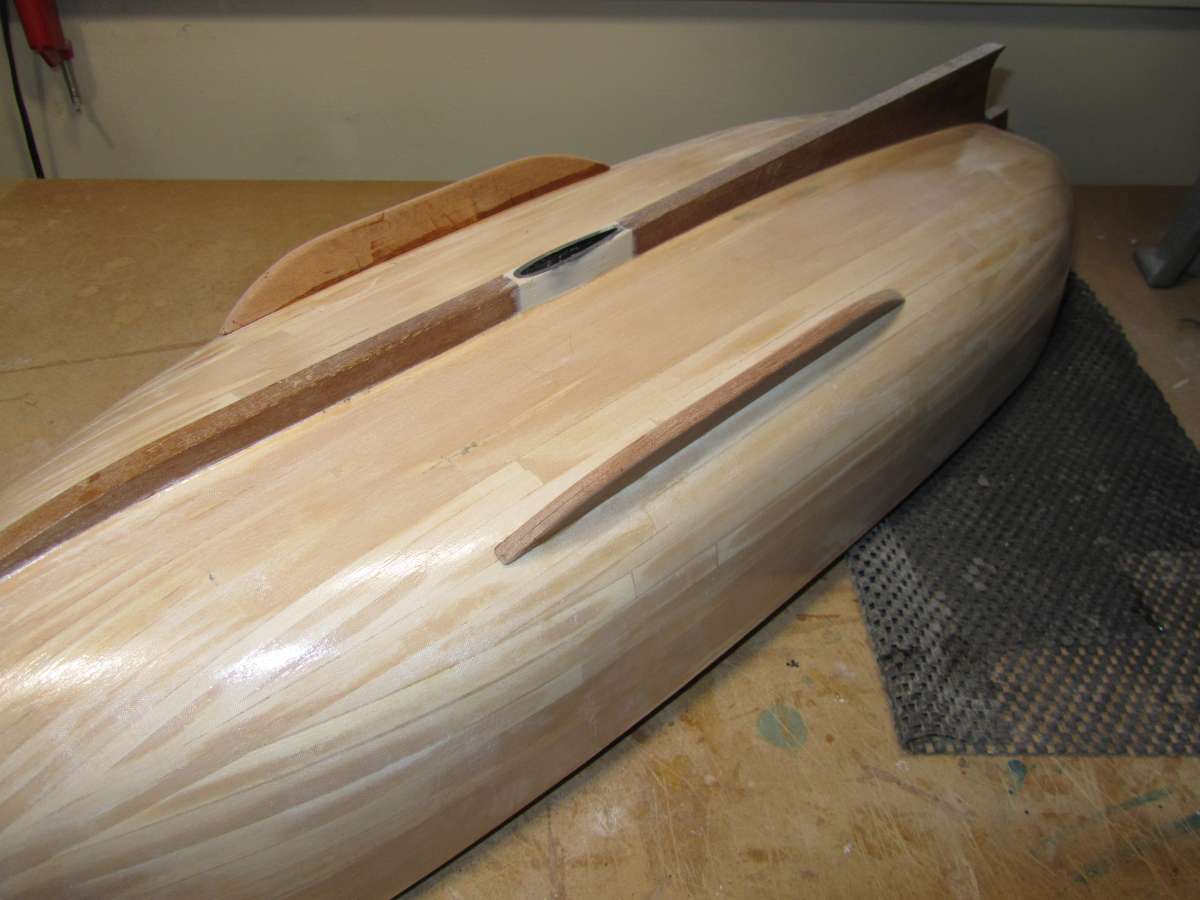
                                              Only thing left to do was the bilge keels. The original Fairey drawing made these fairly easy as it stated they are 8″ deep x 3″ thick mahogany and positioned 3 feet from the keel. The thickness equates to 6.25mm. Fortunately I had some 3mm thick which I glued together and left overnight.

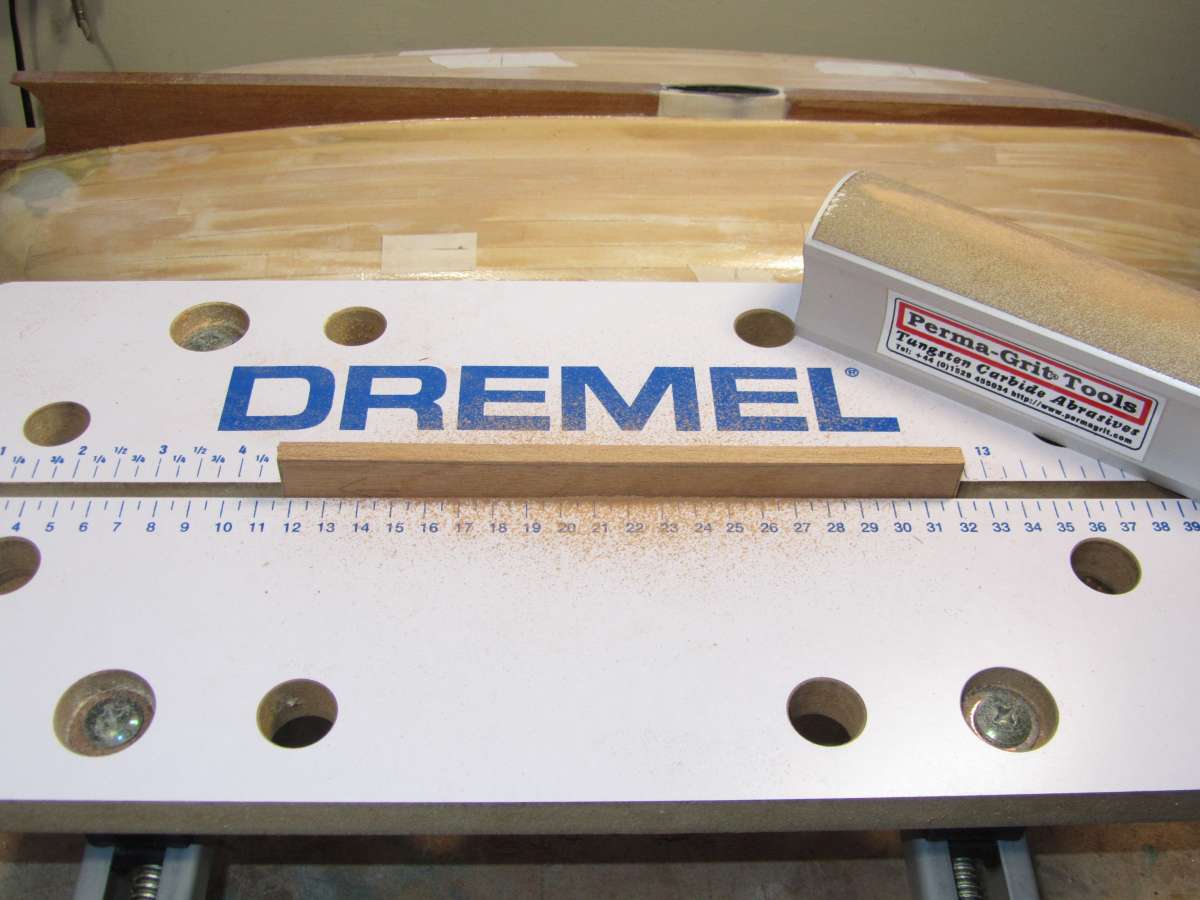
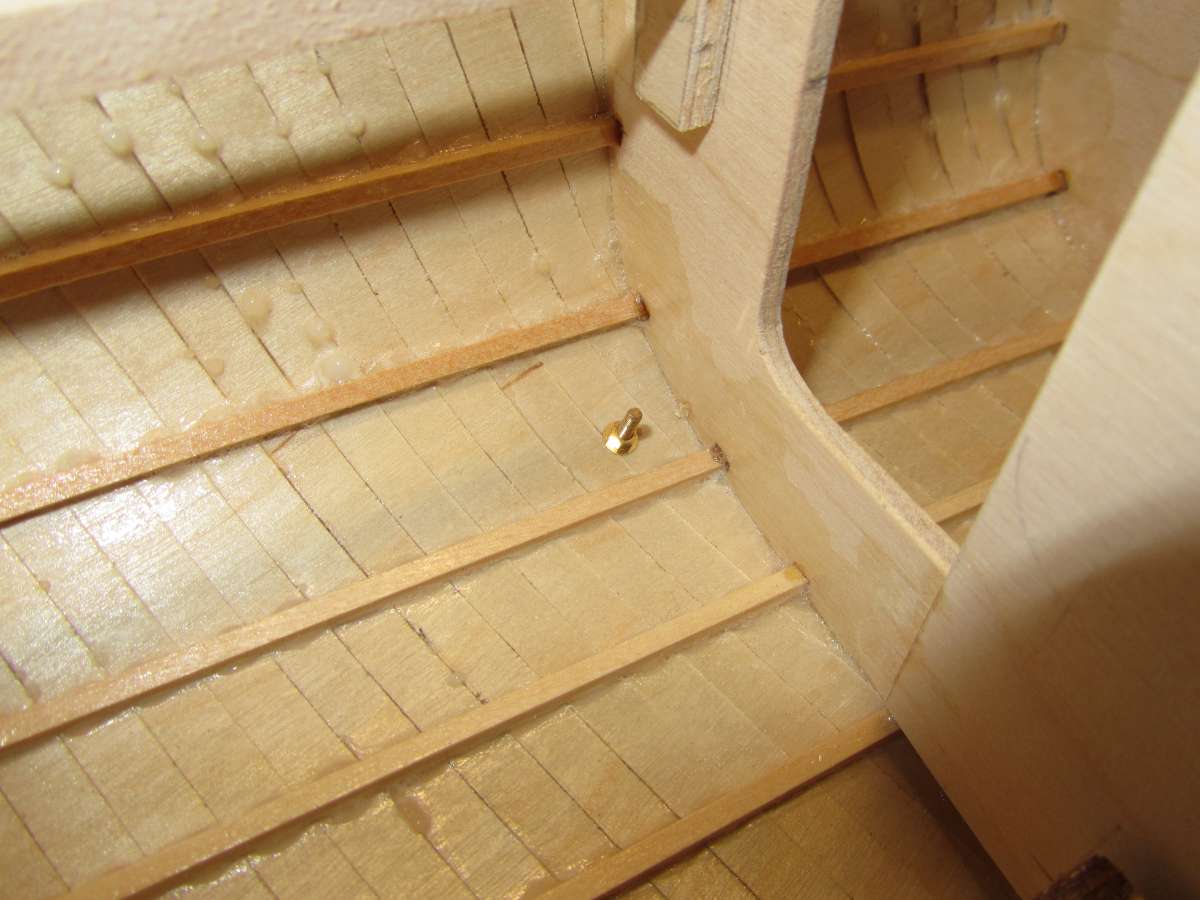
                                              Where fixed to the hull there was a slight curve so the mahogany was sanded with a PermGrit block until a good fit was achieved before cutting and sanding to shape and rounding the sharp corners off. As well as gluing I wanted to make the keels more secure so drilled them and epoxied short lengths of threaded M2 in place, these also make positioning the keels easy once glue has been applied. This has been done using strong, slow drying epoxy which will be left overnight. Plan was to secure with nuts and washers on the inside of the hull, which I might still do or just surround with epoxy, will decide tomorrow.

                                              Bilge Keels 1

                                              Bilge Keels 2

                                              Bilge Keels 3

                                              Bilge Keels 4

                                              Bilge Keels 5


                                              thickness

                                              #127106
                                              Chris Fellows
                                              Participant
                                                @chrisfellows72943

                                                Bilge keels were as solid as a rock this morning. Brass nuts and washers fitted. Ready for when the tide goes out now!

                                                Chris

                                                Bilge Keels 6

                                                Bilge Keels 7

                                                #127107
                                                Tim Rowe
                                                Participant
                                                  @timrowe83142

                                                  Hi Chris

                                                  I think your models will still be around when the sun becomes a Red Giant.  I am really looking forward to seeing this one on the water.

                                                  Tim R

                                                  #127113
                                                  Chris Fellows
                                                  Participant
                                                    @chrisfellows72943

                                                    So am I Tim, especially as it is so different to my other models. Still away to go obviously with the addition of sails but I will try it on the water before fitting them.

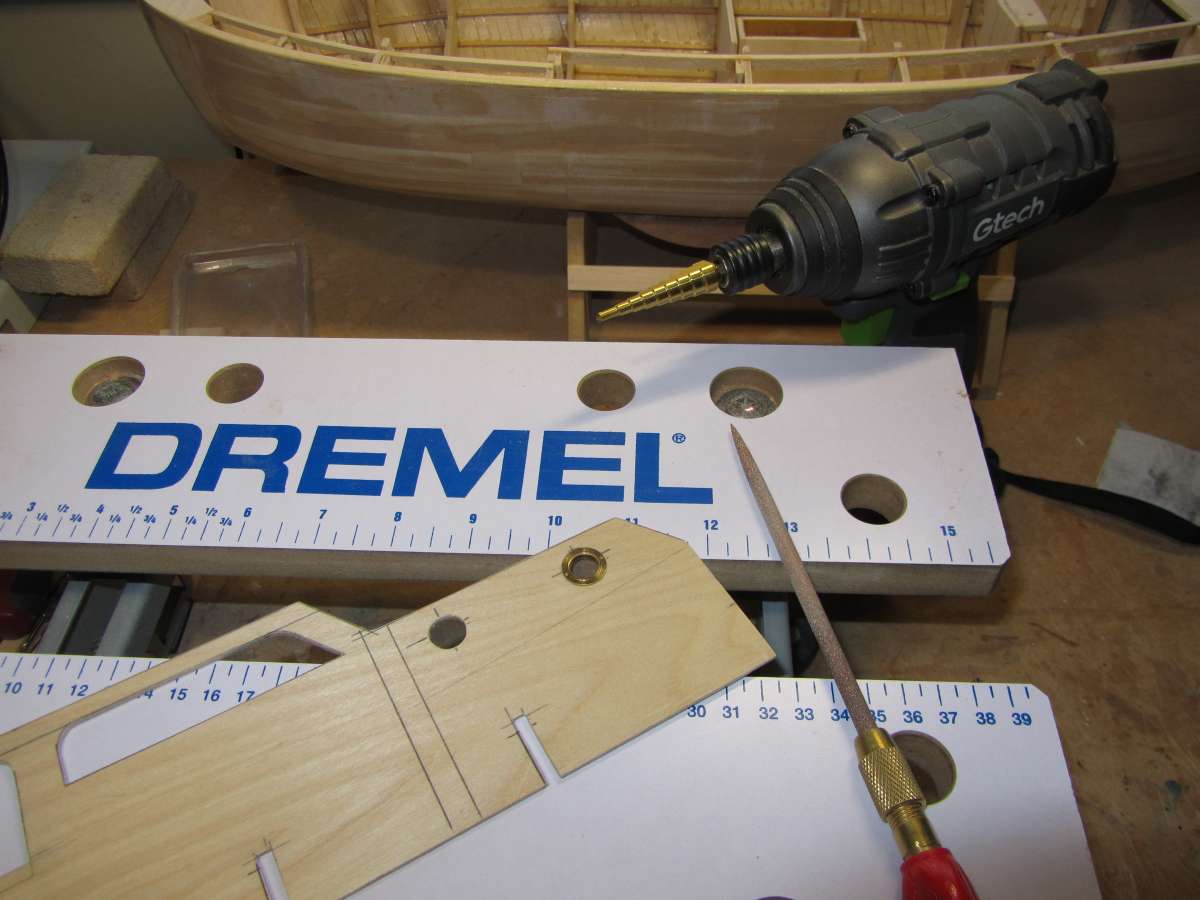
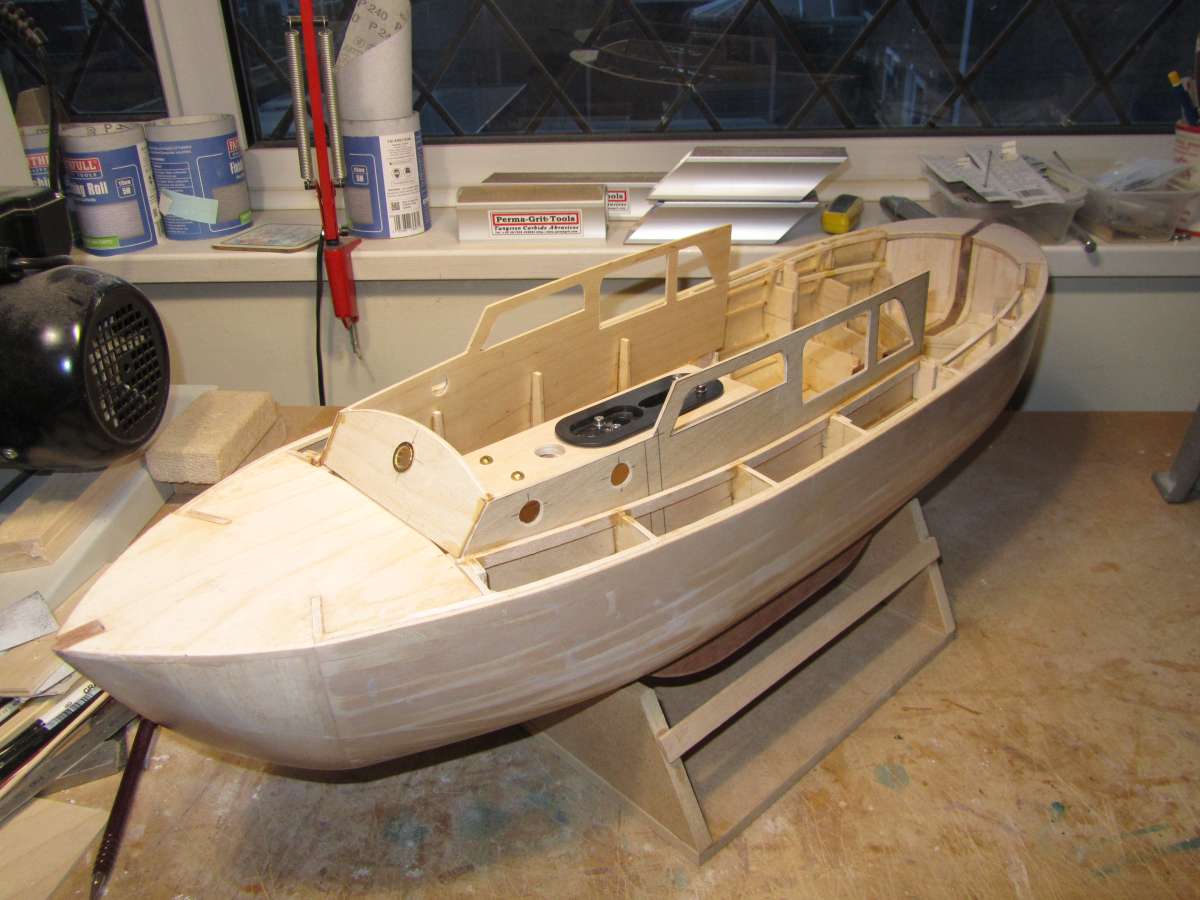
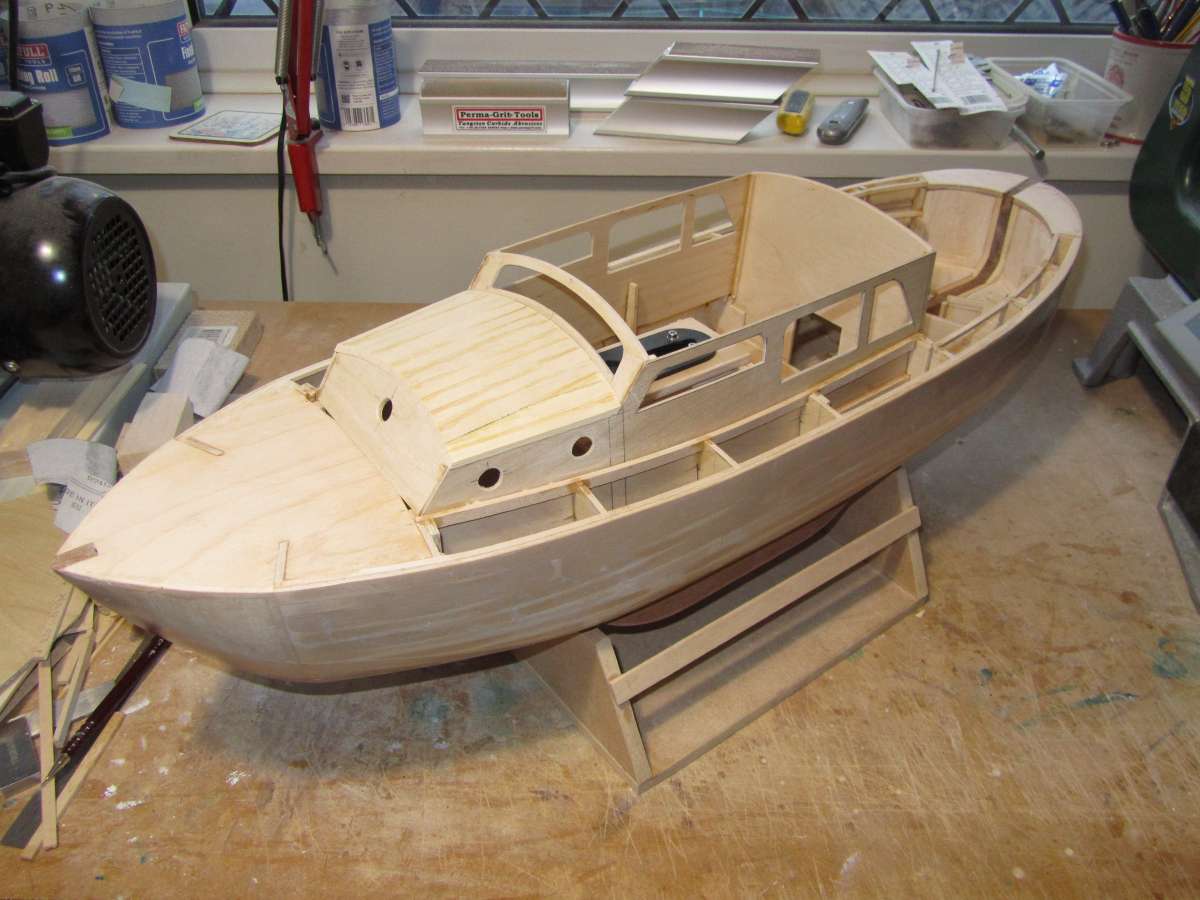
                                                    Returned to the superstructure and glued the cabin sides in place after drilling the holes for the portholes, then made the front screen for the forward cabin and after fixing the upper keel support whilst I have relatively good access glued the screen in place.

                                                    Thanks to Colin again for recommending the low odour superglues as I’ve been using them a lot on this build and as you can see the tabletop “workmate” is getting plenty of use as well.

                                                    Superstructure 1

                                                    Superstucture 2

                                                    Superstructure 3

                                                    #127164
                                                    Chris Fellows
                                                    Participant
                                                      @chrisfellows72943

                                                      Progress has stalled somewhat lately. Mainly due to having to replace the washing machine as mentioned on Ray’s thread which includes redecorating whilst I have good access. I’ve also had painful wrists for a couple of weeks which isn’t helping.

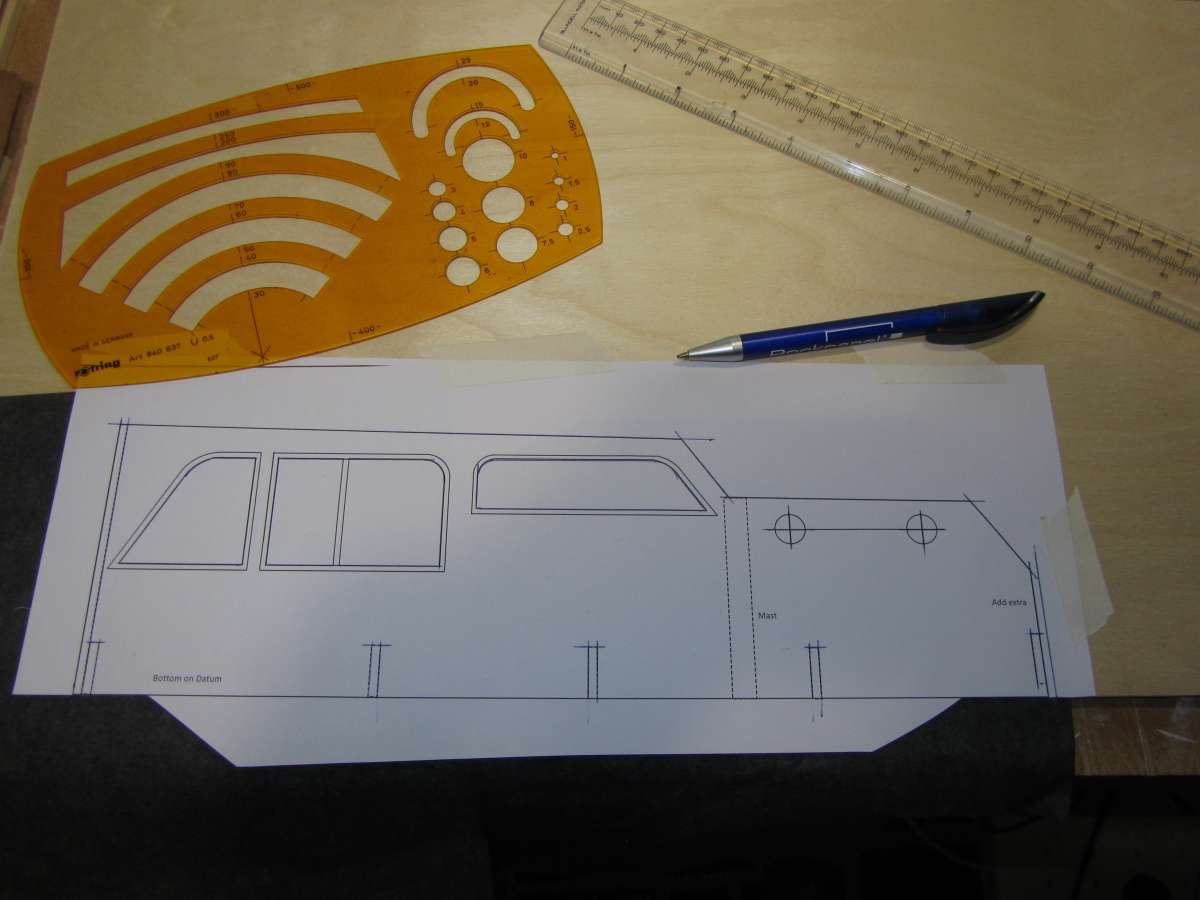
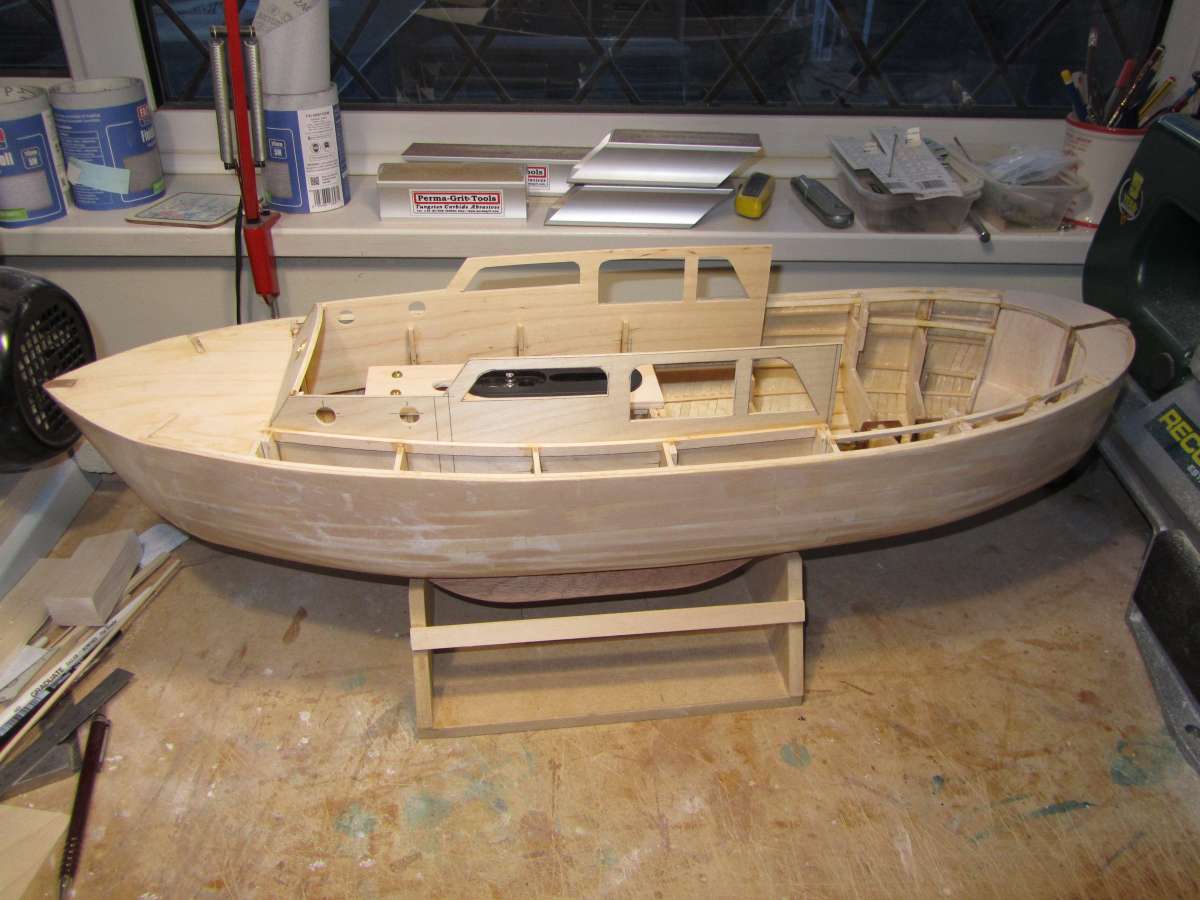
                                                      Anyway I’ve built the roof for the forward cabin – this has been made removeable if access is required at anytime but will be held in place by the mast. Also made and glued the rear cabin wall in place and made a template for the cockpit floor which will utilise some of the etched planked ply I have left.

                                                      Can’t make the rear cabin roof yet as I’ve run low on 3.2 x 9.5mm bass strip – this will also be removable.

                                                      Just waiting for an order from SLEC which includes ply etc. for future builds.

                                                      Superstructure 7

                                                    Viewing 25 posts - 126 through 150 (of 181 total)
                                                    • Please log in to reply to this topic. Registering is free and easy using the links on the menu at the top of this page.

                                                    Code of conduct | Forum Help/FAQs

                                                    Latest Replies

                                                    Home Forums Build Blogs Topics

                                                    Viewing 25 topics - 1 through 25 (of 25 total)
                                                    Viewing 25 topics - 1 through 25 (of 25 total)

                                                    View full reply list.