Fairey Huntsman 31

Fairey Huntsman 31

Home Forums Build Blogs Fairey Huntsman 31

Viewing 14 posts - 151 through 164 (of 164 total)
  • Author
    Posts
  • #126986
    Philip Oxley
    Participant
      @inonowt

      Hi.

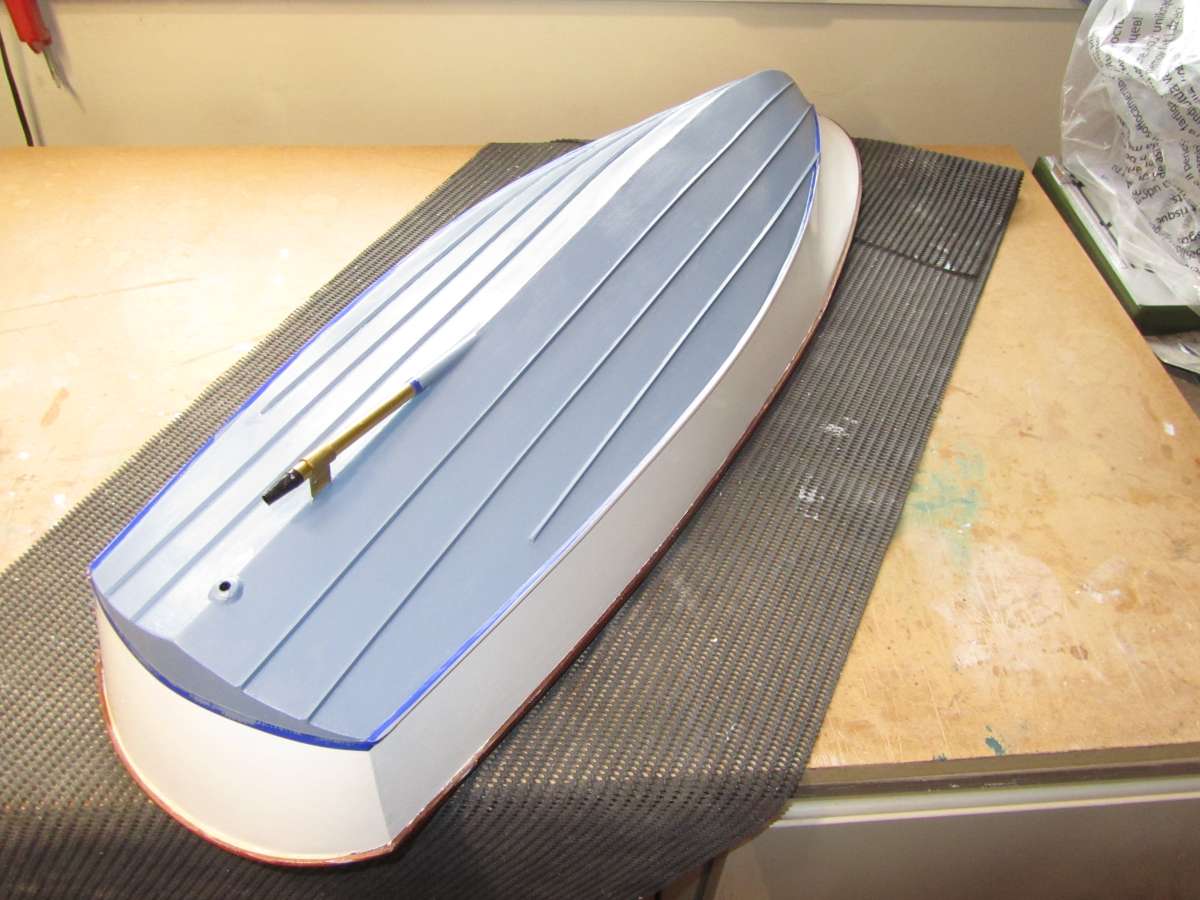
      I’ve been slowly working on the Slec Huntsman since August and the hull is complete and awaiting the fibreglass covering.

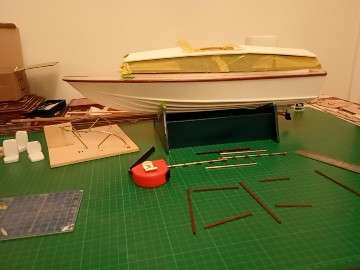
      IMG_20251212_125024700_MFNR[1]

      IMG_20251208_130957872_MFNR[1]

      IMG_20251208_131108433_MFNR[1]

      One or two issues I had along the way which thought I would share.

      The bottom and side skins for the hull in the kit were not cut as pairs, and as one side of the ply was rougher than the other, this meant different textures on each side of the boat.  The grain is filled and fibreglassed of course, but I gave feedback to Slec for their information.  Without asking, they replaced the pieces free of charge.  This allowed me to select them in pairs to get consistent grain.  Well done, Slec.  Incidentally they replaced the complete sheets of parts containing the bottom and side skins, giving me other spare parts.

      Progressing through the build, I found it difficult to shape the chine stringers between frames 9 and 10 as they need to be faired into the curve of frame 9 from the straight edge of frame 10.  Very frustrating but I got somewhere near it eventually.  A gouge would have been useful, but I don’t have one.

      IMG_20251205_172348426_MFNR[1]

      In advance of fitting the skins, I put doublers on each side of the frames as this gives a better glue area for fixing.  On fitting the skins, it turns out that the skins don’t finish on a frame, so I also put doublers between the skins for the same reason.

      IMG_20251212_125032229_MFNR[1]

      From the spare parts Slec had sent, I was able to add a second frame 9 behind the original allowing me to screw the skin down to the curve of frame 9 while the glue set.

      The front skins 19, were longer than shown in picture 20 of the picture instructions, so had to be cut.  Since I was happy with the bottom skins at frame 9, I decided to do away with the balsa blocks between 9 & 10 and use spare parts from Slec to make skins with the grain running parallel to the chines.  This meant I had to cut away some of the bottom skins which were glued over the whole of the chine, to provide edge support for the replacement skins.  I steamed the skins and then screwed them to frame 9 to get the curve.  I only used balsa for the bow in front of frame 9.

      I’ve filled and rubbed down and coated the outside 2 coats of Eze-kote and painted and Eze-coated the inside.  In hindsight, painting the inside might have been a little easier in stages at earlier points as once the hull was complete, there were some areas where my paint brush wouldn’t go.

      I’ve pre fitted the running gear which fits snugly.  I would like to fit a water scoop and found an old Rip-Max one on Ebay.  The same as is fitted to my Hornet.  I don’t think there’s enough space between the prop and the rudder though, and I would have like to have had twin outlets on the transom but can’t think of a suitable way of mechanically fixing them to the transom, or the tube to the outlets.  Never mind.

      Best wishes.

      Philip

      #126988
      Colin Bishop
      Moderator
        @colinbishop34627

        Philip,

        Good to see things ar progressing well. I don’t recall having the problem with the skins you describe.

        Carving the bow blocks was a bit tricky to get them right and I suspect I may have taken off a bit too much which could account for the bow down attitude of my boat at rest.Dave Milbourn would have used the bopw blocks to avoid the need for any steaming and screwing which beginners might find a problem.

        I didn’t put doublers on my side skins but I did add one where the bottom skins join.

        Do be careful when constructing the cockpit and follow the instructions exactly otherwise things can go wrong!

        Colin

        #126992
        Philip Oxley
        Participant
          @inonowt

          Thanks Colin.

          I’m learning as I go along, the interaction of the parts and my own build skills.  I enjoy the problem solving.  Never done the fibre glassing before so that will be a challenge for me.  Still, for everything there is a first time.

          I’ll take your advice re the cockpit, thanks.  Not sure about planking the roofs.  Never done that before either and tapering the pieces could prove difficult as I have no means of cutting them other than with a craft knife.  Still, I have a cunning plan.

          Regards

          Philip

          #126993
          Colin Bishop
          Moderator
            @colinbishop34627

            The roof curvature is not great. I just butted them up and sanded them down and it worked OK. You can always  add a bit of filler if needed as they are to be painted.

            I did find getting the planking and deck surface pattern a bit tricky.

            Colin

            H31B (26)

            Colin

            #126994
            Tim Cooper
            Participant
              @timcooper90034

              Colin
              <p style=”text-align: left;”>I did the same with the roofs. Just butted together and carefully sand. Dave suggested putting pencil lines across the roof, then sanding till they disappeared. Then repeat process until you get the curve needed. I used a light filler as well. The roofs are painted anyway.</p>
              Tim

              #127217
              Philip Oxley
              Participant
                @inonowt

                Hi all.

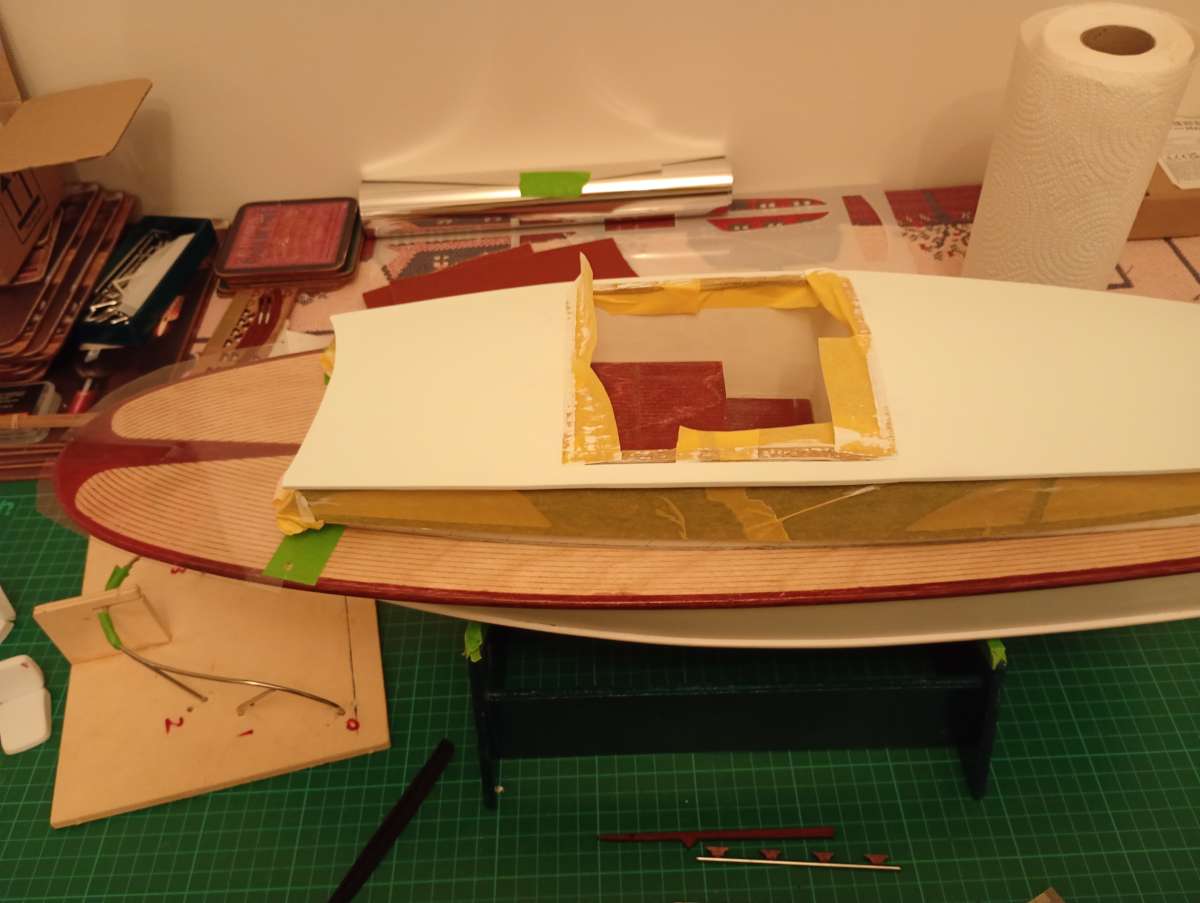
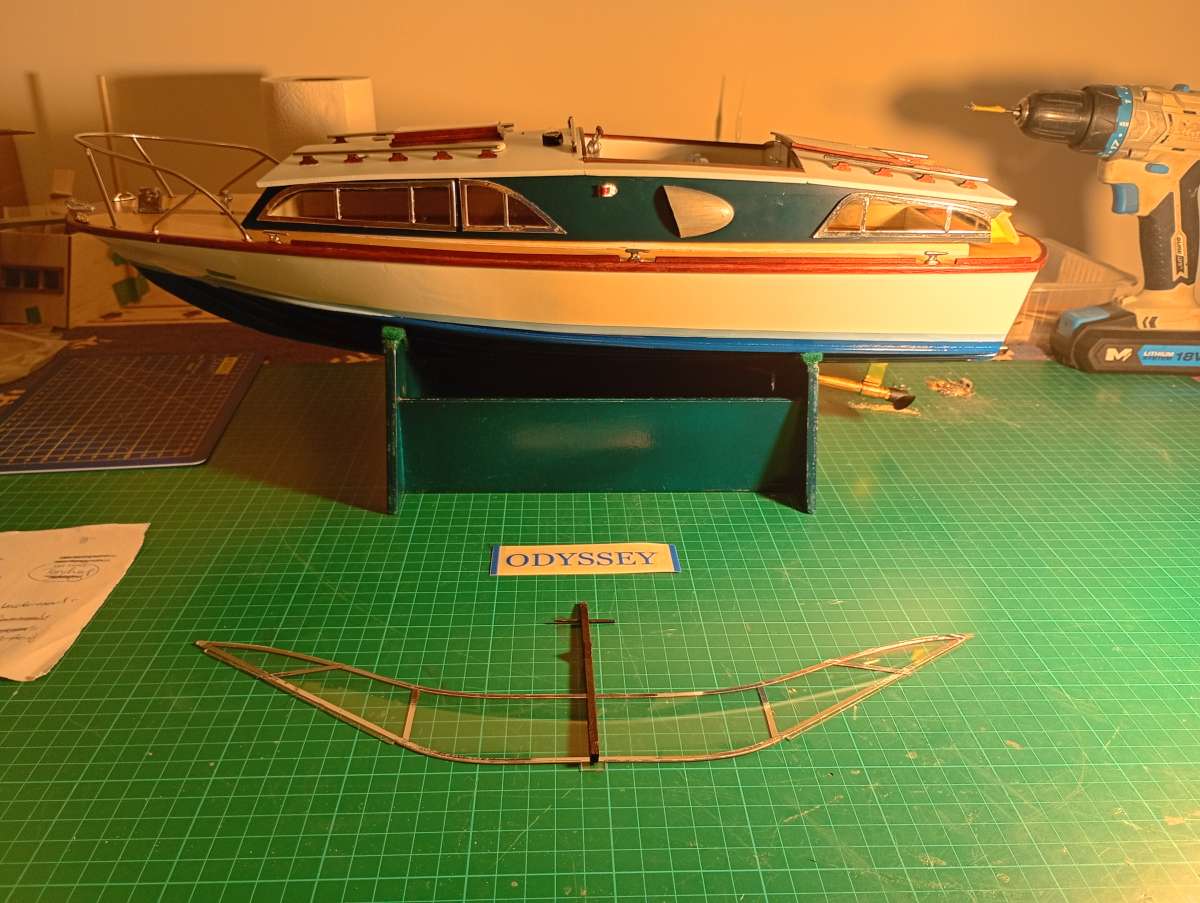
                Just a quick update on my SLEC Huntsman.  The superstructure is on its way to being complete. Just another coat of paint and a couple of coats of varnish.  Don’t worry, the side aren’t yellow, that’s masking tape.  It’s a blue green.

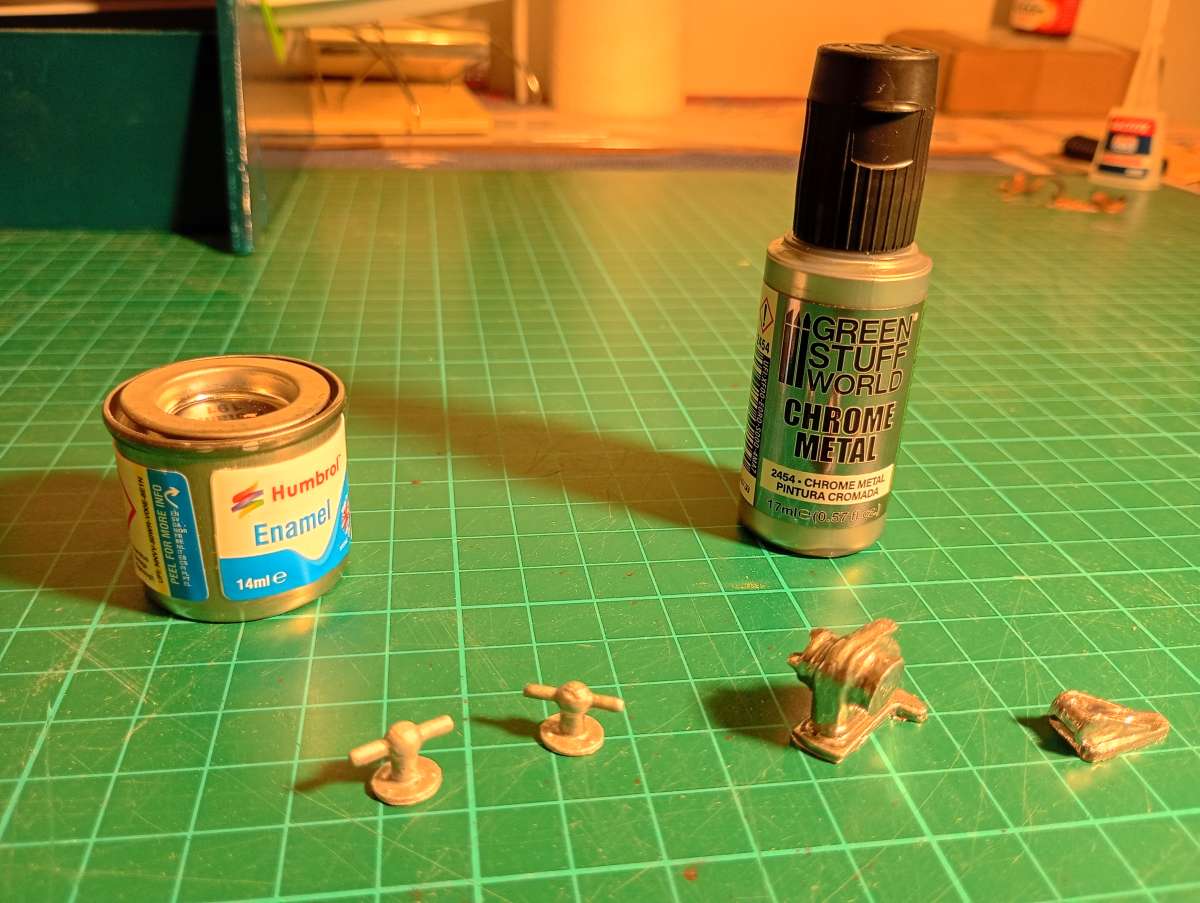
                Then the deck fittings, windscreen, windows and bits and pieces.  I wasn’t over impressed with the white metal fittings kit and less impressed with Humbrol 192 chrome enamel.  I’ve ordered some chrome metal paint from Green Stuff World online to see if it any better.  I’ve also tried to source the parts online but can’t get them all chrome/nickel plated, and then not all from one source.  Frustrating.

                Aching to get it finished now as I have bought the Sarik MTB 379.

                Thanks to all for your comments and advice.


                Philip

                IMG_20260129_215109043_MFNRIMG_20260129_215118640_MFNR

                #127219
                Philip Oxley
                Participant
                  @inonowt

                  <p style=”text-align: left;”>Ps.</p>
                  I’ve also got to top coat the hull.  2 colours, but I’m waiting for paint. 1k synthetic poly spray cans.  It’s frustrating having to wait for deliveries, but there no models shops in Essex.

                  Philip

                  #127221
                  Ray Wood 3
                  Participant
                    @raywood3

                    Hi Phillip,

                    Not strictly true, Colin Bliss Models in Maldon has most things 🙂

                    We are very fortunate in Kent having :-  TJD’s, Model World, Weston UK, Rapid RC.

                    Only a hop over the bridge.

                    Regards  Ray


                    #127226
                    Philip Oxley
                    Participant
                      @inonowt

                      Hello Ray

                      I’m bang in the middle between Colin Bliss and TJD.  I spoke to Colin last year about RC aeroplanes for my Grandson.  He was very encouraging.  I can’t see to make head not tail of his website though.  Perhaps I’ll speak to him again and ask him about it.

                      Either would be good for a reasonable sized order, but they’re both a fair trek just to get one or two bits.

                      #127230
                      Philip Oxley
                      Participant
                        @inonowt

                        The chrome metal paint arrived today.  Attached photos show bollards in Humbrol chrome and the bow roller and windlass with the chrome metal.  I think the difference is noticeable, though having painted them first with the Humbrol could have been beneficial.

                        Philip


                        IMG_20260131_184737787_MFNR_HDR

                        #127575
                        Philip Oxley
                        Participant
                          @inonowt

                          Hi all.

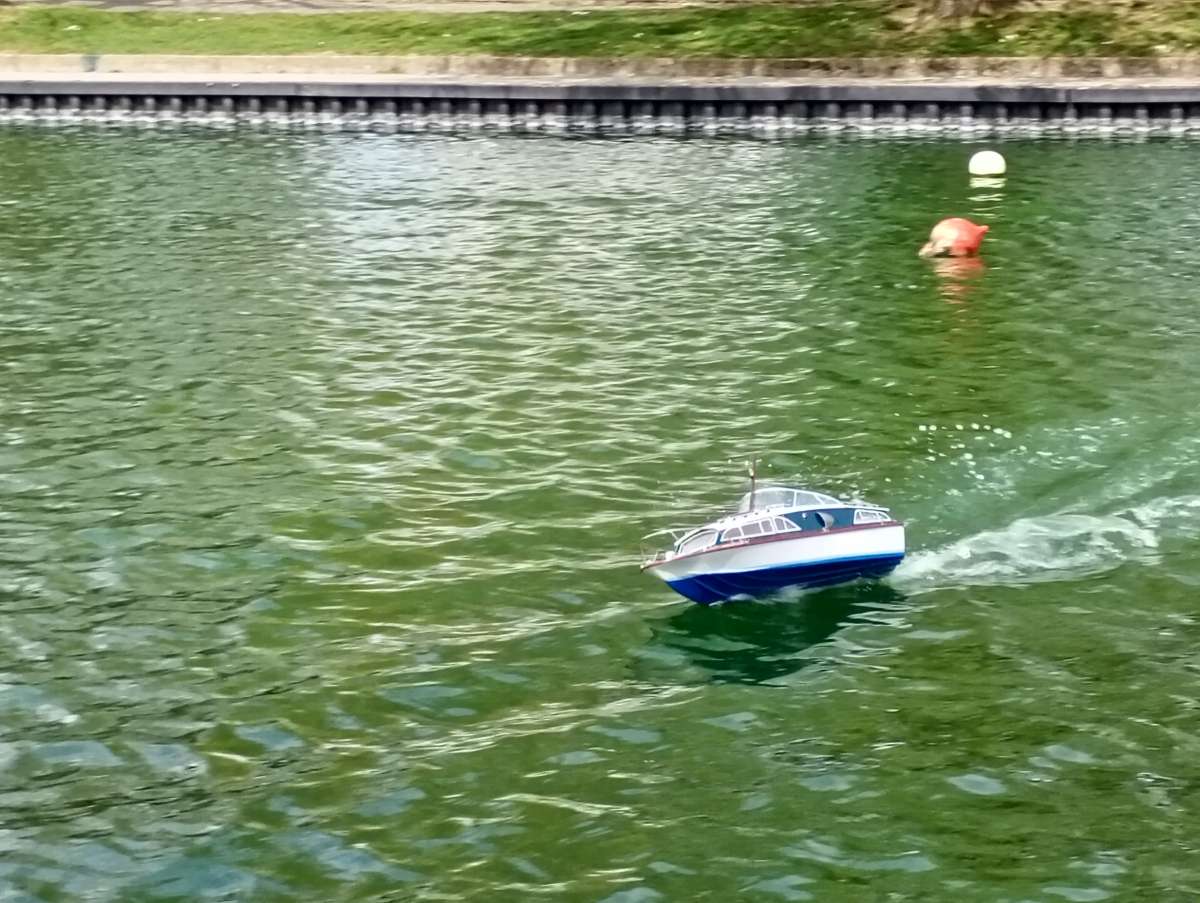
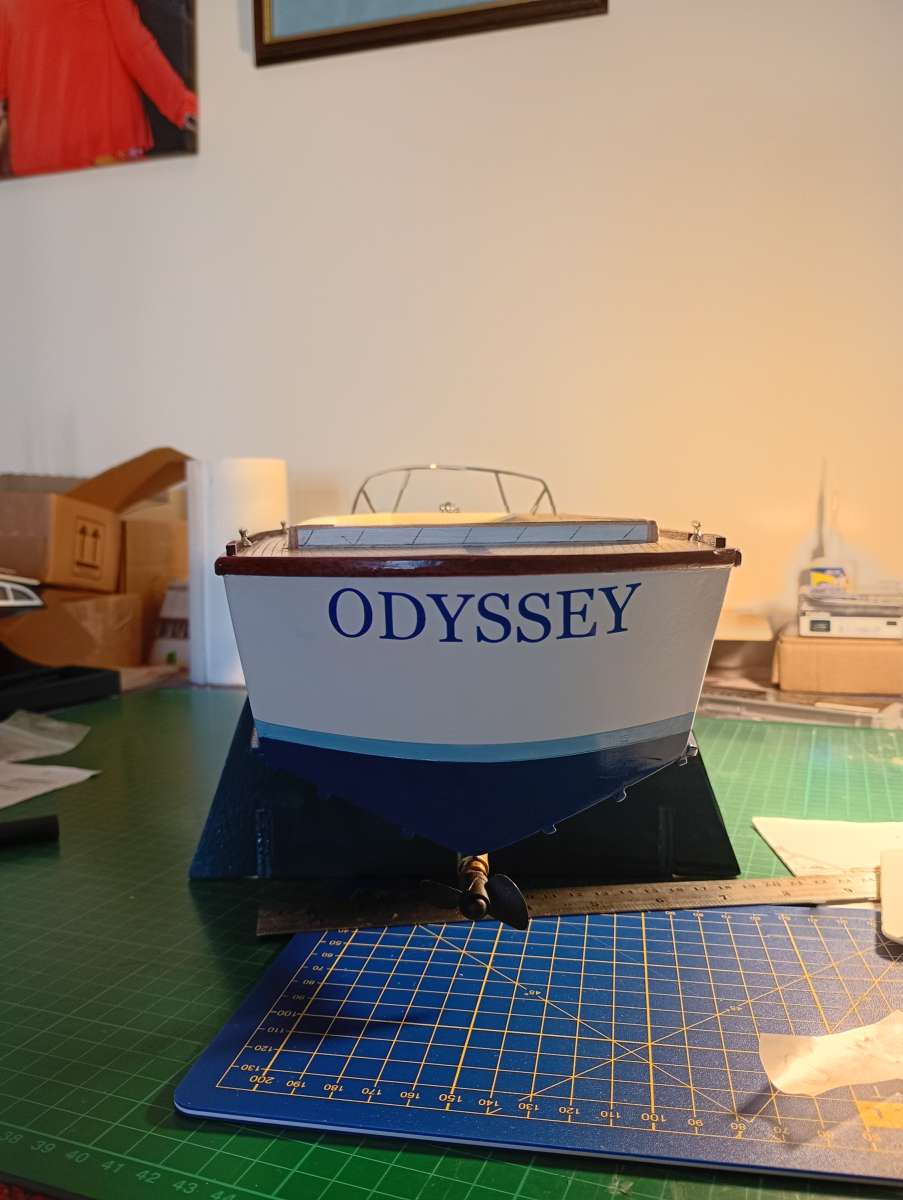
                          Finished the Huntsman and launched it Thursday.  It went really well but heeled over on the turns so I adjusted the rudder connection and cut the blade down.
                          <p style=”text-align: left;”>It looked really good on the water and I’m happy with it.  More to the point my grandson was happy with it.  It got a few nice comments from passers by too, which is always nice.</p>
                          <p style=”text-align: left;”>Best wishes.</p>
                          <p style=”text-align: center;”>Philip</p>
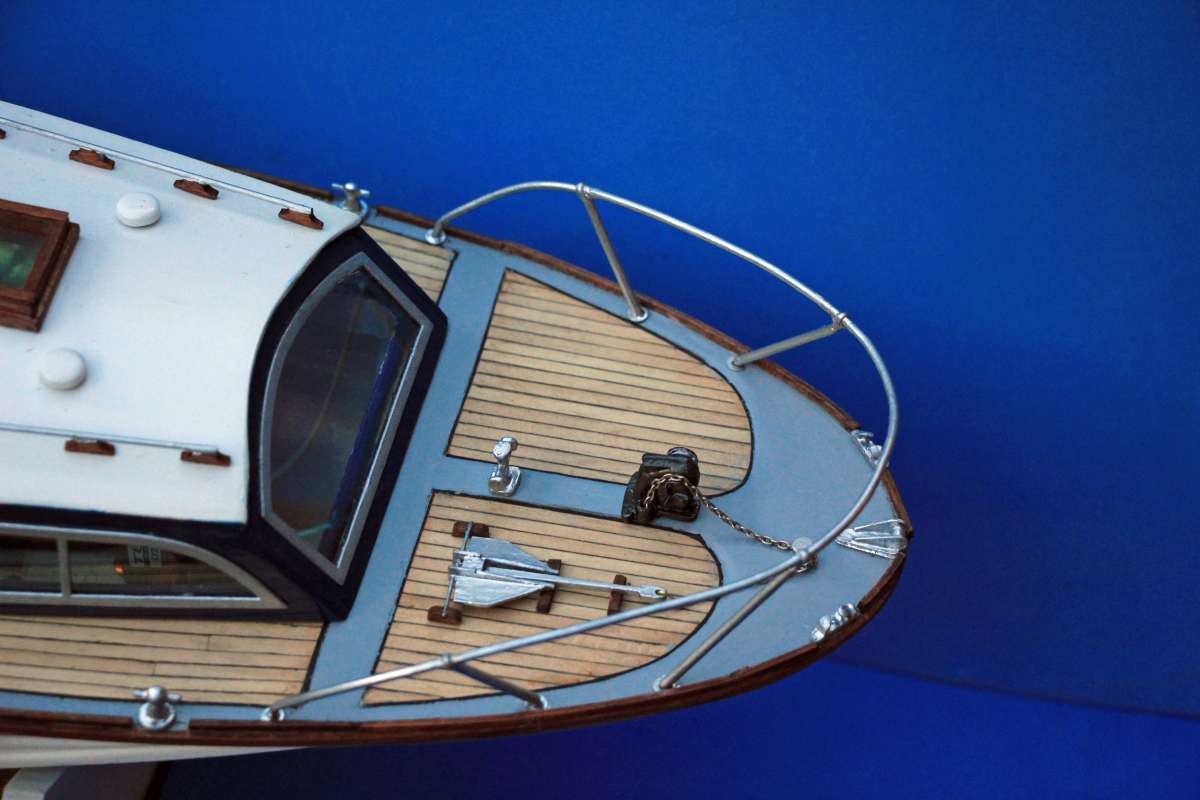
                          <p style=”text-align: right;”>IMG_20260409_133853244_SRIMG_20260314_095805042_MFNR_HDRIMG_20260313_180149744_MFNR_HDR</p>

                          #127578
                          Colin Bishop
                          Moderator
                            @colinbishop34627

                            Philip,

                            You have made an excellent job of it. They are very nice looking models.

                            Yes, mine was the same, almost on its side in a fast turn. It’s the hull shape. Dave Milbourn did stress that you only need a bit of rudder angle. The Swordsman is much more stable.

                            Colin

                            #127585
                            Philip Oxley
                            Participant
                              @inonowt

                              Thank you Colin.

                              I particularly like the pulpit rail.   It’s stainless steel rod.  I took it, on the jig, to a jewellery who laser welded the joints.  For the princely sum of £20.

                              #127976
                              Chris Fellows
                              Participant
                                @chrisfellows72943

                                I keep saying that I’m going to finish my Fairey builds, or least get more of them on the water, before starting my two new projects (drawings completed) and to that end have dusted off the Huntsman 31.

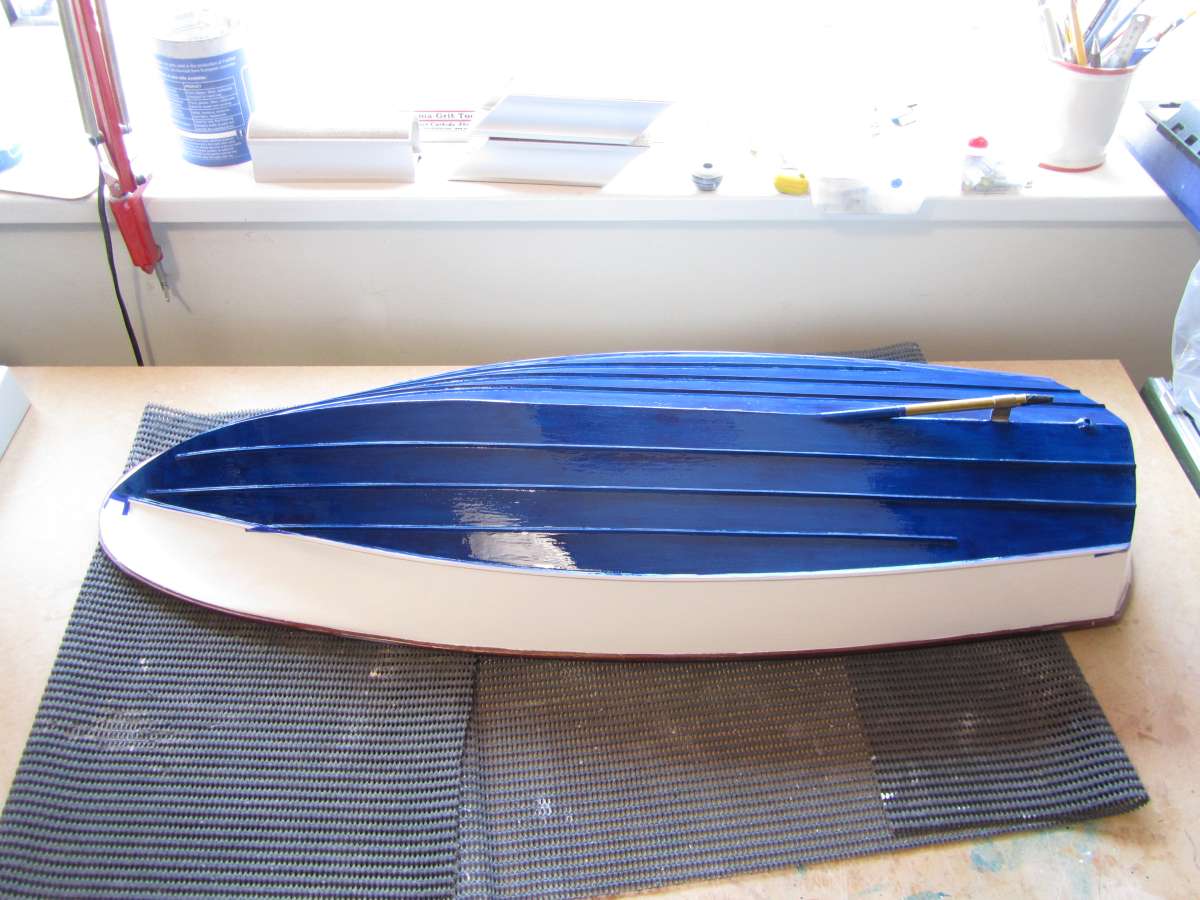
                                The hull sides were painted a few months ago and despite the hot weather (bit cooler today thankfully) I’ve managed to get a few coats on the bottom of the hull over the last few days.

                                Going to be competing with summer outdoor things as usual but any time I can make is going to be spent on painting. As well as the H31 that includes the Huntsman 28 superstructure, repainting the River Cruiser bottom in blue and a full paint job of the Swordsman and Fisherman.

                                Chris

                                Painting 3Painting 7

                              Viewing 14 posts - 151 through 164 (of 164 total)
                              • Please log in to reply to this topic. Registering is free and easy using the links on the menu at the top of this page.

                              Code of conduct | Forum Help/FAQs

                              Latest Replies

                              Home Forums Build Blogs Topics

                              Viewing 25 topics - 1 through 25 (of 25 total)
                              Viewing 25 topics - 1 through 25 (of 25 total)

                              View full reply list.