This is Spooky

This is Spooky

Home Forums Sailing Models This is Spooky

Viewing 25 posts - 51 through 75 (of 89 total)
  • Author
    Posts
  • #127386
    Ray Wood 3
    Participant
      @raywood3

      Hi Tim,

      Very good idea 🙂 just goes to show how vital a lathe is in everyday model building 🙂

      Mine is under mountains of other stuff I must clear out the workshop when I’ve finished the Chris Foss Phase 6 slope soarer, I hate kits because I have to read the instructions !!

      Regards  Ray

      #127392
      Tim Rowe
      Participant
        @timrowe83142

        HI Ray

        Let me know how you get on with the Phase 6.  I have one to build in storage somewhere.

        My lathe was a lucky second-hand buy because it came with lots of tooling including change gears.  Sometime I would like to add a four-jaw chuck.

        You should go back to posting on the Model Flying Forum with all your projects.

        Tim R

        #127394
        Tim Rowe
        Participant
          @timrowe83142

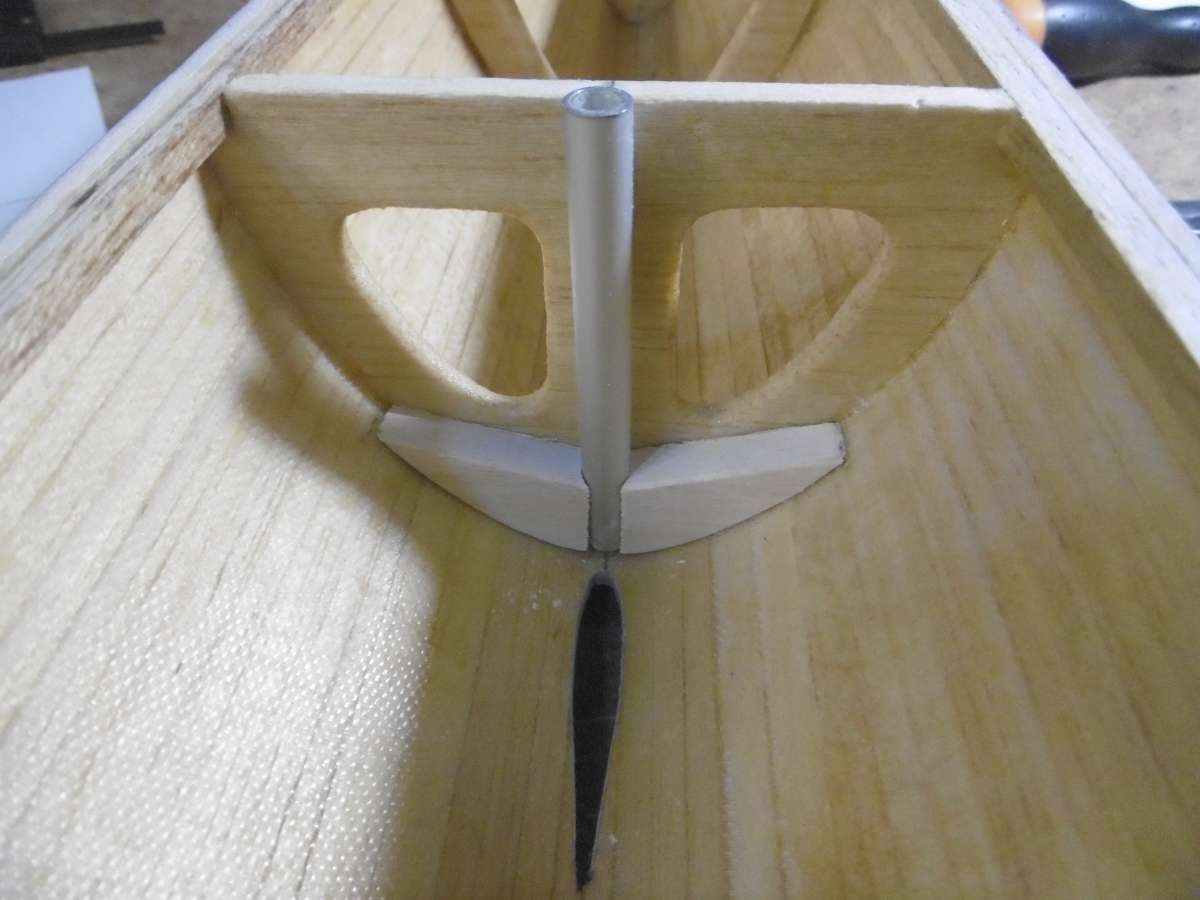
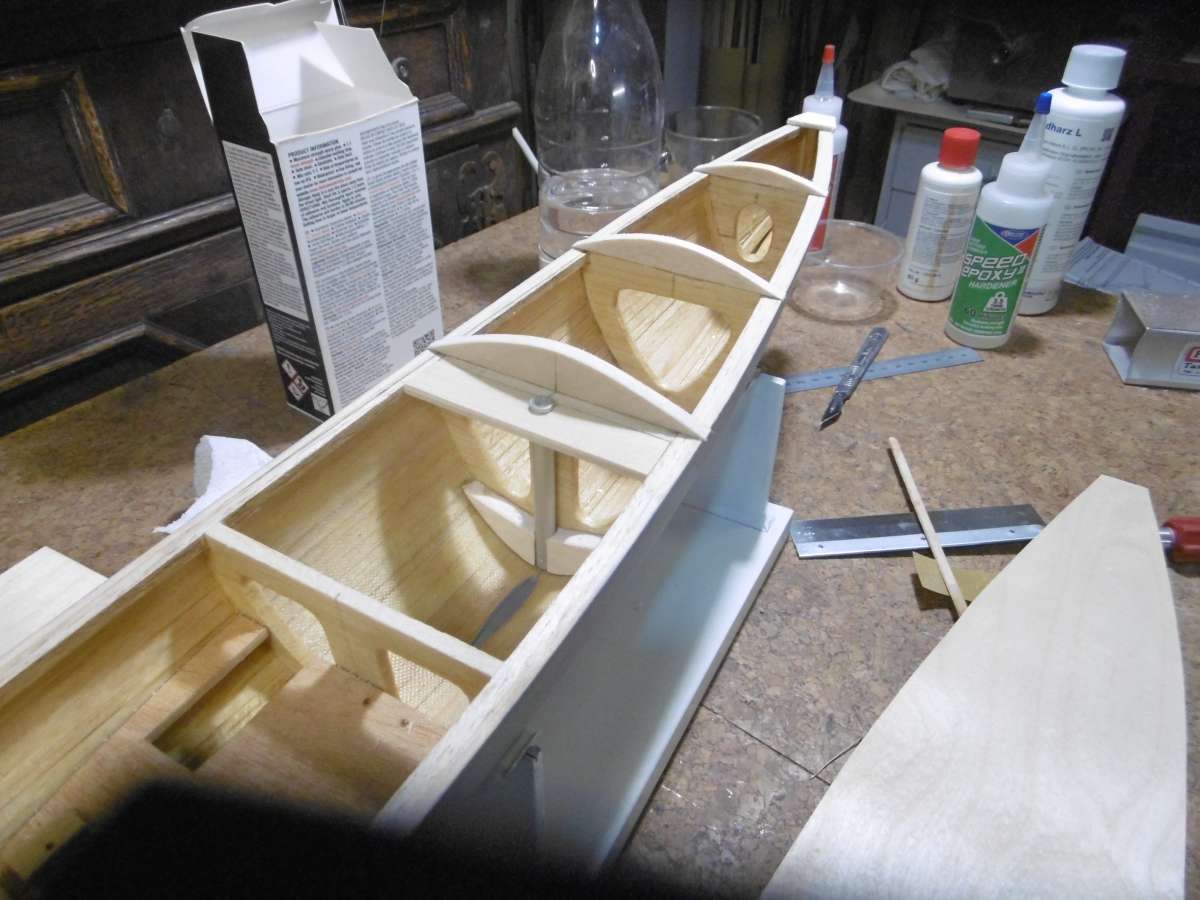
          Now for some tricky bits as the mast and keel have to line up correctly in 3 planes and I have to remember the slanting bulkheads.

          P1020824

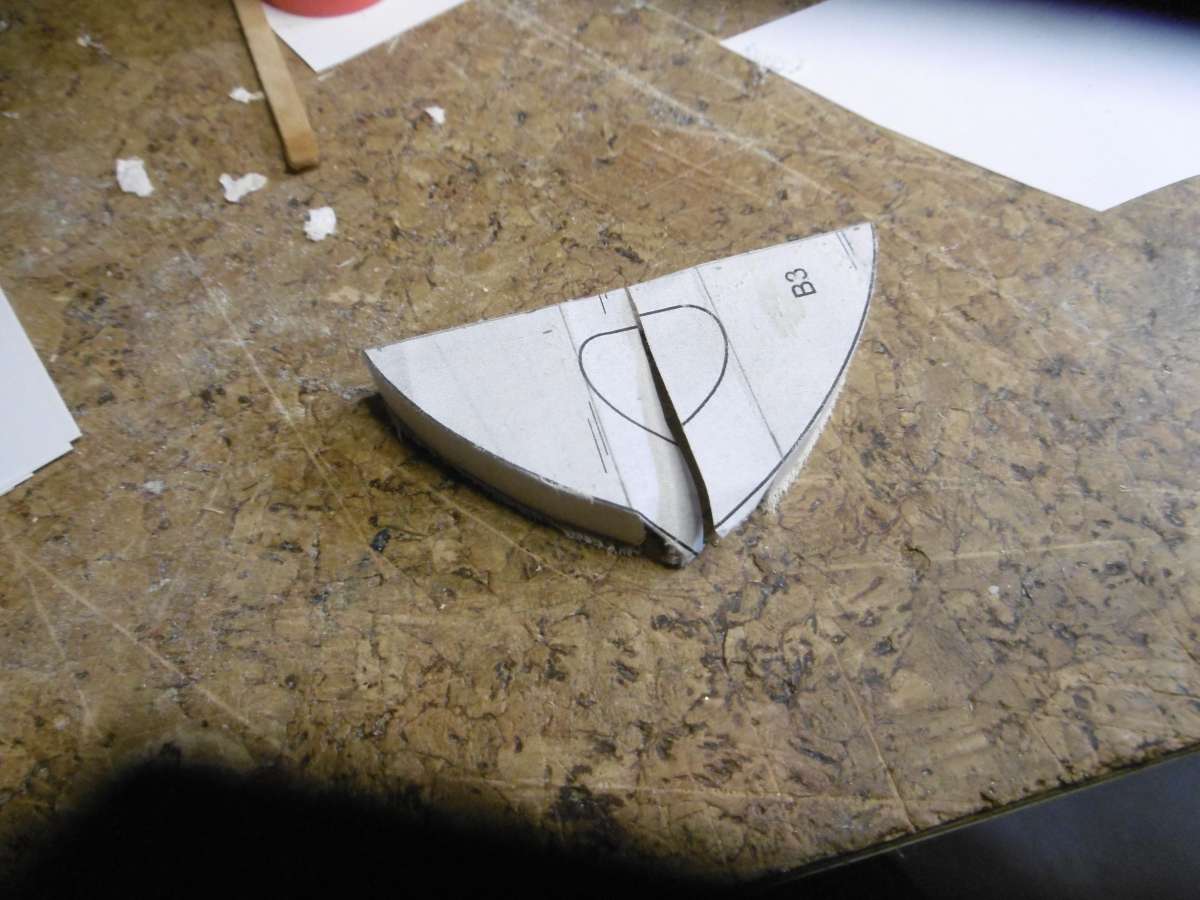
          Part of the appropriate B3 bulkhead was copied onto some 5mm balsa.

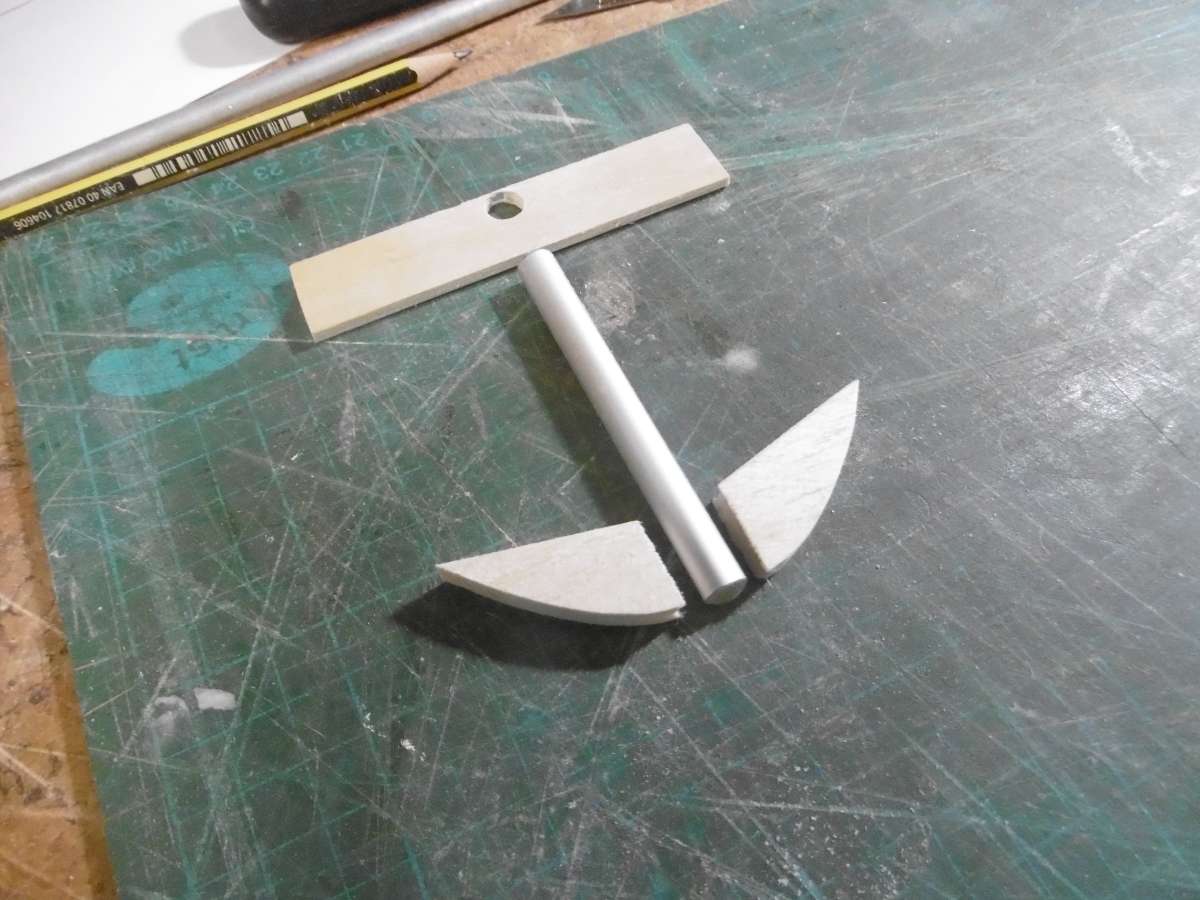
          To make some parts like this

          P1020825

          Then fitted to B3 but with the tube leaning forward by 1mm at the top to get the mast rake back to 2 degrees.

          P1020826

          All now ready to be encapsulated with epoxy to hold everything in place.  Ultimately the deck will secure the top of the tube.

          Tim R


          #127396
          Tim Rowe
          Participant
            @timrowe83142

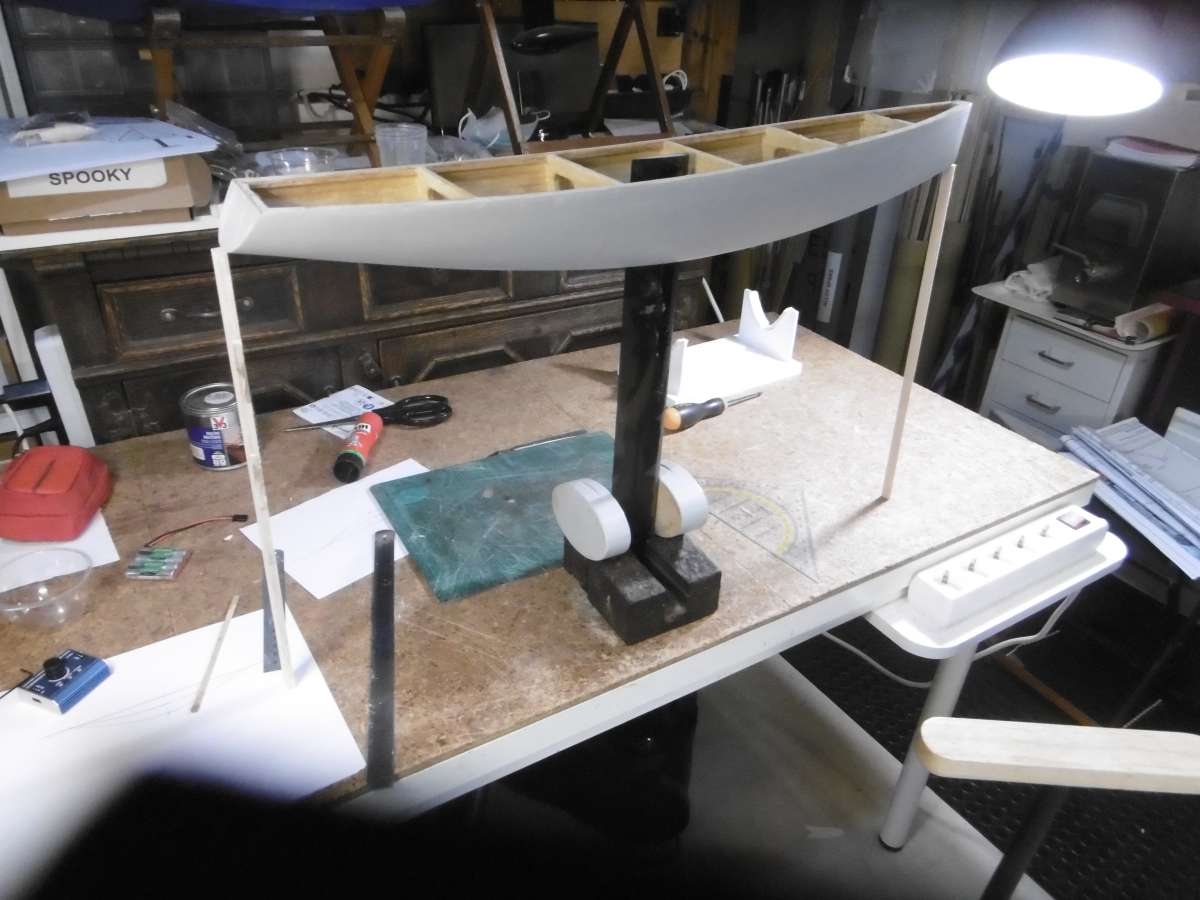
            With the mast angle now sorted out (within a degree or so) and the rake not being super critical it is time to get the keel sitting truly vertical as it is clearly designed to be.

            P1020827

            The keel was passed up through the slot in the hull and two sticks cut to the same length were placed under the bow and transom to put the boat on its actual waterline.  Whatever angle the keel came up through the boat would be the reference angle and this allowed me to trim the forward end of the keel box to be at the correct angle butting up against the mast socket for strength.  This solved the last of the waterline reference problems.

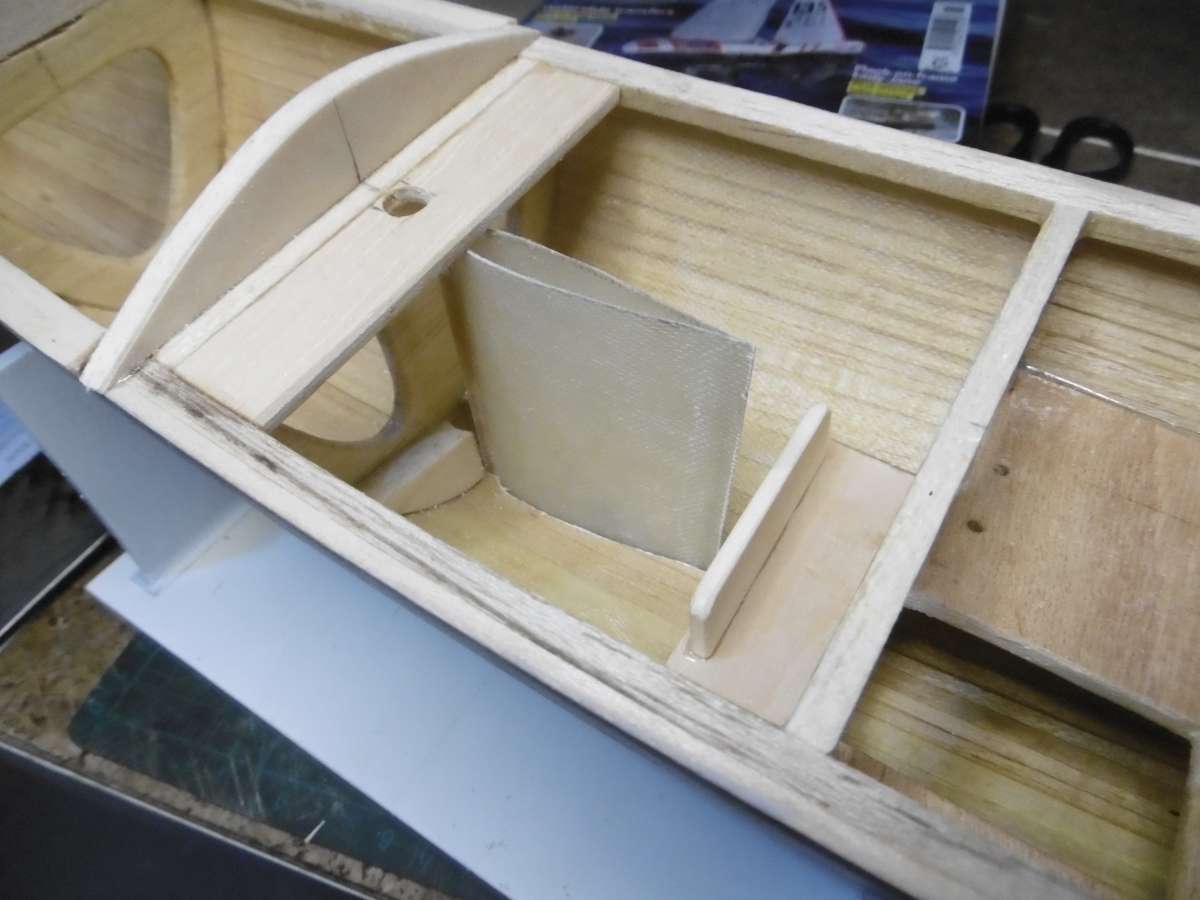
            P1020851

            Here is a dry fit of the keel box ready to notch the mast socket support plate and behind the keel box is the battery tray.  This position is a deviation from the plan and the normal DF65 battery location which is to one side.

            P1020852

            The keel box was made with some excess material that will be trimmed back flush with the hull once fully glued in place.  It is important that the keel box goes through the hull to full protect the balsa planks.  It also make stronger joint than simply resting on the hull internally.

            P1020863

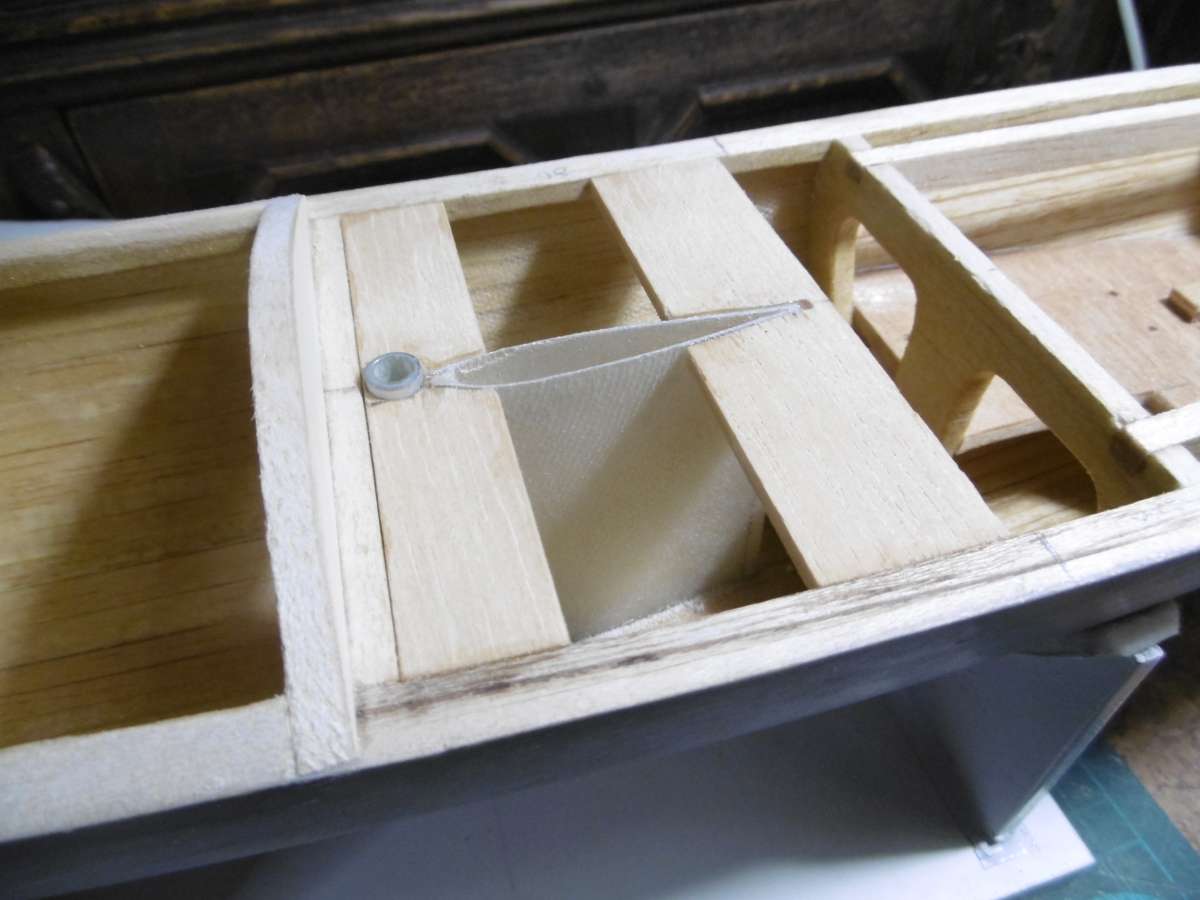
            Another deck plate was made in liteply to support the aft end of the keel box and locate it in the correct location.

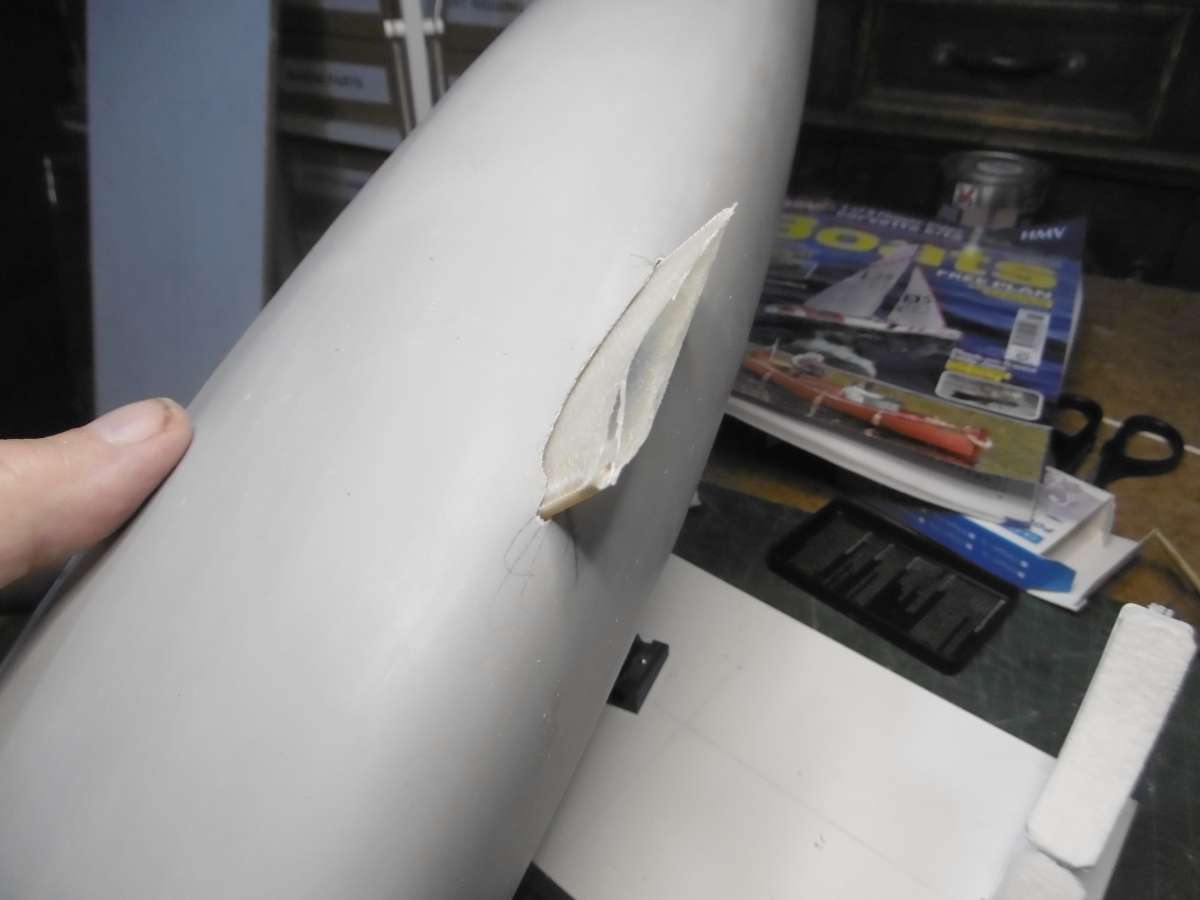
            P1020874

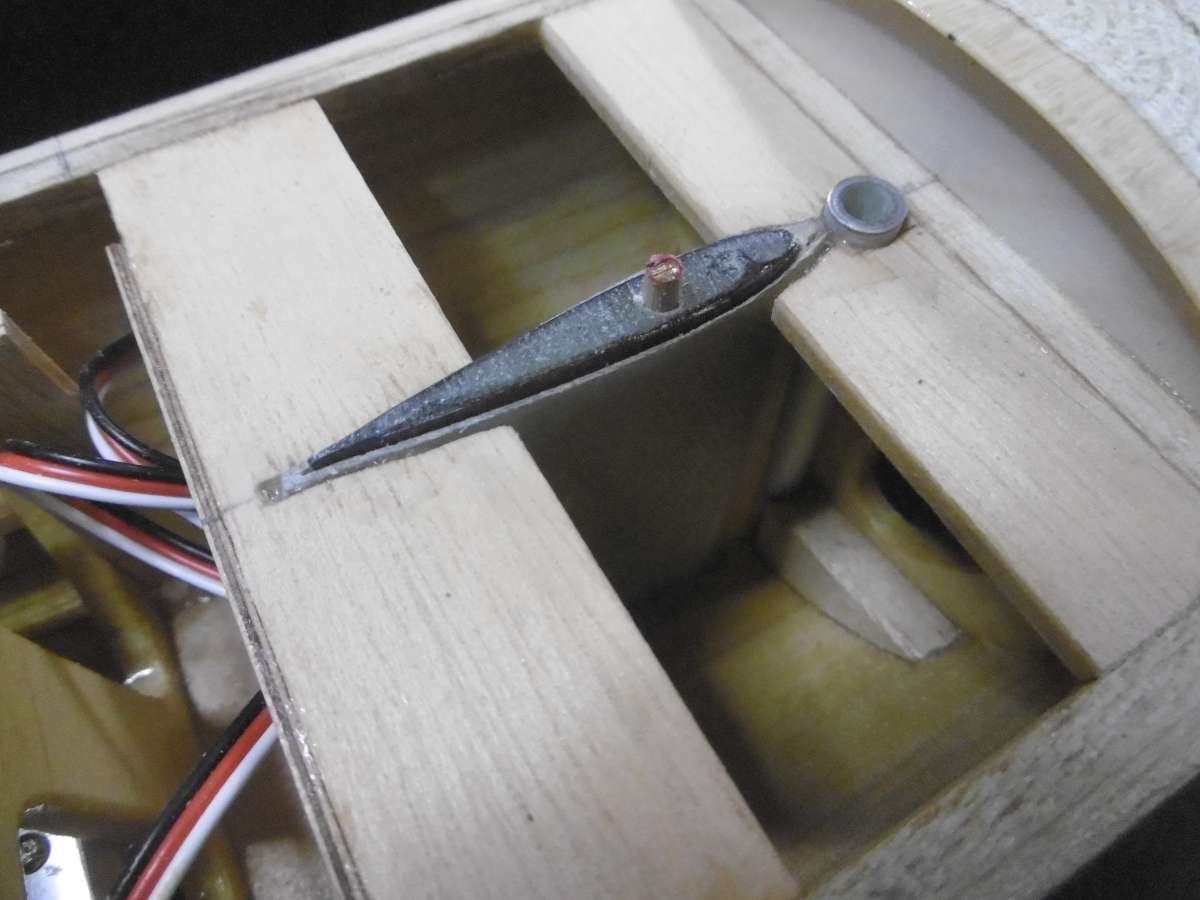
            Finally the fin was tested in situ.  The helicopter blade is carbon but with a foam core.  Some of this had to be dug out and filled with epoxy to give me something solid for the keel retaining bolt.

            With the hull now watertight it was time for a flotation test.  The centre of gravity of the bulb is not marked on the plan and anyway that would depend a bit on the shape of the lead.  A house move means that we now only have a shower. Great for checking deck leaks but not much else.  Fortunately Evelyn’s mum, not too far away has a bath and the testing came with a supper!

            With an open hull (not yet decked) it is easy easy to find the longitudinal centre of buoyancy.  You just have to push the hull down with a finger or stick if it is a bigger boat.  Where your finger pushes down to put the boat on the waterline this is the centre of buoyancy.  The boat should have the servos, winches, battery and any significant weights in place for the test.  The centre of buoyancy was very close to the mast socket so we could ignore its affect on the trim and the deck is over the whole length so that too can be ignored for this part of the test. We now know that the centre of gravity of any significant added weight, which is this case is the bulb, must be placed under the position we have marked for the centre of buoyancy.  If it doesn’t, the trim will be wrong.

            Bear in mind this is a racing boat so we want all the weigh low down in the keel.  If it is a cruising boat or scale model the trim can always be adjusted with trimming ballast.

            Now we need to know how much weight was needed to get down to the waterline.  I have loads of bits of lead that came off a sinker line of an old fishing net.  It doesn’t matter what weights you use but they should be small so that you can distribute then around the centre of buoyancy or wherever convenient to put the boat back down on its marks.  We now know what weight the bulb should be once we have taken off the weight of the fin and any other significantly heavy items that still have to be fitted.  I made a small allowance for the mast, booms and the deck.  I ignored the weight of the sails and the cordage.

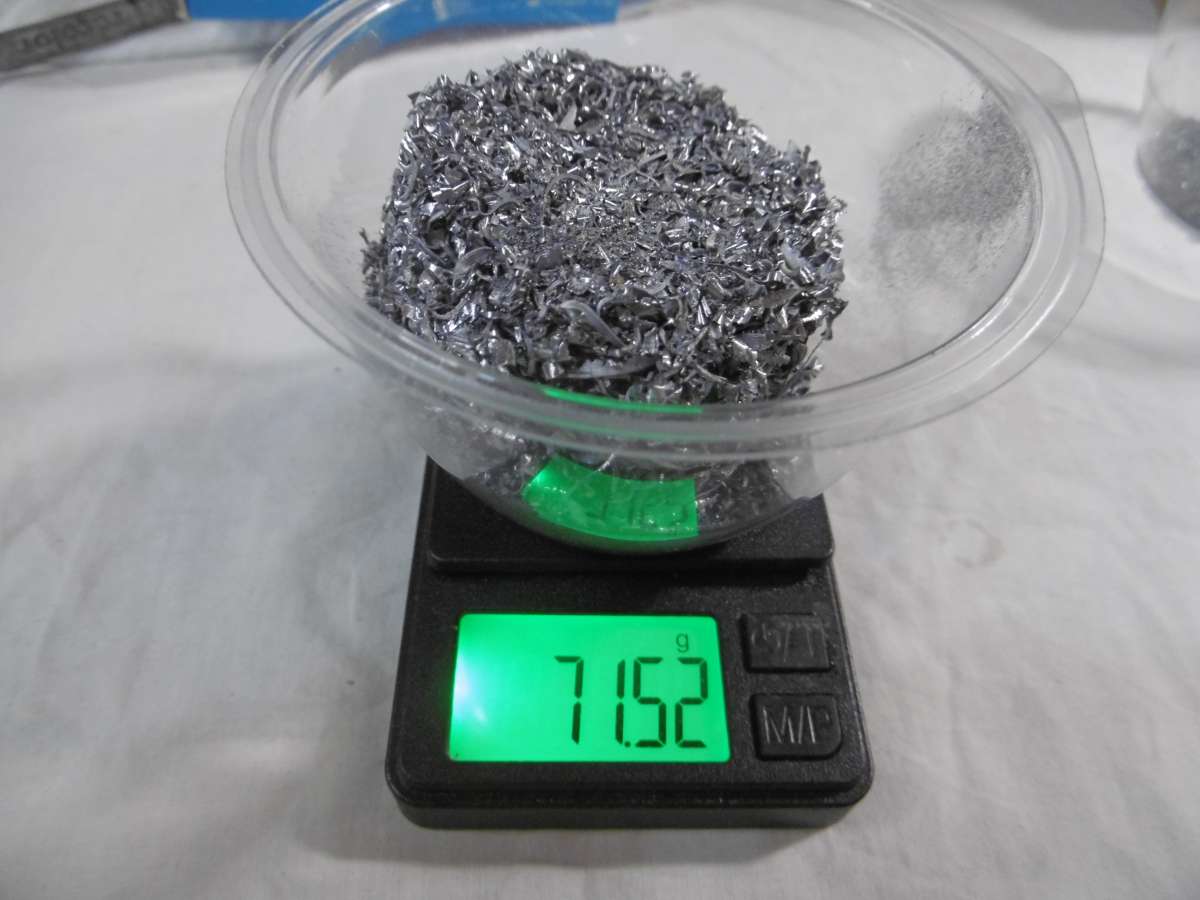
            It turned out that my bulb needed to be 642 grams instead of the 714 grams as supplied by SailsEtc.

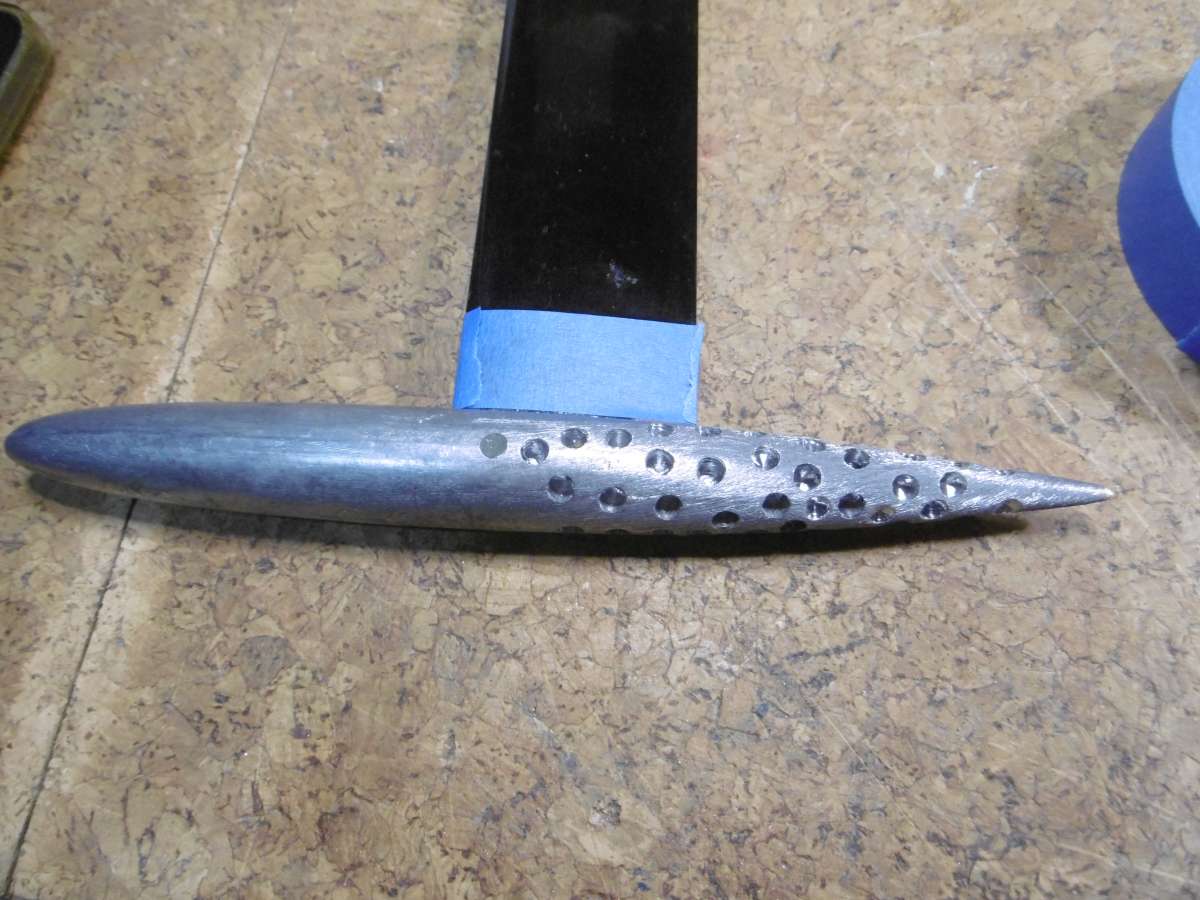
            The centre of gravity of the bulb was found by hanging it in a loop of string but it was too far back if I was to locate the fin in the pre-cast slot in the lead.  The bulb is best lightened out by drilling in order to move the centre of gravity of the bulb as far forward as possible it had to drill out the rear end preferentially.  As there is less lead there anyway this was a bit of a challenge and the poor thing was peppered with holes.  Fortunately there is a brass rod going through the centre and the lead is hardened with 4% antimony.

            P1020864

            Here is my massacred bulb but I managed to shift the centre of gravity 10mm further forward and having the bulb a far forward as the slot would allow, I got the centre of gravity in the right place. Of course time will tell!

            I don’t have the bulb in an extreme position in relation to the bulb which I am happy about.

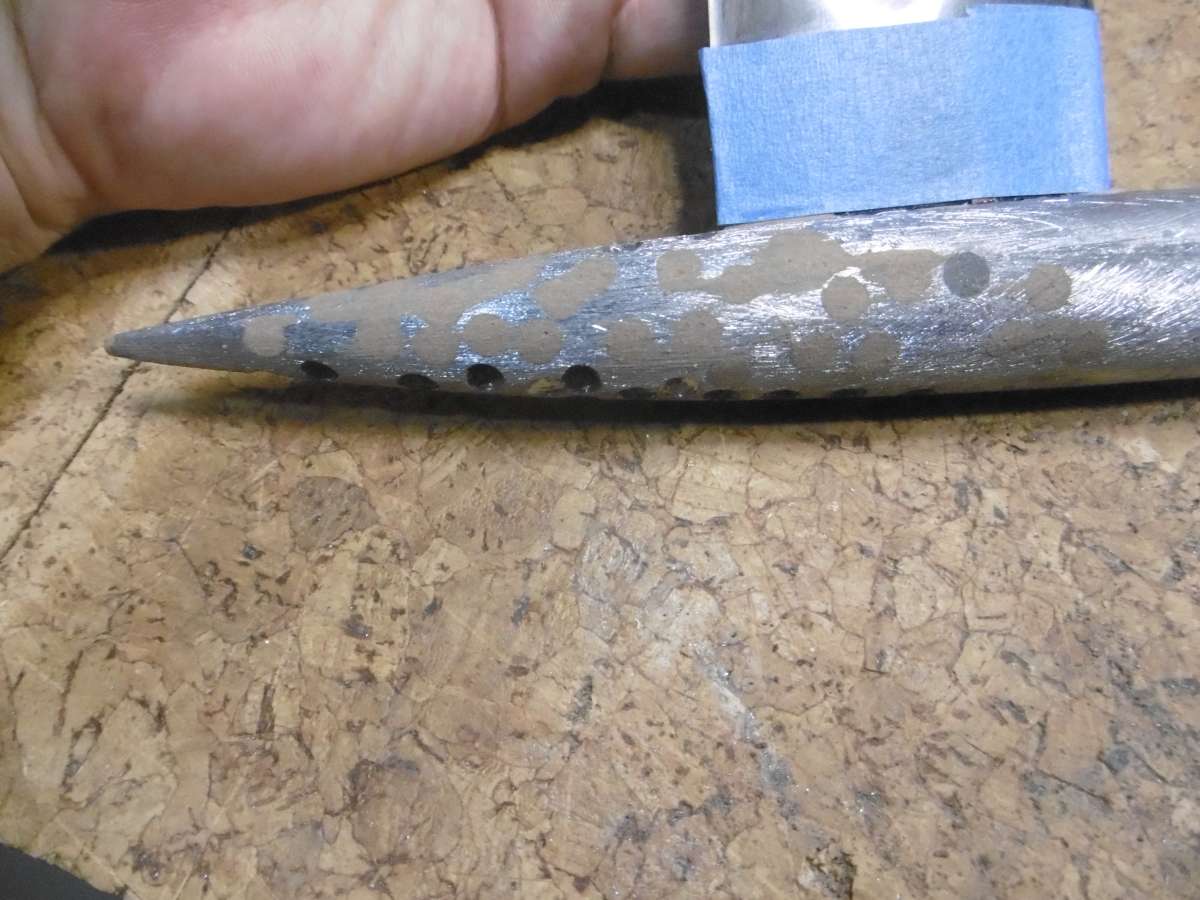
            P1020865

            Repairing the bulb with epoxy and micro-balloons.  Not to save weight but to make it easier to sand smooth.  Chris knows I hate unnecessary sanding especially on plywood!

            P1020891

            Proof of the pudding!

            The hull was built light so I managed to get a bit more weight in the bulb than the magazine prototype.  I expect my all up weight will be around 1.2 kg when finished and I  think this is similar to the DF65.  Maybe Ray can confirm.

            Tim R

            #127397
            Ray Wood 3
            Participant
              @raywood3

              Hello Tim,

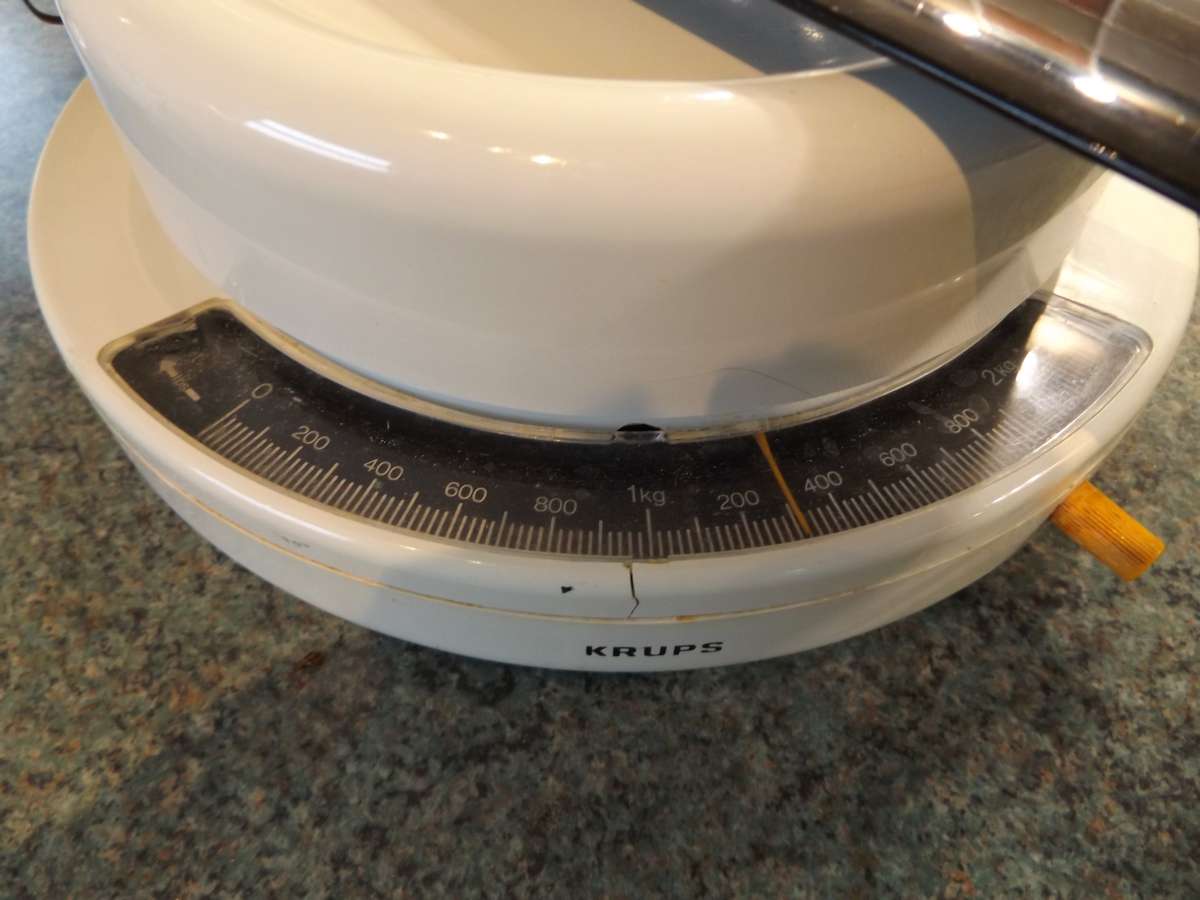
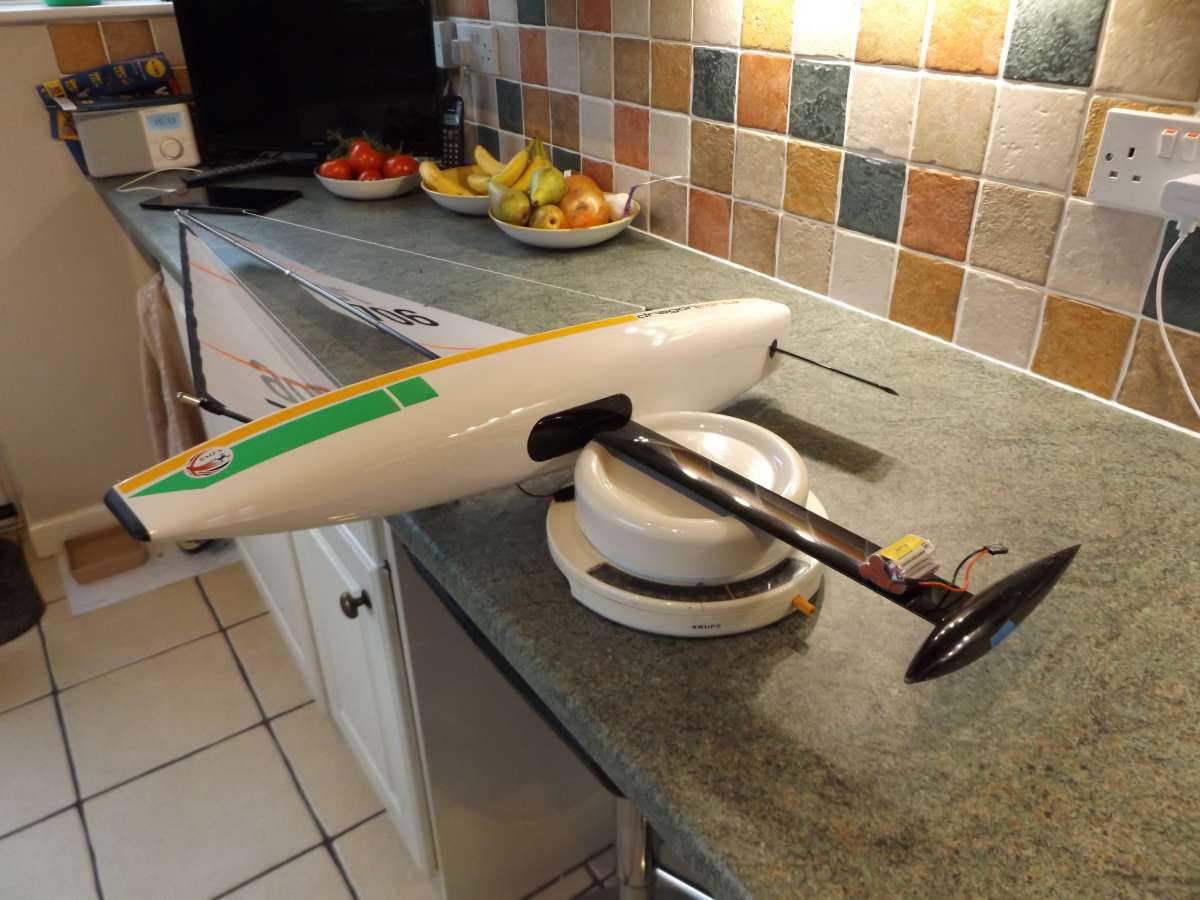
              As you know I don’t do technical stuff 🙂  but my Dragon Force 65 all up weight is 2.3 kg my kitchen scales are not very accurate I imagine, as they have’nt seen the light of day for a while !!

              Best regards  Ray  (It’s cloudy again so no flying today !)DSCF3089

              #127398
              Ray Wood 3
              Participant
                @raywood3

                DSCF3088

                #127400
                Tim Rowe
                Participant
                  @timrowe83142

                  HI Ray

                  Glad to see you are eating your fruit!!

                  I think 2.3 kg would be porky (sorry pigs)

                  Your scales are reading 1.3 kg if I am not mistaken!!  Maybe more carrots!

                  I shall be happy if mine comes out at the same weight as the DF65

                  Tim R

                  #127401
                  Ray Wood 3
                  Participant
                    @raywood3

                    Hi Tim,

                    Well spotted 🙂 It’s been a long day !! I must have been thinking Imperial 🙂

                    Regards  Ray

                    #127411
                    Richard Simpson
                    Moderator
                      @richardsimpson88330

                      As a Chief Engineer once said to me, “Every inch of this dam ship’s metric”

                      #127415
                      Tim Rowe
                      Participant
                        @timrowe83142

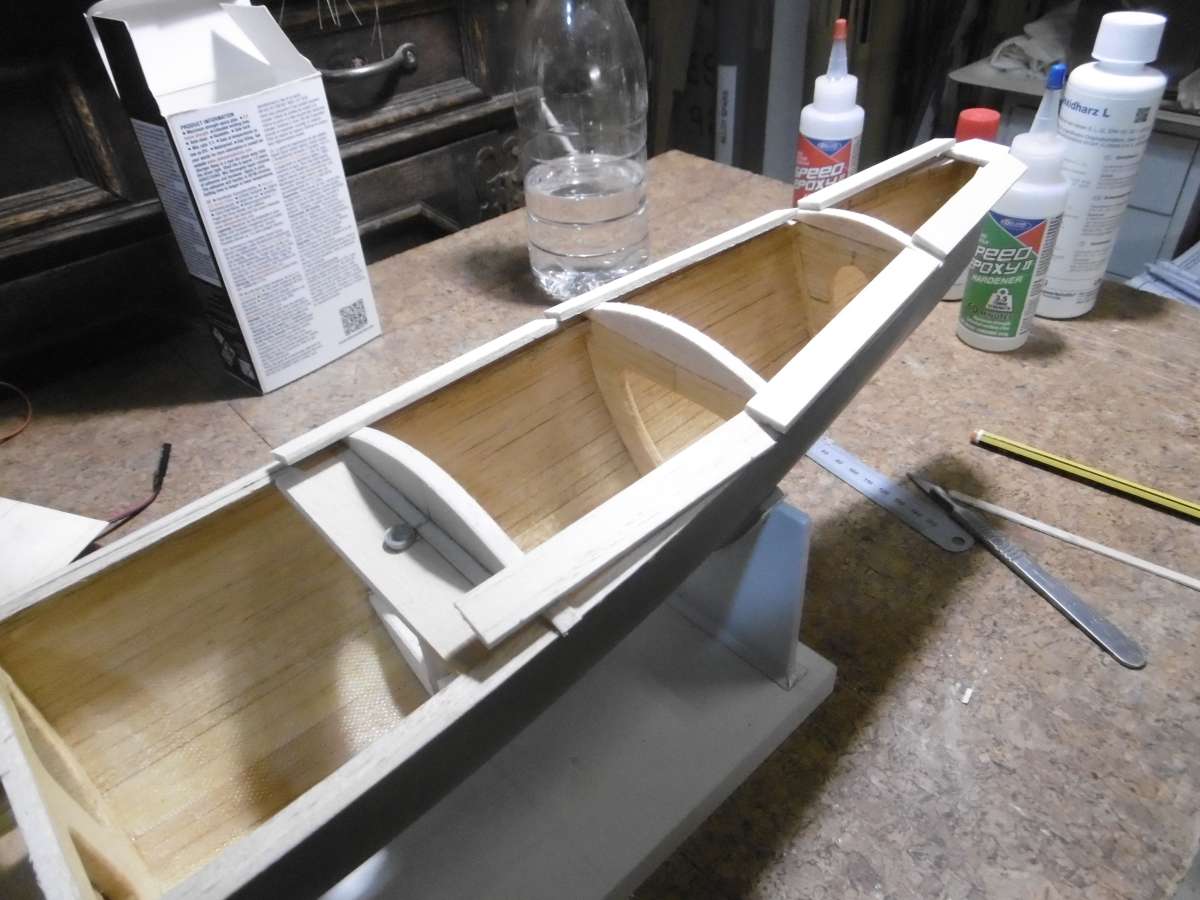
                        I decided a completely flat deck would be a bit boring so I decided to give the foredeck a hump.

                        P1020835

                        It is not a true camber but a hump with flat sections on both sides.  It does have a function in closing the gap between the foot of the jib and the deck which help with efficiency.

                        P1020838

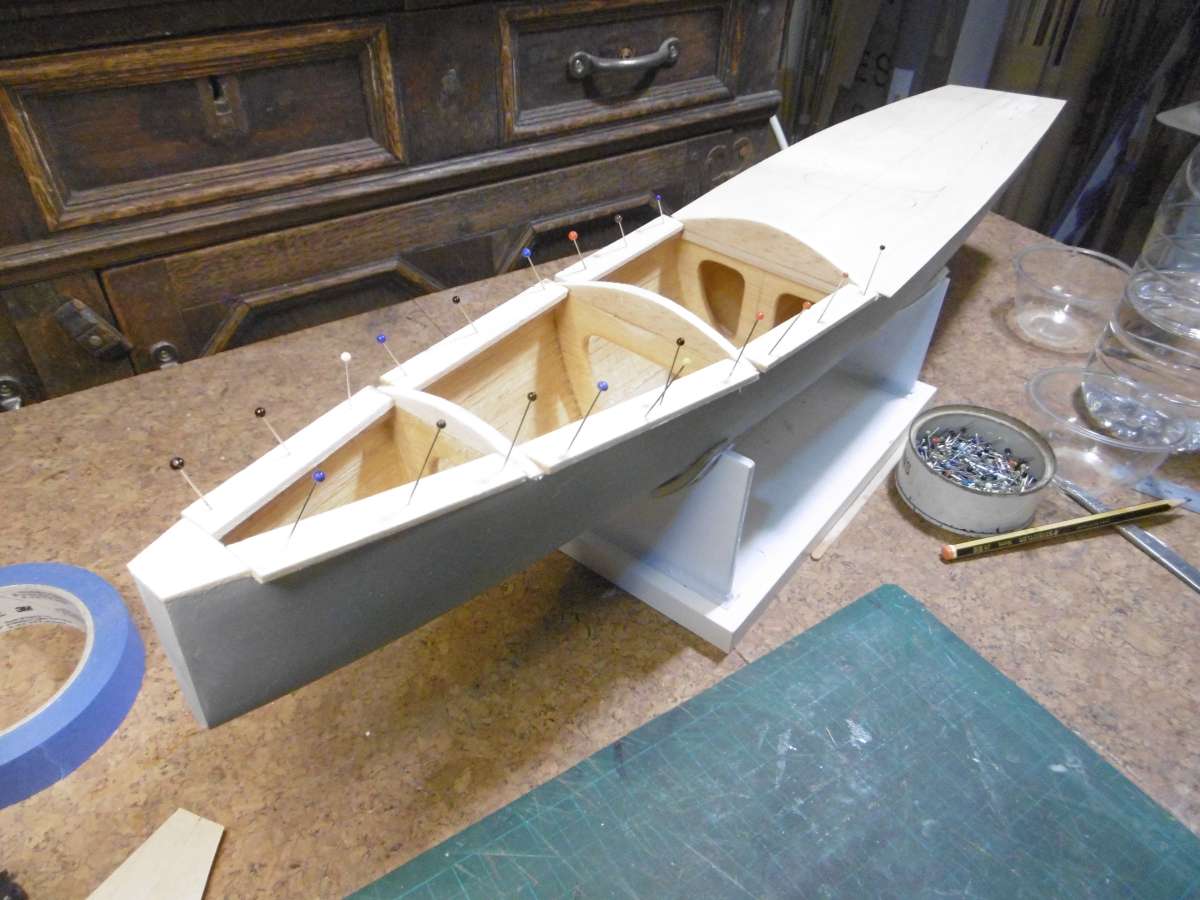
                        The deck was flat and now require a fillet for to get a decent gluing area.

                        P1020839

                        Here they are glued in place and you can see that by the time they are sanded back to match the deck beams there will just be a narrow wedge.

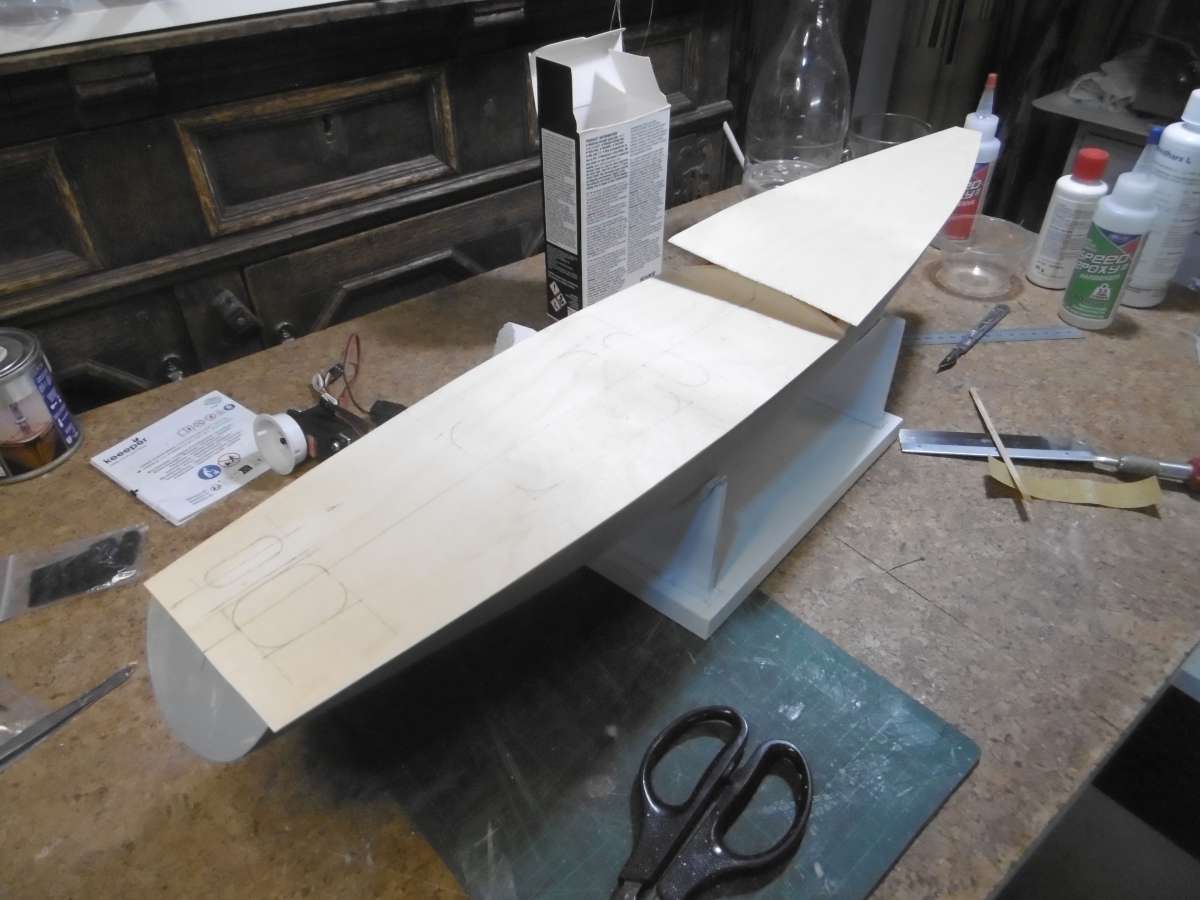
                        P1020837

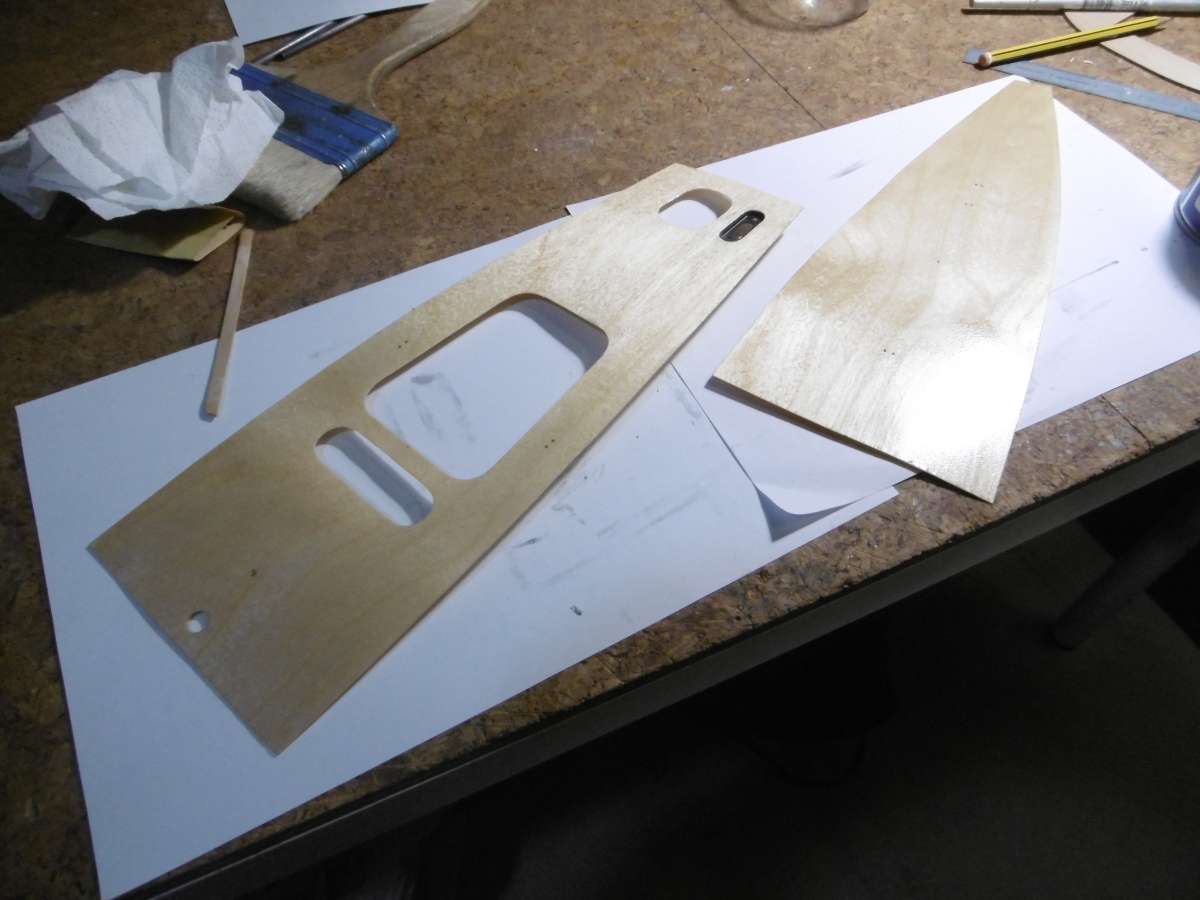
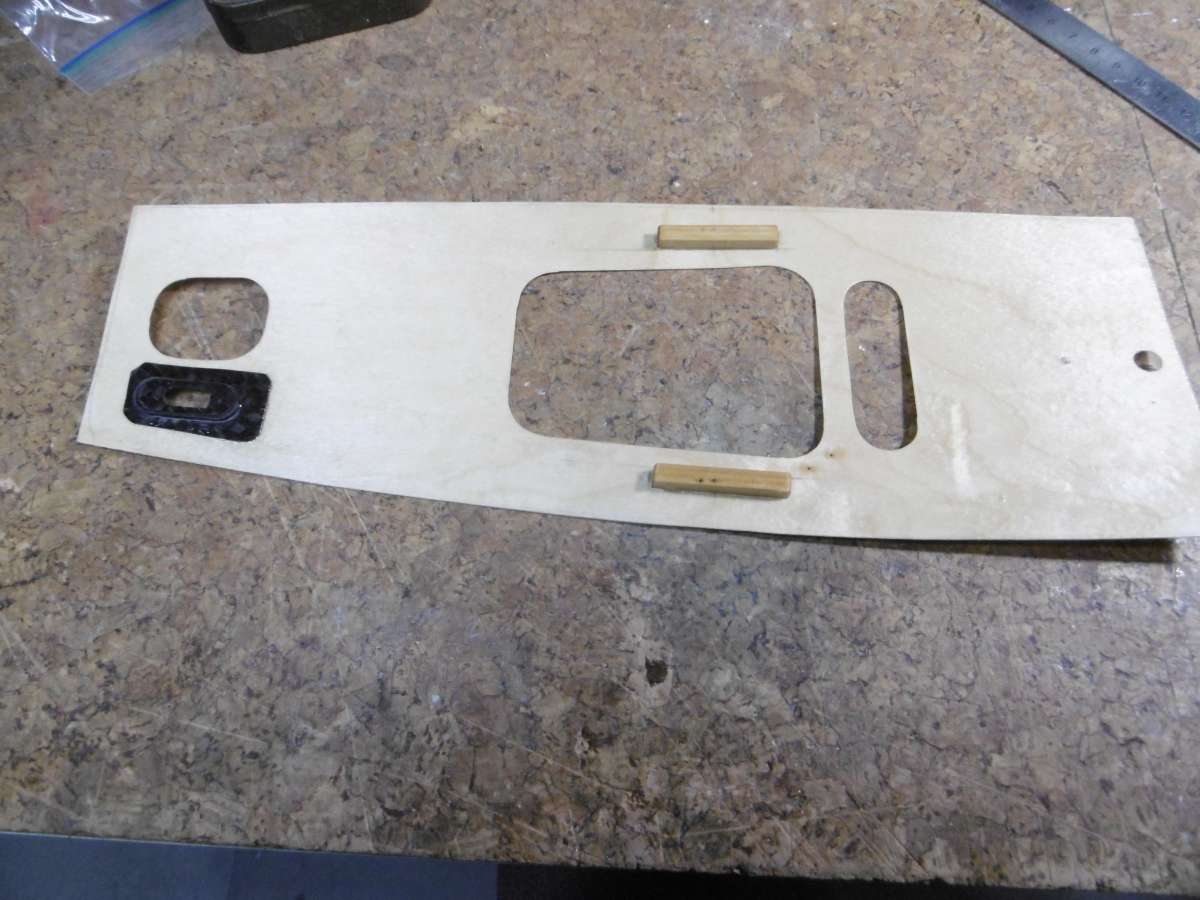
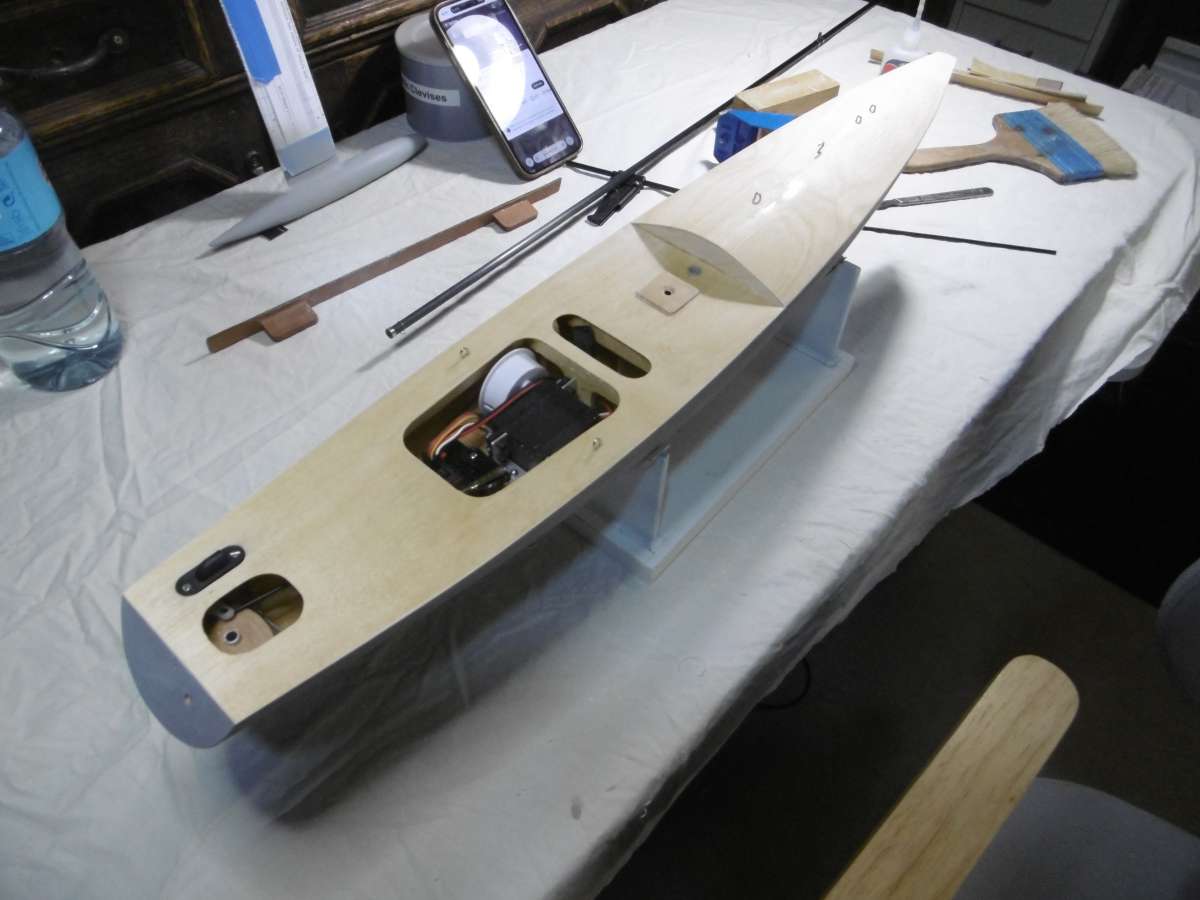
                        The plywood is 0.4 mm (1/64″)  but being curved on the foredeck and well supported on the aft deck it is amazingly strong and stiff.  It cuts with scissors  / craft knife and bends super easily.

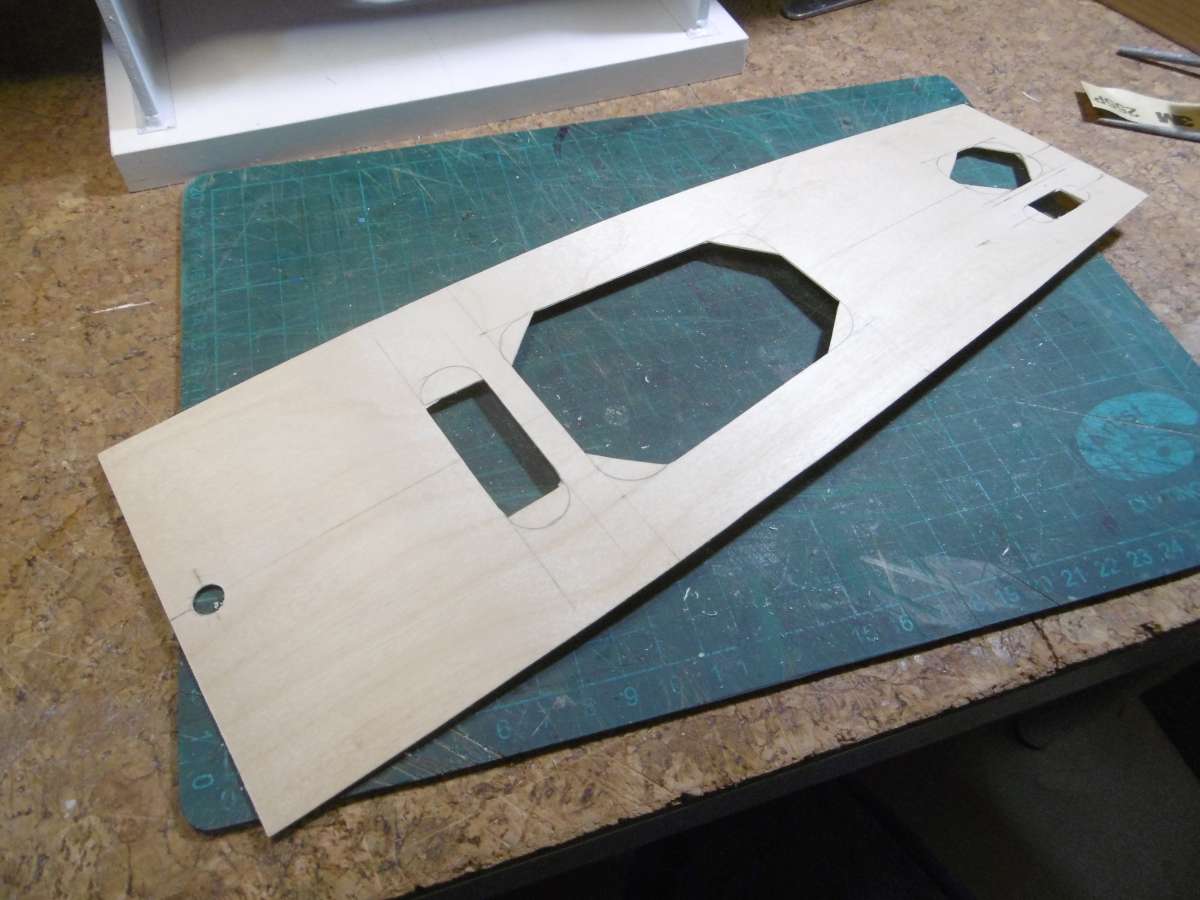
                        It doesn’t show up very clearly but I have marked where I need to cut out for access.  There will be a hole for the turning block, access to install and remove the rudder, main access for the winch and steering servo and a separate hole for the battery.  P1020868

                        Like this and also a small hole for the masts support tube that stick up 1mm above the deck.

                        Tim R


                        #127416
                        Ray Wood 3
                        Participant
                          @raywood3

                          Hi Tim,

                          Spooky is getting stylish 🙂 you really should design an OMI from scratch soon, maybe call it Mallorcapop, the Britpop’s go for serious money here !!

                          1/64th ply is wonderful stuff can you believe I bought 5 sheets 5′ X 5′ in 1998 for £100 from SLEC a better investment I have never made , it was for a big Bristol Freighter which I never built, my 65″ Freighter was published in RCM&E 🙂

                          Regards  Ray


                          #127440
                          Tim Rowe
                          Participant
                            @timrowe83142

                            Hello Ray

                            The IOM is complicated to design having tightly controlled measurements. Everything has to be calculated to get anything like optimum performance.  I am well on with my second RG65 and ordered the rigs yesterday.

                            Spooky is in paint so we have a few steps to catch up.

                            P1020867

                            Here is the underside of the rear deck with the carbo fibre carrier for the deck block from SailsEtc and the backing pads for the mainsheet anchorages.

                            P1020879

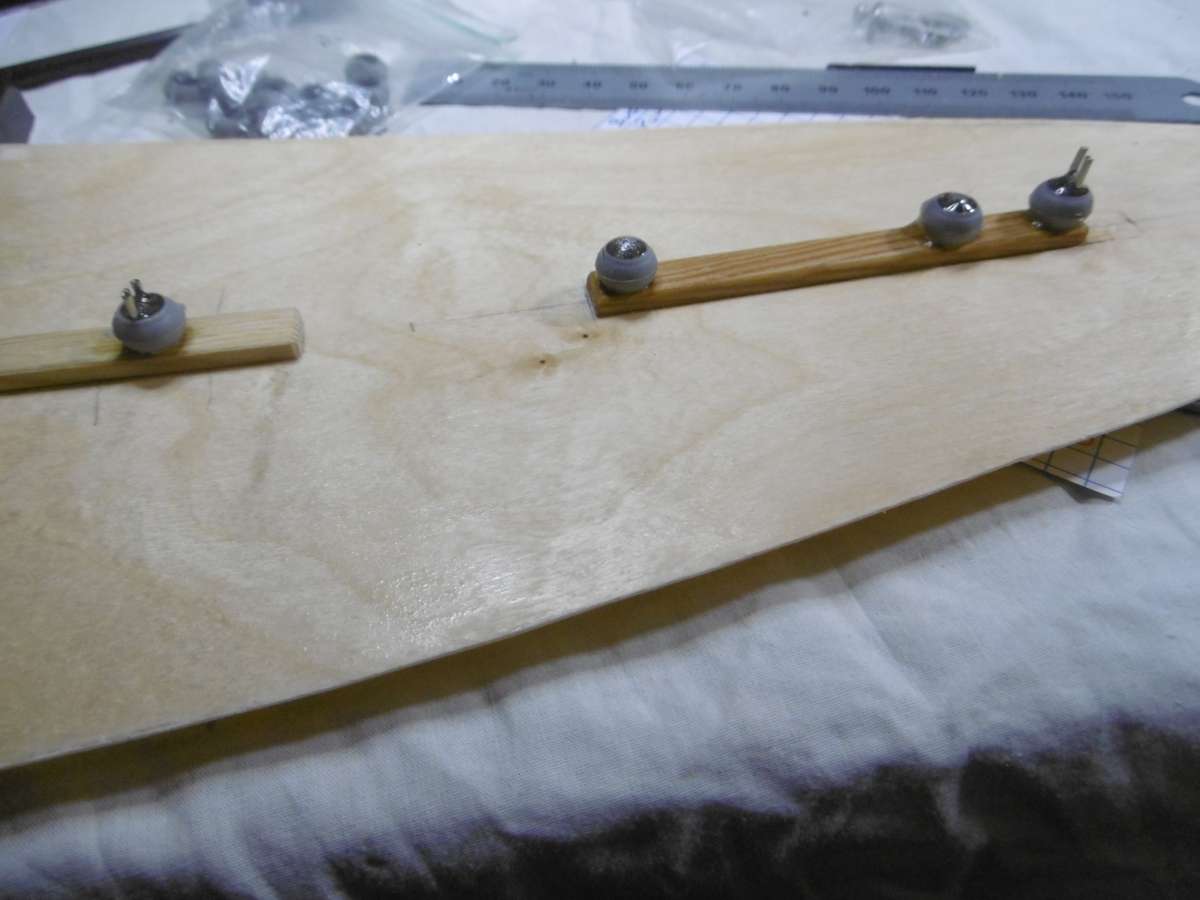
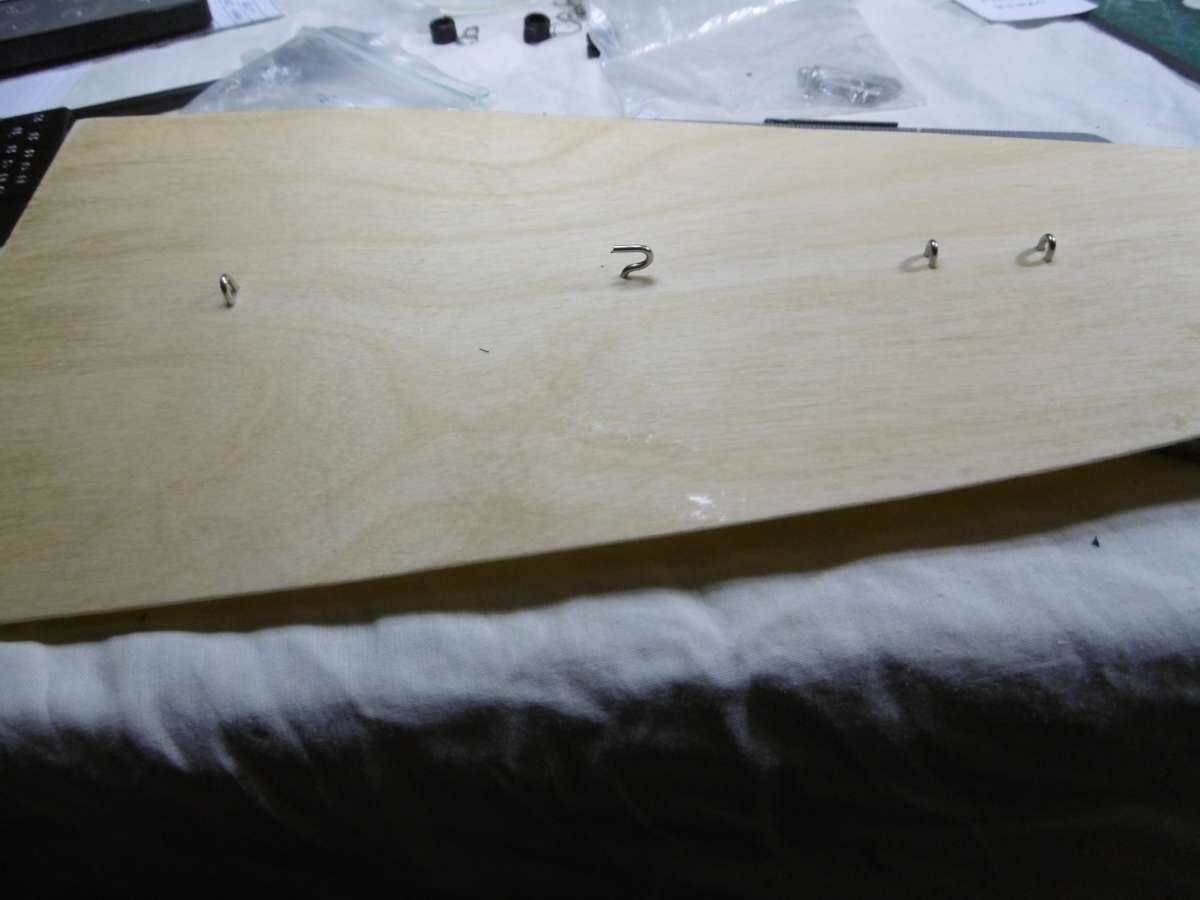
                            Here is the underside of the foredeck.  The forestay and jib lead wire hoops have been pushed through the decks and doublers and locked in place with epoxy flowed into the plastic rings.  This is almost certainly overkill but if a hoop pulls out, it would not be easy to re-secure.

                            P1020878

                            Here are what they look like from the top made out of 0.4mm stainless steel wire.

                            P1020881

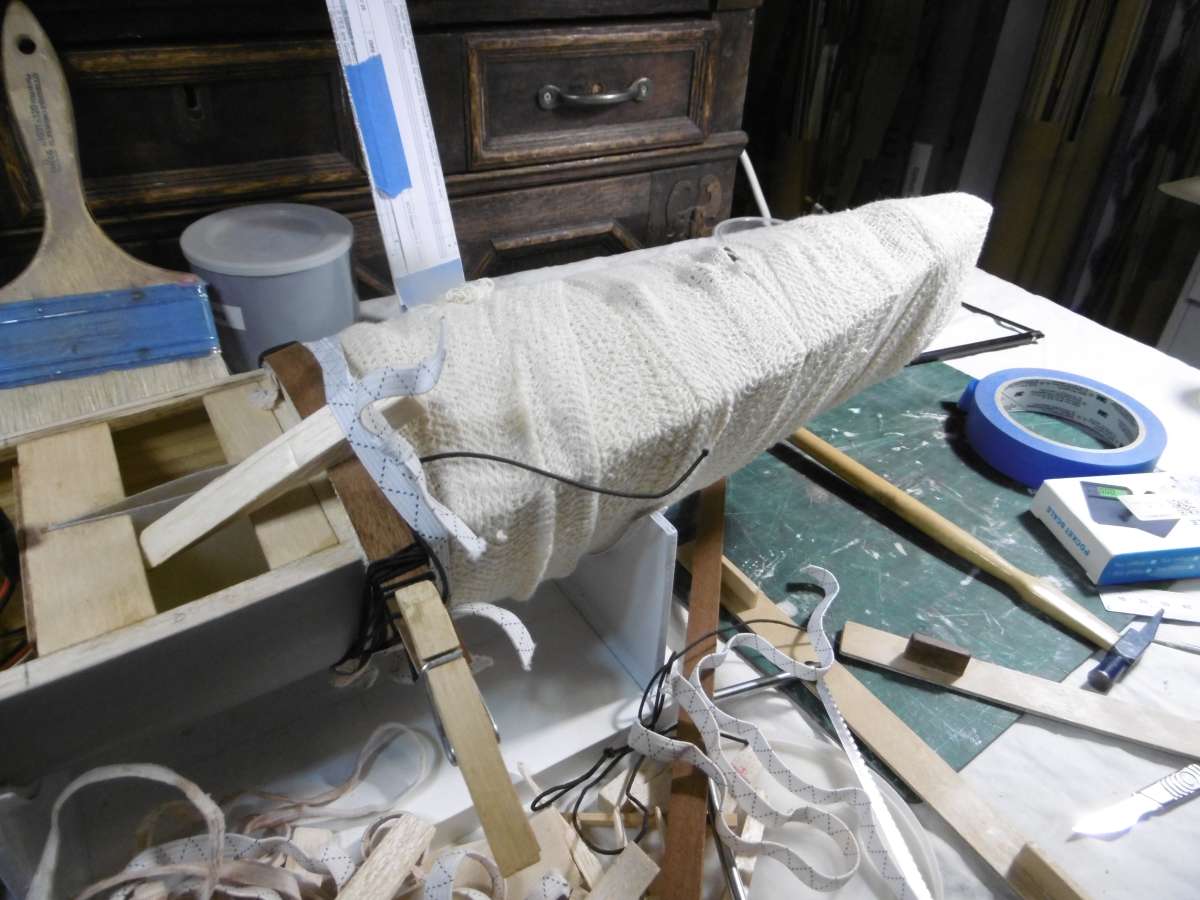
                            The foredeck was “clamped” in place with a crepe bandage and a little bit of help from a hardwood strip and elastic band.  The 0.4mm conforms easily.

                            P1020887

                            The deck complete ready to make the self-adhesive deck patches.

                            Tim R

                            #127441
                            Chris Fellows
                            Participant
                              @chrisfellows72943

                              Poor Spooky, all bandaged up!

                              Looking really good Tim, how did you cut those holes out in the deck so accurately, top work! The curved foredeck looks the business and so different to other models.

                              How many turns does the servo have? Keep meaning to check my DF65 and what the sheet travel is as a guide for Fisherman.

                              Chris

                              #127442
                              Tim Rowe
                              Participant
                                @timrowe83142

                                Hi Chris

                                Spooky felt much better after the bandages were taken off!

                                I marked out the holes with a sharp pencil and marked the corner radiuses with a hole stencil.  I then cut the ply with a new scalpel blade doing the side and ends of the cut-outs and across the corners.

                                P1020856

                                This is what the first cuts looked like and then I sanded out the corners using a 15mm diameter sanding drum in a Dremel.  The radiuses are 20mm.  It is quite quick really.

                                At the moment I have a Kingmax 4 turn servo fitted which is far too much. It is the same size regardless of the turns so I used it as a kind of template.   I have ordered some 2 –  turn winches and will swap it out.  This will give me about 160mm of travel which is still a bit too much for the sheet positioning on a DF65 but I have increased the distance from the gooseneck to the sheet attachment to compensate.  This will slow down the reaction slightly but increase the effective torque.  That suits me because it is often quite windy in the harbour here.  I have used 2 turn winches on Wild Duck and Eventide.

                                Tim

                                #127443
                                Richard Simpson
                                Moderator
                                  @richardsimpson88330

                                  Looking really professional Tim.  That curved foredeck really sets it apart from the rest and looks like it was designed in right from the start.  So much more stylish than a flat deck.

                                  #127446
                                  Chris Fellows
                                  Participant
                                    @chrisfellows72943

                                    Hi Tim

                                    Even using that method takes some skill as it is easy to deviate from a line and over sand the corners, very neatly done.

                                    Thanks for the info. on the servo. Sounds as though a 2 turn one will do the job for me as well.

                                    Chris

                                    #127491
                                    Tim Rowe
                                    Participant
                                      @timrowe83142

                                      Ray predicted that I might be finished for Easter.  If I pull my finger out and get the job and main sheets sorted out that could happen!!

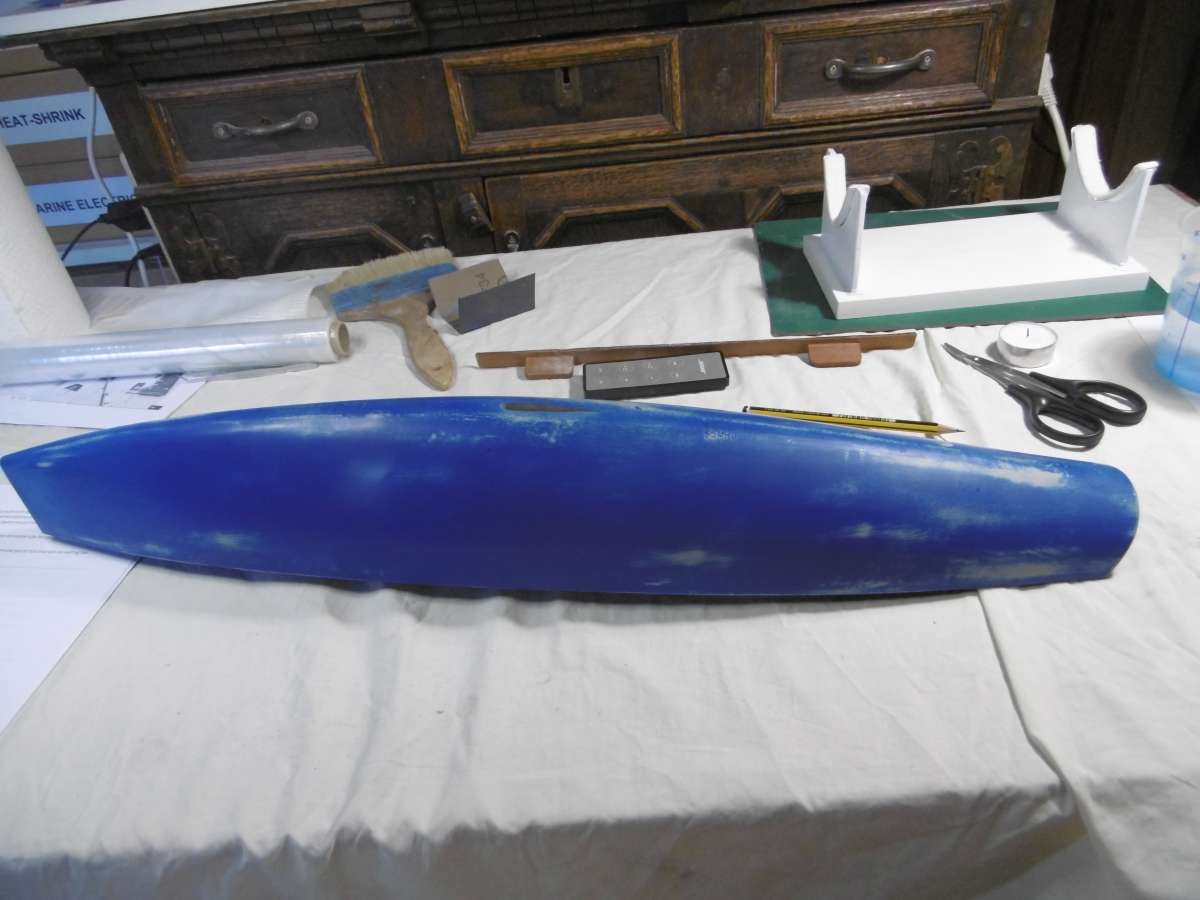
                                      Normally I like painting. It is a bit like putting a new carpet down in a freshly decorated room.  This time around I had a few problems that set me back a bit.  The priming went ok as I successively worked on the high spots and the first coat of blue went on fine.  The first blue coat is gloss and allows the final tweaking for fairness and when that is finally done, the finish is a real patchwork.

                                      P1020892

                                      I am using rattle cans and the second blue coat pickle the first coat despite leaving 3 days between coats.  That meant a lot more sanding and blow me down, the next coat pickled after 5 days but not quite so badly.  I think the problem was the feathered edges going into the primer that was the problem.  Hoping for a final coat after one week all was going well untill a few fish eyes starting to appear.  Expletive deleted!!
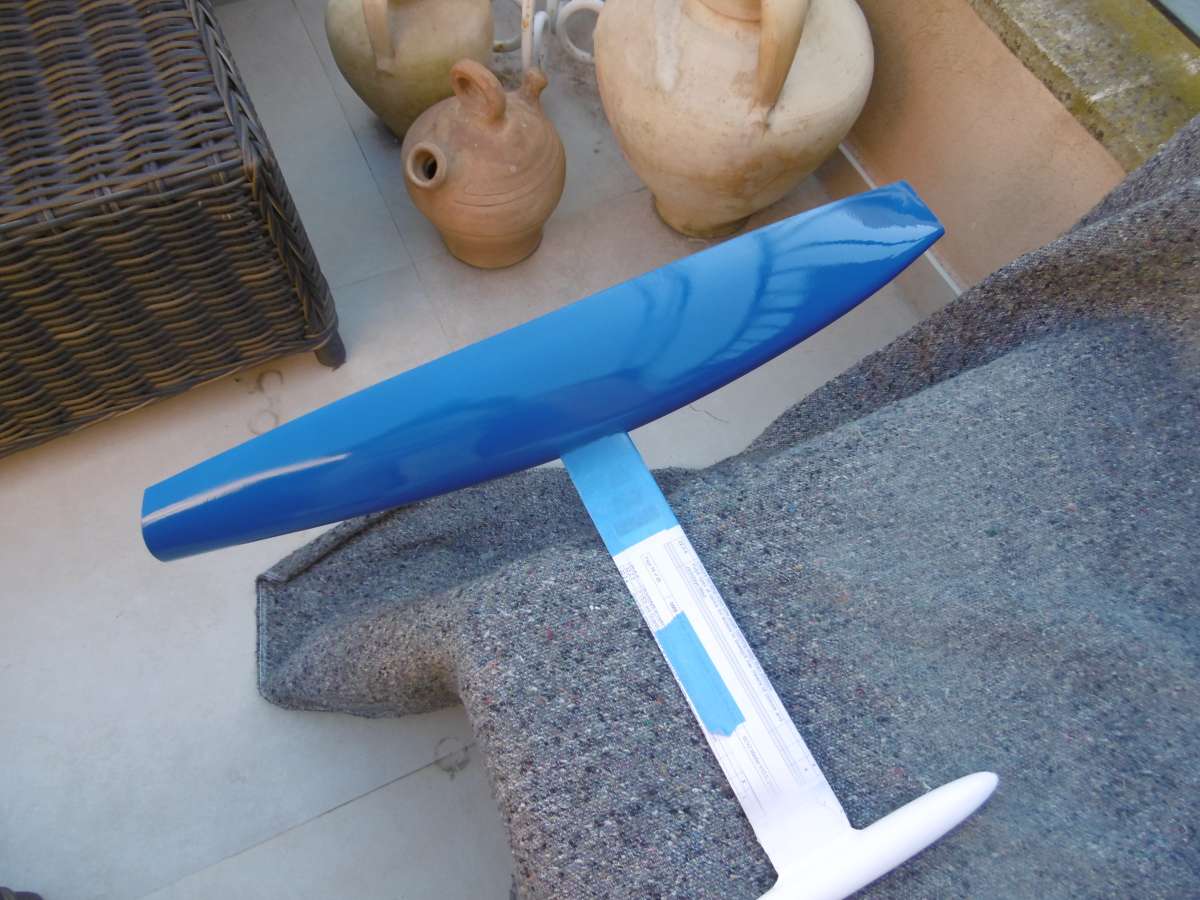
                                      Finally after re-sanding and waiting 10 more days I finally got a respectable paint job.  Lessons for the next one, don’t rush.

                                      P1020889

                                      So we are on the home straight.

                                      Tim R

                                      #127492
                                      Richard Simpson
                                      Moderator
                                        @richardsimpson88330

                                        Unusual you have to wait for that long Tim.  However another good example of how we do need to wait for all the volatiles to evaporate before adding more paint.  Such a nice change to see someone looking at it objectively rather than immediately blaming the paint, as seems to be the usual response.

                                        #127504
                                        Tim Rowe
                                        Participant
                                          @timrowe83142

                                          Fortunately there was plenty to do while the paint was drying including a sister for Spooky.  Another RG 65 downloaded as free plan called Laerke.  It is considerably beamier than Spooky and although wide beam is now out of fashion it could still be quite good in light airs.

                                          Here are some photos of Laerke

                                          P1020921

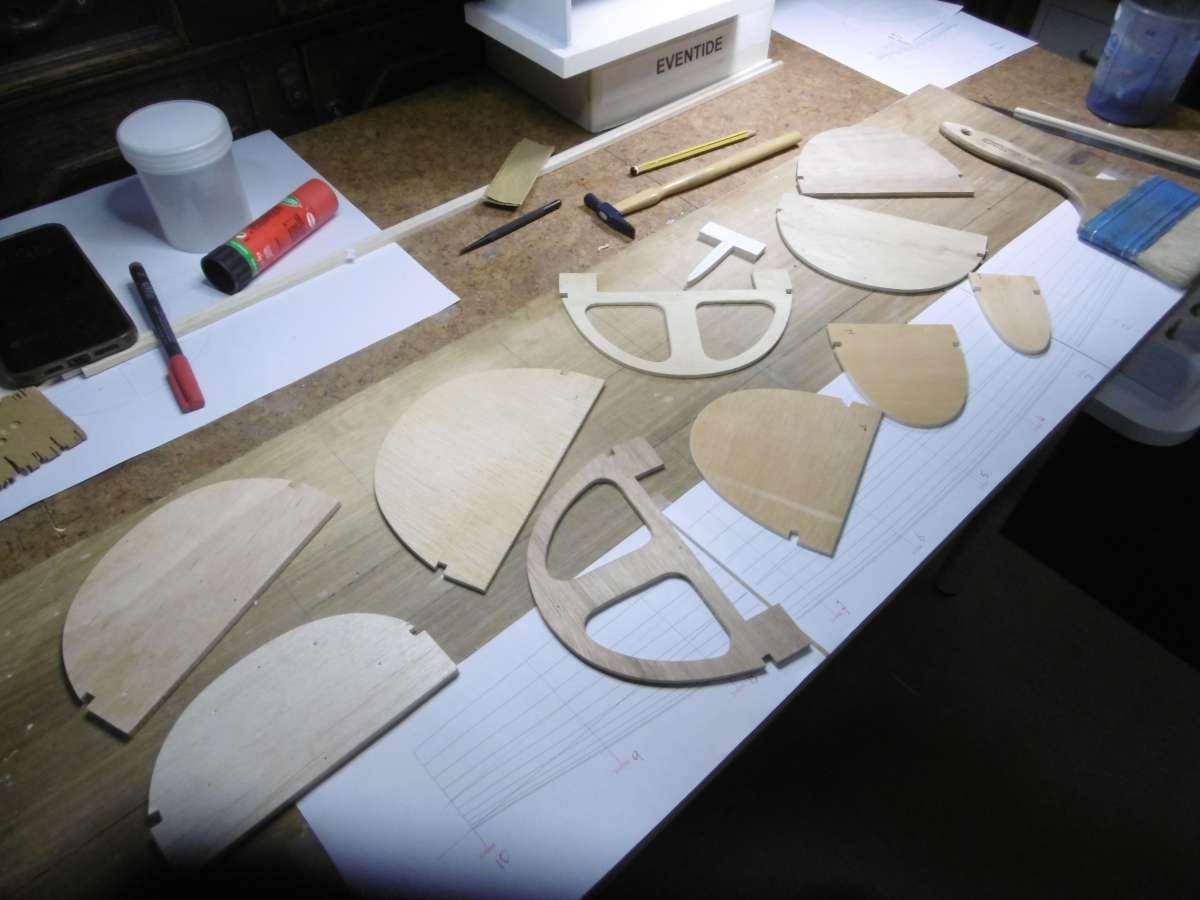
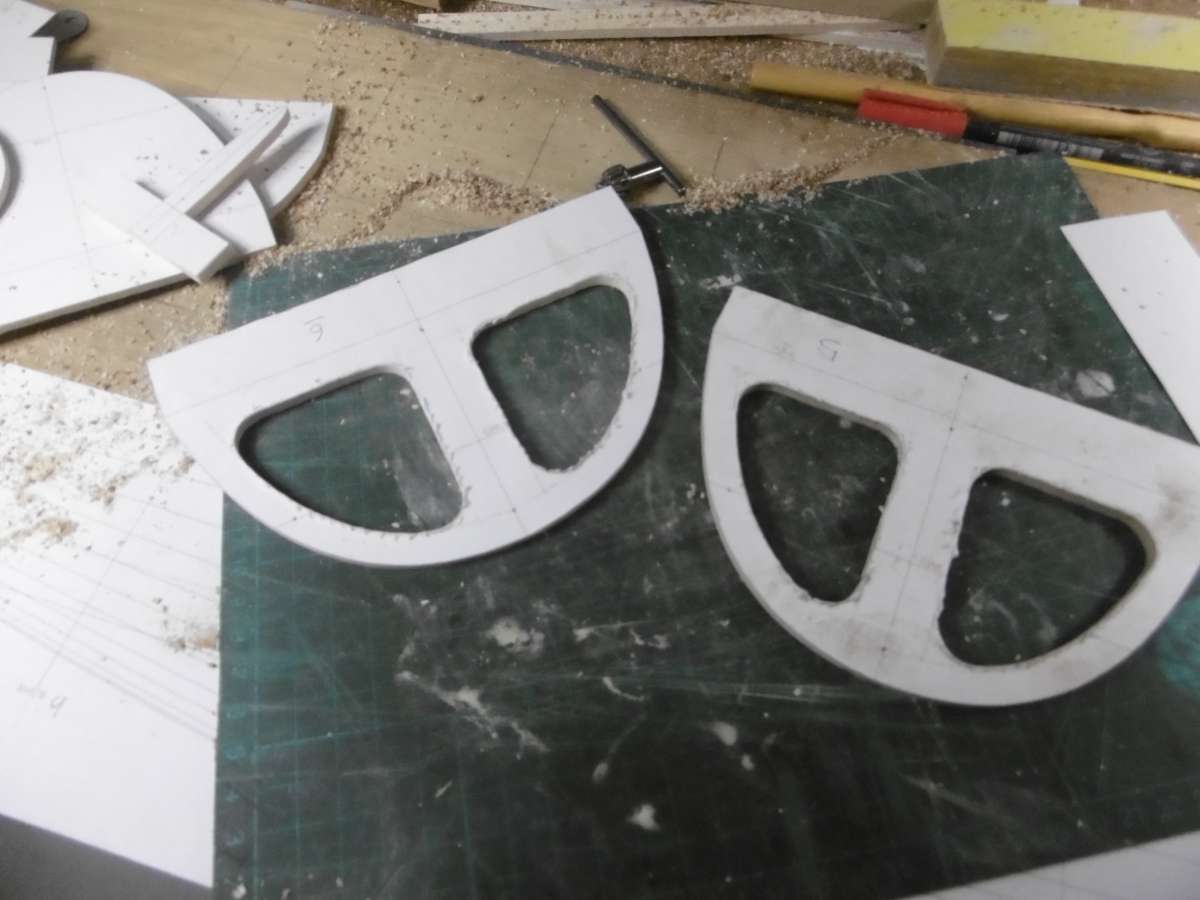
                                          Here are the shadows.  Only two of them will stay in as bulkheads and the balsa shadow at the back will stay in place as the transom.

                                          P1020920

                                          These two will support the keel box and the mast socket.

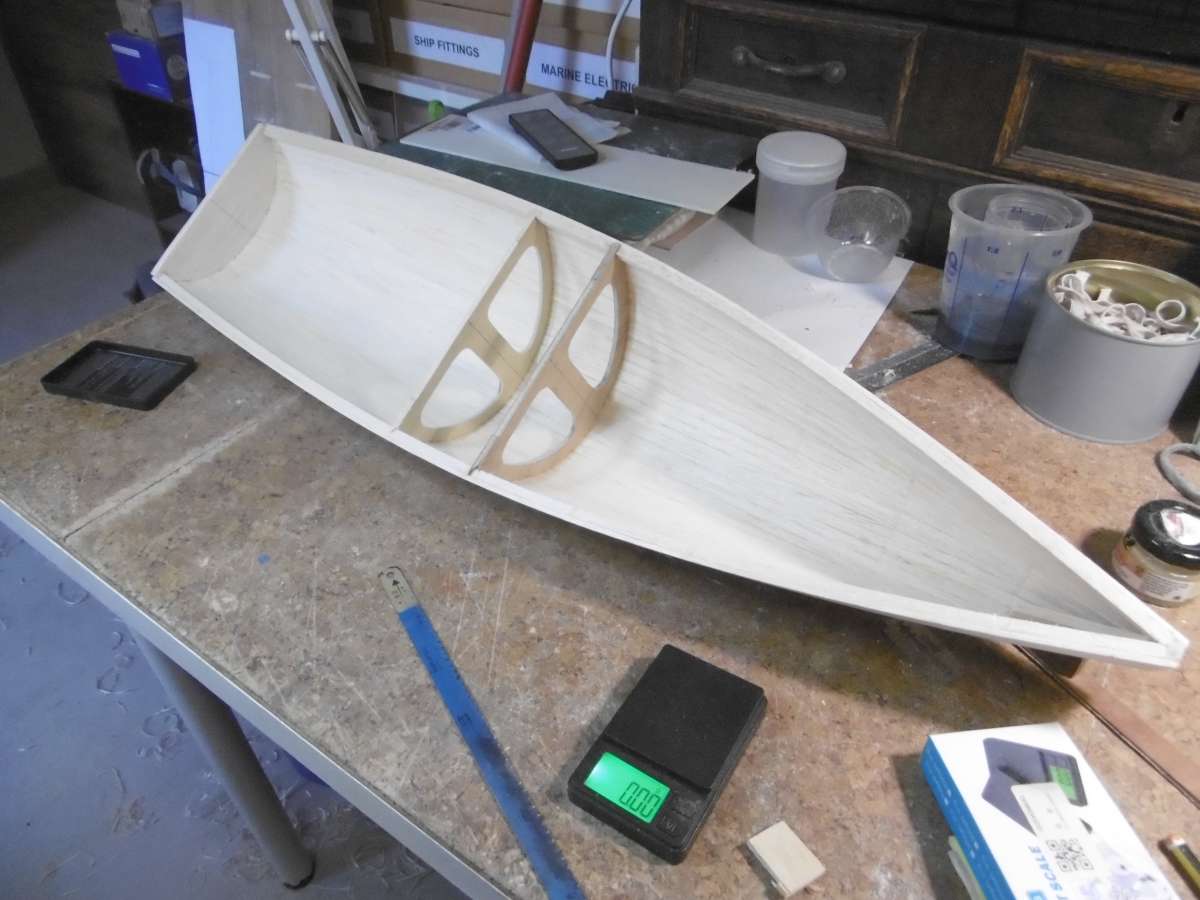
                                          P1020928

                                          Here you can see the minimalist interior.  It was planked up in the same way as Spooky and because the hull is one big compound curved surface is is very stiff and strong especially when the outside is glassed and epoxied.  Actually the hull does not have to do much in the way of resisting stress.  Most of it just creates the right shape and keeps the water out.

                                          P1020931

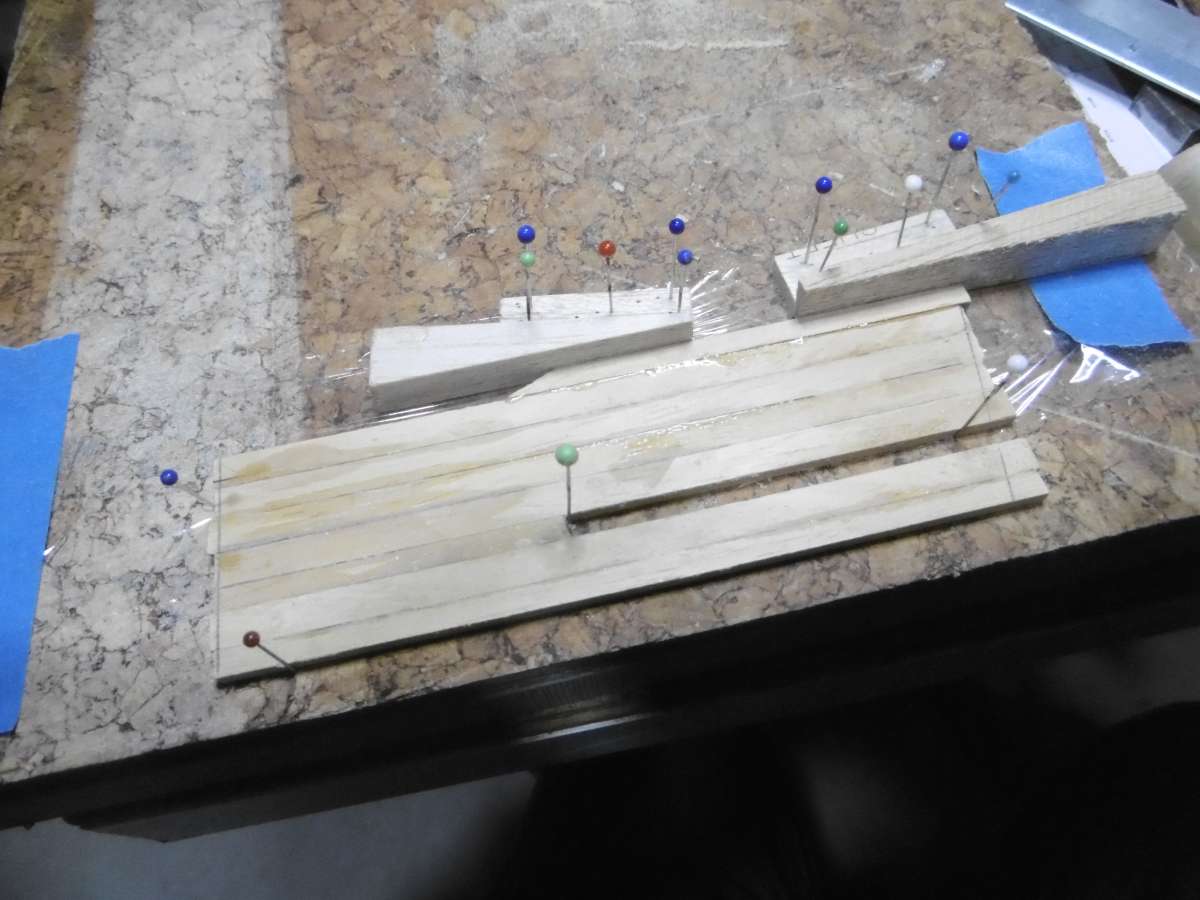
                                          The rudder is laminated up from strips of obeche.

                                          P1020934

                                          The keel box was made in the same way as Spooky.

                                          P1020937

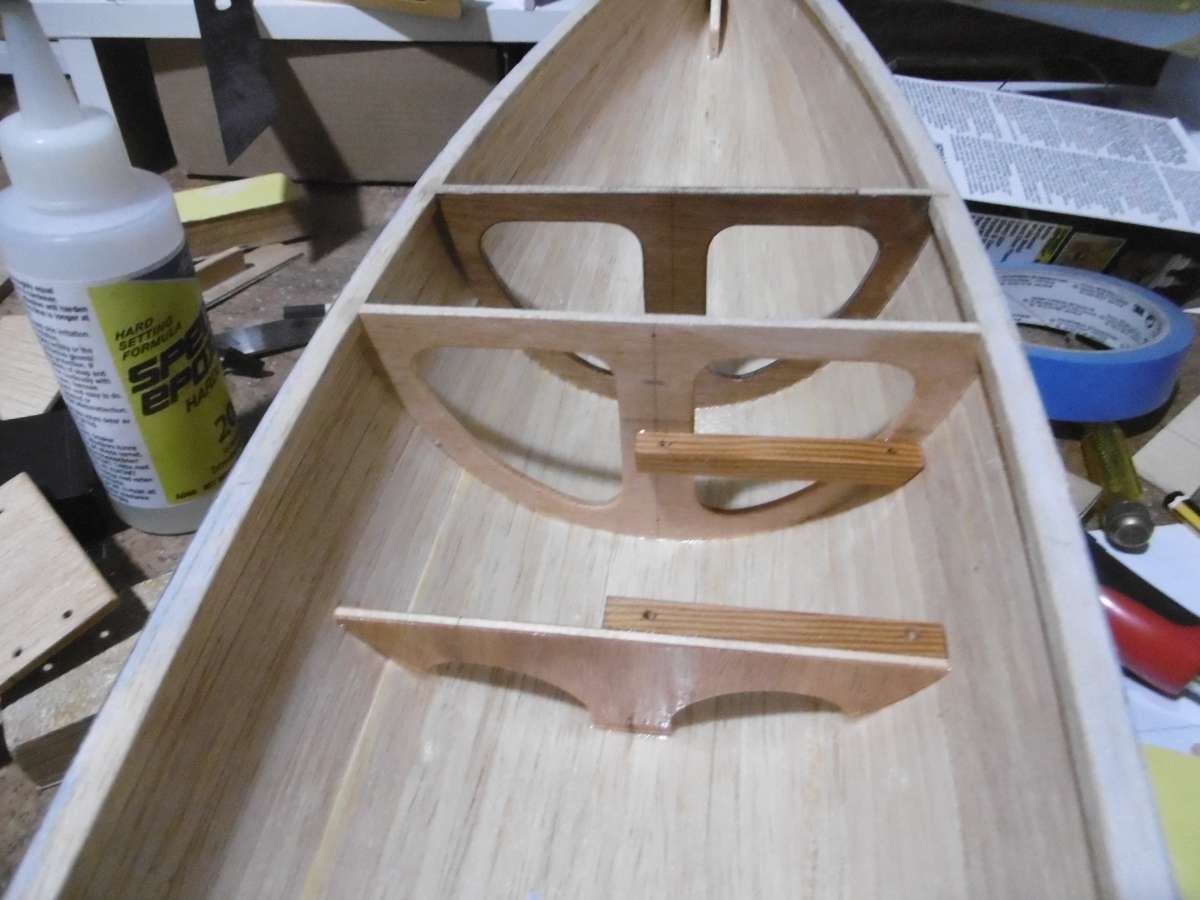
                                          Here a partial bulkhead is fitted to support the radio equipment base.

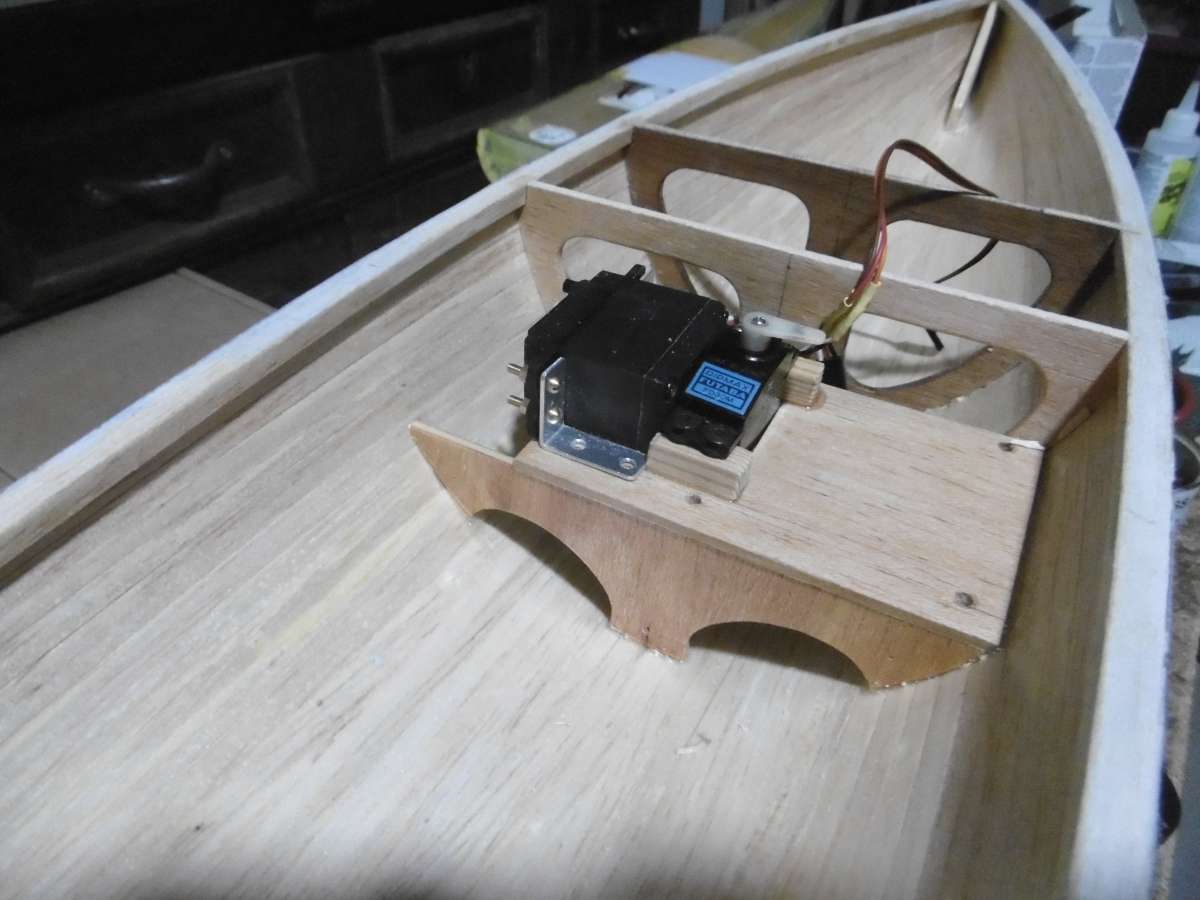
                                          P1020938

                                          Here is a test fit of the winch and the rudder servo.  So much room when compared with Spooky

                                          P1020943

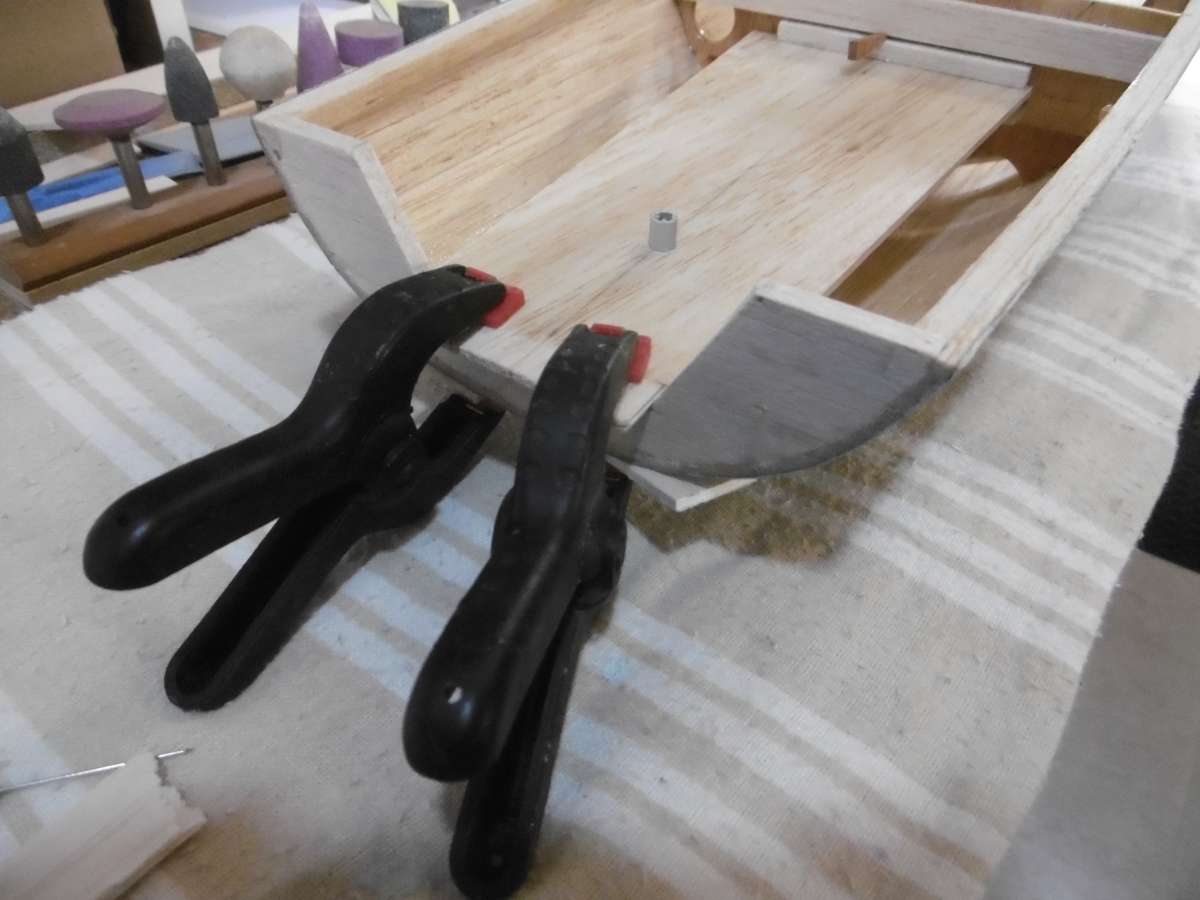
                                          The wide beam would look inelegant with such a wide beam so I have dropped the aft deck to create a “skiff” type design.  This means the tiller connection and control rod can be above deck for easy removal or adjustment and one less deck patch to worry about.

                                          The recess floor is 2.5mm light balsa with very lightweight glass cloth epoxied on both sides.  This make a featherweight and very stiff panel that requires no  further support.  The whole deck on this one will be balsa and eventually will be glassed radiused and faired before painting to give a moulded look.

                                          It beats watching paint dry!!

                                          Tim R


                                          #127505
                                          Tim Rowe
                                          Participant
                                            @timrowe83142

                                            Meant to say the wide bean would look inelegant as one flat flat surface …………

                                            Tim R

                                            #127525
                                            Richard Simpson
                                            Moderator
                                              @richardsimpson88330

                                              Another lovely shape though Tim.

                                              #127599
                                              Tim Rowe
                                              Participant
                                                @timrowe83142

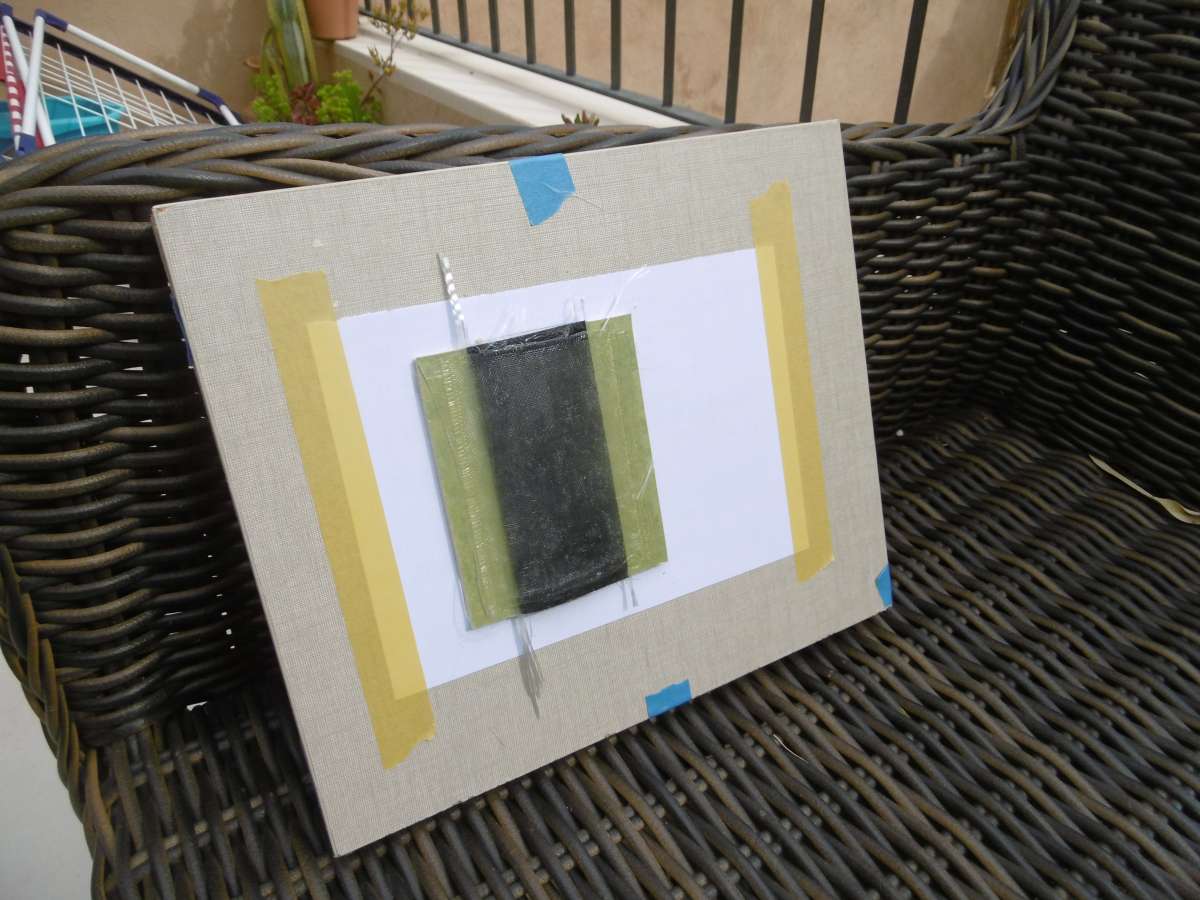
                                                Spooky needs a bow bumper.  Required in many classes

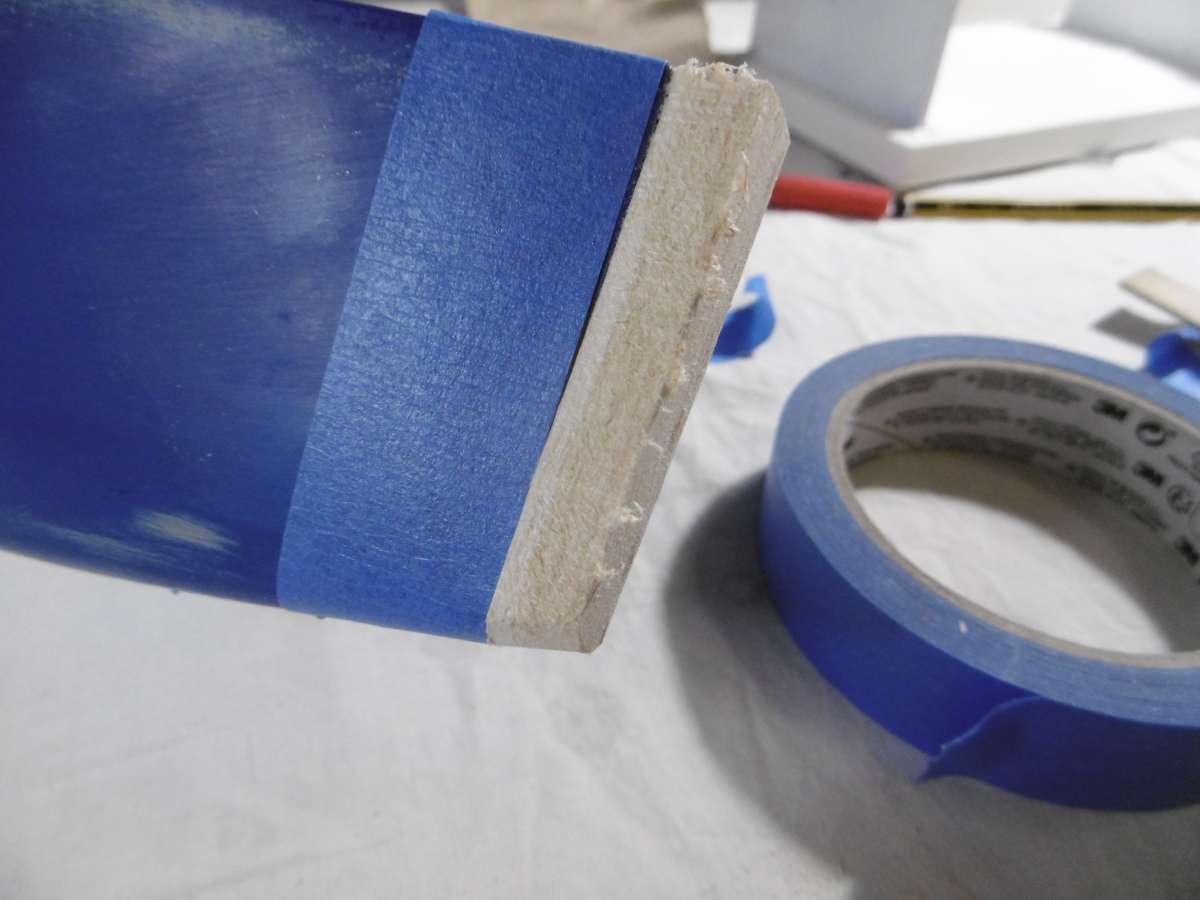
                                                P1020903

                                                First a roughly shaped piece of soft balsa was stuck to the stem using double sided tape.  The blue masking tape is to protect the topside paint while shaping the balsa block.

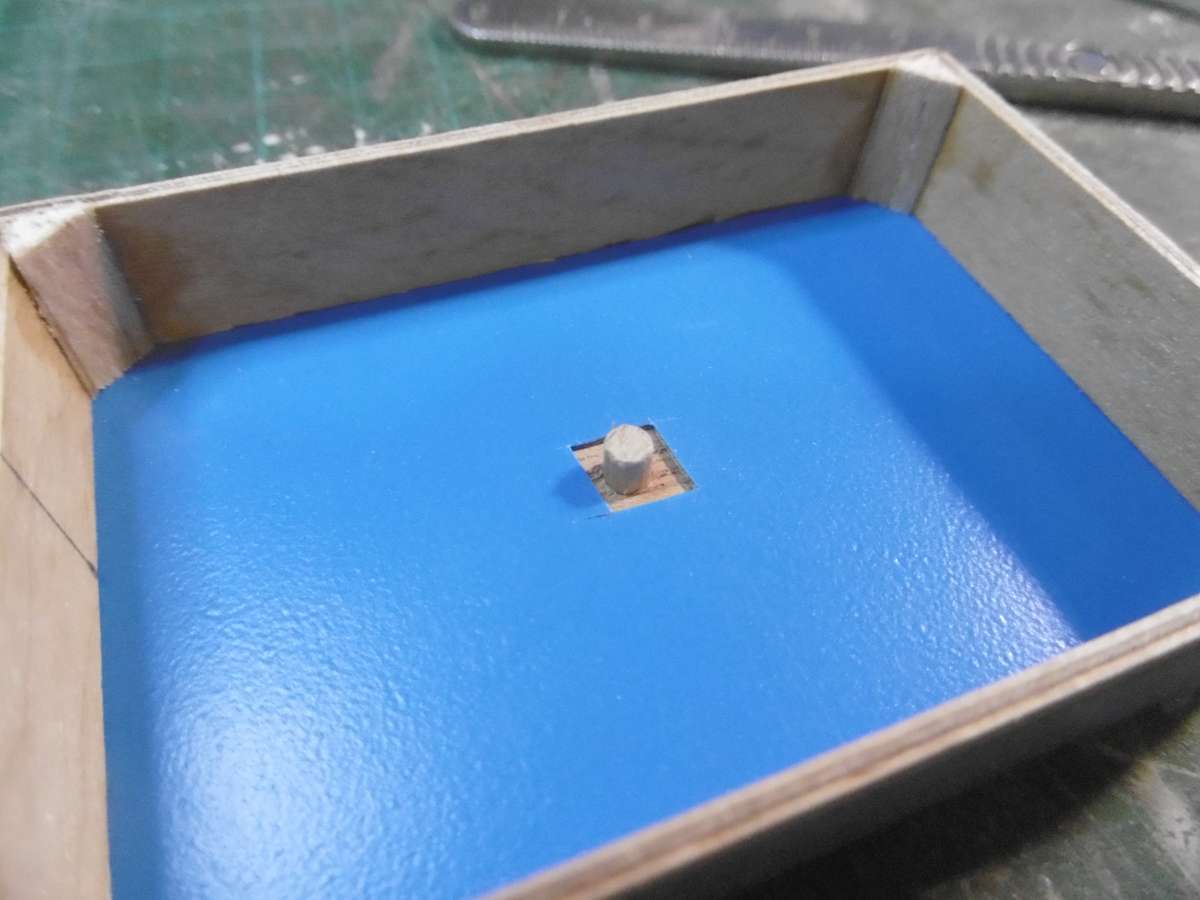
                                                P1020906

                                                A mould box was then make to make a mould for a silicone bumper.  The pip in the middle is to locate and retain the pattern.

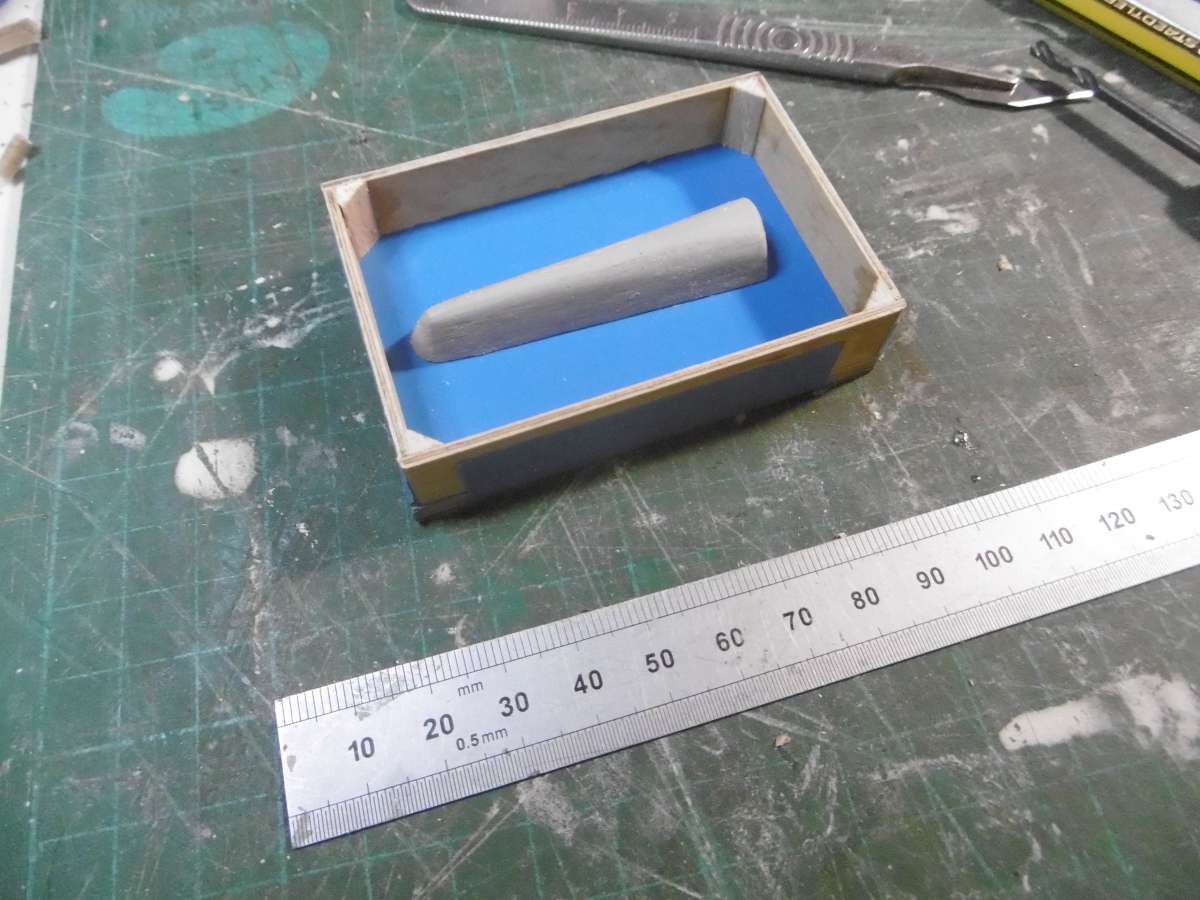
                                                P1020909

                                                The pattern was primed, wxxed and stuck in the mould box.

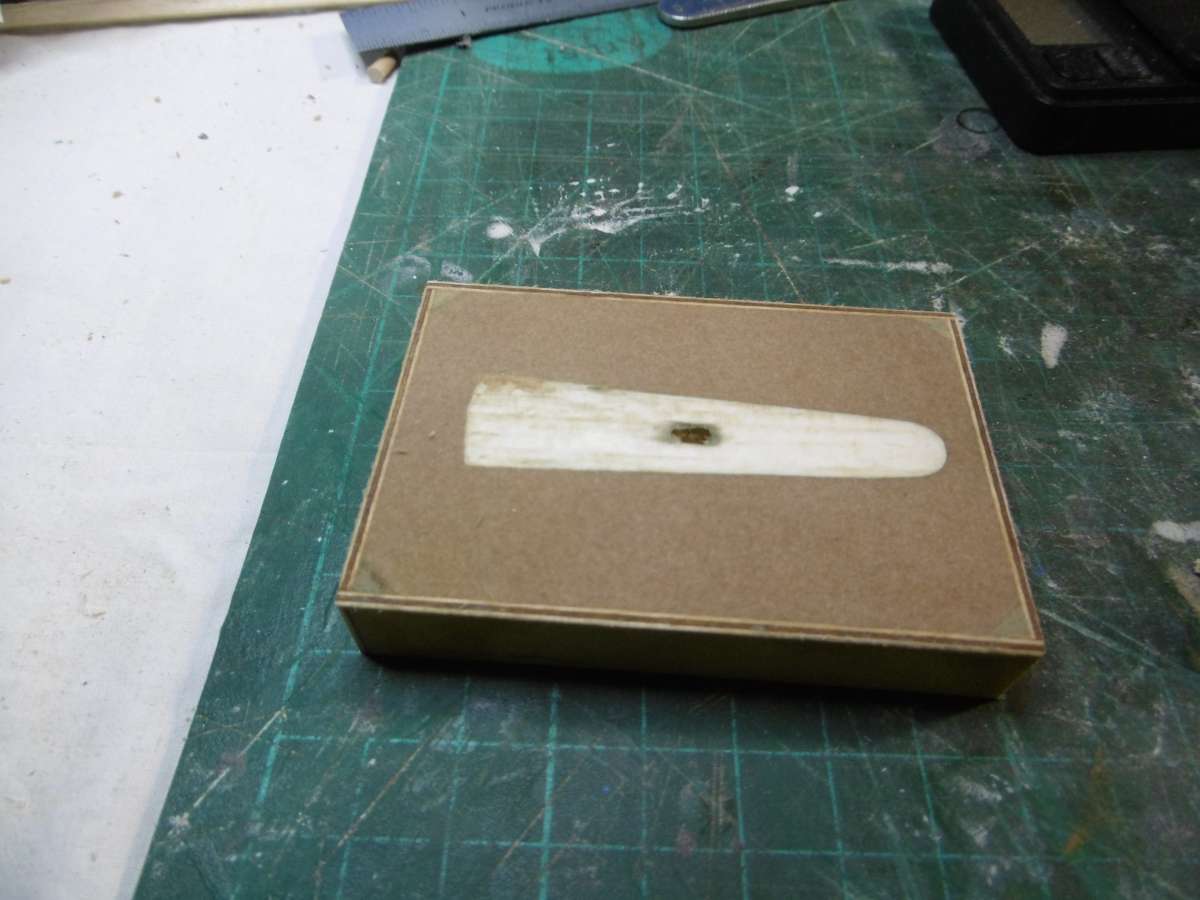
                                                P1020910

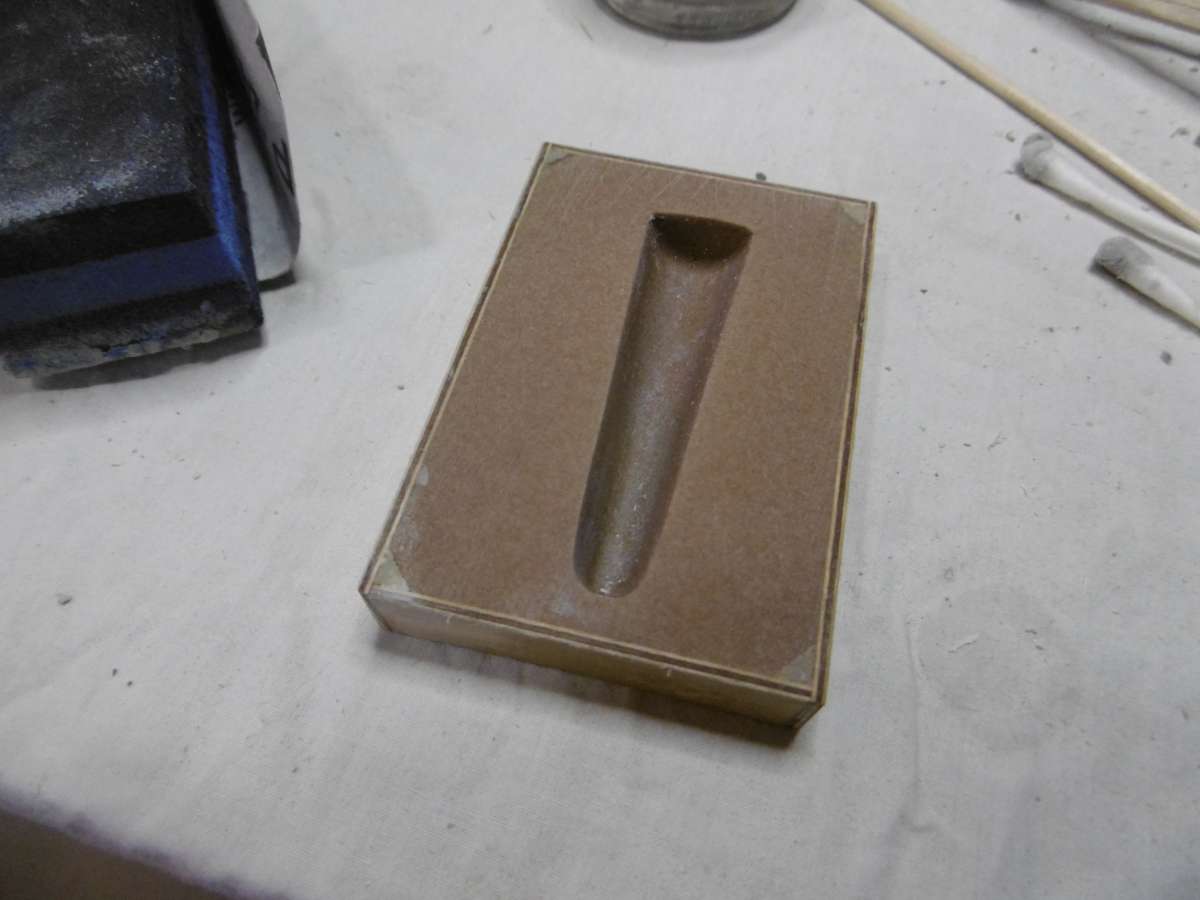
                                                The mould box was released off the backing leaving the pattern to be extracted.  It didn’t come out in one piece!

                                                P1020911

                                                Leaving the cavity for the silicone which was waxed again.

                                                P1020912

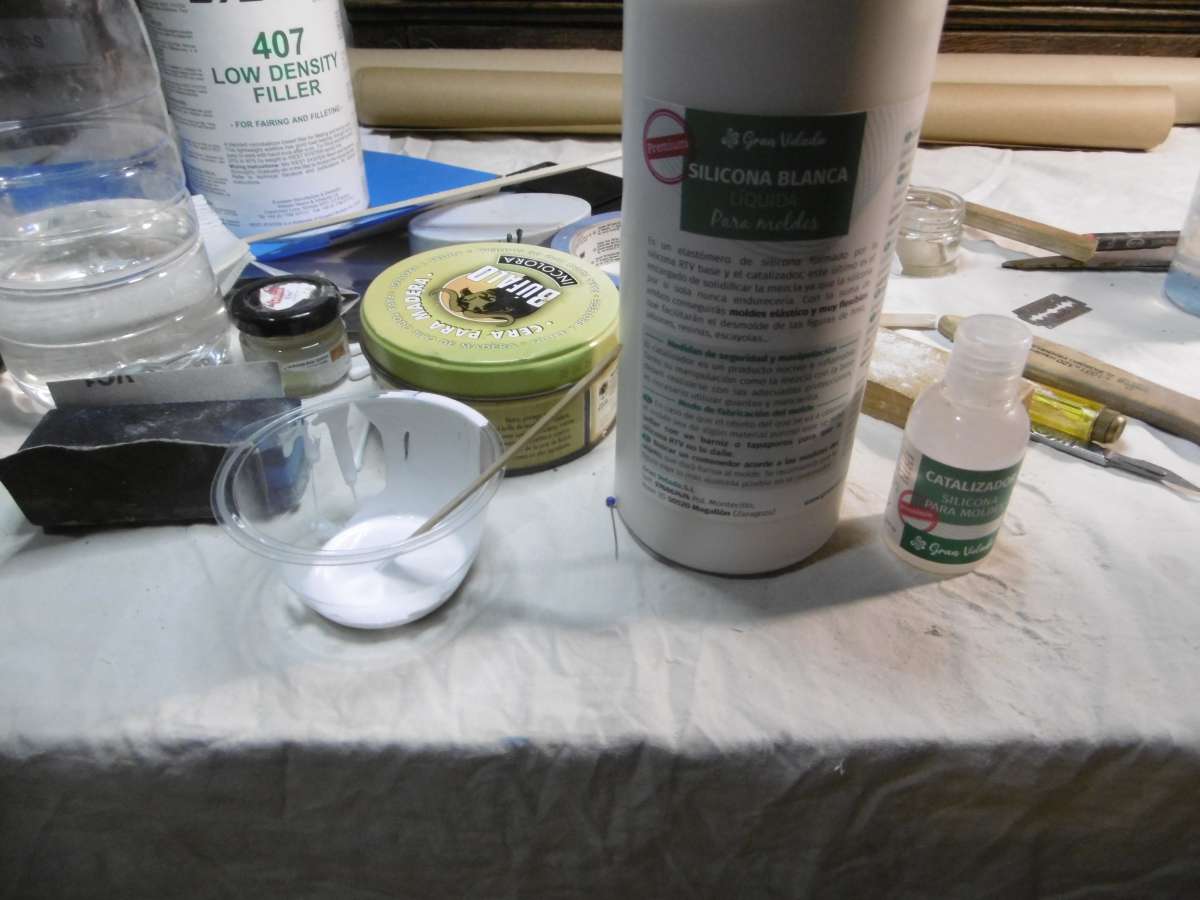
                                                Here is the liquid silicone and the catalyst

                                                P1020915

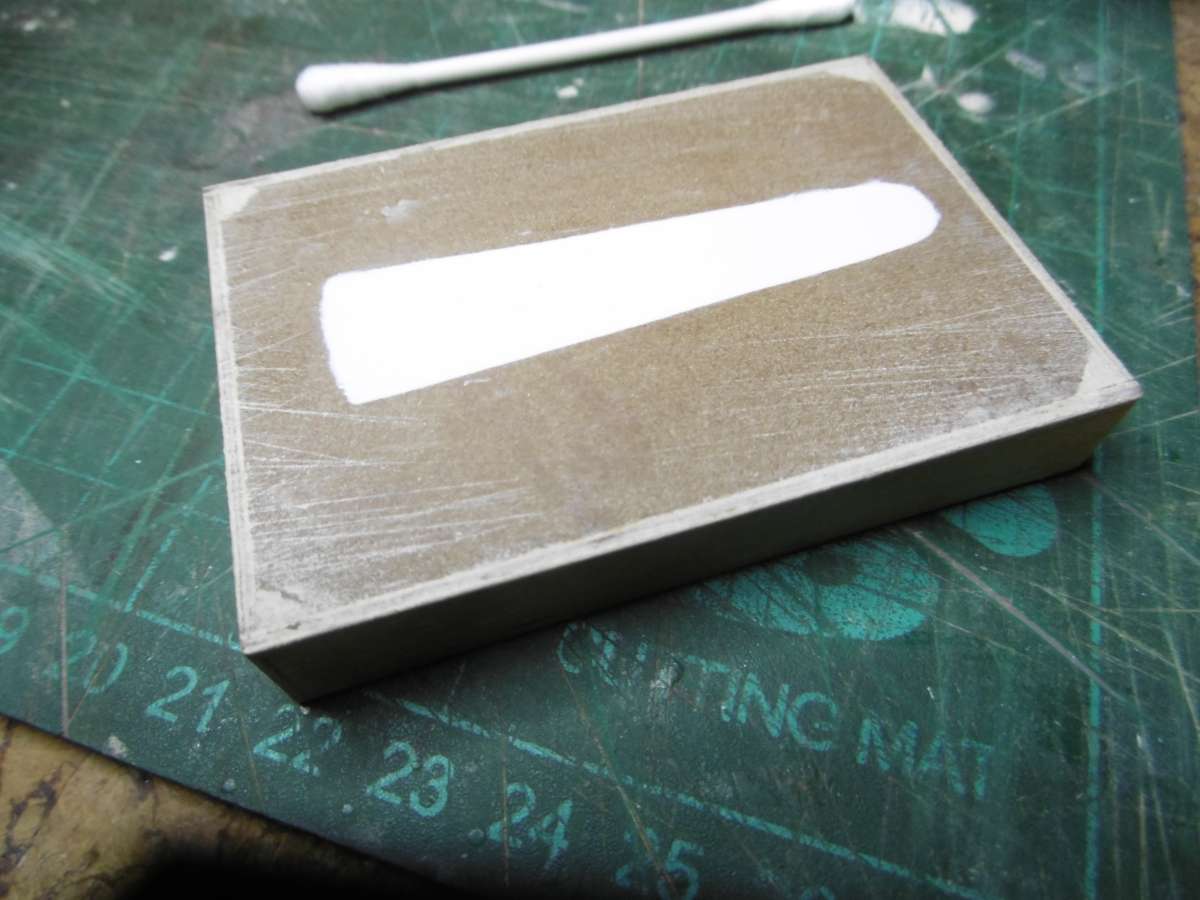
                                                And the mould filled flush with the top surface.

                                                It didn’t cure but that is another story!

                                                Tim R


                                                #127619
                                                Tim Rowe
                                                Participant
                                                  @timrowe83142

                                                  After waiting three days the silicone did not go off so I poured it out, cleaned the mould, waxed it again and had another go.  Same result after over a week with no sign of a cure!
                                                  I was very careful with the catalyst dosing so I suspect it has a shelf life that has expired.

                                                  I need bow bumpers for Spooky, Laerke, two Cary 32s (by Ray Wood)  and Nimbus so I will make moulds for all of them and mould them in a batch with new material.  In the meantime, the soles of Flip Flops are a workable option.

                                                  Tim R

                                                  #127620
                                                  Colin Bishop
                                                  Moderator
                                                    @colinbishop34627

                                                    Yes, probably shelf life. It is frustrating with many prodcts as you don’t use it all initially and save it for a rainy day and then find it has ‘gone off’. I have found that with polystyrene ahhesive. Once you have breached the initial seal, the volatiles seem to sneak past the cap and render the remaining fluid virtually inert.

                                                    Many adhesives are expensive in that once initially opened, their life expectancy is very limited.

                                                    The water based ones such as Deluxe Superphatic do seem to last a lot longer.

                                                    Colin

                                                    #127623
                                                    Chris Fellows
                                                    Participant
                                                      @chrisfellows72943

                                                      Pity about the silicone Tim and the time wasted waiting, very frustrating. Meticulous work as usual though.

                                                      Chris

                                                    Viewing 25 posts - 51 through 75 (of 89 total)
                                                    • Please log in to reply to this topic. Registering is free and easy using the links on the menu at the top of this page.

                                                    Code of conduct | Forum Help/FAQs

                                                    Latest Replies

                                                    Home Forums Sailing Models Topics

                                                    Viewing 25 topics - 1 through 25 (of 25 total)
                                                    Viewing 25 topics - 1 through 25 (of 25 total)

                                                    View full reply list.