Wild Duck meets Eventide

Wild Duck meets Eventide

Home Forums Scratch build Wild Duck meets Eventide

  • This topic has 83 replies, 7 voices, and was last updated 4 weeks ago by Richard Simpson.
Viewing 25 posts - 26 through 50 (of 84 total)
  • Author
    Posts
  • #120258
    Richard Simpson
    Moderator
      @richardsimpson88330

      Lovely woodworking Tim.  Very rewarding when you haven’t got the material you want to create it from the bits and pieces you have got.  Individual planking looks so much more realistic than a single sheet of something with joints drawn onto the surface.

      I think one of the most pleasurable jobs in modelling is applying the first coat of varnish and seeing the wood come to life.

      #120260
      Tim Rowe 1
      Participant
        @timrowe1

        That’s kind of you to say Richard, for one who has just produced the Mona Lisa of the modelling world!

        P1010165

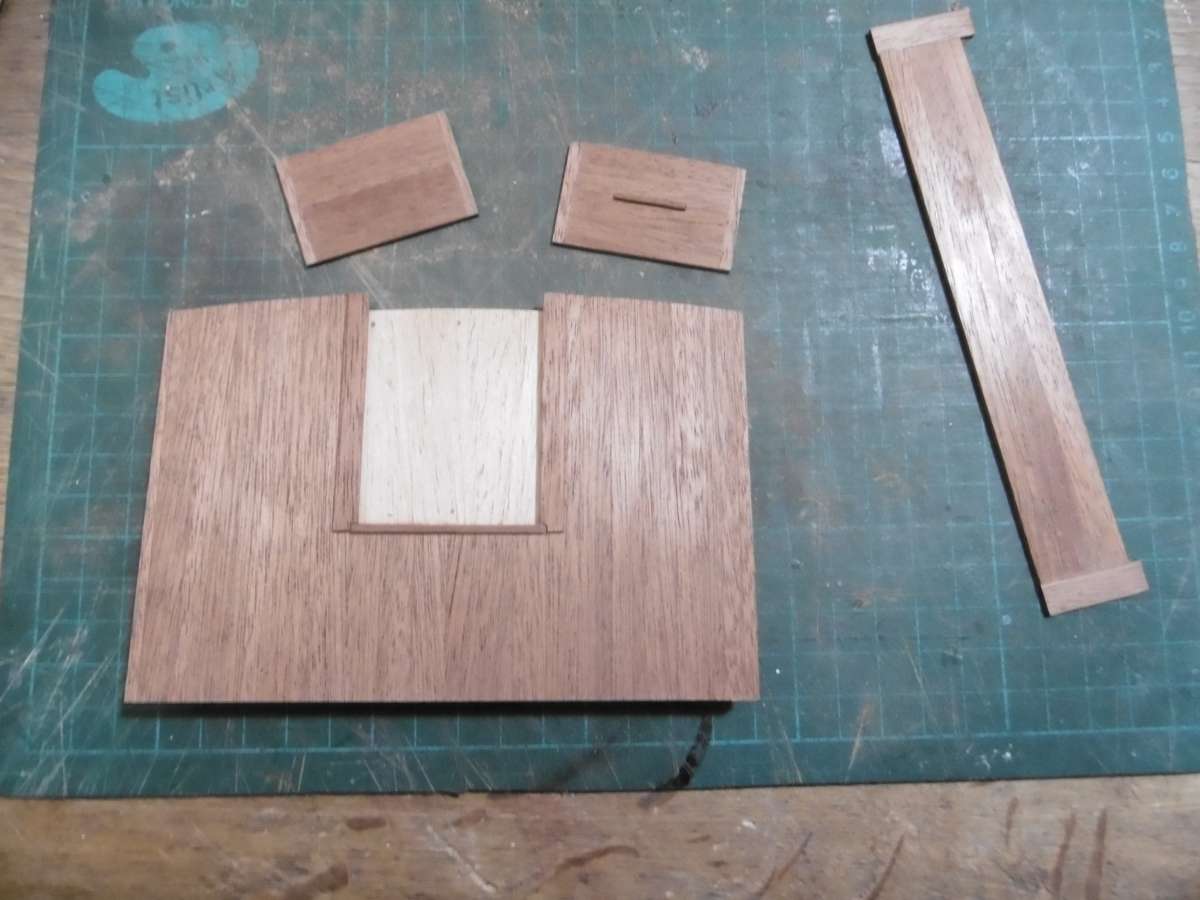
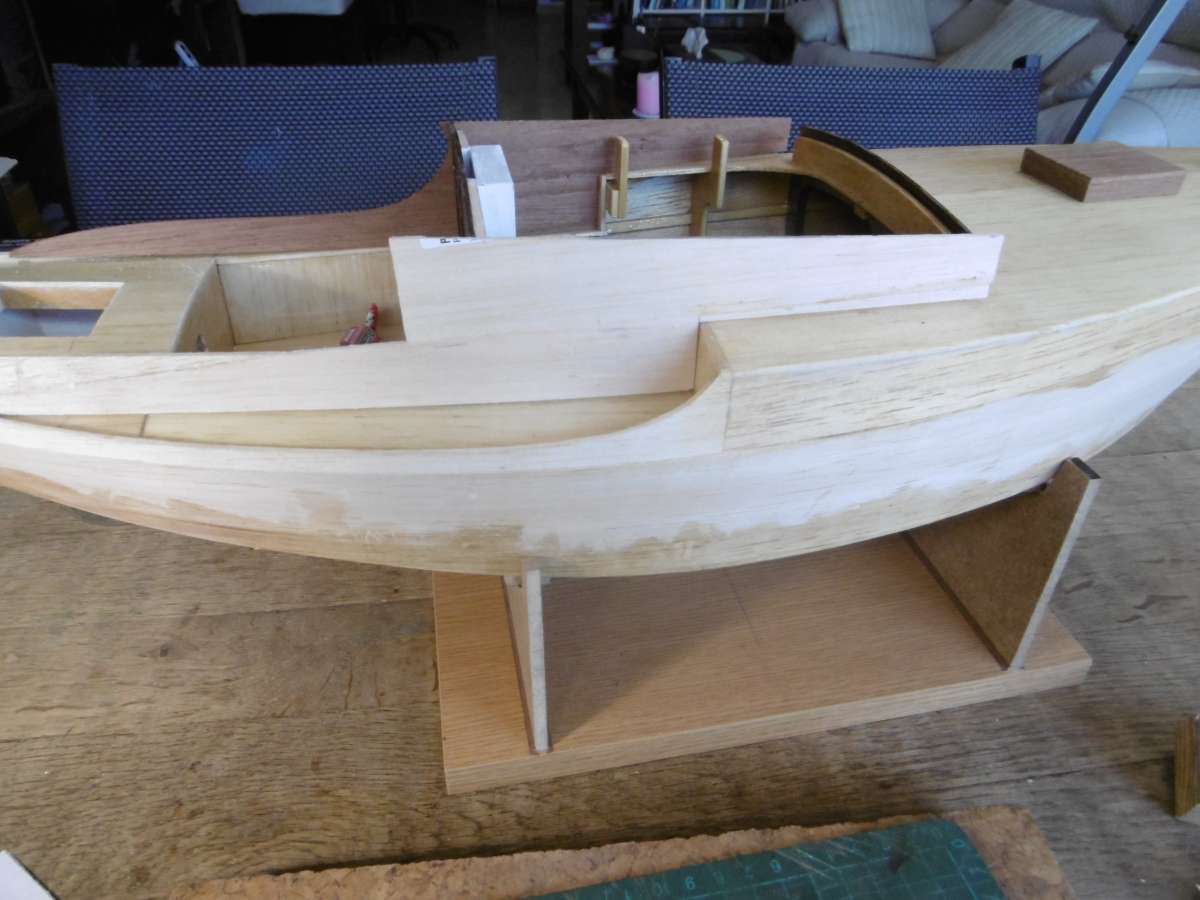
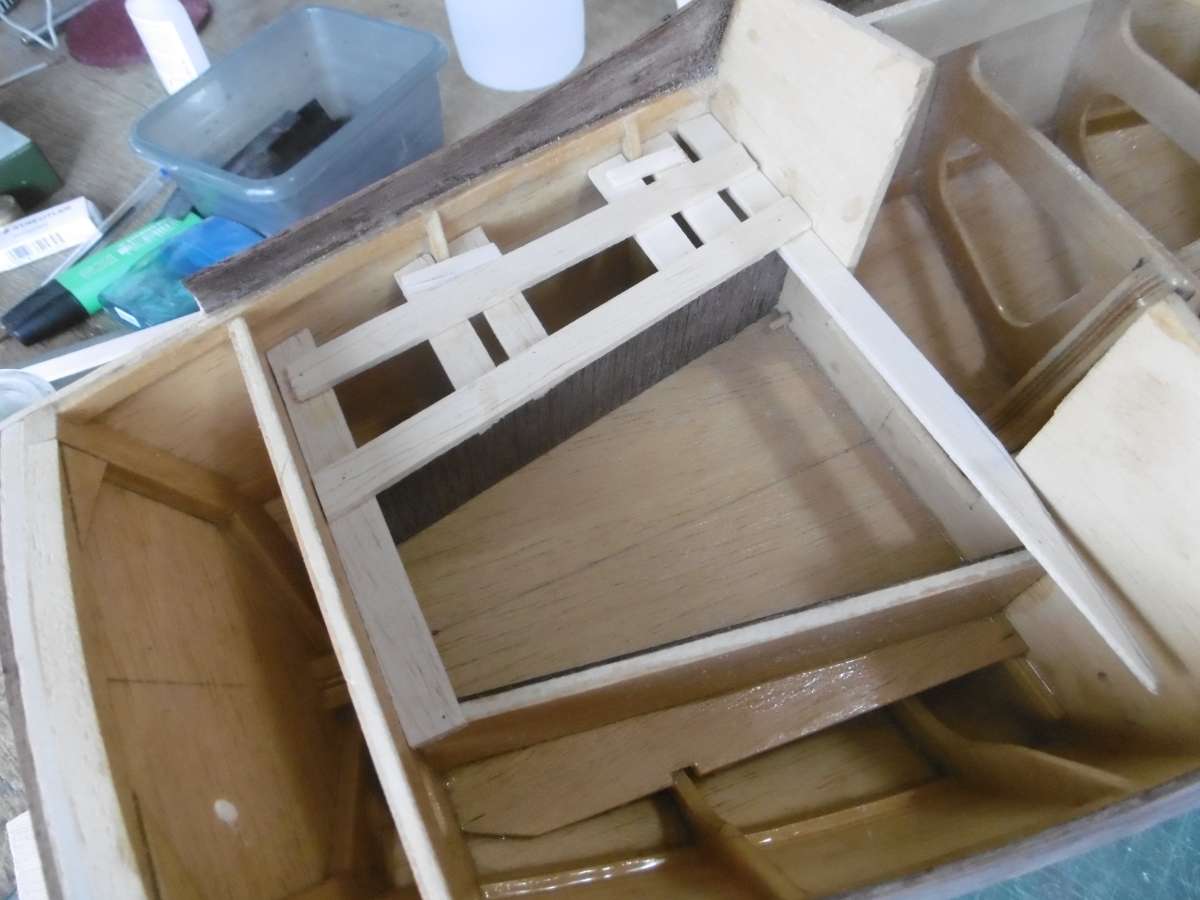
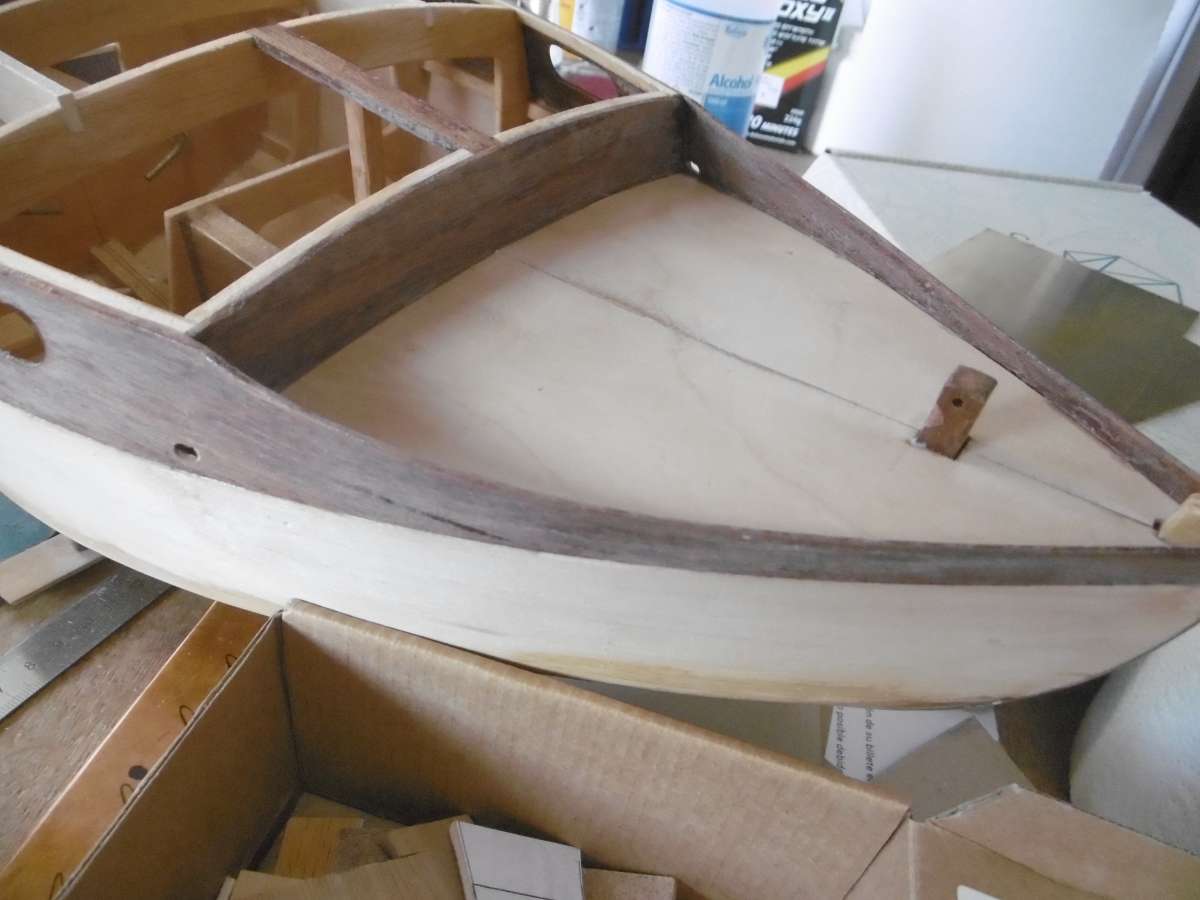
        The next job was the main bulkhead at the fore end of the cockpit. This time the planks were stuck direct to a piece of 3mm Liteply as the bulkhead needs a bit of strength.  It will be taking the mainsheet loads eventually.

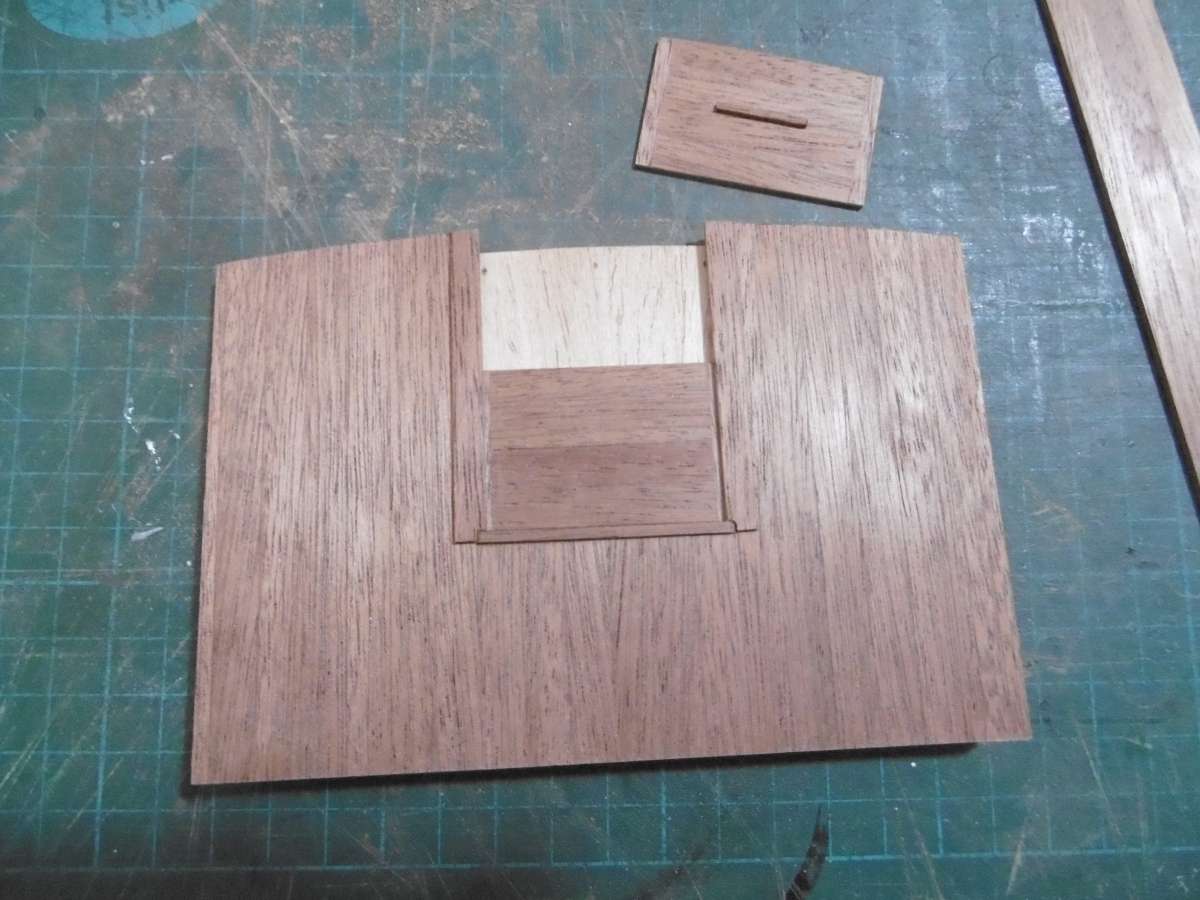
        P1010166

        This picture shows the bottom washboard in position. Actually this one is fixed.

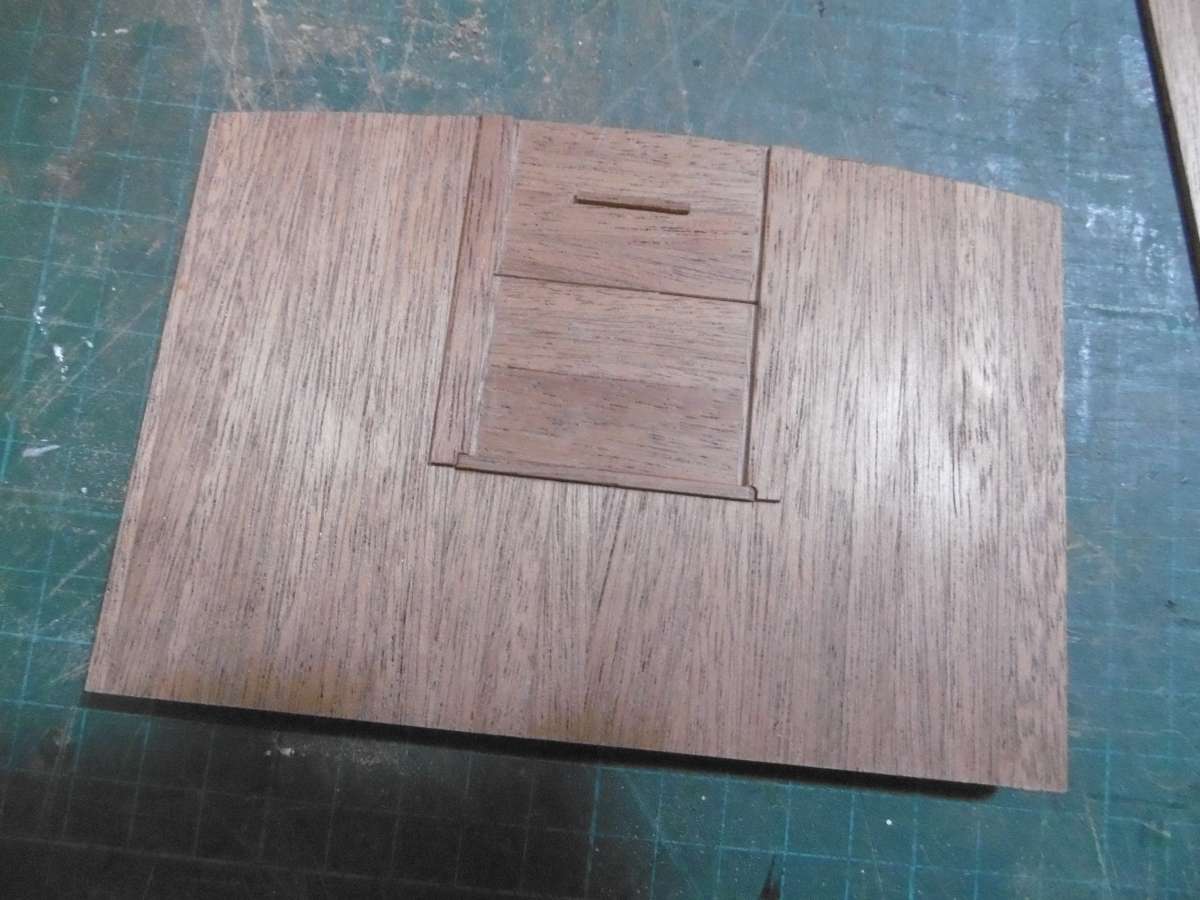
        P1010167

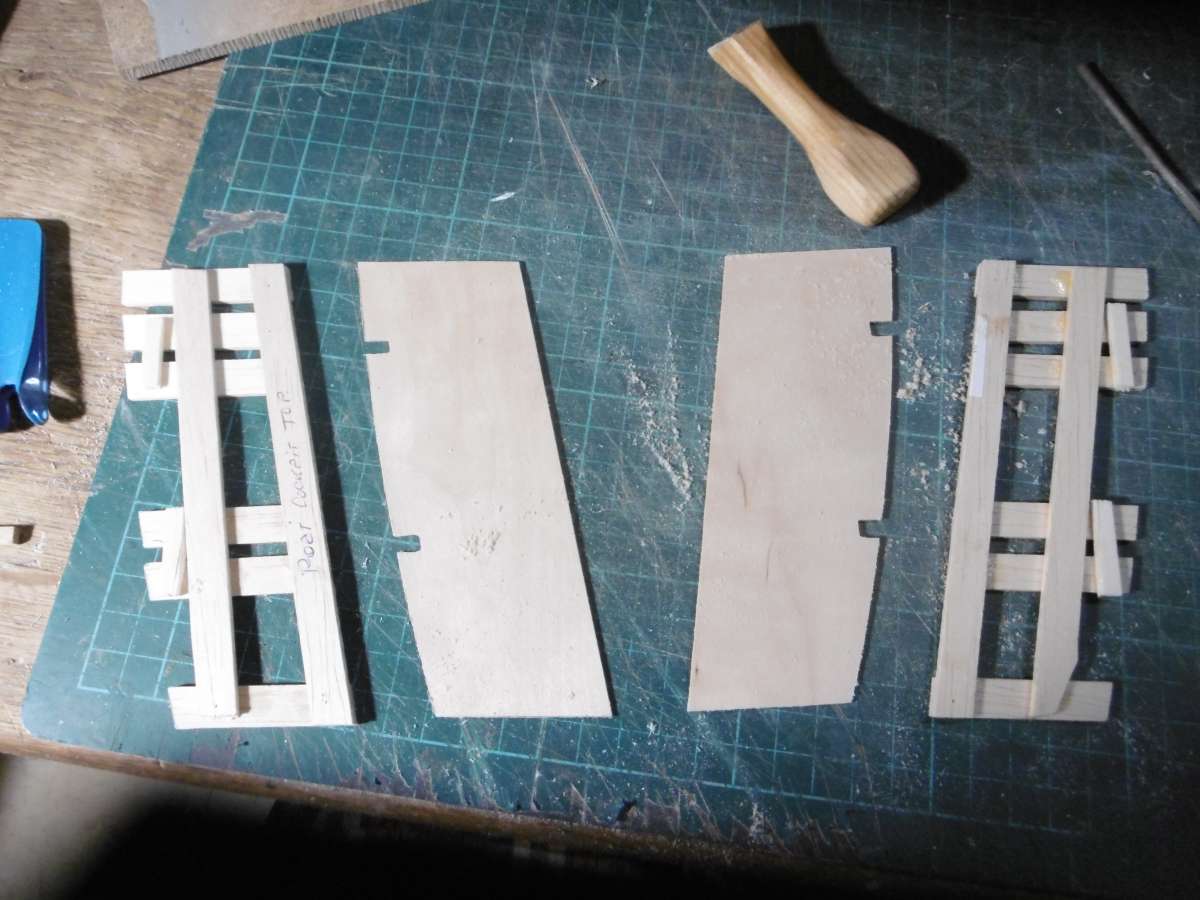
        Then the top washboard which is removable for reasons I will explain later.  The edges of the washboards have a closing piece at each side.  This is again to hide the end grain but it also helps to prevent any warps that might otherwise creep in.

        Cabin sides next which are a bit more complicated.

        Tim


        #120269
        Tim Rowe 1
        Participant
          @timrowe1

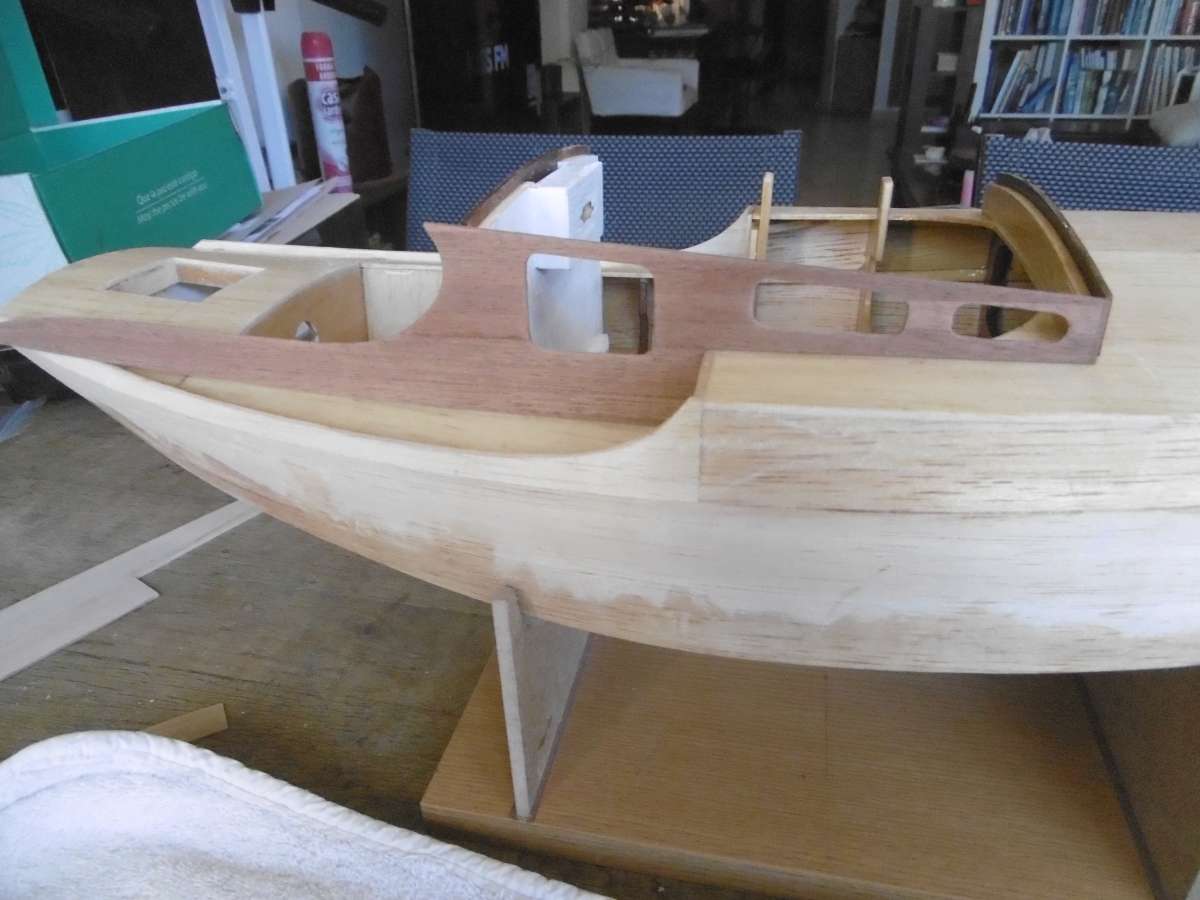
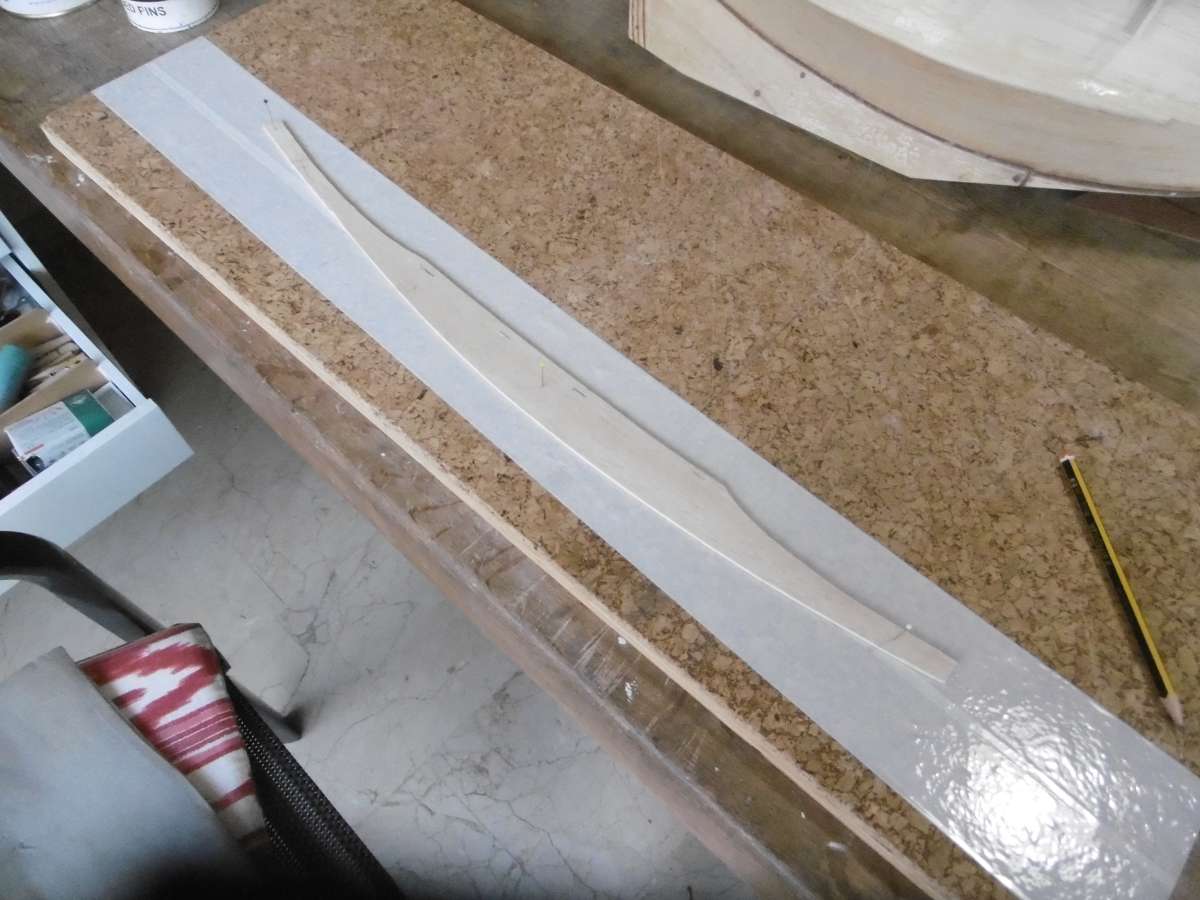
          Making the cabin sides required another template made out of scrap pieces of balsa tacked together.

          P1010210

          Like the cockpit coaming it has a combination curved edges and so time spent getting the template to fit nicely pays dividends later on.  Some might say it is wasteful to use balsa but I repurpose the wood into smaller bits so eventually I might just be throwing away shavings and dust.  Balsa templates for this application are so much easier to adjust by light sanding of the edge than card.  If you go too far, it is an easy job to stick another piece on.

          P1010201

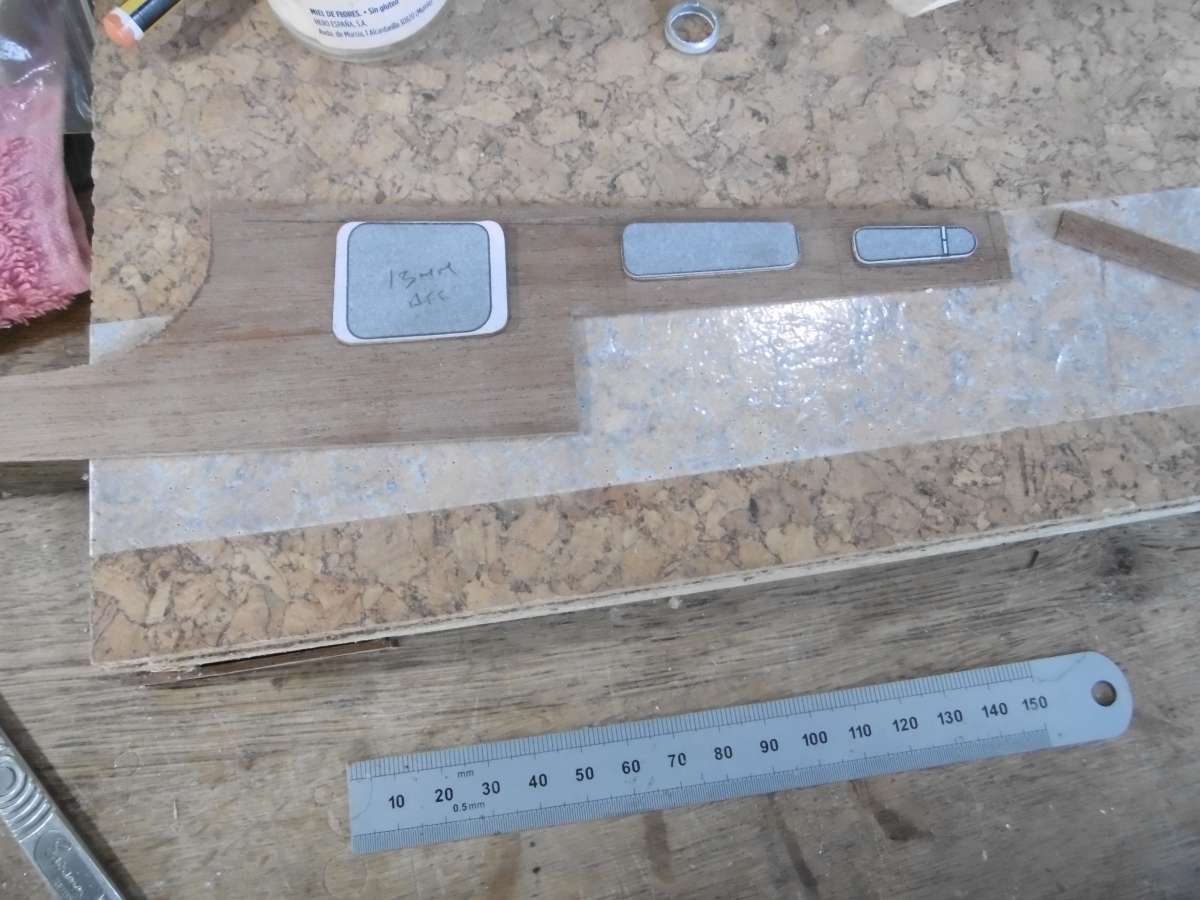
          Then there are some windows to cut out.  The larger window was made slightly large to disguise a mistake I made.  I started the curve of the cockpit coaming on a bulkhead when it should have been about 12mm further back. Luckily it doesn’t show up too badly and the larger windows compensate.

          The template are small pieces of plywood with a photo-copied image of the window pasted on with Pritt Stick.  It is easy to cut them slightly oversize and then cut back to the line with a disc sander.

          P1010203

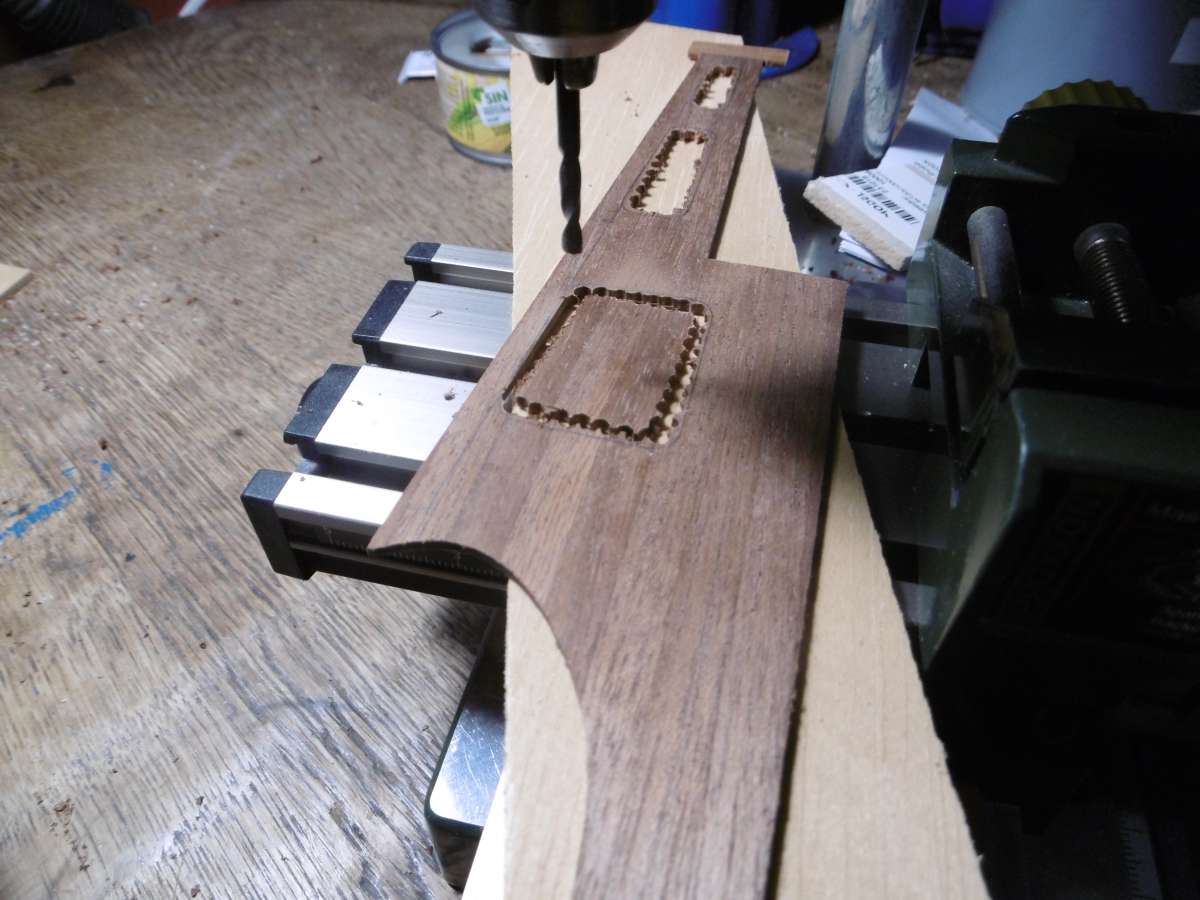
          Cutting out the windows just needs lots of patience. First chain drilling  with a 3mm drill (nice and sharp) and then finishing of with files and sanding boards.  I have a number of short pieces of dowel with sandpaper glued on.  Different diameters give me the radiuses I want.

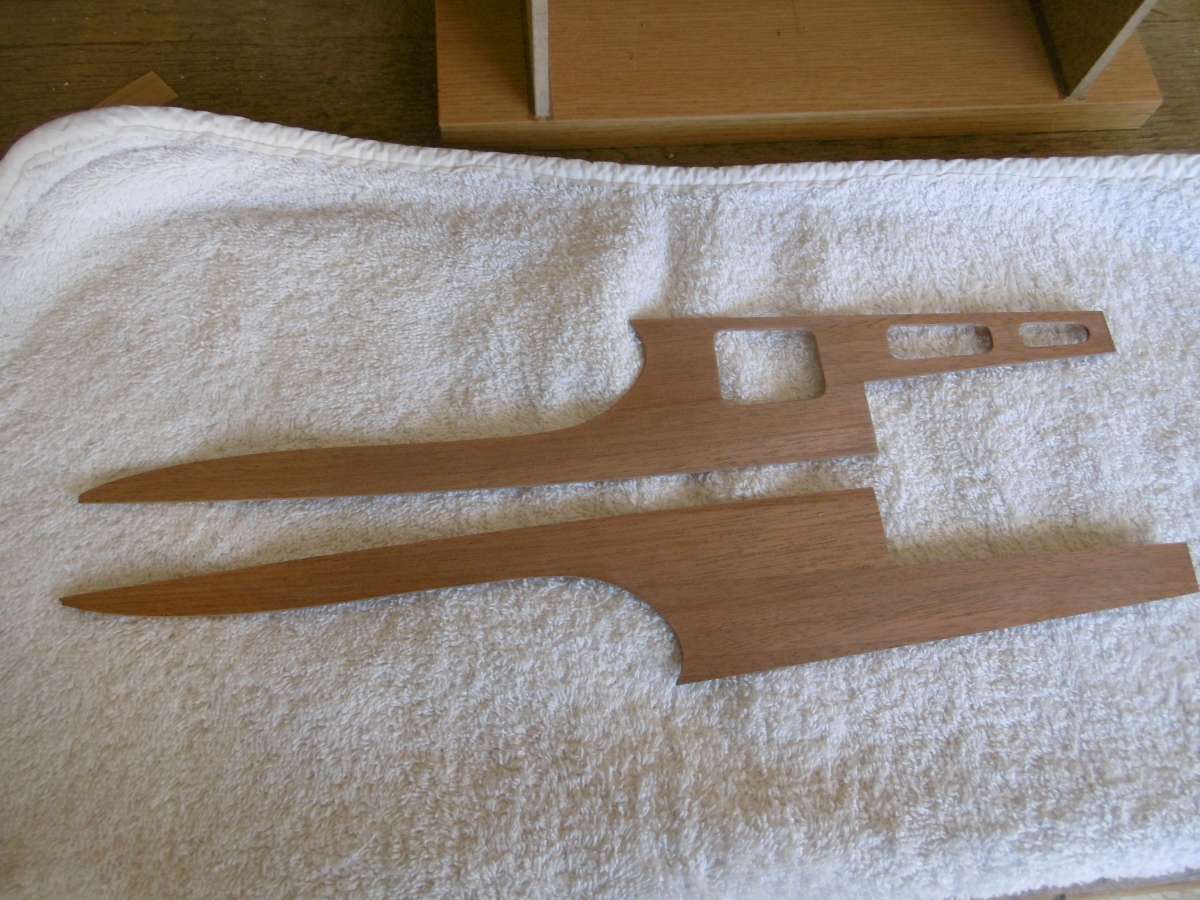
          P1010213

          One done and one to go.  They couldn’t be done at the same time because there are subtle differences in shape from side to side.

          P1010214

          And dry fitted.

          Tim


          #120270
          Chris Fellows
          Participant
            @chrisfellows72943

            Nice work as usual Tim. I agree with Richard that building up from individual planks looks better.

            Chris

            #120274
            Tim Rowe 1
            Participant
              @timrowe1

              Hi Chris.  Looking forward to seeing you back in build mode, especially with the Fisherman which is very shapely.

              Full size would be made up with planks but probably a bit wider than I have done for scale.  At least at this width there is very little tendency for them to cup.

              Tim

              #120567
              Tim Rowe
              Participant
                @timrowe83142

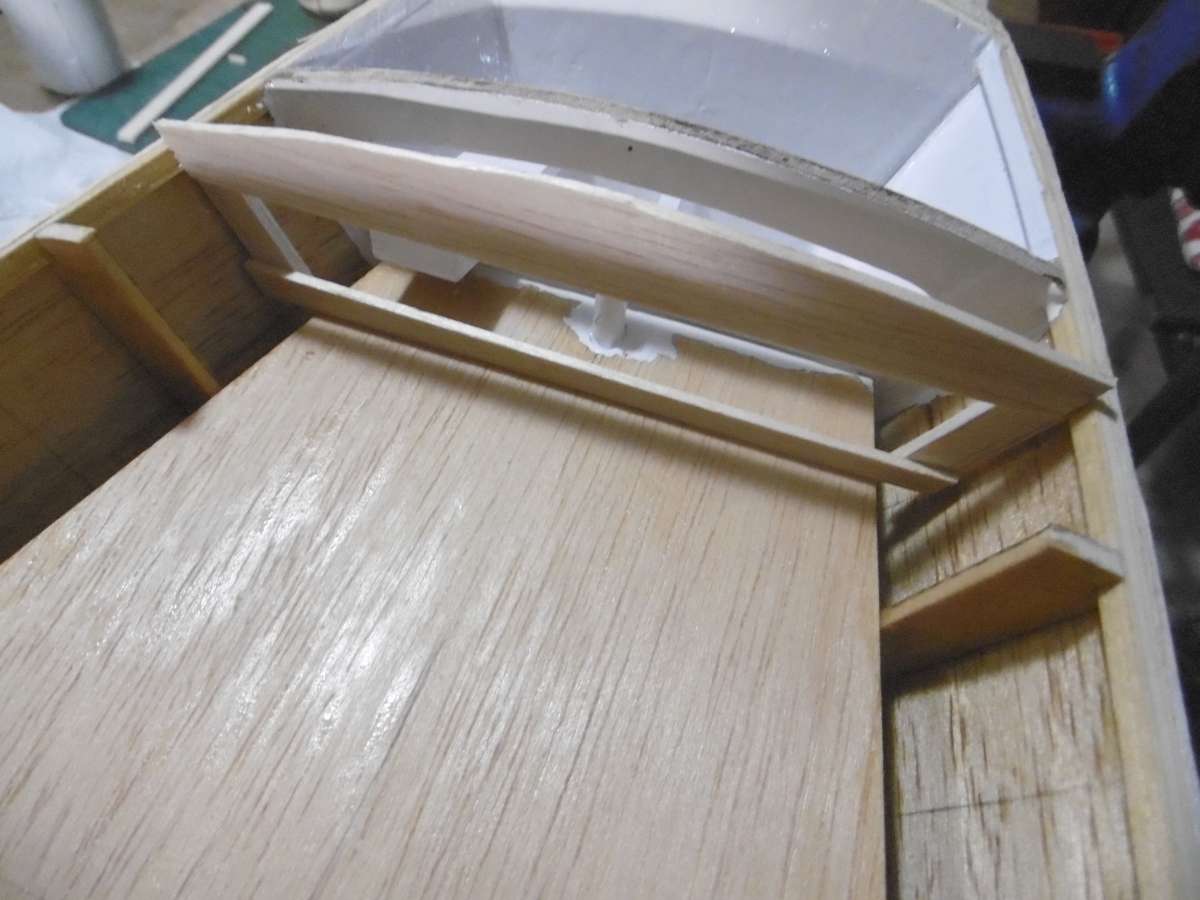
                Work progresses with the cockpit.  Here the plan leaves you to your own devices and to get the shape required for the aft bulkhead, I made up a simple balsa template.  I tend to keep scraps however small until they pile up to be a nuisance and then have a clear-out keeping the remotely usable bits.

                P1010052

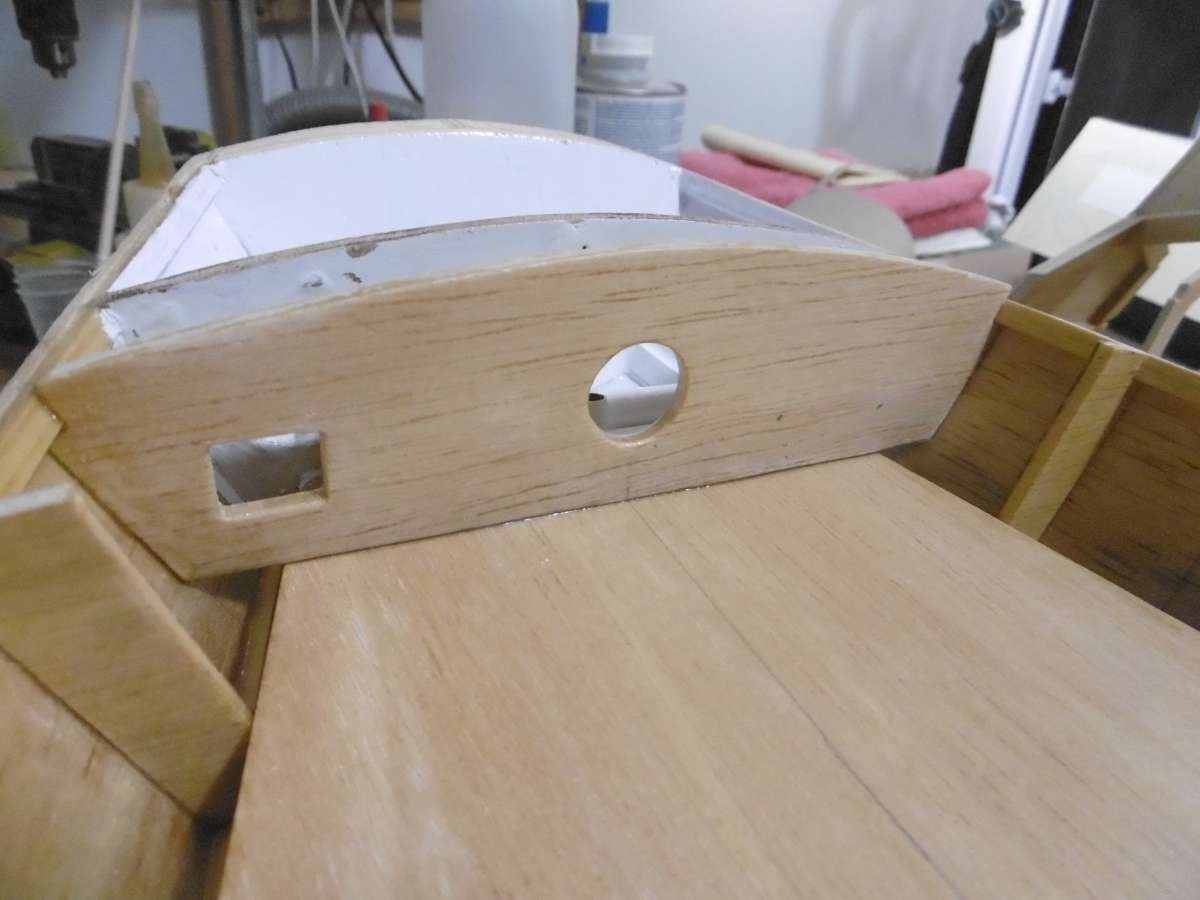
                It then make a simple job to fit the proper bulkhead.  As this will be painted it is made from 3mm Liteply.

                P1010055

                The hole in the centre is to give access to the grub screw that will clamp the tiller arm to the rudder stock.  It will be covered with some self-adhesive sail lettering material.
                The hole on the left is to take the control snake for the rudder. The hole has to allow for some lateral and vertical movement from the inclined bell crank.

                P1010171

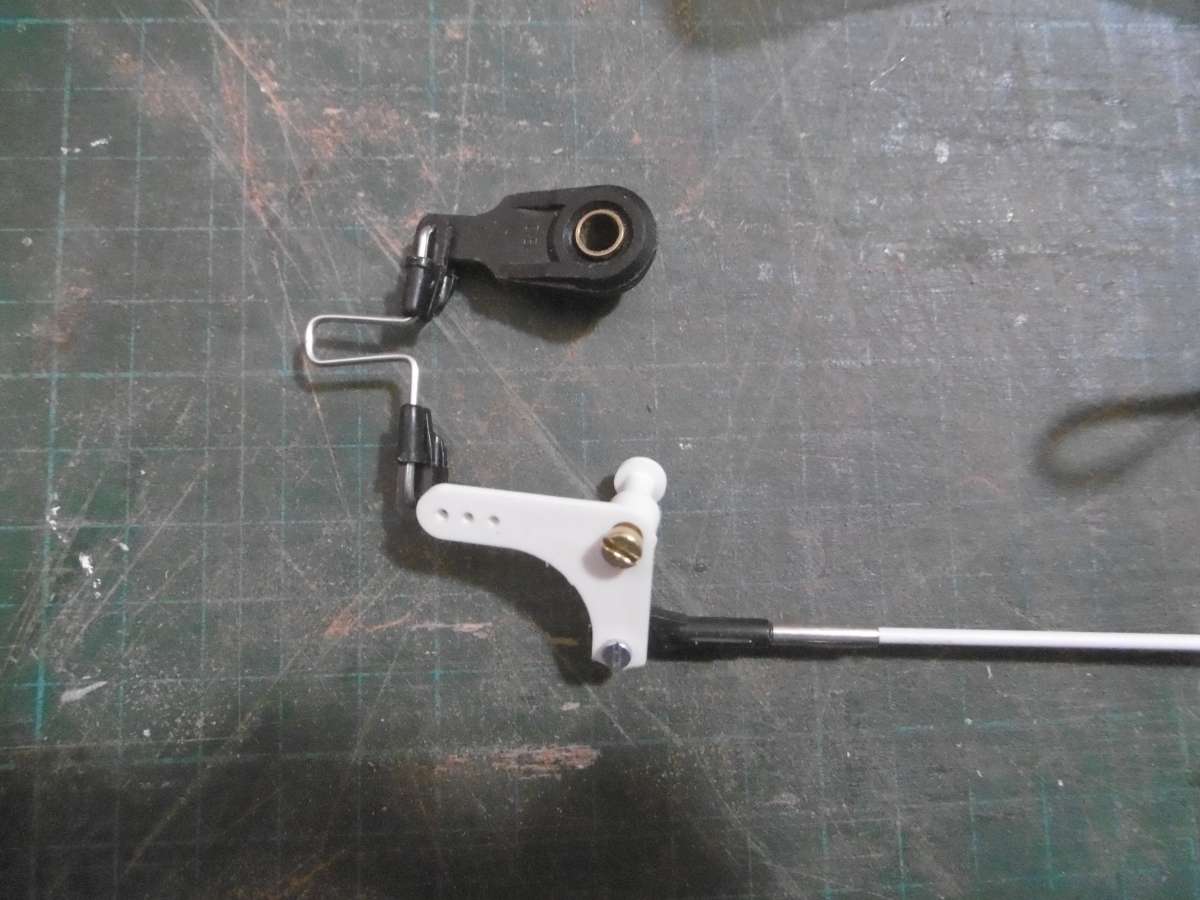
                This is the tiller arm, link and bell crank assembly.  The idea of the bell crank is to allow the control snake to pass between the hull and the cockpit lining.  This will keep it hidden away and and not breaching any watertight divisions.
                The tiller arm is a cut-down nosewheel steering arm from the aircraft collection, as is the bell cranks which is typically used to operate ailerons. The link is stainless steel wire with keepers at each end. Space is pretty tight in the steering compartment so the was not room for adjustable clevis fittings.  The loop in the wire can be opened or closed to give fine adjustment to the length.  The wire is quite stiff so is plenty strong enough to handle any loads that the servo could develop. It also gives a bit of compliance if the rudder happens to get knocked.

                P1010174

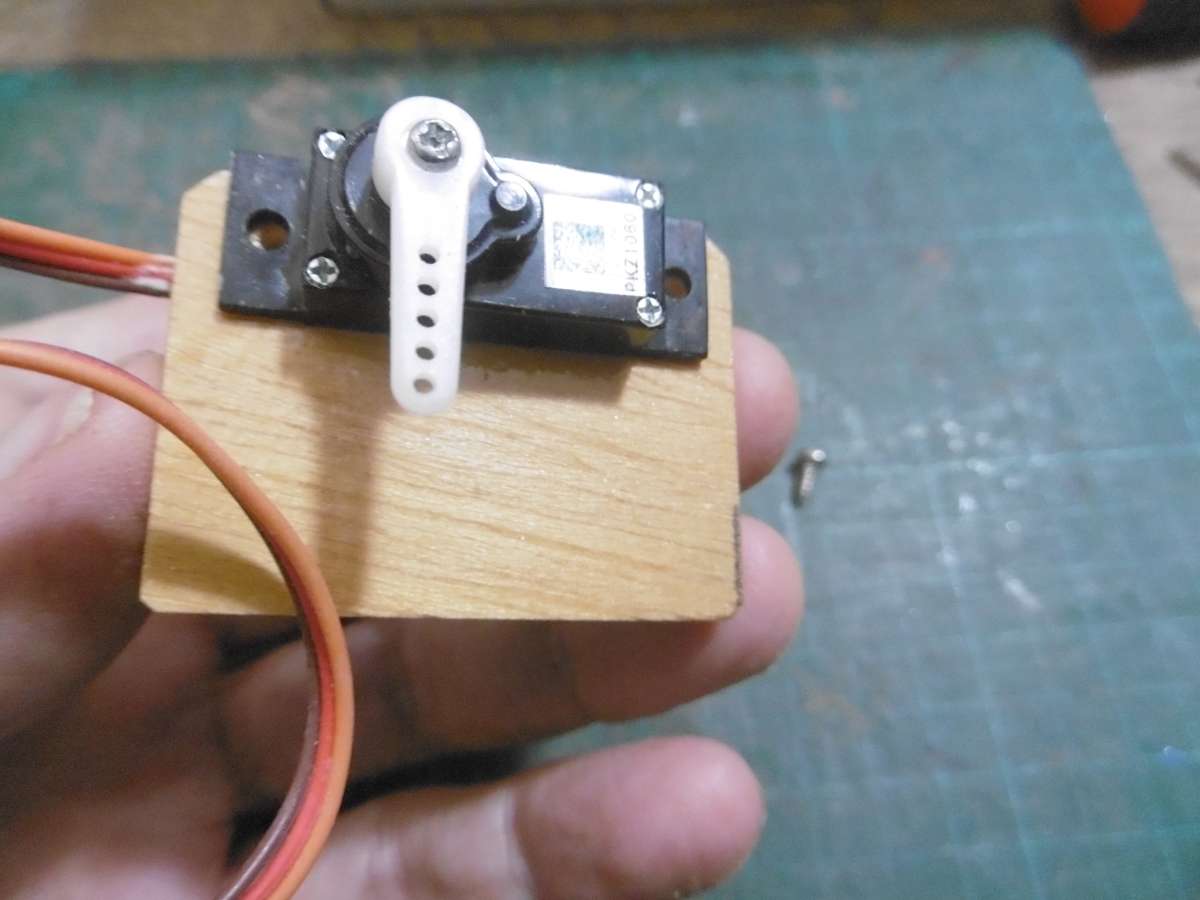
                This is a 9g mini servo that should be adequate for the steering.  If not there is room to swap it out for a standard one.  I may have to do that anyway if the 4 cell battery is a bit puny for the winch.  The mounting plate is fixed between frames and also glued to the hull.  The advantage of sealing the interior of the hull with epoxy is that I can stick anything I want, anywhere it is needed with more epoxy and not have to worry about the bond.

                P1010176

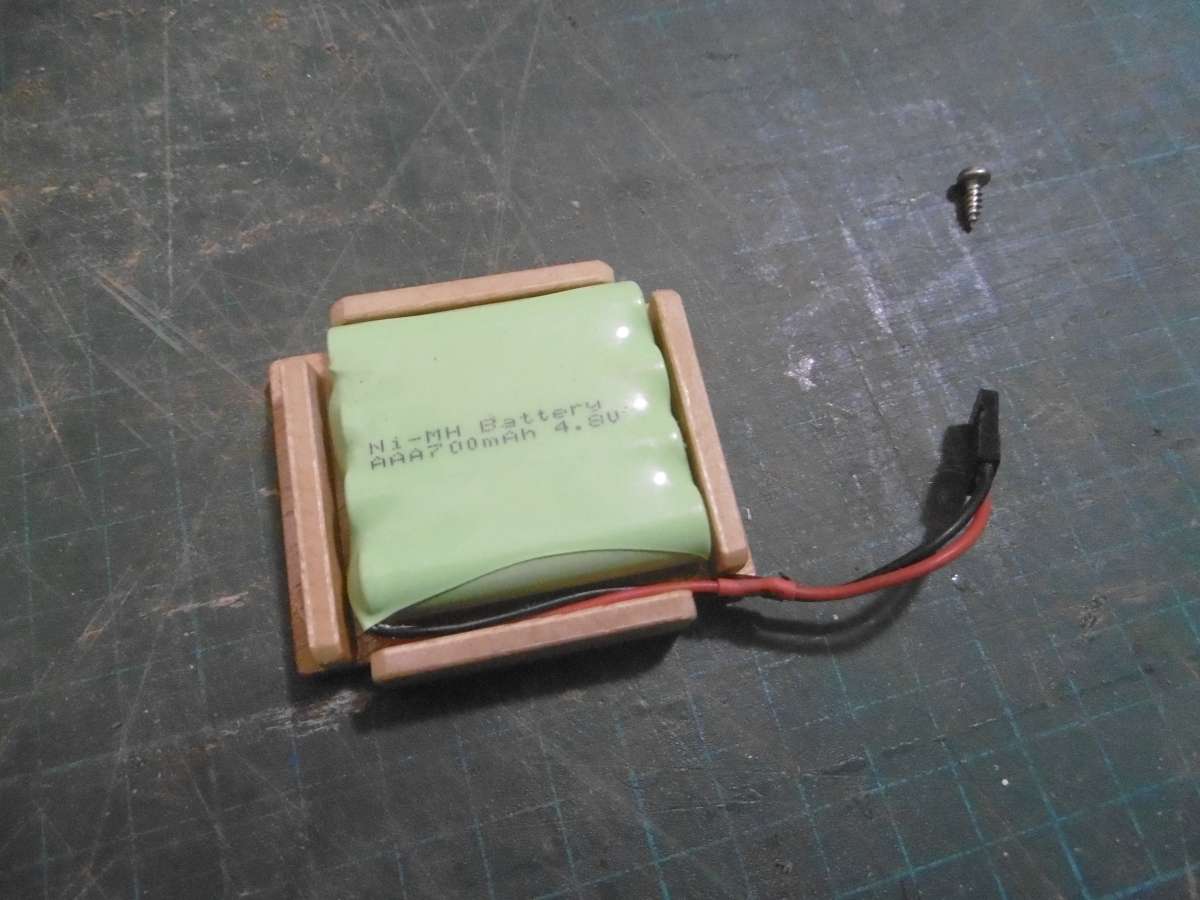
                The battery tray gets screwed to a base low in the hull.  It is easily removable in case I need to go to a 5 cell buggy battery with more volt and higher capacity.  I don’t think Eventide is a boat to sail like a hooligan!

                P1010184

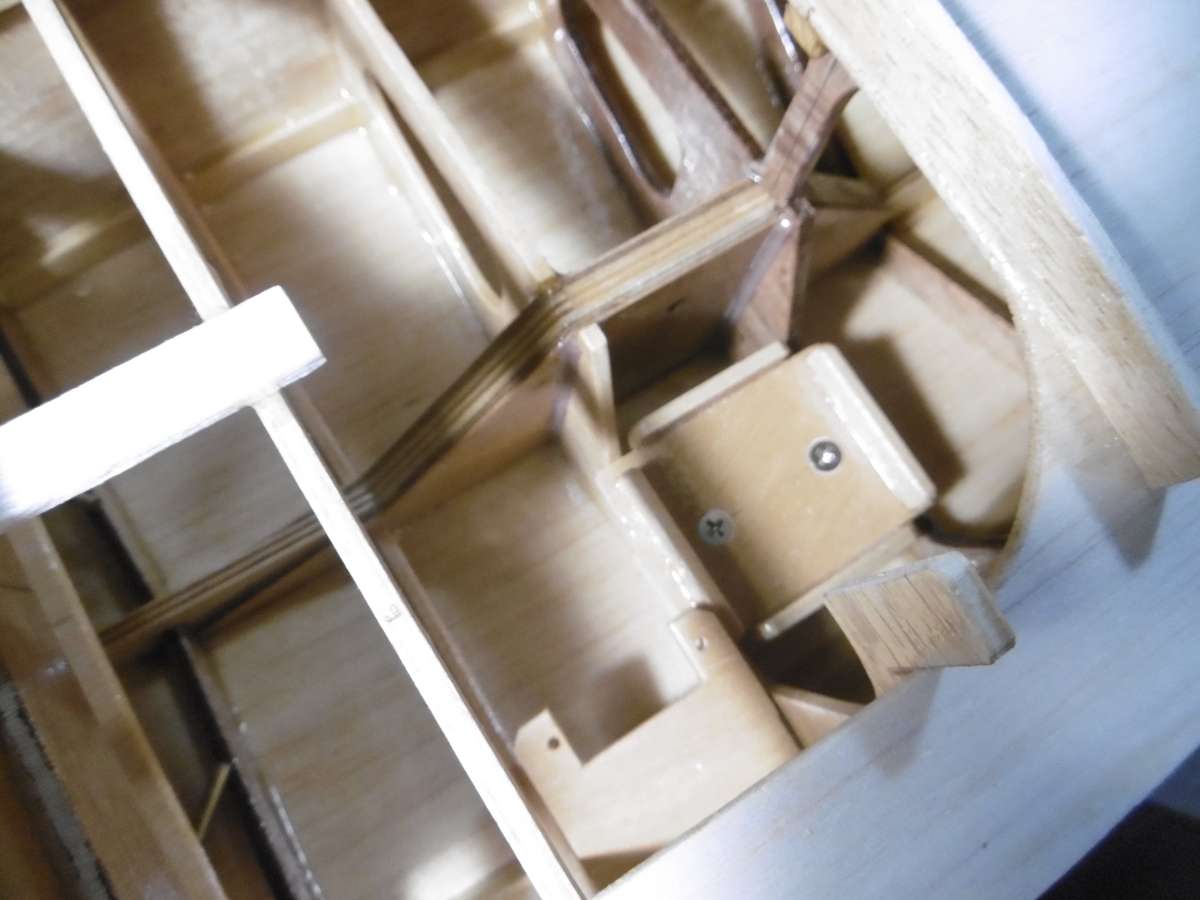
                Battery tray and servo platform in place.  I now have the servo in an accessible place and the bell crank link and tiller arm can all be serviced or replaced via the aft hatch.

                Contrary to the advice by Richard Simpson to distribute the weight of a motor boat out to the ends, it is important with a sailing boat to keep the weight out of the ends for the best performance.  I am sure his advice is good for the motor applications.

                As a matter of interest it would be fascinating to see the effect of a plug-in fin keel with a lead bulb on a motor boat. It would provide great stability for low weight gain and a damping effect both transversely and longitudinally for a more authentic motion.  I don’t build those kind of boats so it remains a theory for me.

                Tim


                #120654
                Tim Rowe
                Participant
                  @timrowe83142

                  Few bits to do and then getting ready for the technical launch (no Champagne!)

                  P1010209

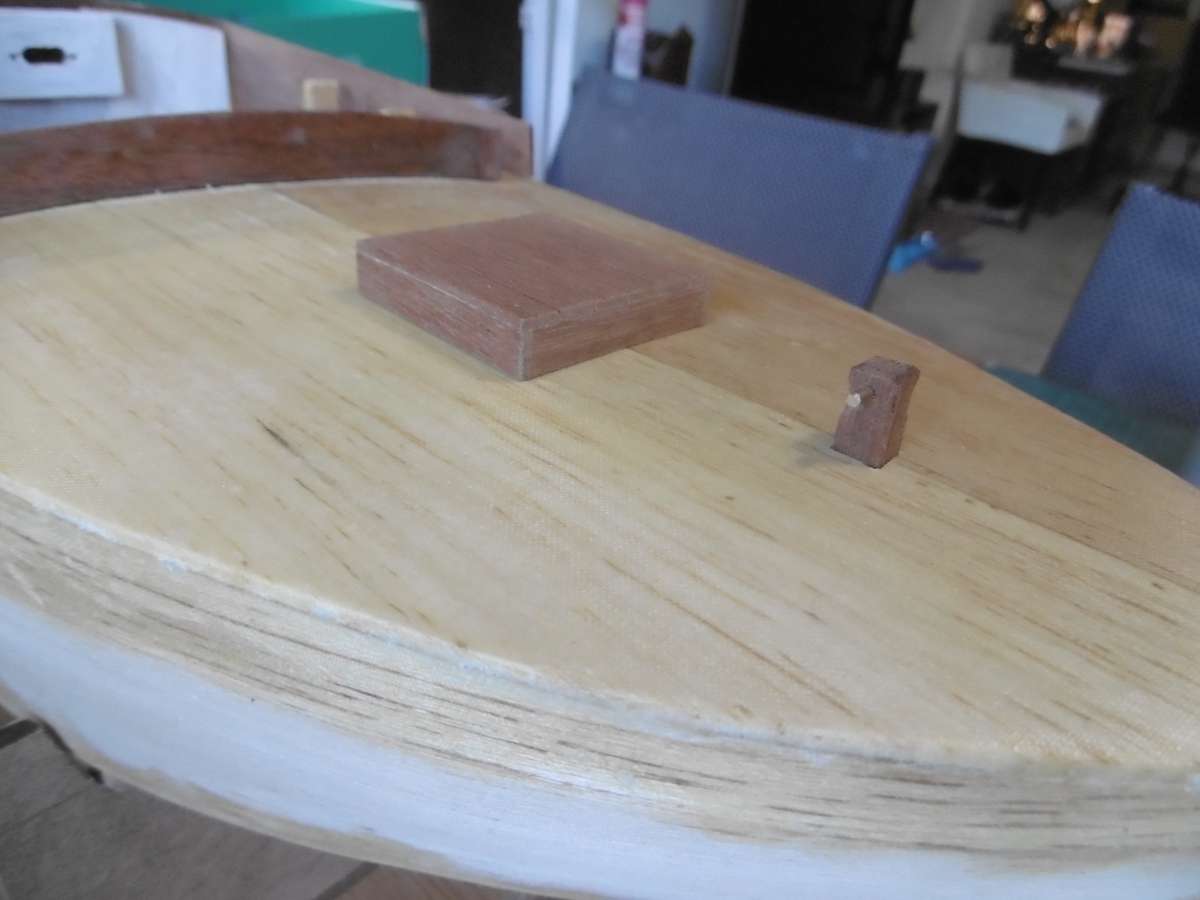
                  Foredeck with hatch and sampson post.

                  P1010406

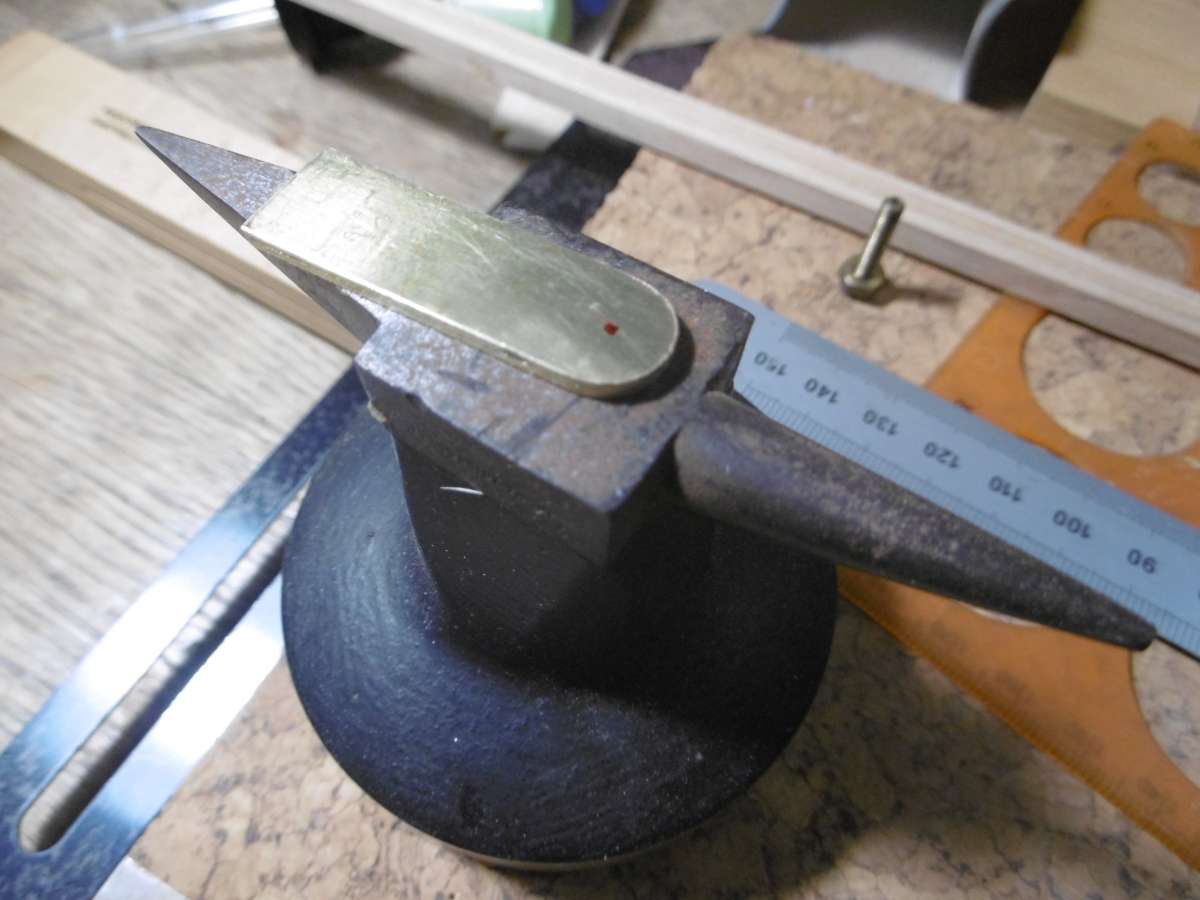
                  Blanks for the chainplates.

                  P1010408

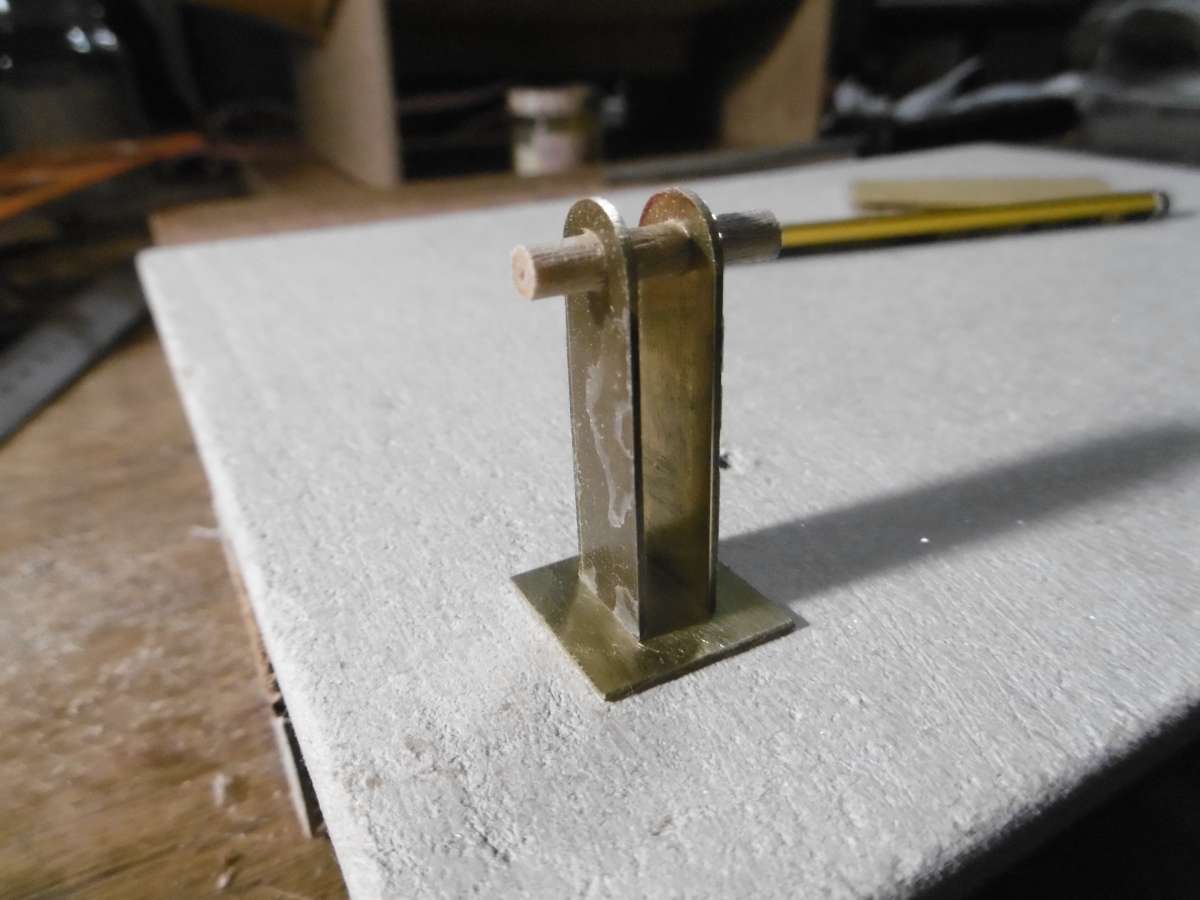
                  Mast tabernacle ready for soldering.

                  P1010413

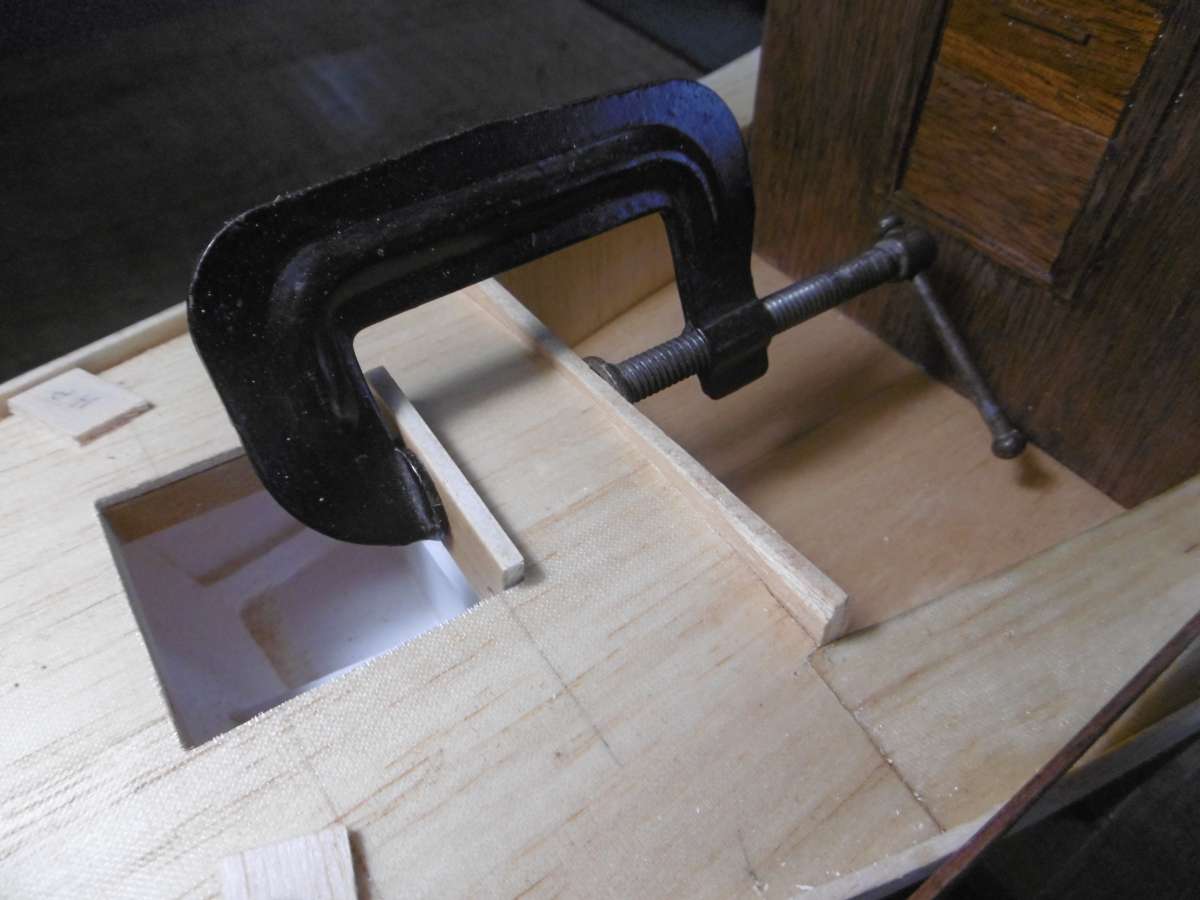
                  Aft hatch in progress

                  P1010417

                  Preparing for the test.

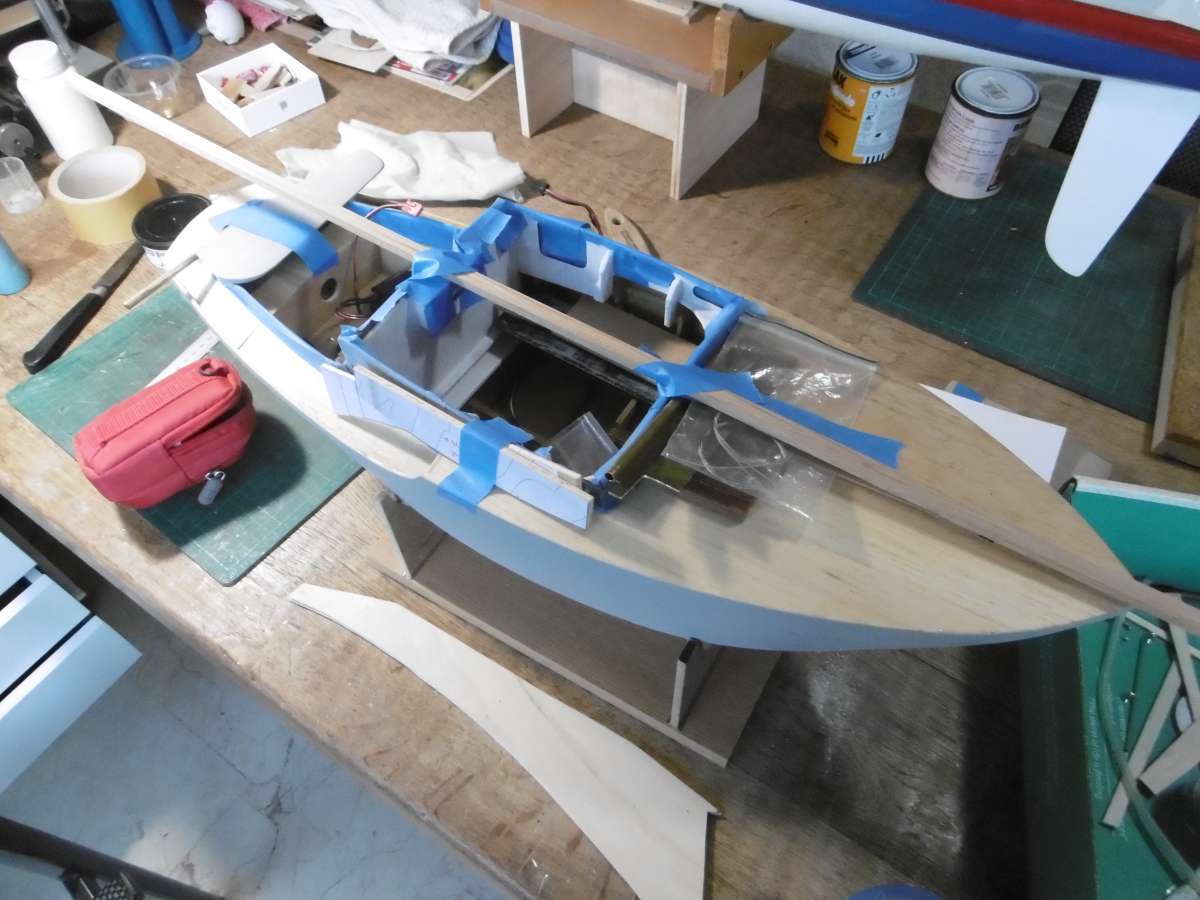
                  Everything that will eventually be onboard is taped into its approximate position plus a few little extras for good luck.  This will be the final weight of the boat without the keel.  My fin is reinforced plywood so I have ignored that.

                  P1010421

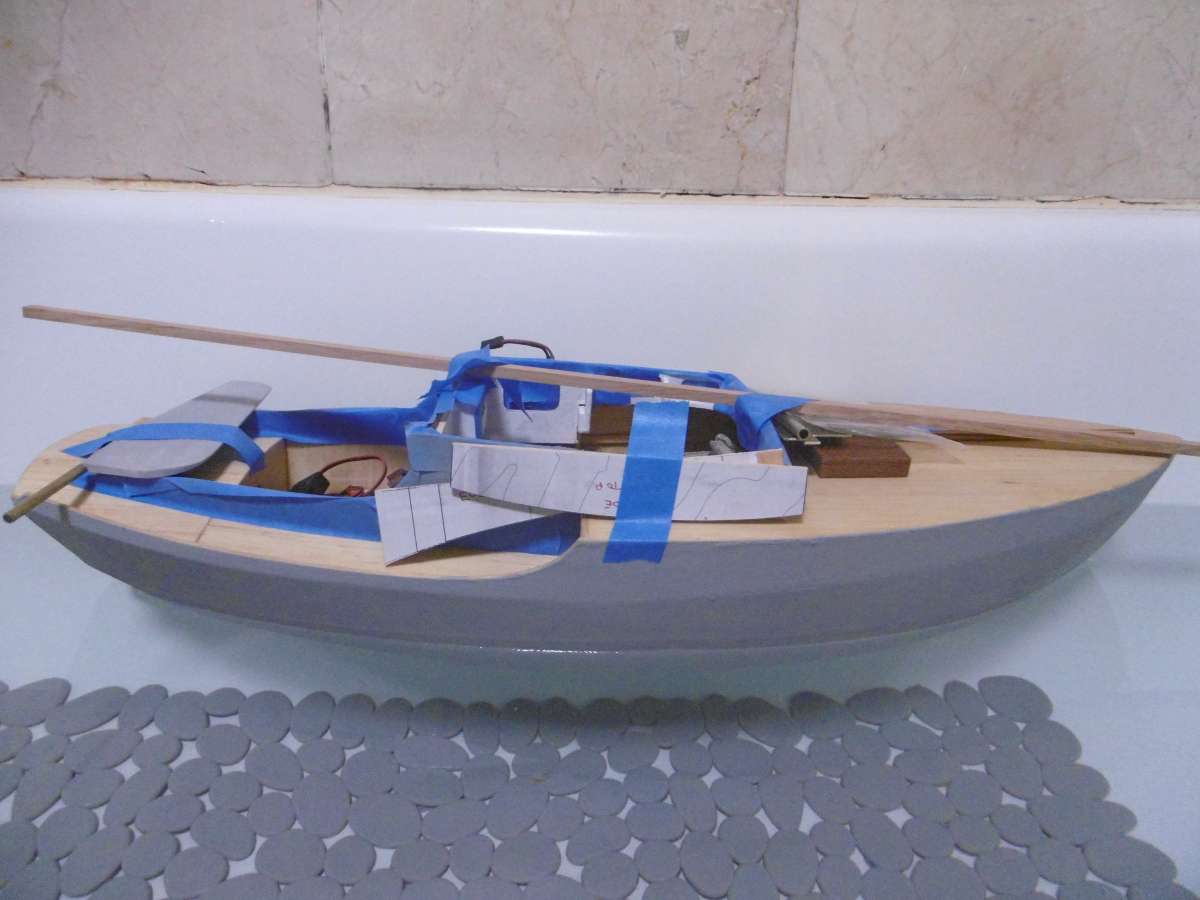
                  Finally in the shipyard test facility.

                  The boat was then loaded with small pieces of lead concentrated around the longitudinal centre of buoyancy to keep the trim correct.  When ballasted down to the correct waterline the approximate position of the centre of gravity of the lead was noted as this has to be the centre of gravity of the lead bulb later.

                  The lead was then weighed and it came to almost exactly 1kg.  This is about 250g more than mentioned on the plan due to keeping the hull weight down using balsa instead of ply.  This weight difference will be useful when added to the bulb.

                  Next up. making the bulb.

                  Tim


                  #120655
                  Richard Simpson
                  Moderator
                    @richardsimpson88330
                    On Tim Rowe Said:


                    Contrary to the advice by Richard Simpson to distribute the weight of a motor boat out to the ends, it is important with a sailing boat to keep the weight out of the ends for the best performance.  I am sure his advice is good for the motor applications.


                    My apologies Tim, I should have clarified, that applies mainly to scale powered models that you want to look realistic on the water.  It doesn’t apply, as you say, to sailing vessels, of which I have almost zero experience, nor performance models, of which I have absolutely zero experience!

                    #120795
                    Tim Rowe
                    Participant
                      @timrowe83142

                      Thanks for your interest Richard and no need to apologise.  It is interesting how different boats have different requirements.

                      One may wonder why I had such an unholy rush to float the boat?  Of course it is nice to find there are no leaks – hopefully and it is always a milestone.  The main reason is that I wanted to get on with the lead bulbs for the keel and the Plaster of Paris take an age to dry out.  I can’t stress highly enough how important it is for the moulds to be crisp dry before introducing molten lead.  There are plenty of YouTube videos of the consequences of doing otherwise.

                      Doing the bath test allow me to find out how much weight is needed to get to the design waterline and importantly I can determine where the centre of gravity of the ballast should be to maintain the correct fore and aft trim.  It is not helpful to have to add trimming ballast to correct this when the weigh will be doing more good at the bottom of the keel.

                      I have a collection of bulb patterns and moulds from previous models but Eventide and Wild Duck are the smallest I have built so far and all the other patterns were far too heavy.  I need 1kg.

                      These two boats are meant to look pretty on the water (or display) and they do that job admirably.  My background is racing so I am always reluctant to ignore details that improve efficiency.  Otherwise know as going completely over the top!!

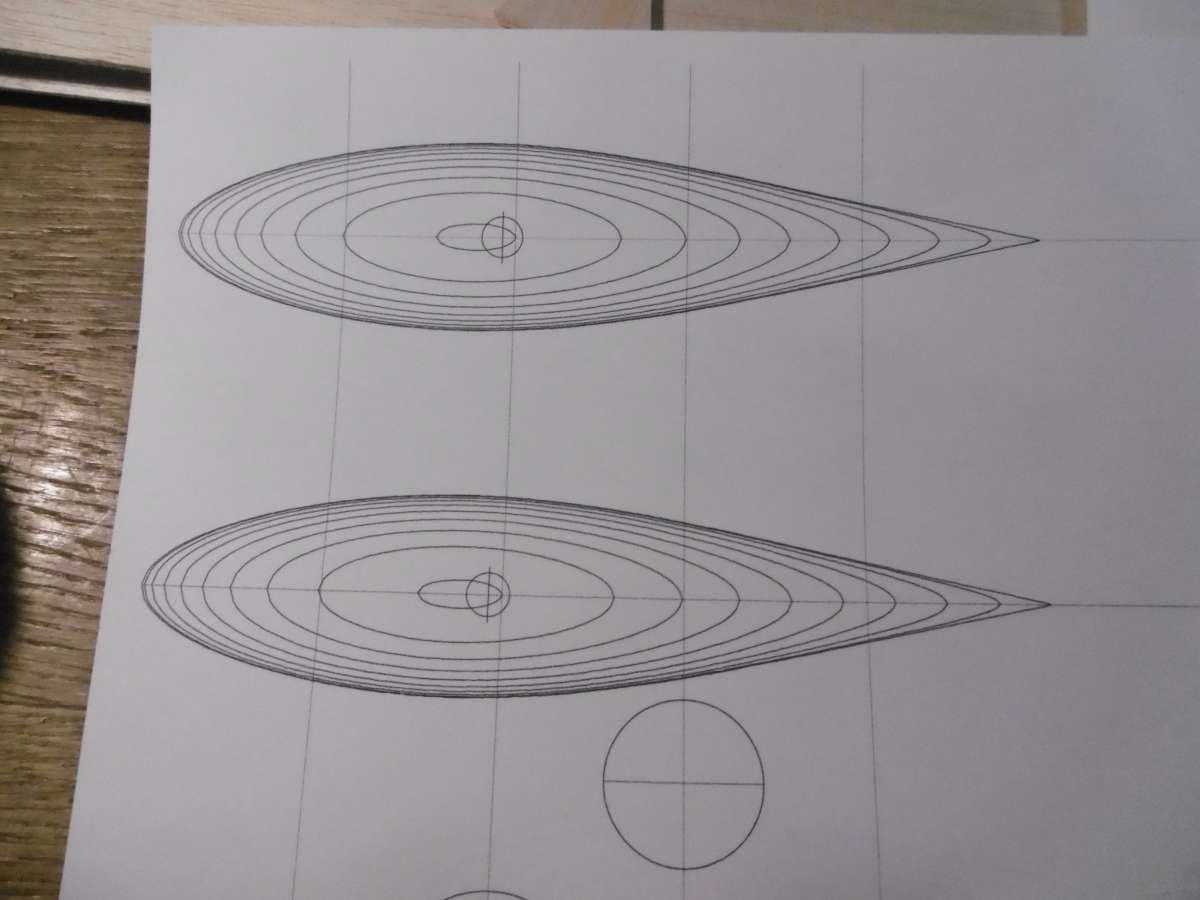
                      My go-to place is Bulbcalc and here I can choose from a variety of NACA Sections and manipulate them as necessary.  Because our models operate at very low Froude numbers (in simple terms due to relative sizes a full sized yacht moves through water and in comparison we are moving through a liquid more like treacle) it is better if the bulbs are long and thin.  One Metre racing yachts take this to an extreme but lead is bendy and a long thin pattern is flimsy.  Once I have decided on the proportions and type of section I get a table and if I select 1kg, the programme gives me the dimension.  Great fun and very simple.

                      P1010427

                      Hear is the result, a compromise resulting in a reasonable shape which is not too porky.  Helpfully the plot also includes the centre of gravity of the bulb marked by a small circle.  So easy!

                      Tim


                      #120796
                      Tim Rowe
                      Participant
                        @timrowe83142

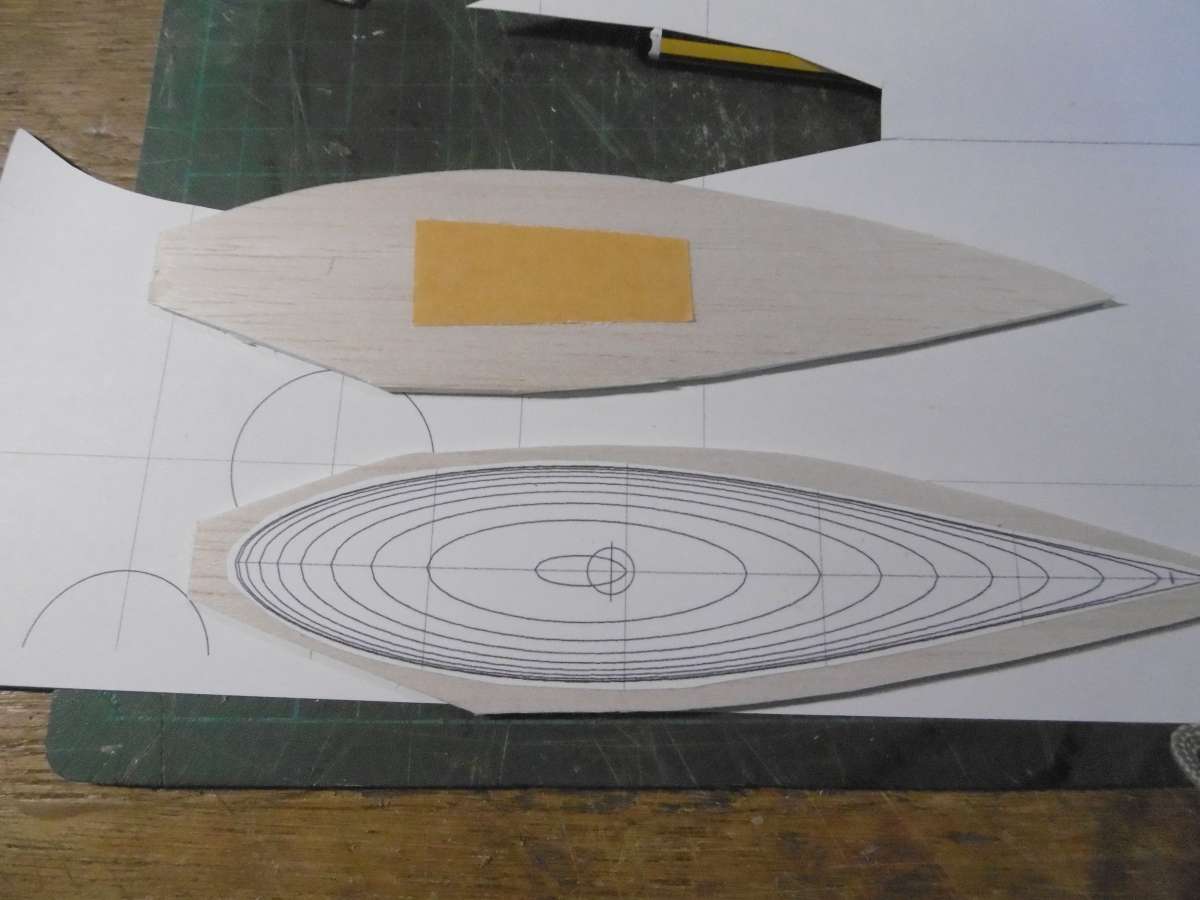
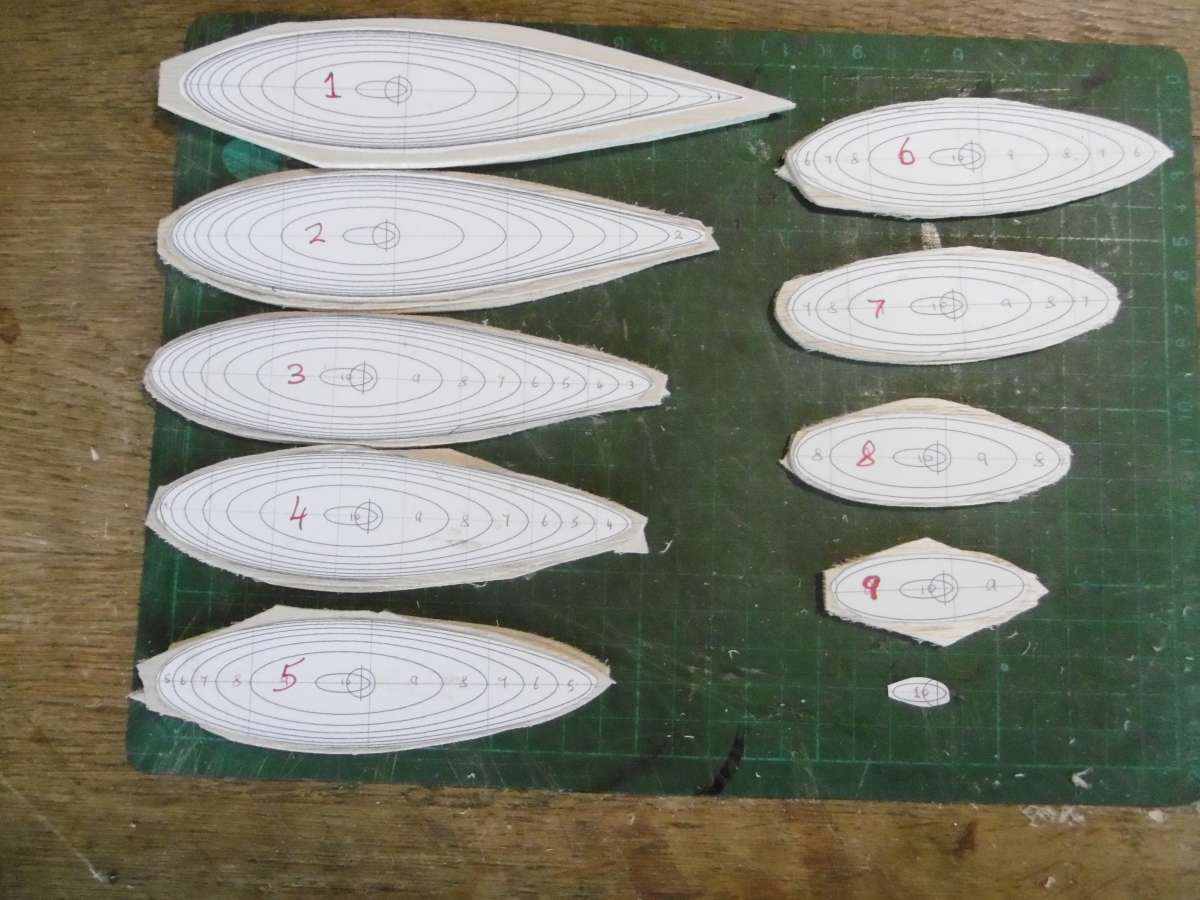
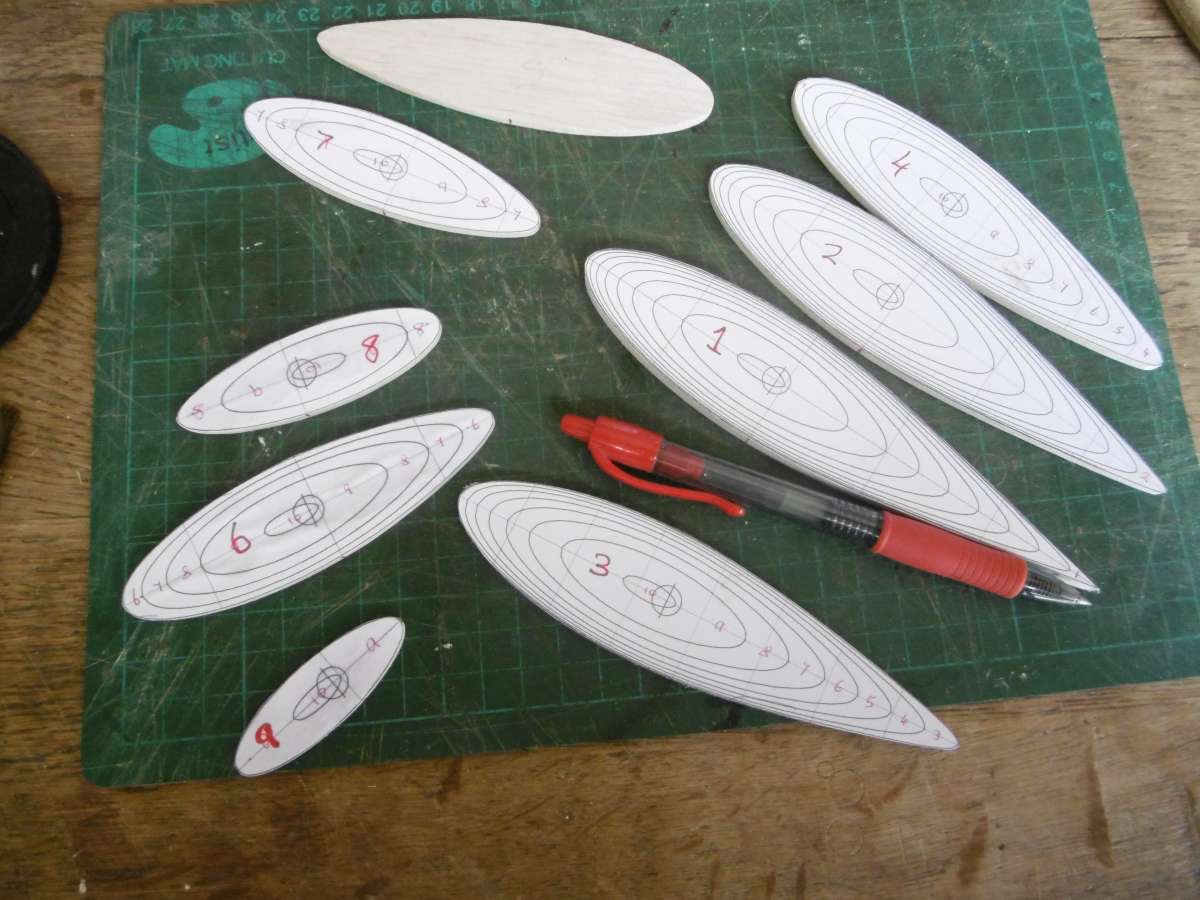
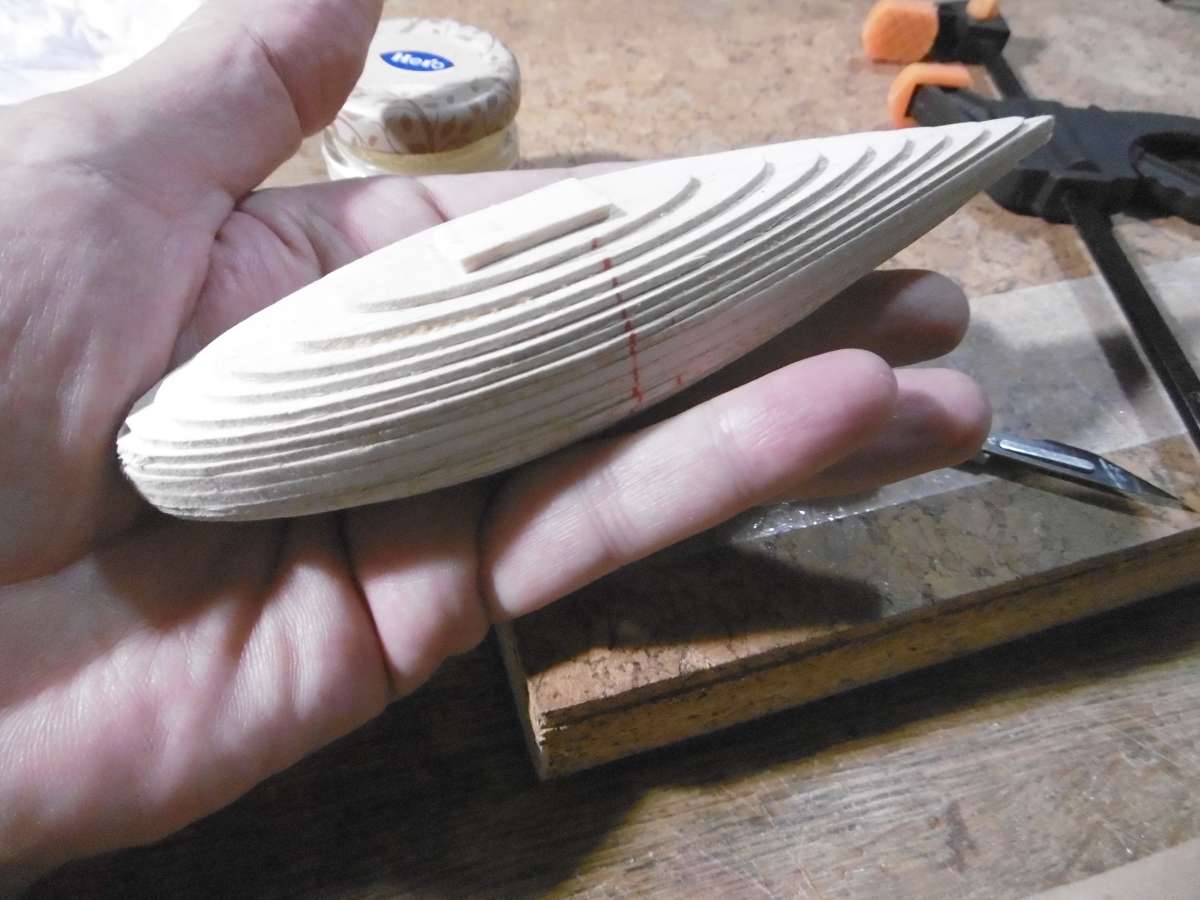
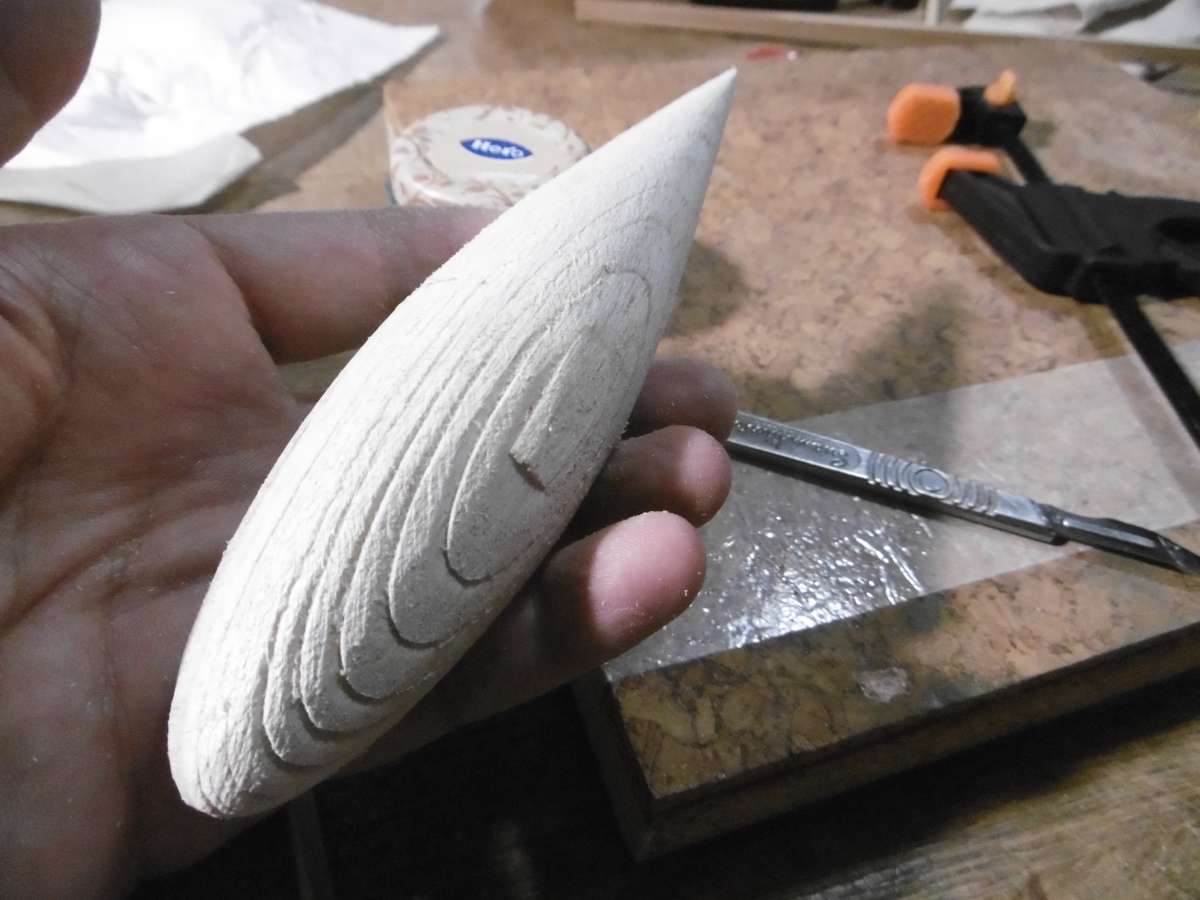
                        The programme shows the bulb sliced.  Theoretically you can choose the thickness of each slice and therefore match them to the timber stock but I couldn’t make this function work. Actually 10 slices per side gives quite a good approximation not requiring too much sanding and in this case using 1.5mm balsa sheet which gives me a diameter of 30mm which is almost exactly what is needed.

                        I then make ten copies in order to make a paper template of each slice.

                        P1010428

                        I then roughly cut out the blanks for each slice (two needed) and stick then together with a small piece of double sided tape.  This holds them together strongly enough to sand to the profile on the paper template and gives me two identical slices.

                        P1010429

                        Here are all the blanks ready for sanding.

                        P1010430

                        And here they are sanded.  It is important to transfer the reference lines from the paper to the balsa as these are needed to make sure they are stuck together in the correct positions.

                        P1010431

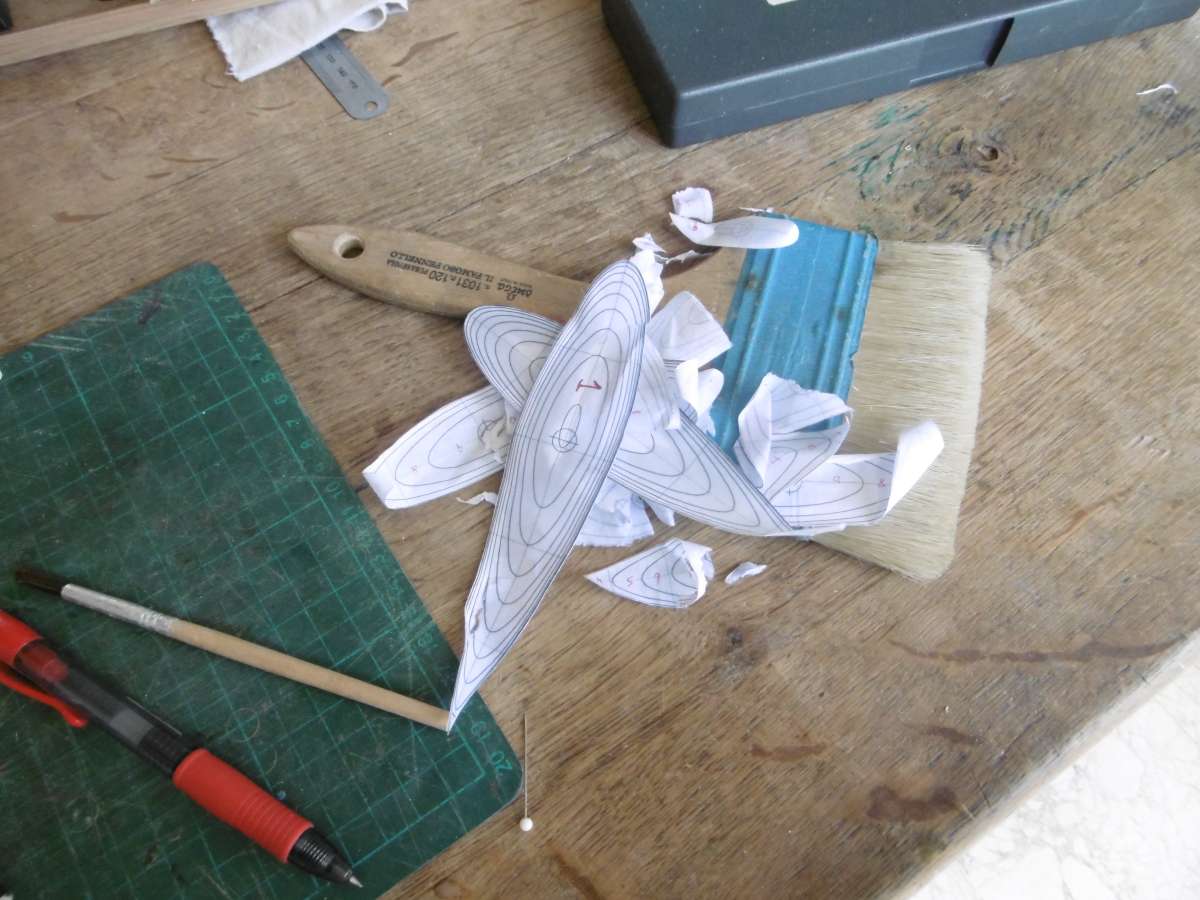
                        The paper is then removed.  It was stuck on using a Pritt Stick and dampening the paper with water on a brush lifts it very quickly.

                        P1010433

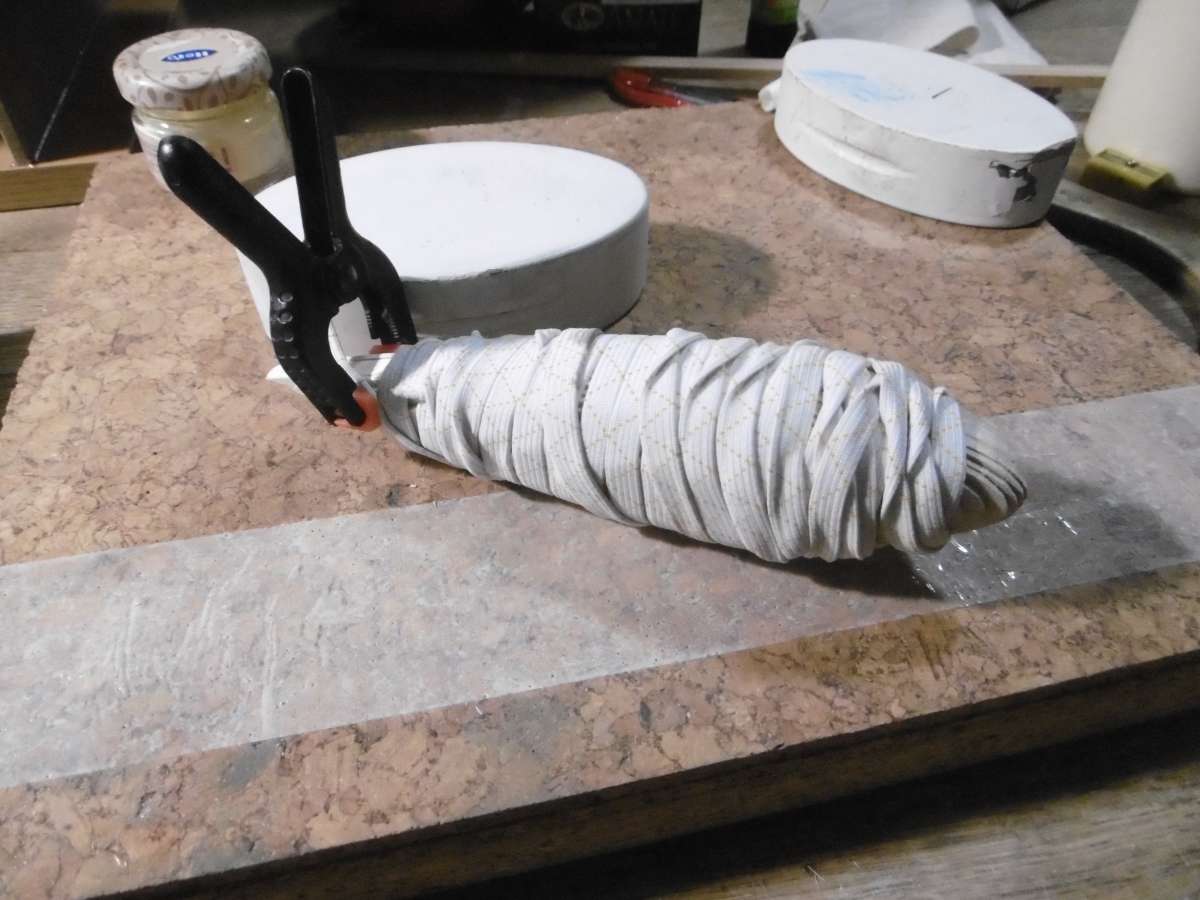
                        The slices are then glued together.  I use elastic a lot for clamping. It exerts a lot of pressure but leaves no marks.

                        P1010436

                        Now ready for sanding.

                        P1010438

                        Nearly finished.  As soon as the ridges disappear you have reached the right size and shape.

                        P1010440

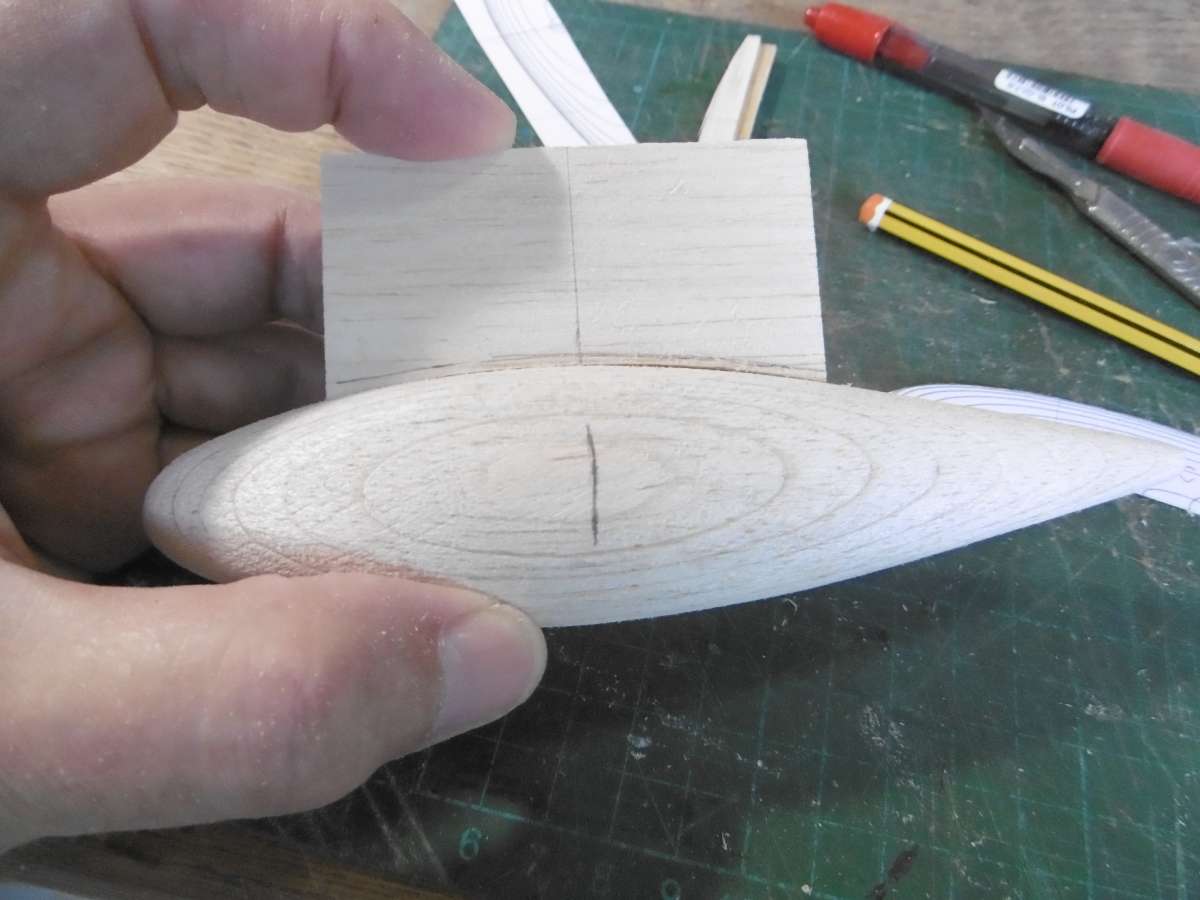
                        The final stage to make the pattern is a core box because I want to cast the keel with a slot.  The slot is wider than the fin which will give me some fine adjustment for the position of the centre of gravity.

                        P1010673

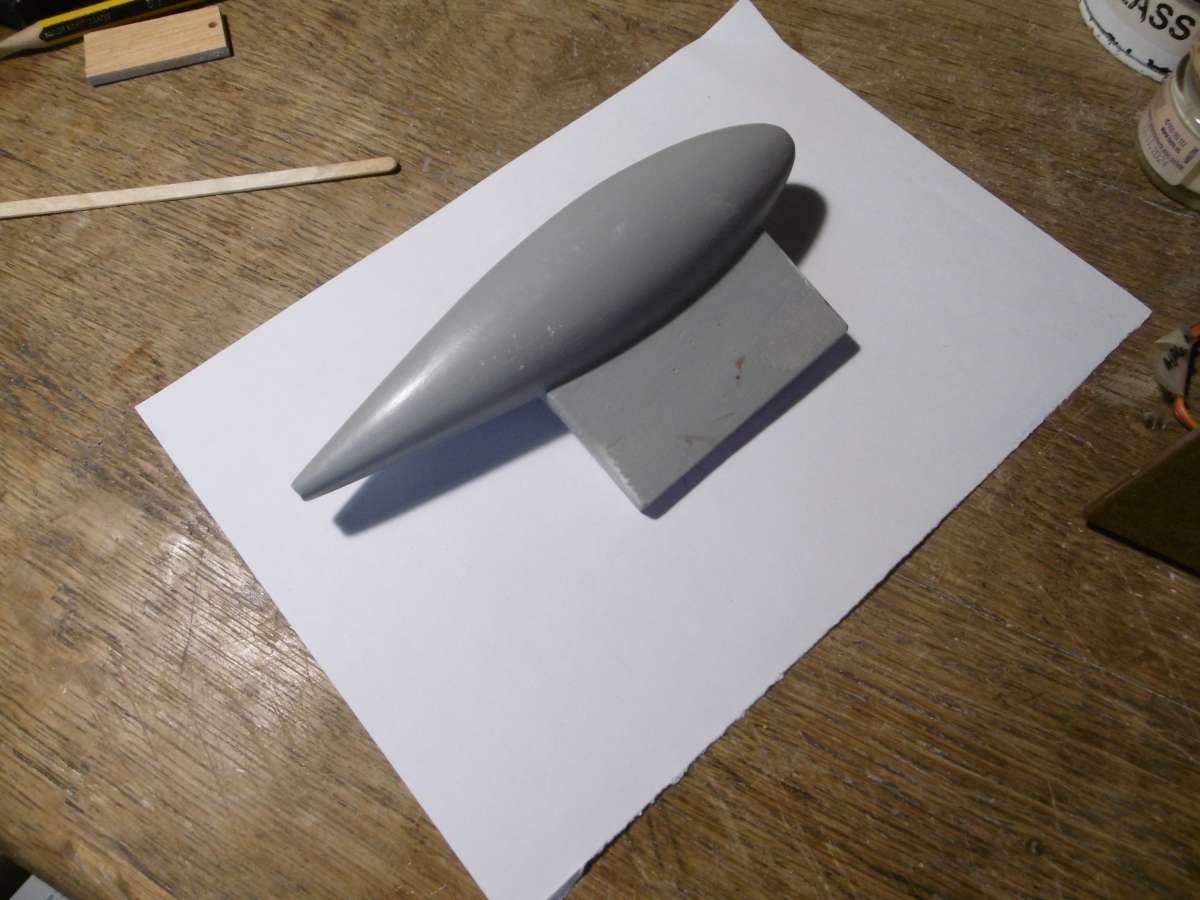
                        To finish, the pattern requires priming so it can be waxed. I use a high-build spray primer and 2-3 coats allows me to san out any minor blemishes.

                        You can see that the aft end of the pattern is cropped.  There is no point trying to cast the lead into a fine point but the real reason will come later.

                        Tim


                        #120803
                        Richard Simpson
                        Moderator
                          @richardsimpson88330

                          Very neat.  You’re right to be cautious about ensuring the plaster is bone dry.  You can have challenges if you use stone or house bricks to make a hearth for hot work.  You soon get hot shards of stone or brick popping off as the internal moisture flashes off into steam.

                          #120804
                          Len Morris 2
                          Participant
                            @lenmorris2

                            Hi Tim,

                            Your pattern looks excellent.  Why use P of P ?  It does need to be bone dry and does take ages to achieve that state properly.  I’ve tried in the past and eventually gave up due to the time it takes.

                            I now just use fine oil based Foundry sand for lead, aluminium and brass.  Works a treat.  Only an hour say to set up (and the sand is re-useable).

                            Len.


                            #120866
                            Tim Rowe
                            Participant
                              @timrowe83142

                              Thank you Richard and Len

                              I did start a reply and then I got distracted and when I came back it was gone 🙁

                              I would love to have a home foundry and a forge but they are not exactly apartment friendly!

                              For me it is more to with what I can get in Mallorca easily.  We have a hardware store right opposite and I can get all the P of P I need whereas foundry sand is a challenge. It was easy that is when I found out the right word which is escayola.

                              Fortunately we have plenty of sun and the moulds do not take too long to dry.  The advantage for me is that the mould is permanent so I can cast as many a I like.  I need two for Eventide and Wild Duck and another for a project I have in mind.  I pre-heat the moulds in the hottest oven setting and this gives me a good surface finish and it is good to run the castings while the moulds are hot.

                              P1010678

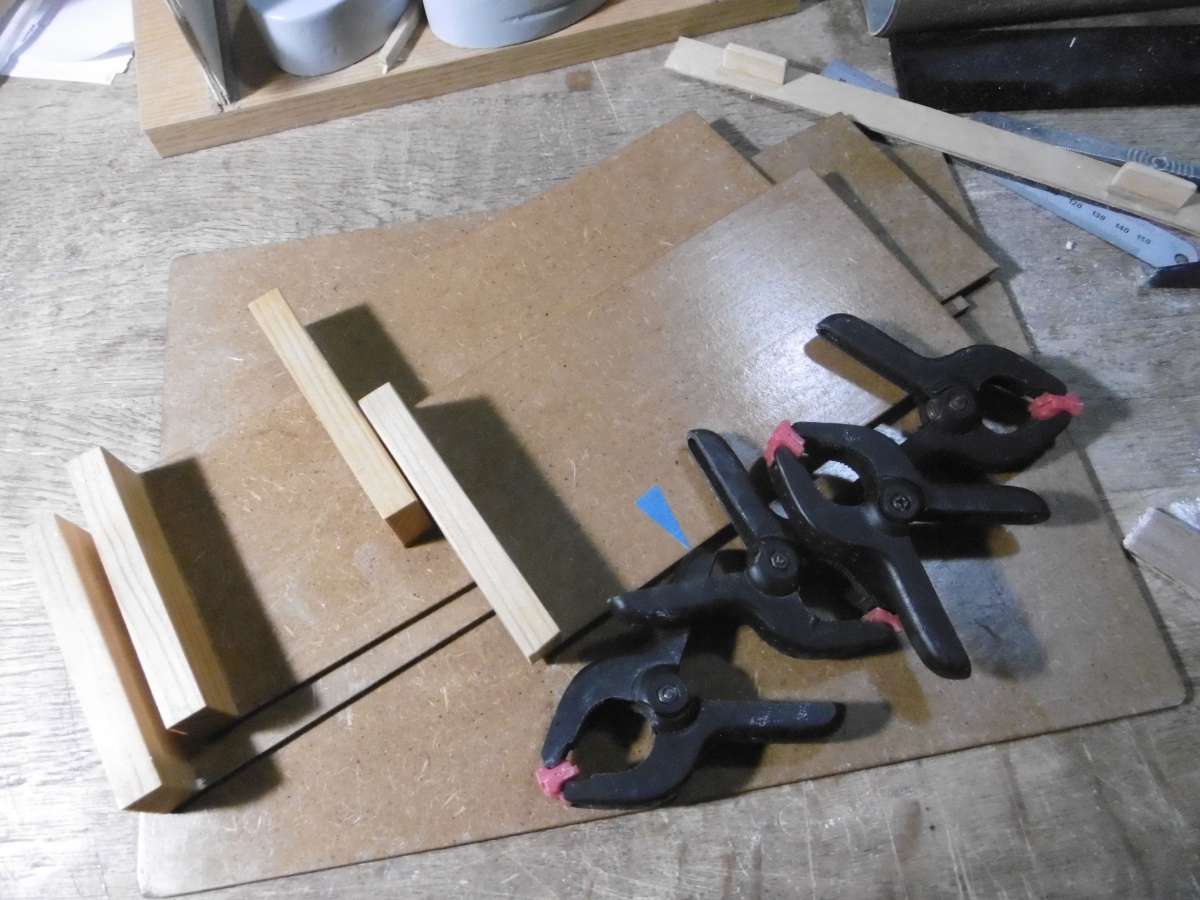
                              I have made a universal adjustable mould for the plaster moulds.  It is made from 3mm MDF varnished and then heavily waxed.  The pine pieces at on end of each side are carefully finished square and the blue arrows show the edges that should sit on the base when assembled.  When not in use you can see it stows flat.

                              P1010688

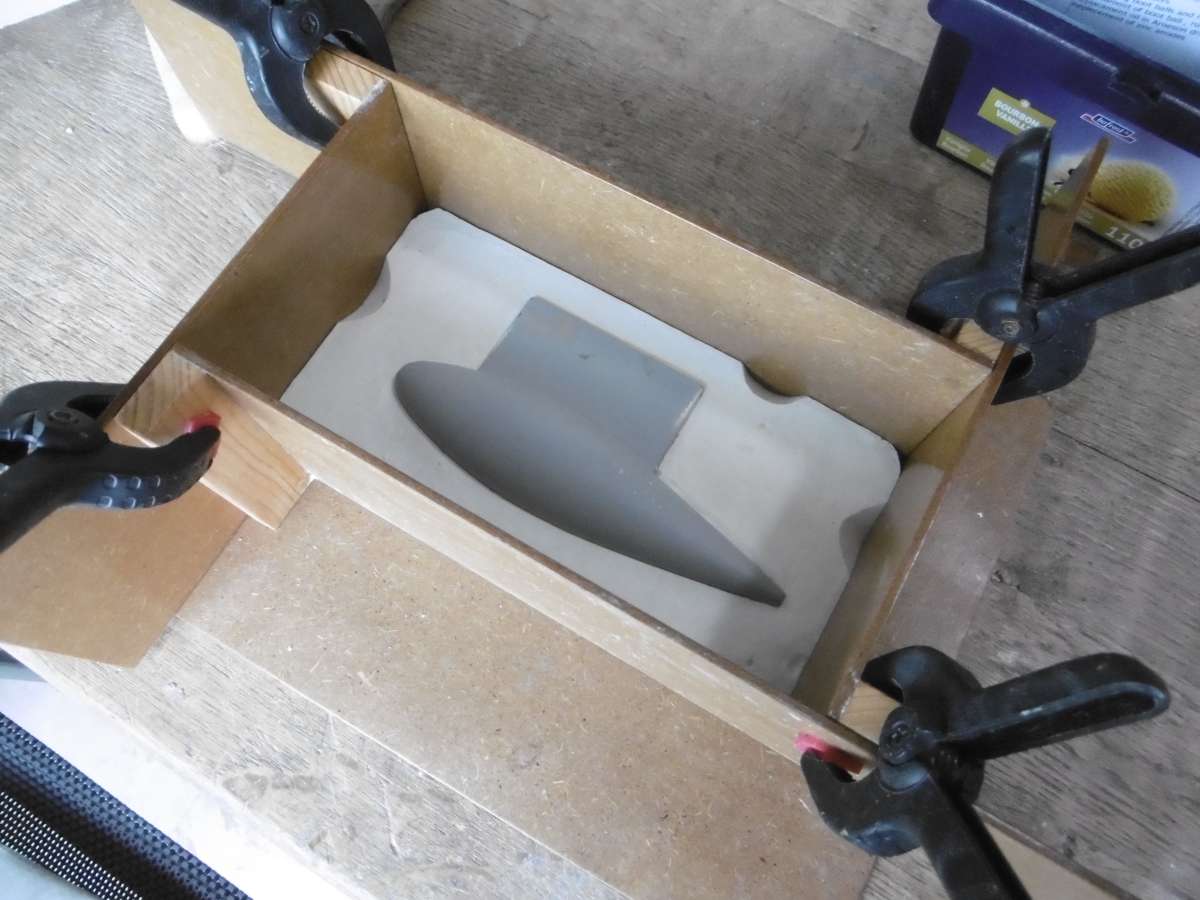
                              Here you can see how the mould is clamped together and the joints are sealed with a thin fillet of plasticine.

                              I have found the best way to avoid voids is to make the mixture slightly runnier than it says on the packet and then press the pattern into the plaster to half-way up.  Too deep and you will have to scrape away around the edge to get it to release.   If you then quickly tap the mould box with a light hammer it will encourage any bubbles to move off the pattern.  You don’t have to be that patient, it only take two or three minutes before the pattern doesn’t want to float any more.

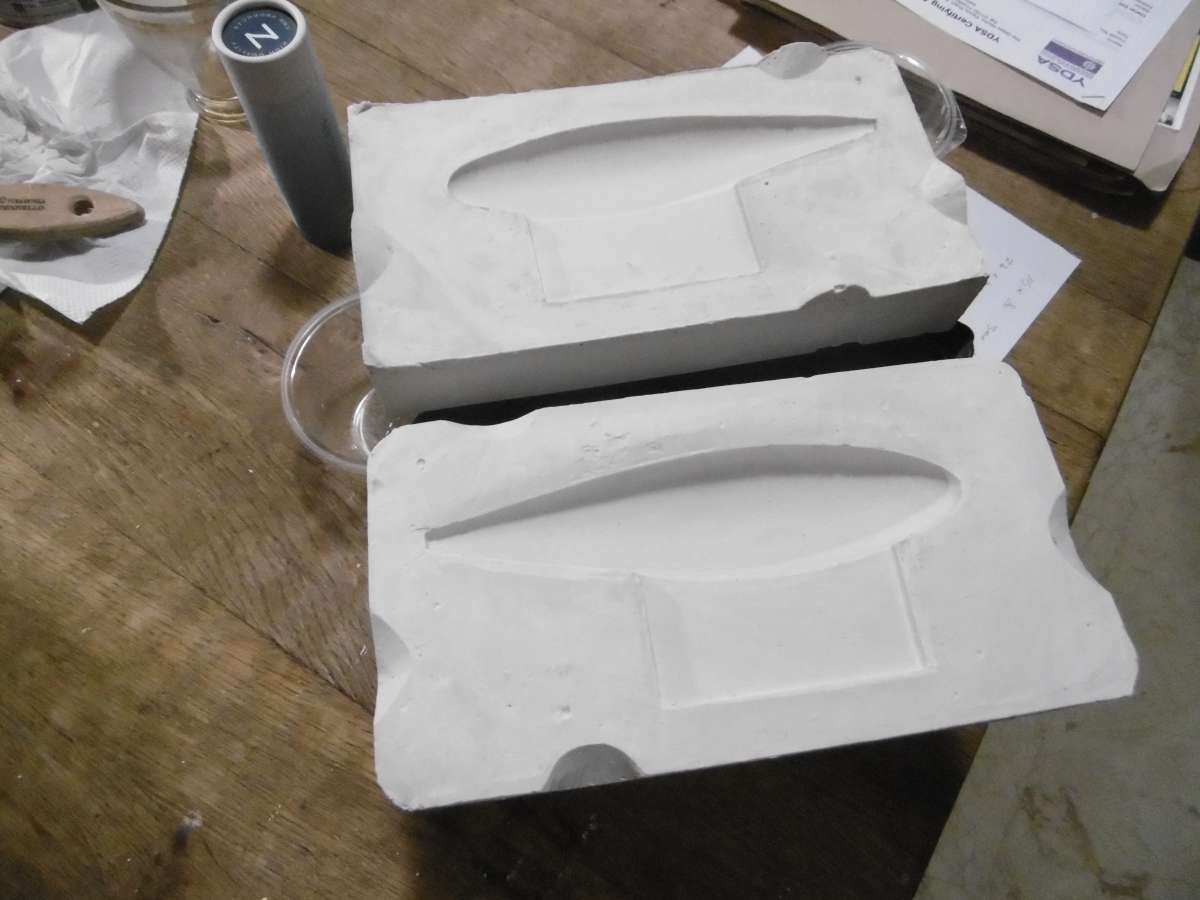
                              The bottom part of the mould (Drag) has been made and it was released so I could take out the pattern for some minor dressing around the joint line – and of course to make sure it come out.  The scallops around the edges are to provide register for when the two parts are put together for casting.  The joint surface is then waxed. The plaster doesn’t have to be dry for this phase and in fact it is better to make the top (cope) as soon as the drag is set because if it is dry it will suck the water out of the new plaster and affect the cure.

                              It will cut the runners and risers in later when the plaster is completely dry as it then won’t clog the files or sandpaper.

                              P1010691

                              Here is the finished mould and it can be doing its thing while I carry working on the two boats.

                              Tim

                              #121128
                              Tim Rowe
                              Participant
                                @timrowe83142

                                Wild Duck and Eventide are supposed to be launched on the same day so there is some catching up to do with Wild Duck.

                                P1000374

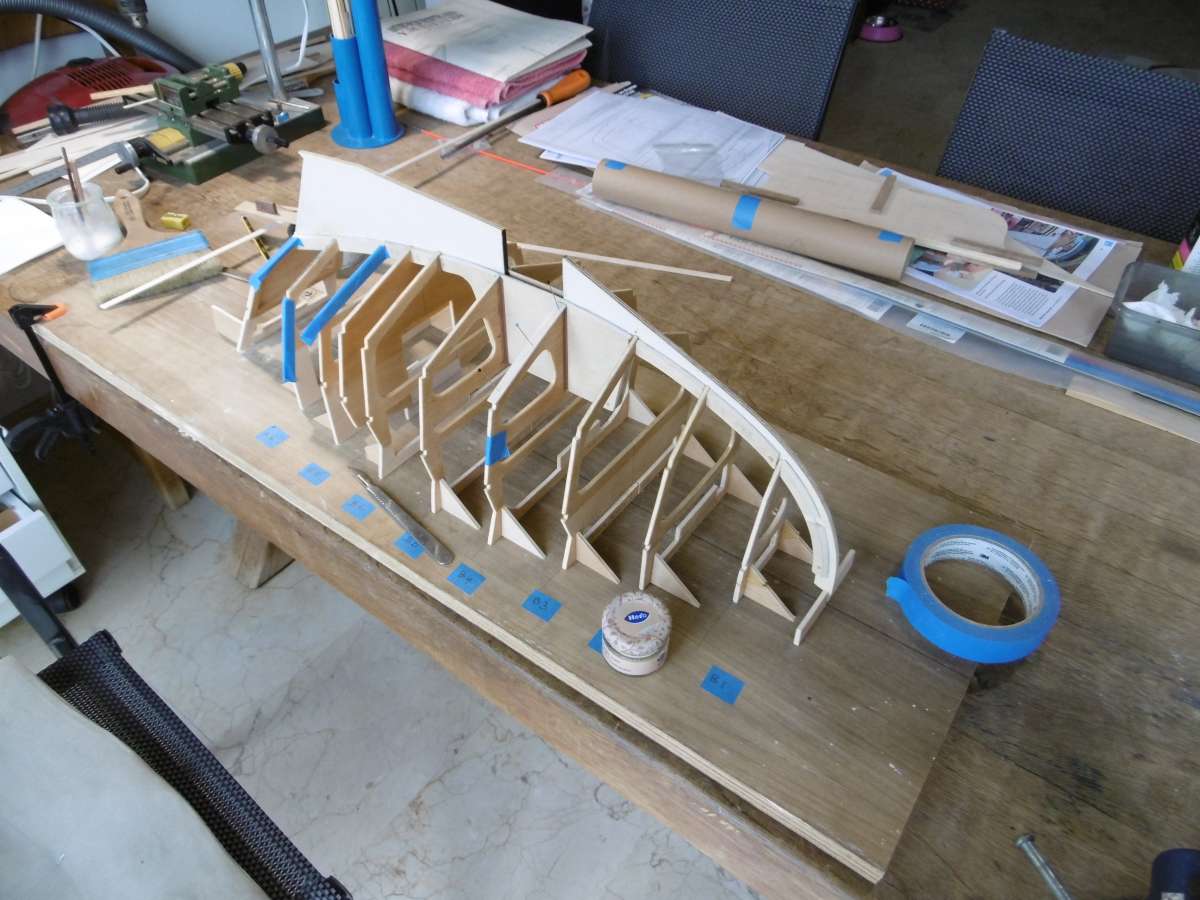
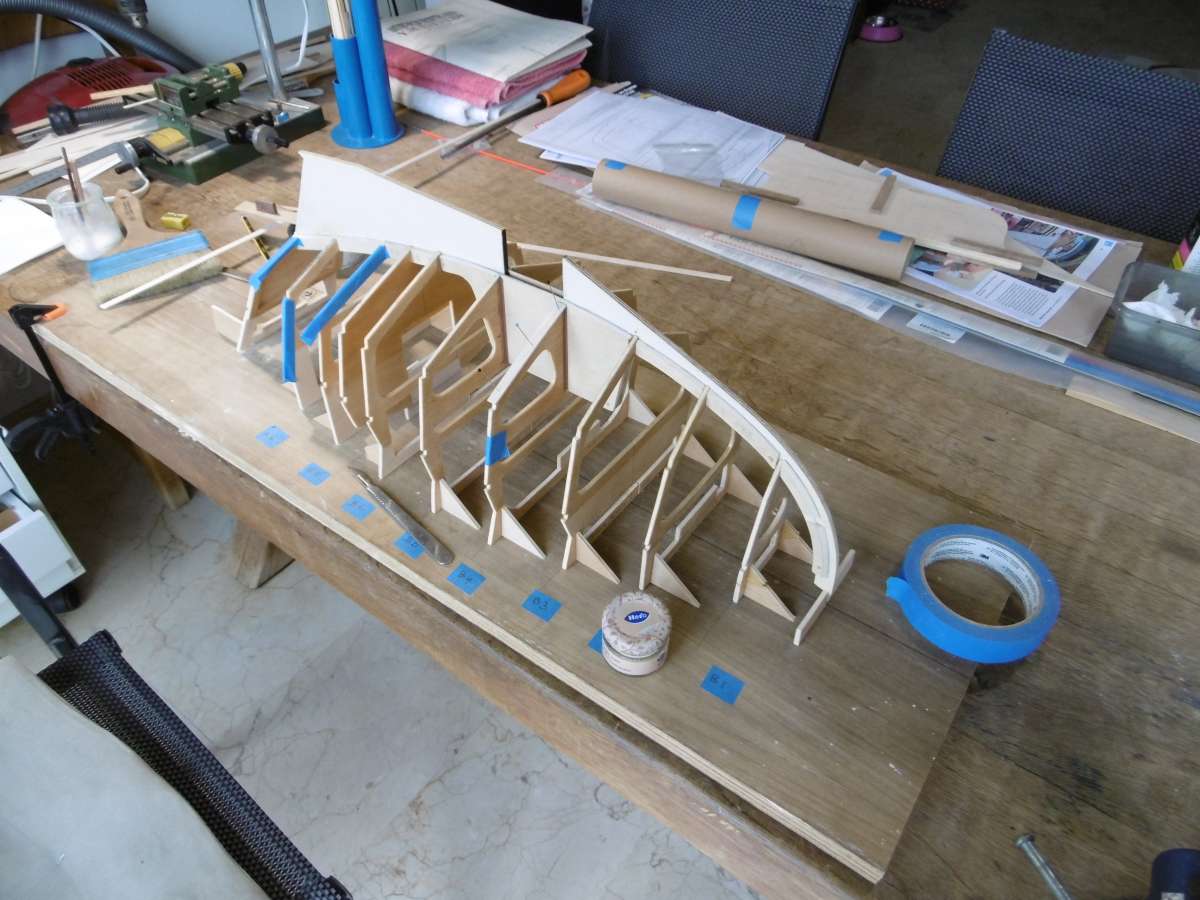
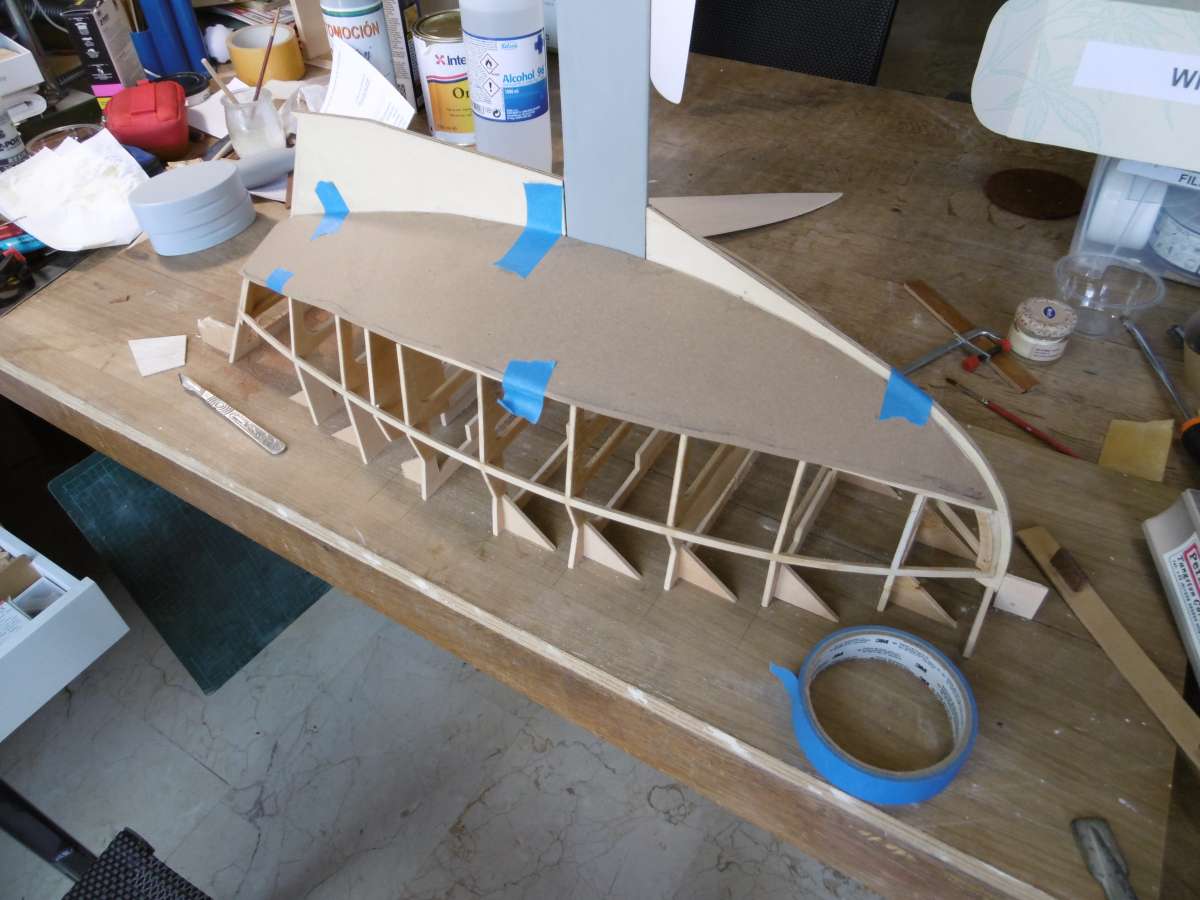
                                Cutting out the frames and the internal part of the keel where very much the same as Eventide with the frames extending to a baseline to build inverted on the board.  Wild Duck does have a much larger scale keel and the rudder is transom hung which is slightly more complicated because i will have to make some fittings.

                                P1000376

                                Another difference is the keel has a doubler which give the sheeting something to glue onto.  Ray made his in one piece each side but I chopped mine into sections to fit between the frames.  They were dowel before cutting into sections so that they would go back in exactly the right place.  It locates the bottom of the frames in the correct position and makes a strong joint because effectively it is a mortice.

                                P1000849

                                Here is the hull with the forward doublers fitted.

                                Tim


                                #121170
                                Ray Wood 3
                                Participant
                                  @raywood3

                                  Hello Tim,

                                  Precision model building at it’s best 🙂 mine are more chainsaw, hope and glue !!

                                  It was brilliant meeting you and Evelyn with other week when I was on holiday in MallorcaCala Mallorca 2024 , we could have talked forever 🙂
                                  The same interests bond folk together

                                  Kind Regards Ray

                                  #123061
                                  Tim Rowe
                                  Participant
                                    @timrowe83142

                                    Four months have flashed by since the last posting.  It was really great to meet Ray in person having known each other for such a long time on this forum, model flying and regularly comparing notes and stuff on WhatsApp.

                                    P1000849

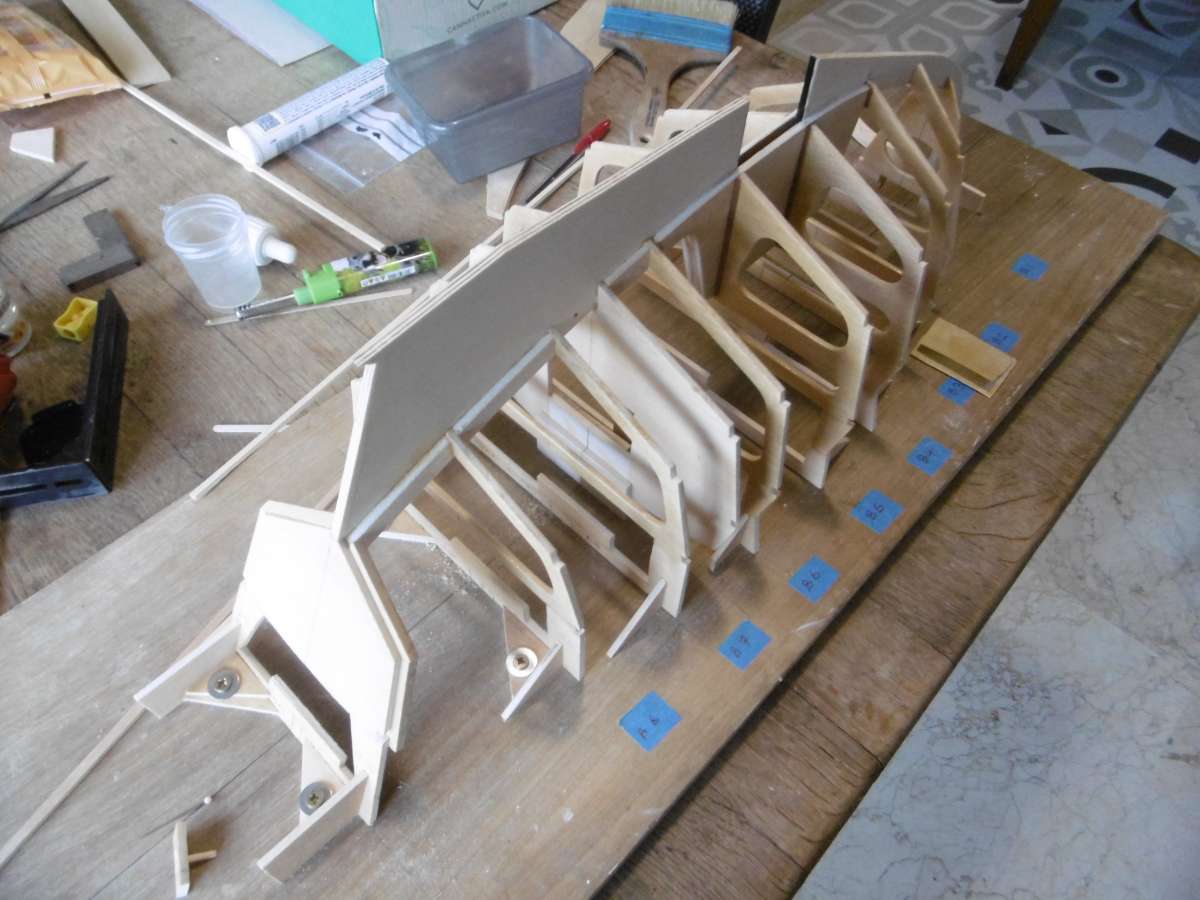
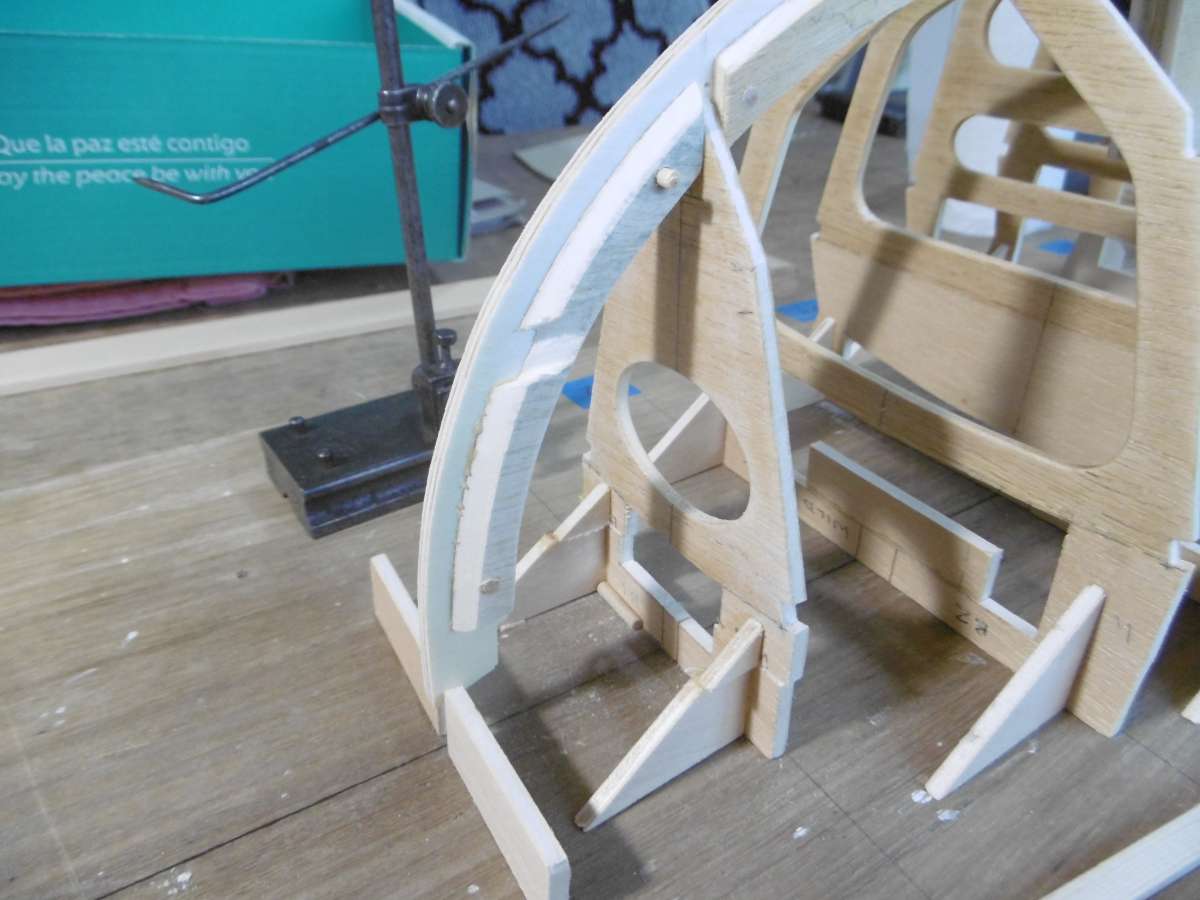
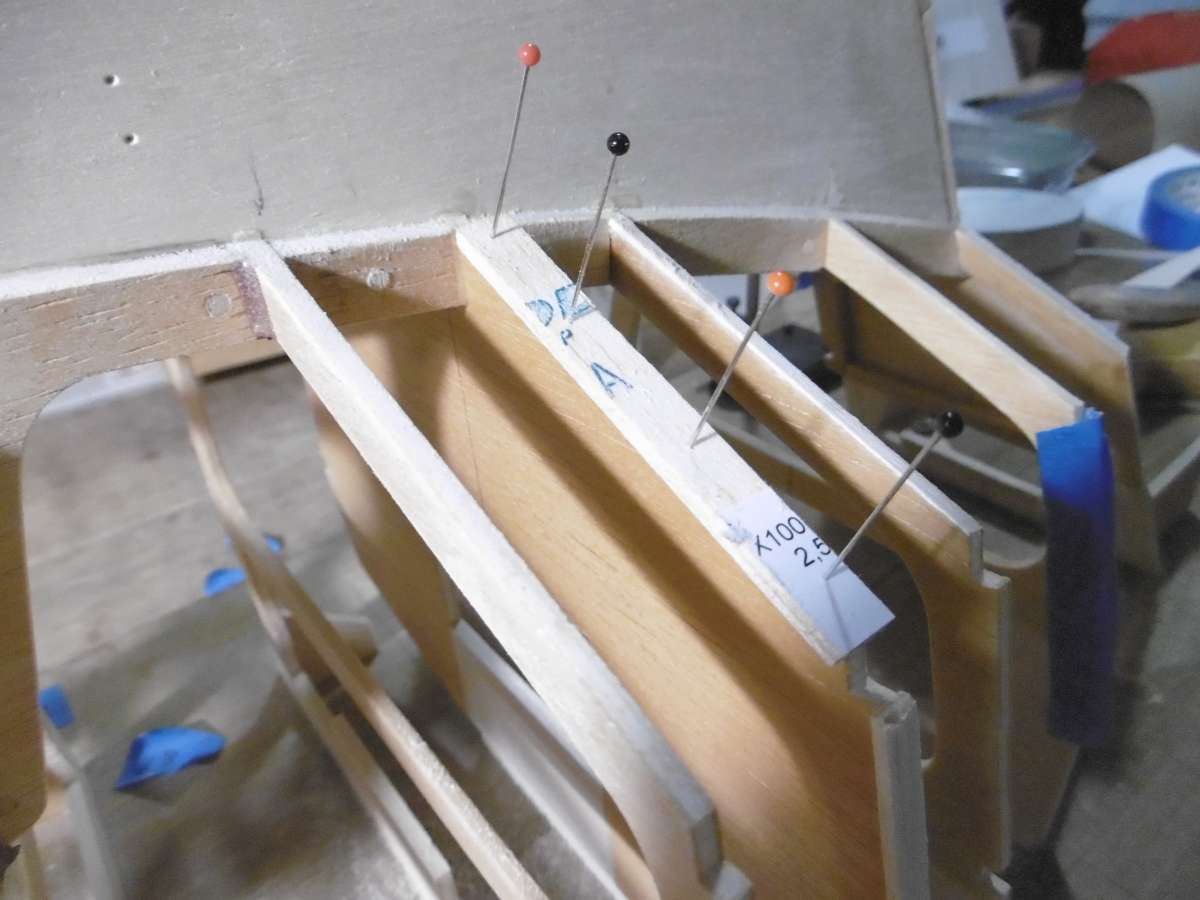
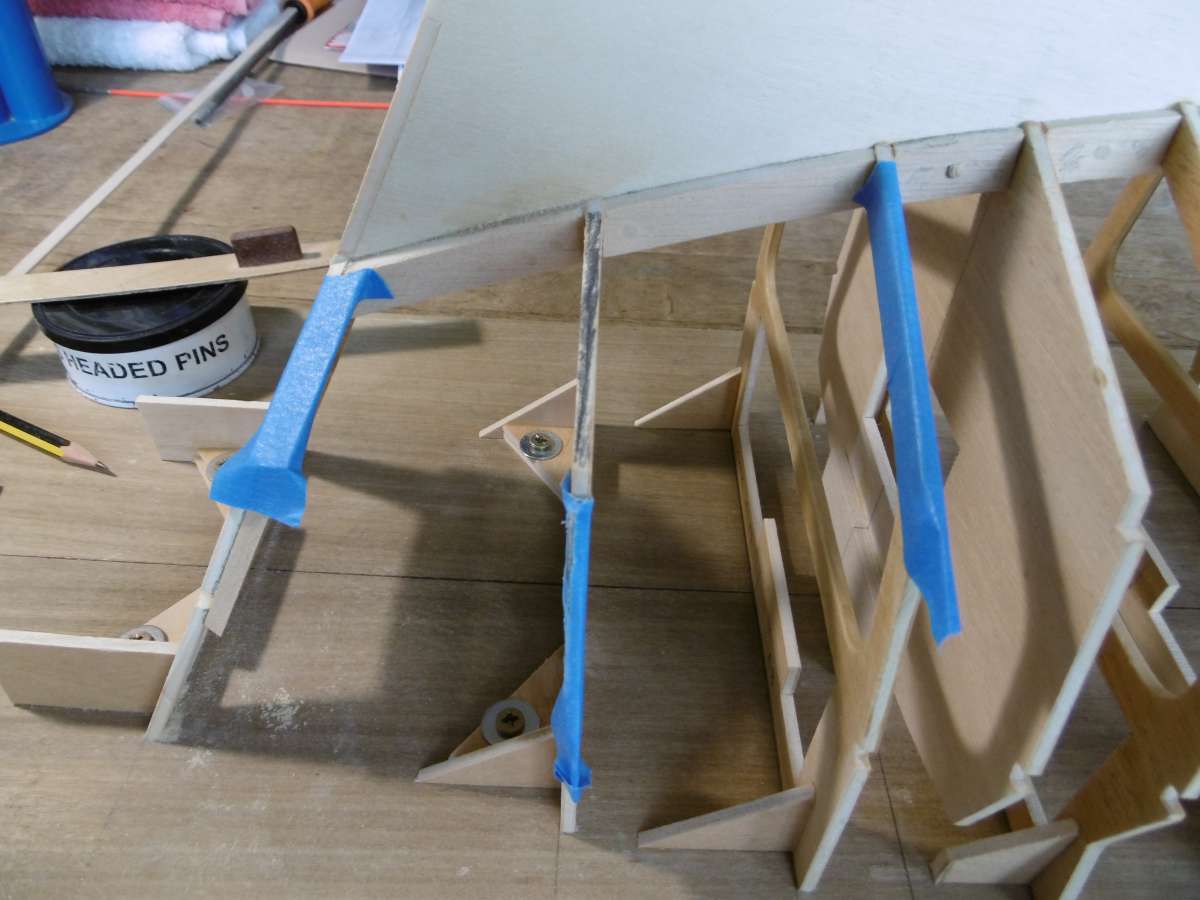
                                    One thing I forgot to mention on the last Wild Duck photo was bulkhead 6 1/2 which is the back end of the cabin. According to the instructions this is added after fitting the hull panels.  We all know Ray is a magician but I couldn’t for the life of me work out how that could be done in one piece.  I put it in place at this framing stage but as it did not have legs like the other bulkhead (later to be sawn off) I had to improvise some supports.

                                    P1000861

                                    I am not sure how but probably when templating the frames, they were not very fair.  My newly assembled bulkhead 6  1/2 was the worst but only on one side curiously.  There were some other culprits.  It was important at this stage to fair up the bottom and side panels because I needed a fair chine and deck edge so that the chine and deck edge stringers would lay nicely.  Because I use 3mm Liteply, sanding off the high spots was quite easy.  The low spots I built up with medium density balsa which of course is dead easy to sand.

                                    P1000850

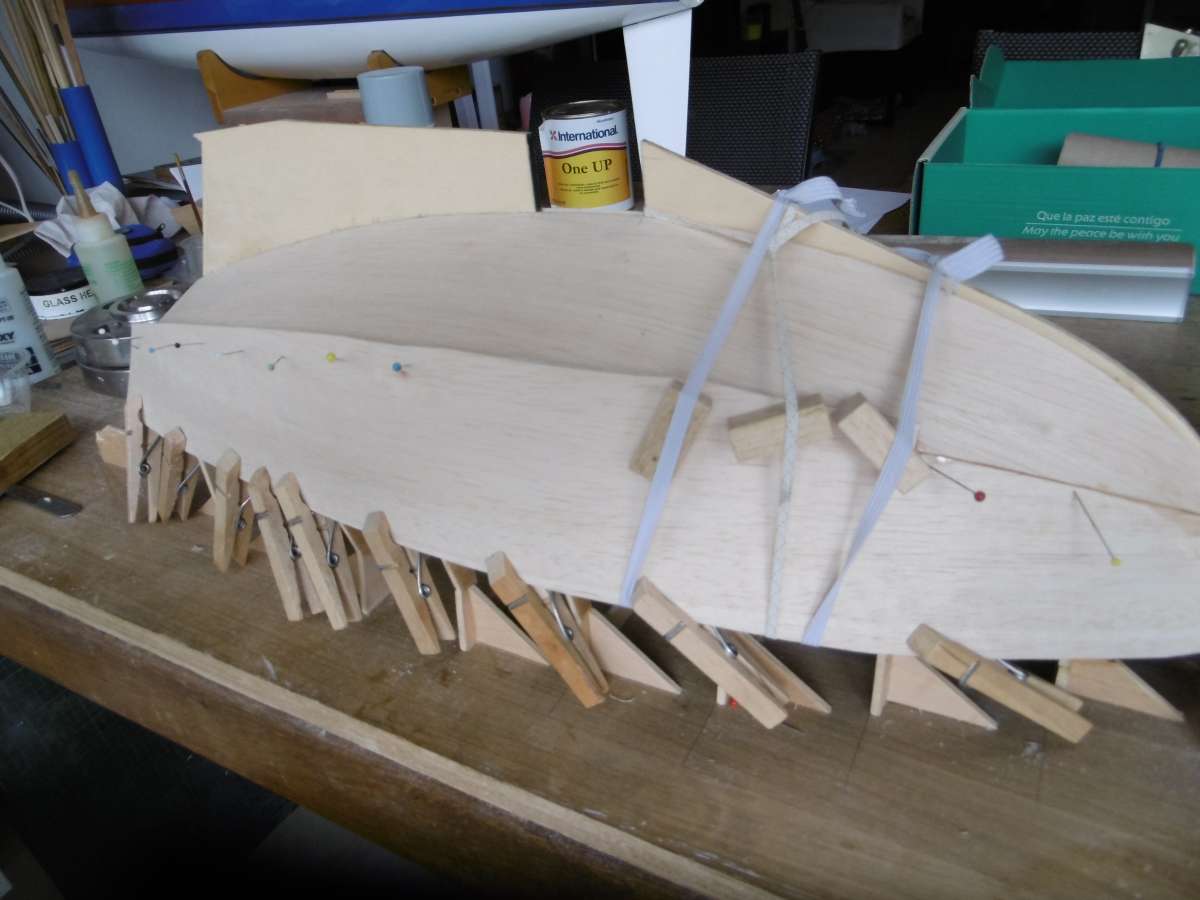
                                    I did my usual thing of masking the frames that I didn’t want to sand by accident and rubbing the edge of a pencil lead on the others to show that I had sanded evenly and got roughly the right bevel.

                                    I should emphasise how it is worth the effort to get they hull good and fair as making corrections later is messy even more time consuming.

                                    P1010584

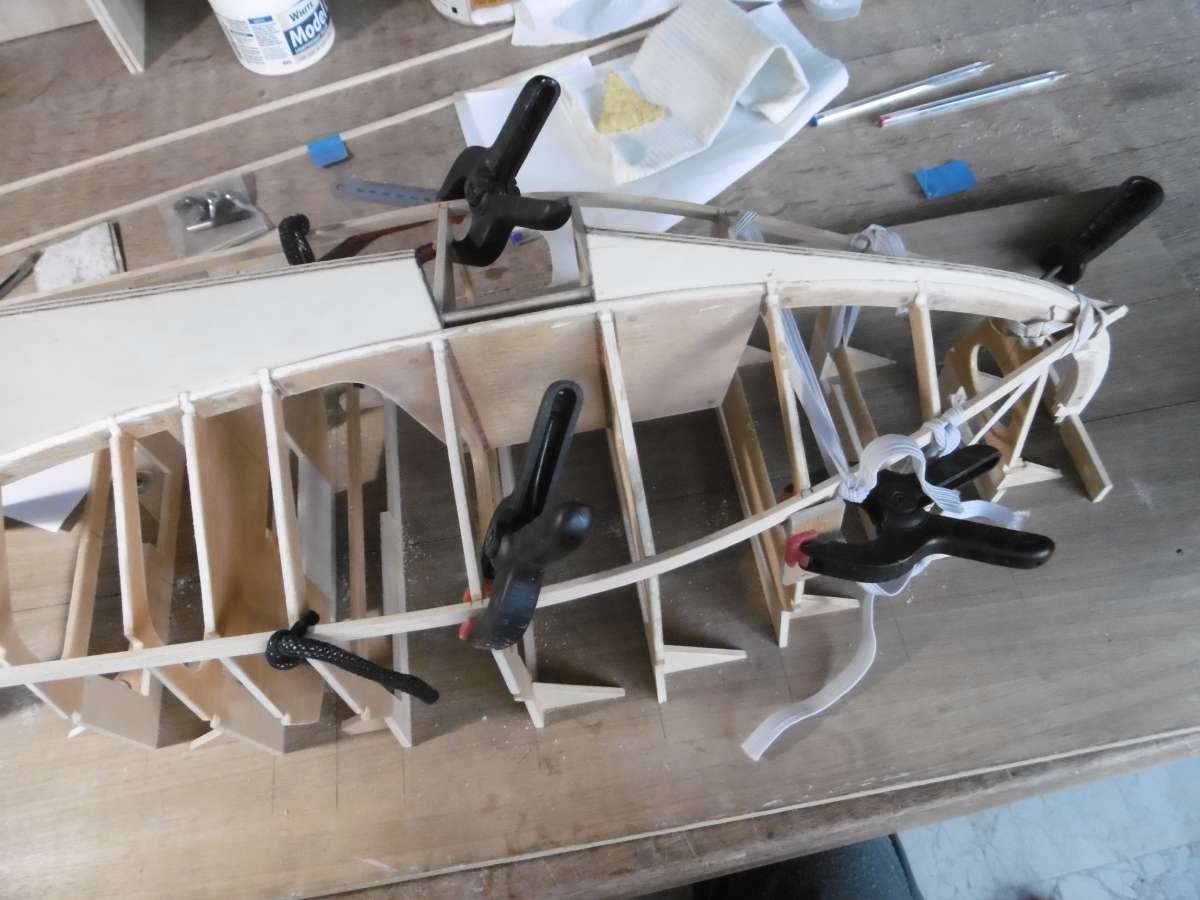
                                    Here the pine stringer are getting fitted using 20 minute epoxy.  Once fitted, the stringers have to be bevelled to conform with the angles of the sides and the bottom.

                                    P1010590

                                    At the aft end the stringers were notched into a false transom with aprons glued around the edge to give a better gluing area.

                                    P1010592

                                    The transom was then planked up with mahogany.

                                    P1010594

                                    And then trimmed to the shape of the transom.  The transom was planked up before the side and bottom skins because the skins (as in full size) should cover the edges of the transom and not the other way around.

                                    With the stringer fitted, the true shape of the hull can be seen.

                                    Tim


                                    #123085
                                    Tim Rowe
                                    Participant
                                      @timrowe83142

                                      P1010595

                                      Some thin card being to template the bottom skin.

                                      P1010598

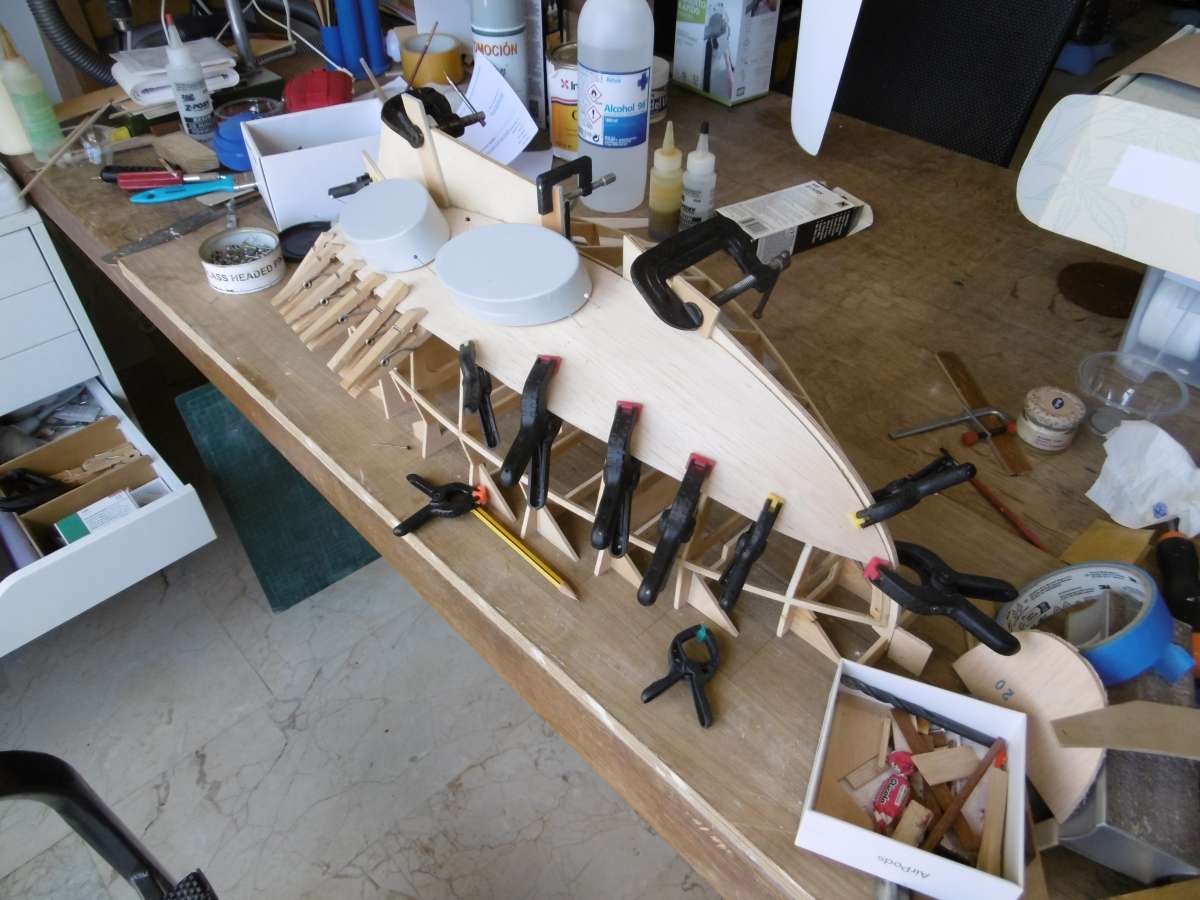
                                      Bottom skin going on.  The fit to the keel was adjusted and closed with some light sanding here and there.  The chine edge was left slightly proud so it could be sanded back to the chine stringer once the glue had set.  20 minute epoxy again gives time to get the clamps on.

                                      The skins are medium hard balsa and will bend round the curves so it was not necessary to use blocks at the bow.

                                      P1010616

                                      Skinning up nearly done.


                                      P1010619

                                      Finally off the board and suddenly a boat!

                                      Tim


                                      #123093
                                      Ray Wood 3
                                      Participant
                                        @raywood3

                                        Hi Tim,

                                        Yes it’s a great milestone to reach, most satisfying 🙂

                                        Your are a glutton for punishment building both of them ! the Lysander is coming along just cutting a kit of parts at the moment, the keel box design is done so will be sticking some bits together soon.

                                        MS Oldenburg will be in the January issue of Model Boats as the free plan, if Carlos ever gets off the draft 🙂

                                        Regards RayOldenburg&Carlos

                                        #123113
                                        Tim Rowe
                                        Participant
                                          @timrowe83142

                                          Hi Ray

                                          Yes, two at once is quite a lot to manage but I have managed to duplicate a few parts and the effort will be totally worthwhile.  They are to charming little boats.

                                          Looking forward to seeing Lysander on the Forum but please don’t tempt me!  I am itching to build a traditional gaff cutter.  Plenty of curves but no chines.

                                          I have to remind myself of the current build program.

                                          Two Faireys (yes Chris I will get there sometime)
                                          Kimberley the Thames Sailing Barge
                                          Two Cary 32 (Another one of your temptations)
                                          A variation of the Swallow with some design ideas to try out
                                          Billing Boats Nordhavn

                                          All of them started and none of them finished.  Oh and some aircraft!

                                          Tim

                                          #123120
                                          Ray Wood 3
                                          Participant
                                            @raywood3

                                            Hi Tim,

                                            We are venturing into dangerous ground here listing unfinished projects 🙂

                                            It’s such fun starting with the dream 🙂 sometimes they run out of steam and some don’t !!

                                            Ooops don’t even mention steam engines 🙂

                                            Regards Ray

                                            #123123
                                            Richard Simpson
                                            Moderator
                                              @richardsimpson88330

                                              A good friend of mine was telling me recently about a trip he did only a few weeks ago on the Oldenburg to Lundy.  Being a Chief Engineer he thoroughly enjoyed the experience.

                                              #123129
                                              Ray Wood 3
                                              Participant
                                                @raywood3

                                                Hi Richard,

                                                Apparently she will roll on wet grass 🙂

                                                Regards Ray

                                                #123138
                                                Chris Fellows
                                                Participant
                                                  @chrisfellows72943
                                                  On Ray Wood 3 Said:

                                                  Hi Tim,

                                                  We are venturing into dangerous ground here listing unfinished projects 🙂

                                                  It’s such fun starting with the dream 🙂 sometimes they run out of steam and some don’t !!

                                                  Ooops don’t even mention steam engines 🙂

                                                  Regards Ray

                                                  We certainly are Ray! You have a lovely cat there, tabbies are my favourite. But we had a lovely grey cat called Clyde who got up to similar things. When I was working on my parallel motion drawing board at about 60 degrees, he’d sit on the window cill, give me a funny look and then slide down the board as I was drawing, daft cat. He’d follow me everywhere, outside and into the garage etc!

                                                  Good to hear that the Faireys are on the list Tim!

                                                  Chris

                                                  #123261
                                                  Tim Rowe
                                                  Participant
                                                    @timrowe83142

                                                    P1010662

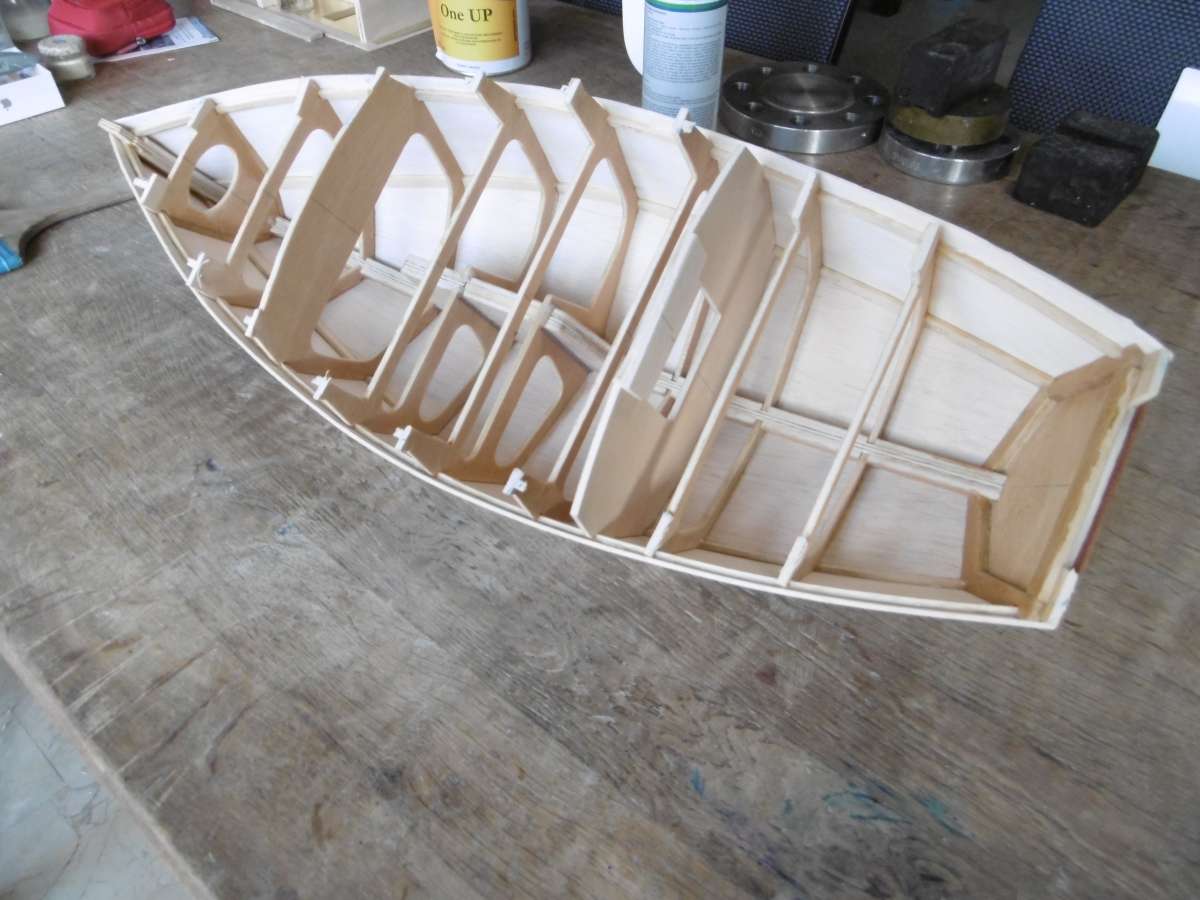
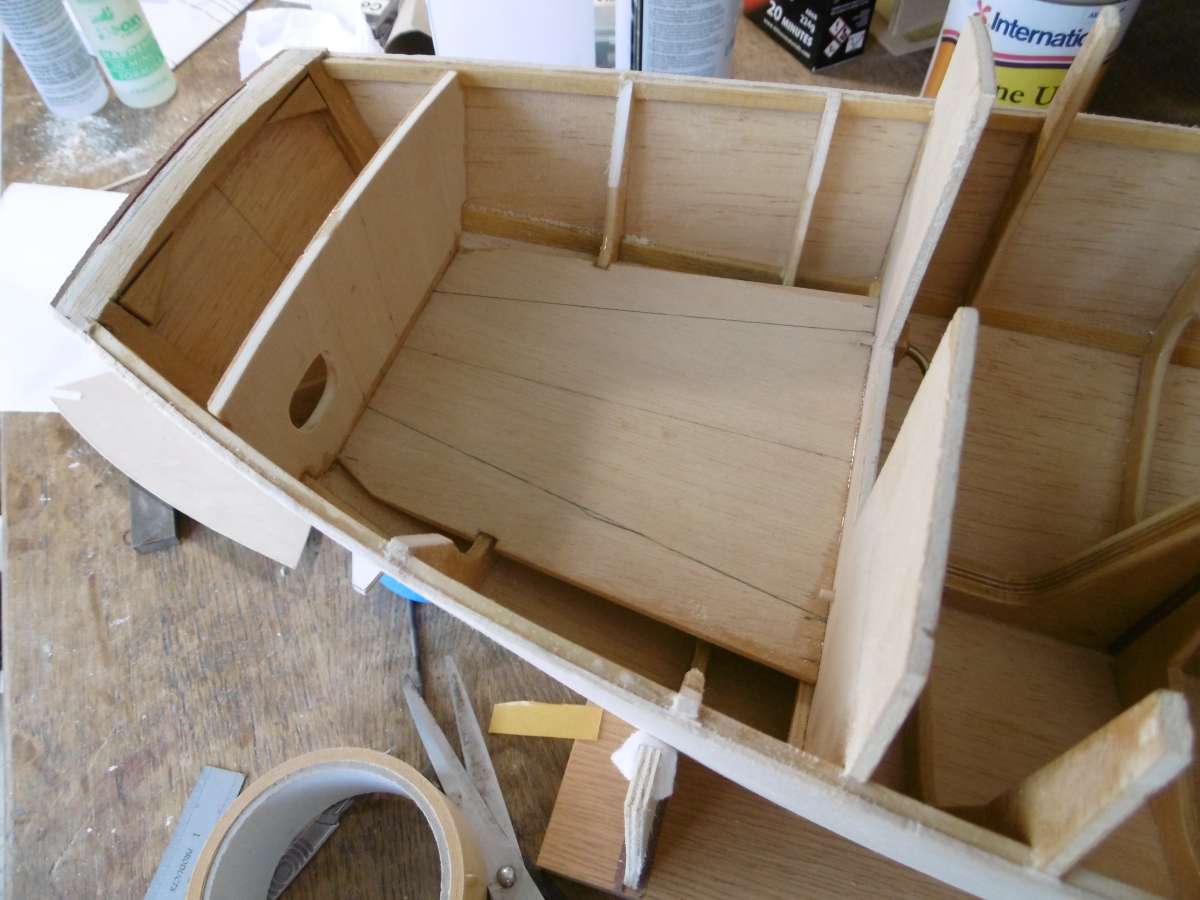
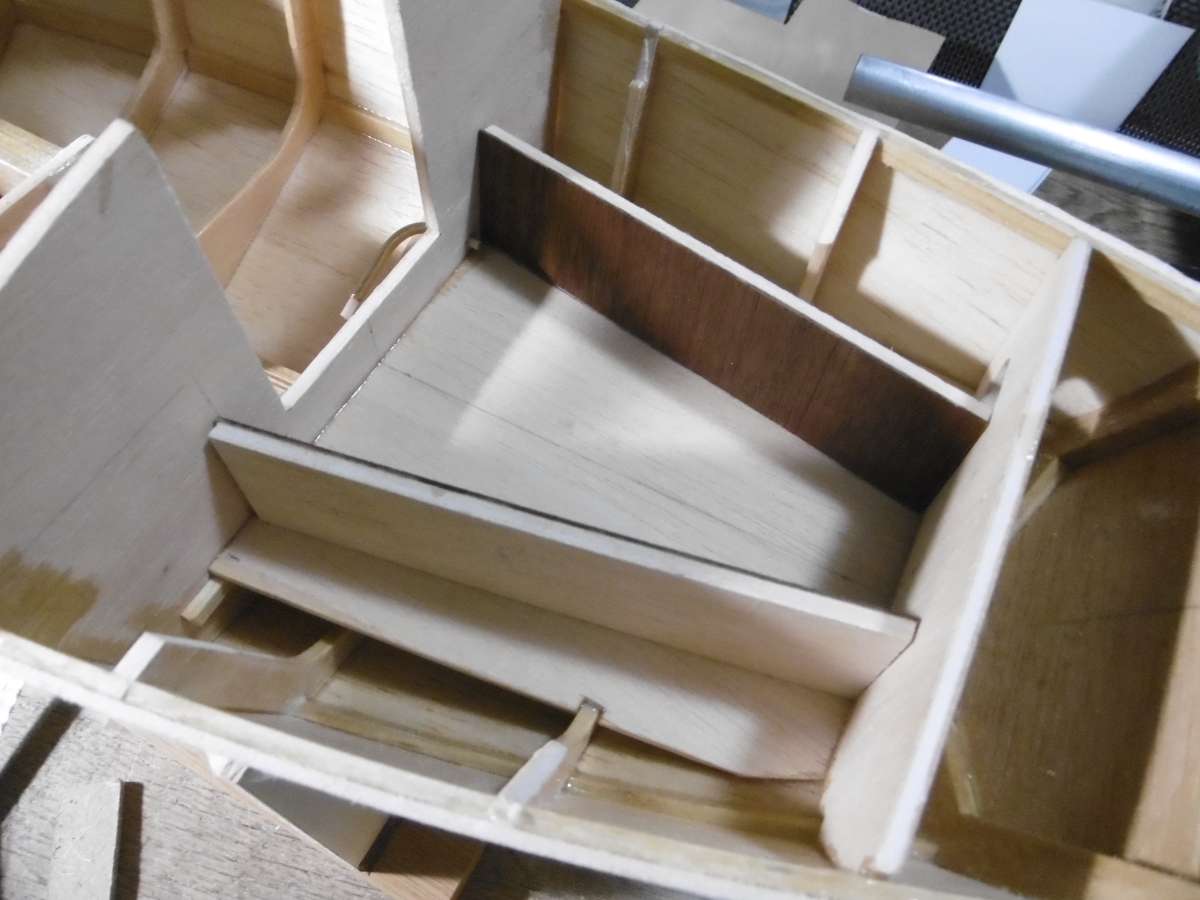
                                                    The cockpit starting to take shape.  The hole in the bulkhead is to clear the bell crank for the steering.

                                                    P1010658

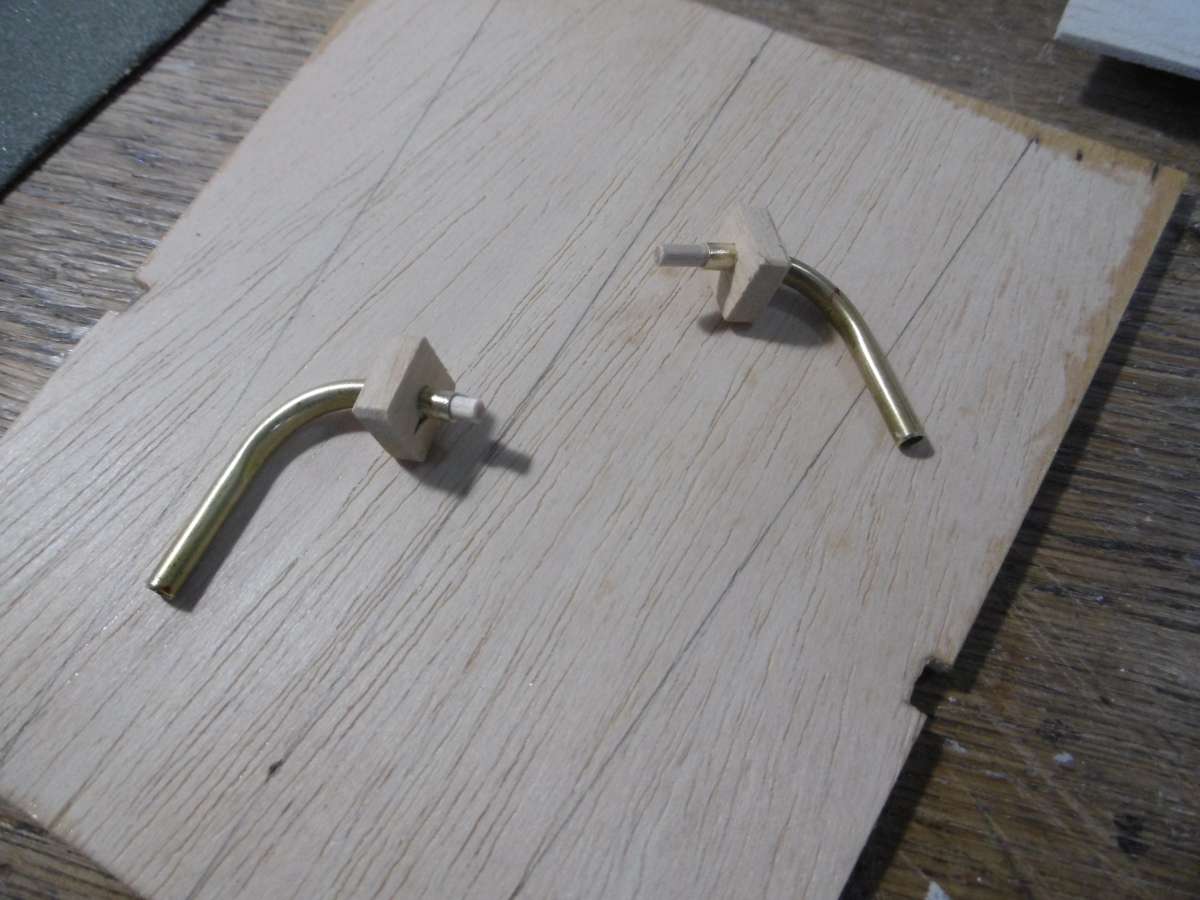
                                                    Cockpit drains ready to go in.

                                                    P1010664

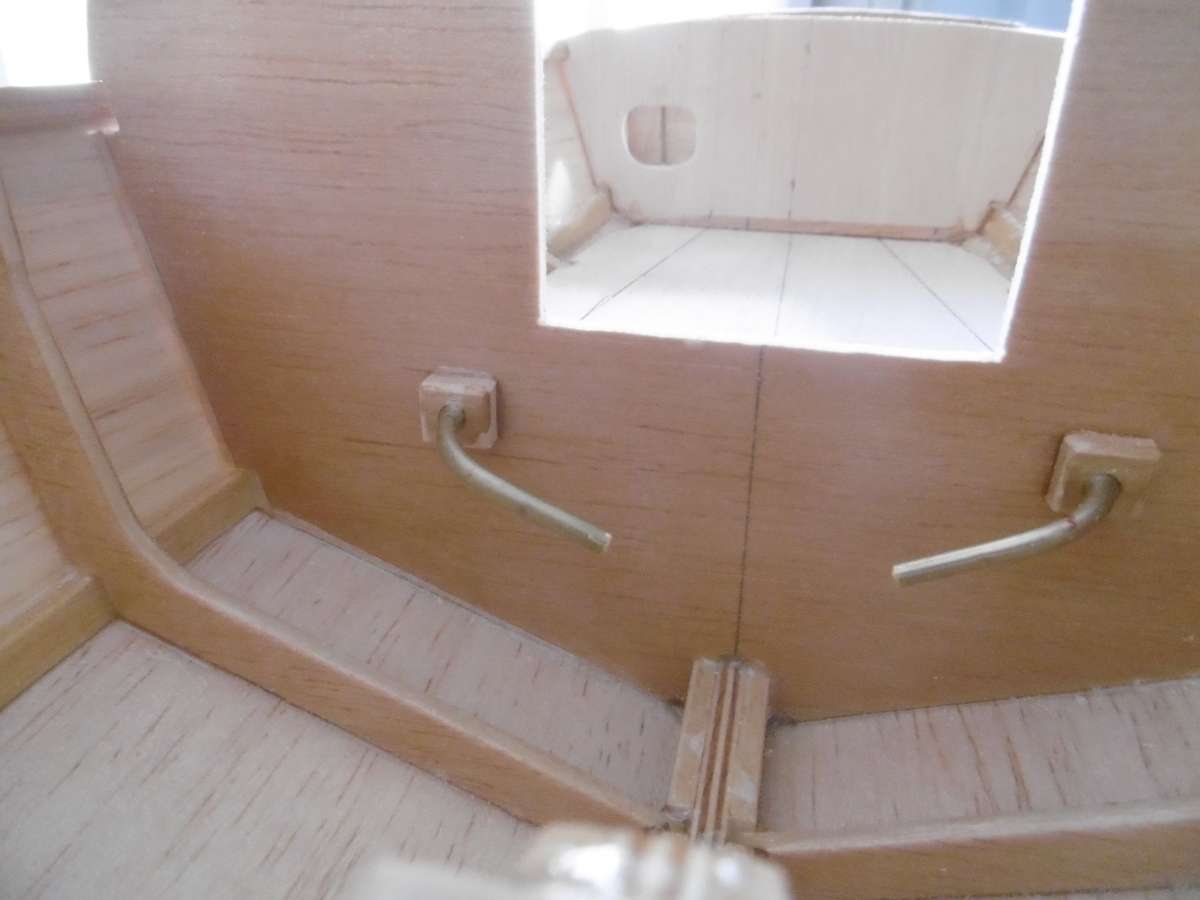
                                                    Cockpit drain installed. Later they will connect using silicone tubing to spigots in the hull.

                                                    P1010665

                                                    More progress on the cockpit with liteply side faced with mahogany.

                                                    P1010671

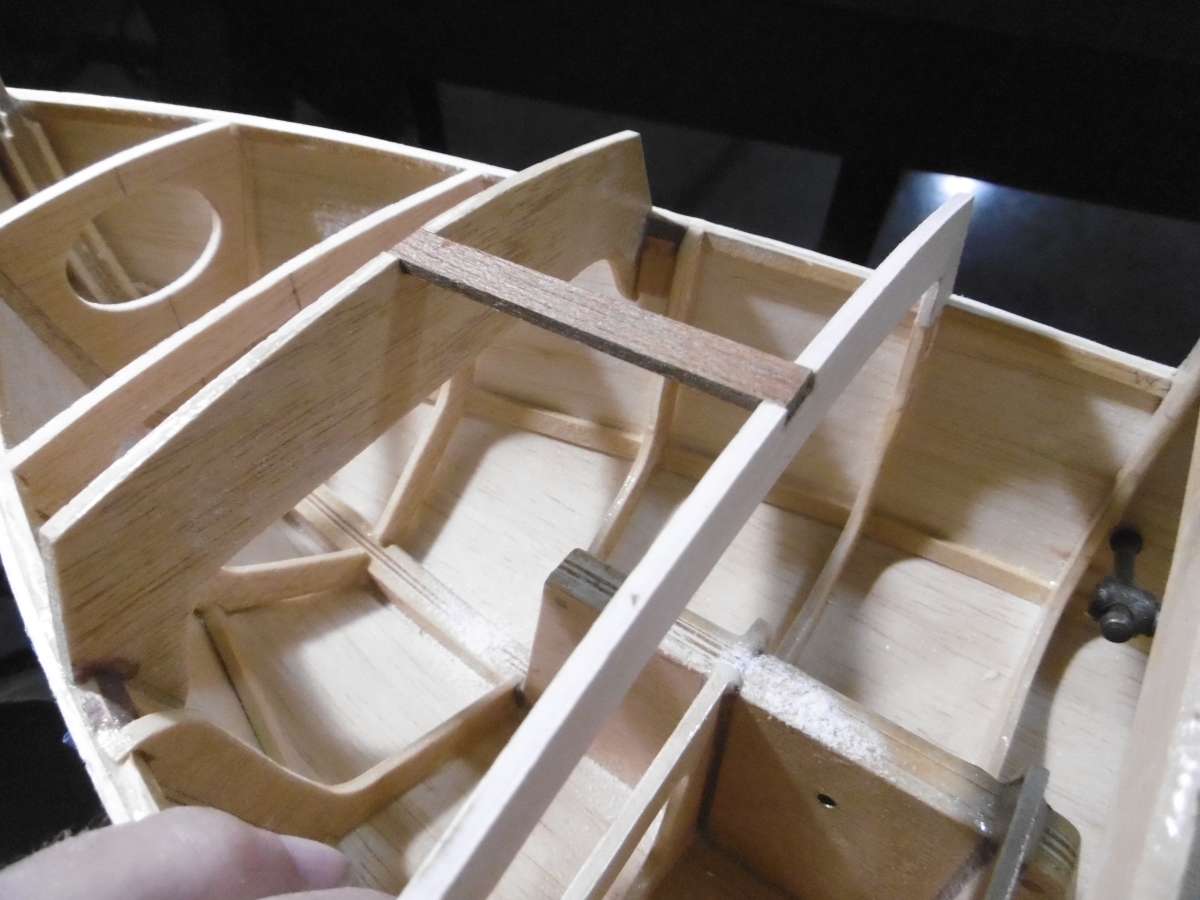
                                                    The cabin top framing under construction.  Wild Duck’s mast is going to be stepped on deck so a centreline beam is necessary and this will be supported by a post ging to to top of the keel box.

                                                    P1020140

                                                    Templates being made for the cockpit seats using strip balsa.  The cockpit needs to be watertight so a good fit will be an advantage.

                                                    P1020144

                                                    Here are the templates and the finished seat tops.

                                                    P1010828

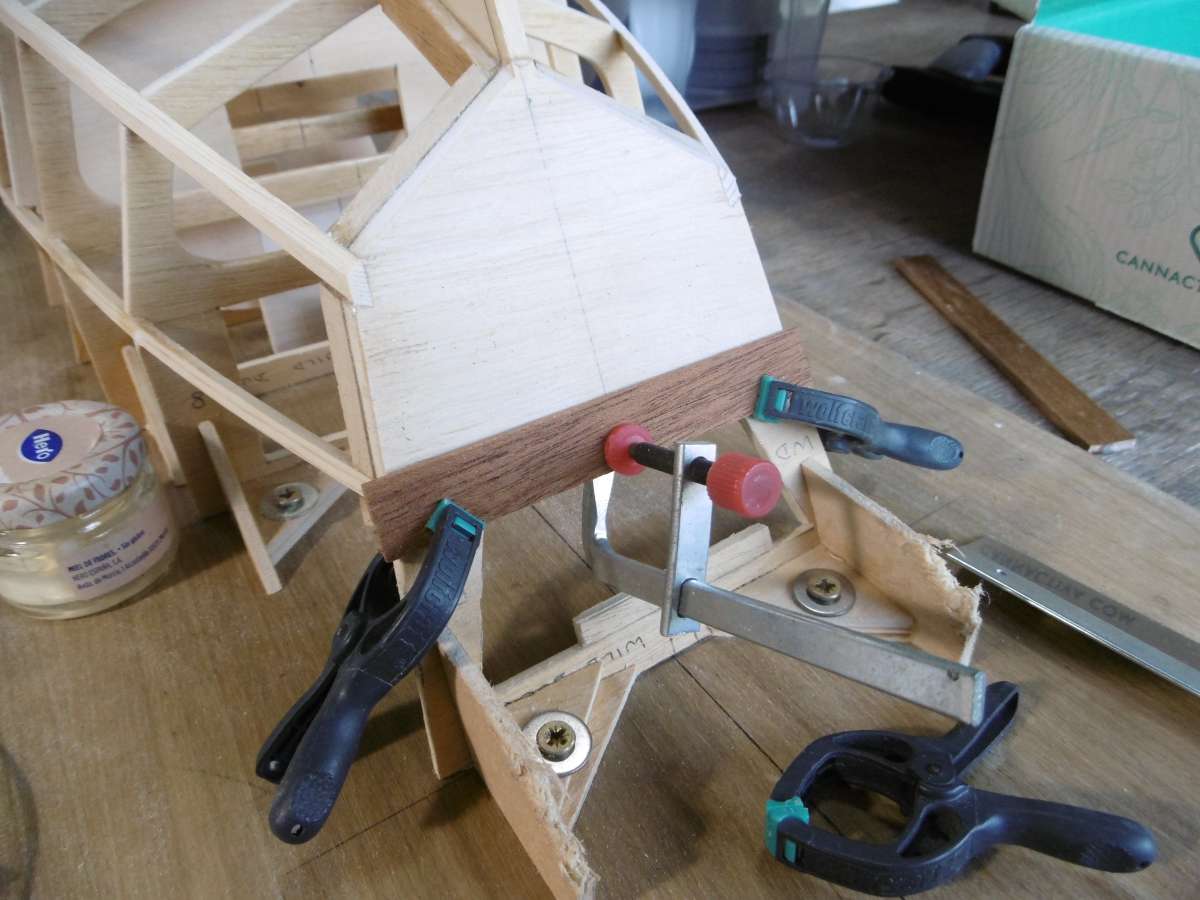
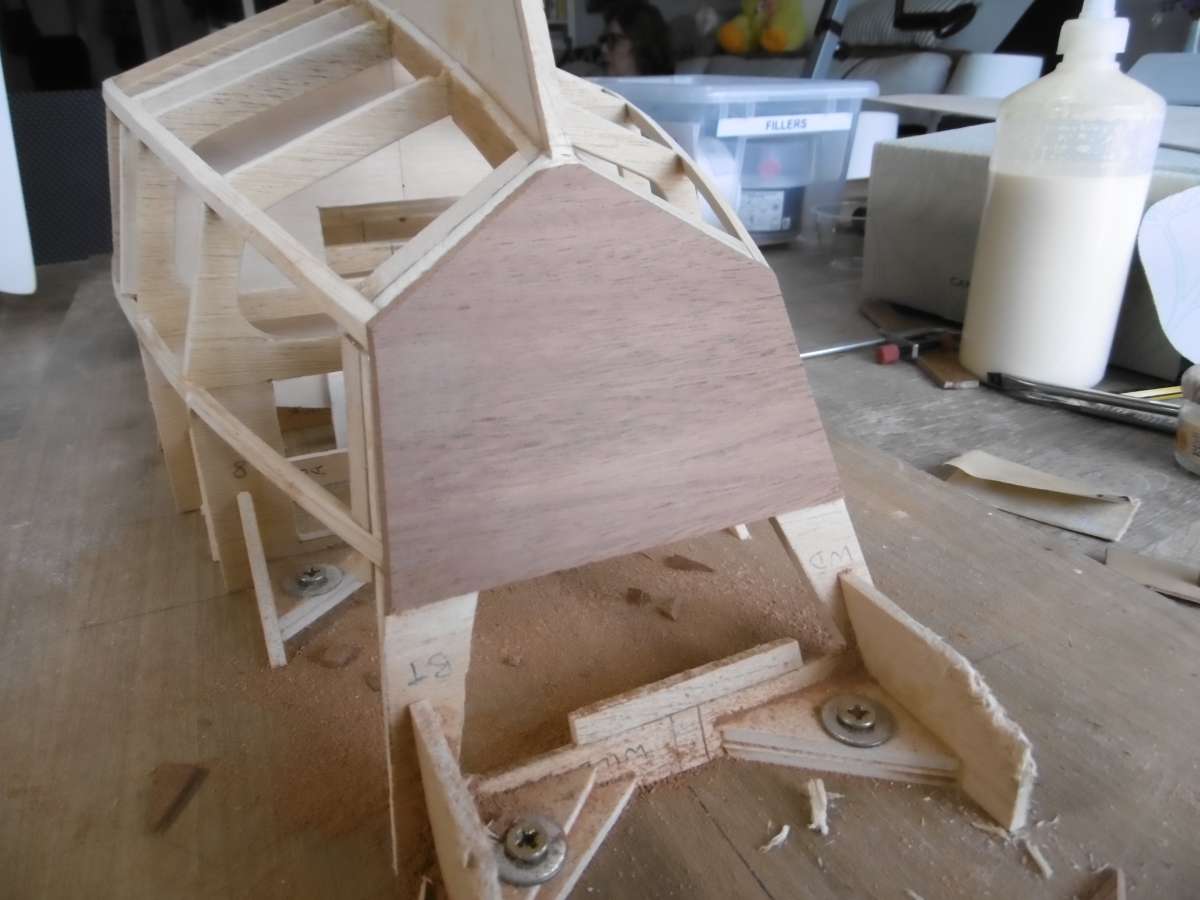
                                                    I wanted to make the cabin sides in mahogany and wanted to cut down the amount of trimming on the real thing.  I made balsa templates first which ai could easily adjust by trial and error.  The final shape has to contend with bending to follow the line of the deck edge, shaping to follow the sheerline of the deck edge,  some twist because the sides transition from inclined to vertical at the stem, and the curved coamings at the fore and and have to intersect with the ends of the cabin top.  This I think was the hardest part of the build.

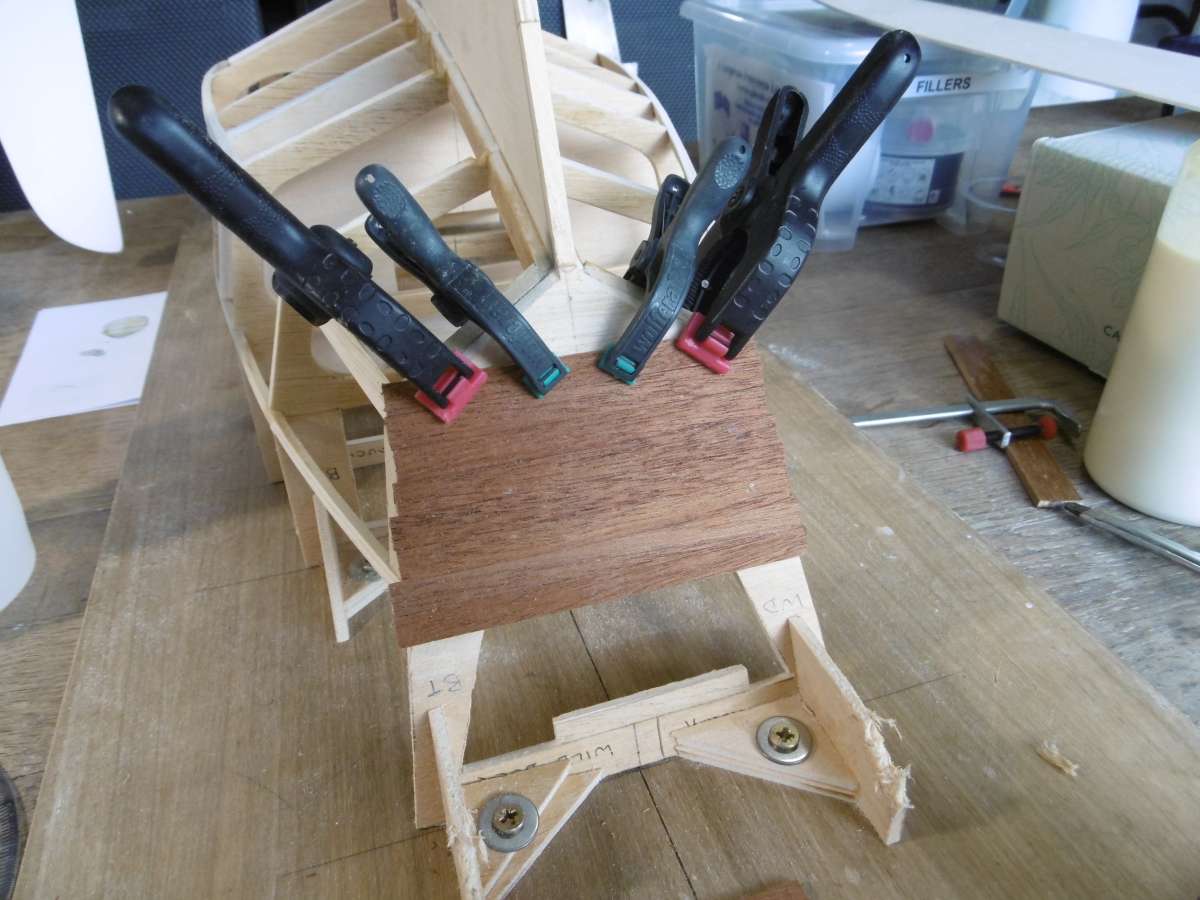
                                                    P1010831

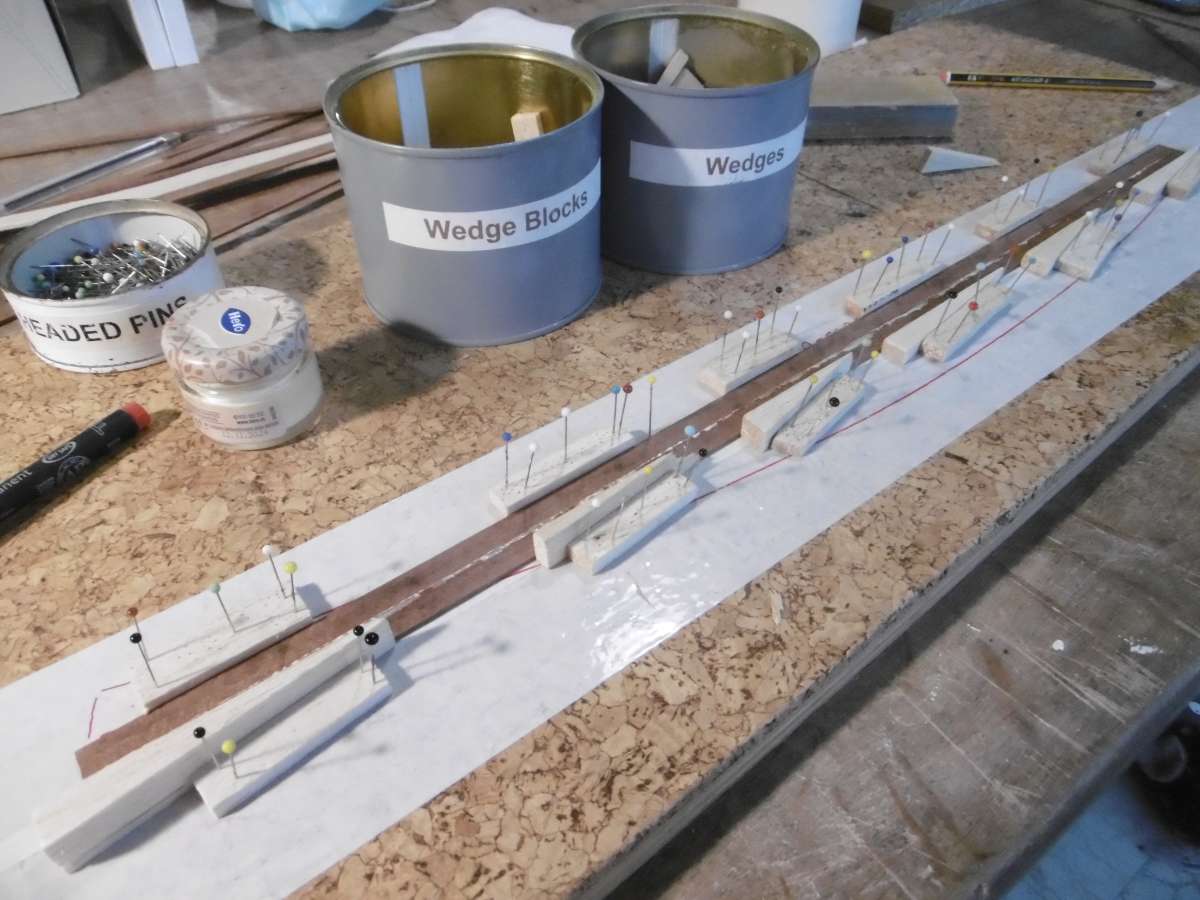
                                                    I then built up strips of mahogany to create the cabin sides using my usual method of balsa blocks and wedges to clamp the strips.

                                                    P1020142

                                                    Cabin sides finally in place so I can now move on!

                                                    Tim


                                                    #123279
                                                    Ray Wood 3
                                                    Participant
                                                      @raywood3

                                                      Hi Tim,

                                                      How does the self draining cockpit work the pipes seem to go into the boat ?? 🙂

                                                      I’m sure you have a scheme up your sleeve.

                                                      Regards Ray

                                                    Viewing 25 posts - 26 through 50 (of 84 total)
                                                    • Please log in to reply to this topic. Registering is free and easy using the links on the menu at the top of this page.

                                                    Code of conduct | Forum Help/FAQs

                                                    Latest Replies

                                                    Home Forums Scratch build Topics

                                                    Viewing 25 topics - 1 through 25 (of 25 total)
                                                    Viewing 25 topics - 1 through 25 (of 25 total)

                                                    View full reply list.