Fairey Swordsman 33

Fairey Swordsman 33

Home Forums Build Blogs Fairey Swordsman 33

  • This topic is empty.
Viewing 25 posts - 51 through 75 (of 133 total)
  • Author
    Posts
  • #92466
    Chris Fellows
    Participant
      @chrisfellows72943

      Thanks Ray

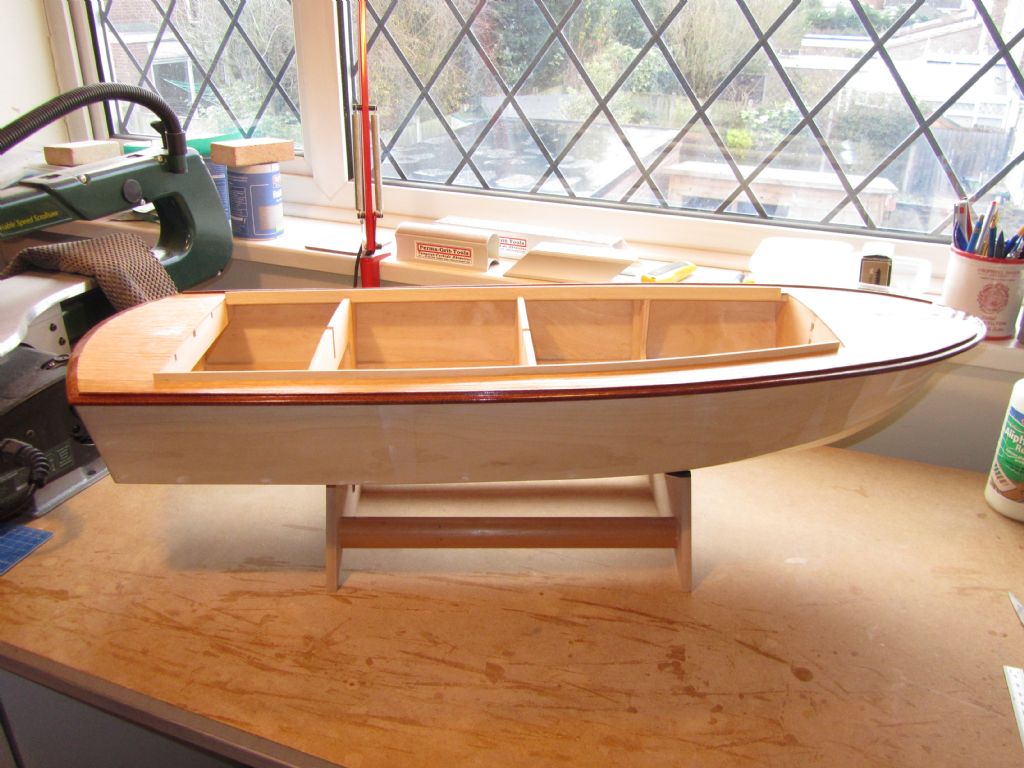
      Yes, as well as stopping the wet stuff it's needed for fitting the superstructure against. But I did actually think ahead this time smiley as it made it easier to fit the planking pieces first and sand the internal edges flush and get the height of the upstand right.
      Chris

      #92929
      Chris Fellows
      Participant
        @chrisfellows72943

        Well it's been quite a few weeks since I've done any building as I've been doing exciting stuff like fitting a support bracket in the roof space for the vertical boiler flue before the next service as it was picked up last time. This should have been fitted by the "professional" installers years ago when the heating was replaced but obviously they couldn't be bothered!

        Anyway the first job was carried out so that Ray could sleep at night! This was the upstand along each side against which the superstructure would be built and to locate it in place and of course to keep the wet stuff out!

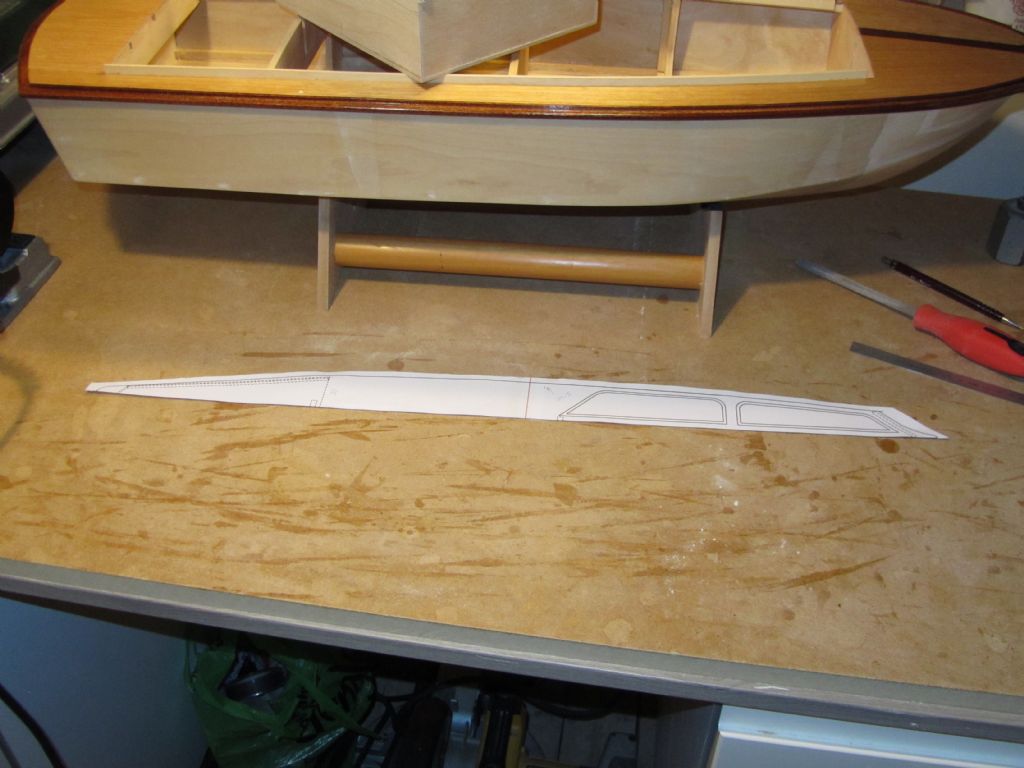
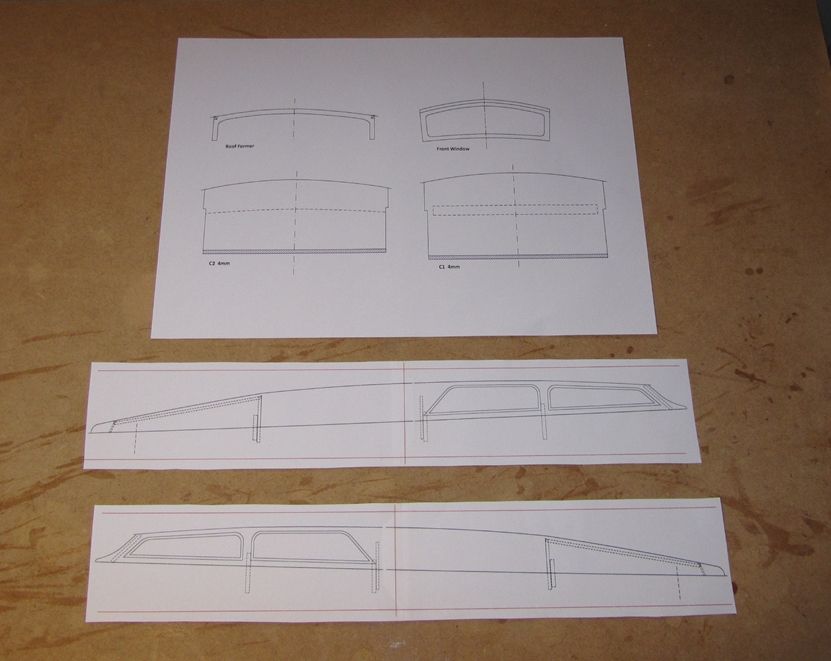
        After this I drew up the parts for the superstructure so I'm all ready to get going again. I've had to evict the spiders from the work room though first!

        Chris

        upstands fitted

        superstructure parts

        Edited By Chris Fellows on 30/12/2020 16:31:33

        #93021
        Chris Fellows
        Participant
          @chrisfellows72943

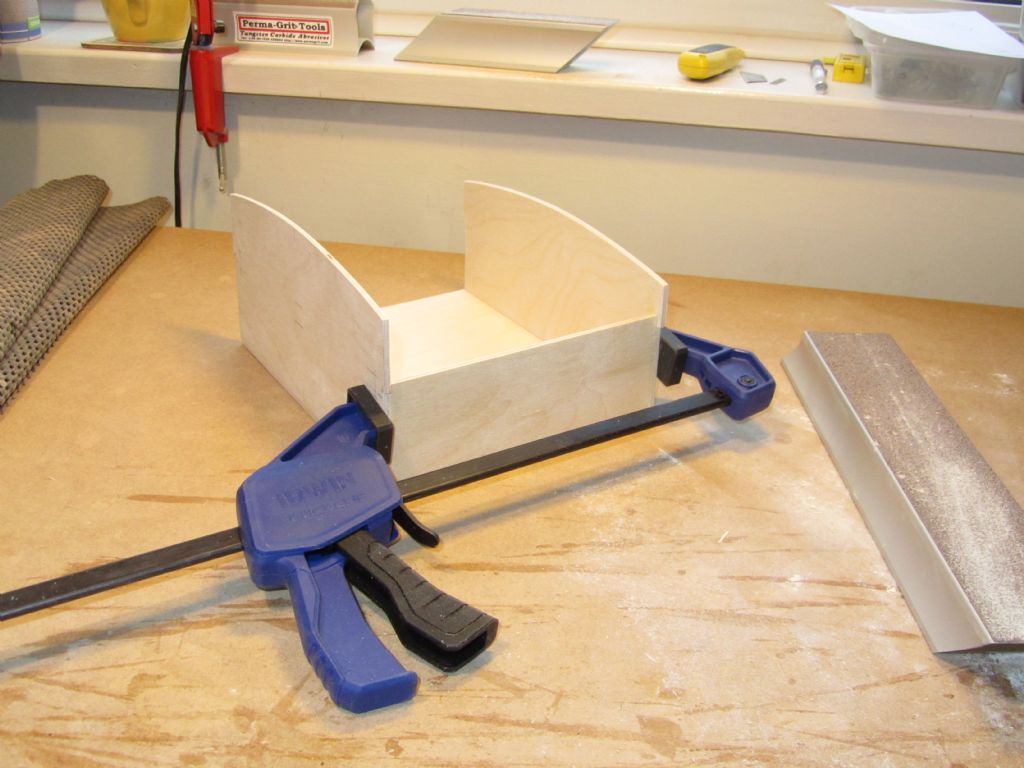
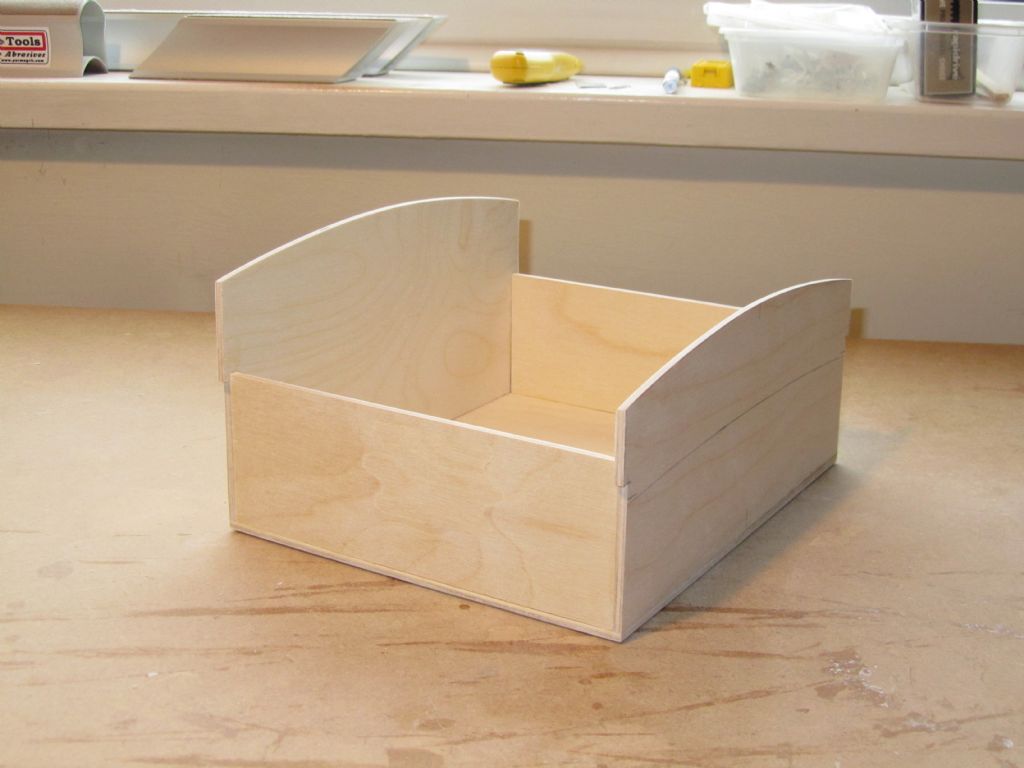
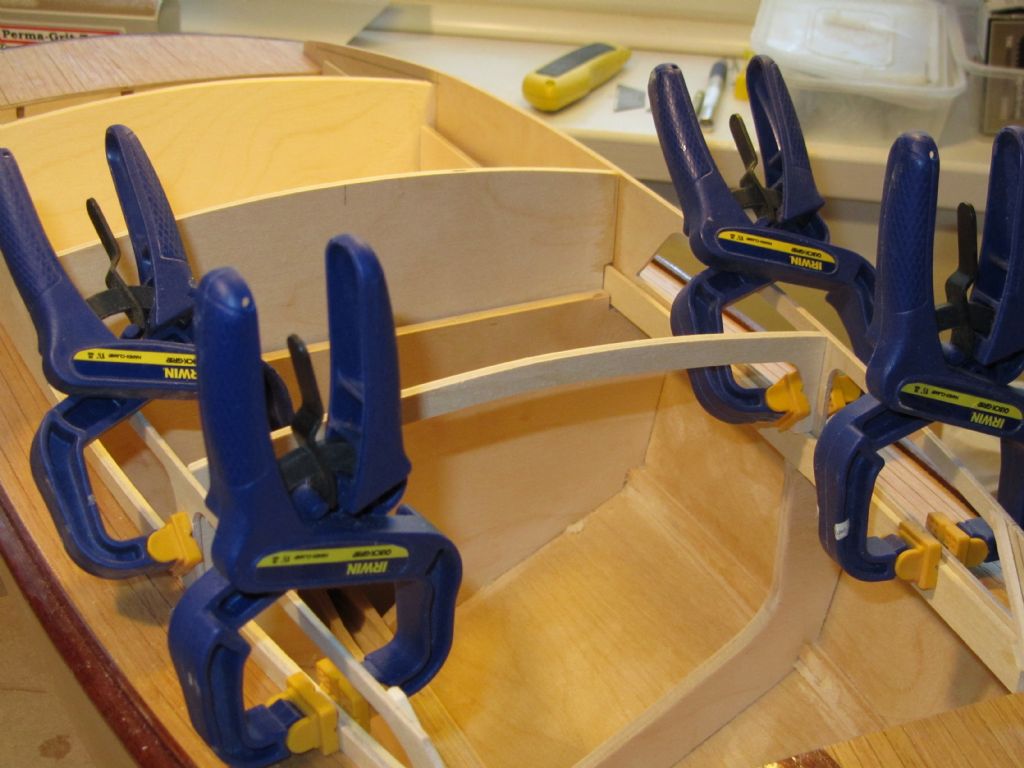
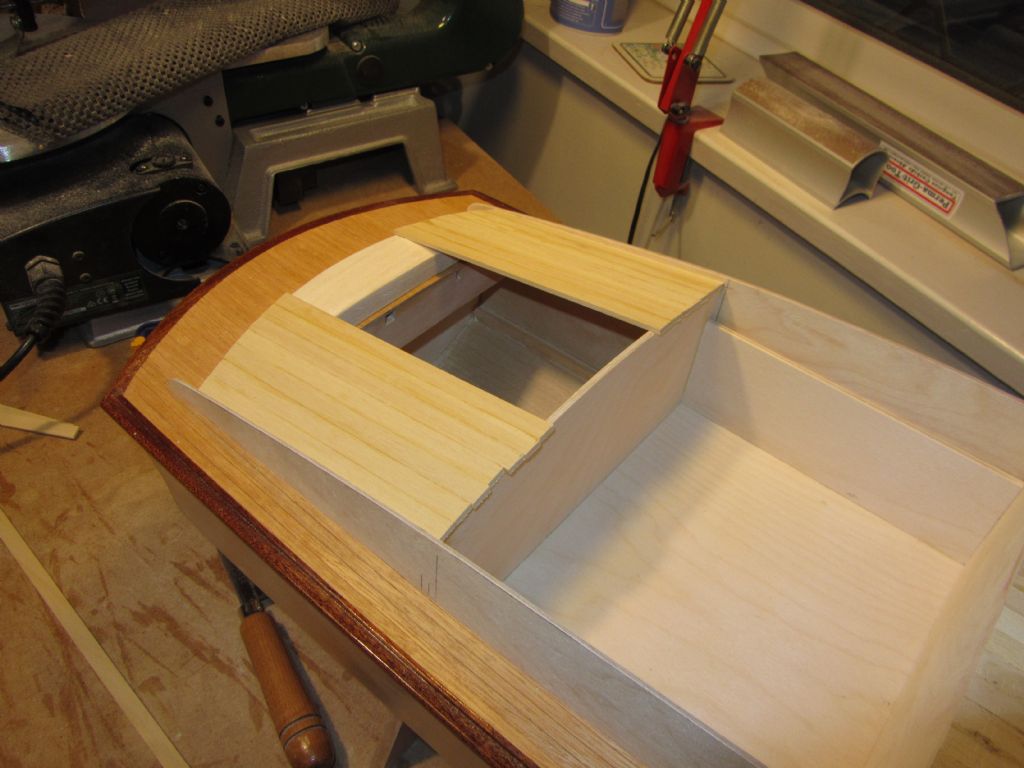
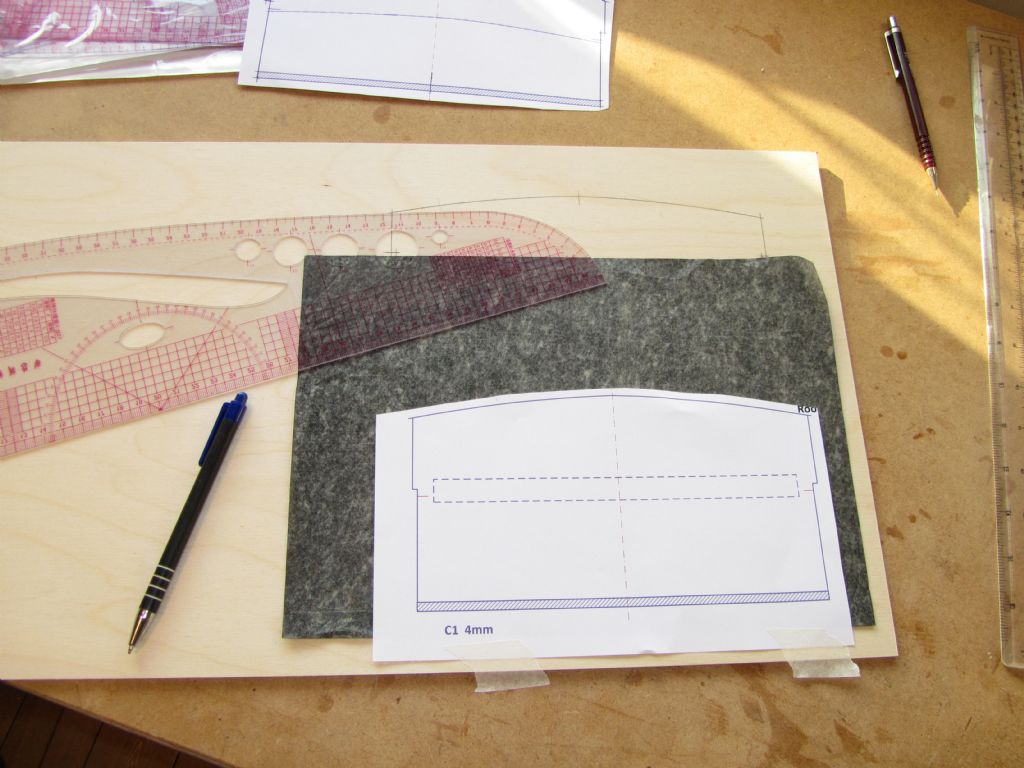
          The formers for the rear of the front cabin and front of the rear cabin were transferred to 3mm birch ply and the base and sides drawn out and then all parts cut out on the scroll saw and sanded to the lines with my PermaGrit blocks. Once this was done they were glued together with a/resin to form the box for the cockpit area.

          A trial fit of the paper cabin sides/coamings found that the bulkhead/front of the rear cabin didn't line up, even though curvature of the sides had been allowed for, and so an adjustment was made to the drawing and printed out again and this time lined up Ok.

          Chris

          superstructure1

          superstructure2

          superstructure3

          superstructure4

          #93165
          Chris Fellows
          Participant
            @chrisfellows72943

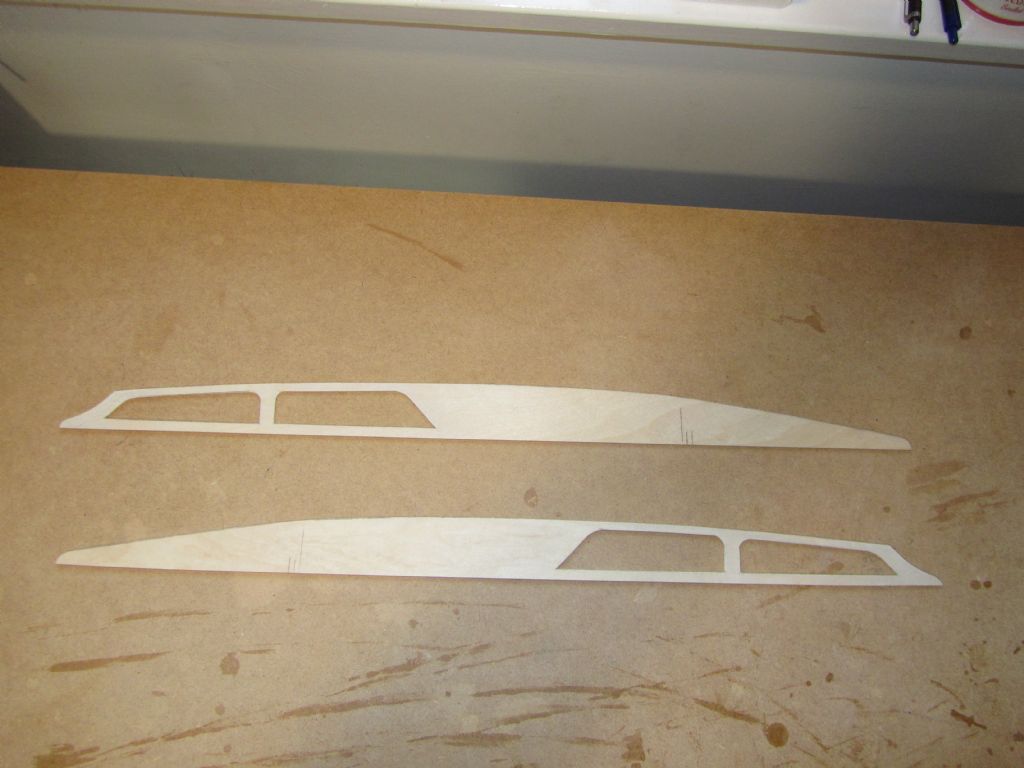
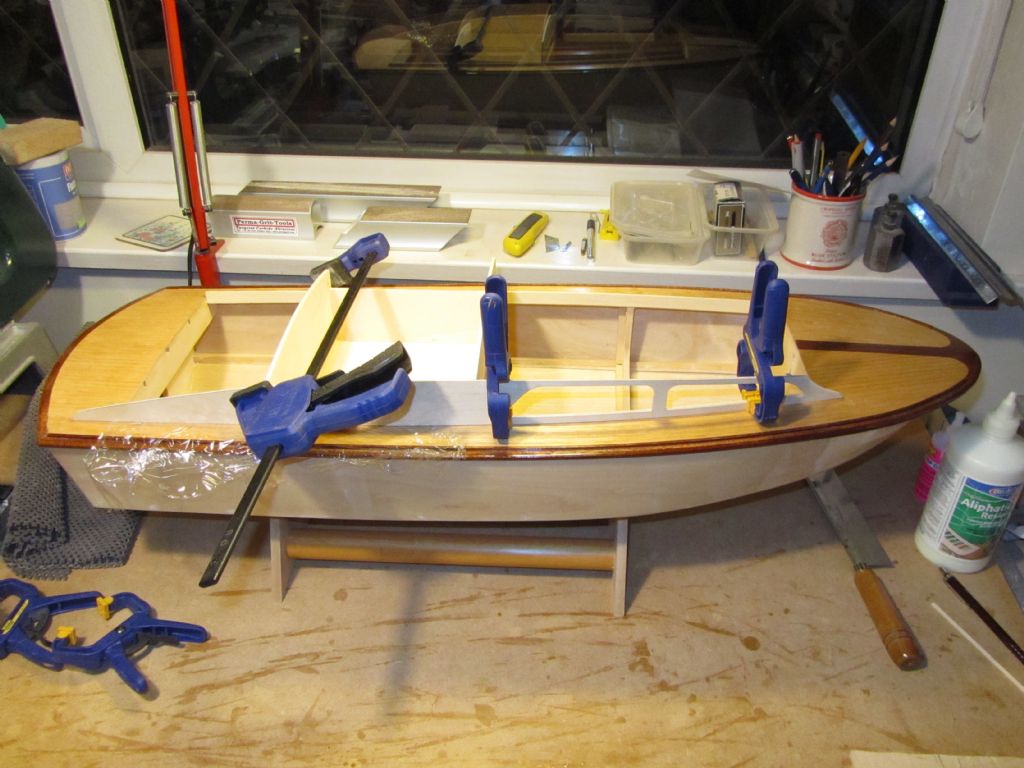
            2mm birch ply was chosen for the the cabin sides/coamings and oversize pieces were cut out. The bottom edge of each piece was then offered up to the deck along the upstands and areas identified where sanding was required to account for the deck camber, unsurprisingly this was at the front and rear ends. Once sanded and an acceptable fit obtained the drawings were transferred to the ply and cut out on the scroll saw.

            The cabin box was then fitted in the hull and the cabin sides/coamings were then glued to the sides of the box at the front and rear.

            superstructure5

            superstructure6

            #93166
            Tim Rowe
            Participant
              @timrowe83142

              Work of art Chris

              Tim R

              #93167
              Chris Fellows
              Participant
                @chrisfellows72943

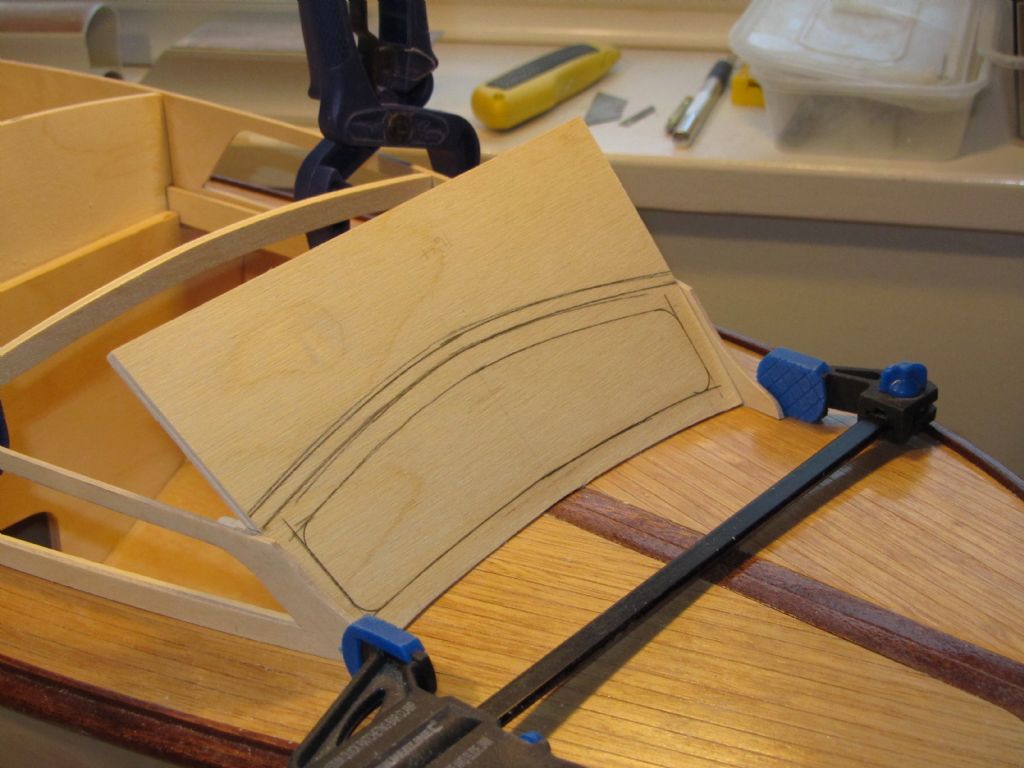
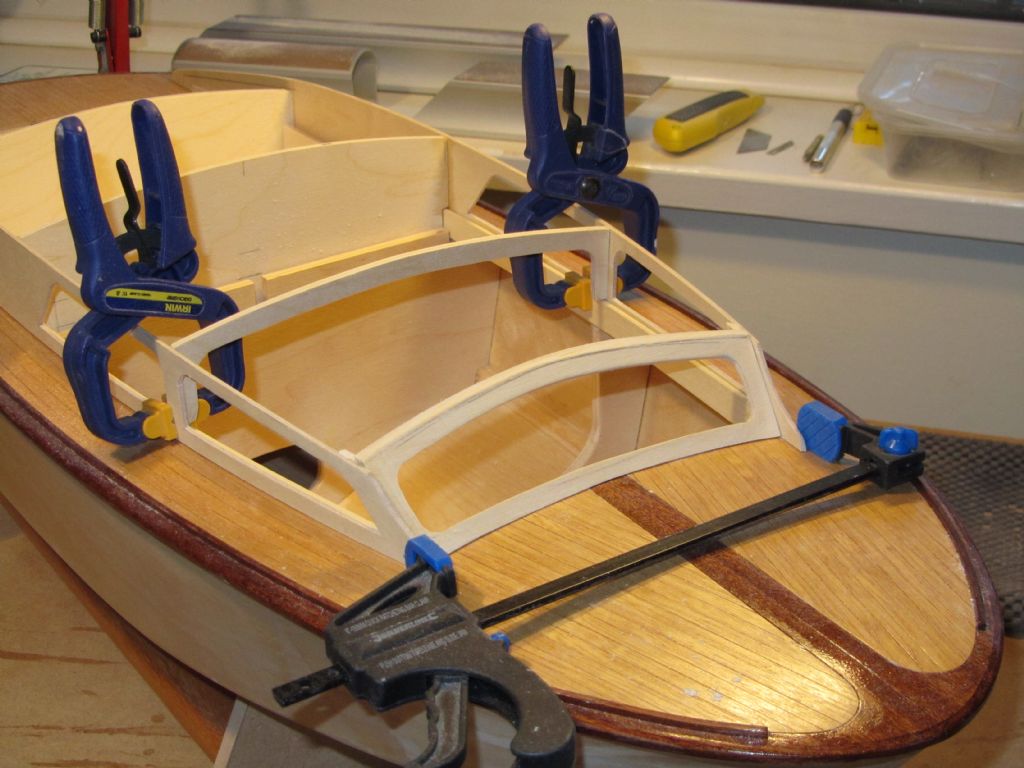
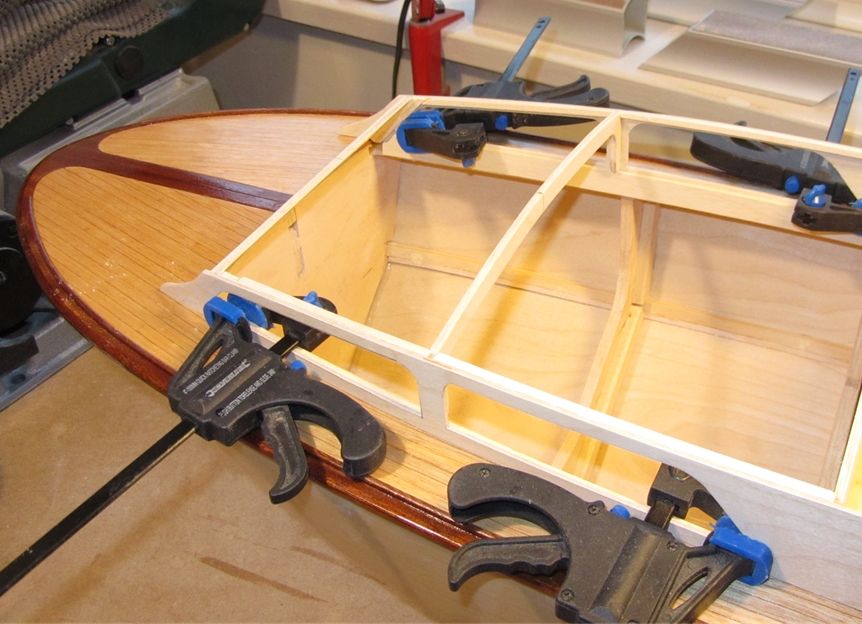
                Drawings were then produced for the roof beam and front window. The roof beam was cut from 3mm ply and then glued and clamped in place. This helped to pull in the sides and make fitting the window easier.

                I'd had a right game with fitting the Huntsman 28 window as once the a/resin was applied it kept slipping and the clamps kept falling off – the Deluxe Materials I use now does grab better though. I tried CA as well but the surfaces had been contaminated and I had to add some small pieces of timber between the window and sides before it held.

                So lesson learnt, I glued in 2 x 2mm timbers first to provide additional gluing area and to act as a guide to position the window and get it at the right angle. Another lesson learnt is not to cut out the window aperture straight away. I'd done this before and by the time the window had been cut and sanded to fit, the frame was too narrow in places and I had to make another one!

                This time I cut out a blank, cut and sanded the bottom to match the camber of the deck and with the front of the side pieces lightly clamped it was just then a simple case of sanding the edges a bit at a time until the blank dropped into place. The top of the window (which will support the roof planks) and the window aperture were then drawn on and then cut and sanded – the top being left slightly proud for final sanding. The window was then glued in place with a/resin and didn't need any clamps and was a doddle this time!

                Chris

                superstructure7

                superstructure9

                superstructure10

                #93224
                Chris Fellows
                Participant
                  @chrisfellows72943

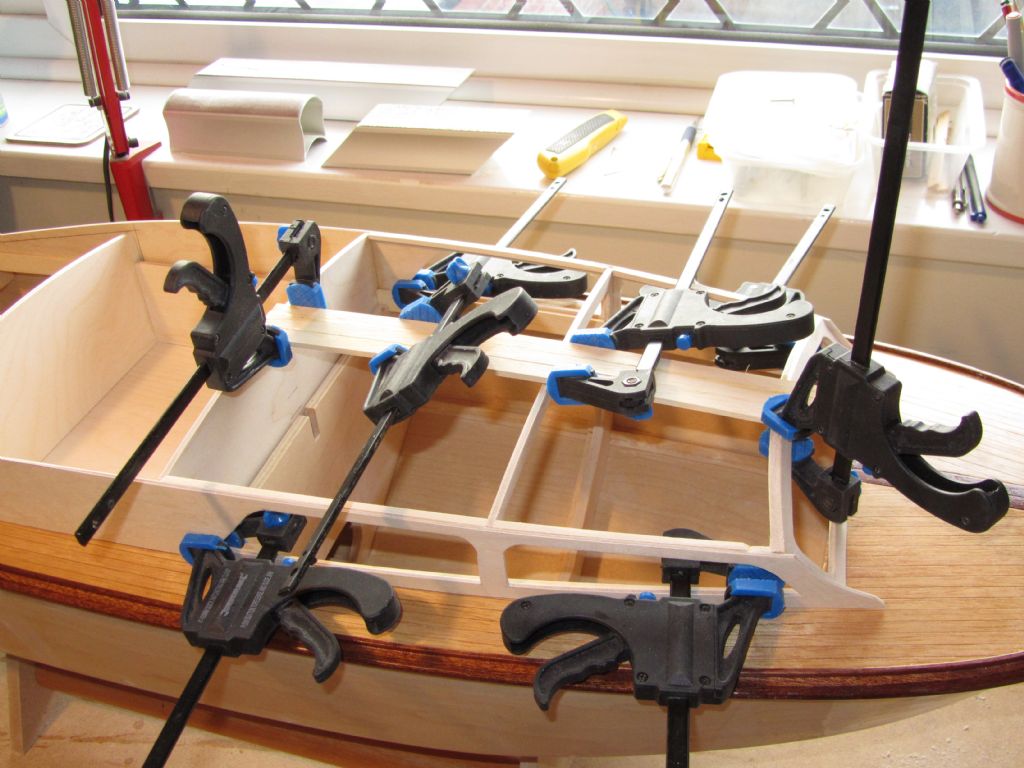
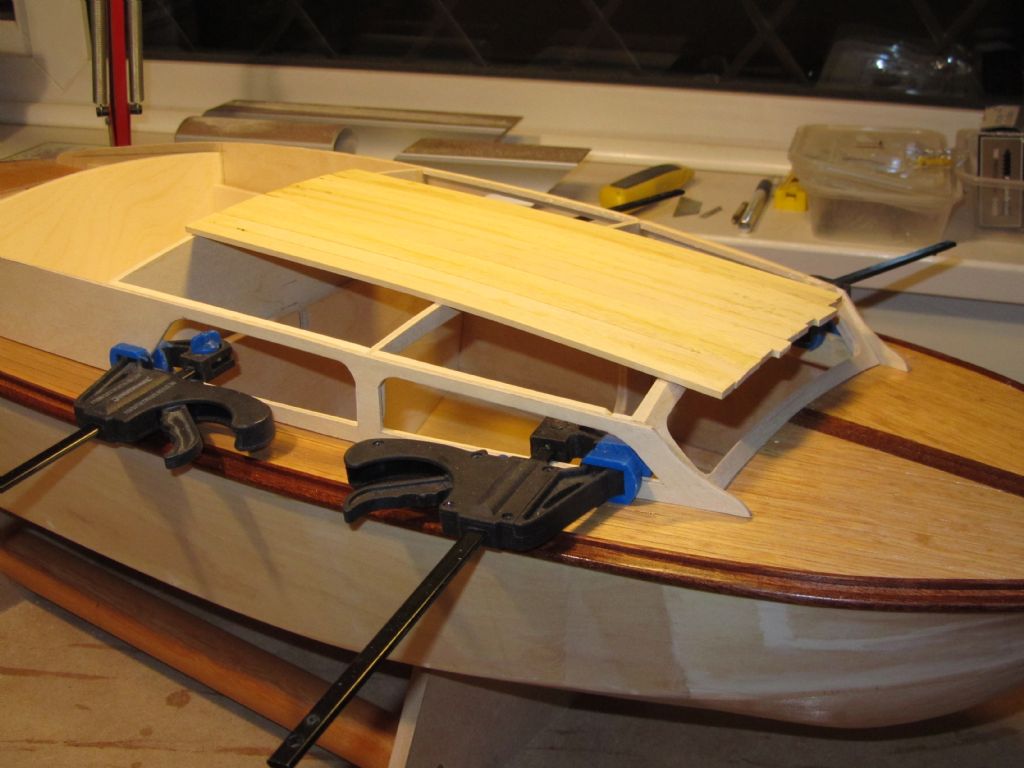
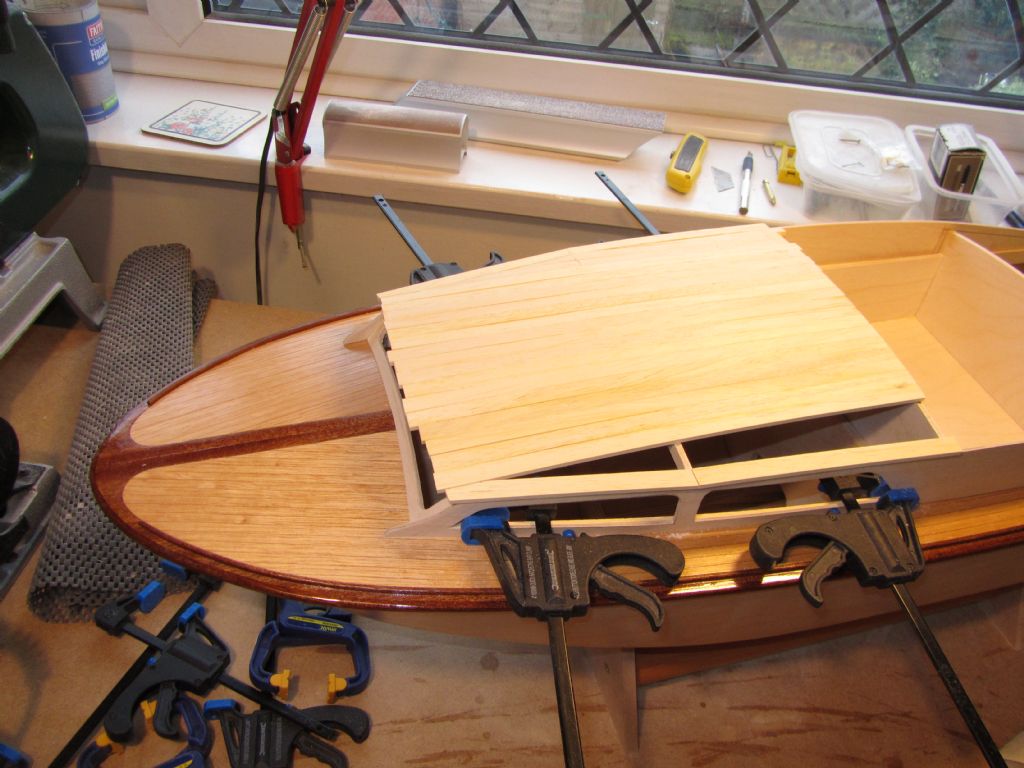
                  The top of the front window was sanded down flush with the sides and small section bass was glued to the top of the sides to provide additional support and gluing area for the planking.

                  Planking was then carried out using my usual method (as advocated by DM) of 3 x 9mm obechi planks glued at the supports (rear cabin former, roof beam and window) with slow cure CA and a/resin along the sides. Unfortunately I don't have enough timber to finish the roof so have ordered more from SLEC along with ply and mahogany to replenish stocks. I've kept the superstructure clamped down continuously to the upstand this time as on a previous build I removed the clamps before the glue had completely dried, though well bonded, and it twisted the superstructure slightly leaving gaps at the deck joint which took some rectifying. By the time I've finished all my builds I might have this model making lark sussed!

                  Chris

                  superstructure11a

                  superstructure12

                  superstructure14

                  #93235
                  Ray Wood 3
                  Participant
                    @raywood3

                    Hi Chris,

                    Lovely work as usual, good building weather

                    I just PM'd you

                    Regards Ray

                    #93250
                    Chris Fellows
                    Participant
                      @chrisfellows72943

                      Hi Ray

                      Certainly is. Steady progress but at least I'm doing something most days, unless we go for a long walk and I fall asleep when we get back! smiley

                      SLEC have played a blinder as a package arrived this morning. I shall leave it unopened for a couple of days though to be on the safe side and progress the Huntsman 31.

                      Tim, thanks for the comment, though I think my work falls a bit short of that!

                      Chris

                      #93258
                      gecon
                      Participant
                        @gecon

                        Chris,

                        the used Swordsman (33&quot which I bought in Hong Kong a very long time ago certainly did not resemble your masterpiece. Such beautiful work is a joy to study and behold. I expect there will be lots of Faireys anchored up for a photo-shoot in the spring?

                        George

                        #93264
                        Chris Fellows
                        Participant
                          @chrisfellows72943

                          Thanks George. I'm pretty happy with it but I think all of us sometimes wish we had done some things better or we make mistakes. A case in point being the Huntress planking. I've now got the materials to have another go at it but am still undecided. My wife often says I have OCD! smiley

                          Chris

                          #93265
                          gecon
                          Participant
                            @gecon

                            I know the feeling Chris! I have re-done one or two (3,4,5!) things on the Fisher because they weren't quite right '. I have also managed to look the other way just as often -luckily. The main idea is to get the thing into the water and take photos of it from 2 metres!

                            George

                            #93267
                            Colin Bishop
                            Moderator
                              @colinbishop34627

                              Yes, one often agonizes over something that 'isn't quite right' when building a particular part of the model but minor defects often just blend into the background on the completed model, you hardly notice them yourself and nobody else does. And after a while you forget about them completely – time is a great healer as they say…

                              Colin

                              #93271
                              Chris Fellows
                              Participant
                                @chrisfellows72943

                                Very true Colin. Many times I've been unhappy with things I've done, be it DIY or something else, when I'm actually doing it and focussing on it, but after awhile I forget about it or can live with it. Well most times! smiley

                                Chris

                                #93272
                                Colin Bishop
                                Moderator
                                  @colinbishop34627

                                  Except when you trip over it… smiley

                                  Colin

                                  #93310
                                  Chris Fellows
                                  Participant
                                    @chrisfellows72943

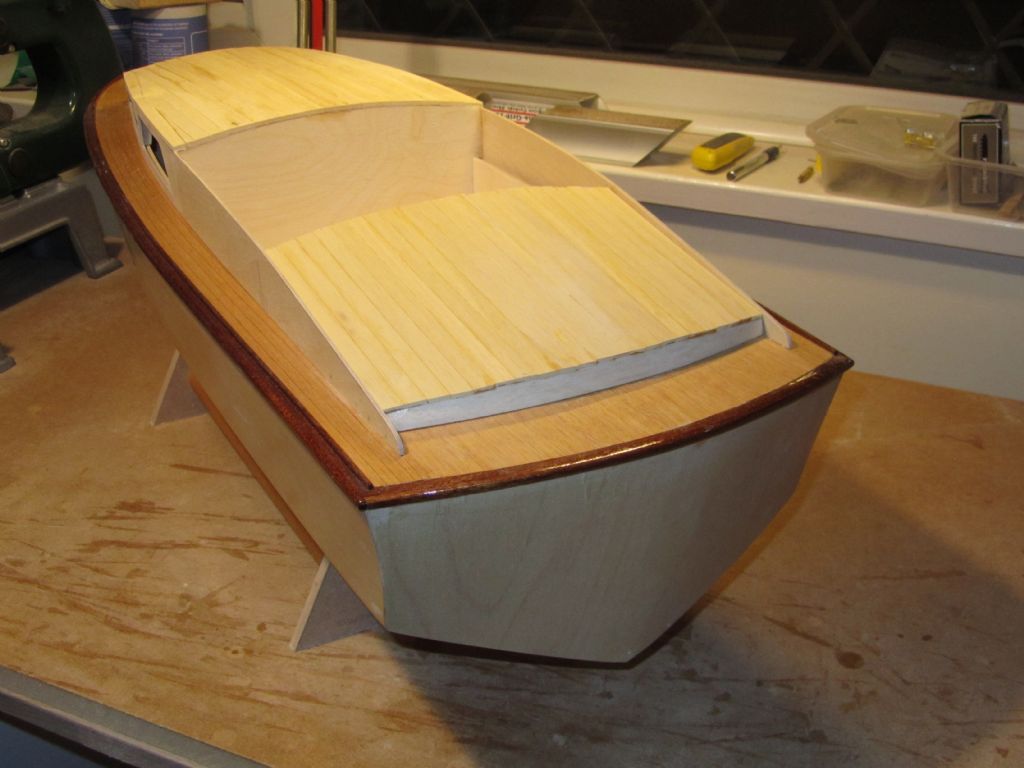
                                    Been working on the Huntsman 31 superstructure but having opened the package from SLEC have returned to the Swordsman.

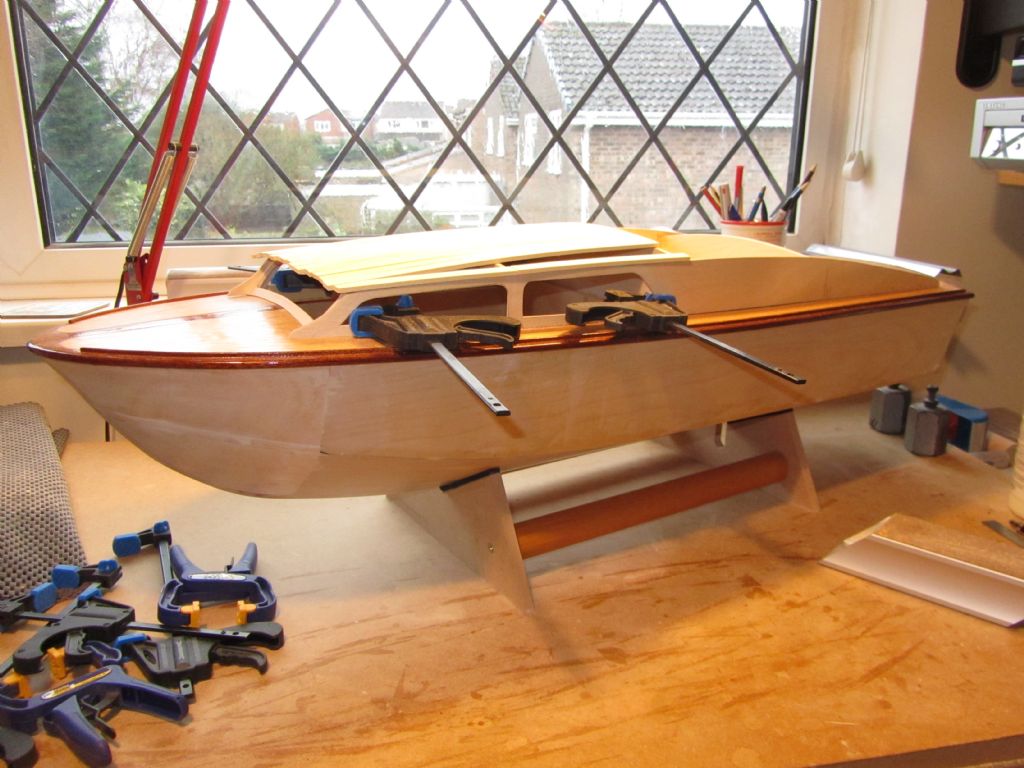
                                    Planking of the roof is nearly complete and will be ready for trimming and sanding.

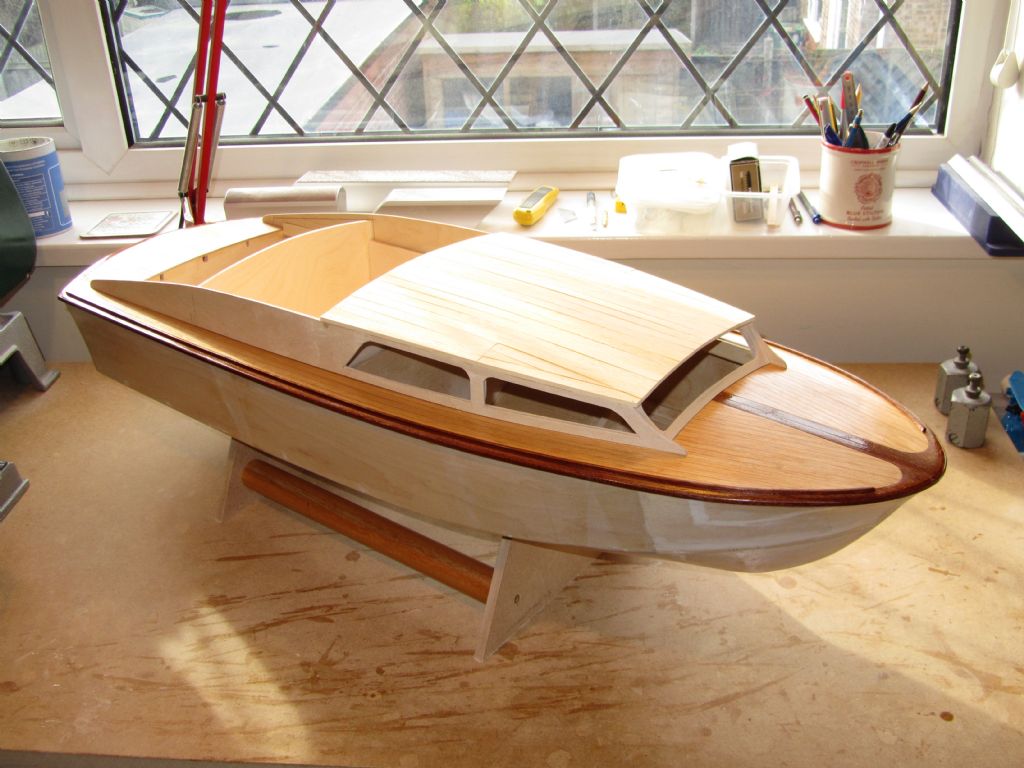
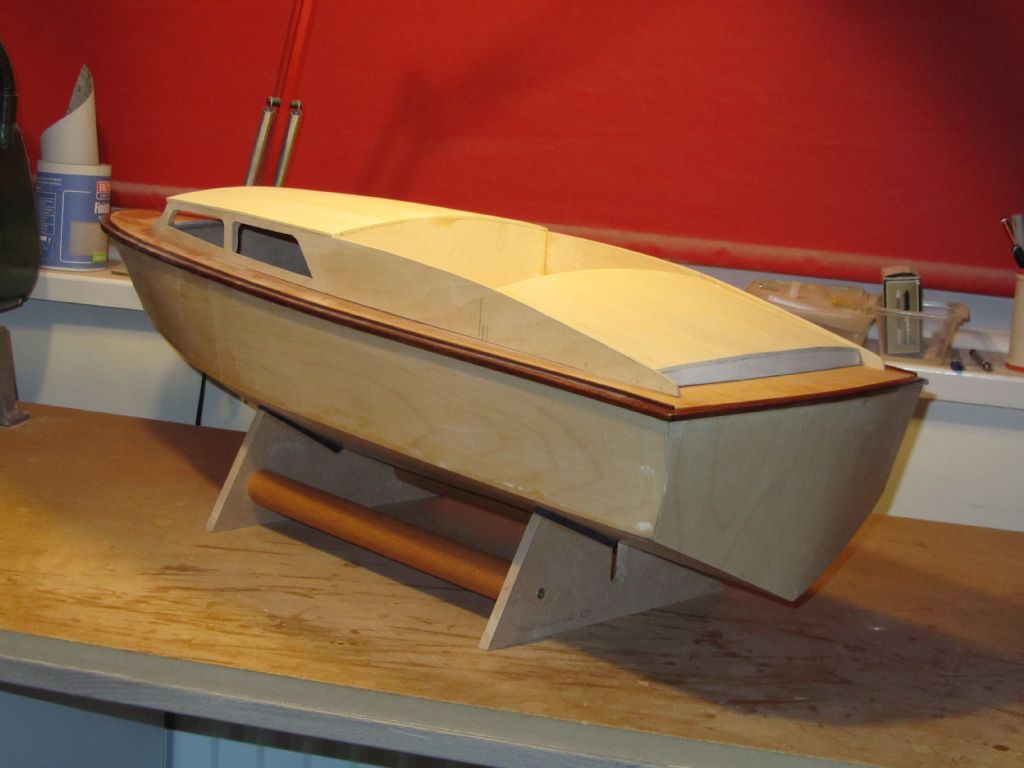
                                    Having just had the hull lying around for some time and noting its lardiness the progression of the superstructure is starting to give the model some form and the classic Fairey lines and I'm liking it!

                                    I shall return to the Huntsman to fit the windows and plank the roof before tackling the rear cabin roof of the Swordsman which I think is going to be a bit fiddly!

                                    Chris

                                    superstructure15

                                    superstructure16

                                    Edited By Chris Fellows on 20/01/2021 13:12:03

                                    #93312
                                    Paul T
                                    Participant
                                      @pault84577

                                      Hi Chris

                                      That deck is amazing and very impressive.

                                      Paul

                                      #93313
                                      Chris Fellows
                                      Participant
                                        @chrisfellows72943

                                        Thanks Paul.

                                        That's very nice of you to say.

                                        Chris

                                        #93322
                                        Chris Fellows
                                        Participant
                                          @chrisfellows72943

                                          Roof trimmed and sanded flush to rear and sides. Bit of filler required before sanding the top surface.

                                          Chris

                                          superstructure17

                                          #93325
                                          gecon
                                          Participant
                                            @gecon

                                            A joy to behold Chris.

                                            George

                                            #93326
                                            Tim Rowe
                                            Participant
                                              @timrowe83142

                                              Hi Chris

                                              You should be very pleased with yourself.

                                              Fairey essence captured to a tee.

                                              Tim R

                                              #93327
                                              Chris Fellows
                                              Participant
                                                @chrisfellows72943

                                                Thanks chaps.

                                                Chris

                                                #93551
                                                Chris Fellows
                                                Participant
                                                  @chrisfellows72943

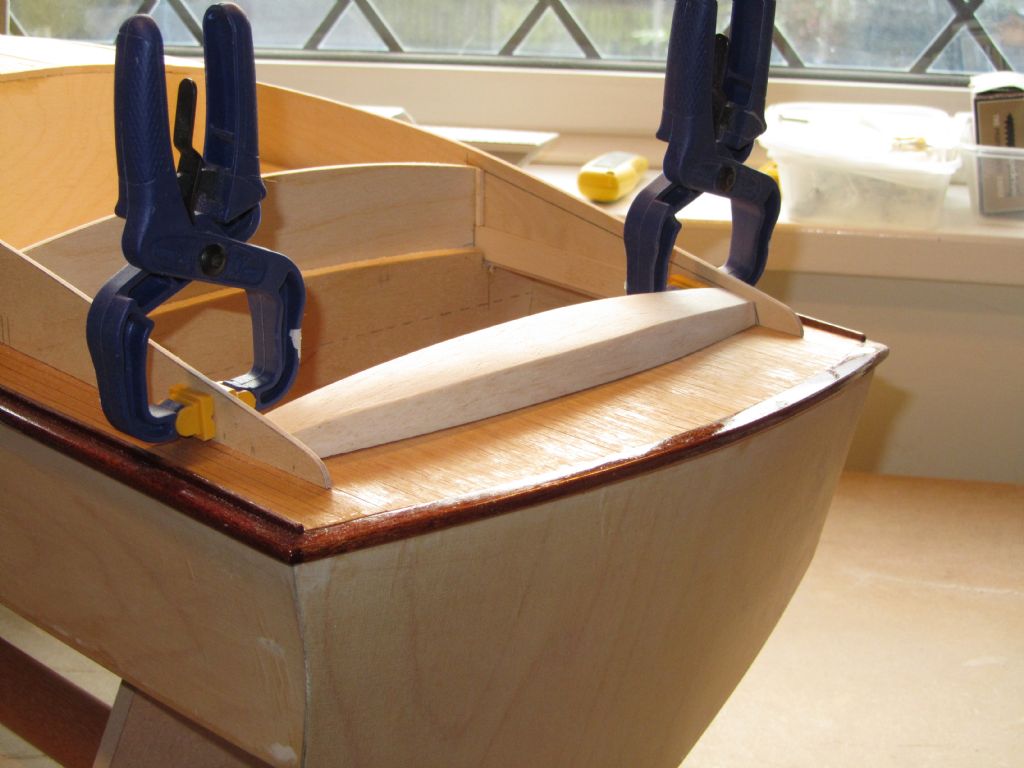
                                                  Returning to the Swordsman, today I'm working on the aft cabin – which for those that don't know this version sits inside the coamings and has a low upstand at the rear to support the roof. The upstand will be a bit higher than shown as it will be increased by the roof base planking (similar to the front cabin) and then the finish planking to match the deck.

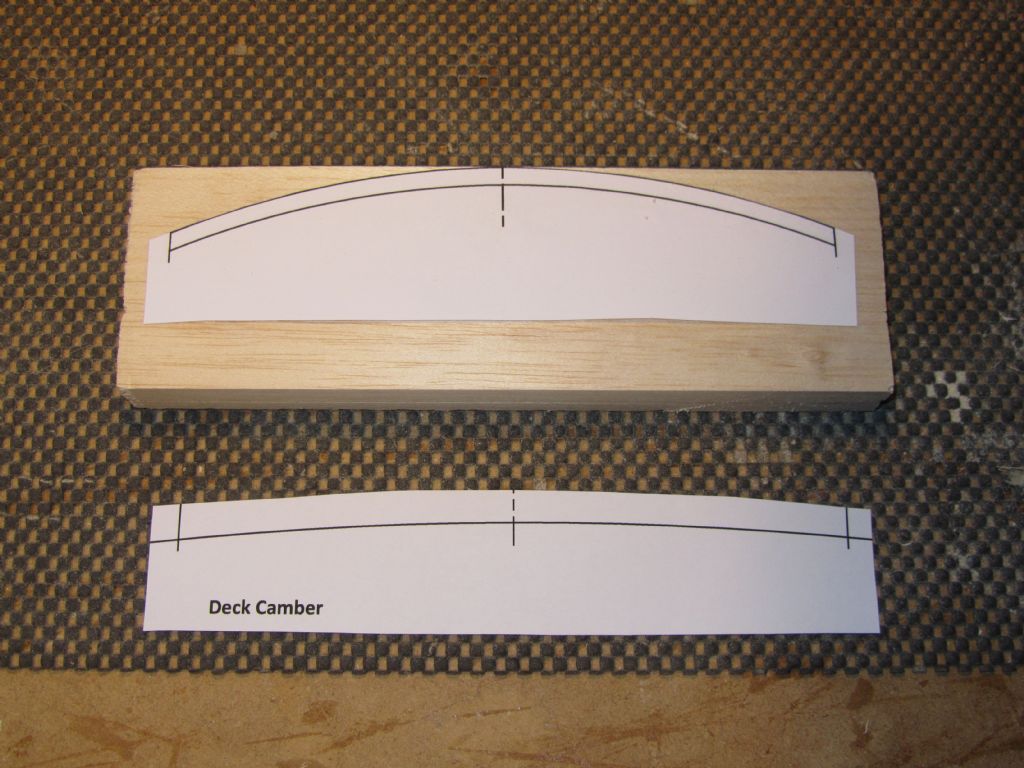
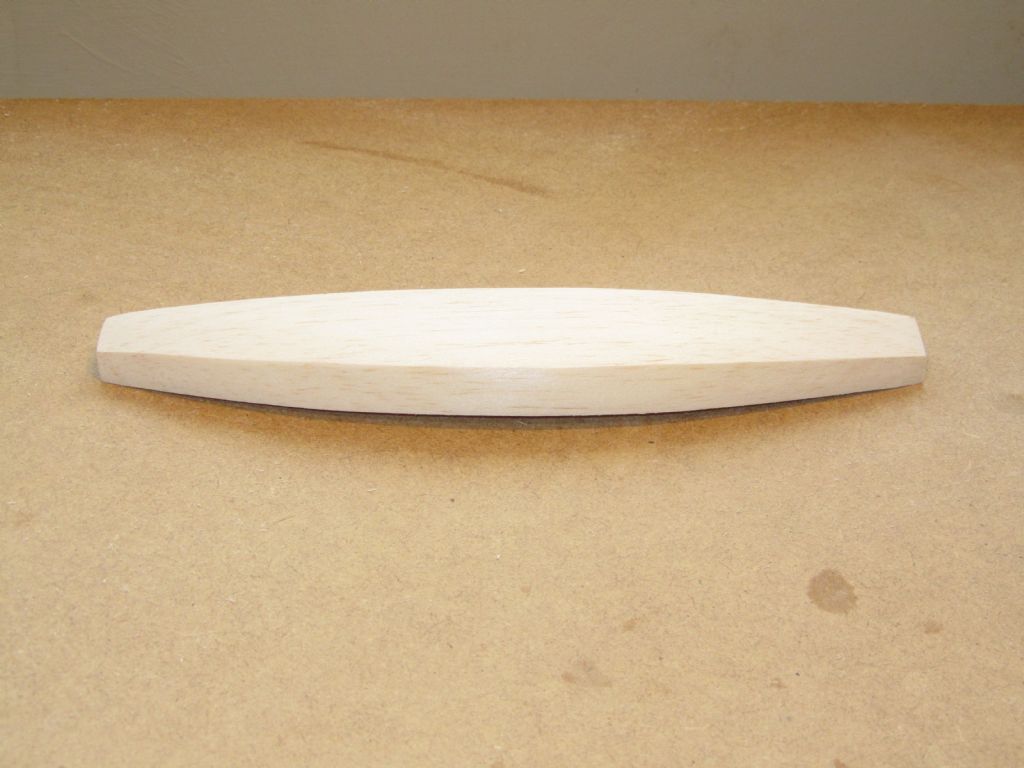
                                                  Given that this upstand follows the curve of the transom, the camber of the deck and roof and is inclined forwards, after some thought I decided that the best way to tackle it was to produce it out of balsa block and then face it in thin birch ply. Fortunately I had a block of balsa that I bought quite some time ago – I haven't bought any recently, are supplies Ok now?

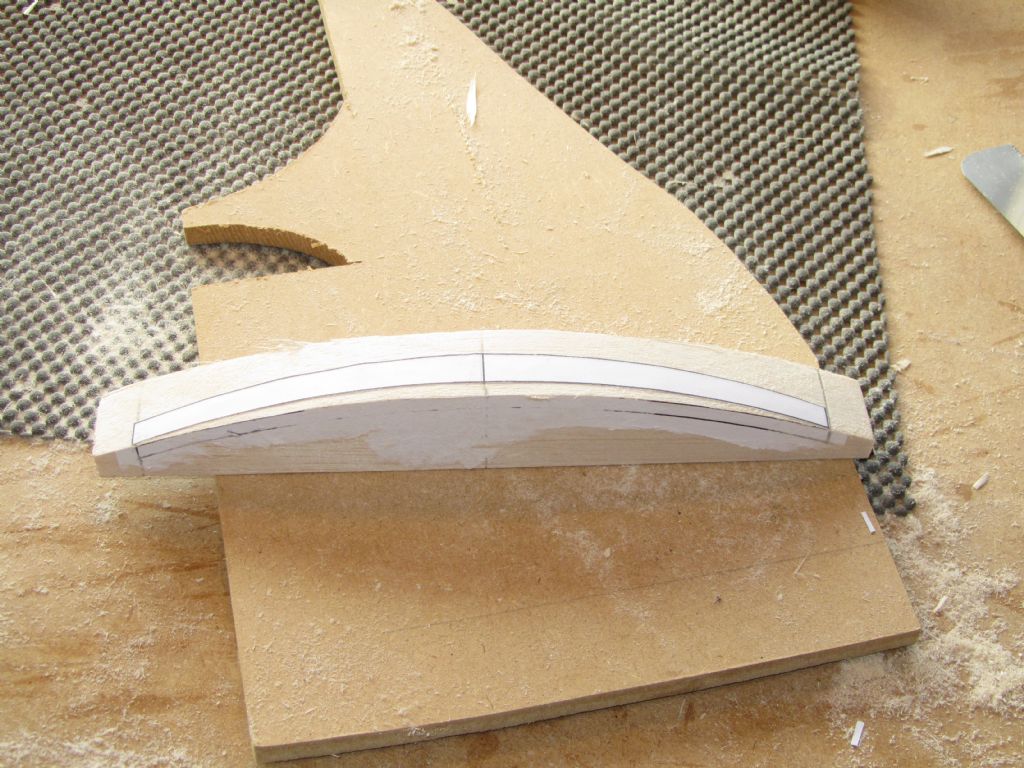
                                                  I'd started drawing up the plan and elevation of the upstand before and after checking the width between the coamings and the height required I printed them off and stuck the plan to the balsa with Pritt glue, cut chunks of balsa off with a razor saw and sanded to the line with a PermaGrit block – this face will have to be angled back later.

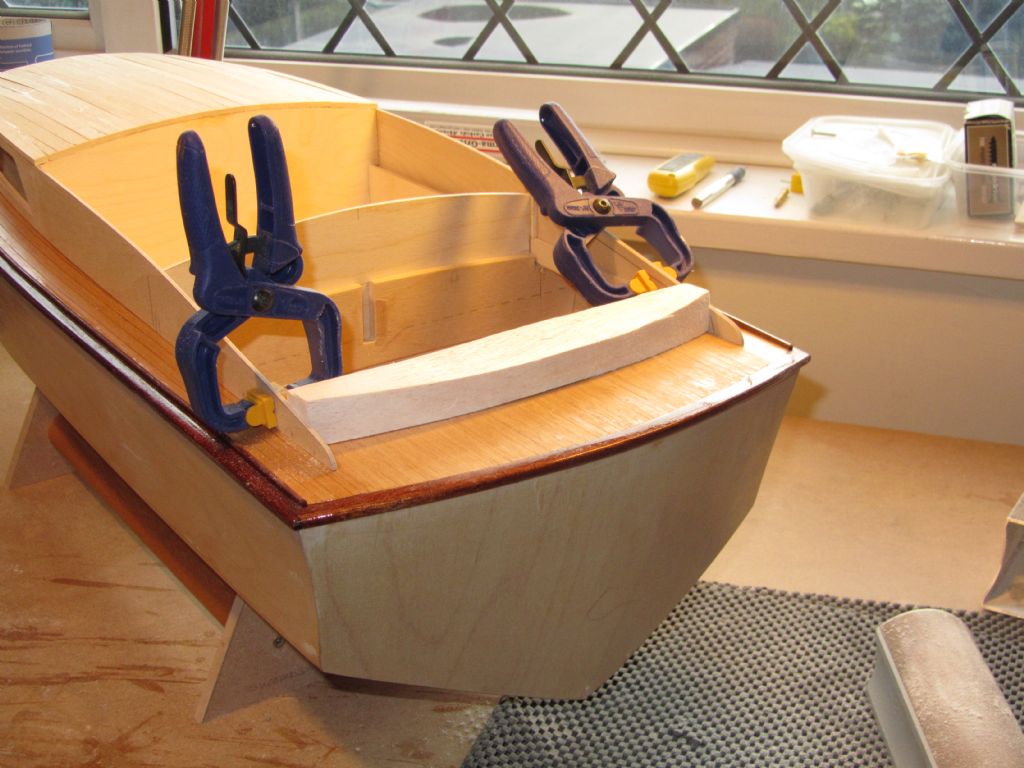
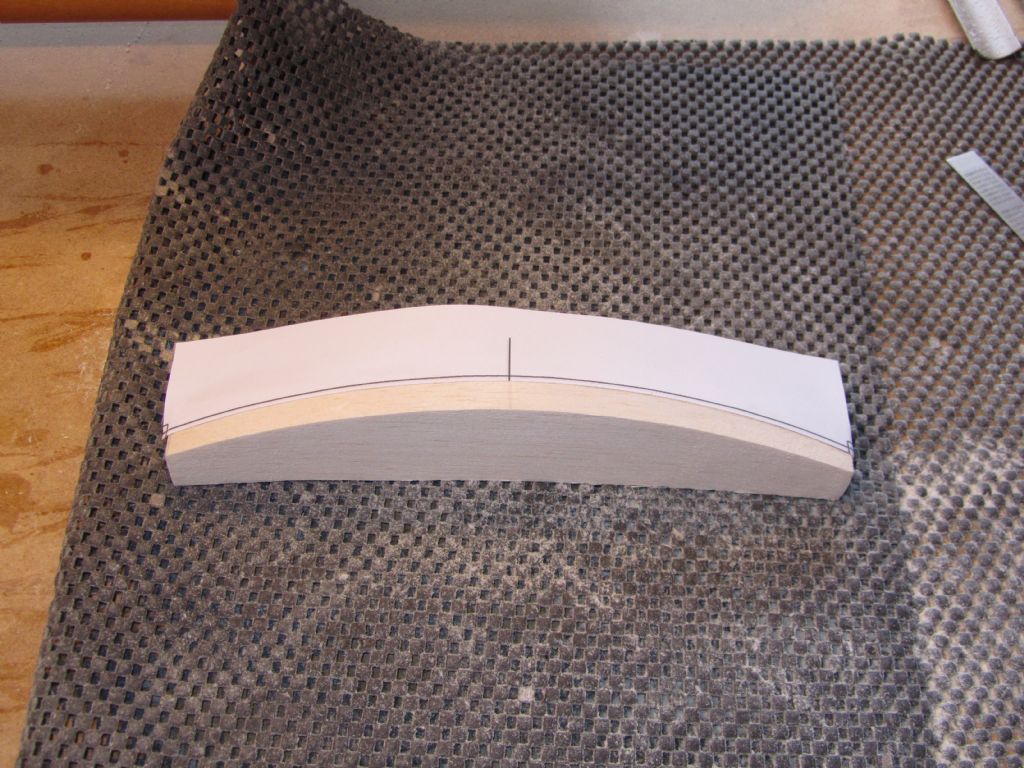
                                                  Then the elevation, with the roof and deck cambers, and adjusted in length to take account of the considerable curve, was stuck to the face and the deck camber produced by filing and sanding and trial fitting to the deck until a satisfactory joint was produced, which is where I've decided to leave it for today.

                                                  Chris

                                                  superstructure18

                                                  superstructure19

                                                  superstructure20


                                                  Edited By Chris Fellows on 02/02/2021 16:56:32

                                                  #93573
                                                  Chris Fellows
                                                  Participant
                                                    @chrisfellows72943

                                                    Today I carried on and marked the height (drawn on the inside of the coamings) where the underside of the first layer of the roof planking needed to sit, on the rearmost face of the balsa block. Then the part of the drawing with the roof curve was stuck on, marked with a thin felt tip and then the drawing removed so that I had a clear view. The balsa was then attacked again with the razor saw and sanded to the line. The rear face was then sanded back at an angle by eye, about 70 degrees. The ends were then sanded to give a snug fit between the coamings and then glued in place with a/resin.

                                                    After leaving for awhile it was on with the base layer of planking. I used slightly thinner obechi strip for this, 2.4 x 9.5mm as opposed to 3.2 for the front cabin, as I wanted to reduce the thickness of the construction and the span is less. As before the planks were glued in place with Slo Zap to the ends and a/resin along the edges.

                                                    Chris

                                                    superstructure21

                                                    superstructure22

                                                    superstructure24

                                                    superstructure25

                                                    superstructure26

                                                    #93626
                                                    Chris Fellows
                                                    Participant
                                                      @chrisfellows72943

                                                      Today I sanded both ends of the planking to the aft cabin flush and sanded the top surfaces of each of the cabins to a nice curve and a smooth finish.

                                                      I also sanded the the side edges of the planking to the front cabin flush with the cabin sides.

                                                      I've still got some bits and pieces; front and rear upstands to fit within deck and the chine and spray rails/strakes to fix (also to the Huntsman 31) but my main focus of attention will be back on the Huntress now so that it can be progressed to the same stage.

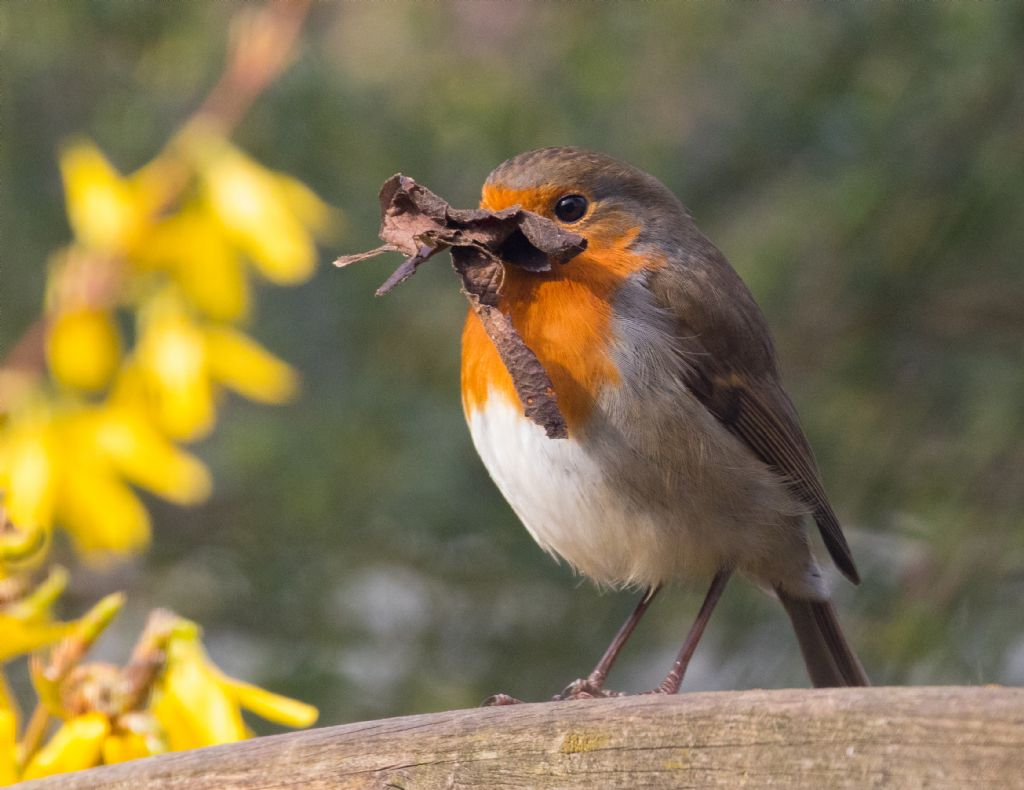
                                                      Oh, and I've got a nest box to make for the robin! Last year it started making a nest inside the garden hose reel and jammed it up with leaves!

                                                      Exhibit A attached!

                                                      robin nestbuilding.jpg

                                                      Chris

                                                      superstructure28

                                                      Edited By Chris Fellows on 05/02/2021 23:20:10

                                                      Edited By Chris Fellows on 05/02/2021 23:23:28

                                                      Edited By Chris Fellows on 05/02/2021 23:26:12

                                                    Viewing 25 posts - 51 through 75 (of 133 total)
                                                    • Please log in to reply to this topic. Registering is free and easy using the links on the menu at the top of this page.

                                                    Code of conduct | Forum Help/FAQs

                                                    Latest Replies

                                                    Home Forums Build Blogs Topics

                                                    Viewing 25 topics - 1 through 25 (of 25 total)
                                                    Viewing 25 topics - 1 through 25 (of 25 total)

                                                    View full reply list.