Northumbrian Coble

Northumbrian Coble

Home Forums Scratch build Northumbrian Coble

  • This topic is empty.
Viewing 25 posts - 26 through 50 (of 61 total)
  • Author
    Posts
  • #76154
    Brian Muir
    Participant
      @brianmuir84327

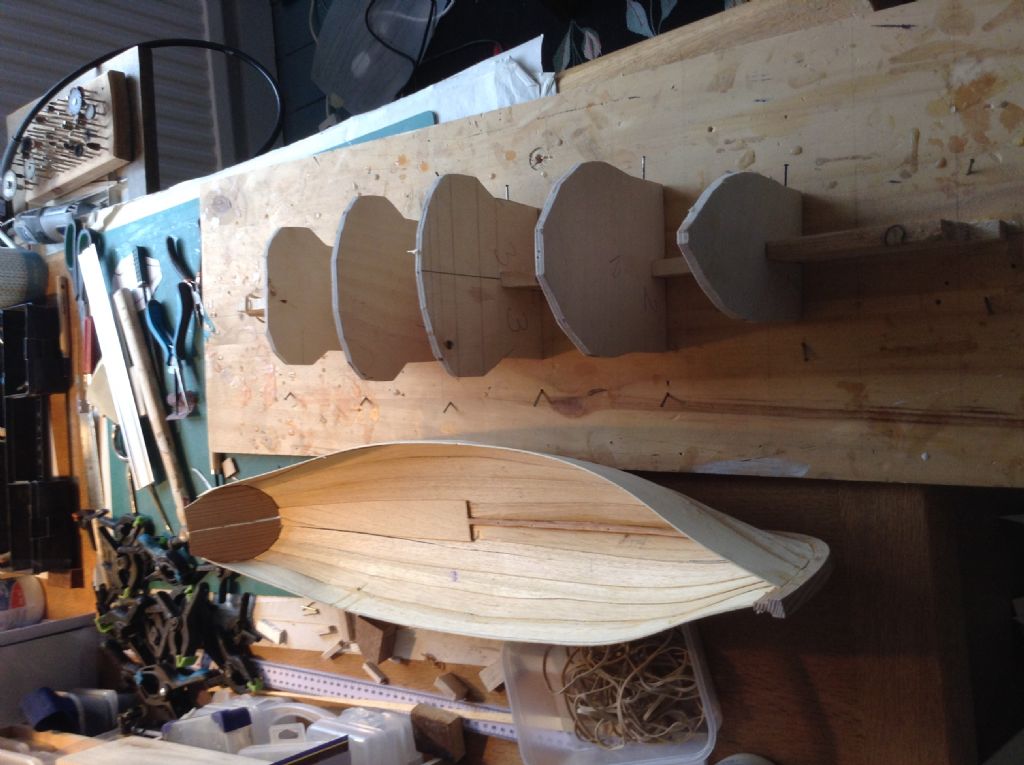
      If I was making this model again, I'd use different wood for the planking, certainly not obechi which is too fragile, especially at this (recommended) thickness. It is also too flimsy to give a curve to the hull, it tends to droop a little between the frame supports, so you don't get that beautiful ship shape that we all admire.

      I'd also redesign the construction frame so that the keel at the prow and the transom are held away from the frame, to avoid any glue mishaps like mine.

      img_1298.jpg

      #76155
      Brian Muir
      Participant
        @brianmuir84327

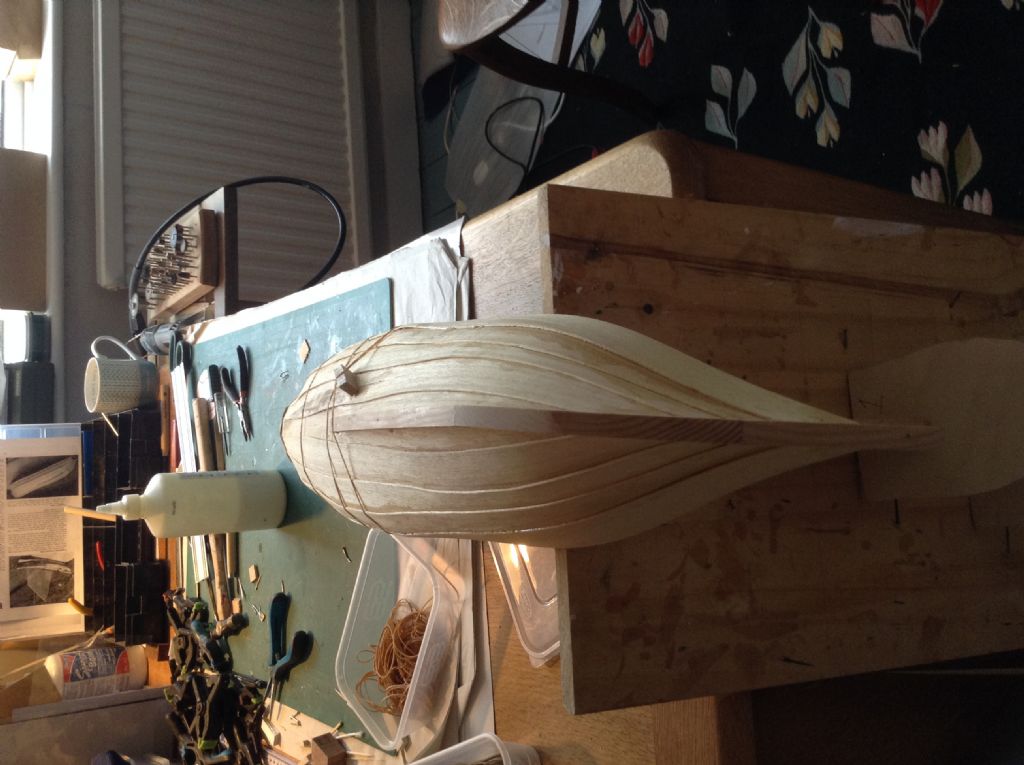
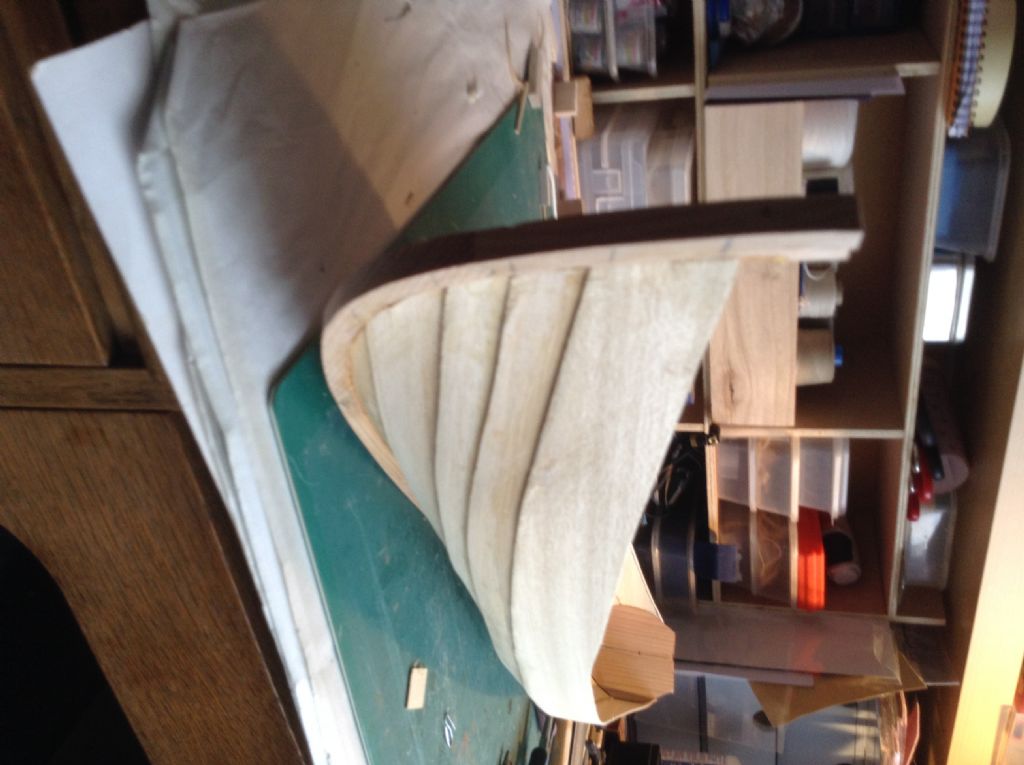
        Repairs made, now an extra wait whilst the glue dries. The planking on the model just barely overlaps, so the model which I want to try on the water if possible, is unlikely to be watertight. I have previously used a coat of epoxy resin inside the hull to ensure a proper seal of the hull. However in this model the inside of the hull is visible and this might spoil the look of the model.

        img_1302.jpgimg_1300.jpgimg_1301.jpg

        Edited By Brian Muir on 06/03/2018 10:31:18

        #76156
        Ray Wood 3
        Participant
          @raywood3

          Hi Brian

          Great work and Rome wasn't built in a day ! would kling film over the forms have helped from sticking in the wrong place ? I guess you need an outside cradle now to keep the shape you have from spreading.

          Regards Ray

          #76169
          Brian Muir
          Participant
            @brianmuir84327

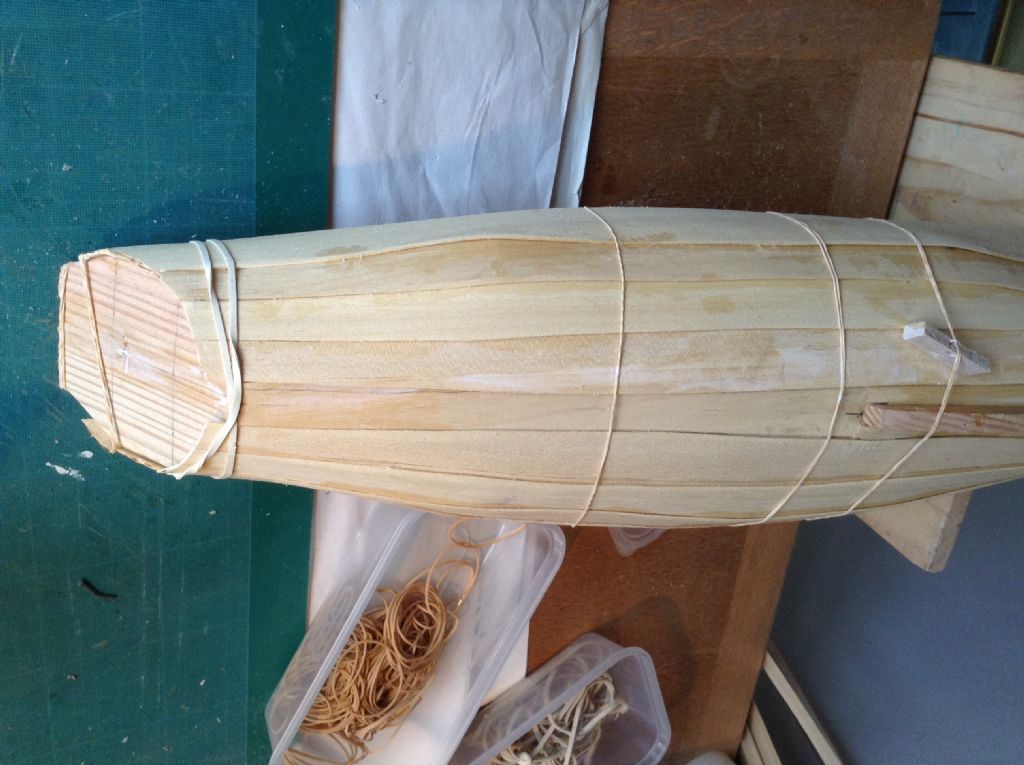
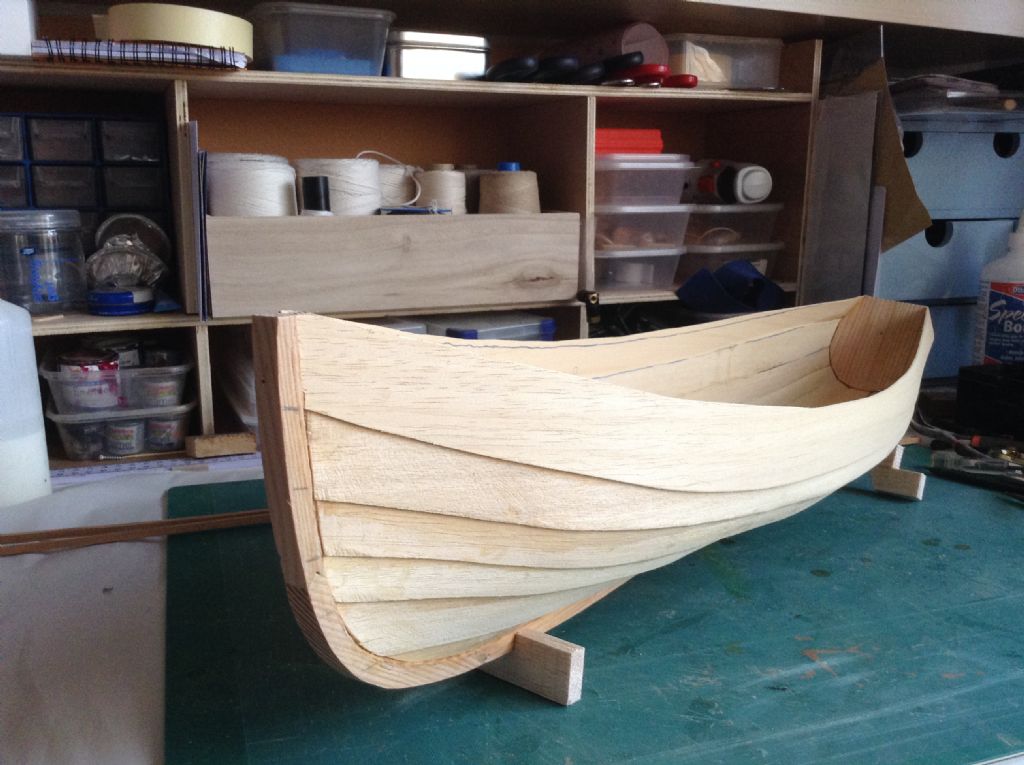
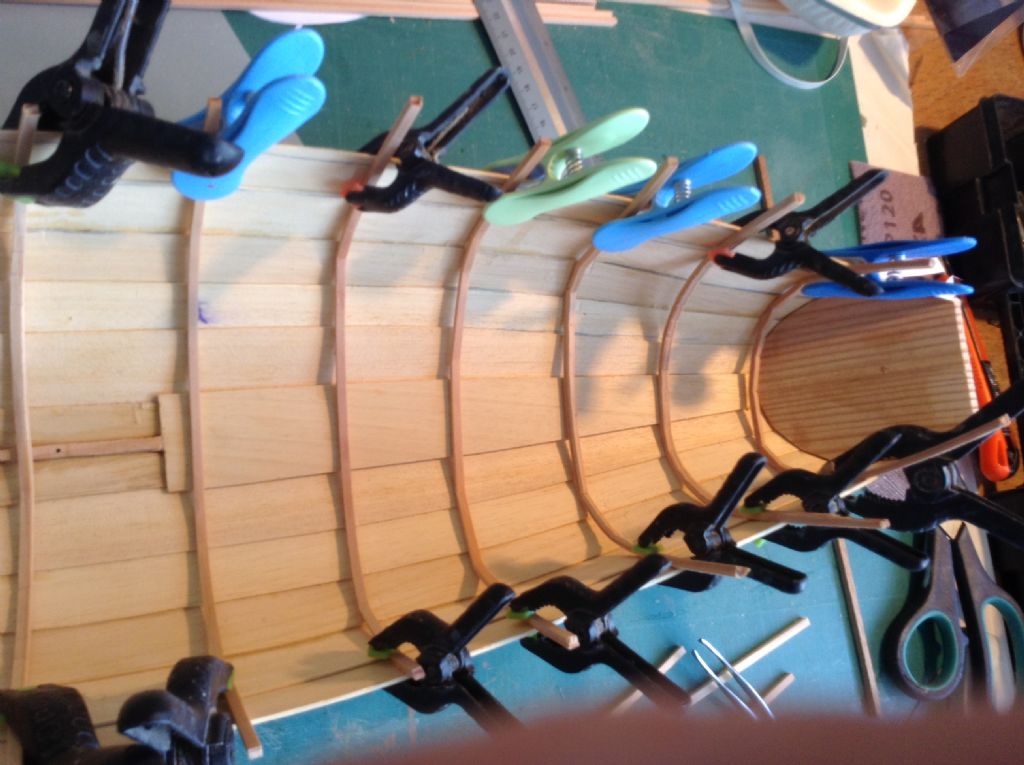
            Planks 5 in place on each side, it seems to be holding its shape very well. Now to steam the timbers that will fit inside the hull like frames, they have to flex a considerable amount so quite a long steam.

            The model feels very very light and fragile, I am worried about clamping anything to it!

            img_1309.jpgimg_1307.jpgimg_1305.jpg

            Edited By Brian Muir on 07/03/2018 18:26:10

            #76183
            Brian Muir
            Participant
              @brianmuir84327

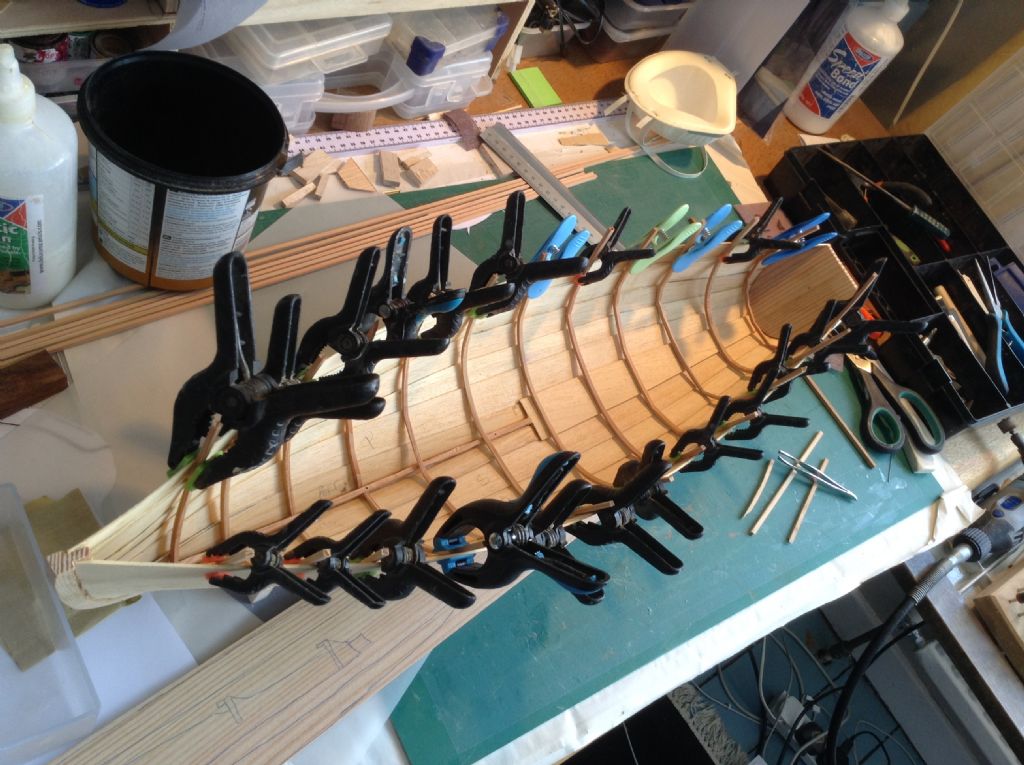
              After 1 hour of steaming the 1/4" spruce strips were very pliable in parts but still quite rigid in other parts, I used a pair of sharp nosed pliers to crimp the strips as well as bending them, and they are still not as close to the hull as I would like, they have been allowed to cool in place and I'll now put one or two small incisions in the outer surface to allow them to bend a bit further as they are glued in place

              img_1313.jpgimg_1314.jpg

              #76185
              Ray Wood 3
              Participant
                @raywood3

                Hi Brian

                It's asking a lot to get 1/4" x 1/4" spruce to bend round that sort of radius !! I'm surprised laminating the ribs is not suggested and build up the thickness that way.

                Regards Ray

                #76187
                Brian Muir
                Participant
                  @brianmuir84327

                  Sorry Ray, they are 1/8'' square, so it is possible. I was thinking of a laminated approach too, takes a bit longer but would give a cleaner finish. I think I will do that for the gunwale which the plans suggest should be a single strip of 1/4" balsa.

                  Edited By Brian Muir on 08/03/2018 16:10:33

                  #76213
                  Brian Muir
                  Participant
                    @brianmuir84327

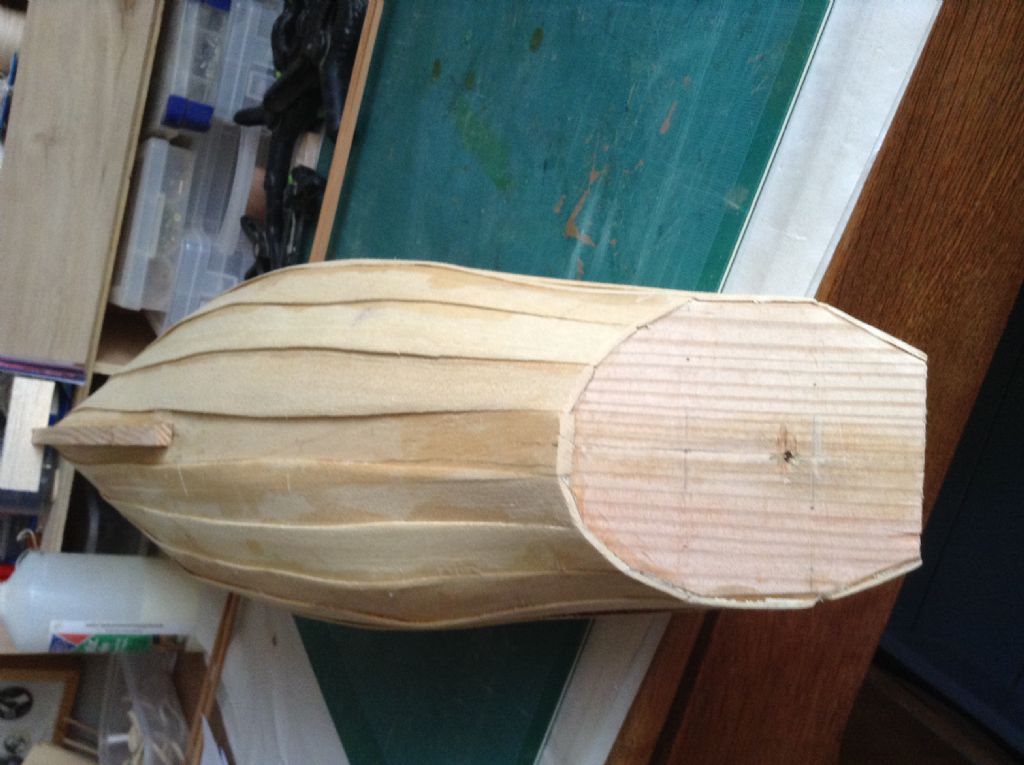
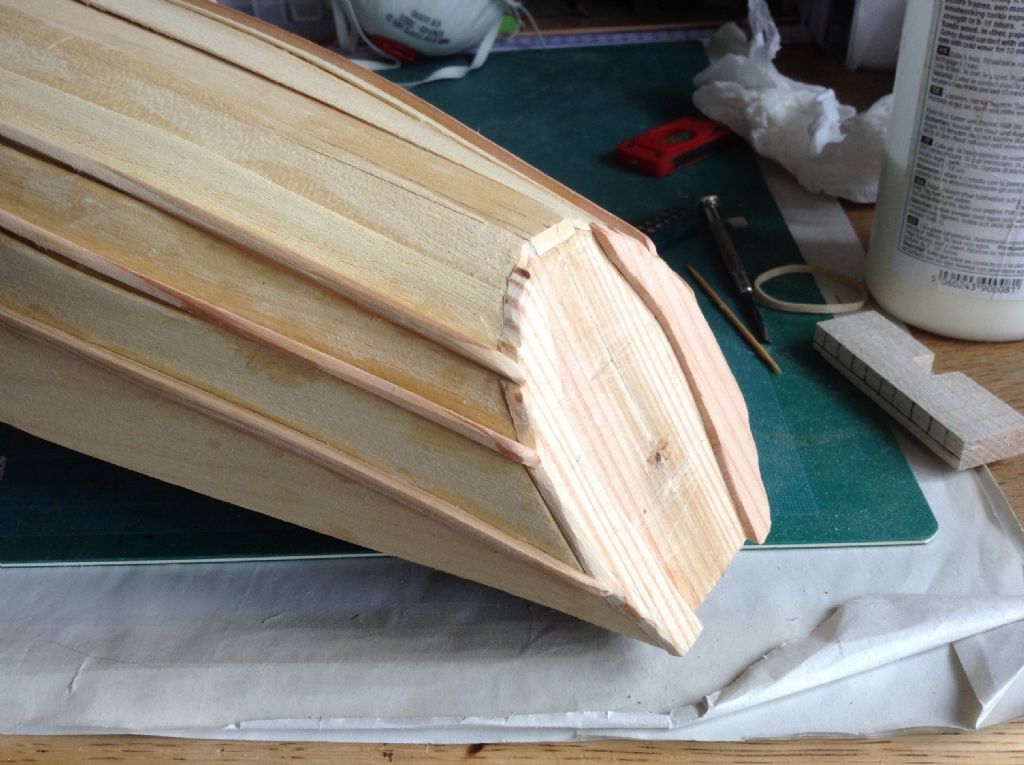
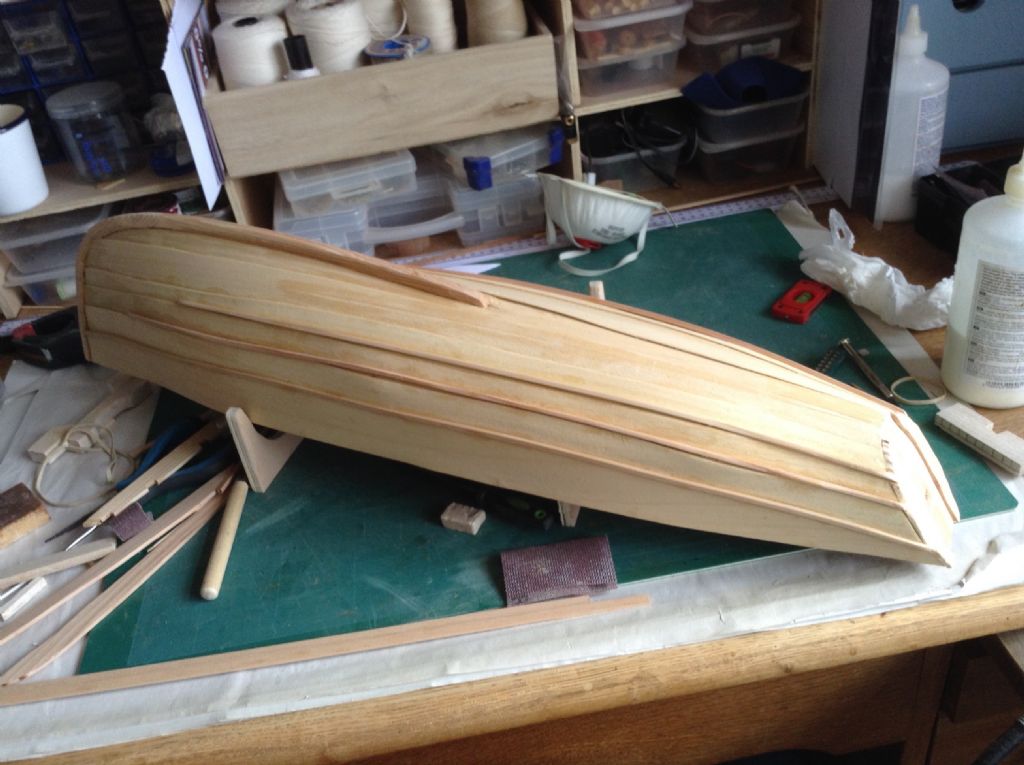
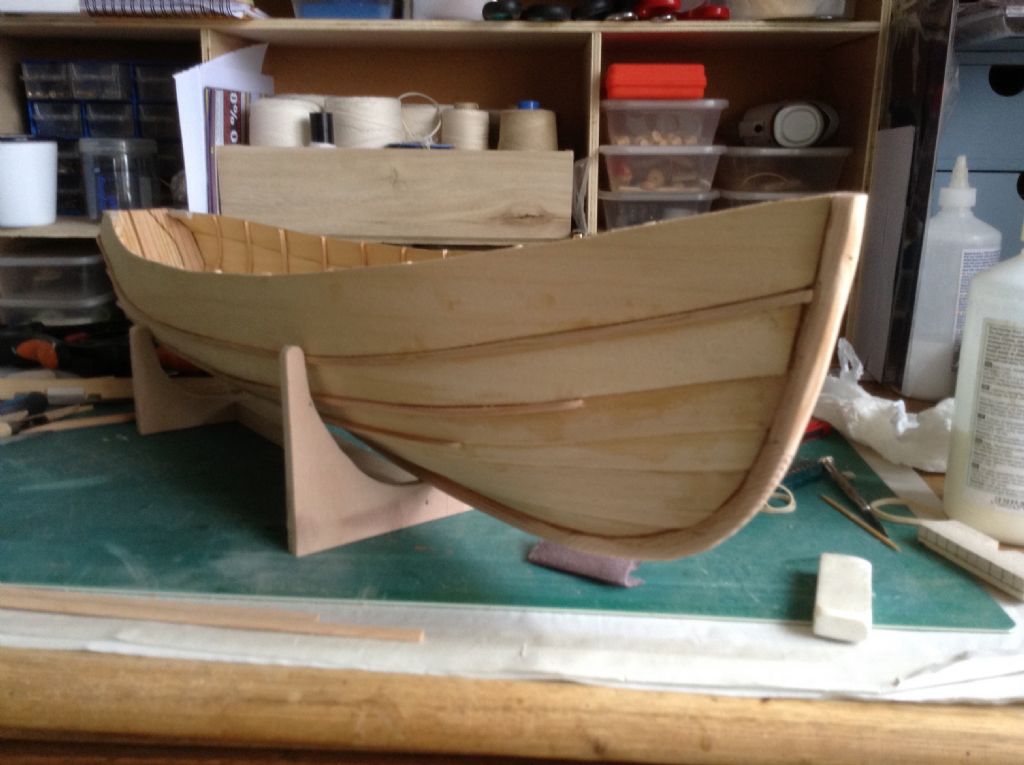
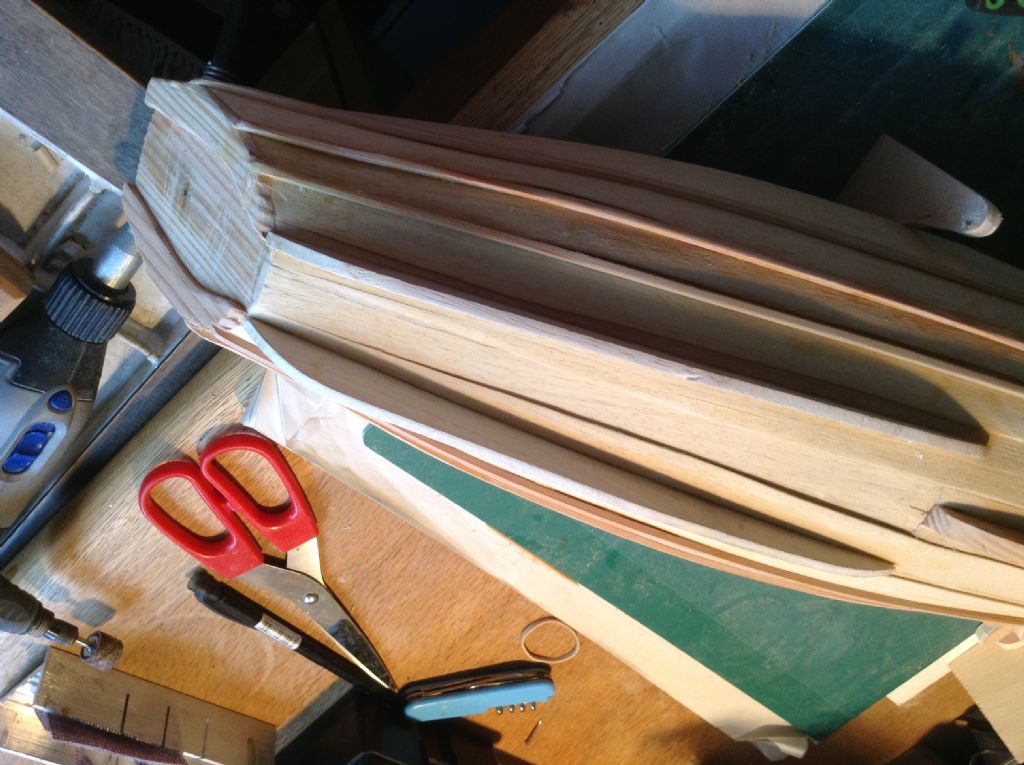
                    Strengthening strips inside and outside on the transom, rubbing strakes below the first three planks all fitted, hull sanded.

                    img_1315.jpgimg_1317.jpgimg_1318.jpg

                    #76253
                    Brian Muir
                    Participant
                      @brianmuir84327

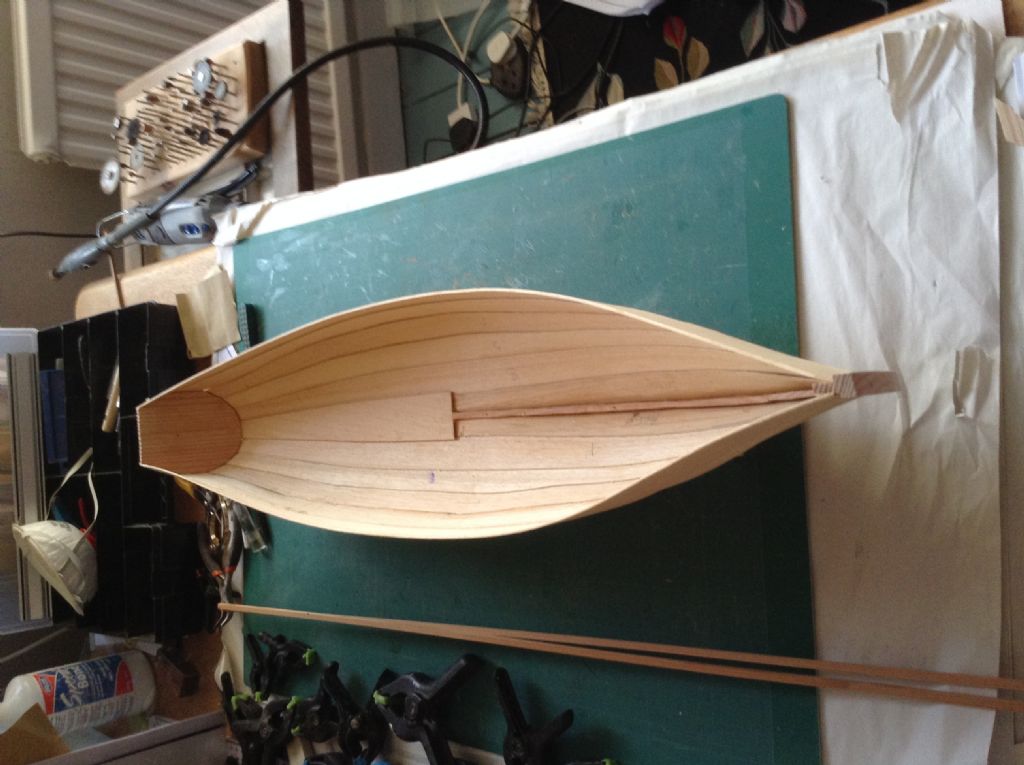
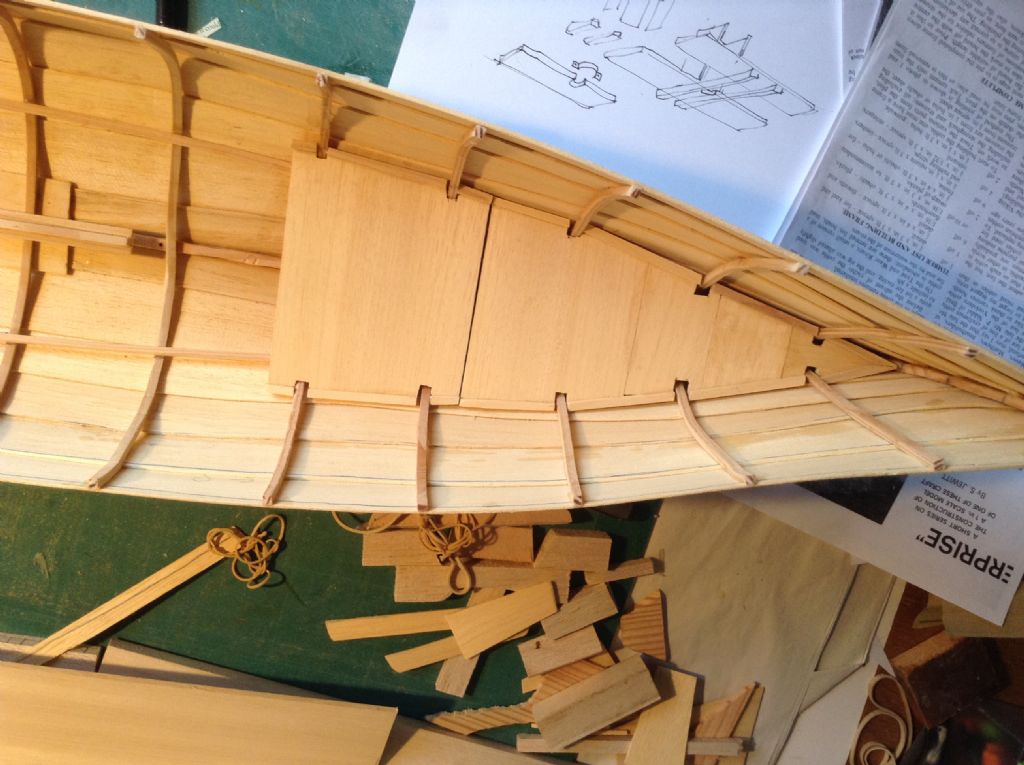
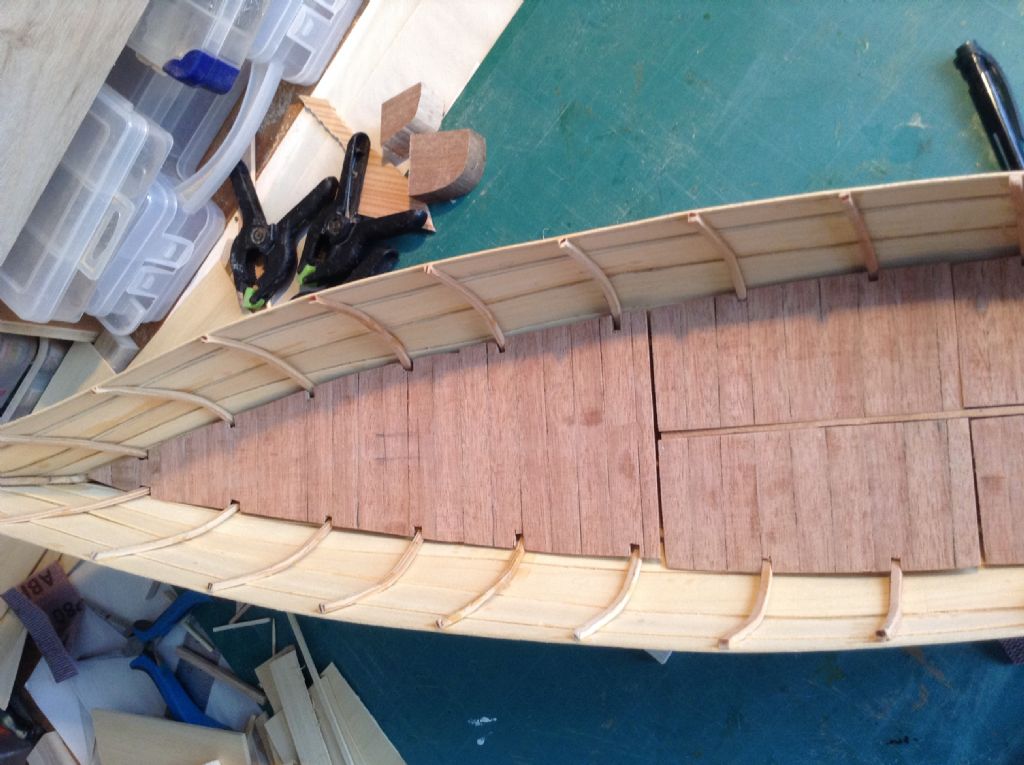
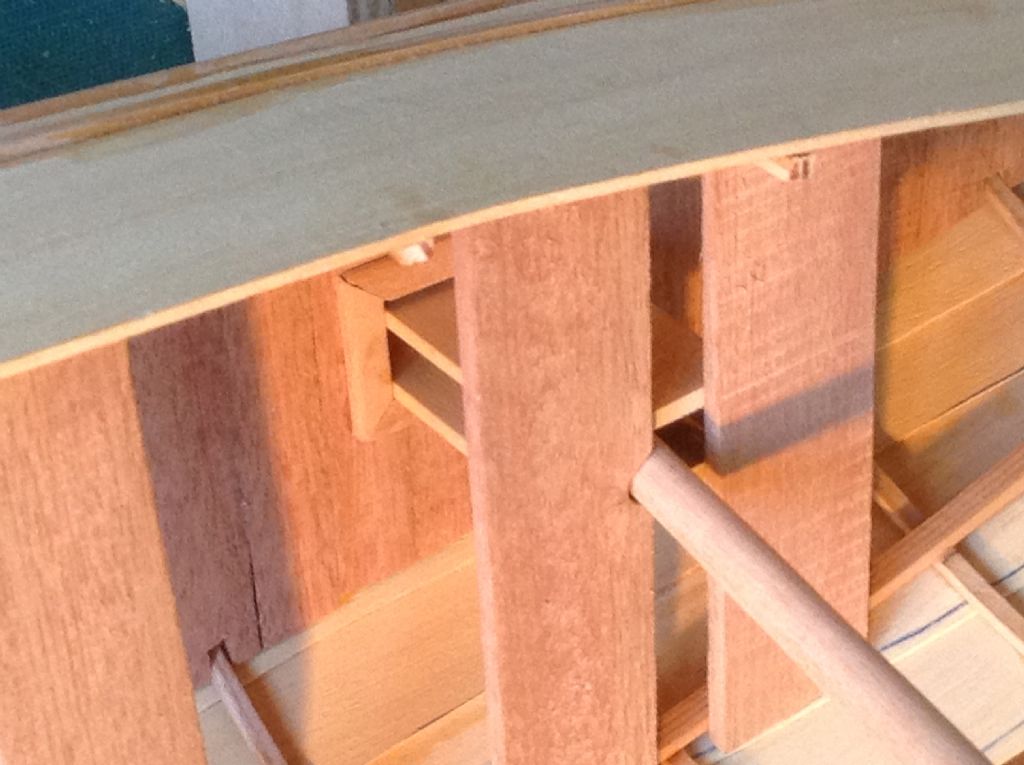
                      The fore decking in place, the draughts attached either side of the ram plank to protect the hull as the cable is dragged ashore, and the internal aft deck board support

                      img_1326.jpgimg_1323.jpgimg_1322.jpg

                      #76260
                      Brian Muir
                      Participant
                        @brianmuir84327

                        I have found that as I place the forward decking in position I have misjudged the height of the aft deck support beam along the keel. Tip – lay the foredeck first then match the aft deck support to this height, this problem arises from trying to get the deck support stringers laid along the inner side of the hull at the right level, which is tricky.

                        img_1322.jpg

                        #76337
                        Brian Muir
                        Participant
                          @brianmuir84327

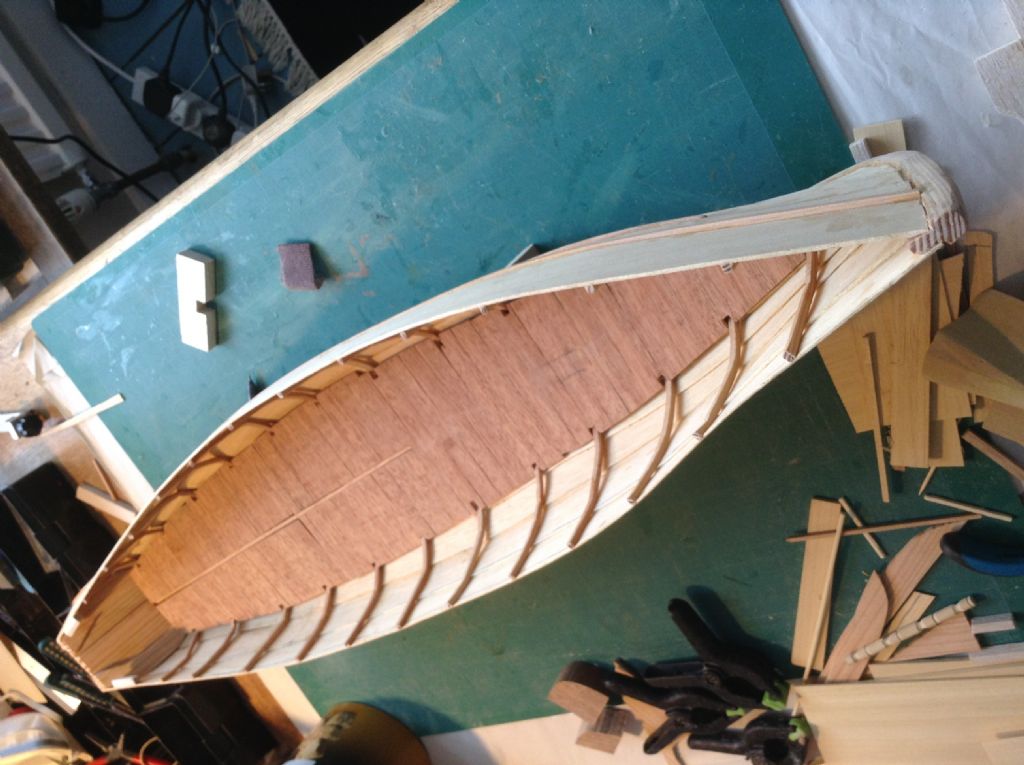
                          I decided against the obechi deck boards, which have to be stained then varnished, and used some beautiful Sapele I had, I will just varnish it which brings out the grain.

                          image.jpeg

                          #76338
                          Brian Muir
                          Participant
                            @brianmuir84327

                            image.jpeg


                            Edited By Brian Muir on 18/03/2018 10:14:07

                            #76343
                            Brian Muir
                            Participant
                              @brianmuir84327

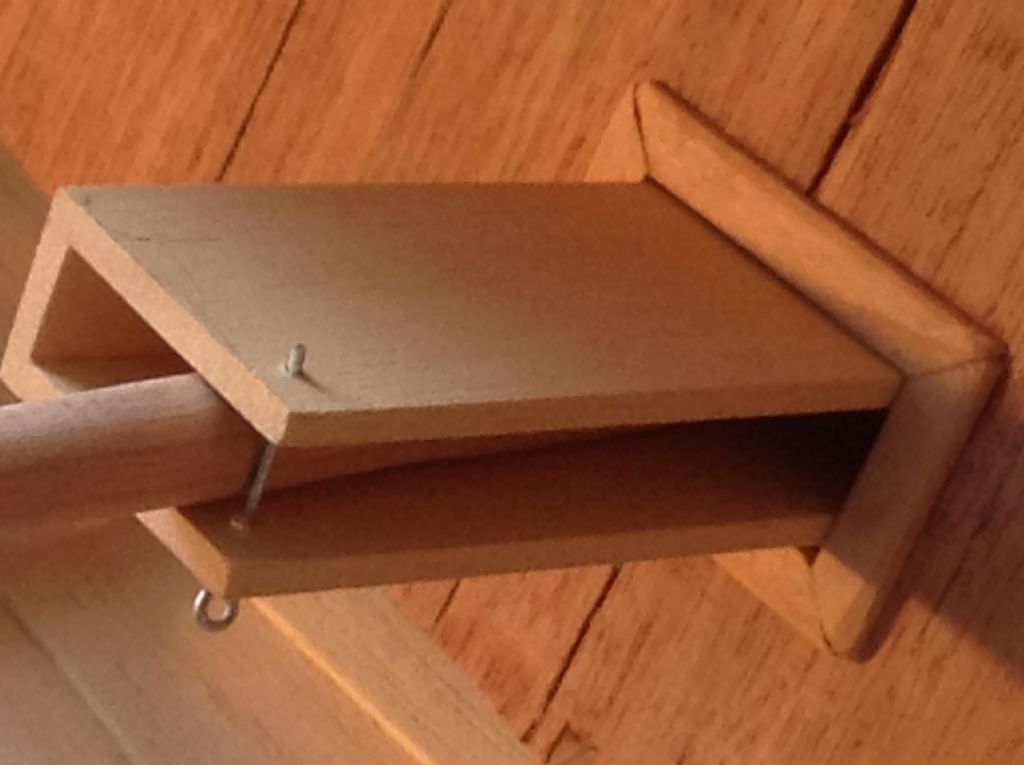
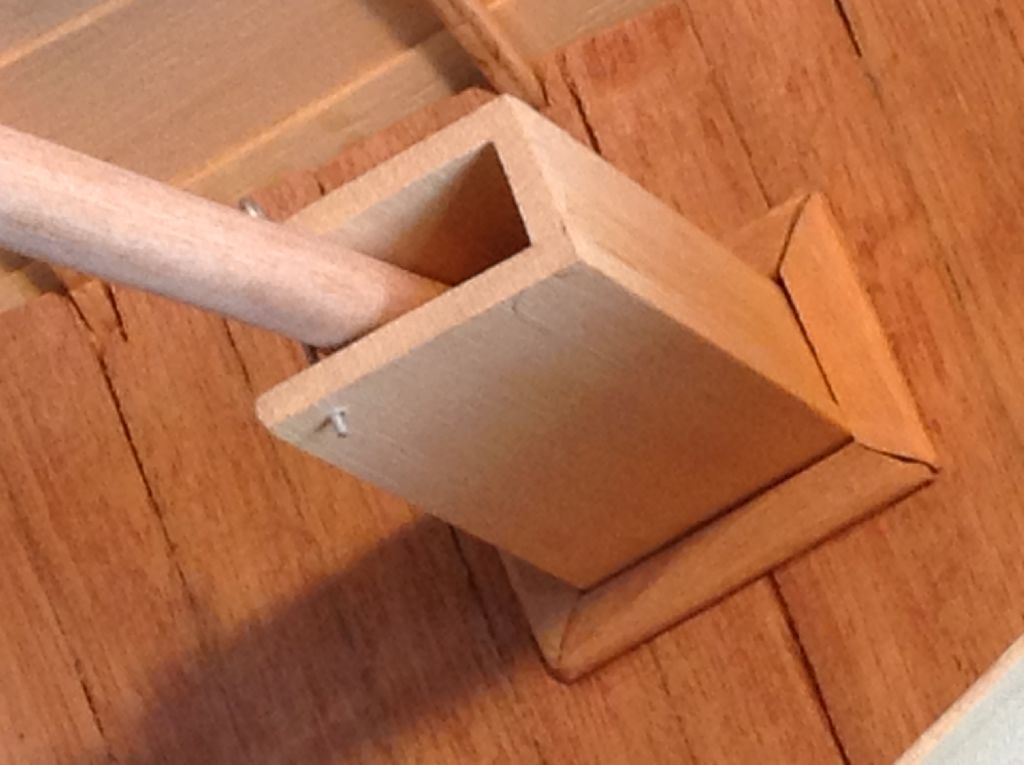
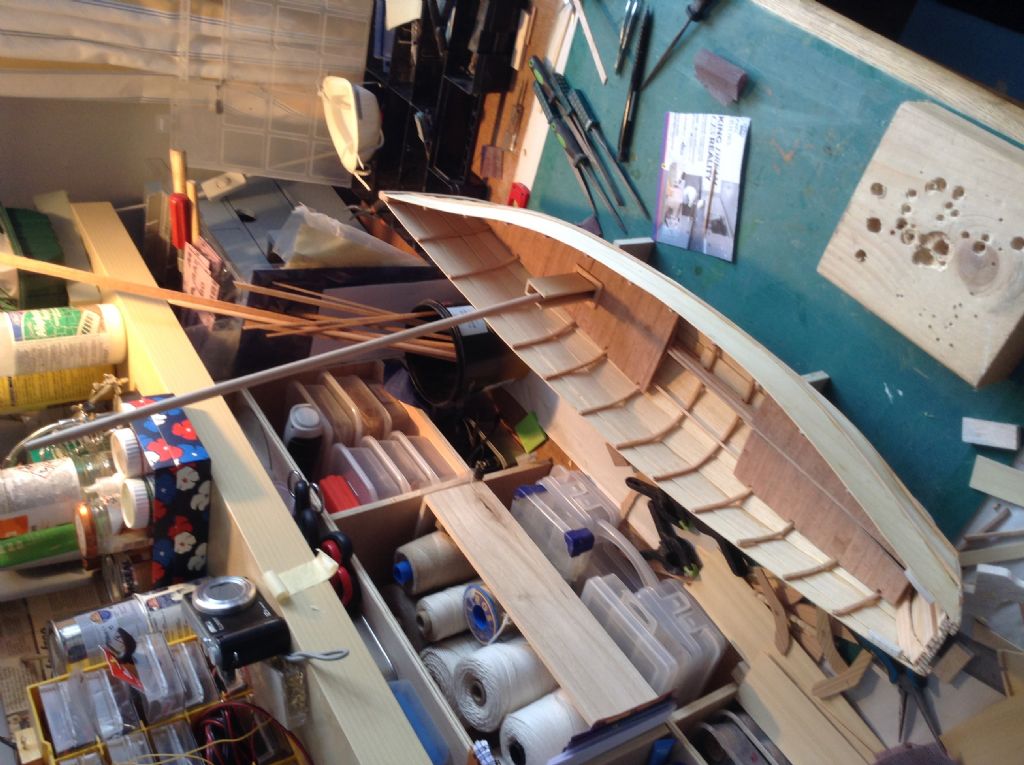
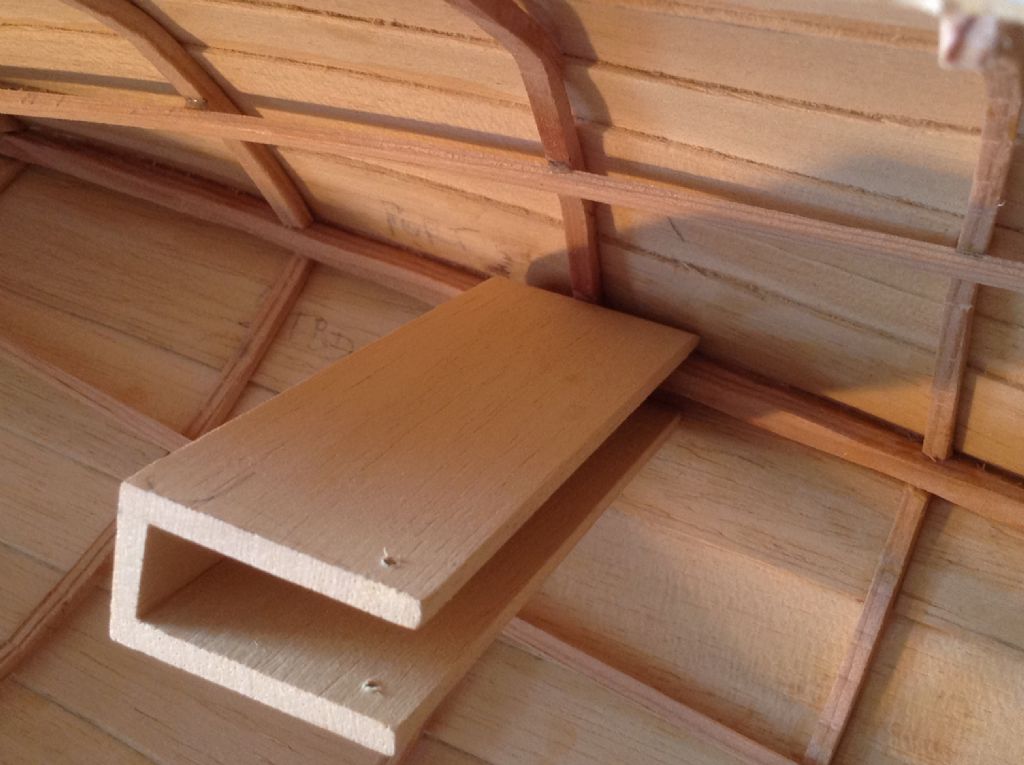
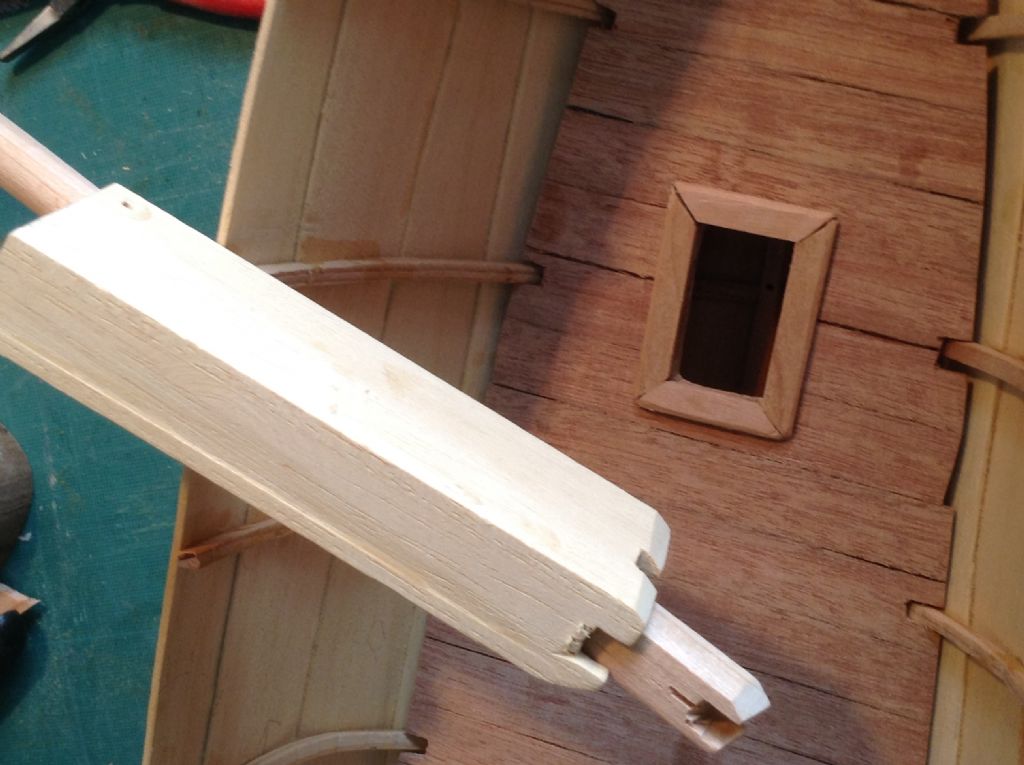
                              The mast box ready to be fixed, and the mast and spar have been turned using an electric drill.

                              img_1335.jpgimg_1338.jpgimg_1333.jpg

                              #76345
                              Brian Muir
                              Participant
                                @brianmuir84327

                                The bottom of the mast and mast box are shaped to fill the angle of the hull and notches made to cross the keel and the frames.

                                img_1343.jpgimg_1342.jpg

                                #76366
                                Brian Muir
                                Participant
                                  @brianmuir84327

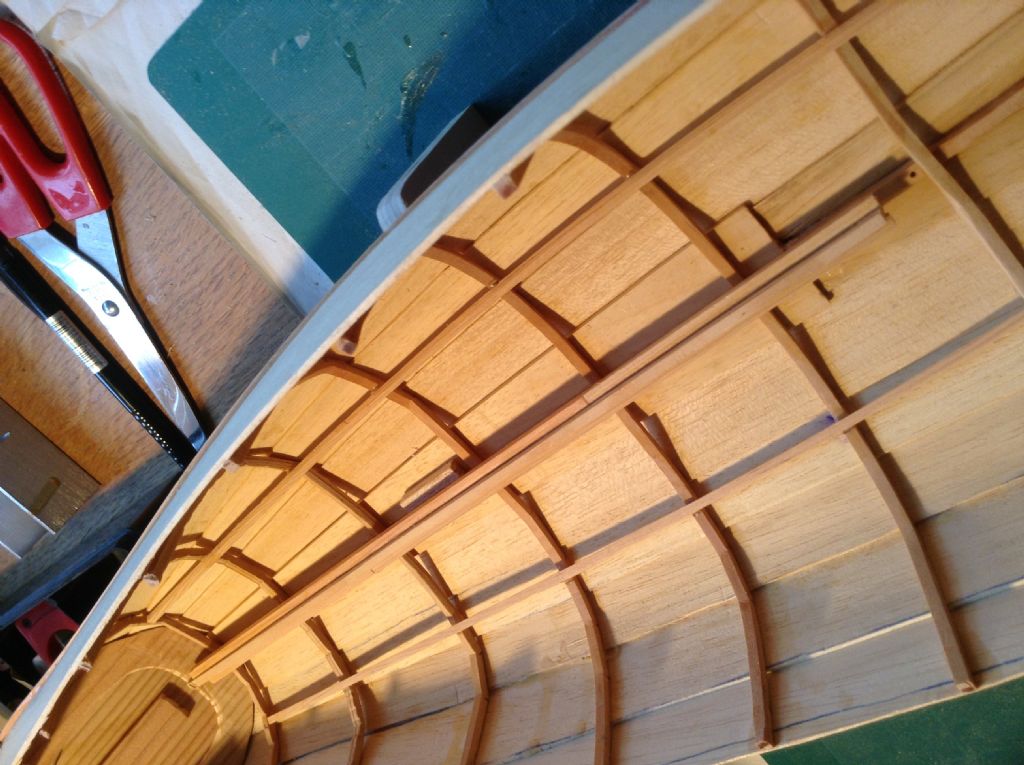
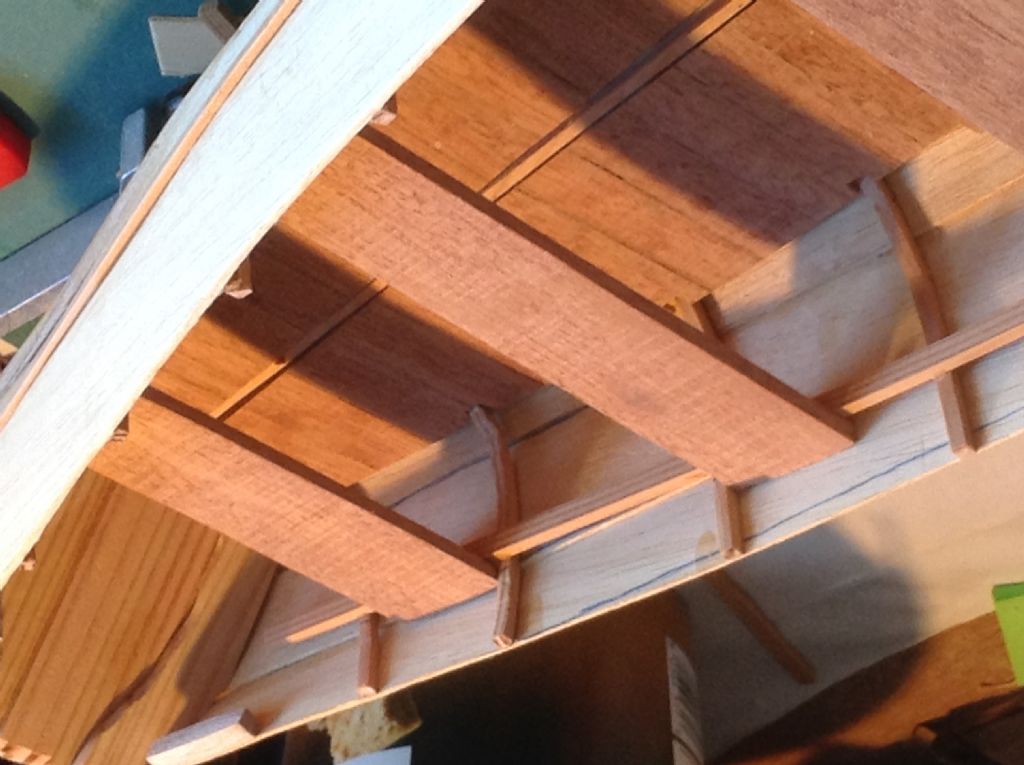
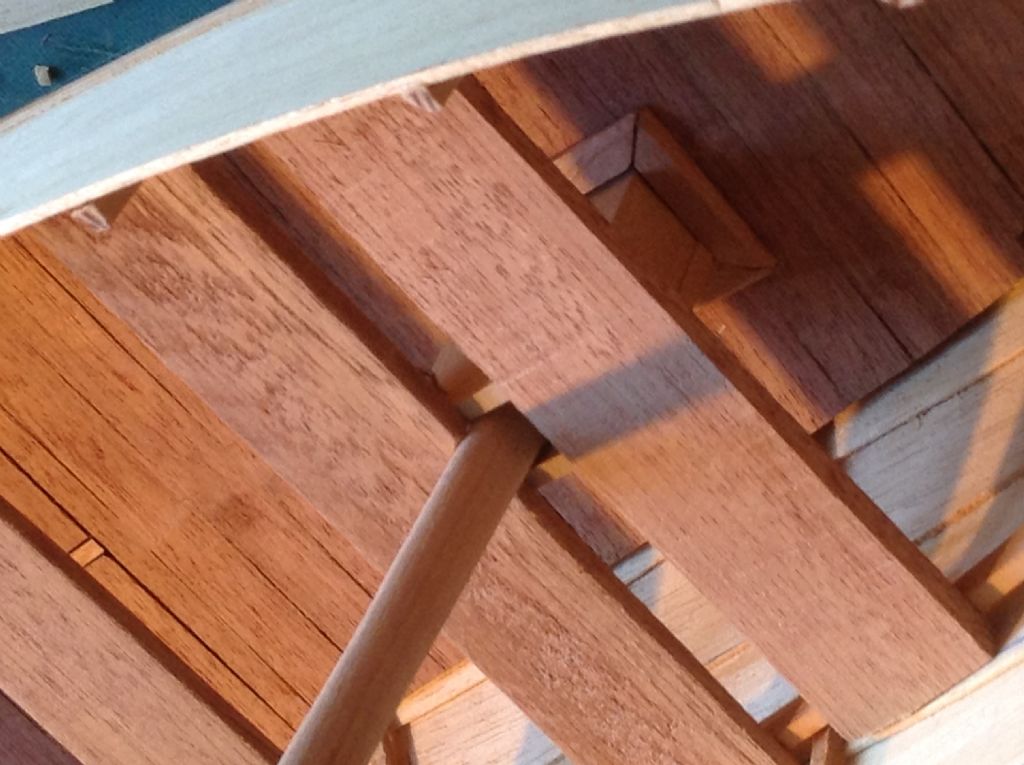
                                  The thwart stringers in place. Thwarts cut to size, using the Sapele wood, with that warm red grain to it.

                                  img_1345.jpgimg_1346.jpgimg_1344.jpg

                                  #76525
                                  Brian Muir
                                  Participant
                                    @brianmuir84327

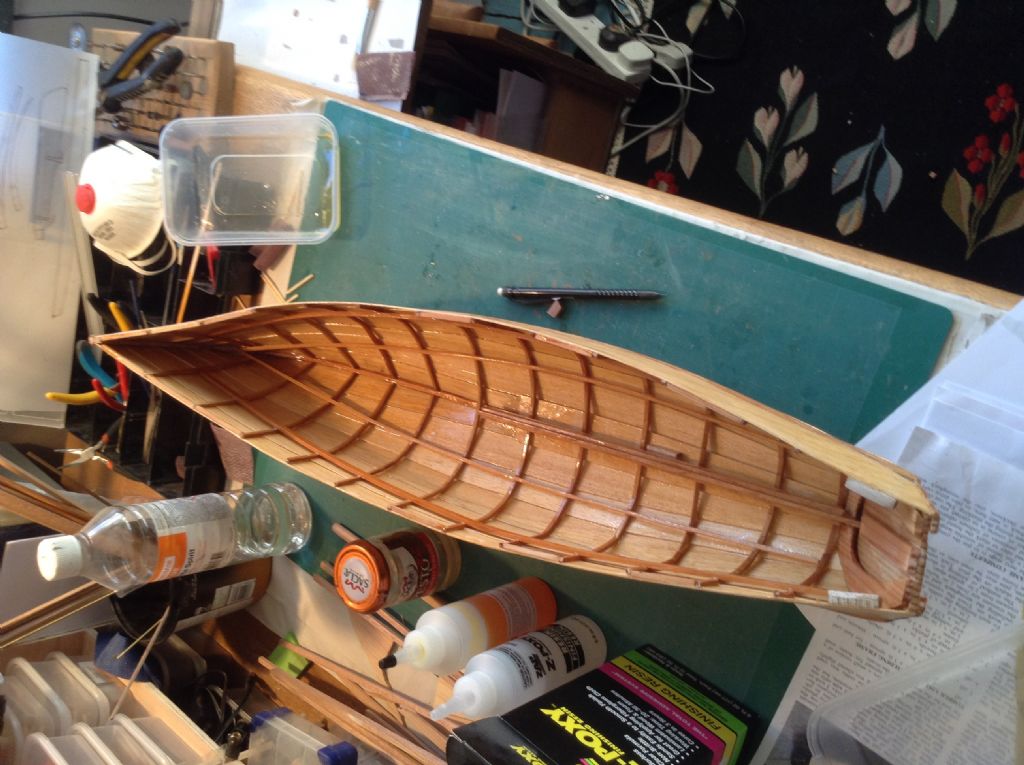
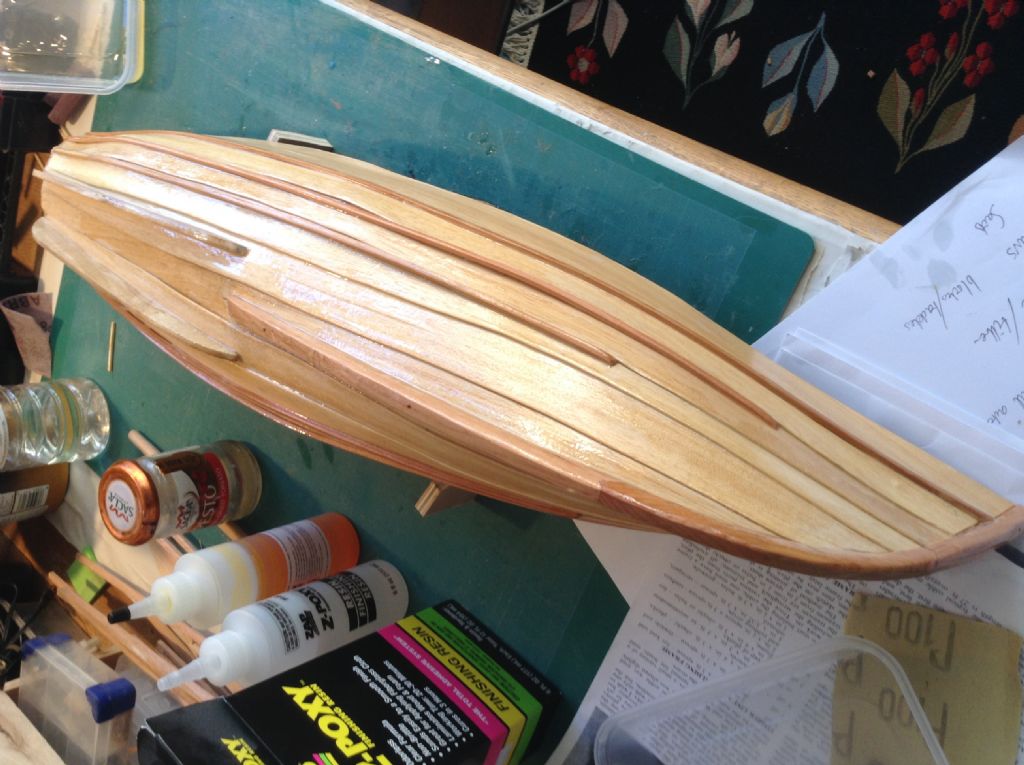
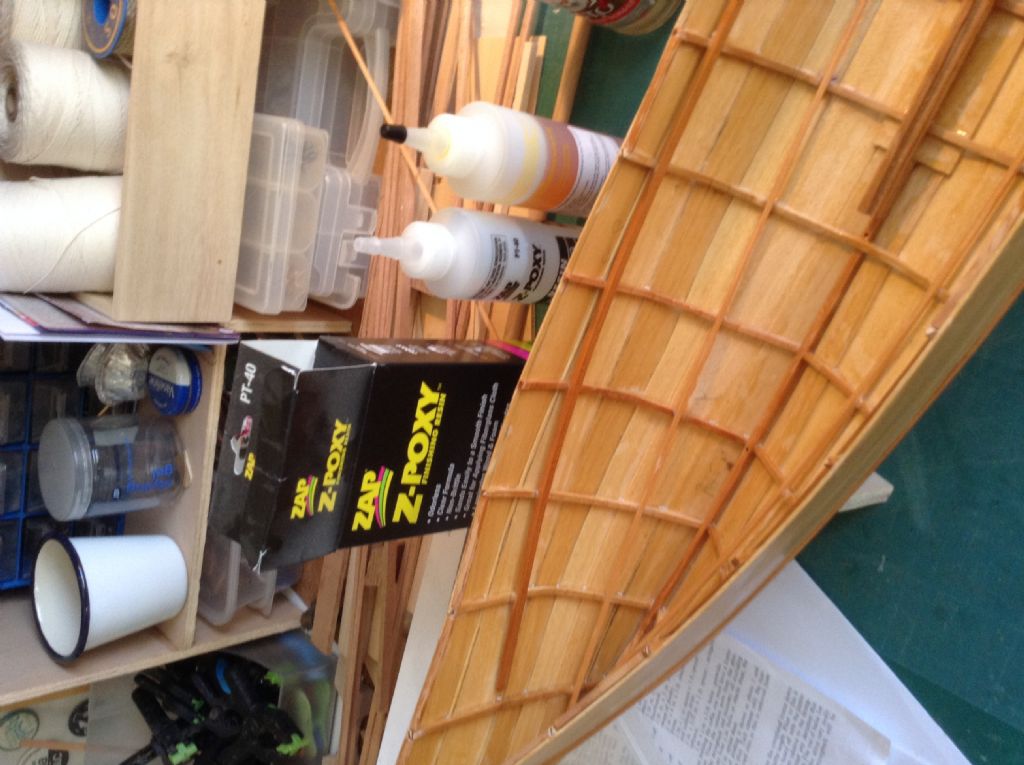
                                    I have added a thin coating of epoxy resin inside and out to strengthen this rather fragile Obechi hull. I also added some spruce strip wood along the inside of the gunwale to fix the taff rail to along its length, as I was worried that it would only be fixed at small points where the frames come up inside the edge of the hull and might not be very secure.

                                    img_1349.jpgimg_1352.jpgimg_1351.jpg

                                    #76538
                                    Brian Muir
                                    Participant
                                      @brianmuir84327

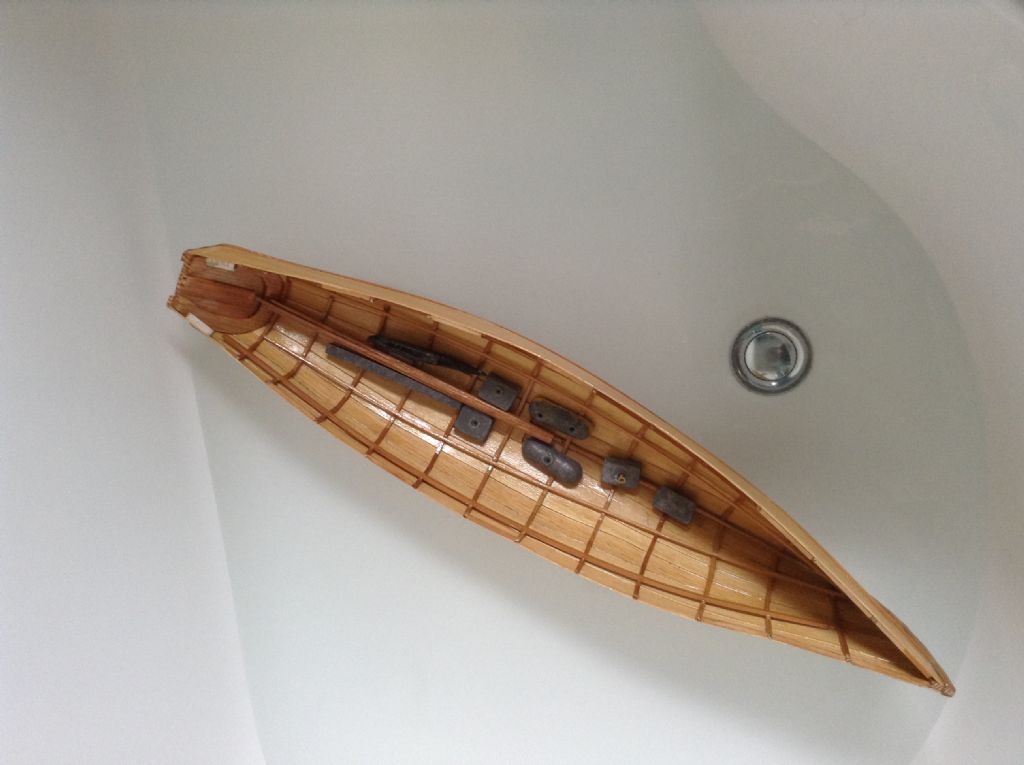
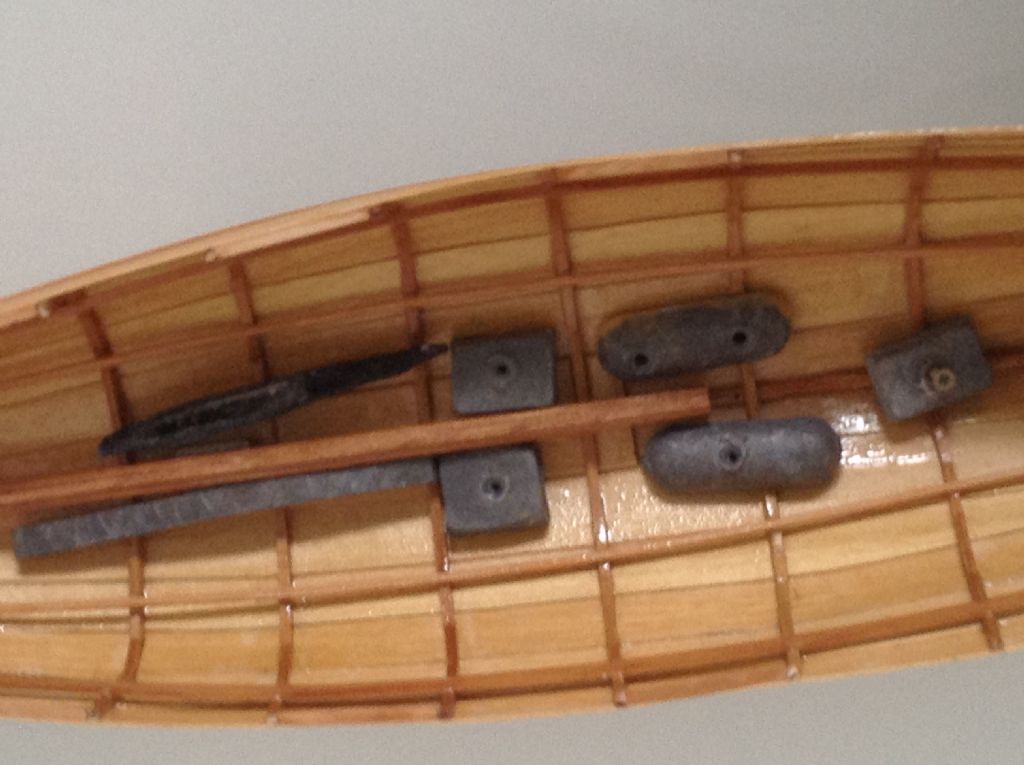
                                      The epoxy resin is very effective, it has sealed all of the small gaps in the planking, as well as strengthening the planking. I weighted the boat down with lead and left it for 30 mins. No leaks! The boat is very light, I would like to try and sail it, but it will need a considerable amount of ballast to be stable, and the only place to put it is under the deck boards, where there isn't much room. Alternatively I could add a lead keel, but that would spoil the look of the craft.

                                      img_1353.jpgimg_1355.jpg

                                      #76539
                                      Colin Bishop
                                      Moderator
                                        @colinbishop34627

                                        How about a detachable keel with a lead weight on it. You could remove it for display and it won't be very visible when sailing. That is a common practice on scale sailing models.

                                        Colin

                                        #76540
                                        Brian Muir
                                        Participant
                                          @brianmuir84327

                                          Yes Colin, but as you can see from this picture there is only a half keel to fix to (which isn't very substantial either), anywhere else it is just thin planking.

                                          img_1317.jpg

                                          #76541
                                          Colin Bishop
                                          Moderator
                                            @colinbishop34627

                                            I see what you mean, but in your situation I would simply fit a couple of reinforced through hull strongpoints to accept bolts holding the detachable keel. The reinforcement could be fitted either externally or internally and not be very obvious. If you want a sailing model then a degree of compromise is inevitable i'm afraid..

                                            Colin

                                            #76550
                                            Ray Wood 3
                                            Participant
                                              @raywood3

                                              Hi Brian,

                                              She is not really suitable for sailing, as an open boat with a lead ballasted keel with no buoyancy the first decent gust would see her Deep-Six and that would a great shame !!

                                              Regards Ray

                                              #76568
                                              Brian Muir
                                              Participant
                                                @brianmuir84327

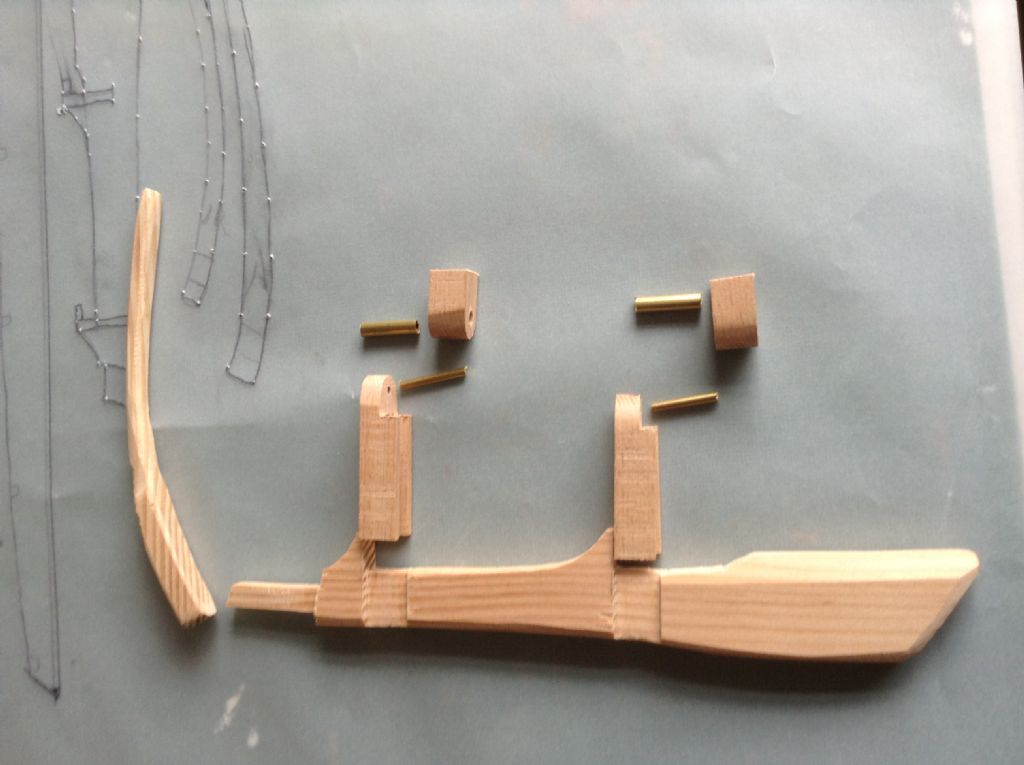
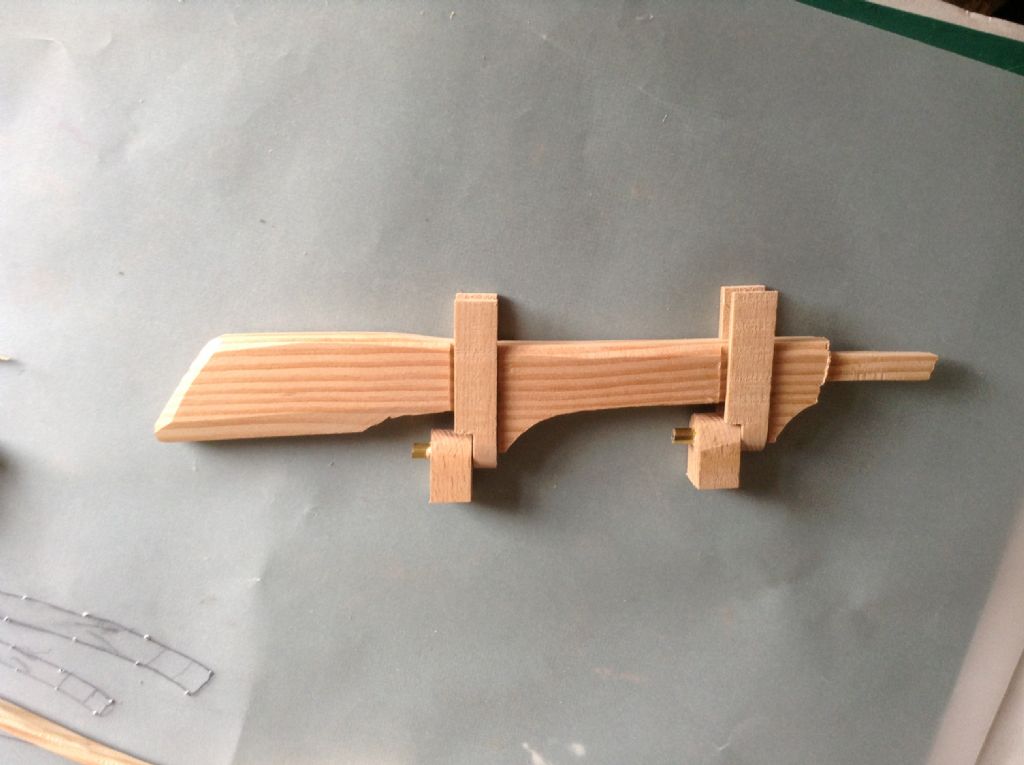
                                                The rudder assembly, the intel supports slide over the grooves in the rudder so they can be adjusted to hang the rudder correctly, the extra can be trimmed off afterwards.

                                                img_1359.jpgimg_1360.jpg

                                                #76689
                                                Brian Muir
                                                Participant
                                                  @brianmuir84327

                                                  Rudder assembled and fits nicely

                                                  image.jpegimage.jpeg

                                                  #76750
                                                  Brian Muir
                                                  Participant
                                                    @brianmuir84327

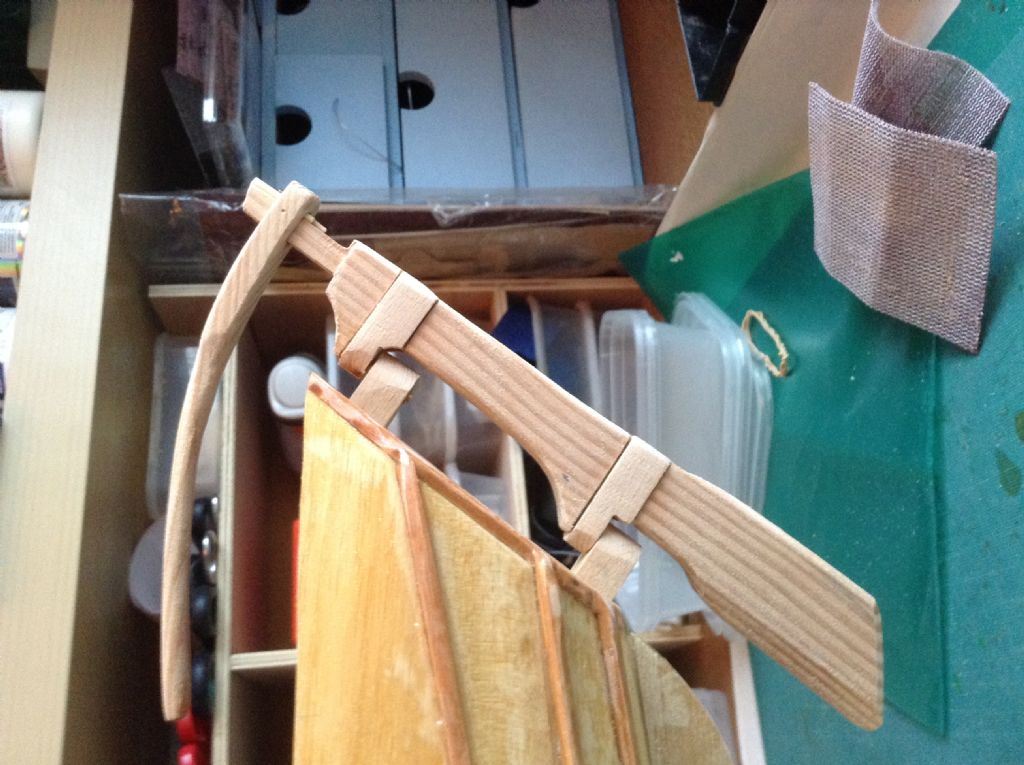
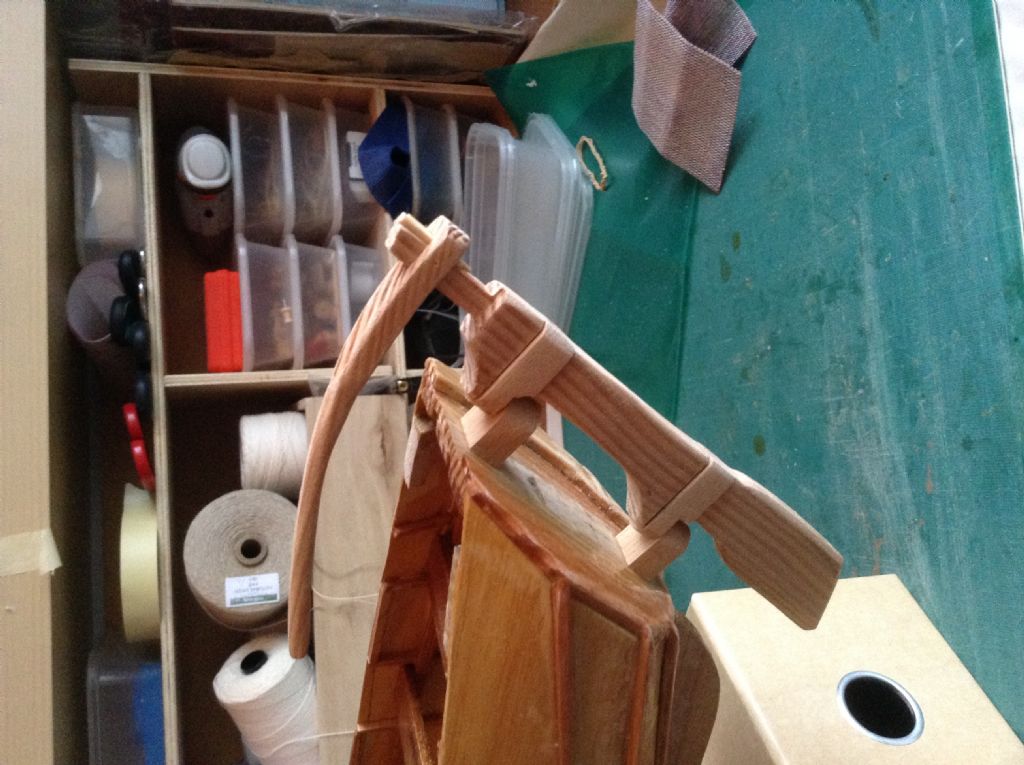
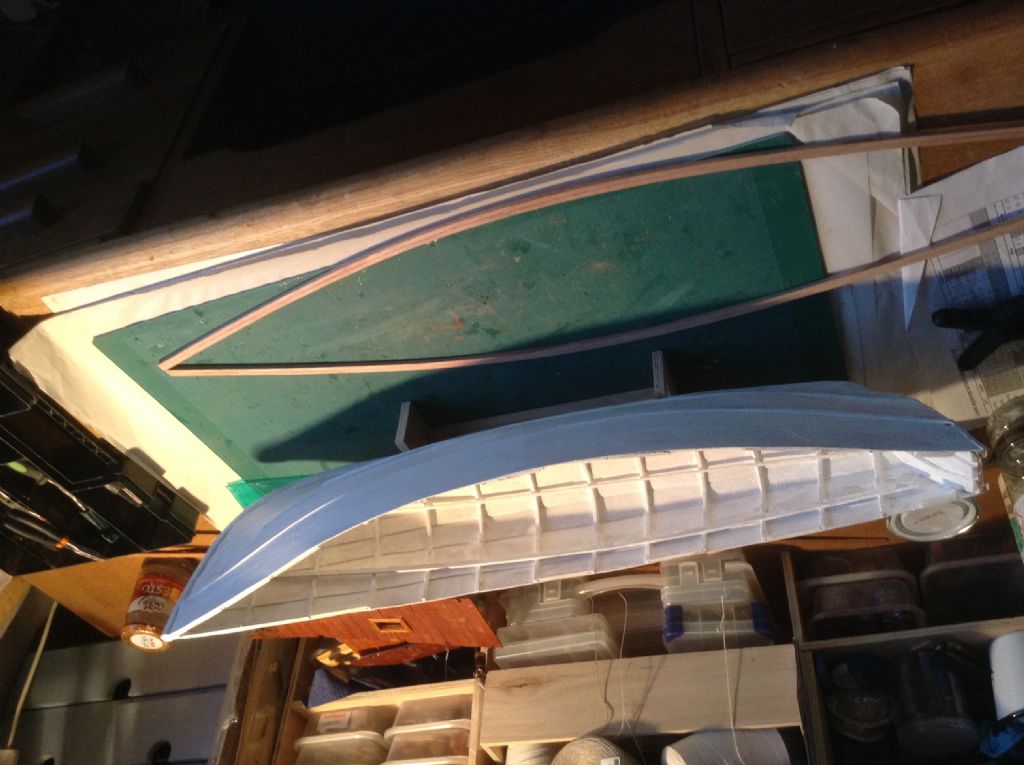
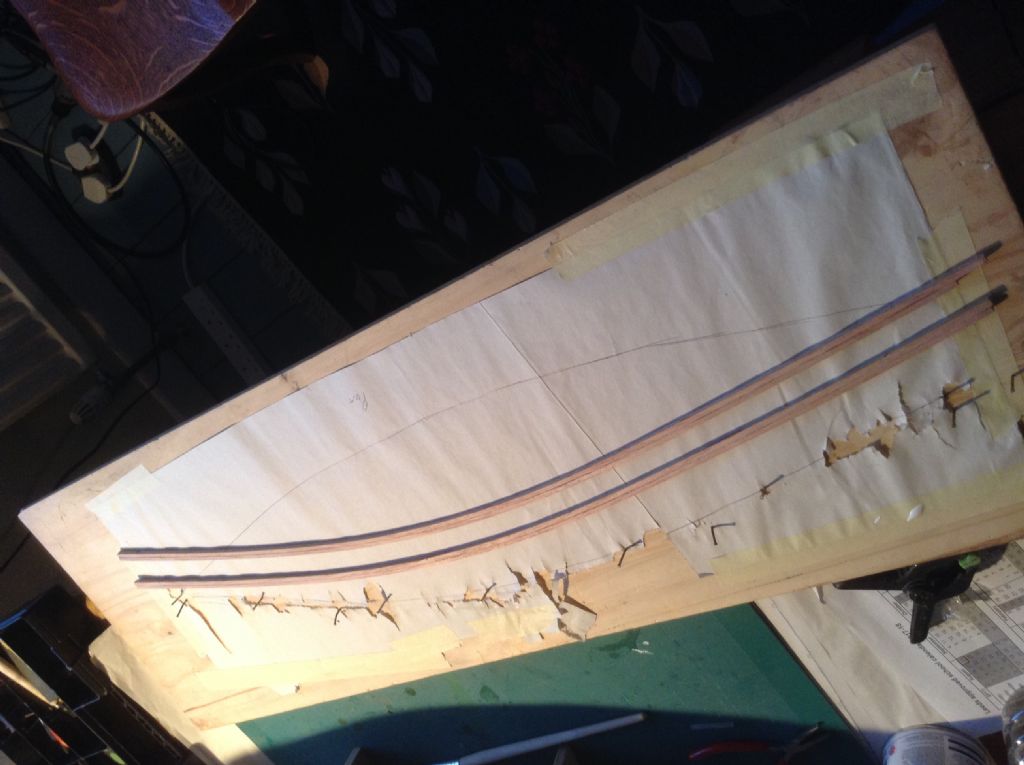
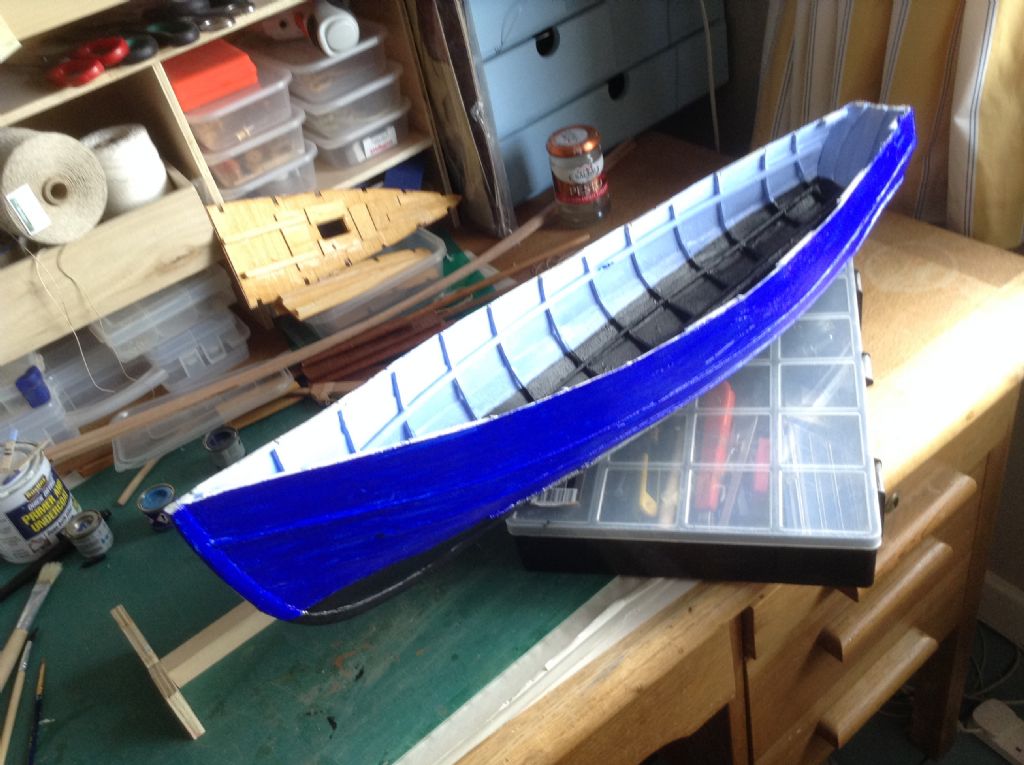
                                                    I used four strips of hardwood glued together in pairs and bent around a line of nails to form the tops of the gunwales. The first coat of primer added to the hull.

                                                    img_1370.jpgimg_1368.jpg

                                                    #76857
                                                    Brian Muir
                                                    Participant
                                                      @brianmuir84327

                                                      First time I've used acrylic paint, and I have learned never use acrylic paint! Cost a fortune and very hard to get a gloss finish, I used an expensive agent mixed with it and still only got a satin type finish. Back to enamel paints for me.

                                                      img_1371.jpg

                                                    Viewing 25 posts - 26 through 50 (of 61 total)
                                                    • Please log in to reply to this topic. Registering is free and easy using the links on the menu at the top of this page.

                                                    Code of conduct | Forum Help/FAQs

                                                    Latest Replies

                                                    Home Forums Scratch build Topics

                                                    Viewing 25 topics - 1 through 25 (of 25 total)
                                                    Viewing 25 topics - 1 through 25 (of 25 total)

                                                    View full reply list.