Fairey Huntsman 28

Advert

Fairey Huntsman 28

Home Forums Build Blogs Fairey Huntsman 28

Viewing 25 posts - 76 through 100 (of 195 total)
  • Author
    Posts
  • #81833
    Chris Fellows
    Participant
      @chrisfellows72943

      Yes, the benefit of retirement!

      it does look out of proportion really. I've wondered why they didn't increase the length of the cabin.

      Though having said that the engine covers and seats take up quite a bit of room, so perhaps that was the thinking? And once they are in it will look different and not so long.

      There won't be much progress today though as going out as the weather has improved and helping one of our son's moving flat.

      Chris

      Advert
      #81891
      Chris Fellows
      Participant
        @chrisfellows72943

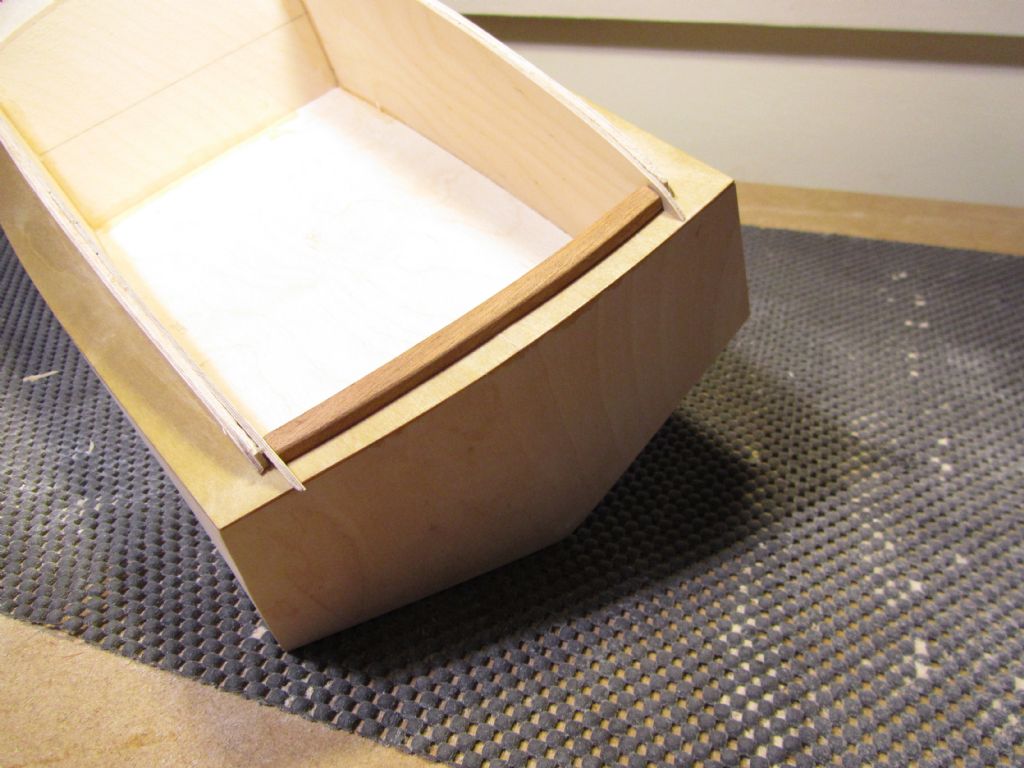
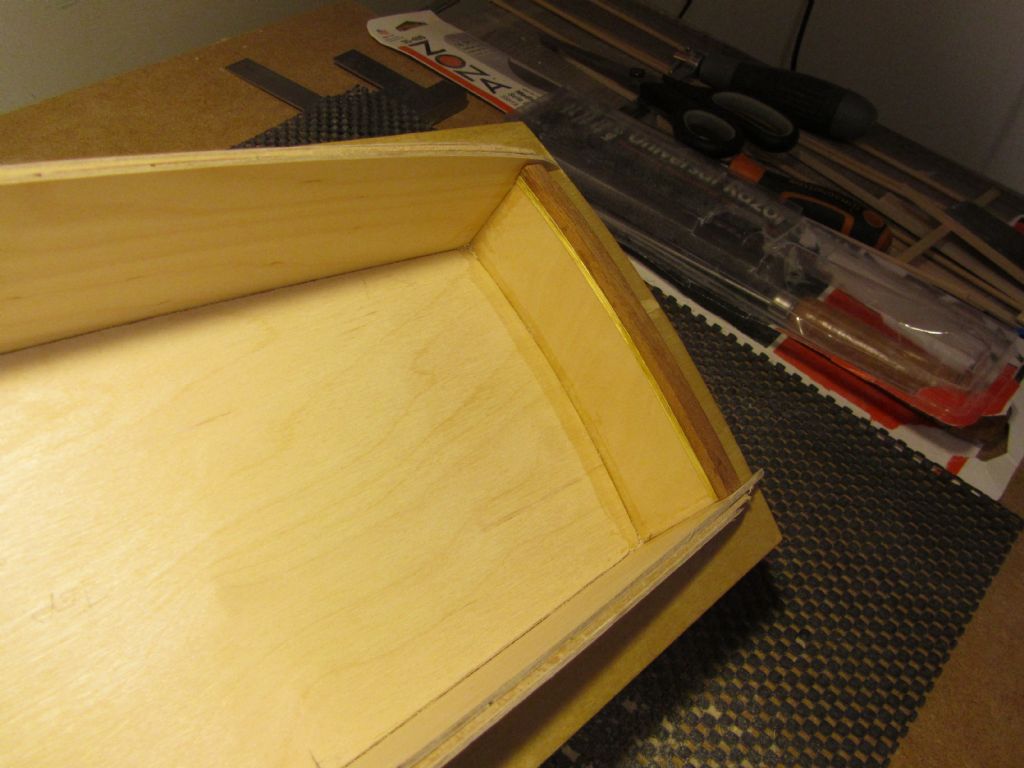
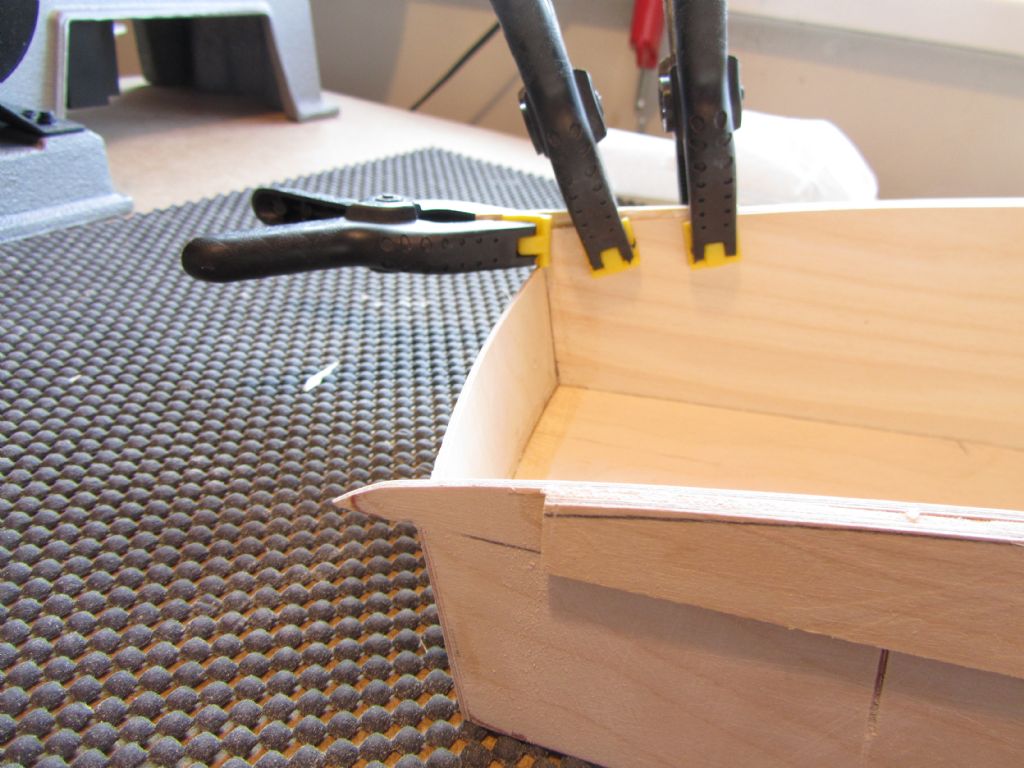
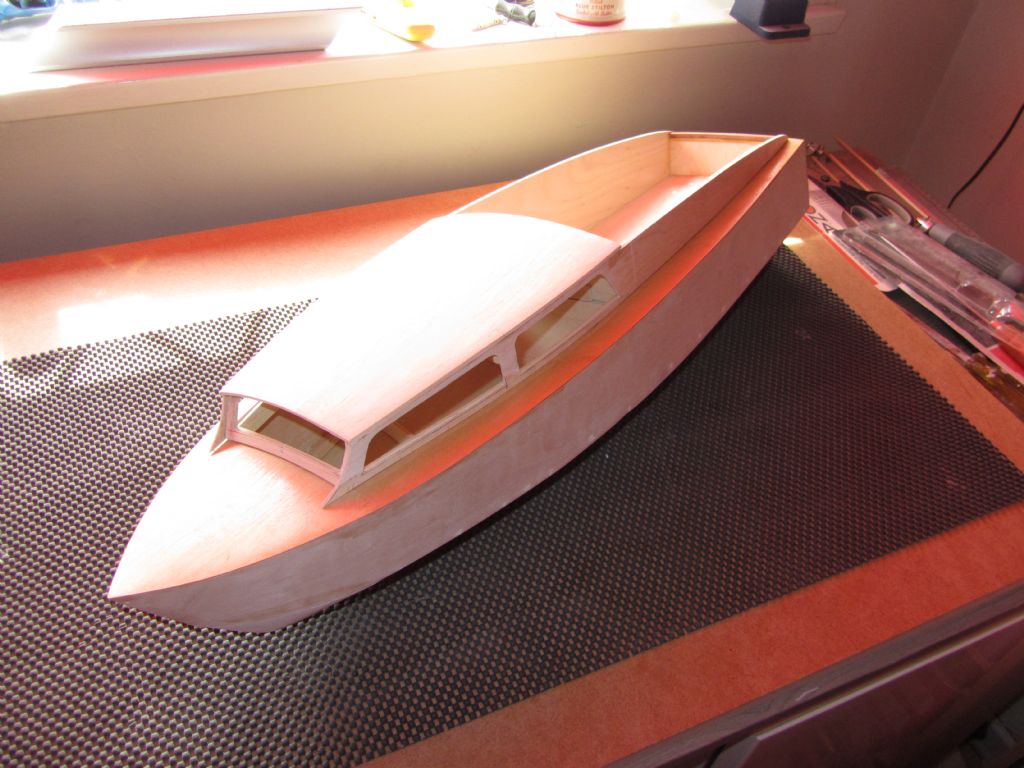
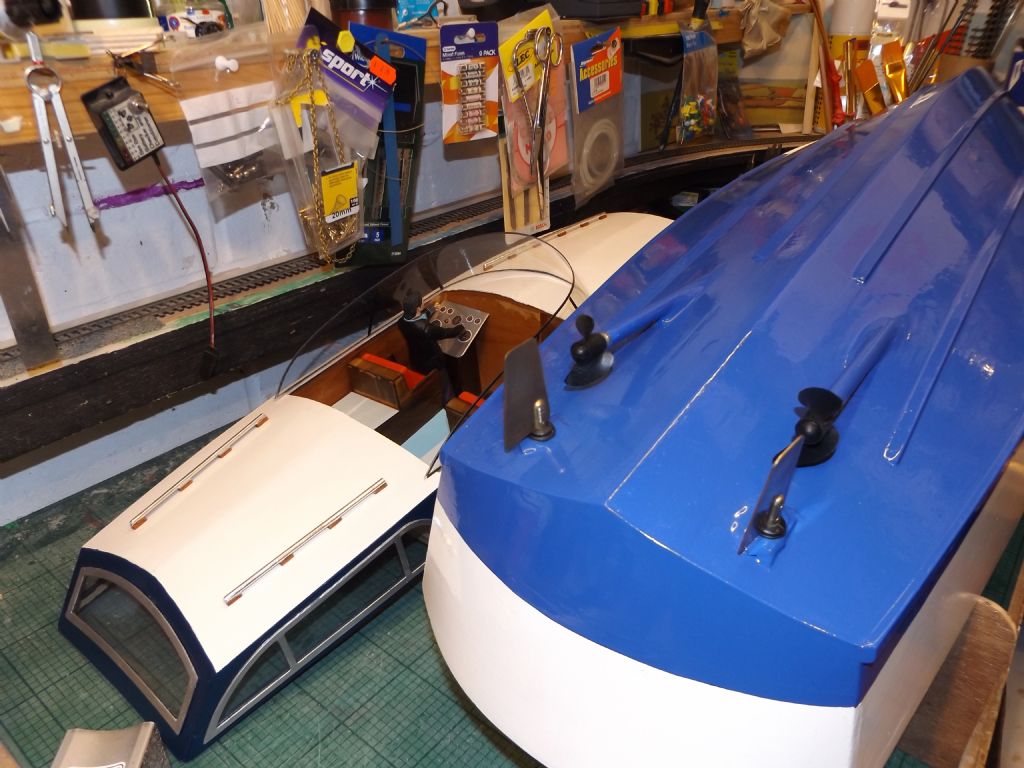
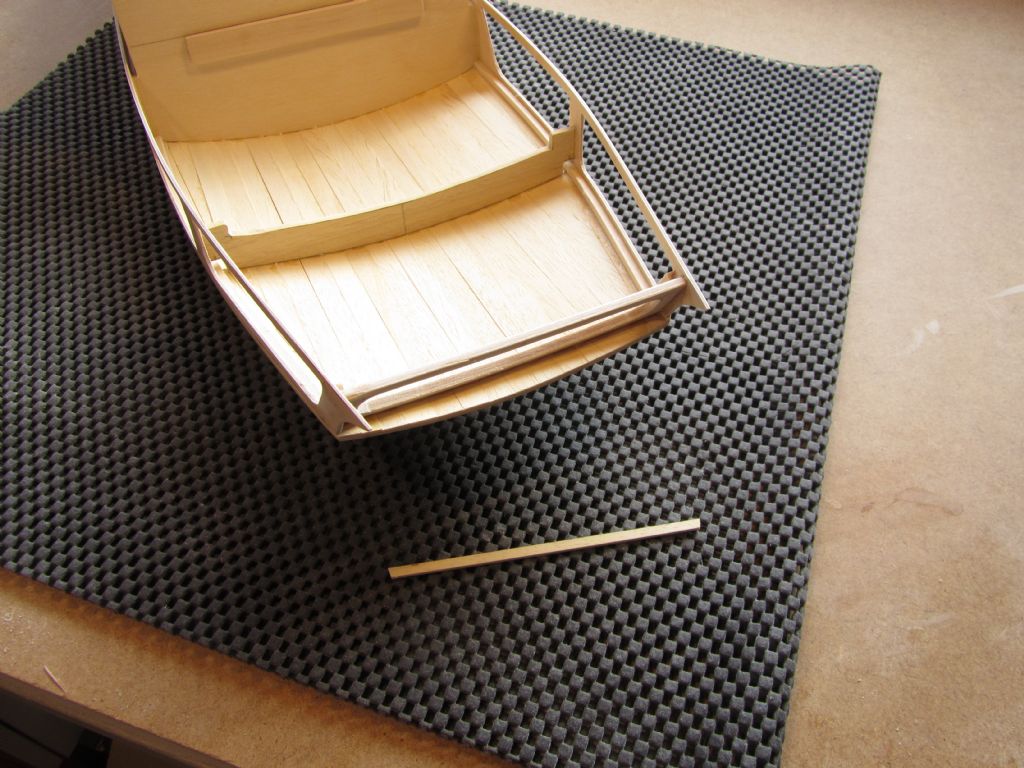
        superstructure2.jpgsuperstructure3.jpgBack on it and did a it more today. Glued the cockpit in place by gluing the inner and outer cockpit sides together. Despite leaving a space above the upstand/coaming and being careful with the glue I still managed to get some glue between the cockpit sides and the upstand. When lifting the superstructure off, the upstand split and broke for most of its length – knew I should have used some clingfilm!

        It's only 1.6mm thick (to keep the sides as thin as possible) and so a bit fragile. So I cut out the broken piece (most of one side) and glued in a new section. I also doubled up the upstand within the cabin area to give it more strength and additional thickness if any sanding is required.

        I then glued the front edge of the cockpit sides and floor to the rear of the cabin. Once that was dry I test fitted the superstructure and found it a bit tight. Bit of judicious sanding and it was a lot better – still needs a little more to make it easier to put on and off but not too easy!

        I also gave the roof some more sanding but using a block this time.

        Once I've done a bit more work with the fit of the superstructure and sanded the cockpit sides to shape at the transom it will be at the same stage as the River Cruiser. So I will return to the hulls and do the filling to the bow area etc.

        Chris

        superstructure1.jpg

        Edited By Chris Fellows on 14/04/2019 22:26:43

        #81899
        Tim Rowe
        Participant
          @timrowe83142

          Hi Chris

          Very Huntsmanlike now.

          Continuing to watch with interest.

          Tim R

          #81907
          Chris Fellows
          Participant
            @chrisfellows72943

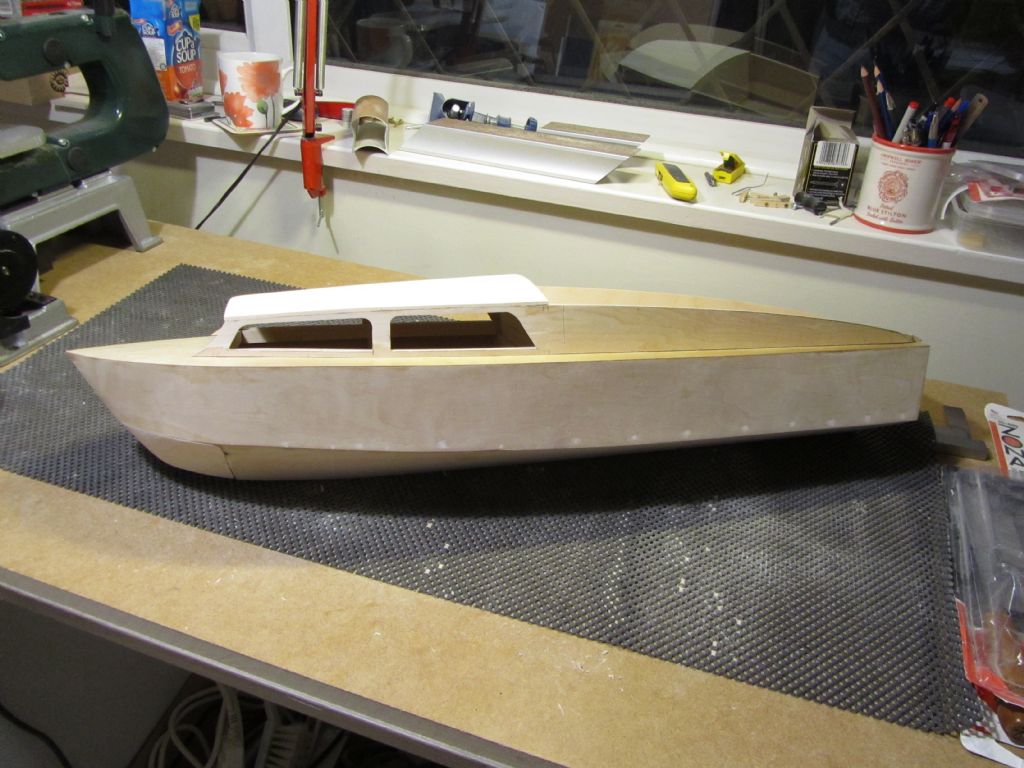
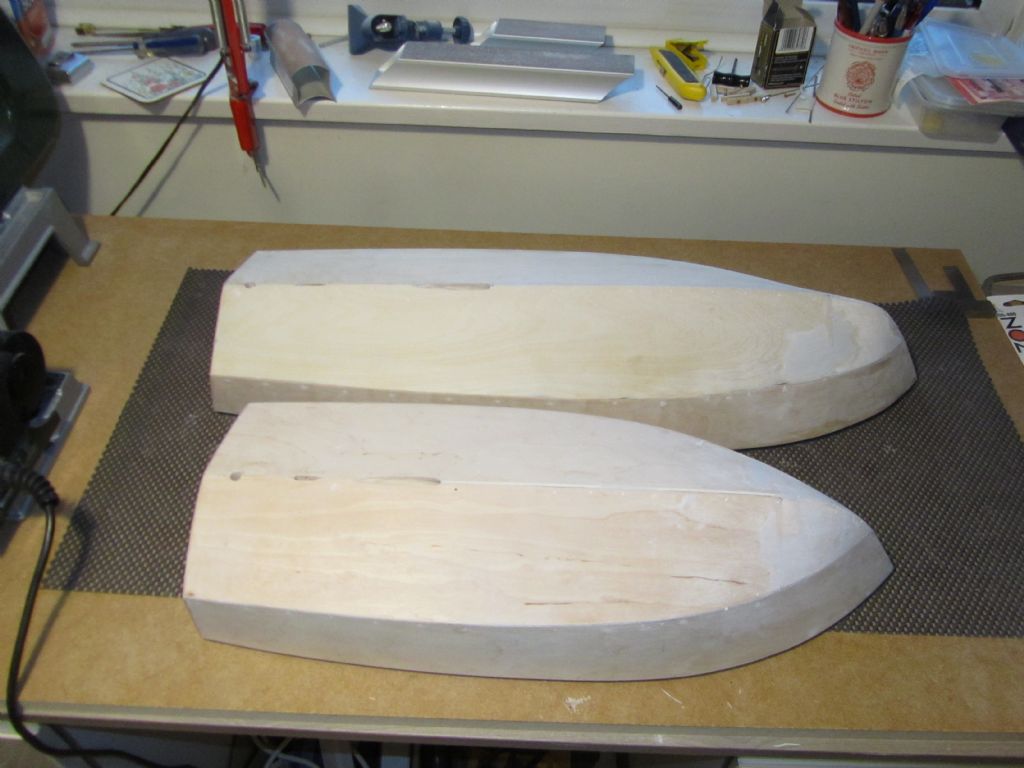
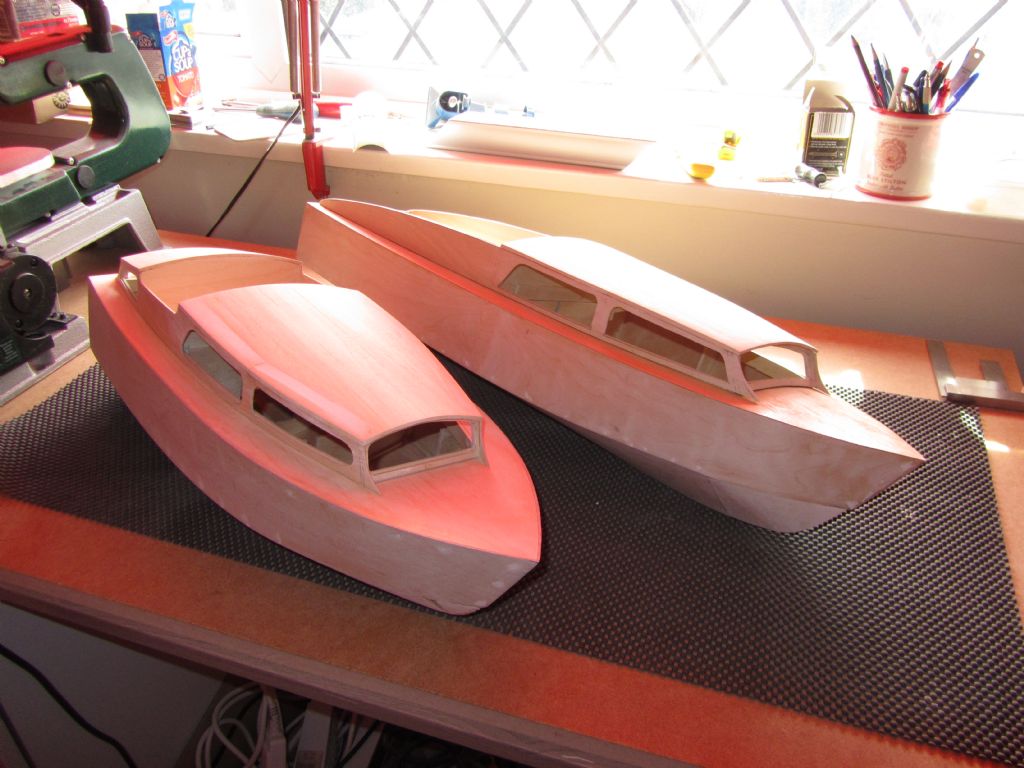
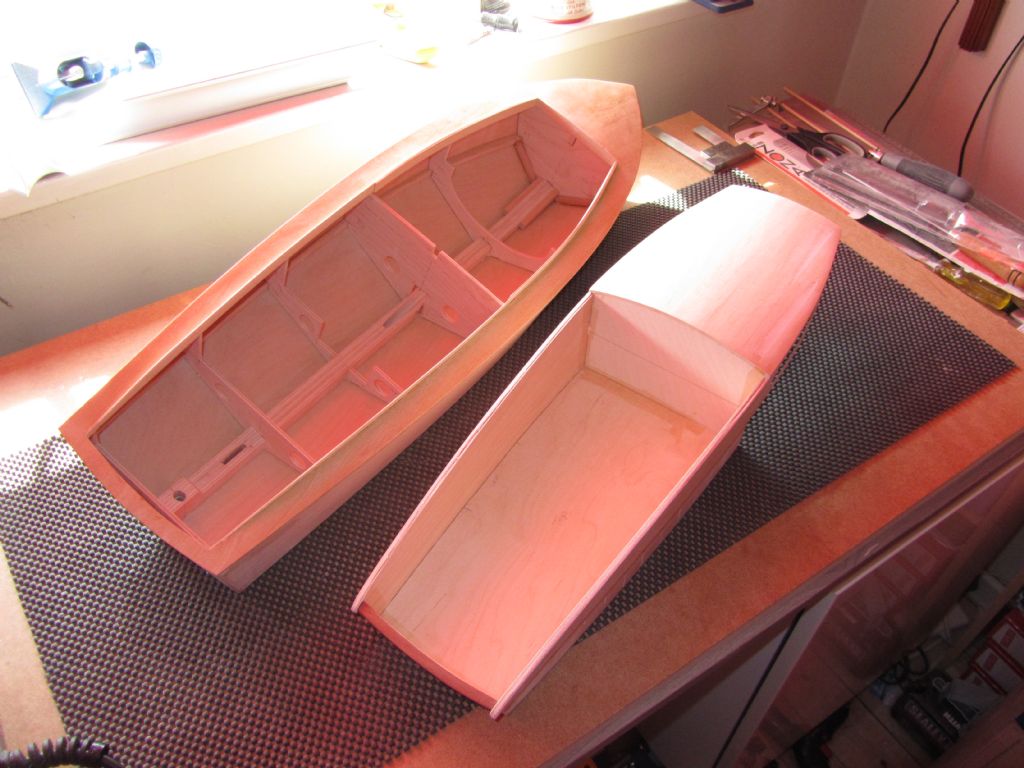
            rc & h28 hulls.jpgrc & h28.jpgextending sides.jpghull & superstucture 2.jpgThanks Tim, it's nice when they start looking like a boat.

            I'd allowed some extra on the sides at the front to allow for trimming to size (in case I hadn't got enough length due to the curve) but not enough at the rear on the outer skin to go beyond the mahogany capping. So I cut through the outer skin and the bass spacer and glued longer pieces in place. The sandwich of the inner and outer skins and the spacer were then sanded to shape – later a mahogany capping will be fixed to the top of each cockpit side.

            I then turned to the hulls, this build plus the River Cruiser, and applied some Isopon P38 to the bows where the balsa blocks had been fitted and shaped. Left it for awhile whilst I washed the car and then dodged the showers to sand it down – too messy to do indoors. There are some small depressions which will require a bit more filler.

            I then opened up the holes through the ply for the prop shaft, support bracket and rudder.

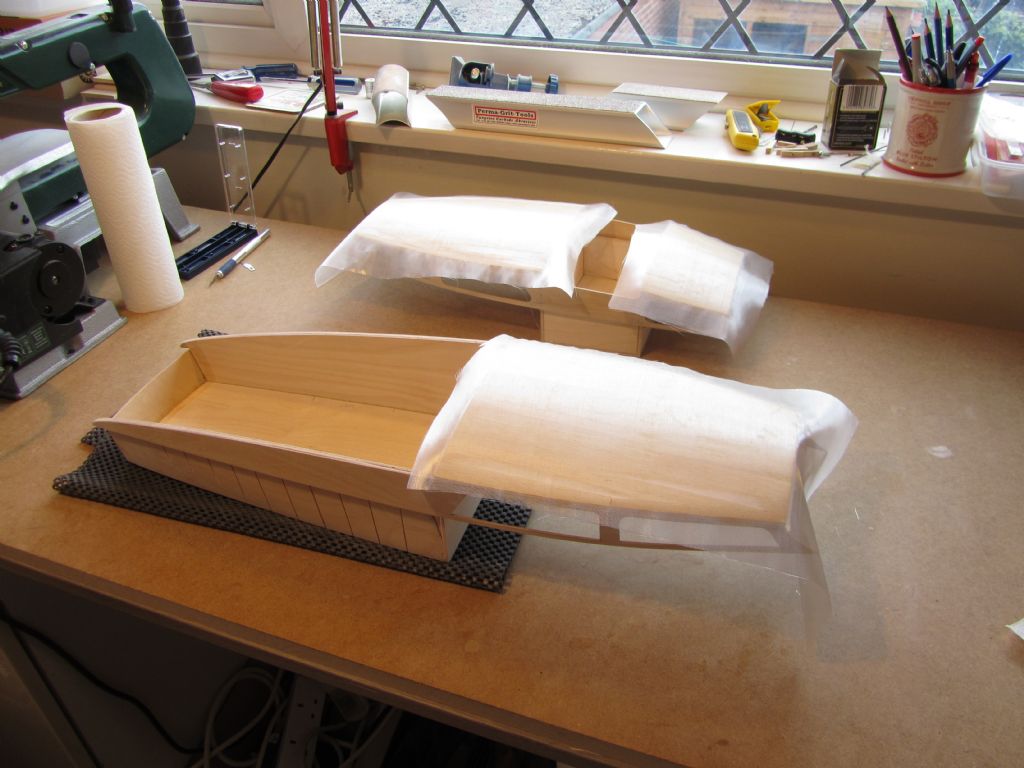
            Whilst I've used birch ply for the hull skins etc., which generally has a very nice and hard finish, there are some imperfections and where I've filled screw holes etc. so I've decided that I'm going to cloth and Eze-Kote it which will provide a better surface for painting.

            As you can see I've still got a bit of twist in the front righthand corner despite my best efforts and being mindful of Dave's words that once you get twist in the superstructure it's impossible to get it out! It's not much but still irritating so will probably glue a slither of ply and sand to fit.

            Chris

            hull & superstructure.jpg

            #81908
            Ray Wood 3
            Participant
              @raywood3

              Hi Chris

              Good work with the twins ! Are you planning to fit the rails on the bottom and chine after the glass cloth? That's the final frontier in my book 😊h31 rudders & props.jpg

              #81909
              Dave Milbourn
              Participant
                @davemilbourn48782

                It's not much but still irritating so will probably glue a slither of ply and sand to fit.

                Yep – I can't pretend I didn't need to do that once, but if you leave it then it will bug you forever.

                DM

                #81910
                Chris Fellows
                Participant
                  @chrisfellows72943

                  Cheers Ray. Yes, will be fitting them after cloth and Eze-Kote. Don't want to be gluing them to paint.

                  Fortunately with the River Cruiser, it being a cruiser (!) it only has spray rails along the chines and no pulpit rail either, so that's less to worry about.

                  Chris

                  #82165
                  Chris Fellows
                  Participant
                    @chrisfellows72943

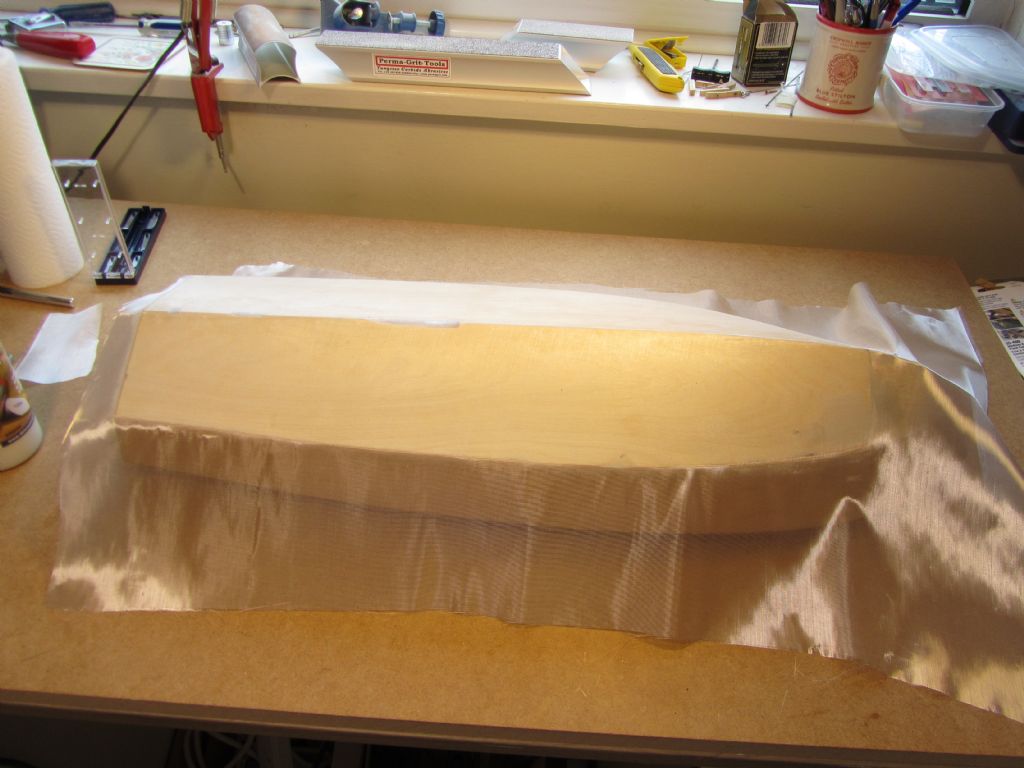
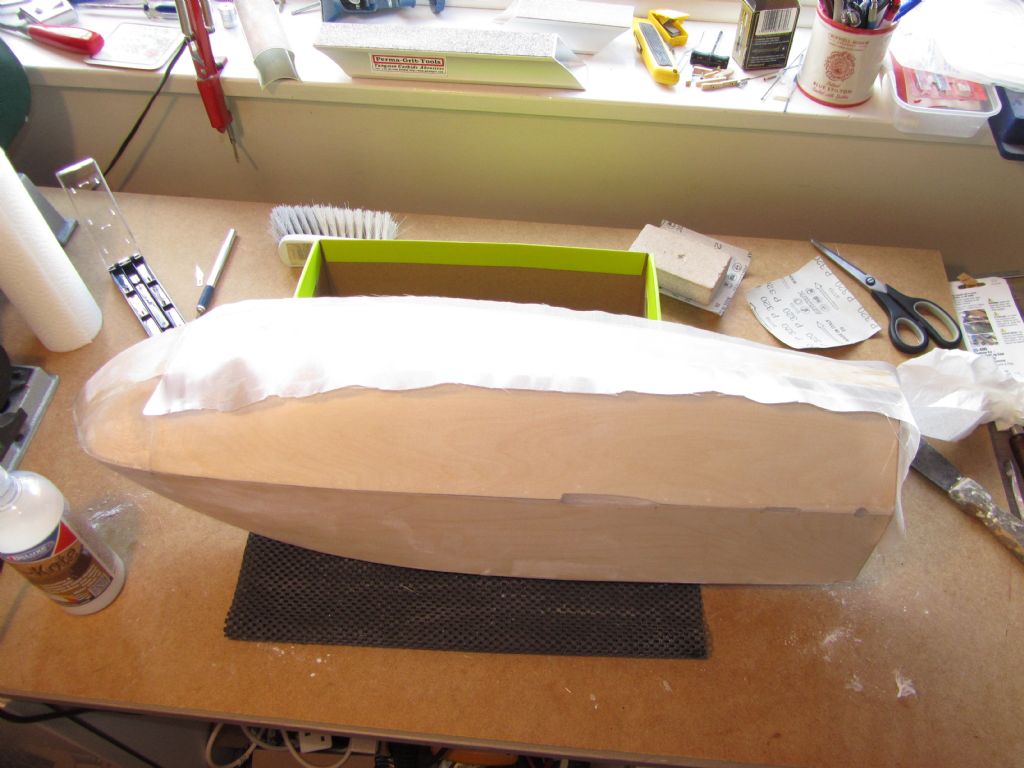
                    cloth to hull 1.jpgcloth to side.jpgGlassing to hull carried out. With the River Cruiser I only ran one of the bottom pieces about 20mm over the keel but with the H28 decided to do the whole bottom in one piece. Had to slit the glass at the bow to get it to fit but it was fine.

                    As I had sufficient overlap I tried to do the hull sides as well but couldn't get the cloth to fit tight along the chines so gave up on that and fitted separate pieces as is usual practice.

                    Did the roof as well but before I do the superstructure sides I'm going to have a go at remedying the gap where it fits along the side at the front to the deck. It's not too bad, I've seen worse, but it's bugging me.

                    Chris

                    roof clothed.jpg

                    Edited By Chris Fellows on 05/05/2019 18:53:18

                    #82186
                    Chris Fellows
                    Participant
                      @chrisfellows72943

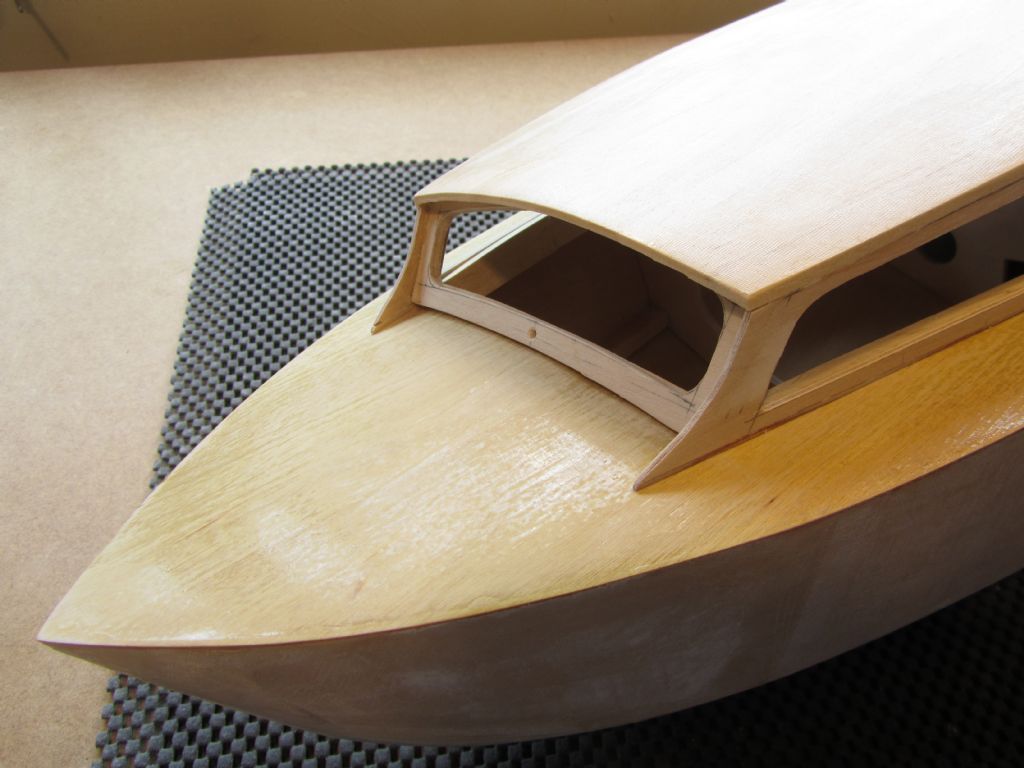
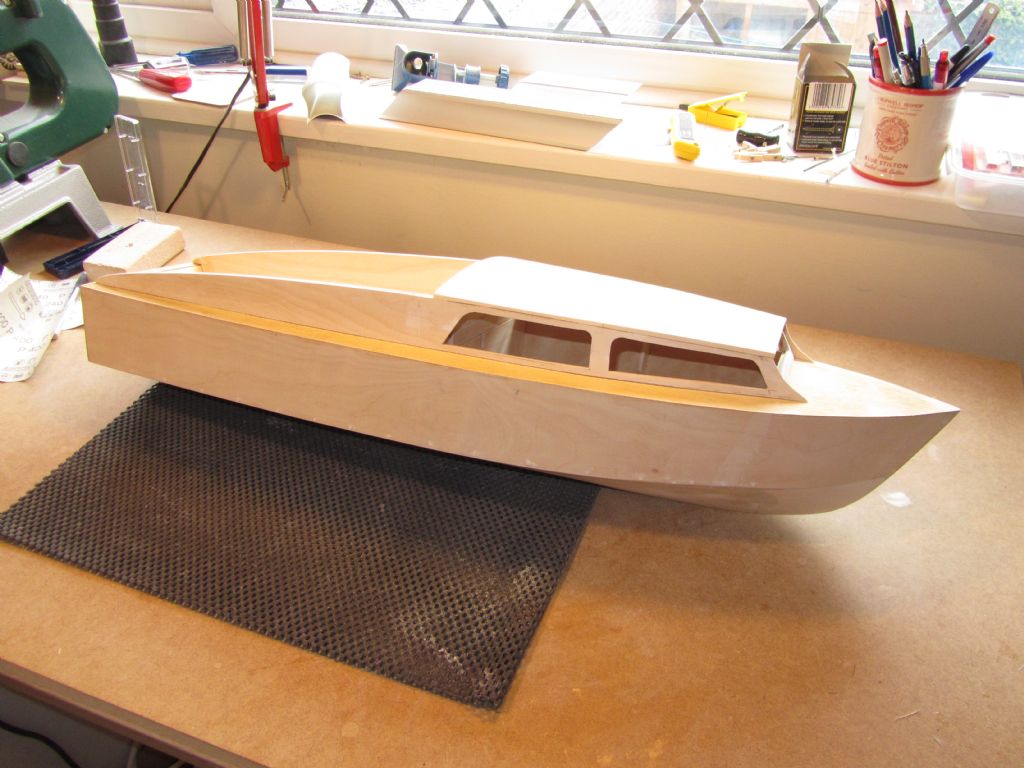
                      tight gaps.jpgwindow packing.jpgAs Ray mentioned, gluing in thin triangular pieces is probably the only way to get rid of gaps between the deck and superstructure due to twist in the later. I had quite a good fit until I fitted the roof planks which as the glue dried introduced a bit of twist which resulted in a gap at the front, righthand side of around 1.5mm.

                      I tried some judicious sanding along the sides but that didn't make much difference.

                      So I cut a long thin piece of 2mm ply, about 75mm long, with the Stanley knife, and glued them in place with cyano and bent them to the curve with my fingers, prising them away as they started to get stuck! The ply was left proud and then sanded to line with the faithful PermaGrit block.

                      This remedied the gap but then caused some on the other side! This was no bad thing really as otherwise the bottom of the front window wouldn't have been parallel with the deck. So another piece of ply, about 50mm, was glued in place and sanded. As you can see from the photo this did the trick and I was happy with the result. This then though left a gap between the window and deck so a piece of 1.5mm bass was cut and glued in place and sanded to fit.

                      That's not the end of it though! Because of the extra ply at the sides the bottoms of the foremost side windows were now deeper and not parallel to the deck so some filing and sanding was required.

                      There was also a couple of small gaps at the rear of the coamings where I'd added the extension pieces which got the same treatment.

                      Fiddly and time consuming but worth the effort.

                      Chris
                      coming together.jpg

                      #82192
                      Dave Milbourn
                      Participant
                        @davemilbourn48782

                        Chris

                        Just think – the next job is those lovely chine rails and then the spray rails!! I've been doing both today on my new model and I can confirm that it's a labour of love.That is I'll love it when it's done!

                        Dave M

                        #82207
                        Chris Fellows
                        Participant
                          @chrisfellows72943

                          Thanks Dave!

                          Yes, they are another one of those jobs that I've not been looking forward to!

                          In your Huntress build article you say that the spray rails are planed from 3×6 bass but on Lazy Dog they do look small and less than 90 degrees in section. They look very fiddly! How the hell do you plane down to that size and hold the timber?

                          Order just placed with SLEC for mahogany in various sizes for the rubbing strips and coaming cappings etc.

                          Chris

                          #82208
                          Dave Milbourn
                          Participant
                            @davemilbourn48782

                            I'm just a sucker for the tricky jobs, Chris. That and the fact that the fingers of my left hand have had all the tips neatly removed with a razor-plane…..

                            These days I use square-section for the spray rails and sand them to a D section once the glue's dried. It doesn't seem to make any difference to the performance and it's a lot easier to do!

                            Dave M

                            #82210
                            Tim Rowe
                            Participant
                              @timrowe83142

                              Super Job Chris

                              Unmistakably Fairey and you can be sure that in production there were some "features" shall we say that needed attention from time to time.

                              I be you are looking forward to the painting stage.

                              Tim R

                              #82213
                              Chris Fellows
                              Participant
                                @chrisfellows72943

                                Sounds painful Dave!

                                Yes, Tim, I am looking forward to the painting as I shall feel that I've made some real progress by then but whilst there isn't too much to do before then it's still going to be some time.

                                At least I will have two boats to show for my efforts.

                                Chris

                                #83303
                                Chris Fellows
                                Participant
                                  @chrisfellows72943

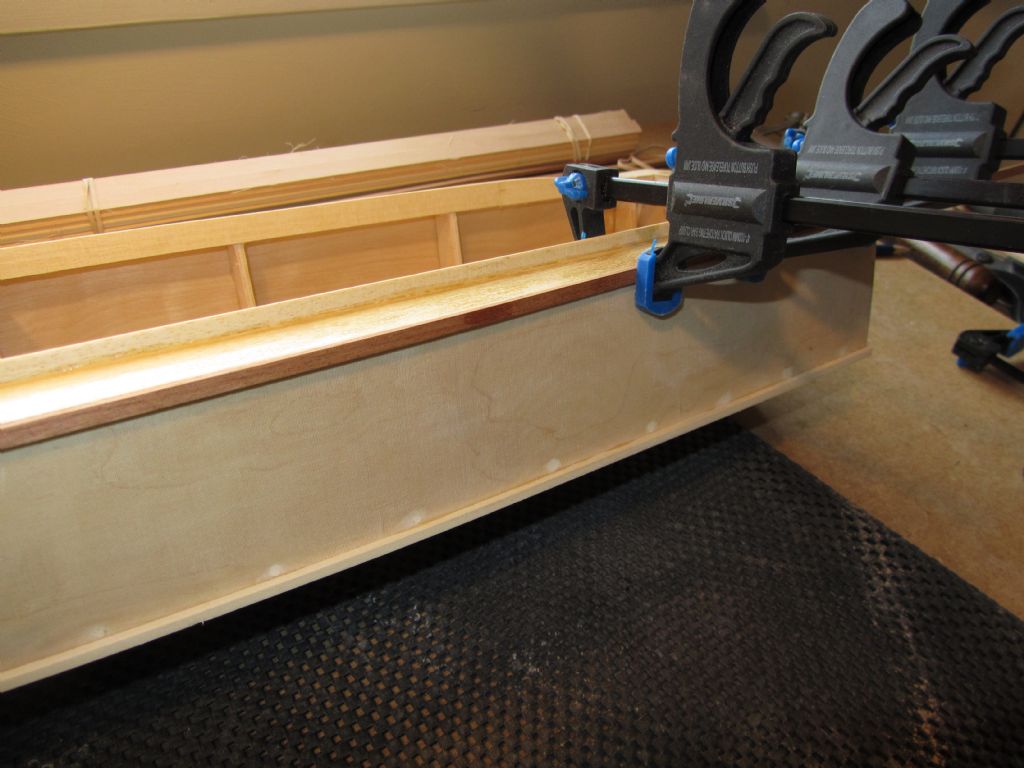
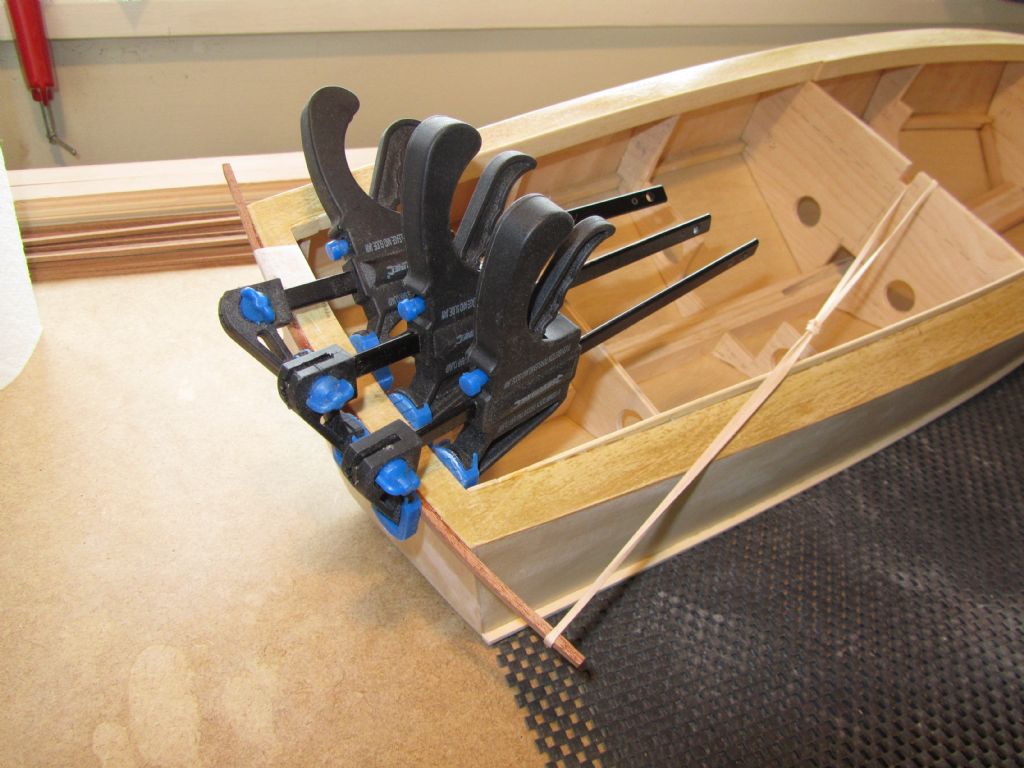
                                  Back onto the H28 as well now. Fitted the chine rails using 3 x 3mm bass and am now in the process of fitting the rubbing strips.

                                  Whilst the H28 is the same beam as the River Cruiser it is 5" longer and the 3 x 1.5mm mahogany looks a bit small so I'm using the 5 x 2mm which I accidently started fitting to the River Cruiser! It does look slightly too large, 4 x 2 would be better but SLEC don't do it, but once it has been rounded off it will look fine.

                                  I've still to decide on how I'm going to do the spray rails. I've even thought about doing them in 2mm triangular styrene – has anyone done this?

                                  Chris

                                  side rubbing strip & chine rails.jpgtransom rubbing strip.jpg

                                  #83308
                                  Tim Rowe
                                  Participant
                                    @timrowe83142

                                    Hi Chris

                                    Good to see the rubber band in action. So useful and I keep mine in a tin chocolate box to keep the sun off them.

                                    Interesting question about the styrene and wonder how they will be glued.

                                    Trying to get my IOM on the water so I have something to play with while the slow boat Galileo inches forward.

                                    Nice work as usual.

                                    Tim R

                                    #83359
                                    Chris Fellows
                                    Participant
                                      @chrisfellows72943

                                      Yes Tim, elastic bands and masking tape for that matter, are invaluable, where more sophisticated "tools" just won't do the job.

                                      There are glues that will stick styrene to timber, or in this case resin and cloth, but I've given up on that idea now as I prefer timber on these builds and am going to do as per Dave's suggestion to use square section and sand off the corners.

                                      I've almost done one side of the rubbing strip now as well as the transom. I've just being doing short sections over a number of days to make sure it's sounded attached. Using a bigger section has been easier in some ways than the smaller one on the River Cruiser, as being more stiff, it's been easier to maintain a straighter line – on the RC I've got a couple of waves where I think it moved after clamping which I shall have to deal with. Bit more difficult approaching the bow though.

                                      I've been missing your progress reports on the Galileo!

                                      Chris

                                      #83759
                                      Chris Fellows
                                      Participant
                                        @chrisfellows72943

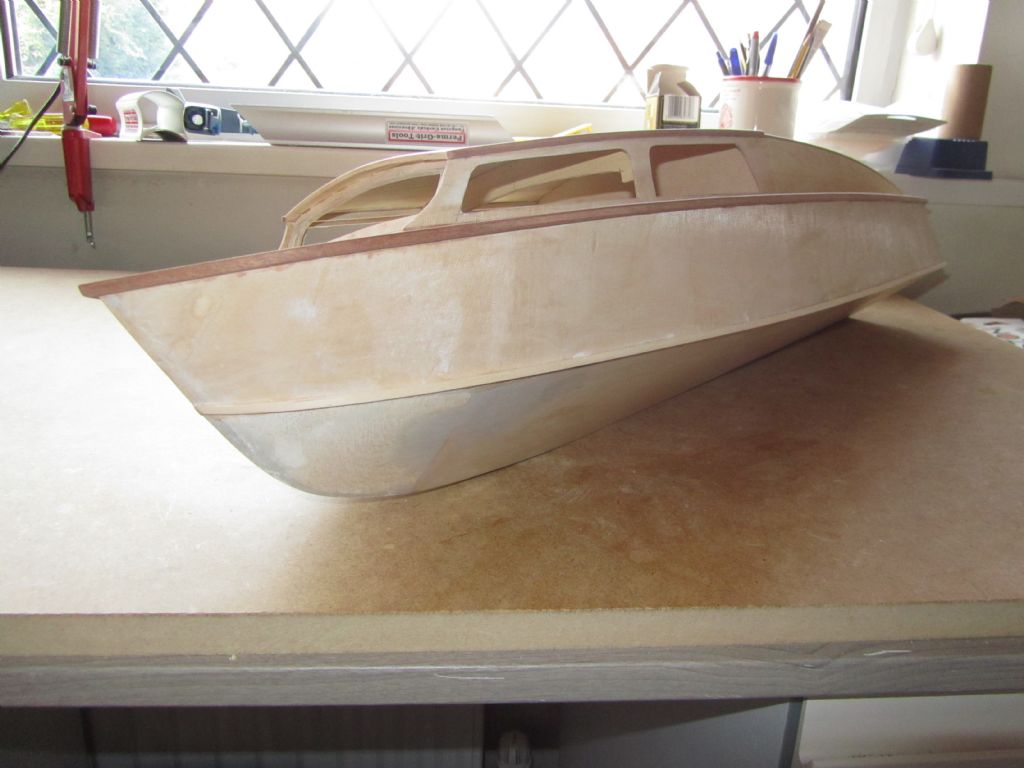
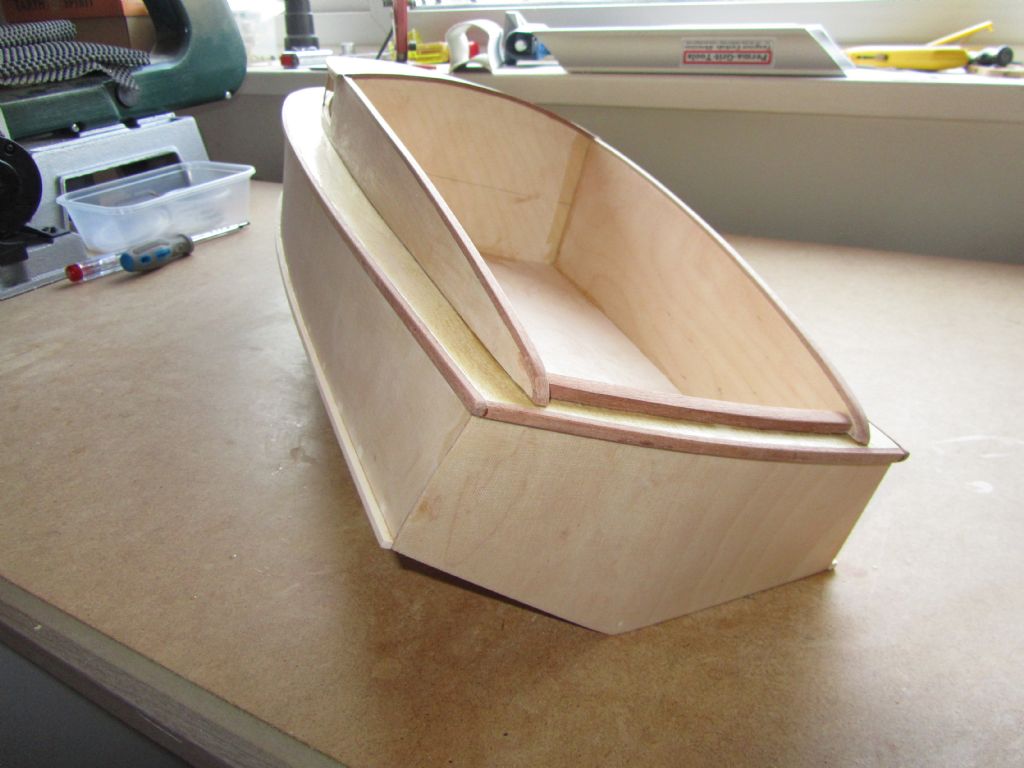
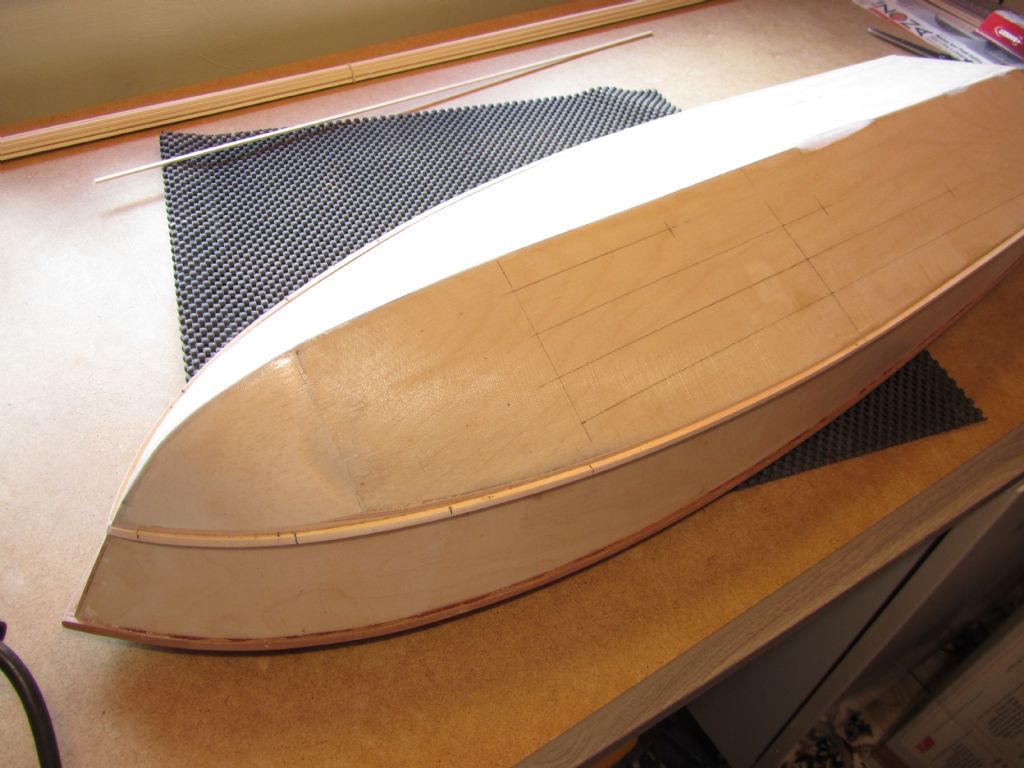
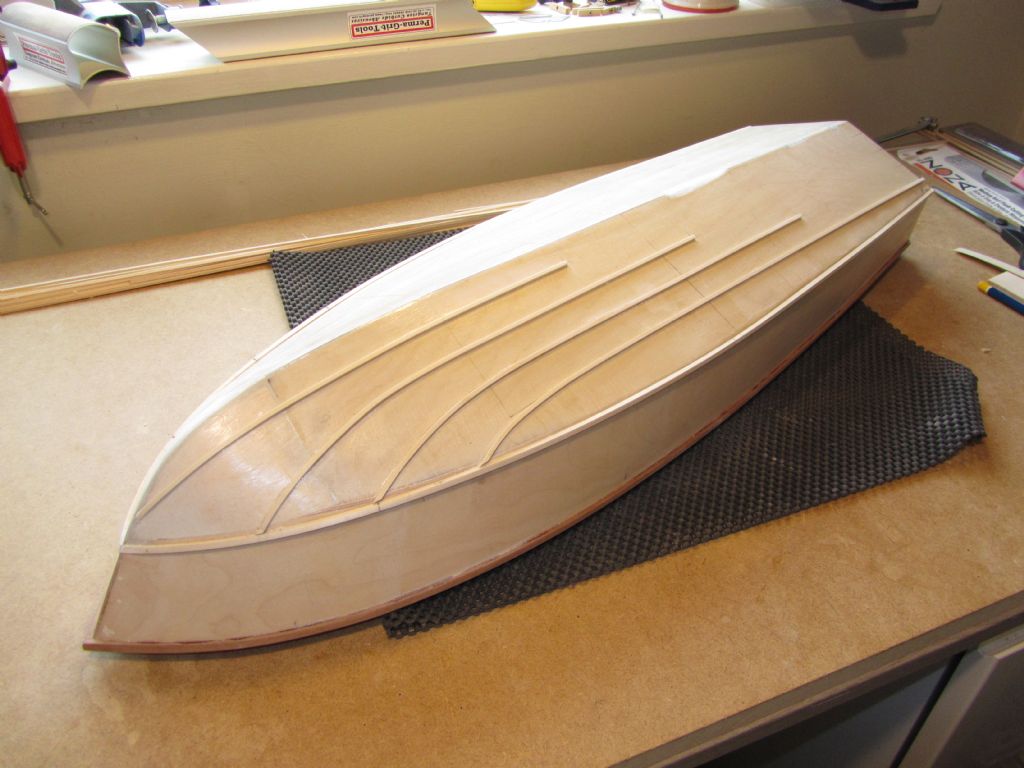
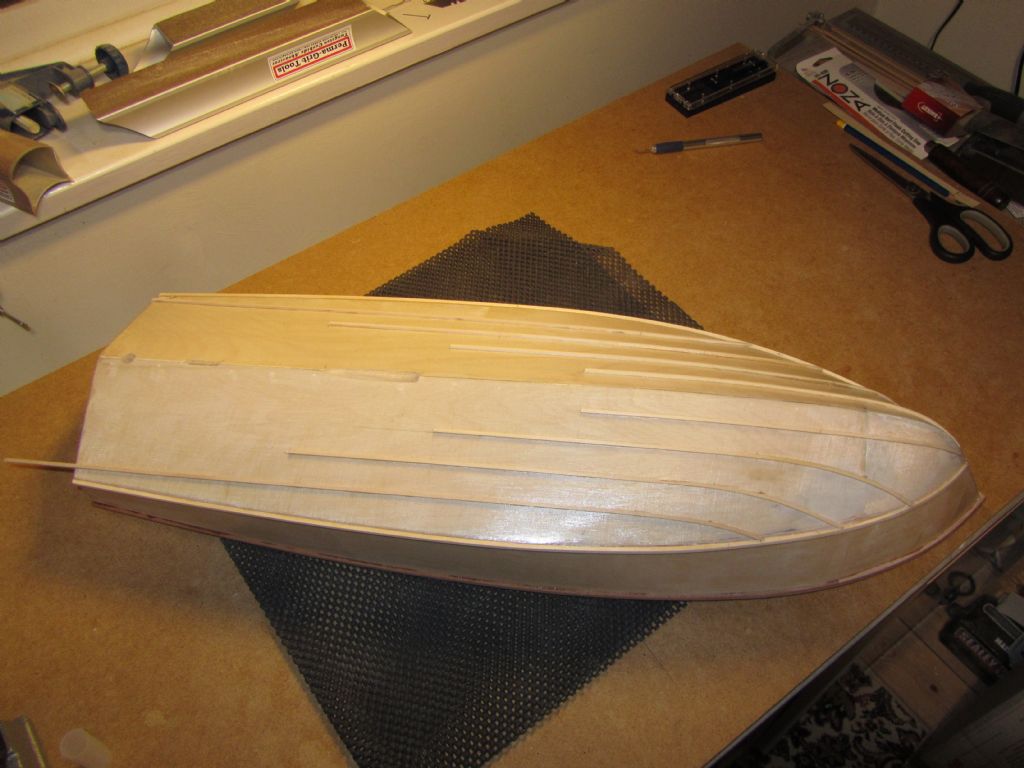
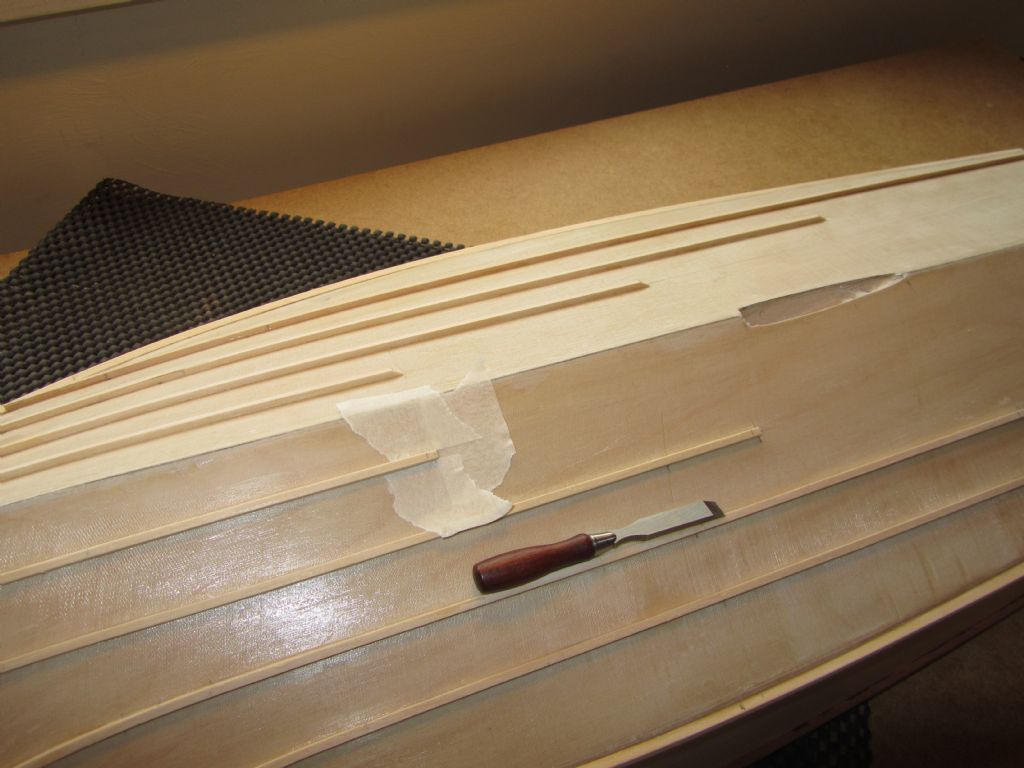
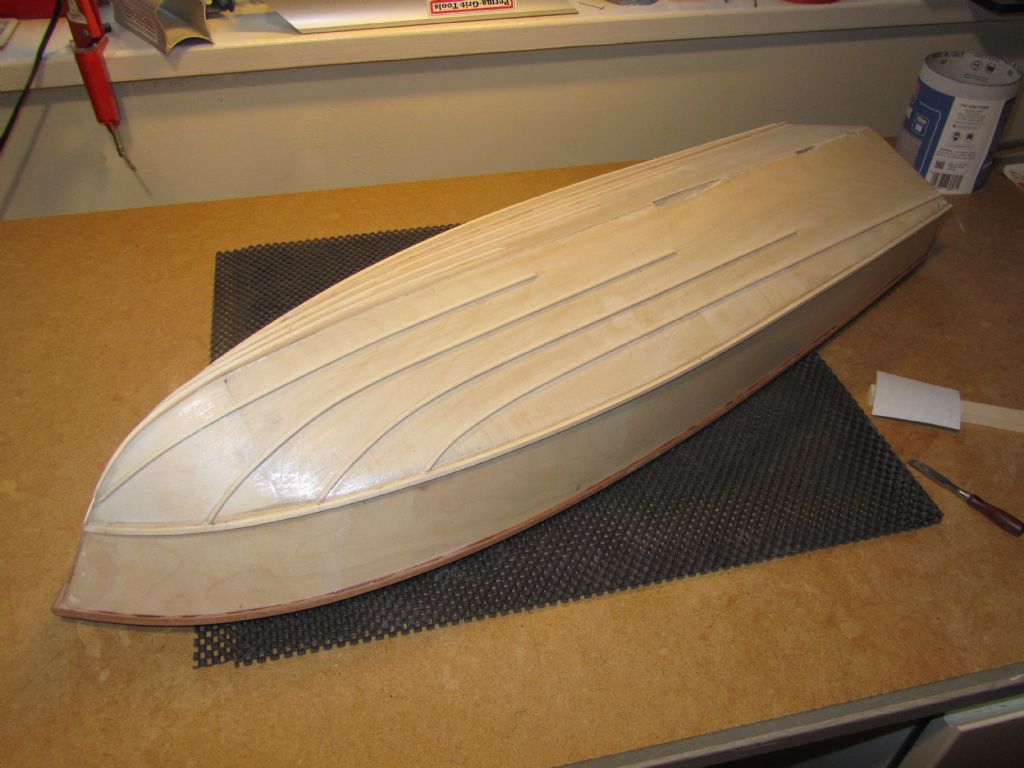
                                        Use has been made of rainy days and more progress has been made. Finished fitting the rubbing strips and then added mahogany strip to roof edges and coamings.

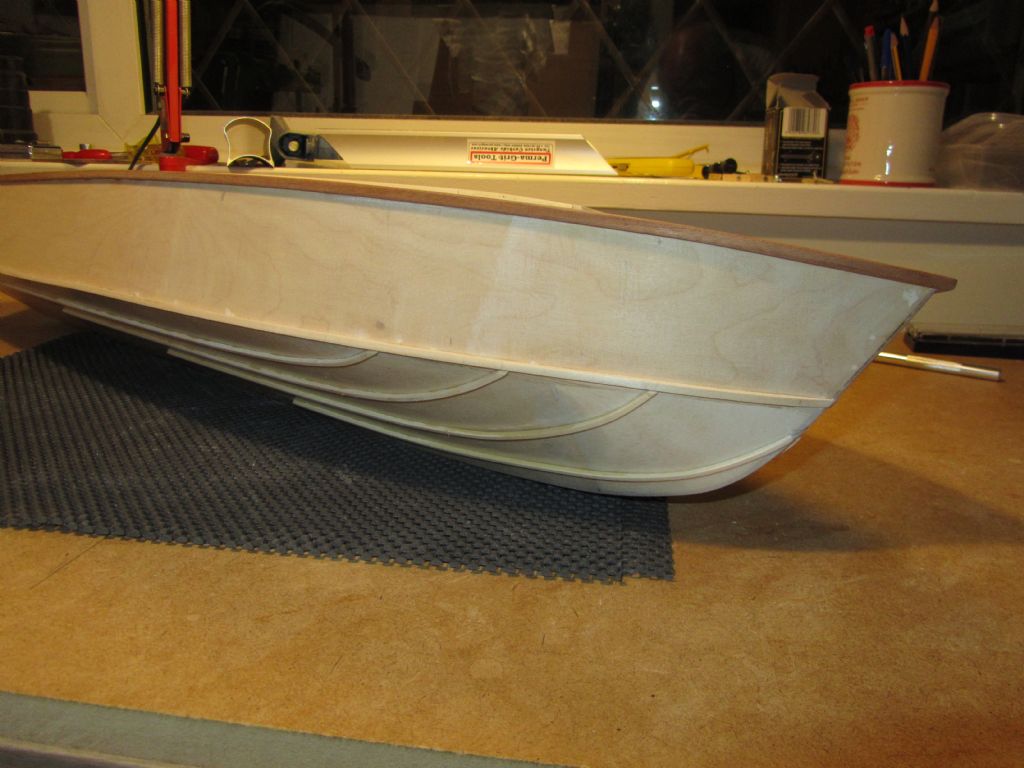
                                        Last couple of days, on and off, has seen the fitting of the spray rails. On the Huntsman 28, as you can see, the rails are of differing lengths, the layout of which is to suit the twin prop shafts and rudders. I'm only fitting one motor etc. but have followed the layout of the spray rails as per the full sized boat.

                                        Bit more work to do on the spray rails; sanding off the corners and chamfering the ends.

                                        Chris

                                        img_3691.jpg

                                        img_3694.jpg

                                        setting out spray rails.jpg

                                        spray rails 2.jpg

                                        spray rails 4.jpg

                                        spray rails 5.jpg

                                        Edited By Chris Fellows on 09/09/2019 22:08:00

                                        #83760
                                        Eddie Lancaster
                                        Participant
                                          @eddielancaster

                                          Hi. Chris, very neat and tidy smiley.

                                          Eddie.

                                          #83939
                                          Chris Fellows
                                          Participant
                                            @chrisfellows72943

                                            Thanks Eddie.

                                            Other commitments and been away for a few days enjoying the sunshine in Chester and Wales, so progress had stopped. Took advantage of the wet day today to chamfer the ends of the spray rails and round off the edges. Chamfering was taken care of using one of my small Veritas chisels which are lovely little tools.

                                            Chris

                                            spray rails chamferred2.jpg

                                            spray rails sanded1.jpg

                                            #83940
                                            Tim Rowe
                                            Participant
                                              @timrowe83142

                                              Chris

                                              A true work of art. Very nicely done.

                                              Tim R

                                              #83942
                                              Chris Fellows
                                              Participant
                                                @chrisfellows72943

                                                Thanks Tim, that's praise indeed coming from a man of your skills and eye for detail. I just hope that the paint doesn't highlight too many defects!

                                                Talking of which I'm getting concerned that the time it has taken me to get to this stage means that I have missed the window of opportunity as I was planning on painting outside.

                                                Chris

                                                #83953
                                                Martin Howard 4
                                                Participant
                                                  @martinhoward4

                                                  Hi Chris. I retired a while ago and have decided to take up again model making as a winter project. My father owned a fairy huntsman 28 which is still in use I have descoved, so I am looking to build a model of his boat. But cannot find a scaled drawing of the 28 until I came across your project. Can you help with my obtaining a scaled drawing to enable me to build the Huntsman 28. I have been reading your blog and it looks great and has given me the enthusiasm to build the model.

                                                  Martin

                                                  #83954
                                                  Dave Milbourn
                                                  Participant
                                                    @davemilbourn48782

                                                    Martin

                                                    I have sent you a private message.

                                                    Dave M

                                                    #83960
                                                    Chris Fellows
                                                    Participant
                                                      @chrisfellows72943

                                                      Hi Martin

                                                      I took up the hobby about three years ago as a winter hobby and have found it has become an all round hobby to some extent!

                                                      Great that you are interested in building a Huntsman 28. You don't see many models of them about. Along with Dave, happy to help in any way I can.

                                                      Was it boats that you built before or something else?

                                                      Chris

                                                    Viewing 25 posts - 76 through 100 (of 195 total)
                                                    • Please log in to reply to this topic. Registering is free and easy using the links on the menu at the top of this page.

                                                    Code of conduct | Forum Help/FAQs

                                                    Advert

                                                    Latest Replies

                                                    Home Forums Build Blogs Topics

                                                    Viewing 25 topics - 1 through 25 (of 25 total)
                                                    Viewing 25 topics - 1 through 25 (of 25 total)

                                                    View full reply list.

                                                    Advert

                                                    Newsletter Sign-up