1/32 Mountfleet Models Sir Lancelot

Advert

1/32 Mountfleet Models Sir Lancelot

Home Forums Build Blogs 1/32 Mountfleet Models Sir Lancelot

  • This topic is empty.
Viewing 25 posts - 1 through 25 (of 99 total)
  • Author
    Posts
  • #91456
    George Norman
    Participant
      @georgenorman68347

      Hello all,

      My first post on here!

      Just worried I might just give this the kiss of death with a build log going from past experience but here goes for Nothing!

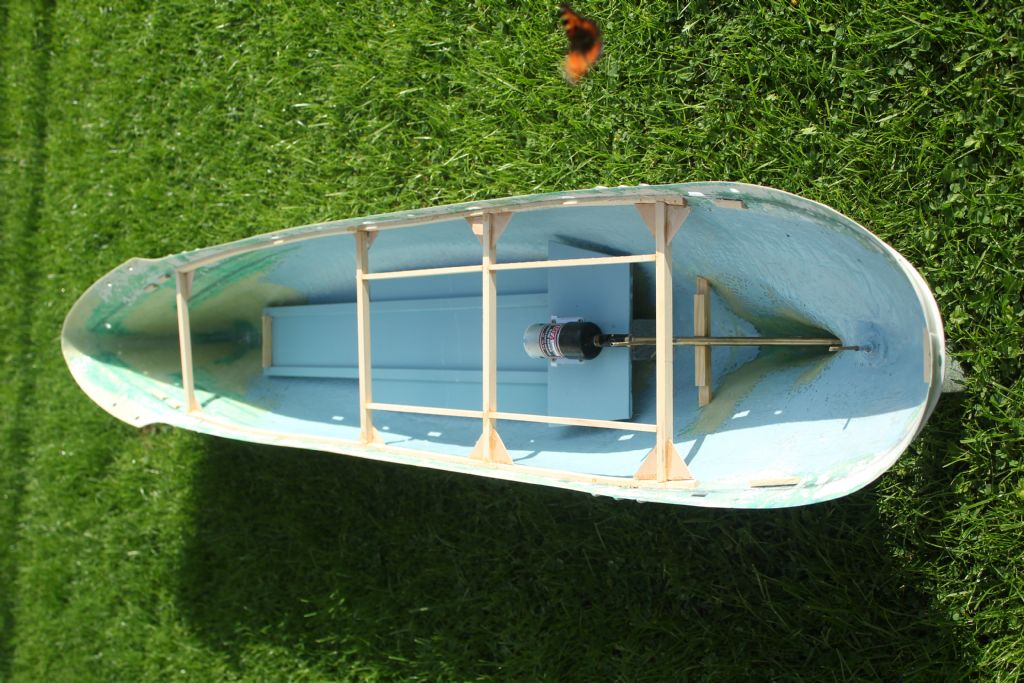
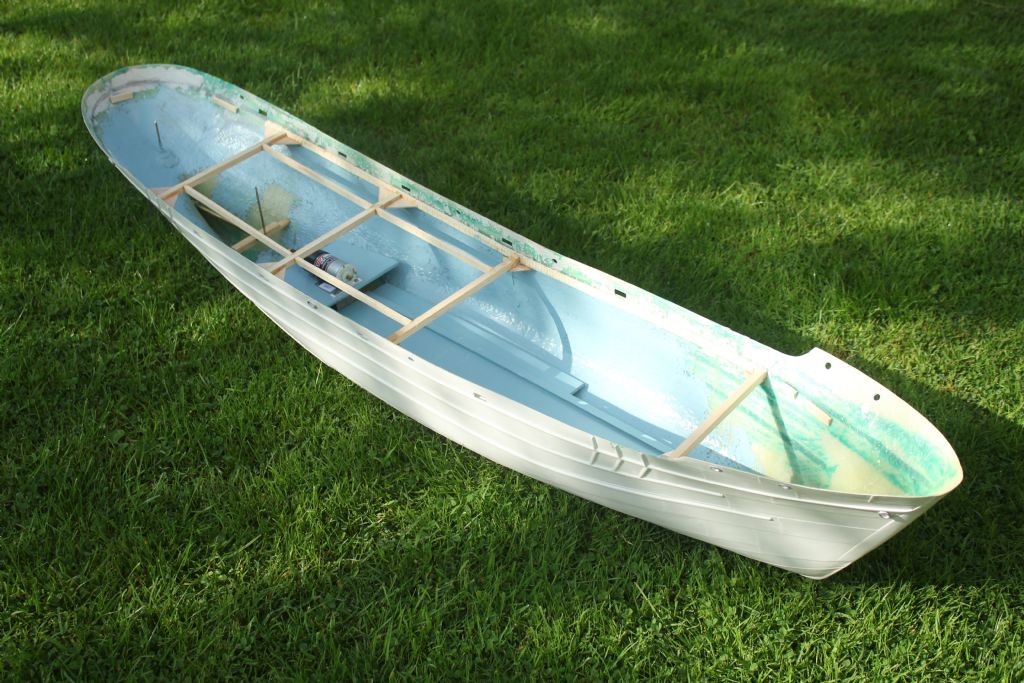
      This will be my 3rd boat build ever. I was lucky enough to get this for the big 50 last month and have done a few small bits here and there, mostly outside as this yoke is quite large and unwieldly to move about in the Cabin I normally work inside!

      Lot of study was done on some forums of other peoples builds so I am not a pioneer and lucky enough to piggy back on some other fine build logs of this kit and will unashamedly use some of their ideas in my build.

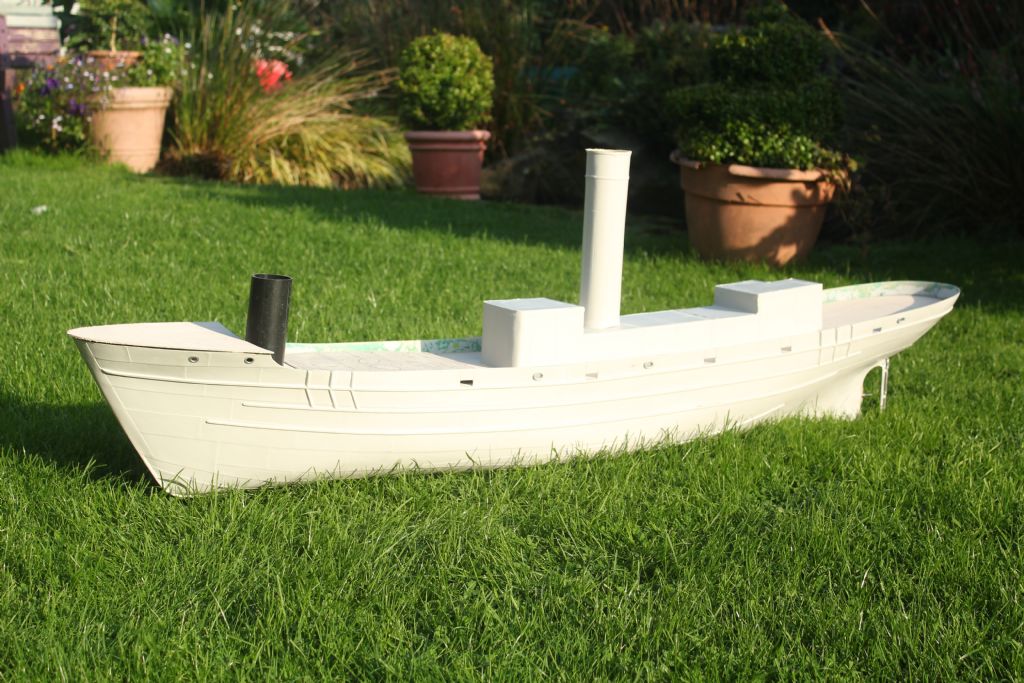
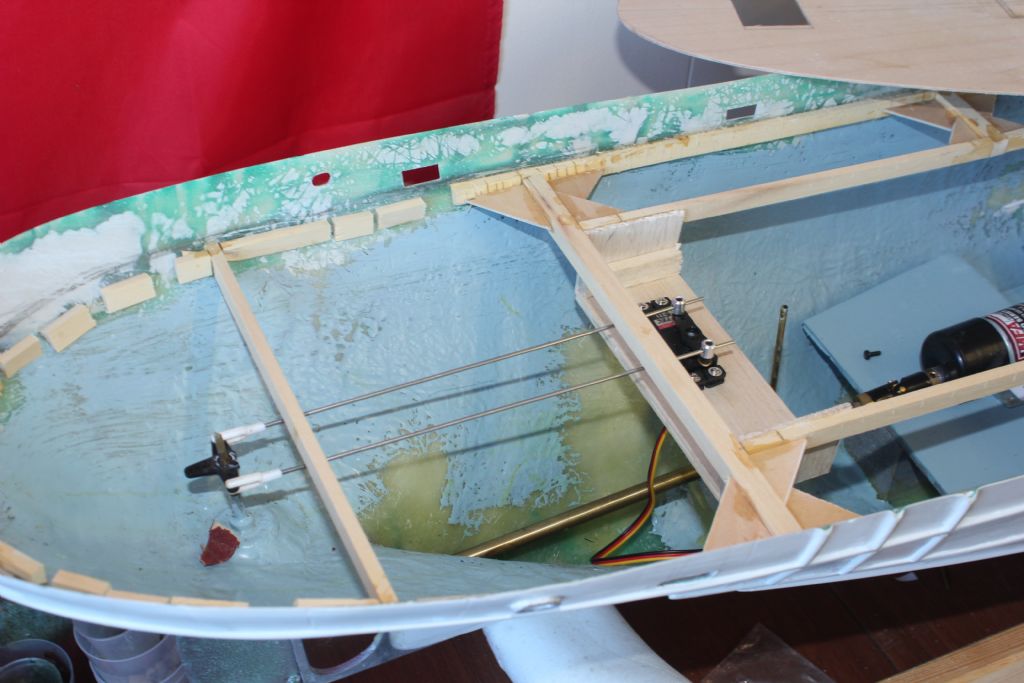
      Some picture are below as are of the progress as of yesterday .So Far I have managed to attached the Skeg and rudder, some of the inside supports for the deck, the motor, Shaft and battery tray.

      For the paint Scheme I have yet to decide if it will be overall grey or a disruptive blue and grey colour scheme to add that bit more visual interest.


      img_6443.jpgimg_6441.jpgimg_6440.jpgHimg_6438.jpg


      Edited By George Norman on 18/09/2020 15:42:23

      Advert
      #9809
      George Norman
      Participant
        @georgenorman68347
        #91464
        Tim Rowe
        Participant
          @timrowe83142

          Welcome

          All that lovely green stuff and the boat's pretty good too!

          Tim R

          #91465
          Colin Bishop
          Moderator
            @colinbishop34627

            It does make up into an impressive model but you need to take care with the weight distribution as it has a reputation of being a bit 'tender' otherwise. Motor and battery weights must be kept as low as possible in the hull. A 'stick' type NiMH battery pack will achieve this.

            Colin

            #91469
            George Norman
            Participant
              @georgenorman68347

              Thanks Colin and Tim,

              I'll be sticking a foggy unit in it and lights so will power those with a large 12V Lead Acid Battery and another for the propulsion. They will also help with the ballast weight.

              Yes the rain over in Ireland Helps the Grass colour, needs a cut next!

              #91516
              neil hp
              Participant
                @neilhp

                i think you'll find that your armed trawler is 1;32 scale, not 1;48th.

                but they make great sailing models,

                I have built the St Nectan, much modified, and she sailed beautifully.

                #91517
                George Norman
                Participant
                  @georgenorman68347

                  Tks Neil for that, Not sure I can change the header now! :/

                  #91521
                  Colin Bishop
                  Moderator
                    @colinbishop34627

                    Heading changed! Keep posting George.

                    Colin

                    #91558
                    George Norman
                    Participant
                      @georgenorman68347

                      Thanks Colin for changing the header, the last build I done was 1/48 so still hung over from that one!

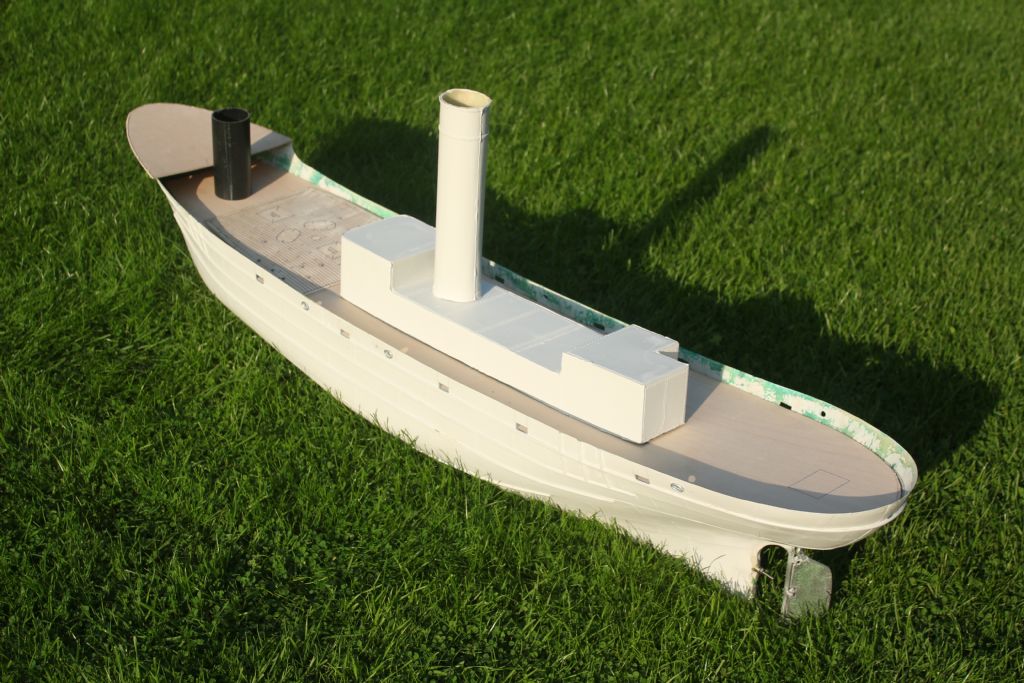
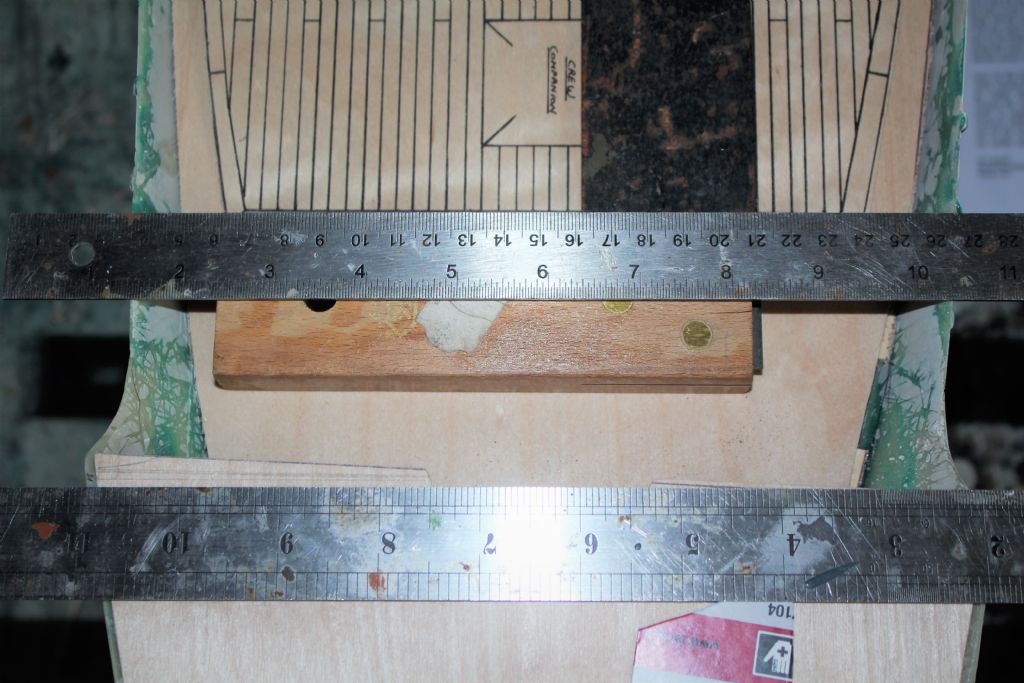
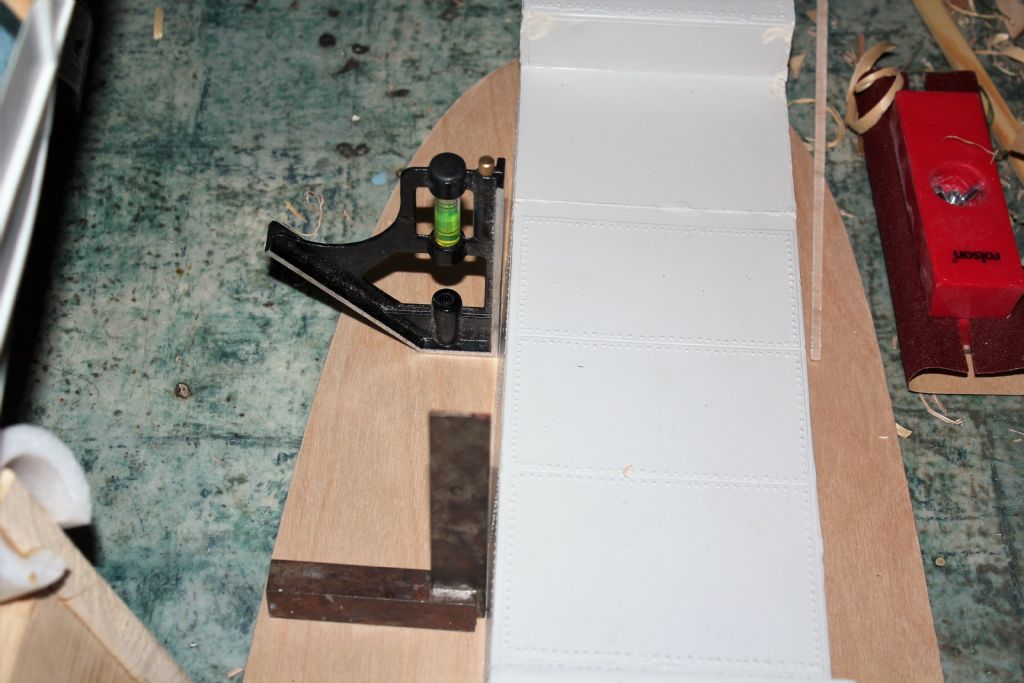
                      Any how bit more progress on this, I manage to pare down the deck to fit and then I work on the foredeck. I noticed that the Boat sides are not symmetrical, there is about a 5mm shortness on one side, you can see the ruler here placed by the strengthening supports and you can clearly see the difference. I cant do much with that so I just adjusted the side of the Bulwark rise to take make it nice and square. I am happy with that now. Just need to cut an opening now on the mail deck and for the Servo hatch. I hope to get some electronics next and a speaker from Action Leccy along with some Plasticard for some battery trays.

                      img_6620 (2).jpgimg_6621.jpgimg_6622.jpgimg_6625.jpg

                      #91590
                      George Norman
                      Participant
                        @georgenorman68347

                        Evening all,

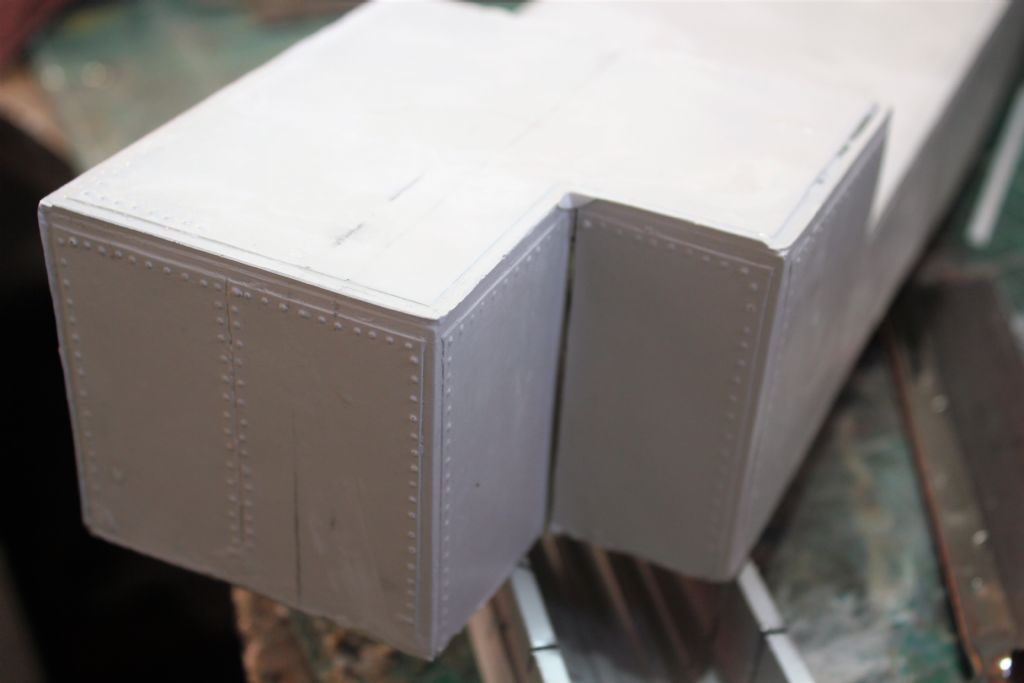
                        After having solved that earlier problem solved I popped out to the shed thinking to cut the deck access hatch out, A simple procedure but looking at the superstructure the lower part on one side has splayed out, might of been taken out of the mold too early. I am not sure how to fix this, It might have to be surgery with a saw, cut and reset the side or a brace internally but given the hatch combing a brace won't be low enough to pull the sides in.

                        img_6630 (2).jpg

                        Edited By Colin Bishop on 26/09/2020 21:25:51

                        #91592
                        Colin Bishop
                        Moderator
                          @colinbishop34627

                          Try warming it with a hair dryer and push it back to shape when hot and allow to cool. That sometimes works I have found.. GRP mouldings can be quite malleable if warmed up.

                          Colin

                          #91593
                          George Norman
                          Participant
                            @georgenorman68347

                            Nice one Colin, I grab the Misses Hair Dryer in a few mins and will give it a go!

                            tks for the tip.

                            #91594
                            Colin Bishop
                            Moderator
                              @colinbishop34627

                              I have used this technique several times to sort out hulls which have distorted a bit after coming out of he mould. It's not an unusual occurrence. Hold the item in place while it cools and it usually sets in that position.

                              Colin

                              #91595
                              George Norman
                              Participant
                                @georgenorman68347

                                Thanks Colin.

                                a Very quick fix, 30 seconds and its straight (almost) as a die!

                                Regards

                                George.

                                #91596
                                Colin Bishop
                                Moderator
                                  @colinbishop34627

                                  Result then! That's what the forum is for.

                                  Colin

                                  #91957
                                  George Norman
                                  Participant
                                    @georgenorman68347

                                    Hello All,

                                    Been Motoring slowly on this one, Just waiting on some bits n bobs to arrive before I get the Deck Firmly in place. these will be a speaker and 'Noisey Thing' from Action Electronics, These are being made up so it will be a while yet.

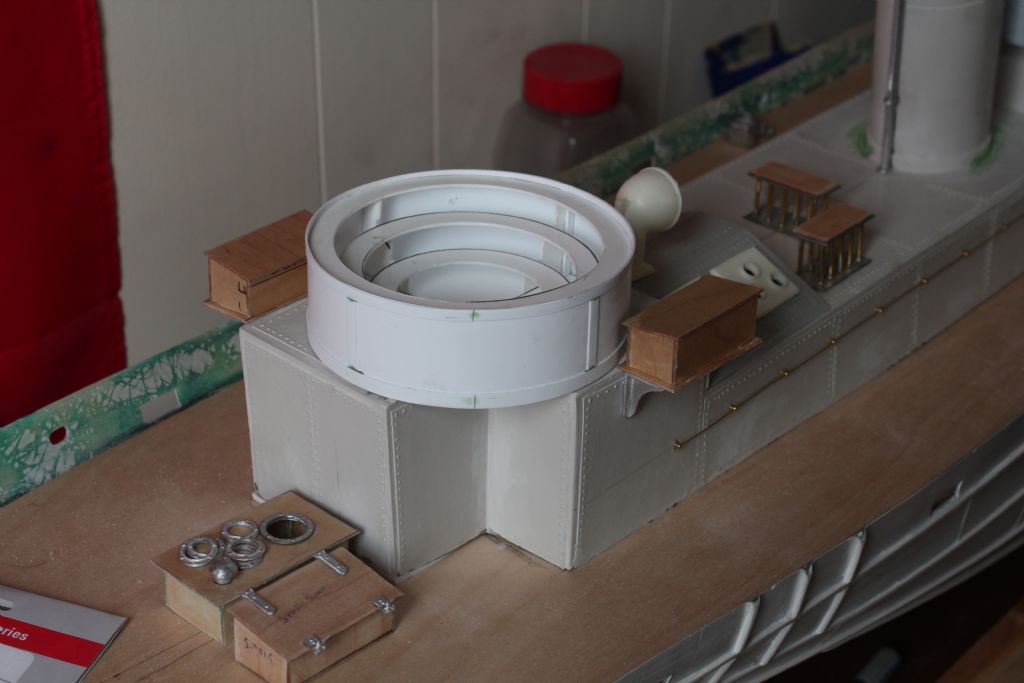
                                    Anyhow here a few shots of progress, I need to Fathom out now how to curve the 0.08mm ply around the base of the wheel house. Should be fun!

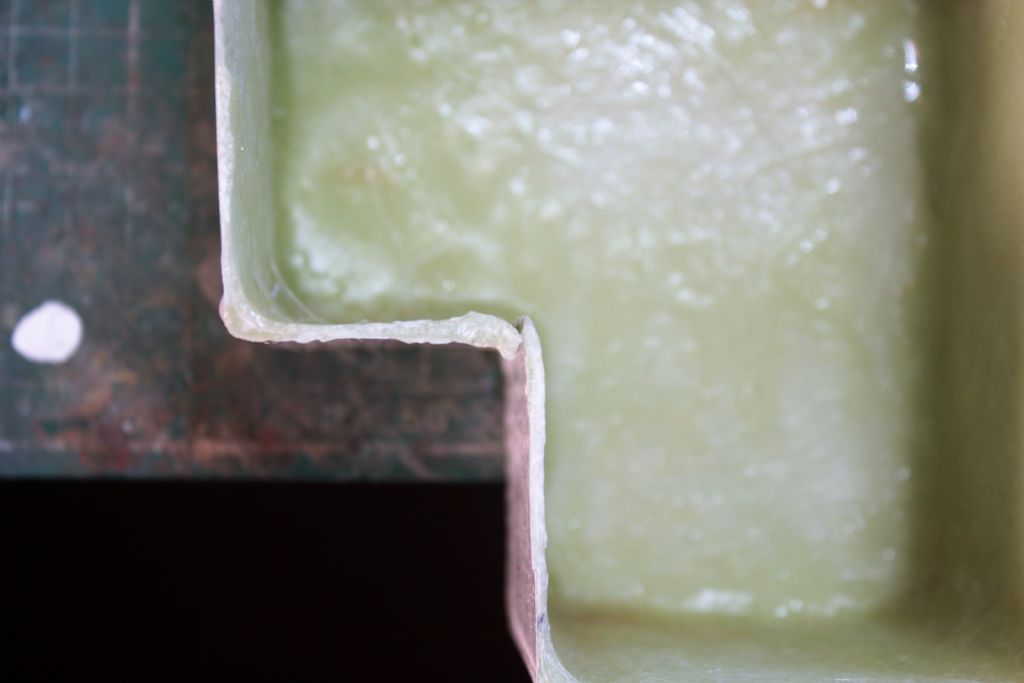
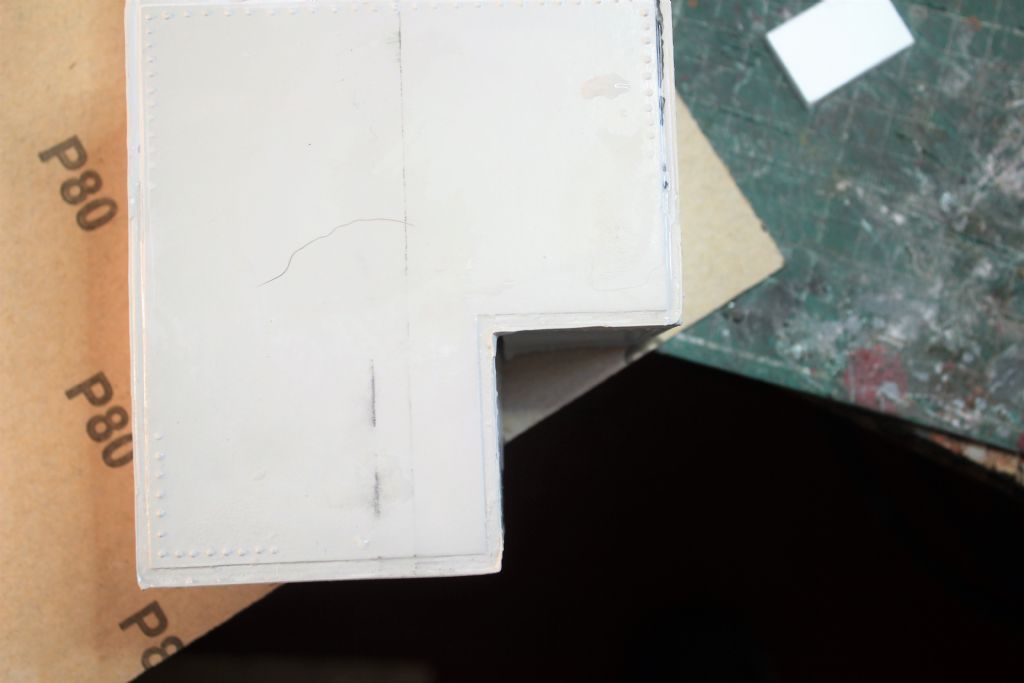
                                    The Superstructure unit was pretty warped in many places. A right pain in the you know what, It still bows back after manytreatments of the hair dryer.

                                    I had cut into the rear part as the part was not square and bugged me and the gap filled with P38, You can see in the first photo the parts re positioned and how nice a square it is now
                                    img_6685 (2).jpg

                                    img_6682 (2).jpgimg_6681 (2).jpg

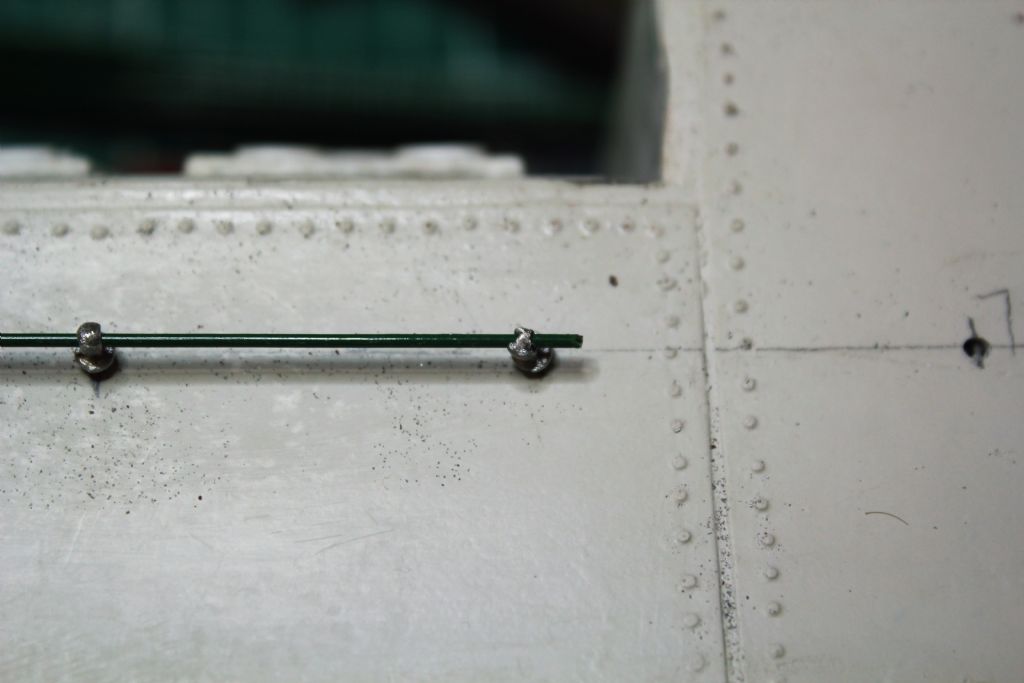
                                    Shortly after that Victory I decided to move along and concentrate on Superstructure and started off with the Handrails and drilling the holes. I went to stick in the hand Rail Stanchions but these are pretty poor and mis-molded or short molded so and order went out for some brass ones. No point in putting Crap ones on it after spending out so much on the model itself so I will have wait for those to arrive also.
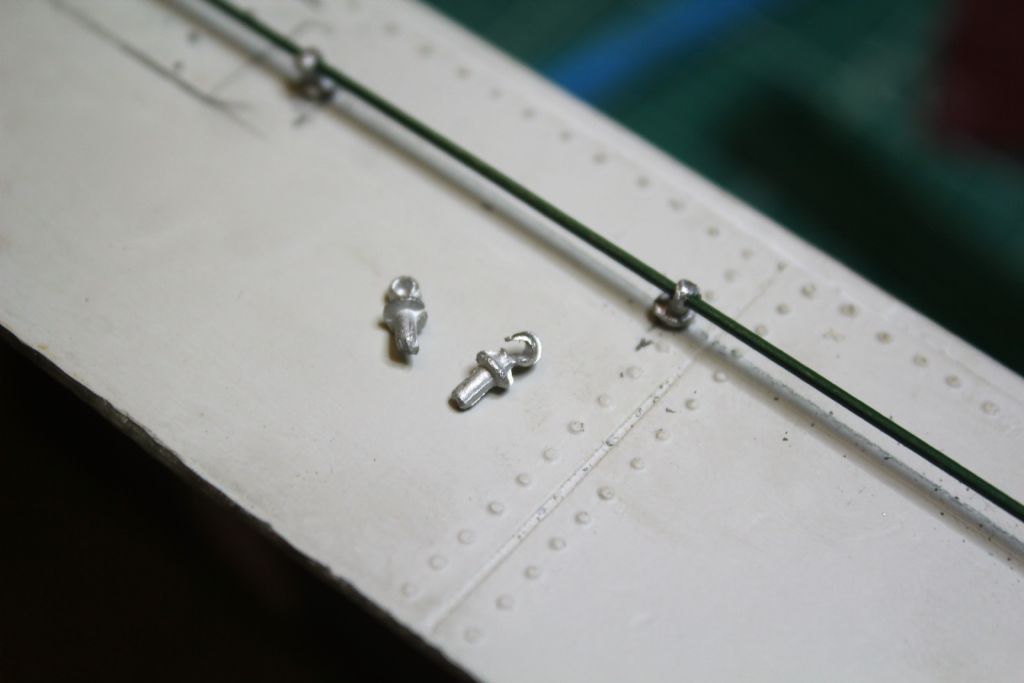
                                    img_6711 (2).jpg

                                    img_6712.jpg

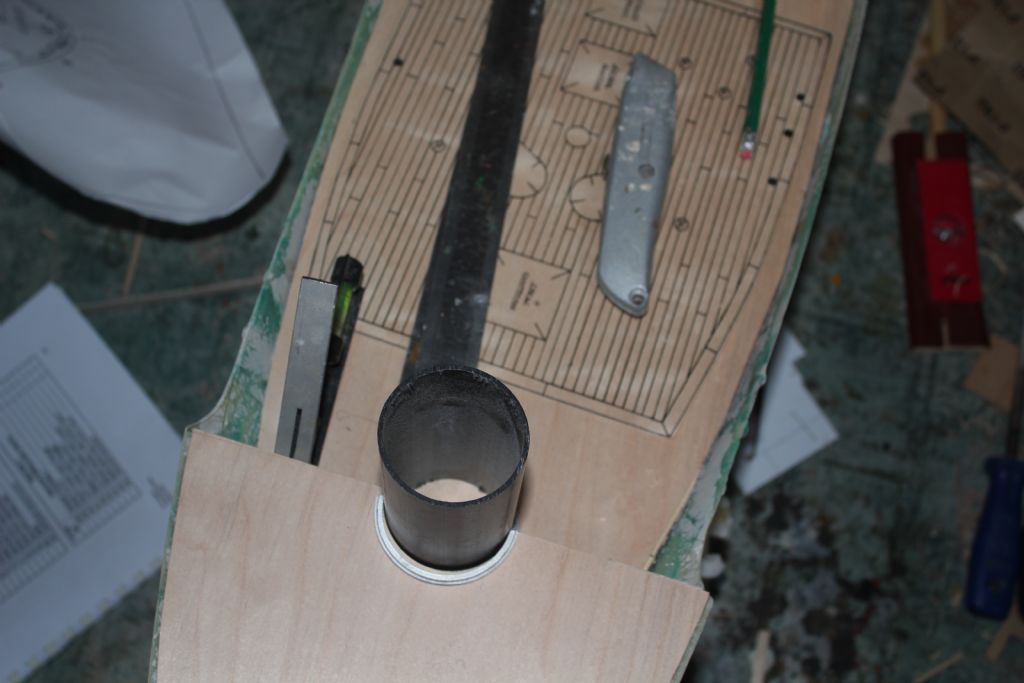
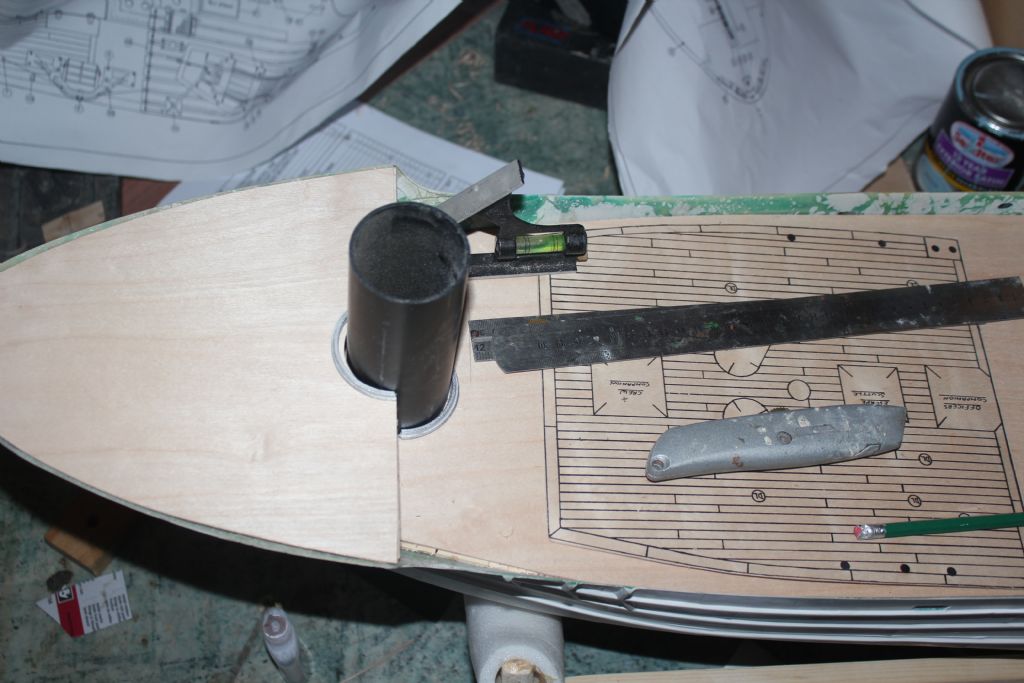
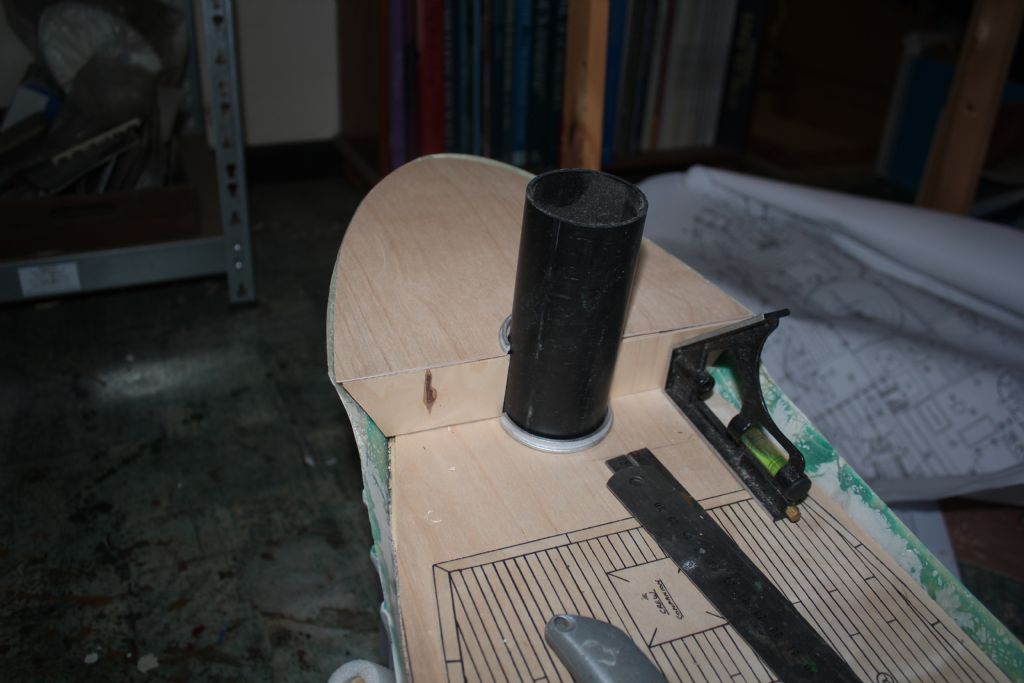
                                    Marks Model Bits Posted me over a Foggy unit, Could make one myself as I had a few spare Misters in the shed but time does not allow that so a tray was made for that and a hole sanded out. In the end I decided to Recess the Funnel into the superstructure for Strength and the whole shaped so the base of the funnel sat inside as no doubt if that gets a knock it will be a problem if it just sat there!
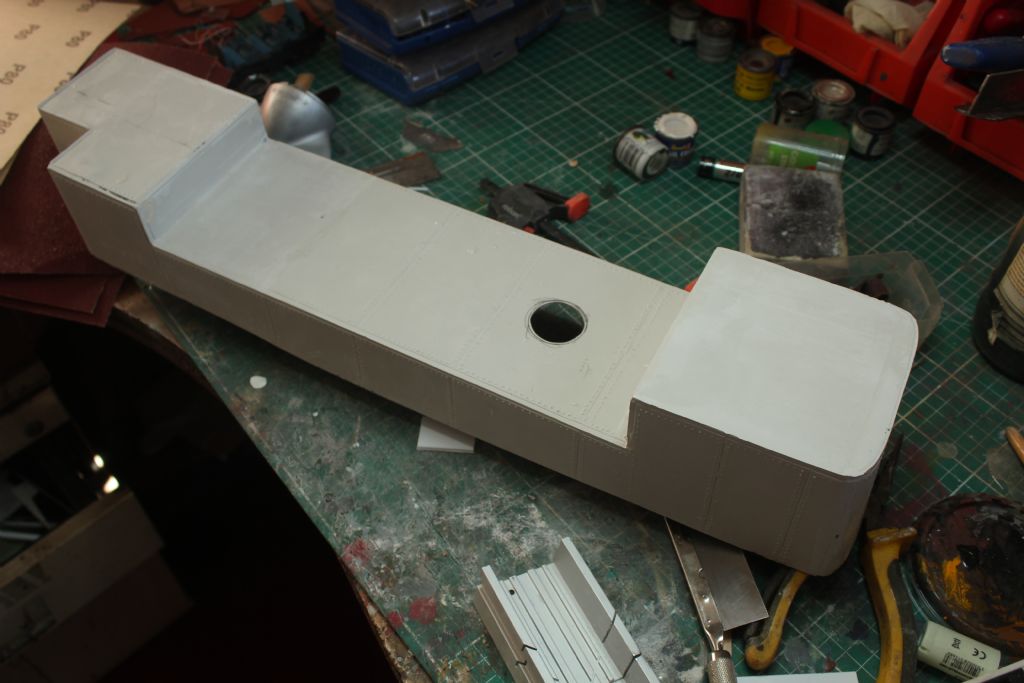
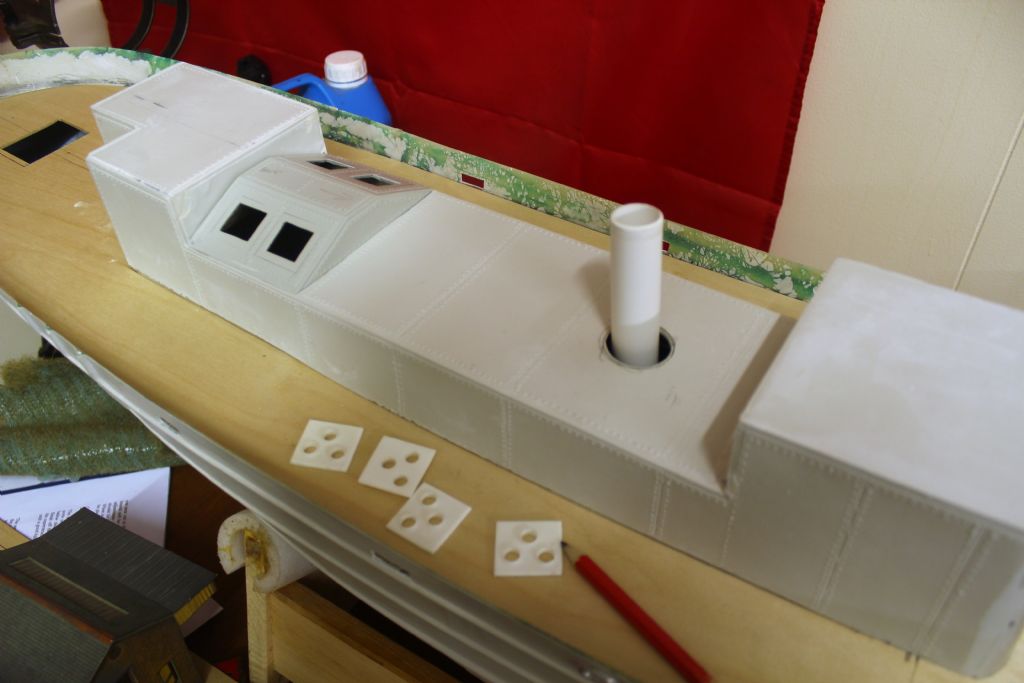
                                    img_6684.jpg

                                    img_6686 (2).jpg

                                    I managed to straighten as best I can the Superstructure and have stuck the Engine room skylight parts also on. The Rear of the superstructure was about 3mm too high over the deck so a piece of plastic sheet was glued to the rear part and Sanded down so the unit sits nice a flush on the deck.

                                    You can see the rear of the Superstructure sitting a few mm over the deck.
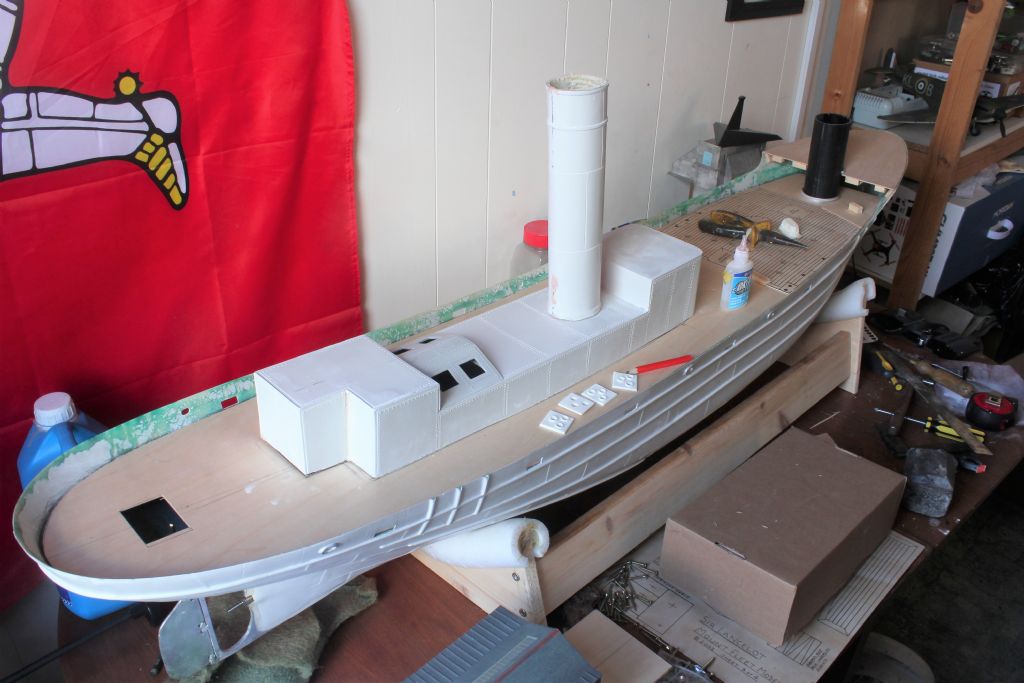
                                    img_6687 (2).jpg

                                    I also stuck the Steam pipe onto the rear of the Funnel and managed to drill the 4 holes Waaaaaaay off Centre for the Mast so had to re fill those holes. Too much Rushing Rushing Rushing!!!

                                    To finish the hull I need a sheet of 14" 2mm plastic sheet to make the bilge keels, Of course I can't get this in Ireland right now either so another order to the UK for this will have to be made adding to the cost :/ . I don't fancy having the wood soaked each time it gets a dip so plastic is better for me here.

                                    The Vents are just placed BTW before you start to Panic! I will use brass / Alloy tubing for the Vent Shafts even though dowls are included, The Vent cowls are not the best TBH so I will think about replacing those if I can make them a lot better after some grinding with the dremel.
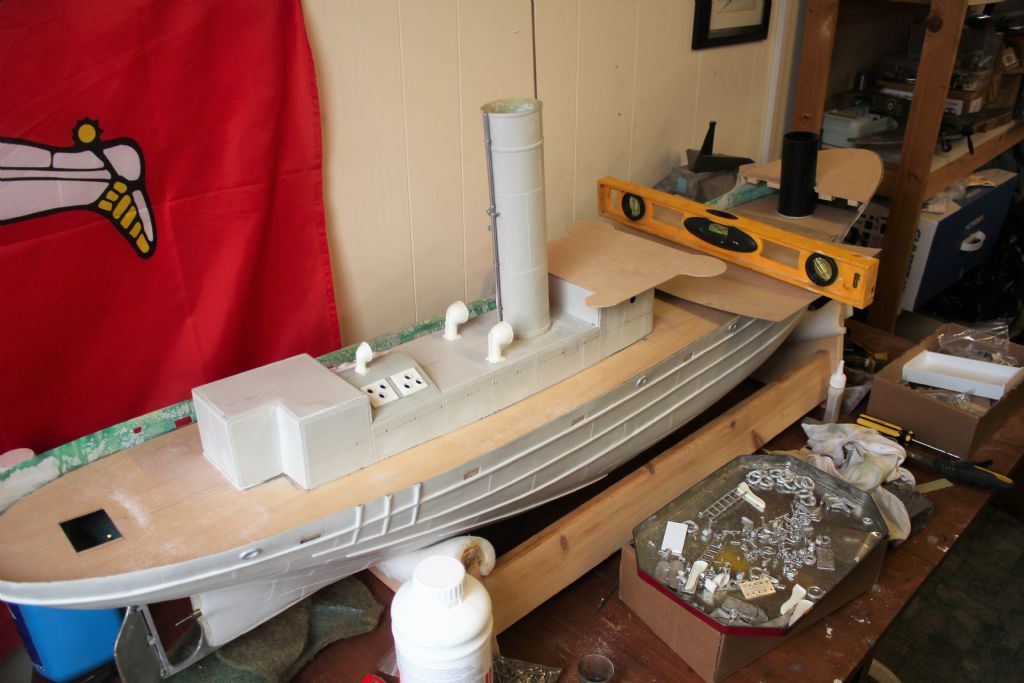
                                    img_6756.jpg

                                    Next the 0.08mm Bending Miracle around the base of the wheel house floor section!
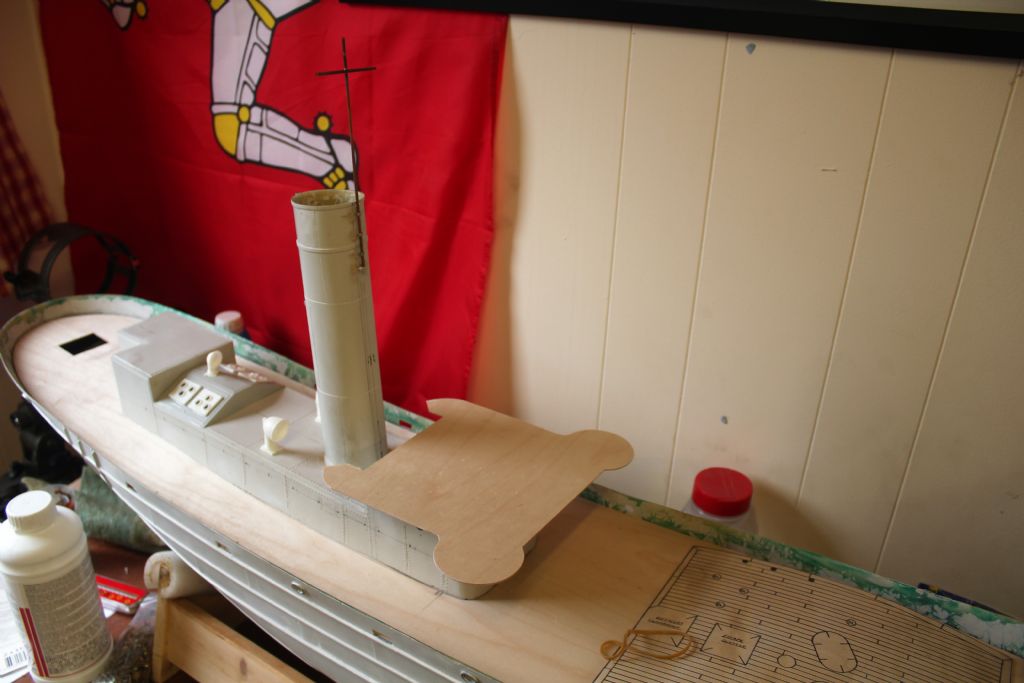
                                    img_6757 (2).jpg

                                    Cheers for now

                                    George

                                    #91959
                                    Colin Bishop
                                    Moderator
                                      @colinbishop34627

                                      It sometimes helps with uneven GRP superstructure sides to glue and clamp a length of square or rectangular section rigid wood along the inside where it won't get in the way of anything else.

                                      Colin

                                      #91961
                                      George Norman
                                      Participant
                                        @georgenorman68347

                                        Tks Colin,

                                        I have the combing just inside the lower part where the section would have to be and thats where the warping us, I have tried clamped Steel rulers heating up and cold water but over time it just comes back out! Arrgh, We will keep at it!

                                        #92057
                                        George Norman
                                        Participant
                                          @georgenorman68347

                                          Hello All,

                                          Another small bit done over the weekend, Lots of time taken for little production but enjoyable never the less.

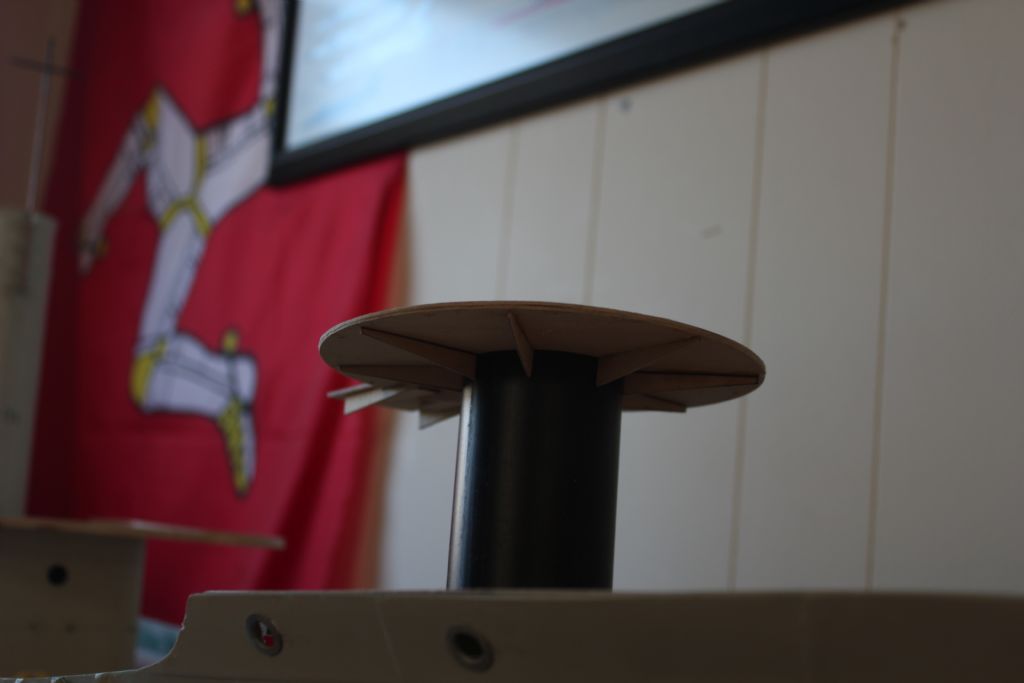
                                          I managed to cut out the Forward gun platform and associated fillets and edge without too much Drama. I also did the lockers too. I have all these Sand n Sealed now nd I will give them a bit of a rub before painting.img_6760.jpg

                                          img_6779.jpg

                                          img_6764.jpg

                                          img_6761.jpg

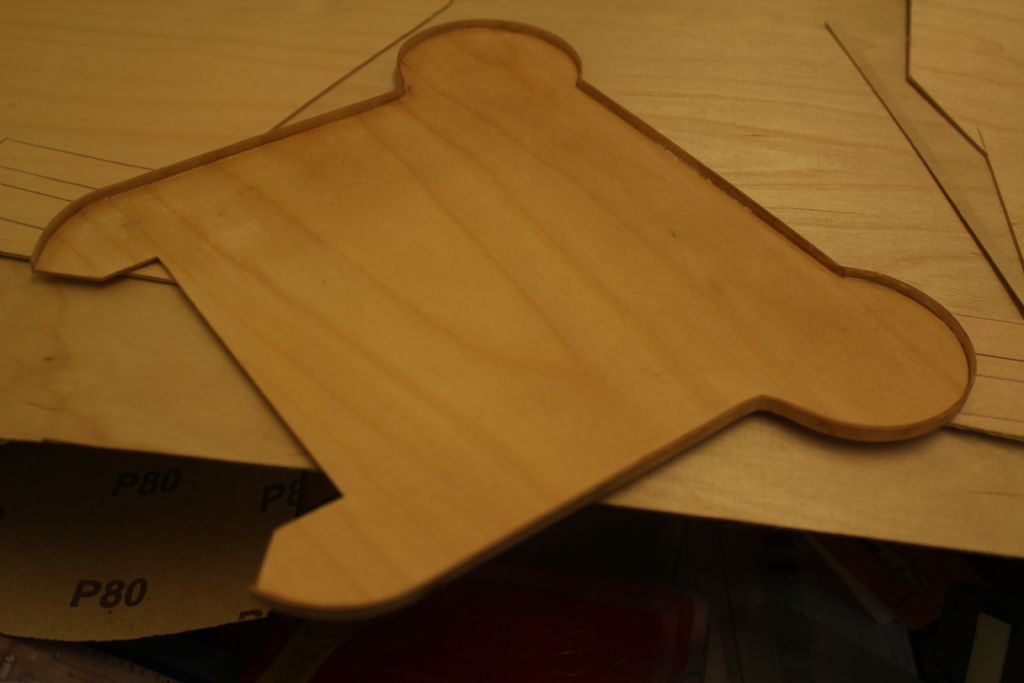
                                          I also did the compass deck and edge, Quite pleased how that came out bearing in mind I have not work with too much wood before this being a mostly Plastic Scale Modeller before hand. Working with all the different mediums is very good for the head I think but a tad messy!

                                          img_6780.jpg

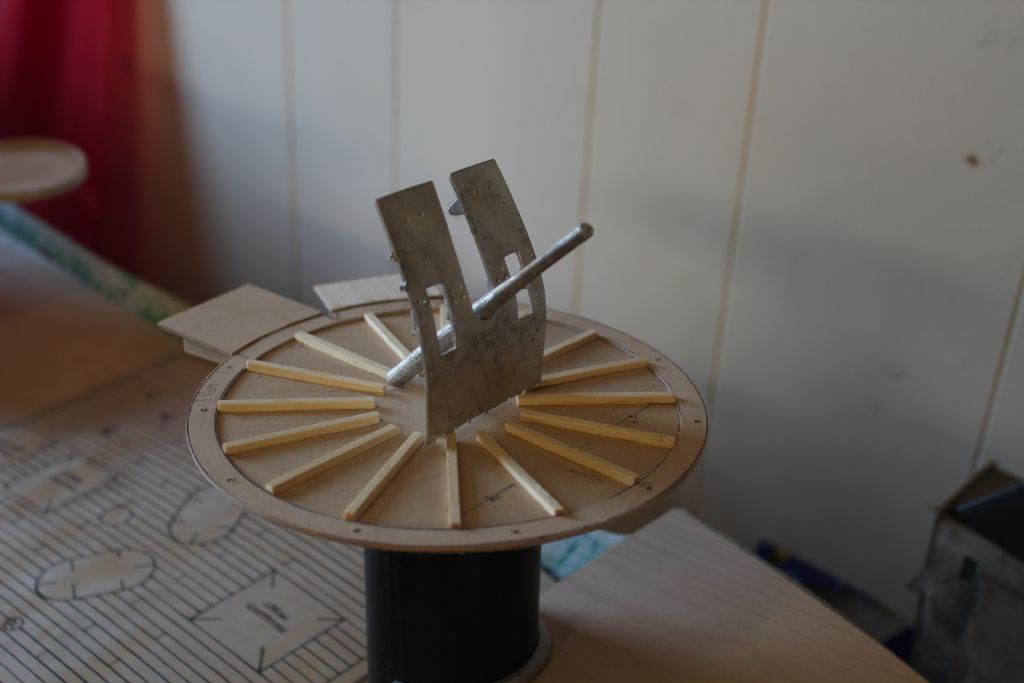
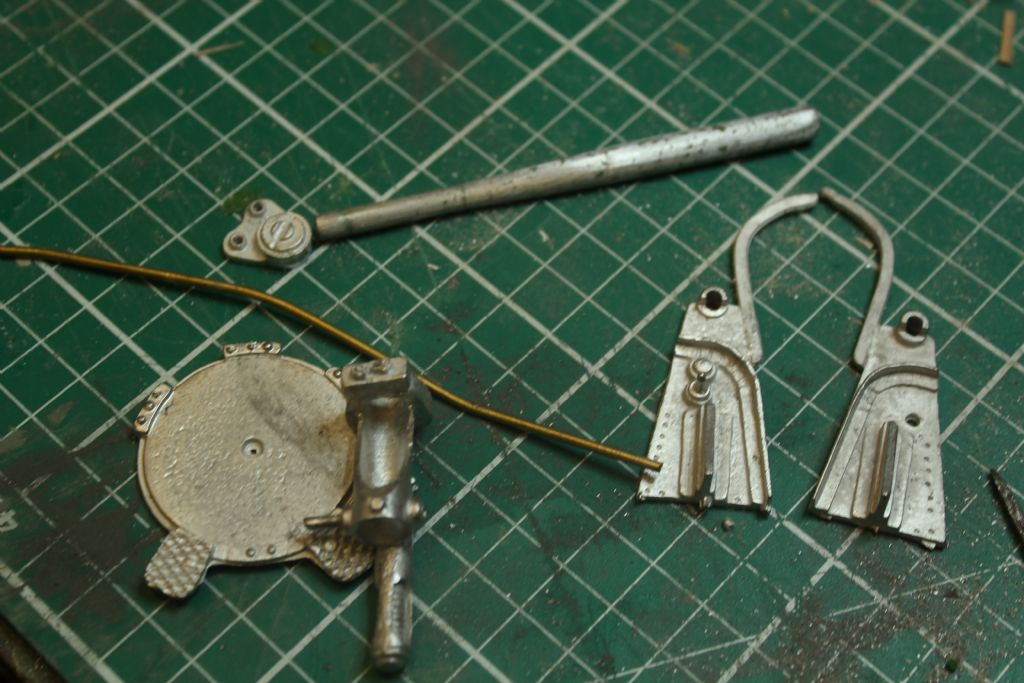
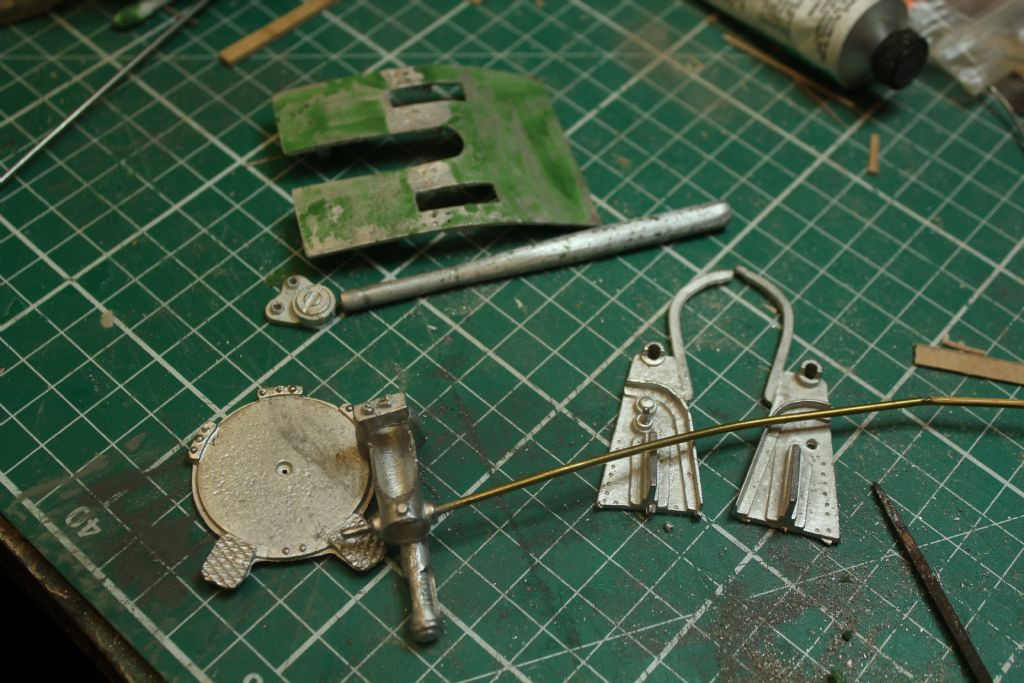
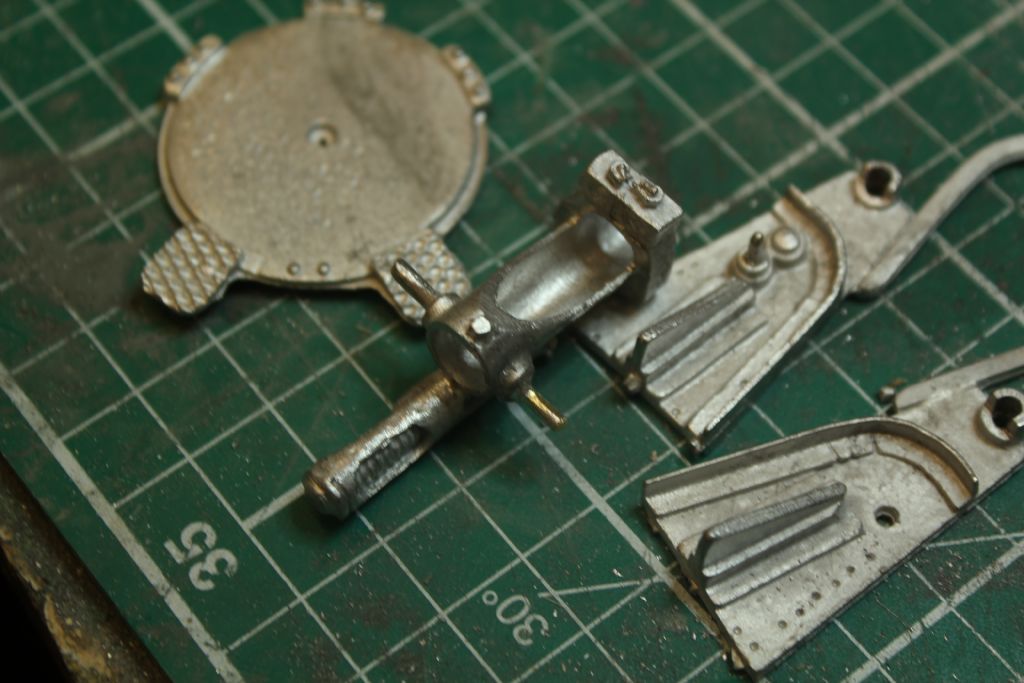
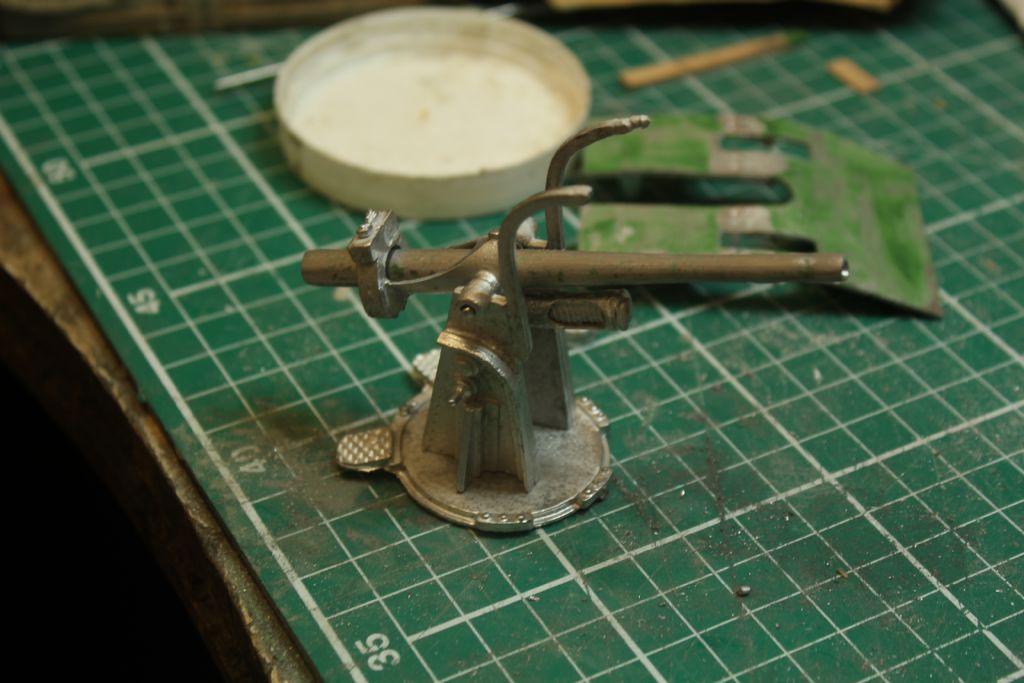
                                          As I still cant get the deck stuck down till I get all the Leccy bits and some 2mm Plastic card for the Bilge Keels I am working away on the sub Assemblies for now. I started with the main gun, Unfortunately the end of the breach was short shot and the mount pin also. I use some brass wire and drilled a hole into the white metal and soldered that in place.I used some green stuff filler on the armour shield and Barrel as they were badly pitted. I will solder the gun together over the week when I get it all cleaned up.

                                          img_6773.jpg

                                          img_6775.jpg

                                          img_6777.jpg

                                          img_6778.jpg

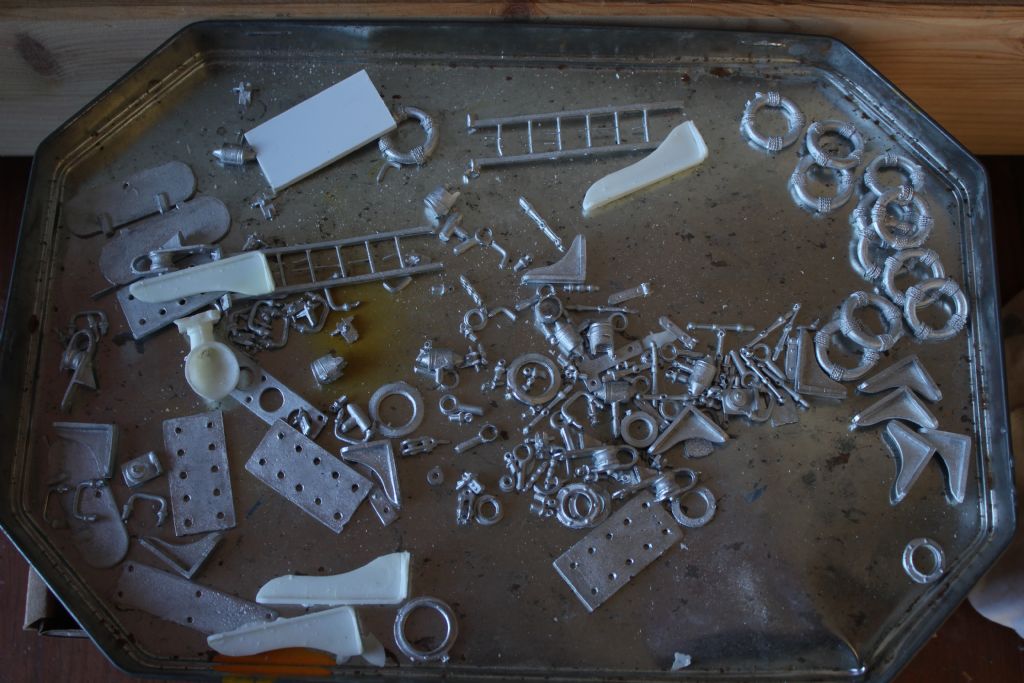
                                          all the rest of the bits from the super Structure Bag! Gulp!

                                          img_6762.jpg

                                          #92589
                                          George Norman
                                          Participant
                                            @georgenorman68347

                                            Good Evening All,

                                            Whilst waiting for a Noisy thing from Action I have potted away on the Sub Assemblies.

                                            Small issue with the Flag box which the printed outline were too small width wise so I have to make s new one.

                                            I have the Bilge keels on to0 but need to be tidied up, I had to order in the 1.5mm plasticard from the UK, More Added cost!. Again the outline on the wood was much larger then it should of been.

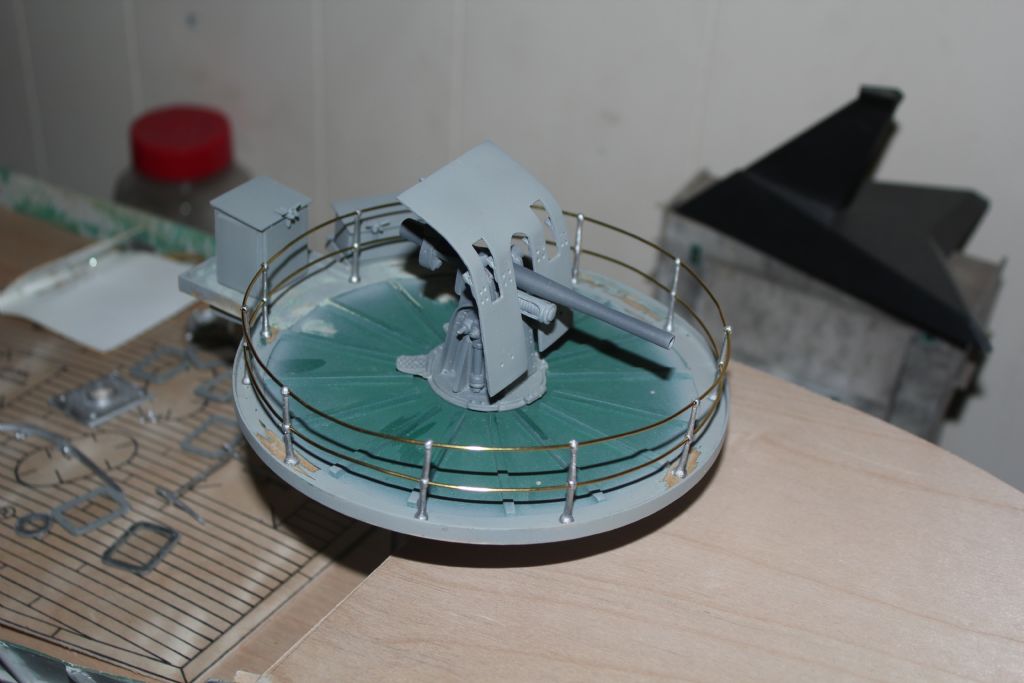
                                            The forward Gun Platform Railings have been completed too with again brass wire bought from the UK in a reel. The Wire supplied was not long enough not great to bend.

                                            Here are some pics to mull over.

                                            img_6858.jpgimg_6855.jpgimg_6853.jpgimg_6852.jpgimg_6851.jpg

                                            #92645
                                            George Norman
                                            Participant
                                              @georgenorman68347

                                              Hello All,

                                              Another small step forward in this Build, Managed to tackle the handrails, Was dreading this is the stanchions are white metal and easily damaged so careful bending of the wire to take any loading off them was needed along with a lot of patience.

                                              The hand Stanchions are soldered to the hand rail capping. Of course when I had the holes drilled I then noticed one handrail side was longer that the other so the incorrect holes are filled now and need to be sanded smooth.

                                              The handrails are not glued in place just yet as I have to do some more work on these and paint the deck again and the 'straight part' of the handrails capping is slightly thicker than the front piece.

                                              Also you can see I made up the Flag Locker on the front and was cut from the guides line printed on the ply but as you can see this is a lot smaller than it should be so a new wider one will have to be made. I have learned now to double check on the plans twice!

                                              img_6873.jpgimg_6874.jpgimg_6875.jpgimg_6876.jpg

                                              #94302
                                              George Norman
                                              Participant
                                                @georgenorman68347

                                                Hello Chaps,

                                                Slowly working away on this now the nights are a bit warmer!

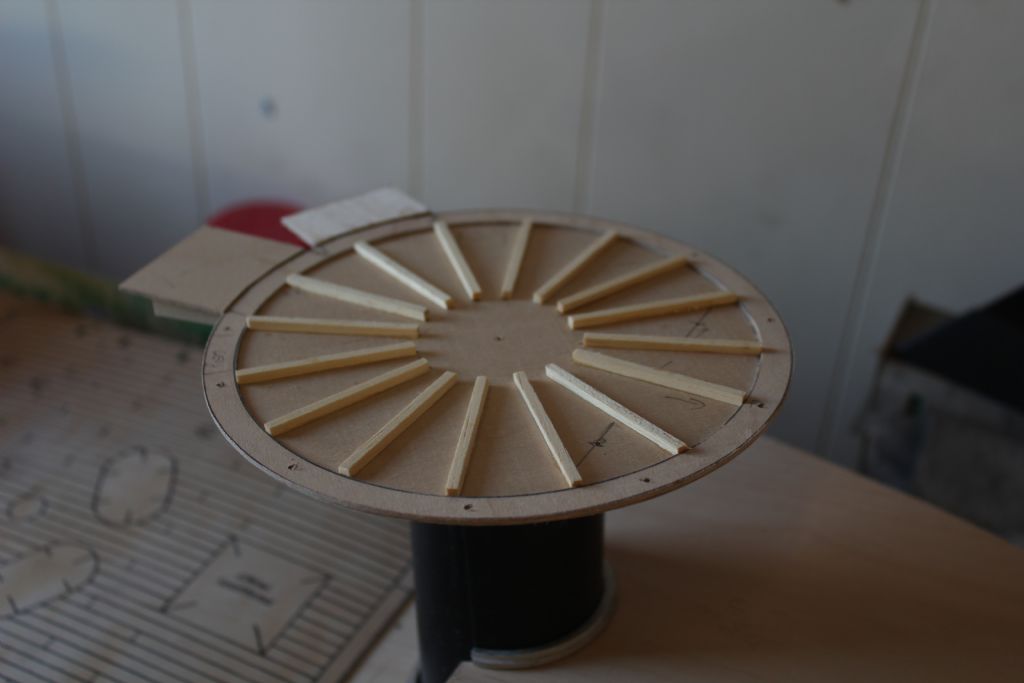
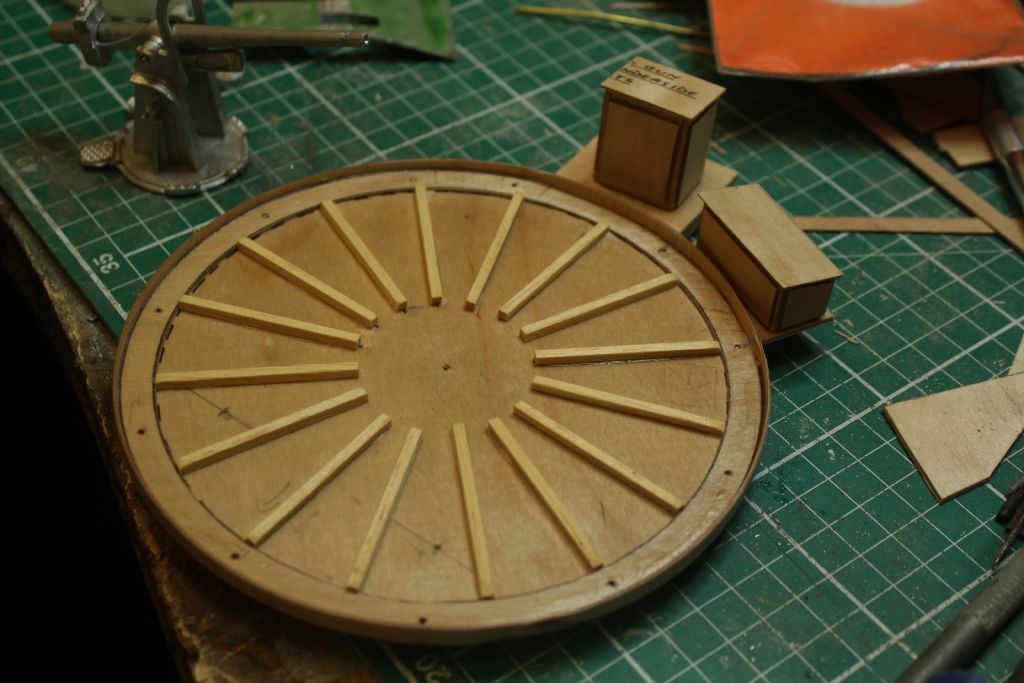
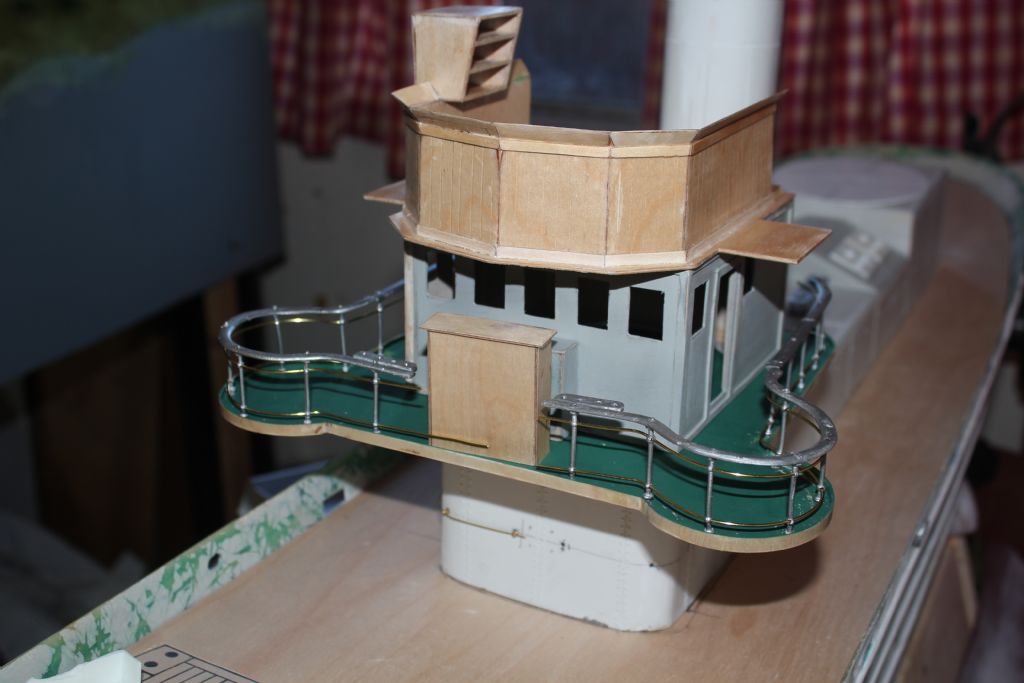
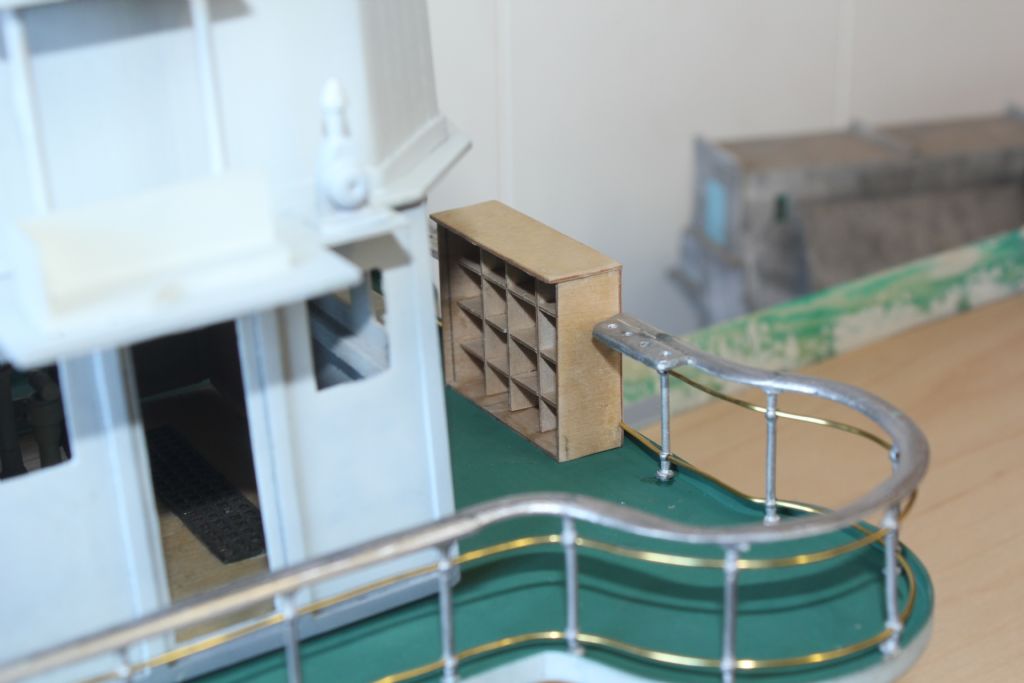
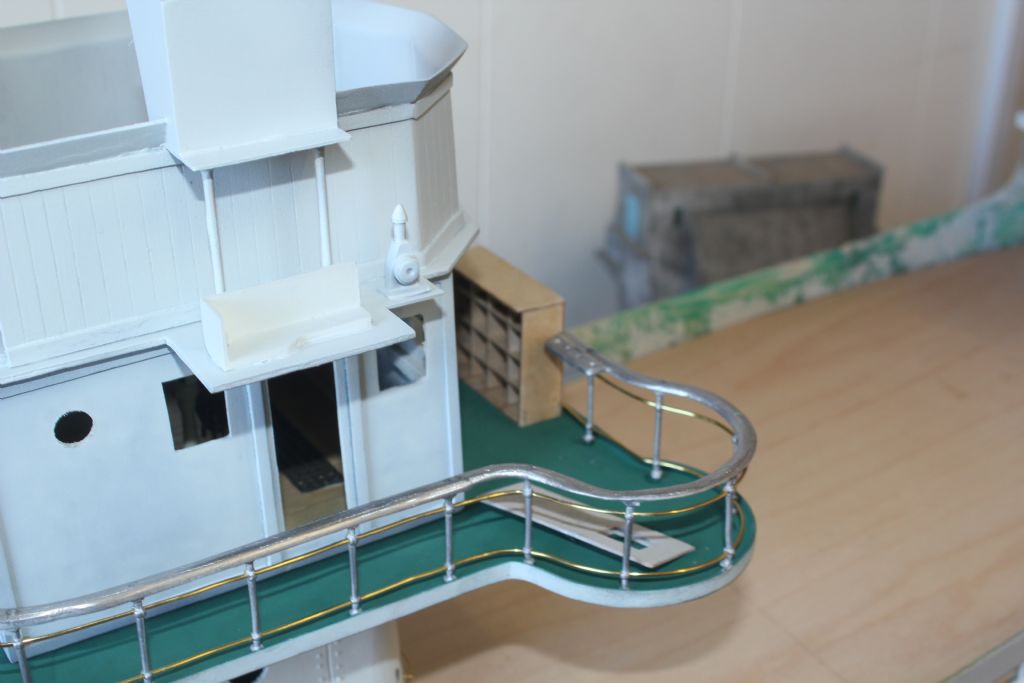
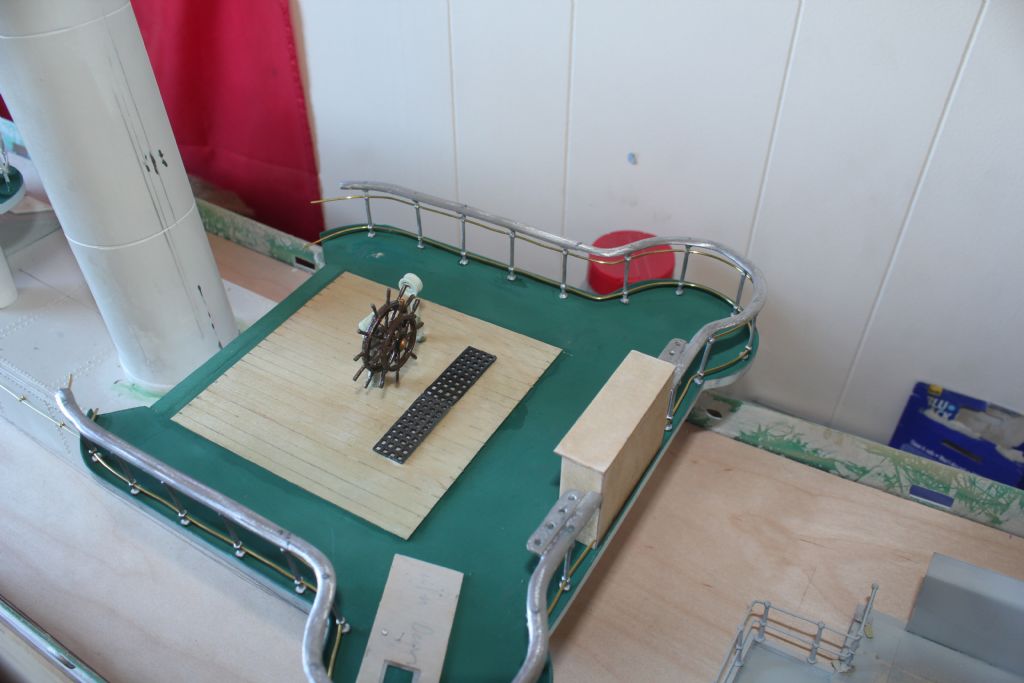
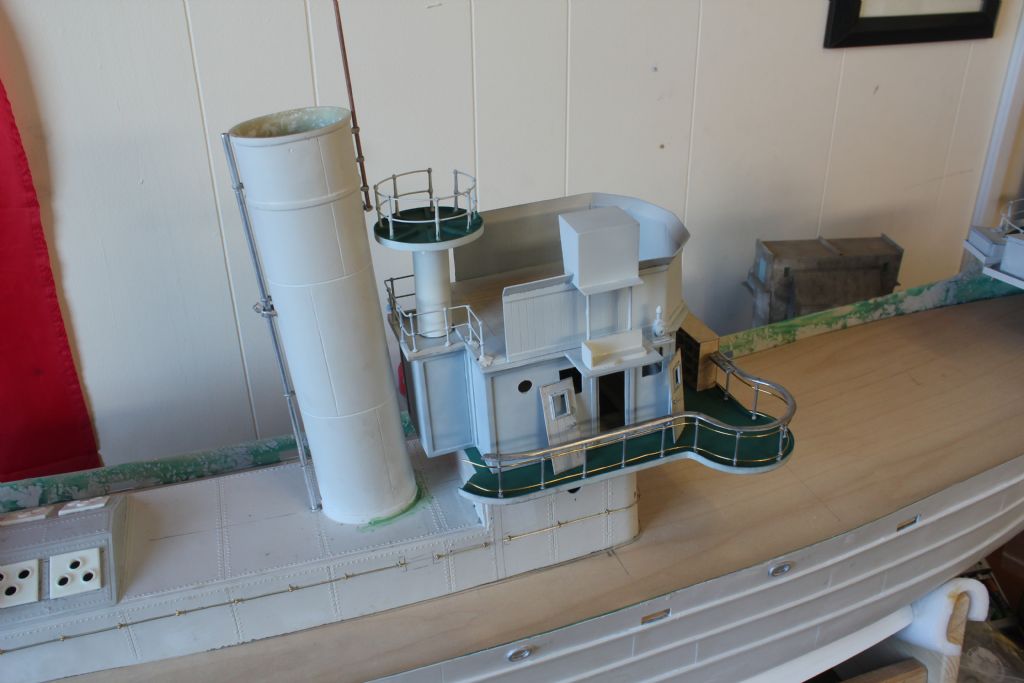
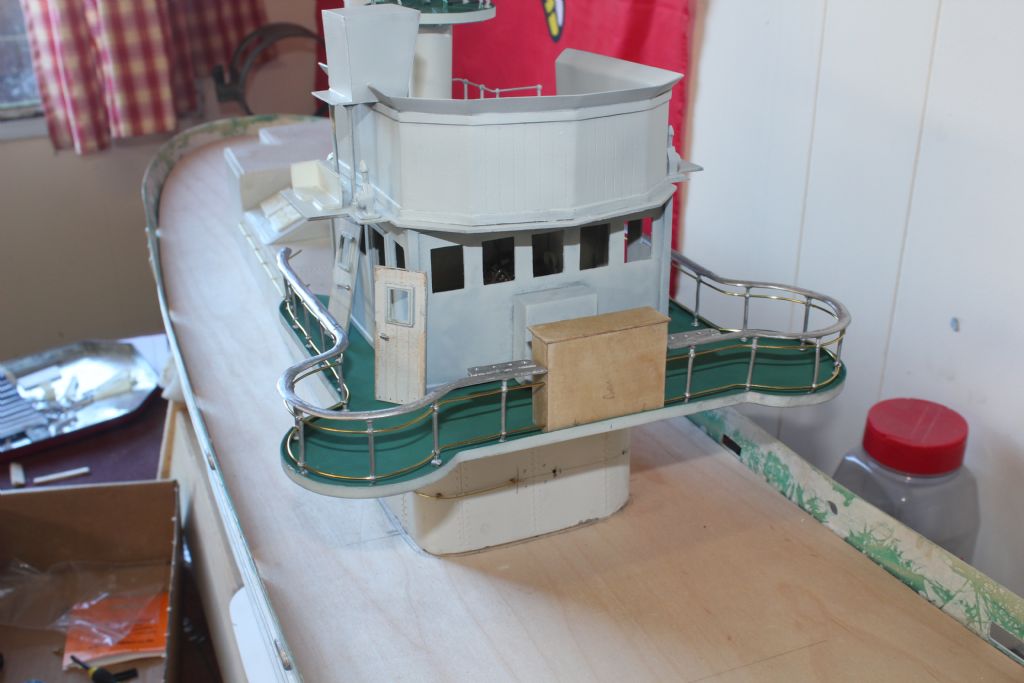
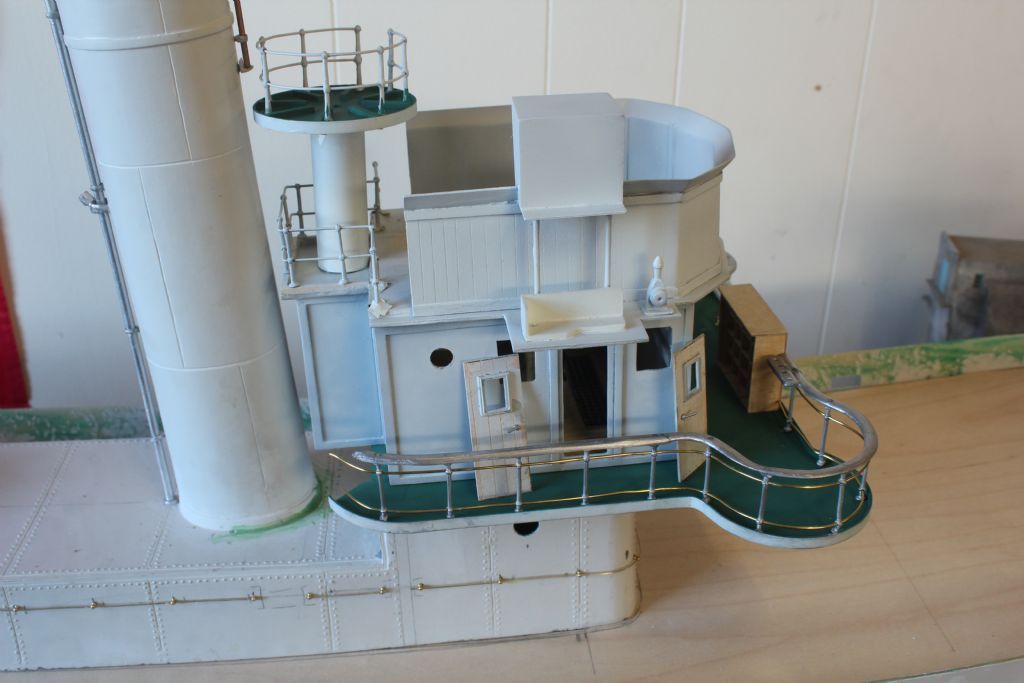
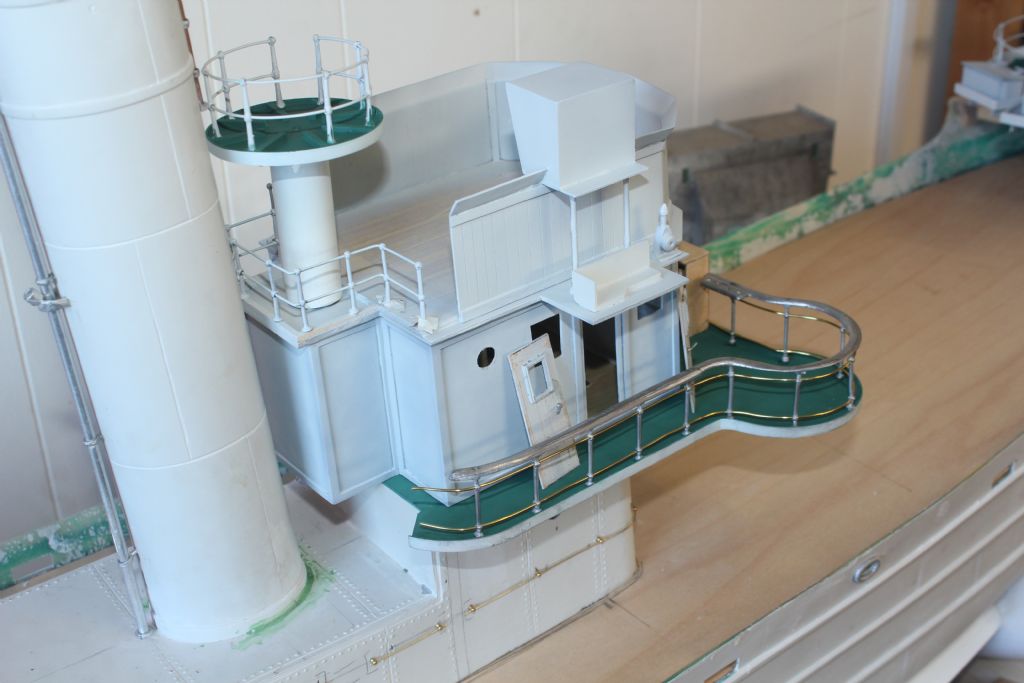
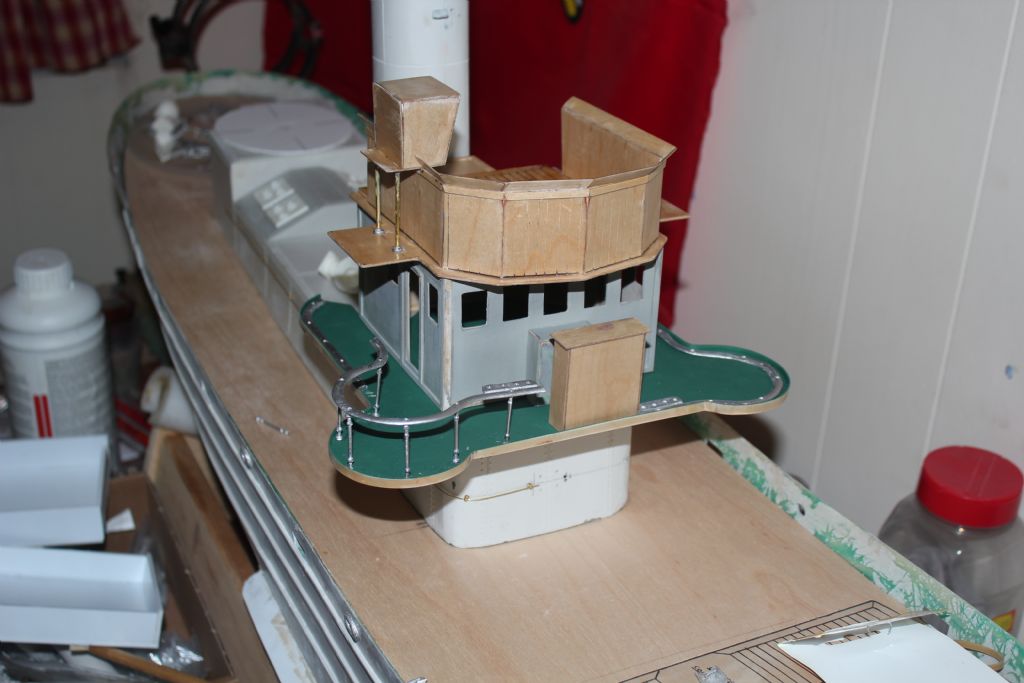
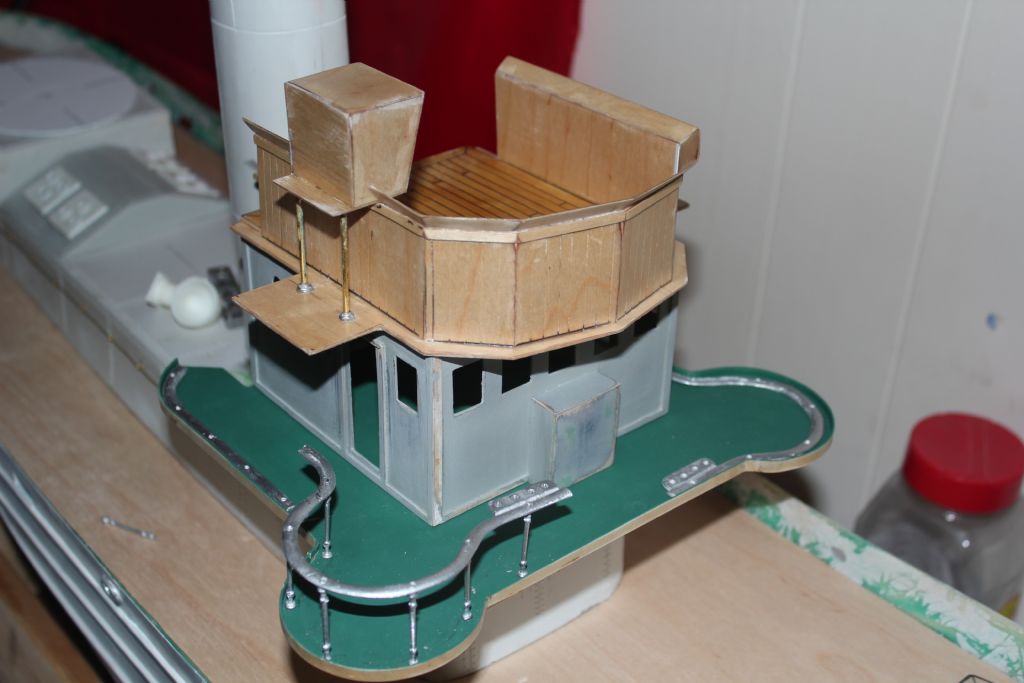
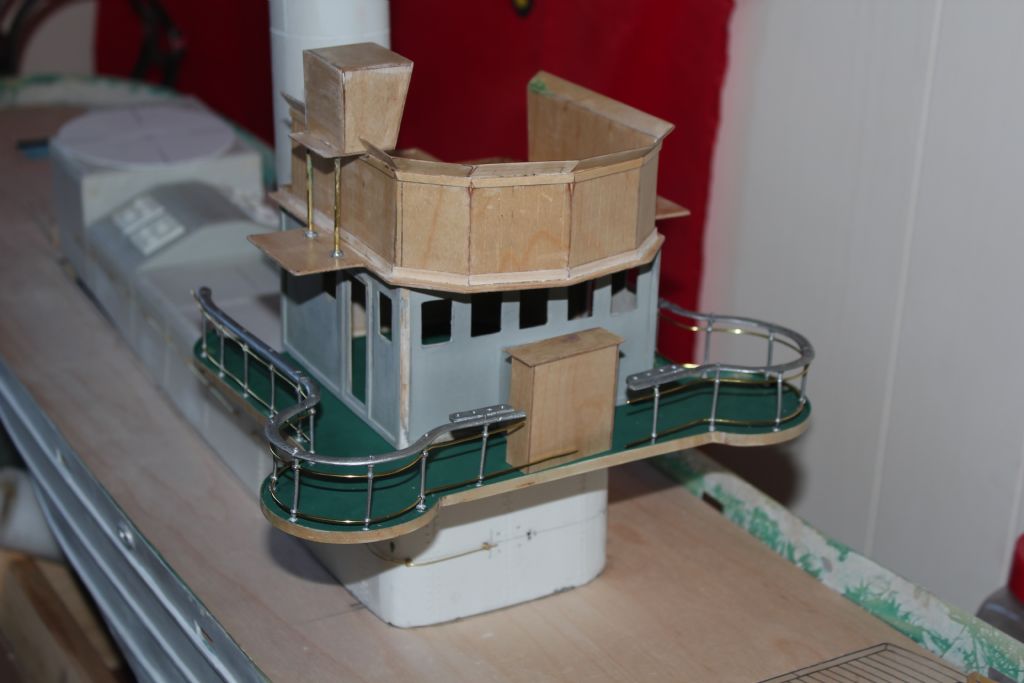
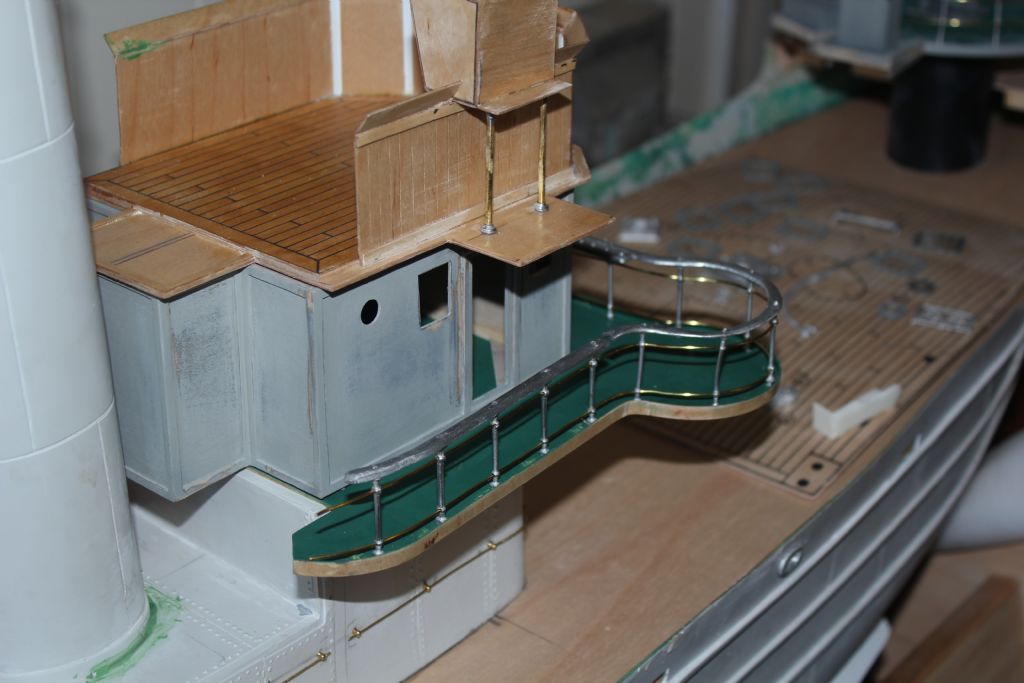
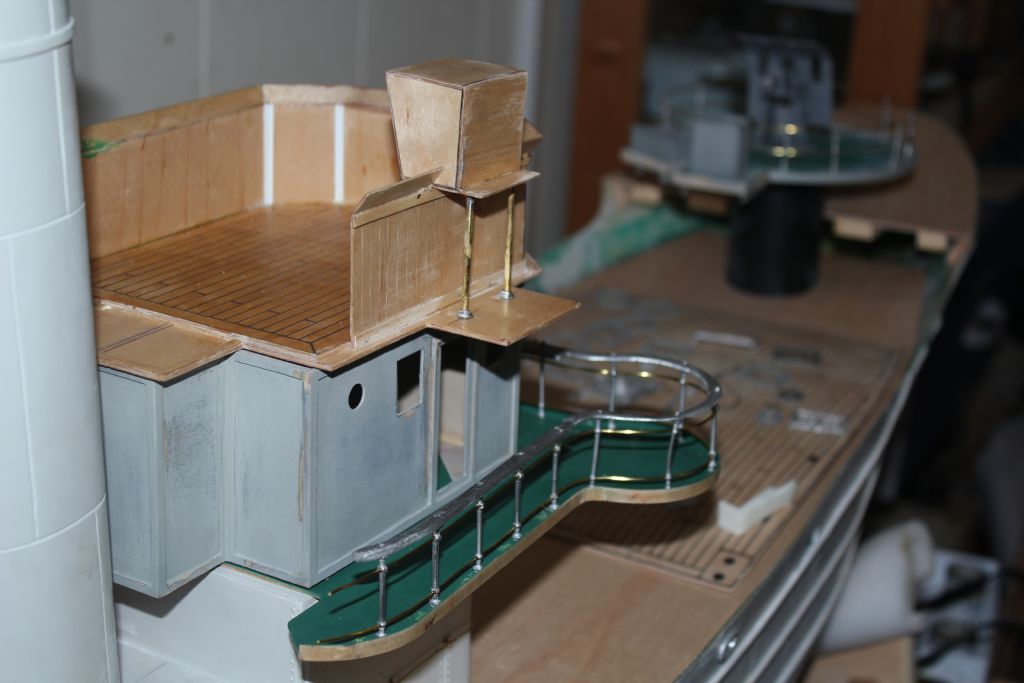
                                                Tried a few different grey paint on this one and will settle of the grey shown here. I have put down a floor and scribed the floor boards on the ply and the Steering wheel and Steam powered wheel is installed and I will add some details in the wheel house walls to add a bit of interest not that there was much in there anyhow!

                                                The Hand Rails took flipping ages to get right, Lots of curves and bends plus the White metal handrails were pretty badly molded. A new Flag locker was made as the one laid out on the plans was too small.

                                                I either did not get the white metal steering arm or lost it so a plastic one was attached to the Rudder post, Hope it holds!

                                                The Searchlight platform was also constructed

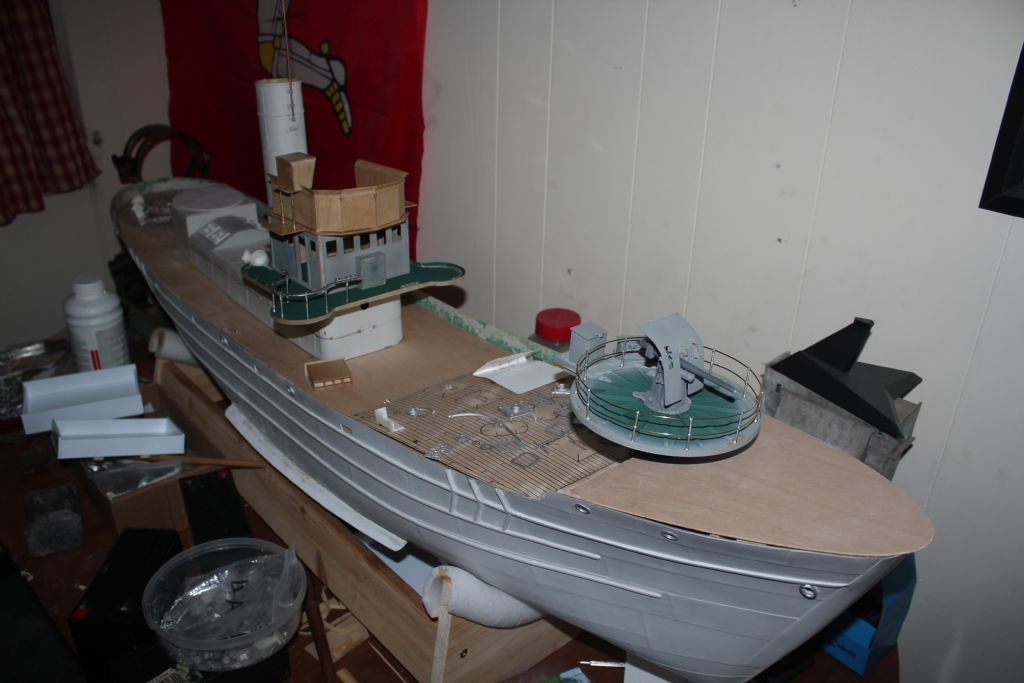
                                                The Wheel house deck had to be extended about 5mm and the Cabin moved forward as the Chimney was placed as per the plans but ended up being a tad to close to the Searchlight tower. You will notice the Green Area behind the Cabin. I could not move the Funnel as it is too brittle.

                                                img_7087.jpgimg_7087.jpgimg_7085.jpgimg_7084.jpgimg_7083.jpgimg_7081.jpgimg_7080.jpgimg_7079.jpgimg_7078.jpg

                                                img_7077.jpg

                                                Edited By George Norman on 19/03/2021 12:20:24
                                                Edited By George Norman on 19/03/2021 12:23:35
                                                #94308
                                                neil hp
                                                Participant
                                                  @neilhp

                                                  very nice work indeed…..they sail well too, if you get the weight deep down and plenty of ballast to counterweight the top hamper of the white metal fittings.

                                                  #94319
                                                  timg
                                                  Participant
                                                    @timg12590

                                                    Hi George

                                                    Looking good , the hand rails have turned out nice time well spent

                                                    #94356
                                                    George Norman
                                                    Participant
                                                      @georgenorman68347

                                                      Firstly Thank for the comments folks,

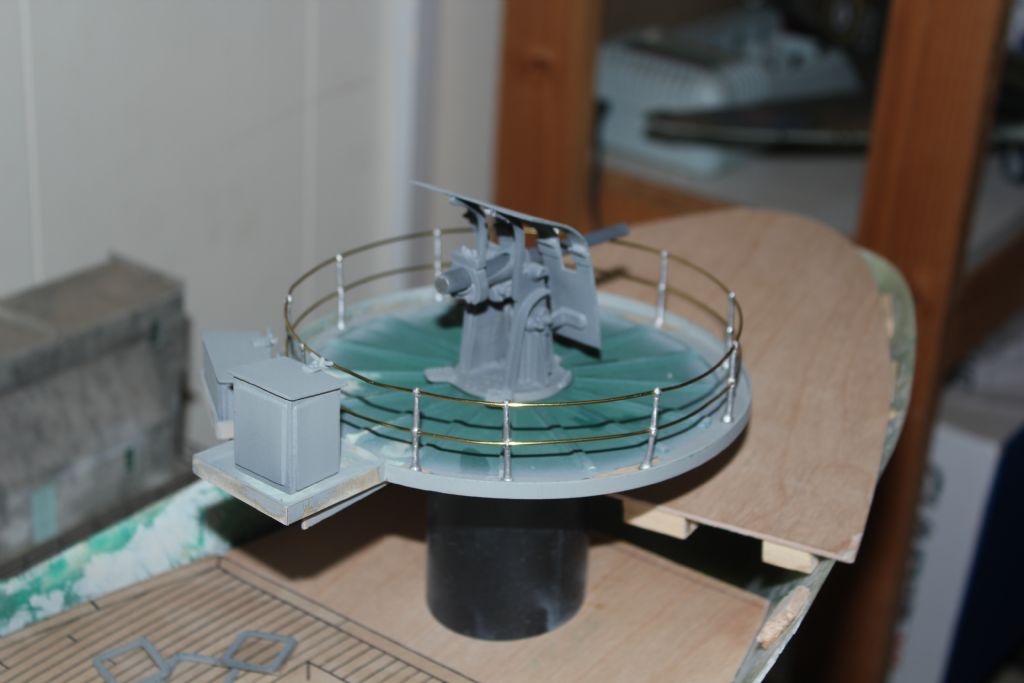
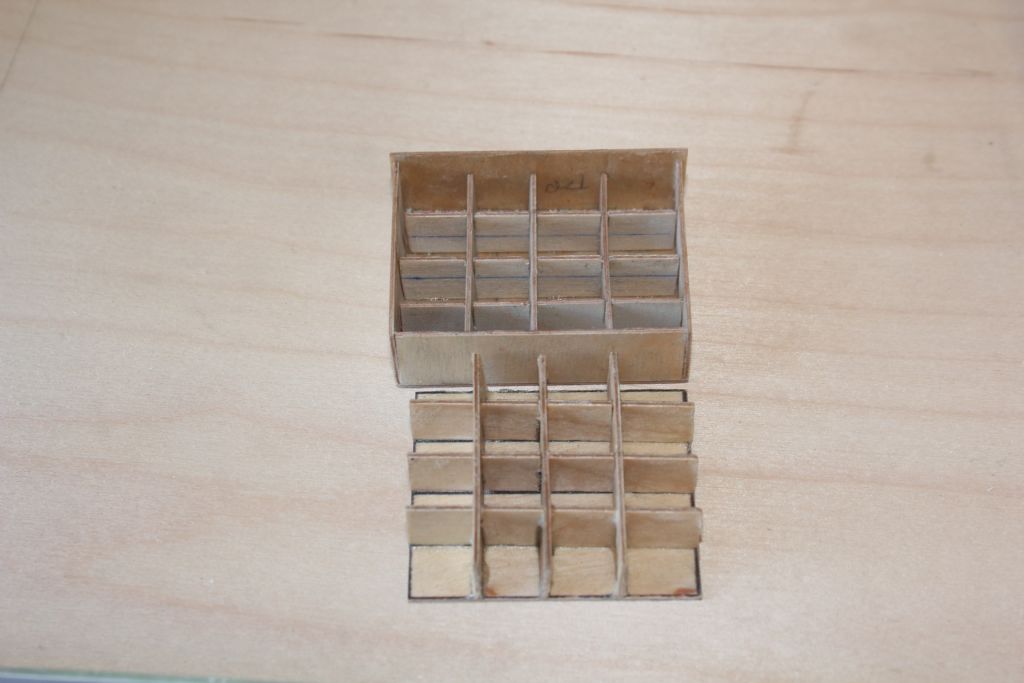
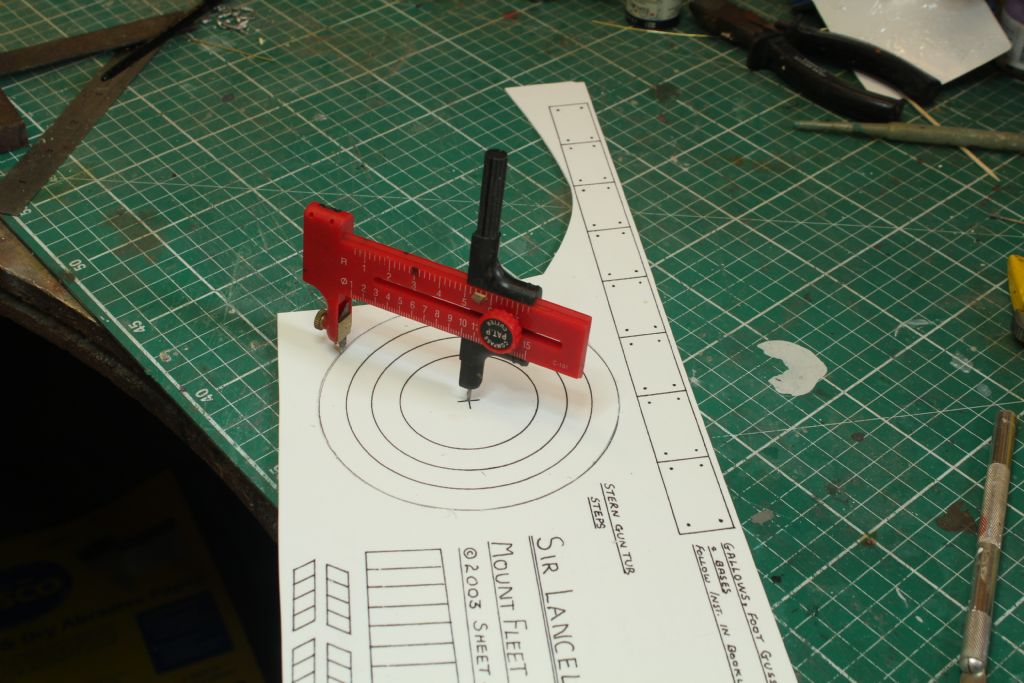
                                                      Some more bits completed this weekend, Delightfully enough the Stern Gun Tub came out ok, styrene was used through out. Also build the Crew Companion ways and some additional Stowage crates. Lots of time with little to show!!

                                                      img_7091.jpgimg_7092.jpgimg_7093.jpgimg_7094.jpgimg_7095.jpgimg_7096.jpg

                                                    Viewing 25 posts - 1 through 25 (of 99 total)
                                                    • Please log in to reply to this topic. Registering is free and easy using the links on the menu at the top of this page.

                                                    Code of conduct | Forum Help/FAQs

                                                    Advert

                                                    Latest Replies

                                                    Home Forums Build Blogs Topics

                                                    Viewing 25 topics - 1 through 25 (of 25 total)
                                                    Viewing 25 topics - 1 through 25 (of 25 total)

                                                    View full reply list.

                                                    Advert