TYNE Class Lifeboat build

Advert

TYNE Class Lifeboat build

Home Forums Build Blogs TYNE Class Lifeboat build

  • This topic is empty.
Viewing 25 posts - 51 through 75 (of 593 total)
  • Author
    Posts
  • #88806
    neil hp
    Participant
      @neilhp

      you would think that after 25 years teaching the bloody subject I would be able to measure a piece of timber between two centres accurately, without being a total nob head and cocking it up!……..

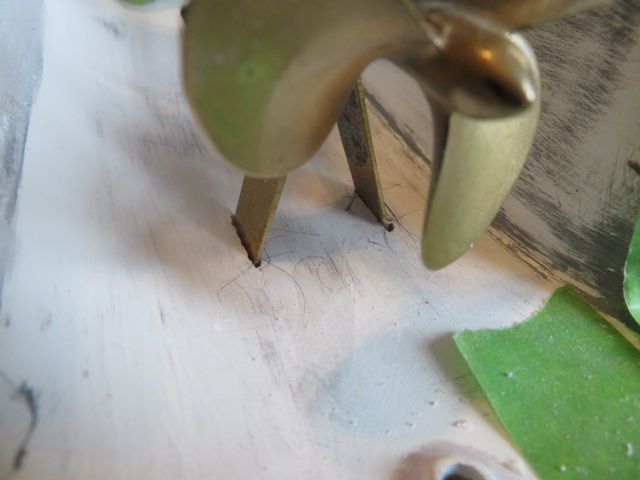
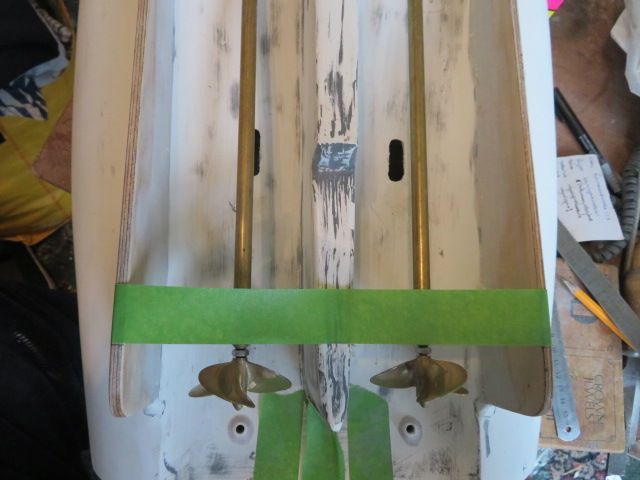
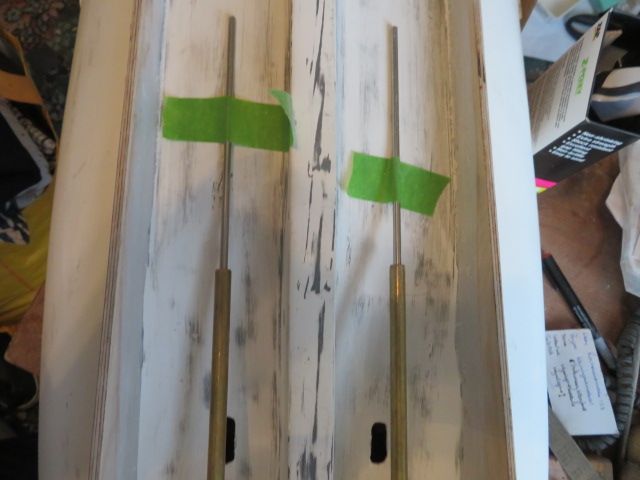
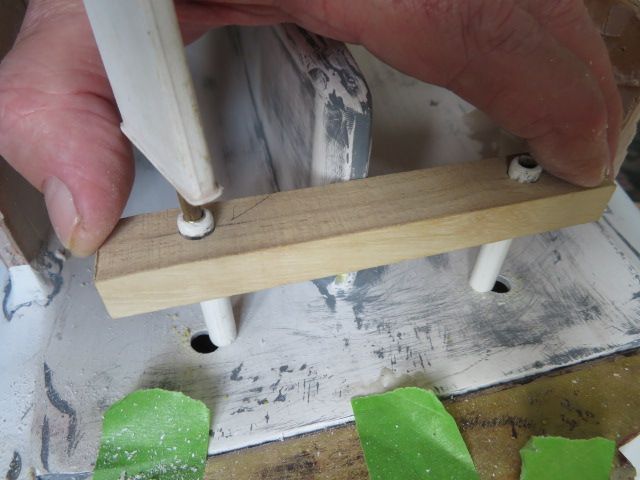
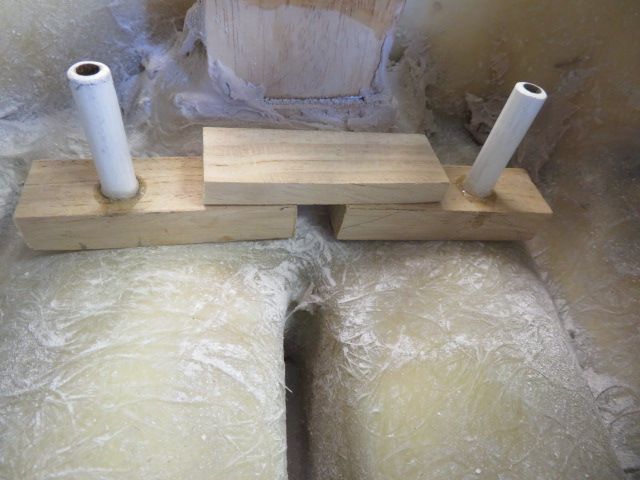
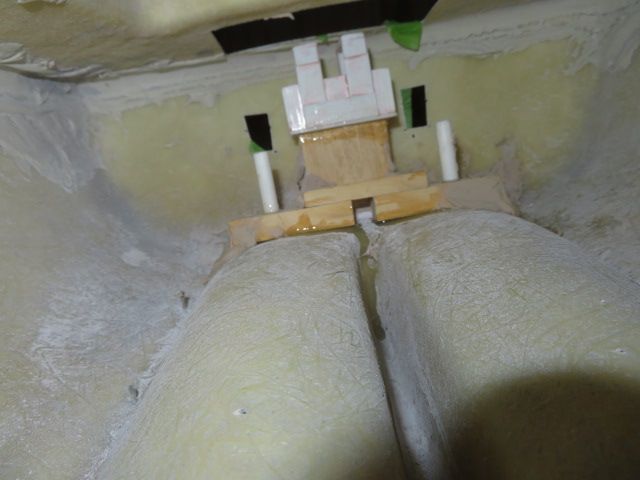
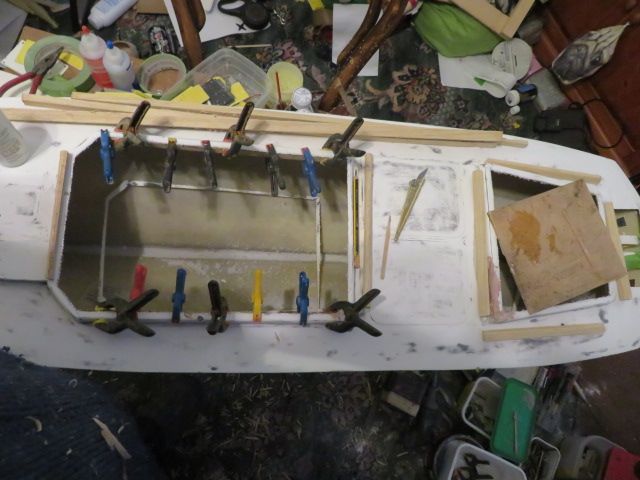
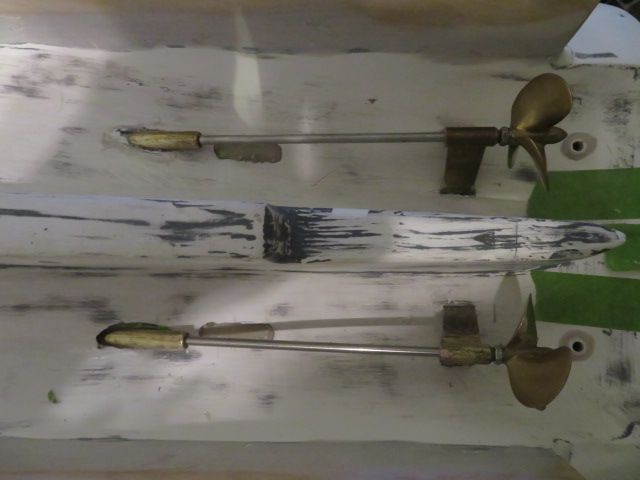
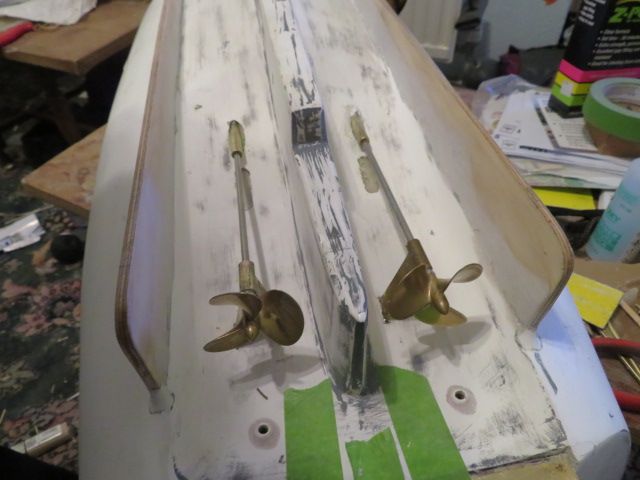
      err NO!…..well, not strictly true……….I did measure accurately, except that I measured the pilot holes for the prop tubes to go through, and the dims between these, and the dims for the offset rudder shafts are about 15mm between the two.

      so when I had reamed out the holes to fit the rudder shafts the distance between holes and shafts was out by that 15mm……..duurrrrr.

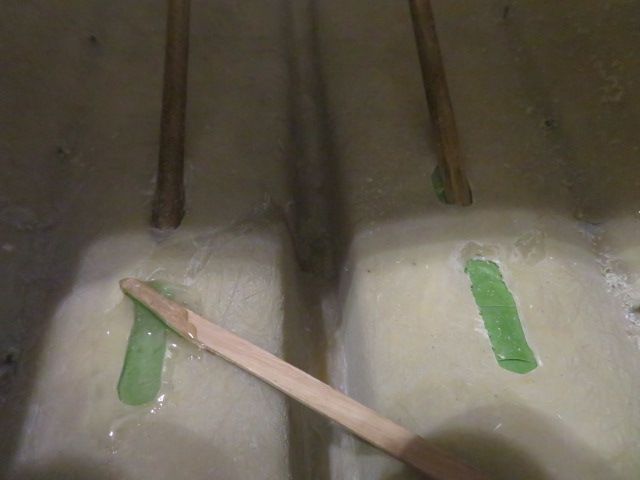
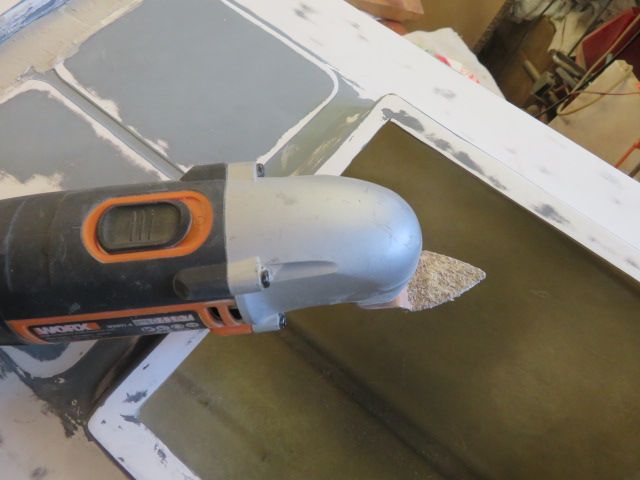
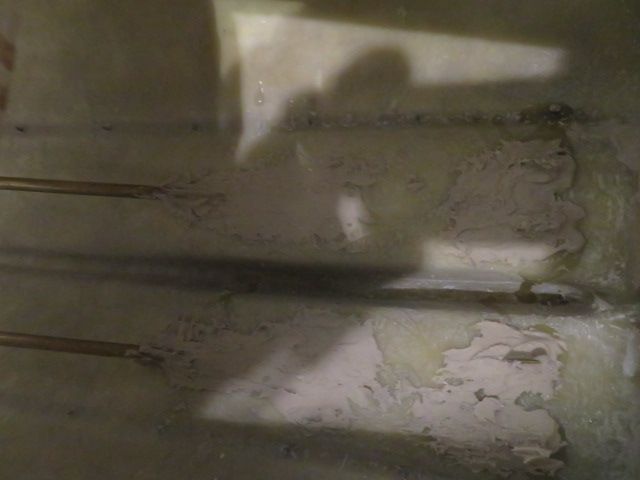
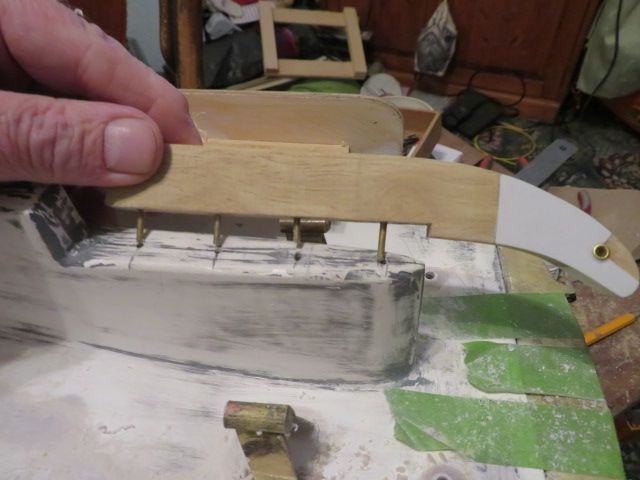
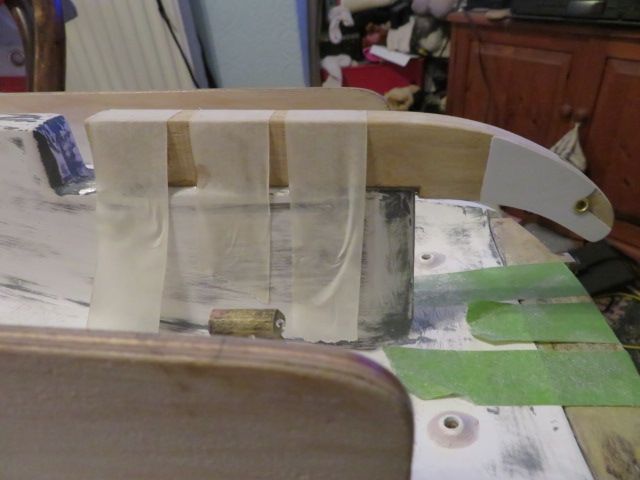
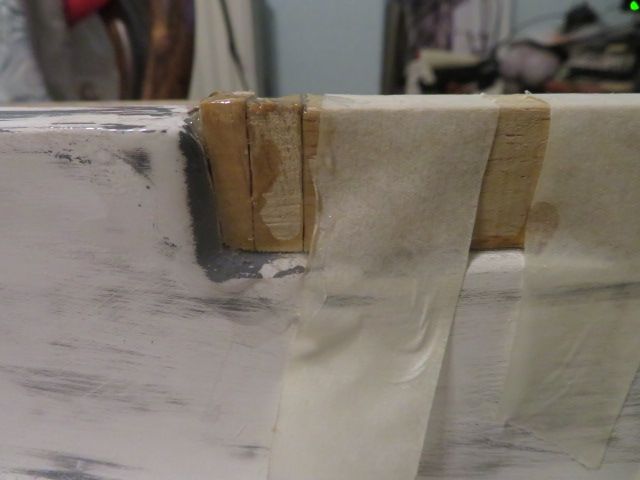
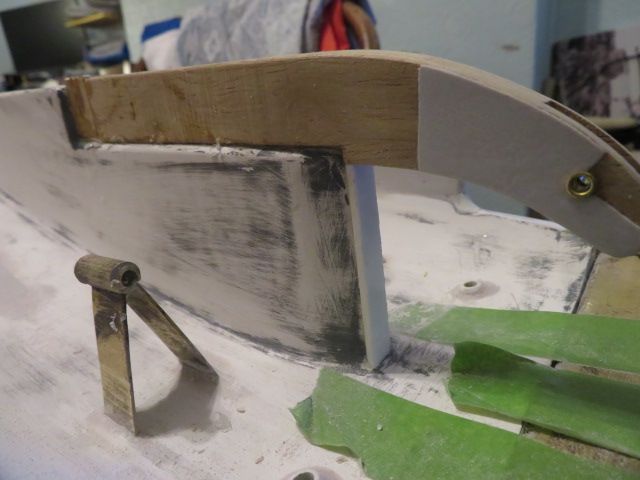
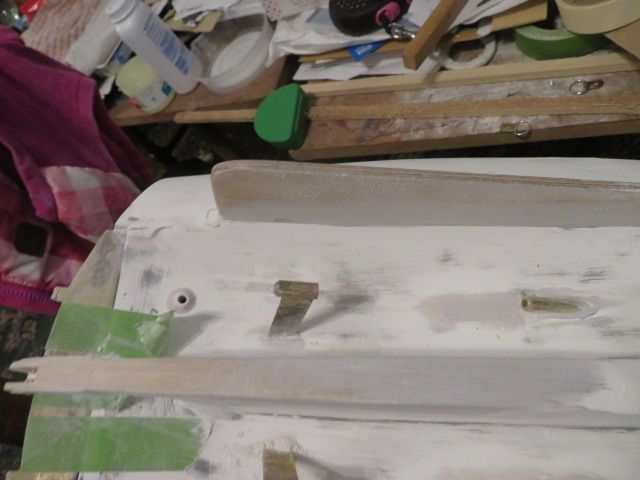
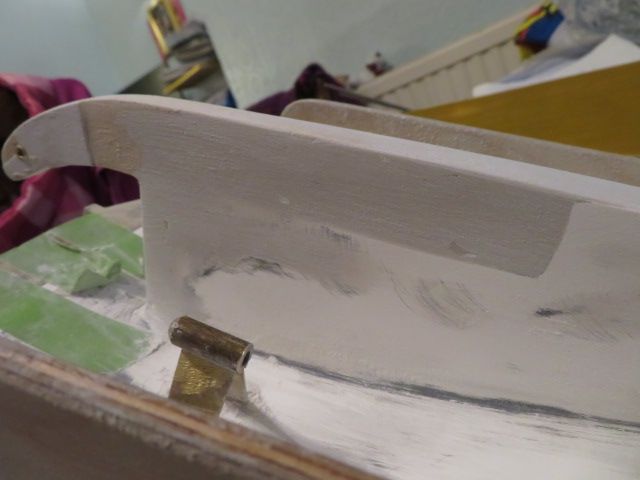
      and so I cut the timber mount in two, and mounted a stretcher piece between them and made sure by clamping them that they were totally in line. I have left to set, but then discovered another problem…..I had been over indulgent with the filler i'm afraid, but my trusty sonic file came in handy,……….what a fabulous tool it is for getting me out of so many cock ups, lol. there are cheaper ones on the market as I have since found, but for the money this tool has been fantastic….I reckon it would get me into fort Knox except for the guard contingency, lol.

      img_5201.jpg

      img_5204.jpg

      img_5206.jpg

      img_5213.jpg

      Advert
      #88809
      Bob Abell 2
      Participant
        @bobabell2

        Worse things happen at sea, Neil

        Bob

        #88824
        neil hp
        Participant
          @neilhp

          they certainly do, Bob……….one ruined my daughters early career in the merchant navy…..

          #88879
          neil hp
          Participant
            @neilhp
            I was doing a little tidying in a round about way this afternoon, although it looks messier at the time being until I get the abrasive paper out.
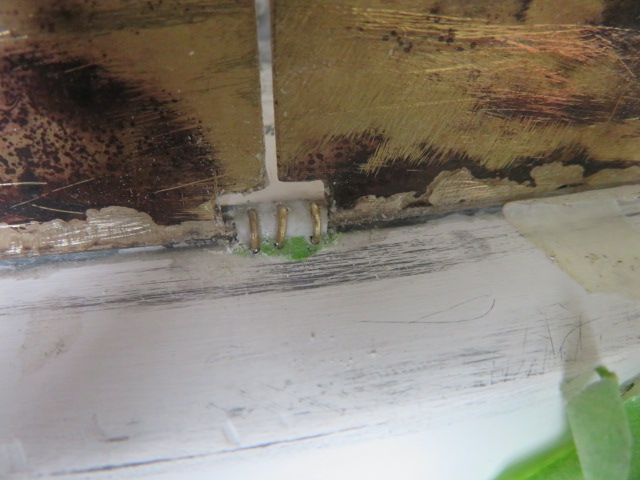
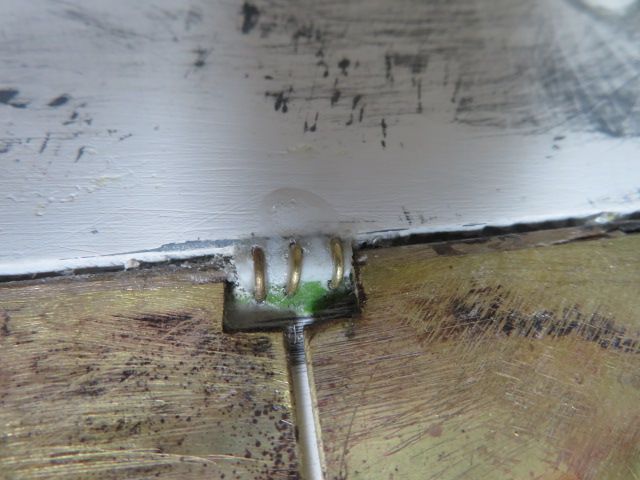
            firstly I had concerns for days that the middle piece of tube holding the two mid sections of the trim tab pivots might at sometime grow weak and drop off leaving the trim tabs themselves to fall out of position.
            so I made 3 "U" clamps out of 26 gauge wire, drilled for the wire to go into the hull, and then glued them in position…..it will need a shark to bight the ass off the boat to dislodge the tabs now..unsightly..maybe..unseen, absolutely not!
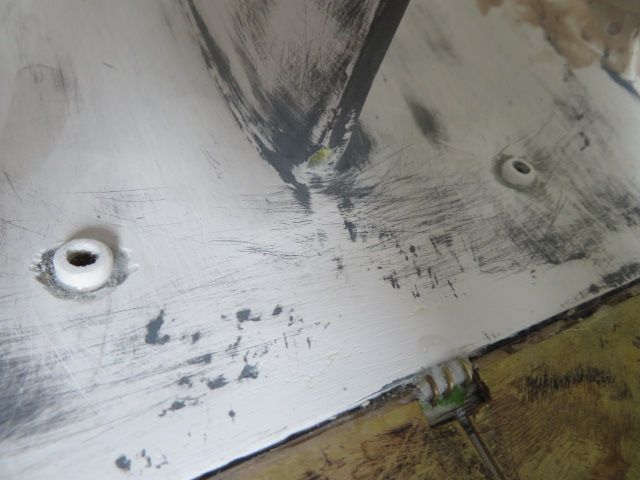
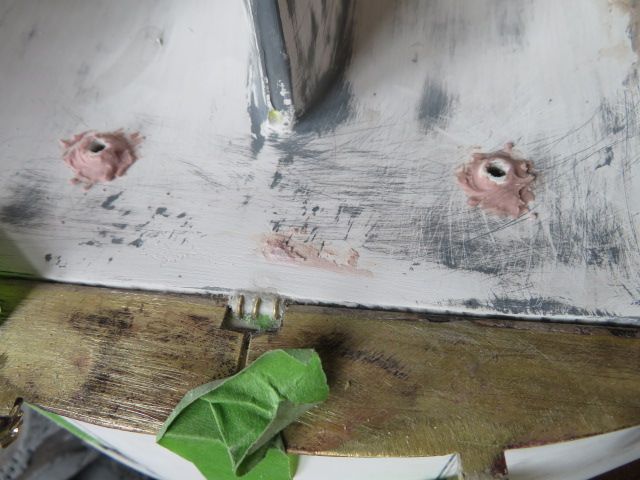
            secondly, when I fixed the rudder tubes..I didn't push the tubes through the wood enough for them to protrude sufficiently through the hull.
            so I cut a little piece off the tube I had spare….cut around the surrounding existing tubes and glued, with two part epoxy the new, to the old, and then filled in with car filler..img_5223.jpg
             
            img_5224.jpg
             
             
            img_5225.jpg

            img_5226.jpg

            I will sand later when the filler has cured.

            Edited By neil howard-pritchard on 09/06/2020 16:46:42

            #88884
            neil hp
            Participant
              @neilhp

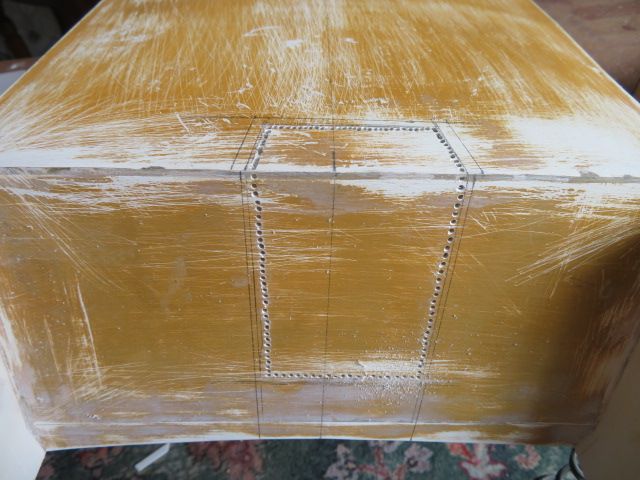
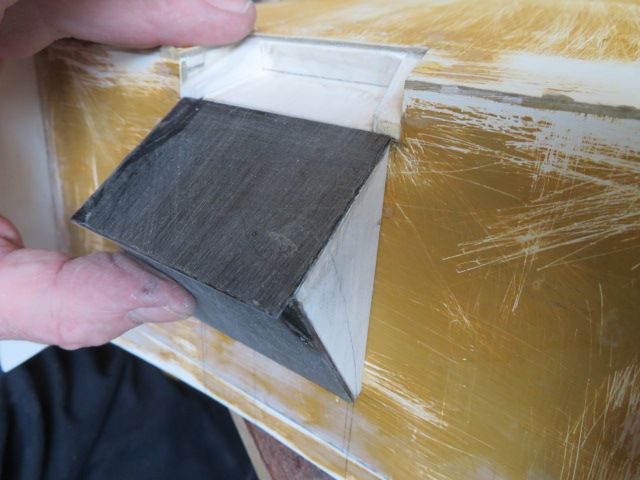
              this evening I started to reinforce the flanges and raised mounting for the cabins. they were too wide and flimsy for my liking and so I cut and carver the rounded top edged to fit into the curve of the grp mouldings.

              I then drilled 574 holes in the top of the flanges, to cut down and mount the obeche inserts underneath.

              The grp will be sanded down to the timber once all strengthening inserts are glued in.

              I am using 30 minute epoxy so might be up till late this evening, lol.

              img_5234.jpg

              #88941
              neil hp
              Participant
                @neilhp

                jeese, that was a stressful 3 hours……

                needed to fit the "A" frames for the prop shafts and tubes.

                measured up from the plans and drilled firstly for the "A" frames…. Simples or so I thought.

                drilled the slots for them to fit through and then "tacked" them in place with cyano at the correct height…. and then measured the positions for the prop tubes to fit into the hull.

                I drilled for these to go through the hull and taped them in…WHAT A MISTAKA TO MAKA. They looked as though they were launch pads for rockets they were so high up in the hull.

                back to the drawing board. I then tried to take the shafts out, and for some reason one had stuck in the tube……..as I pulled and tugged at it, one of the legs came adrift………oh bummer!!…into the workshop and light up my torch.

                got the silver solder out, to find that I was trying to solder over soft solder………no chance ..all I was doing was soldering onto a dirty joint.

                And so I had to clean off all the soft solder……but strangely, no matter how much heat I put onto the boss, the leg would not come off, so can only presume that one leg was silver soldered, the other soft…….anyway, after cleaning the joint the wayward leg went on pretty easily with silver solder. job done.

                So back to the boat……….repositioned the entry holes for the prop shafts to give a far shallower entry into the hull. tacked them in with masking tape on the outside of the hull, including the now redundant holes and set all in place with 30 minute Zap epoxy.

                later tonight whilst having a beer I will back all this up with polyester filler.
                img_5240.jpg

                img_5242.jpg

                img_5238.jpg

                img_5239.jpg

                img_5245.jpg

                #88942
                neil hp
                Participant
                  @neilhp

                  just filled in from the inside around the prop shafts and the "A" frame stubs on the inside of the hull. the exterior filling will be done tomorrow as I have had enough tonight,and the prop shafts and tubes are nicely aligned and free turning. this area around the shafts and "A" frames will also be filled tomorrow and then sanded smooth. Then, once all sanding has been done, I will then, fit the launching skeg. I purposefully left this till last so that I had more room to work on the rest of the running gear.

                  img_5250.jpg

                  img_5248.jpg

                  img_5249.jpg

                  #88943
                  Bob Abell 2
                  Participant
                    @bobabell2

                    Hi Neil

                    She may look like the Ugly Duckling at the moment, but we all know the end result……

                    In the words of Danny Kaye……..

                    A Swan…..A Swan

                    Keep up the good work, Matey, but take it easy, these late nights………etc

                    Bob

                    #88959
                    neil hp
                    Participant
                      @neilhp
                      Posted by Bob Abell on 11/06/2020 06:17:53:

                      Hi Neil

                      Matey, but take it easy, these late nights………etc

                      Bob

                      best TV is on late at night Bob, lol…….and peace and quiet to have a nice beer or a drop or two of red wine…….usually Australian from the Barossa or Clare valley wineries.

                      #88969
                      neil hp
                      Participant
                        @neilhp

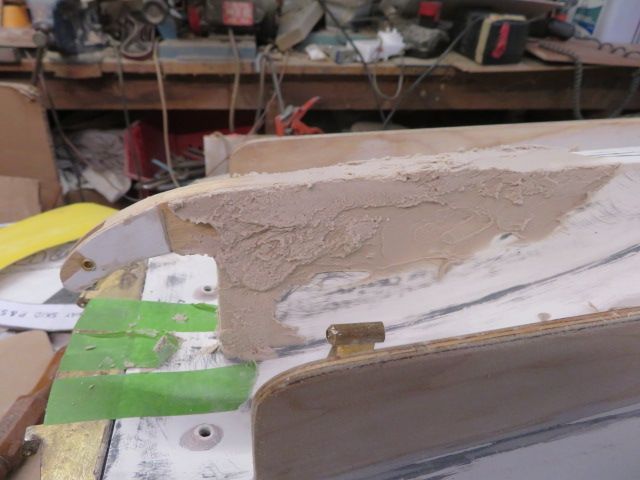
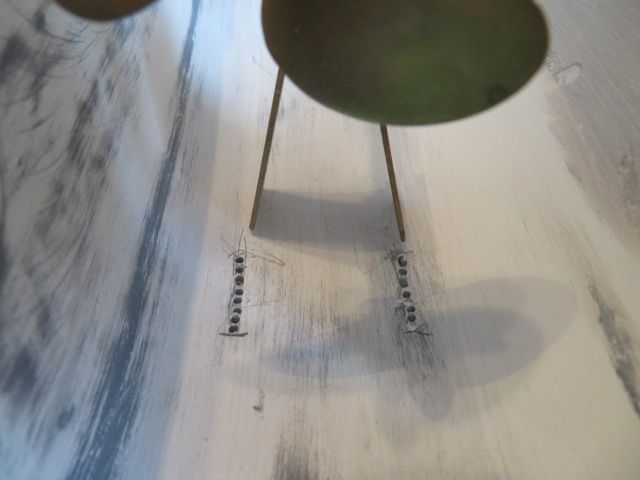
                        it was now time, after cleaning up all of the surplus filler around the "A" frames and prop tubes to fit the launch/uphall skeg.

                        I marked centres on both the wooden skeg and the rebate on the hull where it fits, and then drilled for 4 brass pegs. these were fitted to the wooden skeg which was mated up with the hull and again drilled.

                        using 30 minute epoxy I glued both together.
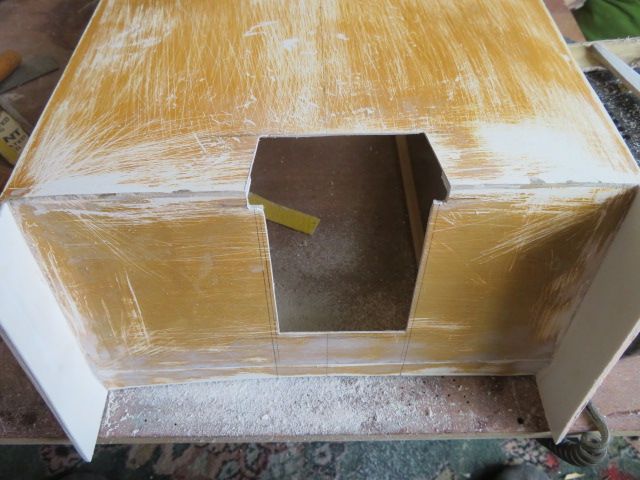
                        once set I filled the end in that I had made the mistake of not making the skeg long enough with two pieces of obeche of the same width and glued again with epoxy.

                        tomorrow I shall fair in the skeg to the hull., before sanding back to make it a smooth finish.

                        img_5260.jpg

                        img_5263.jpg

                        img_5264.jpg

                        img_5265.jpg

                        #88970
                        Bob Abell 2
                        Participant
                          @bobabell2

                          Hi Neil

                          I do like the way you go about things

                          Making drastic moves and improving things

                          As though you know what you're doing!…………That was a light hearted compliment btw

                          Keep up this aggressive assault and enjoy yourself!

                          If you can spare the time, take a look at my latest fiasco

                          Just chaotic fun!

                          Bob

                          #88971
                          ashley needham
                          Participant
                            @ashleyneedham69188

                            It’s nice to know that even an EXPERT like yourself is able to make mistakes Neil! Truth be told I should think every build has one or two mistakes in it, corrected or not.

                            its a shame we can’t build the other way round as we would have the benefit of hindsight then!

                            I tend towards the “make the bit too big, or make the hole too large” method, on the basis that large bits can be trimmed to suit, and large holes allow correct positioning and are easy to fill afterwards….

                            Ashley

                            #89001
                            neil hp
                            Participant
                              @neilhp

                              i'm always making mistakes Ashley………probably too many to actually mention, but I do talk about the most important ones that take the longest time to rectify, lol.

                              but today was no mistake t all…

                              Holding up tradition that goes back about 15 years,……

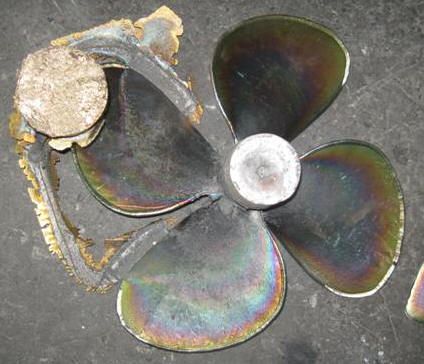
                              I just spent £50.00p quid on two beautiful 4 blade bronze cast propellers from Simon Higgins at Prop Shop. bought a pair of 2222 props[new classification 5511]

                              Since my first pair all those years ago, I have never put another makers props on my boats……..they are worth more than mediocre off the shelf ones.

                              He also reckons that 2 x torpedo 800 motors will do the job and push the old Tyne along at around 8 real knotts………..fast enough for me.

                              cannot wait to hear the ringing tone of two lovely balanced propellers on the ends of the shafts……OH WHAT JOY!!!

                              william street 5.jpg

                              4_blade_propeller_cast.jpg

                              #89002
                              neil hp
                              Participant
                                @neilhp
                                Posted by Bob Abell on 12/06/2020 07:03:13:

                                Hi Neil

                                I do like the way you go about things

                                As though you know what you're doing!…………That was a light hearted compliment btw

                                If you can spare the time, take a look at my latest fiasco

                                Just chaotic fun!

                                Bob

                                I will do bob, what section is it on………..and being honest, I don't know what i'm doing at times other than blundering through…..but its fun. lol.makes one look good and proficient even if not, lol.

                                #89036
                                neil hp
                                Participant
                                  @neilhp

                                  the launch skeg has been drilled to allow the filler to key to and then filler attached last night………….sanding this afternoon lol.

                                  well, actually household chores got in the way…………..mowing the lawn, hanging out washing and loading the washing machine again and again and……unbelievable how much clothing one daughter gets through during lockdown when she stays isolated in her bedroom all day is just unfathomable. lol……..

                                  so sanding might get done after tea, lol. crying

                                  img_5280.jpg

                                  #89037
                                  Bob Abell 2
                                  Participant
                                    @bobabell2

                                    Hi Neil

                                    Have you made the props yourself?

                                    Bob

                                    #89038
                                    neil hp
                                    Participant
                                      @neilhp
                                      Posted by Bob Abell on 13/06/2020 17:29:39:

                                      Hi Neil

                                      Have you made the props yourself?

                                      Bob

                                      no bob, I buy them from Simon Higgins of Propshop fame. they are cast in liquid molten bronze.

                                      then the flash and pouring holes ground off before being balanced and then polished to a lovely shine…..they ring like a bell when tapped………and all for 25 quid each………….an absolute snip.

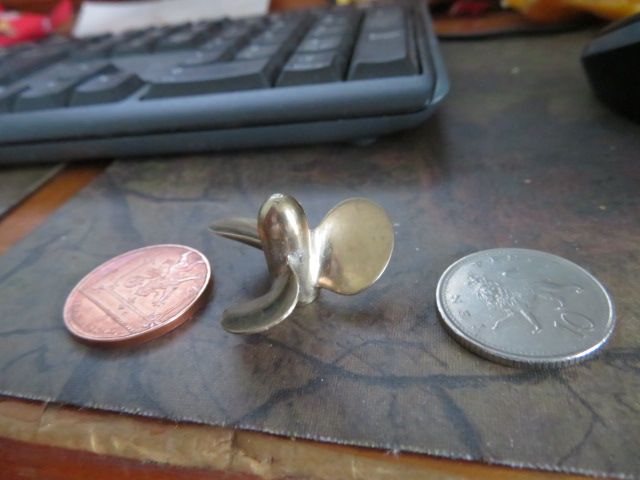
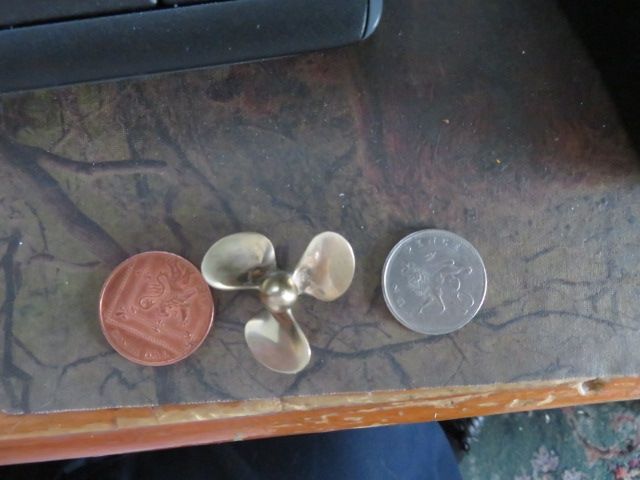
                                      here is a small one I bought off him at the Blackpool show last October……….

                                      went through exactly all the same processes as the one in the photo, and cost me the small sum of 12 quid…….I don't know how he does it for that price.

                                      img_5287.jpg

                                      img_5286.jpg

                                      #89057
                                      neil hp
                                      Participant
                                        @neilhp

                                        job done……I can now begin to work on the top side.

                                        img_5289.jpg

                                        img_5288.jpg

                                        #89063
                                        neil hp
                                        Participant
                                          @neilhp

                                          and so it starts, YOU WONDER where the time goes when you are building parts from scratch.

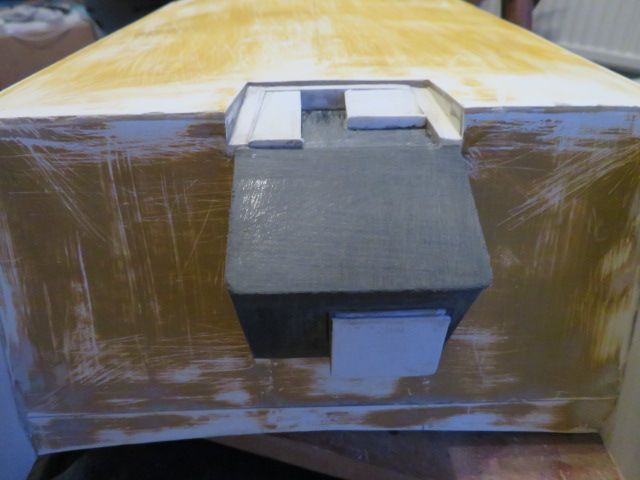
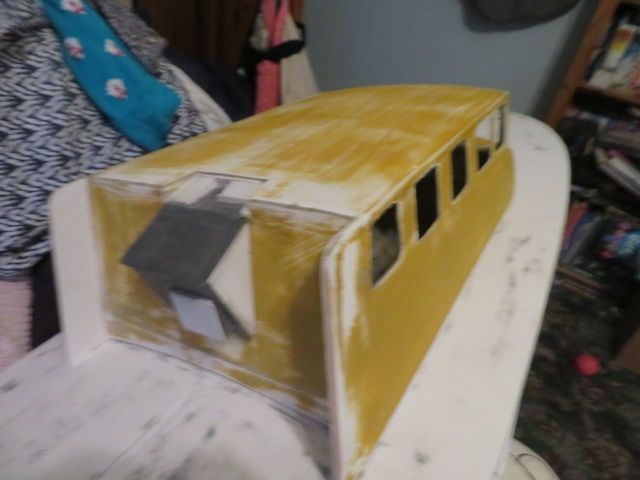
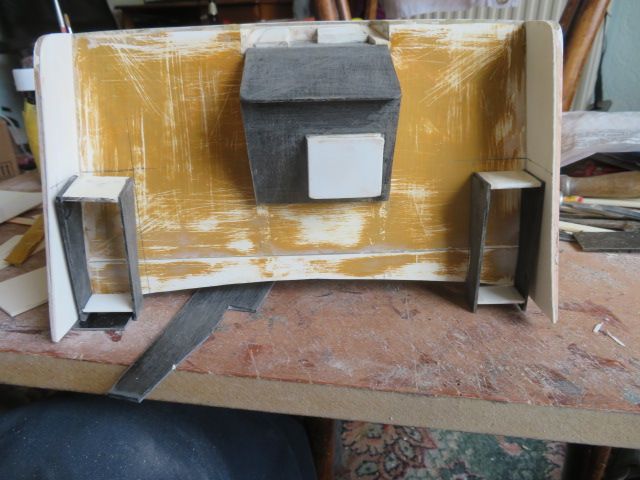
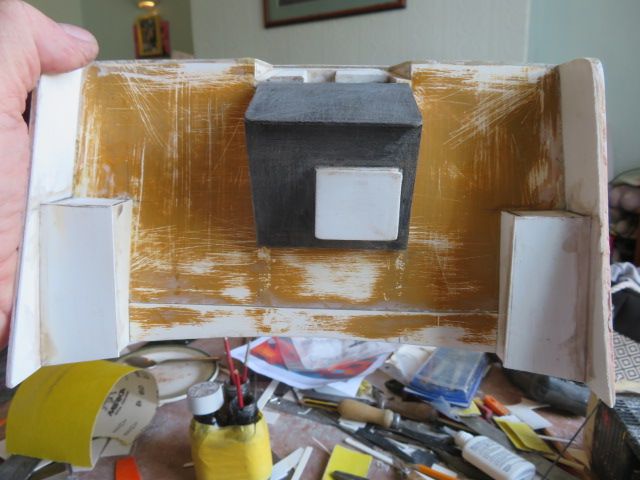
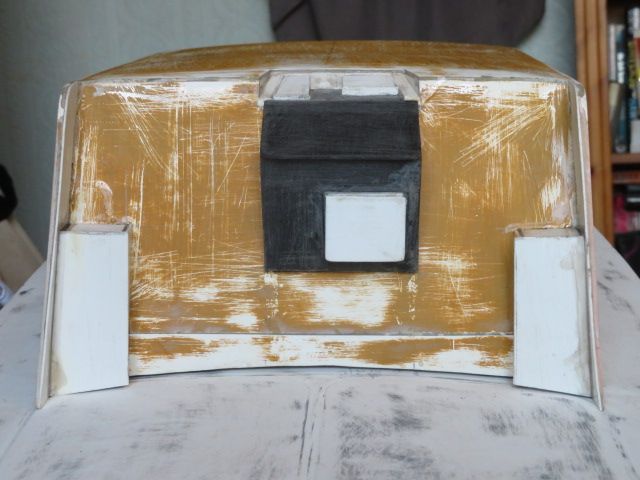
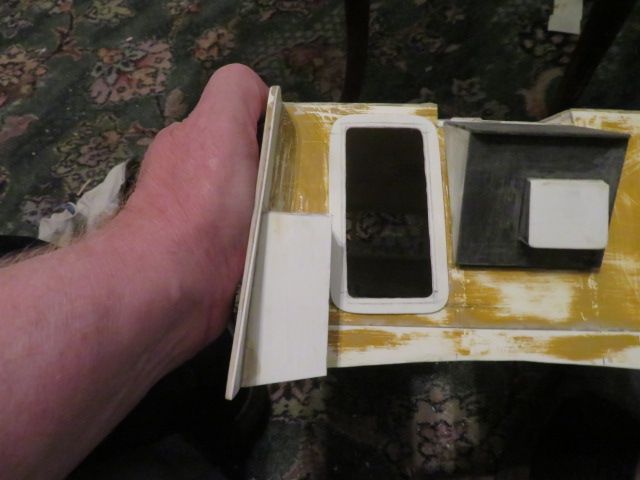
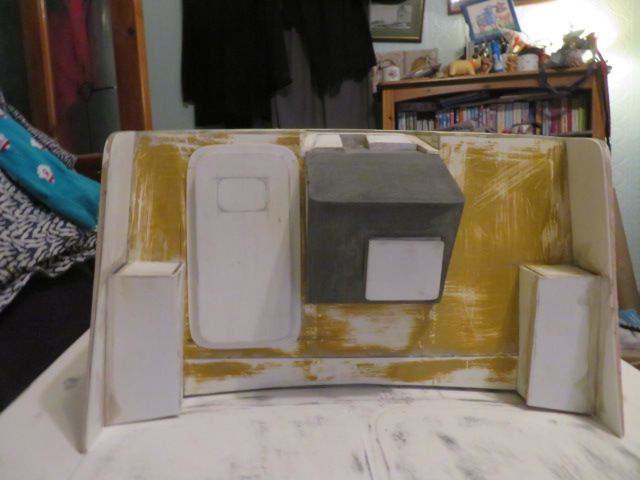
                                          nearly 5 hours looking at plans, and then photographs, and then measuring up and figuring out what method to use, what materials to use and what glues/strengthening strips etc.This late afternoon I started on one of the features….the instrument console on the flying bridge, Start to finish, 5 hours..detailing comes later from the resin parts supplied in the kit.

                                          so I'll let the photos speak.All I will say is that a mixture of superglue to glue plastics to grp and polyweld for plastic to plastic was used and all parts from different thicknesses of plastic card.

                                          you will note though from overhead shots that the cut away is NOT symmetrical around a centre mark [its not even central on the cabin top and is, according to both photos AND plans, is not supposed to be……its not your eyes, nor a mistake.

                                          img_5316.jpg

                                          img_5321.jpg

                                          img_5326.jpg

                                          img_5328.jpg

                                          img_5330.jpg

                                          img_5336.jpg

                                          img_5338.jpg

                                          #89065
                                          Bob Abell 2
                                          Participant
                                            @bobabell2

                                            Five hours well spen, Neil

                                            Taking shape now, how do the crew get down below?

                                            Or is that a silly question?

                                            Bob

                                            #89083
                                            neil hp
                                            Participant
                                              @neilhp
                                              Posted by Bob Abell on 15/06/2020 06:59:55:

                                              Five hours well spen, Neil

                                              Taking shape now, how do the crew get down below?

                                              Or is that a silly question?

                                              Bob

                                              to the port side of that console is the main watertight door………..I have a resin fitting for that in the bags that I bought with the kit.

                                              #89084
                                              neil hp
                                              Participant
                                                @neilhp

                                                t was lovely to get out in the sun this afternoon to do some tidying and getting rid of the old growth in my bee flower planters………

                                                then my back and leg began hurting like hell so came inside to do some more on the TYNE……

                                                spent the rest of the afternoon making up the two side vents attached to the aft wall of the main cabin….made from different thicknesses of plasticard.

                                                they need some trimming and detailing but will let the liquid poly set hard before doing anything stupid and have them collapse on me. …..usual trick when I start getting enthusiastic and rushing.

                                                img_5341.jpg

                                                img_5344.jpg

                                                img_5346.jpg

                                                Edited By neil howard-pritchard on 15/06/2020 20:02:30

                                                #89086
                                                neil hp
                                                Participant
                                                  @neilhp

                                                  HOOOSTEN, WE HARVE AY PROBLUM.We sure do!

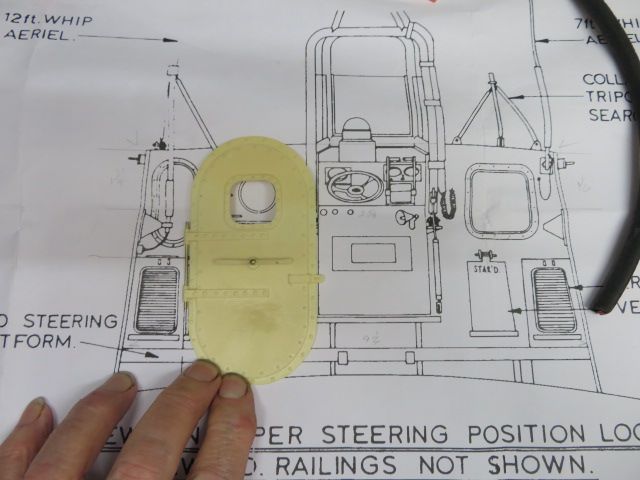
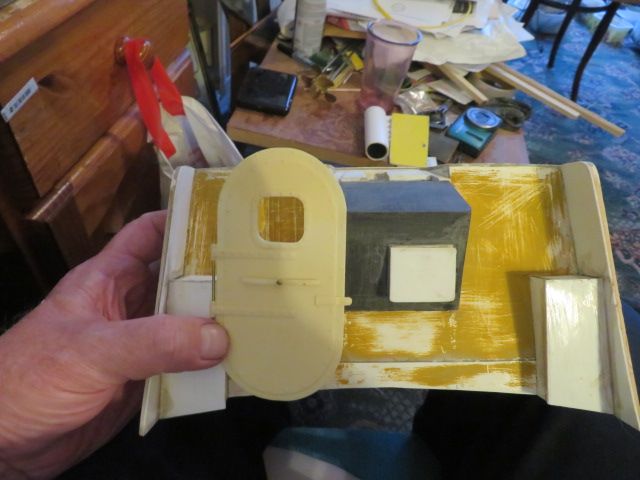
                                                  every measurement on the aft bulkhead wall of the cabin is bob on……all the bits have been carefully measured and made.so!!! I went into the workshop to size up the main watertight door for the cabin.I thought that to make it an opening feature I would have to do something with the door surrounds to do so.but never envisaged a total new door.
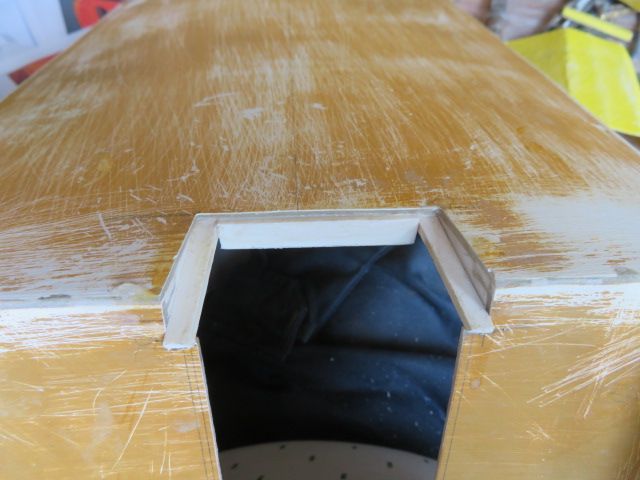
                                                  who ever bought the fittings for the boat, either ordered wrongly or didn't check things when they got it all against plans.this time the mistake isn't mine for a change!out comes the plasticard again lol.img_5348.jpg

                                                  img_5349.jpg

                                                  #89087
                                                  neil hp
                                                  Participant
                                                    @neilhp

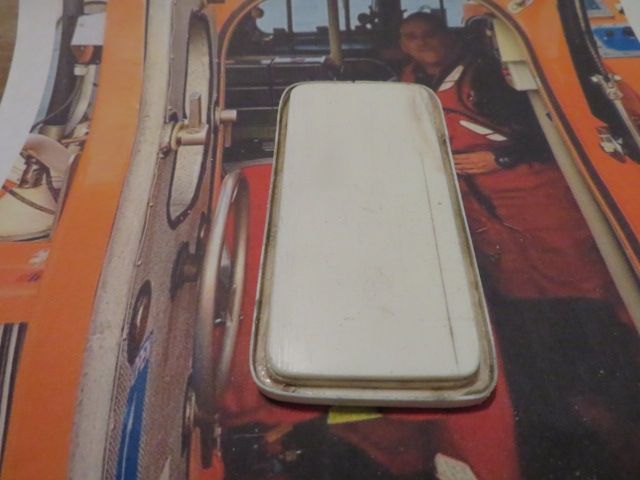
                                                    and so this evening I set too making a new door and surrounds from plasticard.
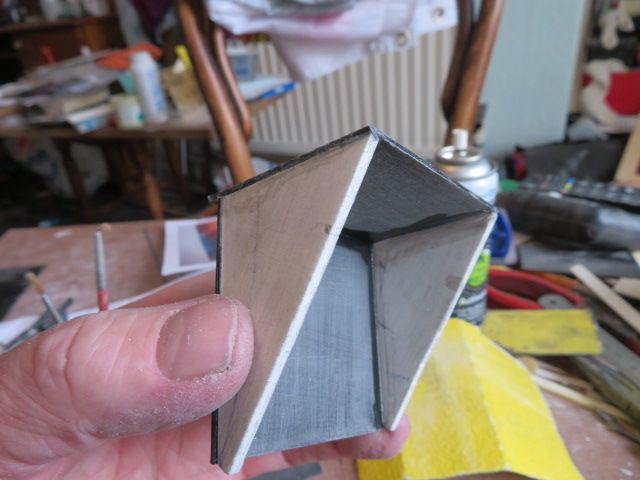
                                                    with only photos to look at of the real boats it is a ;little hit, miss and make up as I go along, but it is getting there.

                                                    the basics are made….the door and surrounds……..just got to figure out now how to put it all together.

                                                    img_5351.jpg

                                                    img_5355.jpg

                                                    img_5357.jpg

                                                    #89091
                                                    Bob Abell 2
                                                    Participant
                                                      @bobabell2

                                                      Neil……..If you refer to my last message, it may have saved the day?

                                                      I did say…….How do the crew get down below?

                                                      Bob

                                                    Viewing 25 posts - 51 through 75 (of 593 total)
                                                    • Please log in to reply to this topic. Registering is free and easy using the links on the menu at the top of this page.

                                                    Code of conduct | Forum Help/FAQs

                                                    Advert

                                                    Latest Replies

                                                    Home Forums Build Blogs Topics

                                                    Viewing 25 topics - 1 through 25 (of 25 total)
                                                    Viewing 25 topics - 1 through 25 (of 25 total)

                                                    View full reply list.

                                                    Advert

                                                    Newsletter Sign-up