61′ Barnett class lifeboat

Advert

61′ Barnett class lifeboat

Home Forums Scratch build 61′ Barnett class lifeboat

Viewing 25 posts - 126 through 150 (of 648 total)
  • Author
    Posts
  • #101843
    neil hp
    Participant
      @neilhp

      WELL…..

      its build or BUST, now!

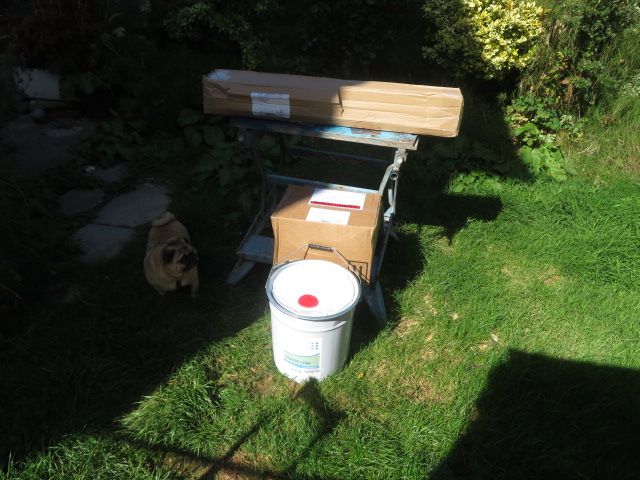
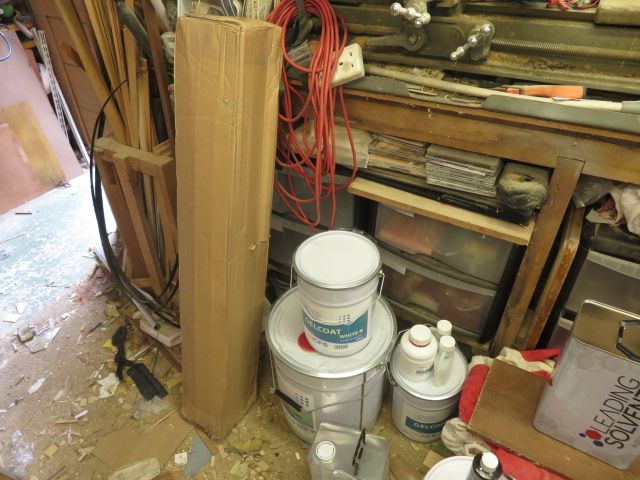
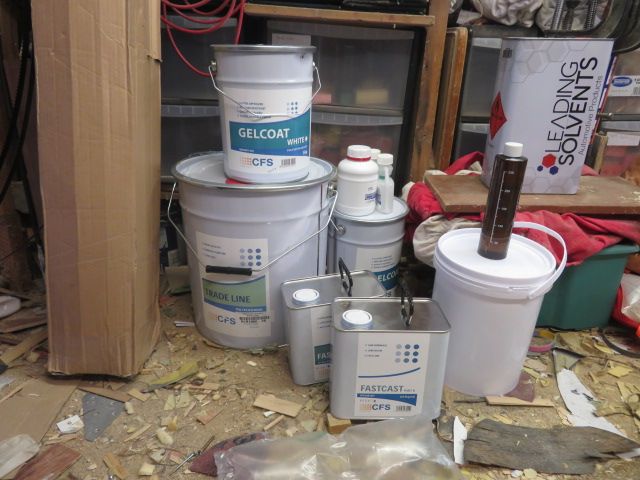
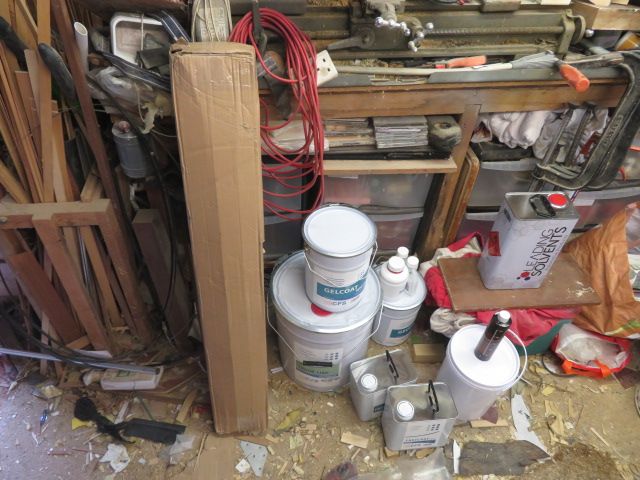
      Just ordered £200 quids worth of grp resin, gelcoat and chop strand matting from CFS Glass fibre supplies of Cornwall.

      Been ordering form them for at least 10 years…….very very good service.

      And that was with 10% discount……who says modelling is a cheap hobby……hahahaaa.

      The last time i ordered the same amount about 6 years ago, it was just less than half that price from Glasplies in Southport………sadly bought out and shut down trading for some gawd knows reason.

      Advert
      #101853
      neil hp
      Participant
        @neilhp

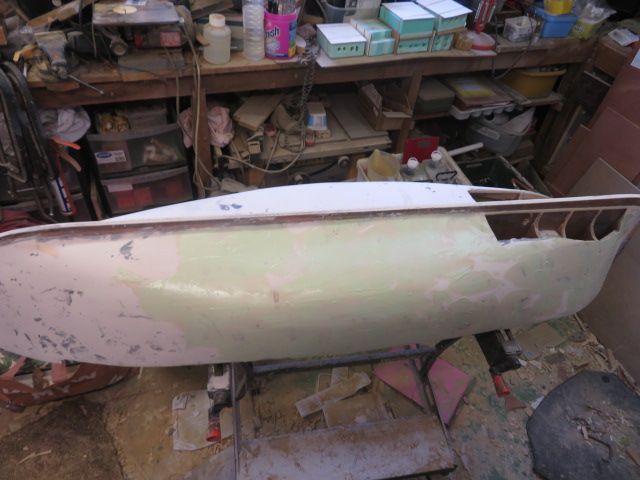
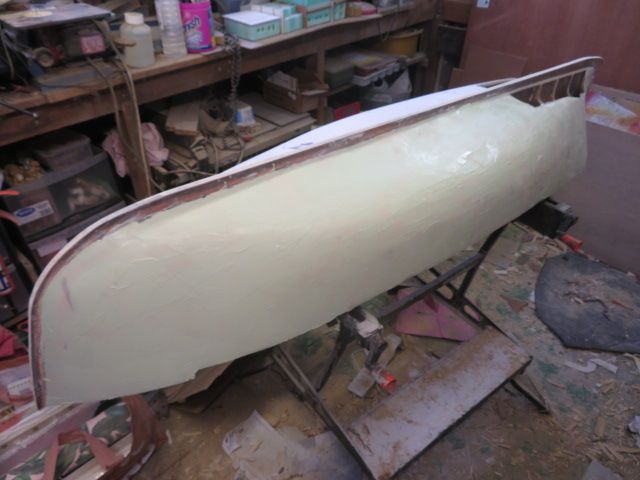
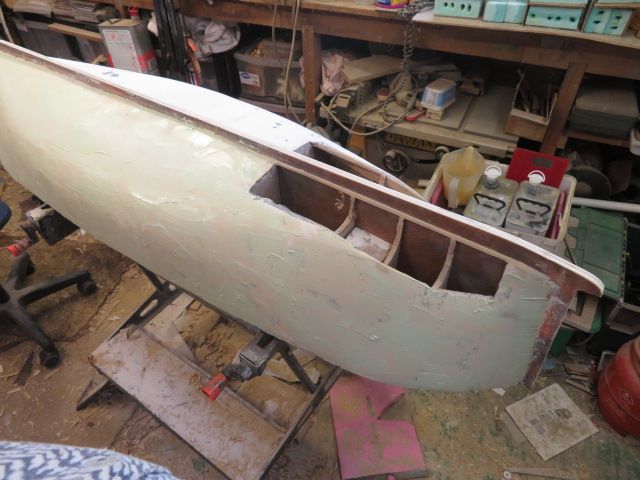
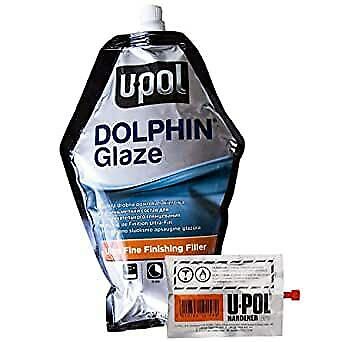
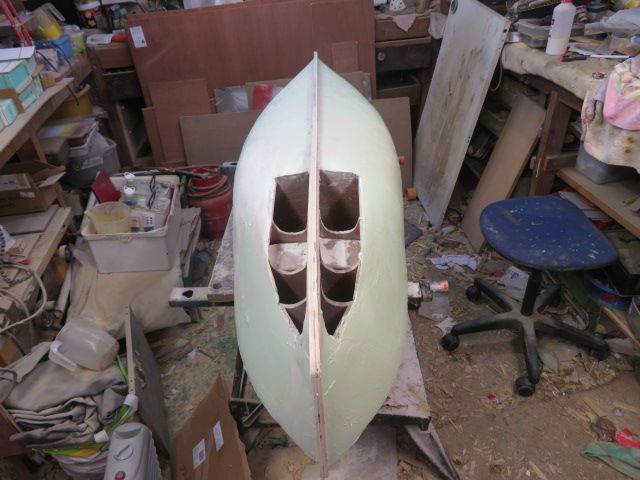
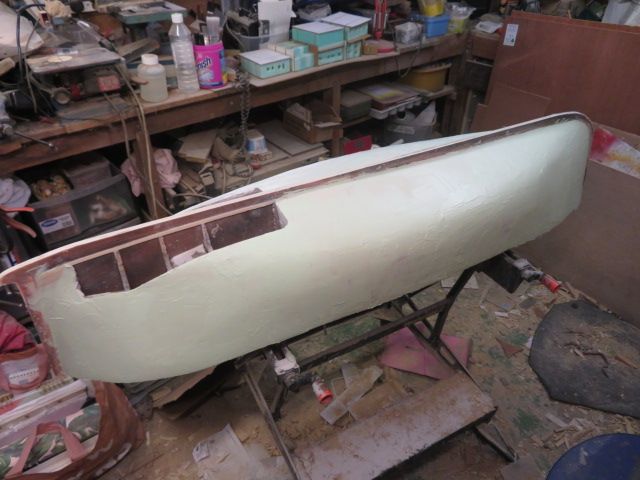
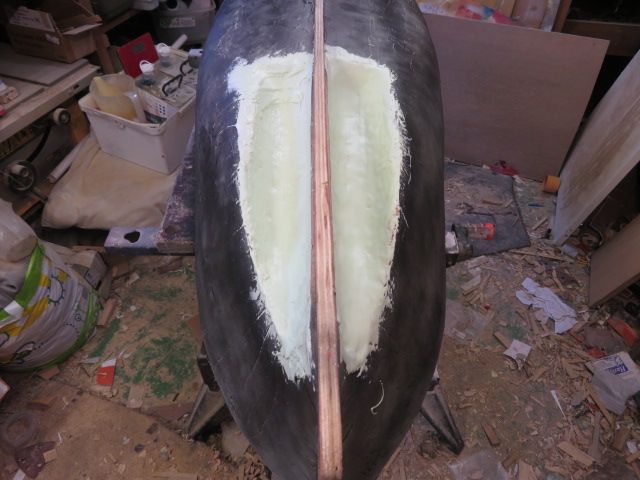
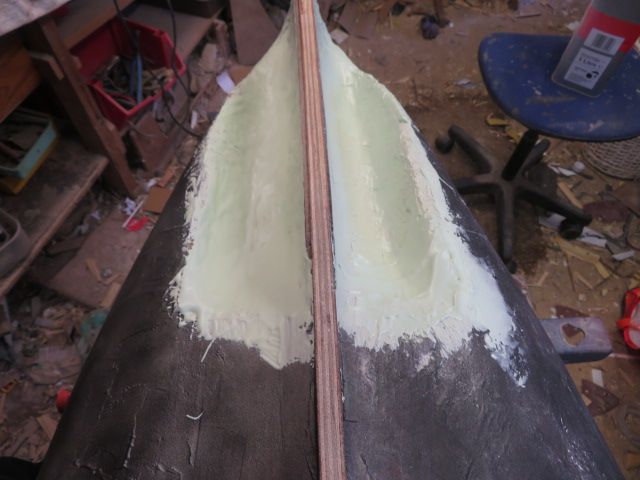
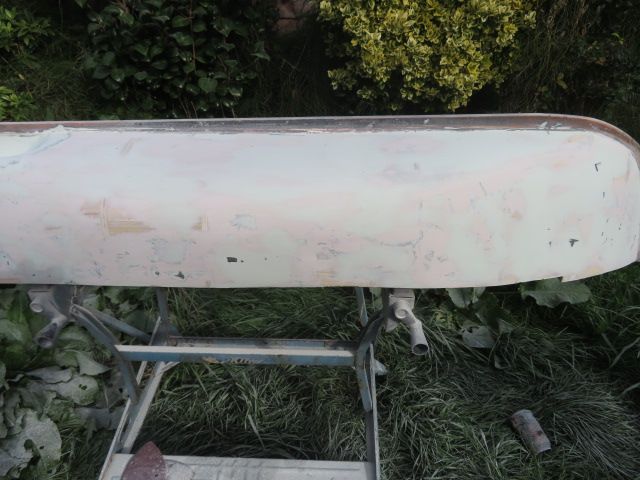
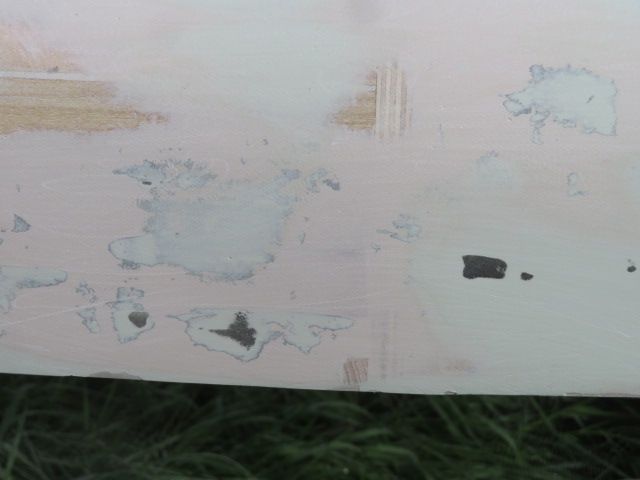
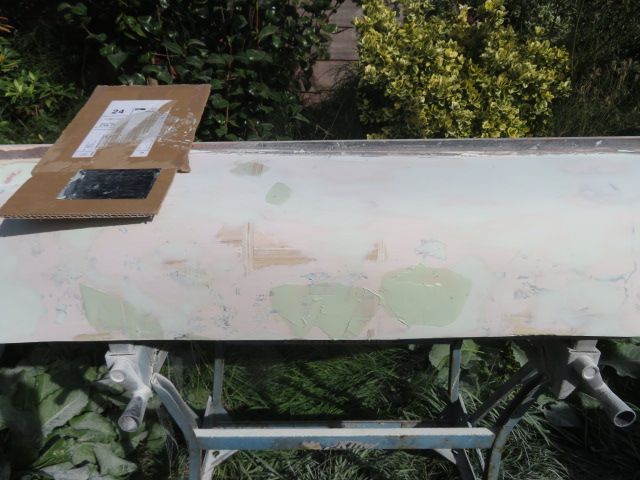
        Today, with great trepidation I started to fill in the dimples and low spots of the hull with Dolphine Glaze, surface filler that a friend, and car body sprayer by trade, Dave Stavros Jones ORDERED me to use, LOL.

        And I am very glad he did!

        I bough 2 packs of it thinking I may need more!…….BUT IN FACT, have done the first side, and have hardly made a dent in the first pack of the Glaze………..its absolutely brilliant. Thank you Dave…….you have cracked it again.

        You have to work quickly with small amounts, but each golfball size of the semi liquid filler goes a long loooooonnng way, and it took me just 3 "golf ball" size mixes to cover one size.

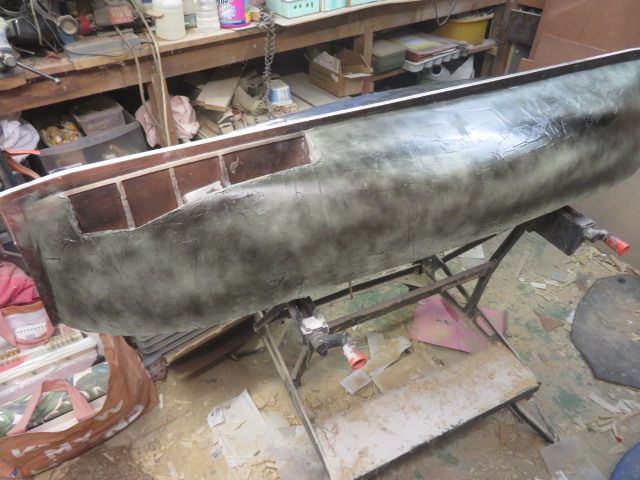
        I am going to give that side a couple of hours to harden and then repeat the exercise on the other side, and let harden over night before shadow spraying with mat black tomorrow morning to see where any more sunken spots are lurking when i start sanding with 80 grade paper.

        img_3490.jpg

        img_3492.jpg

        img_3493.jpg

        img_3494.jpg

        s-l500.jpg

        #101856
        Chris Fellows
        Participant
          @chrisfellows72943

          I use the pre-mixed Dolphin filler, great stuff, for minor blemishes, but obviously that's not on the same scale as your task!

          Chris

          #101857
          neil hp
          Participant
            @neilhp

            its going well Chris to be honest, and am quite pleased with the result.

            #101861
            neil hp
            Participant
              @neilhp

              SO!!!, The Dolphin Glaze has been skimmed on to both sides of the hull…

              Been miserable weather today outside and so did a few things inside hoping it would clear up, but it didn't.

              And as such I put off the spraying of a light coat of matt black onto the hull until this evening.

              Tomorrow I'll get some abrasive paper and sand that lot all down, removing the black paint from all the high spots, leaving hopefully just a few very small black sunken areas, to refill with some more dolphin glaze and more sanding to finish the hull by Wednesday at the latest.

              img_3548.jpg

              img_3549.jpg

              img_3550.jpg

              img_3552.jpg

              #101869
              neil hp
              Participant
                @neilhp

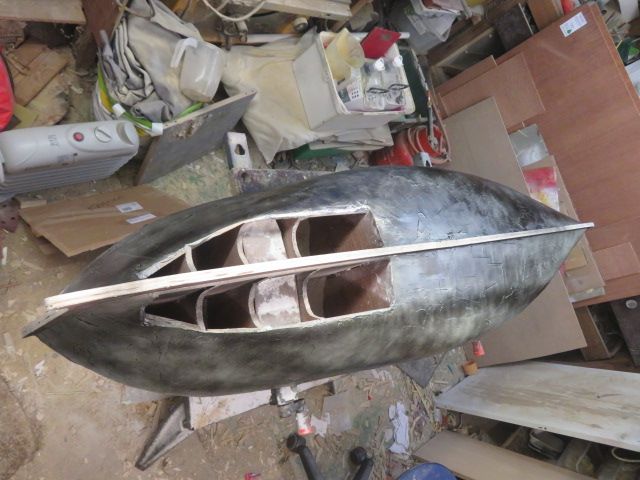
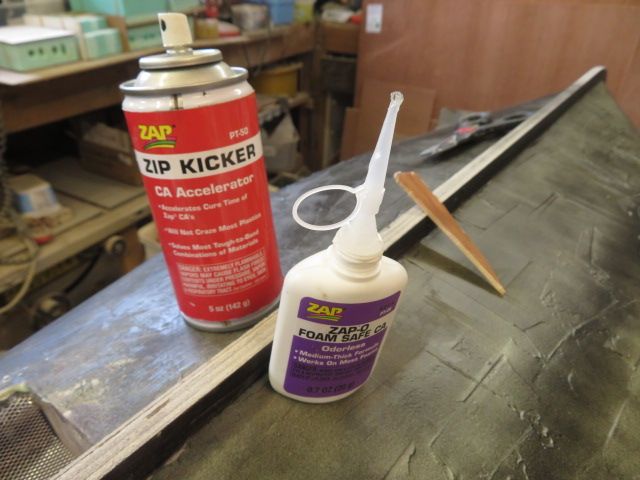
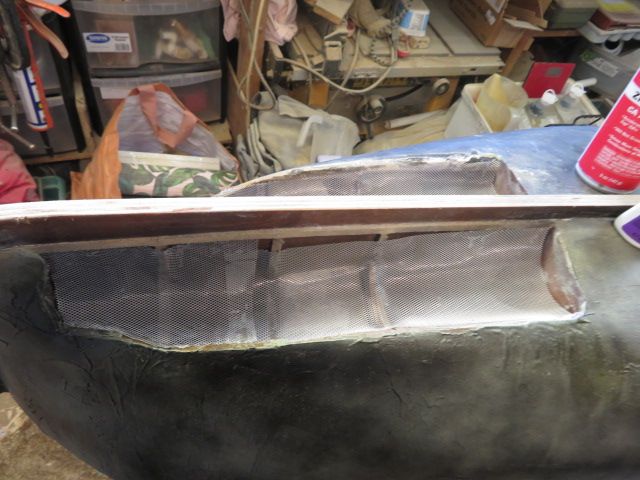
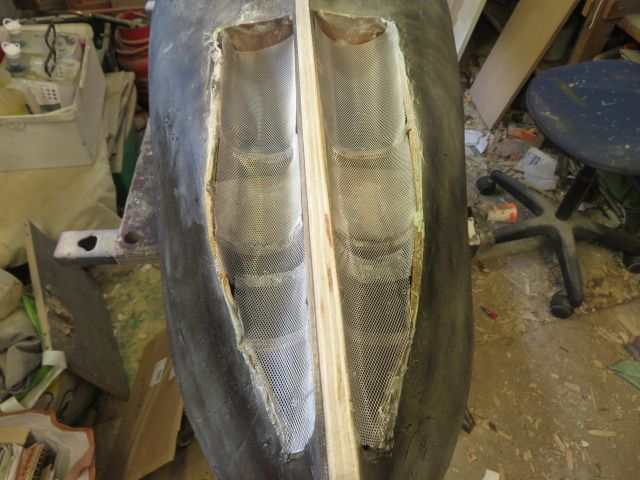
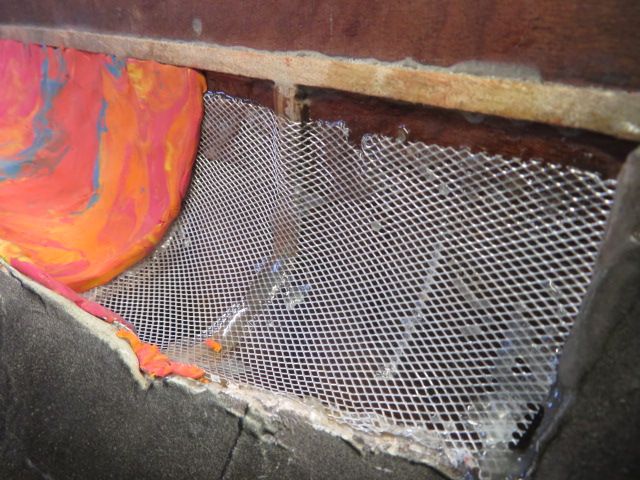
                into the workshop this afternoon, and shaped the car repair mesh into the propellor tunnels and tacked in to place first with cyano acrilate.

                once hard in an hour or so, I'll set them in place with 2 part 5 minute epoxy.

                img_3553.jpg

                img_3554.jpg

                img_3555.jpg

                #101874
                neil hp
                Participant
                  @neilhp

                  Now the experiment and the fun starts!

                  Have been contemplating how to line the tunnels for the propellors and tubes.

                  Whilst up in Scotland earlier last week delivering a model to a new owne i was driving down the "coast road" from Glasgow to Largs along the very pretty coastal road along side the River Clyde, famous for its shipyards producing such vessels as the Queen Mary and the Queen Elisabeth 2, and I looked out over the Clydewith lovely memories of visiting a town called Dunbarton.

                  There in Dunbarton are the large testing tanks for testing models of ships to be built.
                  And it was there that I got the idea of what to use.

                  Whilst on a visit to the tanks I saw some ships hulls made from hollowed out huge lumps of bee's wax, and this gave me the idea.

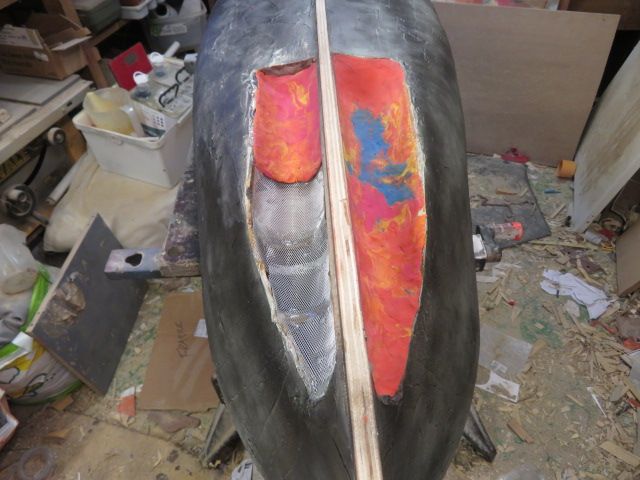
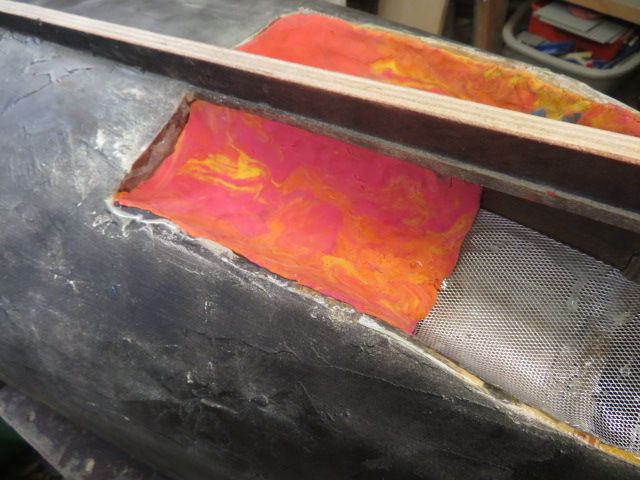
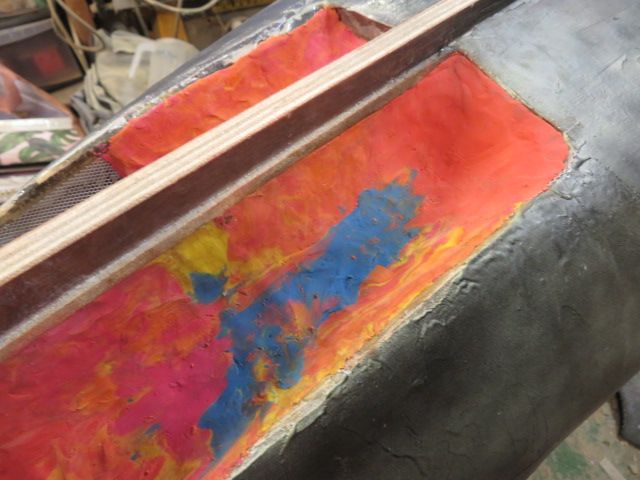
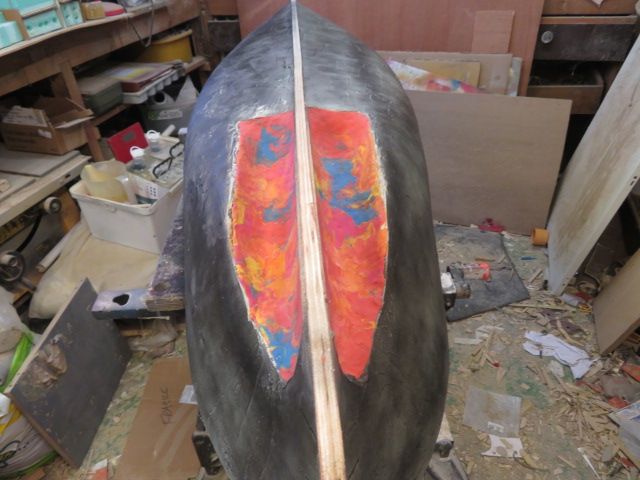
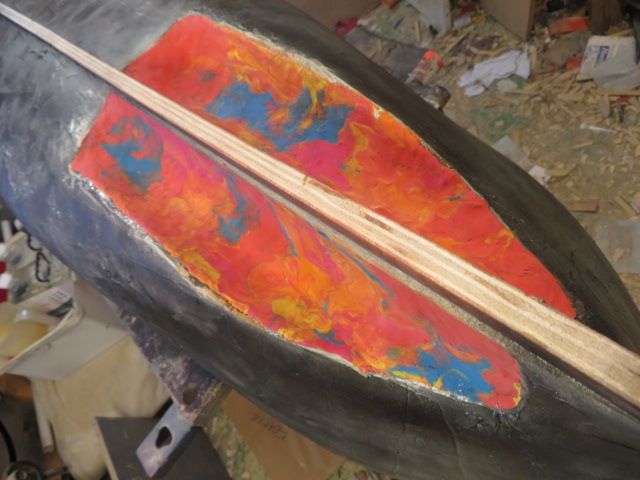
                  Although I don't have any wax, I do have modellers grade plasticine, a harder grade than childrens plasticine, and it was that which I have used to skim the aluminium mesh laid down and glued earlier.

                  Once it has gone hard, tomorrow I will skim it with Dolphin Glaze filler.

                  img_3556.jpg

                  img_3557.jpg

                  img_3558.jpg

                  img_3559.jpg

                  img_3560.jpg

                  img_3561.jpg

                  #101883
                  neil hp
                  Participant
                    @neilhp

                    Why oh! why did I start this project!?

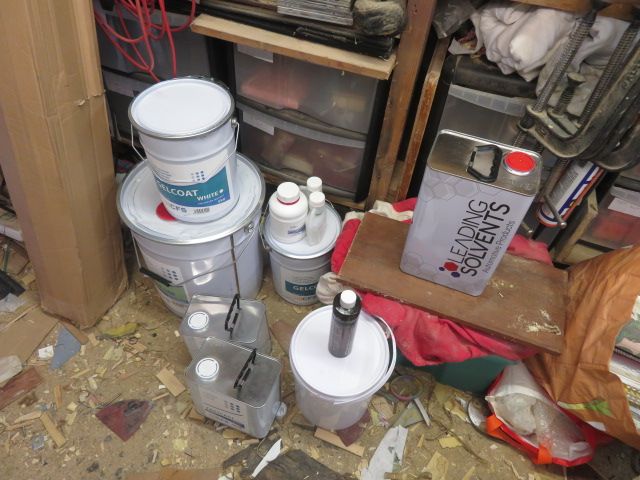
                    40 kg of grp supplies to now find storage for in my already over cramped workshop……….but oh! what fun I will have in the next few weeks.

                    img_3562.jpg

                    #101893
                    neil hp
                    Participant
                      @neilhp

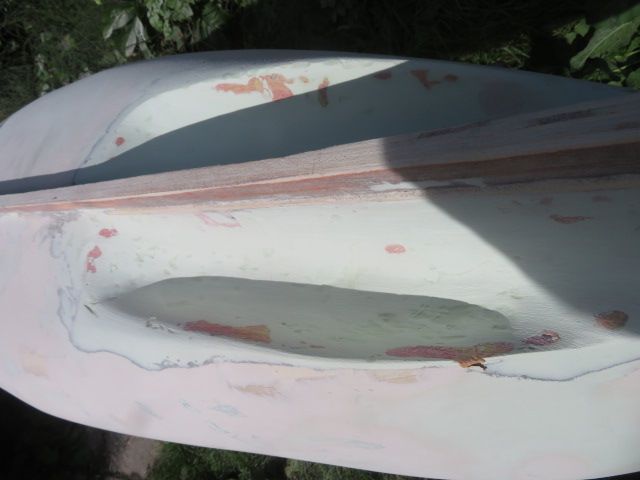
                      the plasticine in the propellor tunnels has now been given 2 layers of Dolphin Glaze.

                      And this time rather than using a spatula to put the filler on, it has the ability because it is so runny, to be brushed on with a decoraters paint brush.

                      Also, the brush can be cleaned of all residue with cellulose thinners………a bonus.

                      img_3563.jpg

                      img_3564.jpg

                      #101914
                      neil hp
                      Participant
                        @neilhp

                        It wasn't going to be hard to sand down the tunnels, with my arthritic hands, and so thought od an easier way to get off the rough lumpy areas before trying the rest by hand.

                        And a sudden thought went through my brain.

                        If I were to roll some abrasive paper into a stiff tight roll, wrapped around a small diameter piece of dowel so that the end section wasn't supported and allowed to flex and expand…………….maybe that would be a way to so it!!

                        Cracked it……..worked a treat, and within a few minutes the rough areas had been reduced somewhat………but I had to go out, and leave it mid way through……….I shall resume this evening, before doing the rest by hand.

                        img_3565.jpg

                        img_3566.jpg

                        #101915
                        ashley needham
                        Participant
                          @ashleyneedham69188

                          I had a similar job to do on the Stingray, and I used a drum sander, finishing off with a bit of wood profiled to the correct radius wrapped in sandpaper.

                          Keep up the good work. It’s a whopper!

                          Ashley

                          #101917
                          neil hp
                          Participant
                            @neilhp

                            its a beast Ashley………..and getting heavier by the layer full, lol.

                            i had a couple of those once upon a time but couldn't find them when needed..that gave be the idea of an abrasive lolipop on a stick, lol. 


                            Edited By neil howard-pritchard on 06/09/2022 19:12:37

                            #101929
                            neil hp
                            Participant
                              @neilhp

                              It's been like christmas the last few days, with boxes of goodies turning up on my doorstep.

                              Firstly 40kg of fibre glass resin, gelcoat and chop strand matting………..how to spend £200 quid quickly. plus a gallon of cellulose thinners, from a local car factors shop

                              Then, yesterday came my silicon rubber 5kg for moulding the fittings for the Princess Mary of Padstow.

                              Finally this morning came the 5 kg of polyurethane quick set resin for producing the fittings. About £370 quids worth in total

                              img_3573.jpg

                              img_3574.jpg

                              img_3575.jpg

                              img_3576.jpg

                              #101936
                              neil hp
                              Participant
                                @neilhp

                                Jumping around a little tonight, as the thunder storm all afternoon with heavy rain forbad me to take the boat into the garden to sand down.

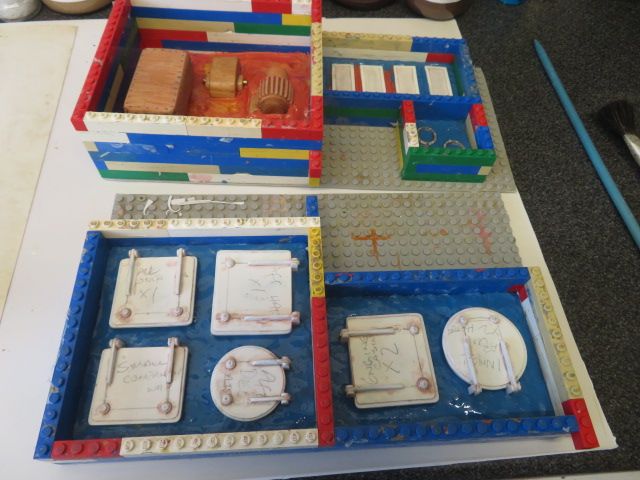
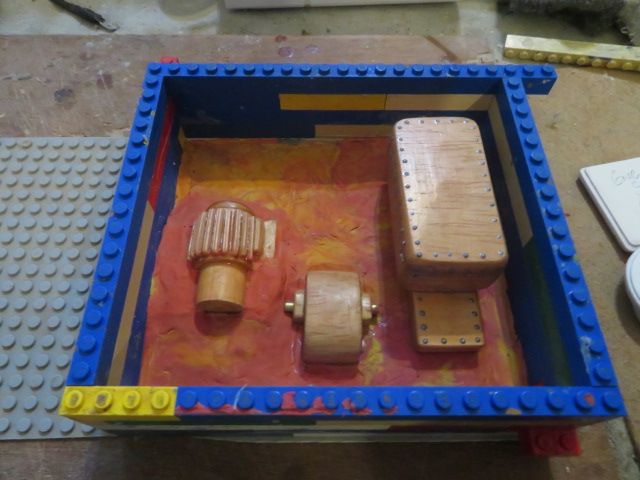
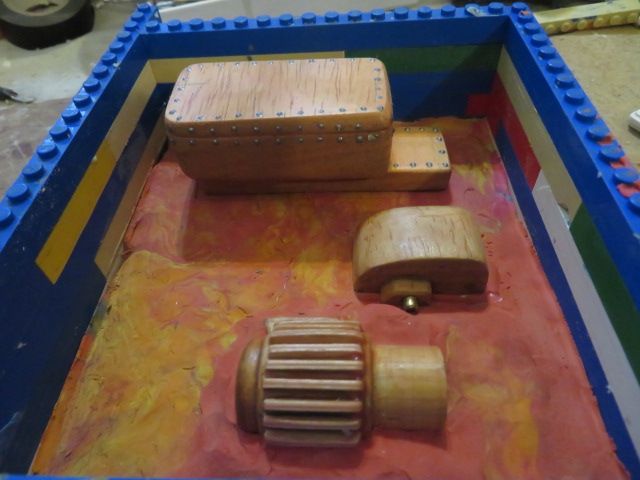
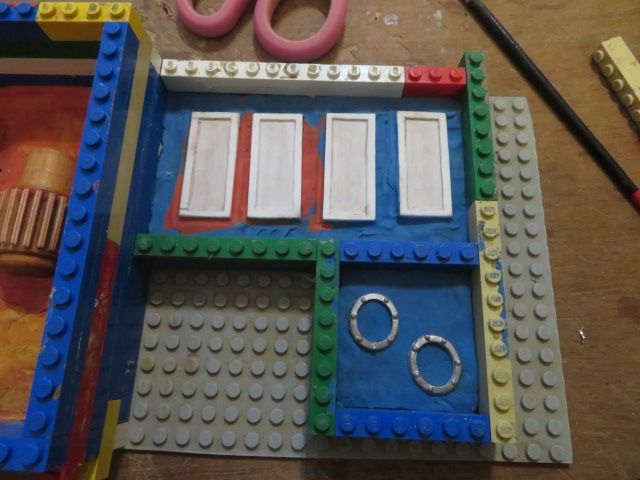
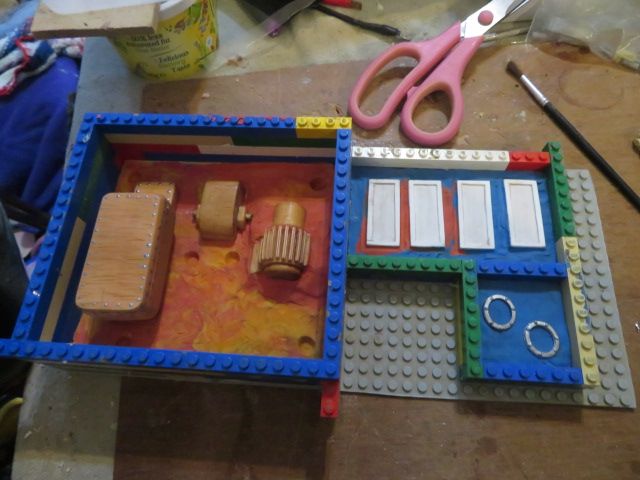
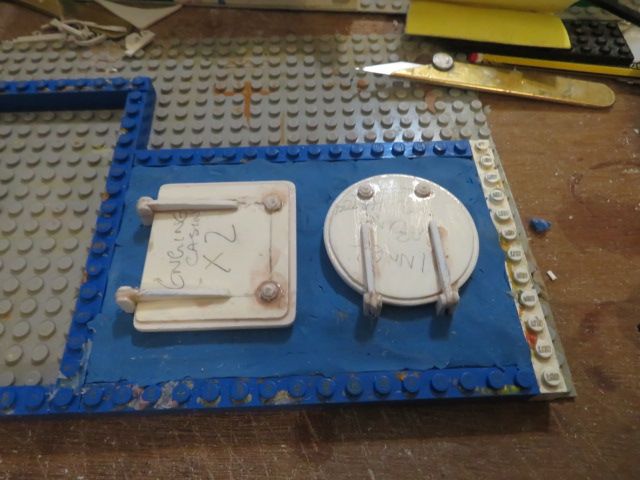
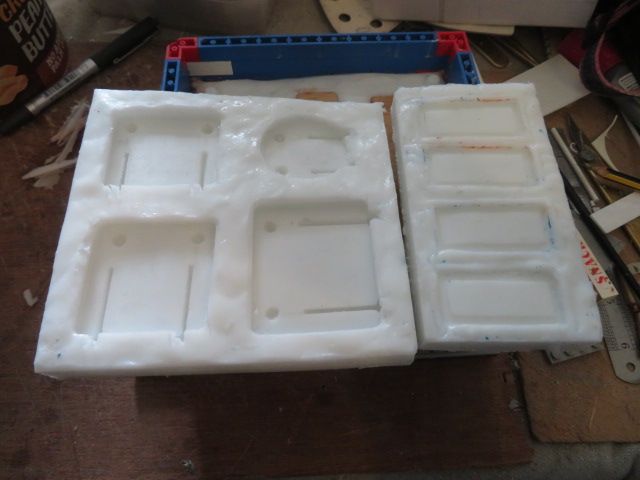
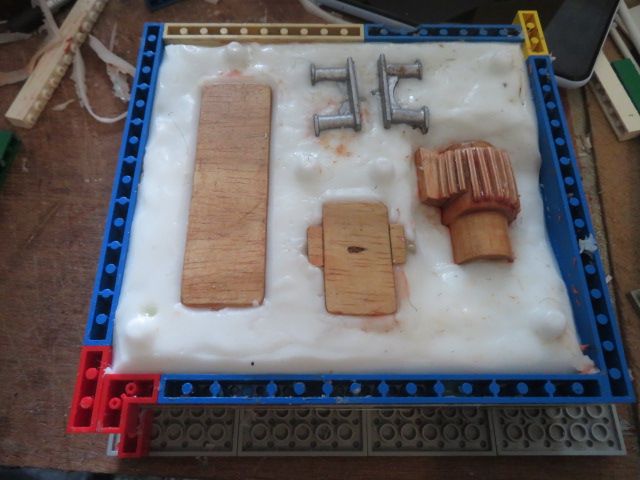
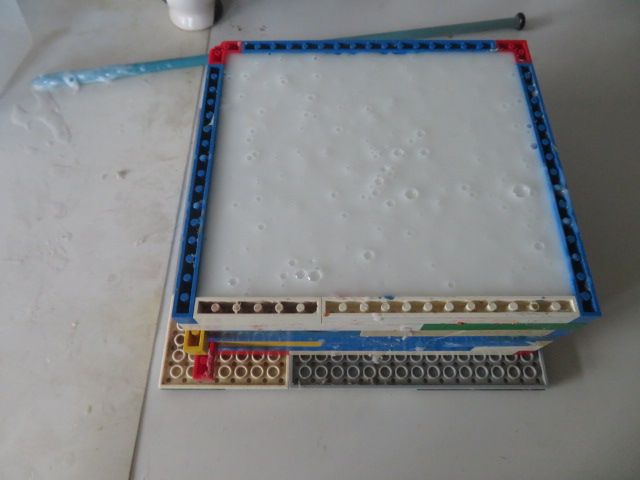
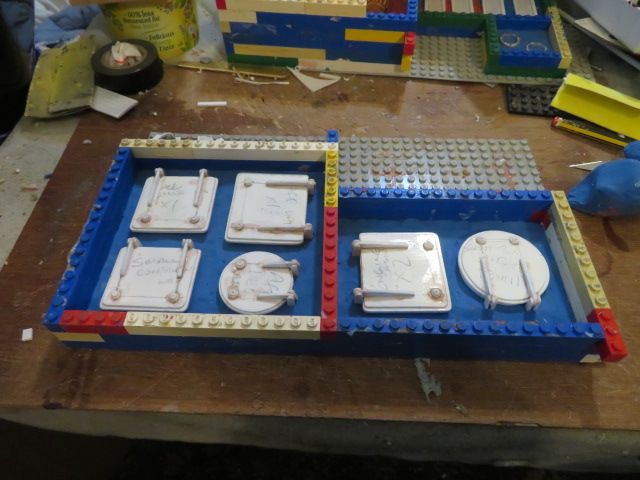
                                And so I decided to start boxing some of my fittings made for the lifeboat into moulding boxes, built from trusy Lego.

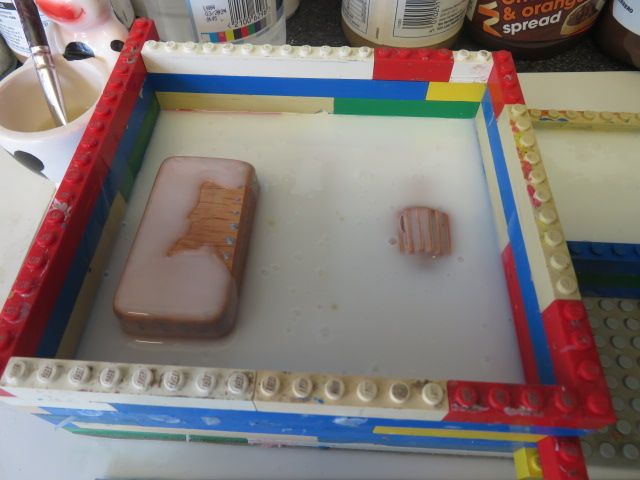
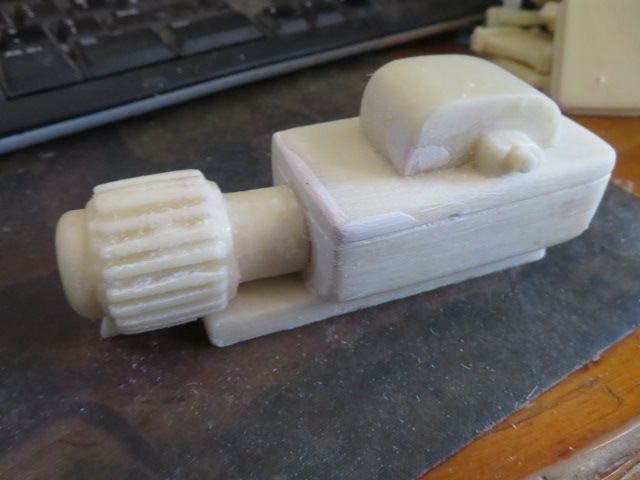
                                I use two types of moulds, the split 2 part rubber mould as there is detailing on boath faces, such as the motor for the anchor windless and,…………

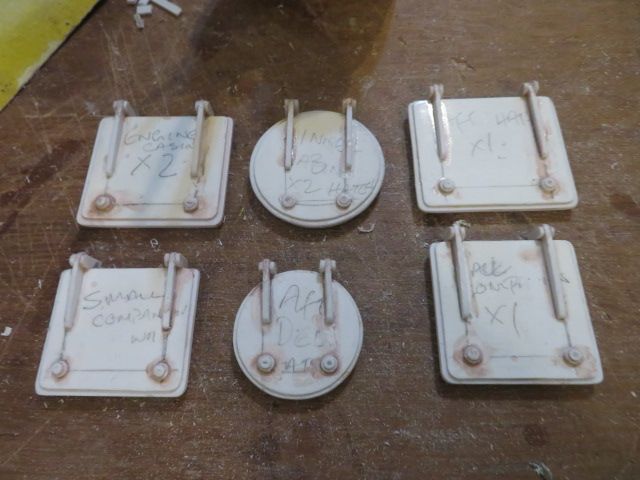
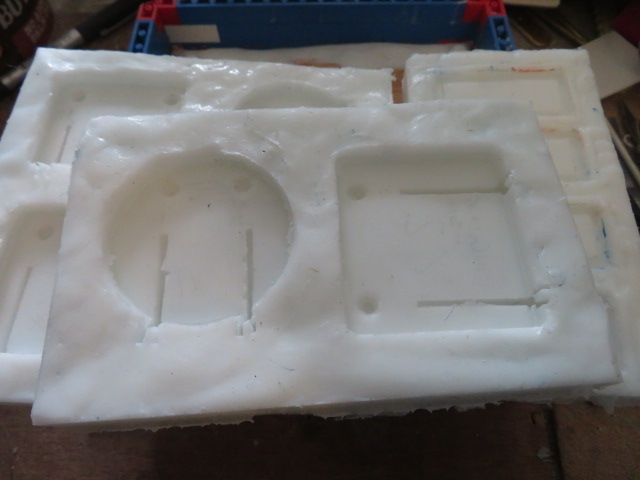
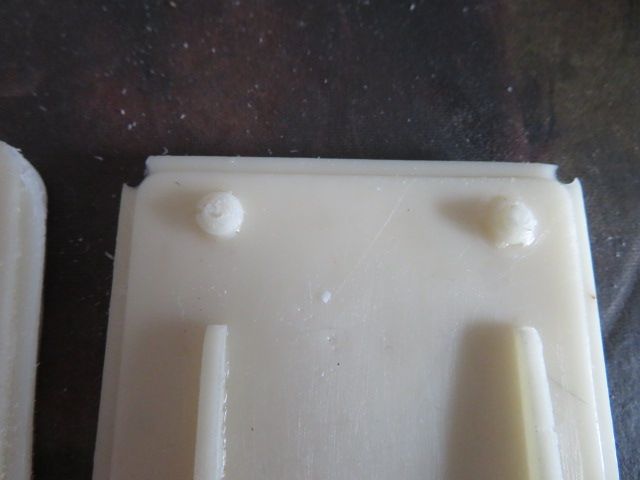
                                ………the surface mould, where an item such as those made of white plasticard in the photos, where all detailing is on the upper surface can be put into a single layered mould.

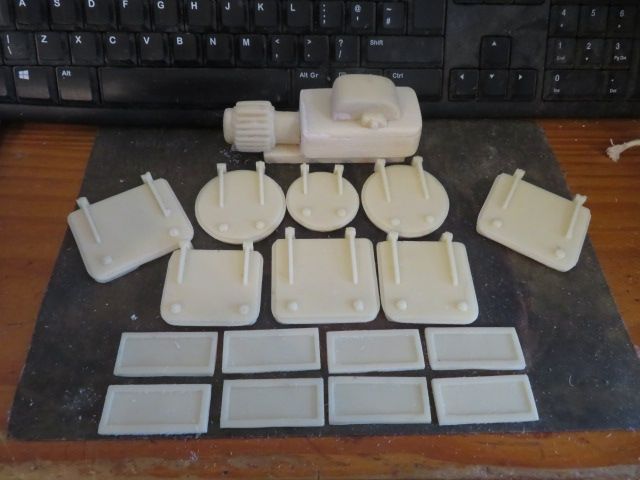
                                so today, I have made the moulds for the anchor windless,the deck lights, anchor hawse deck holes and the six different w/t hatches.

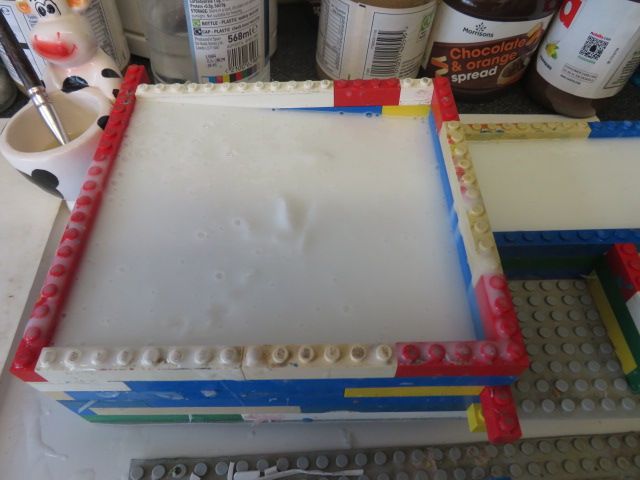
                                I will now set the hatches in to a moulding box, and cast the rubber tomorrow.

                                img_3577.jpg

                                img_3578.jpg

                                img_3579.jpg

                                img_3580.jpg

                                img_3581.jpg

                                img_3583.jpg

                                img_3584.jpg

                                #101939
                                neil hp
                                Participant
                                  @neilhp

                                  Casting moulds for resin fittings:

                                  Nothing simpler really than doing your own fittings as long as you prepar the scene first, and go about it methodically.

                                  Once the fitting is made, cleaned up and mounted in or on plasticine in a box, there should be no ploblem or "scary bits"

                                  And this was what i did this morning.

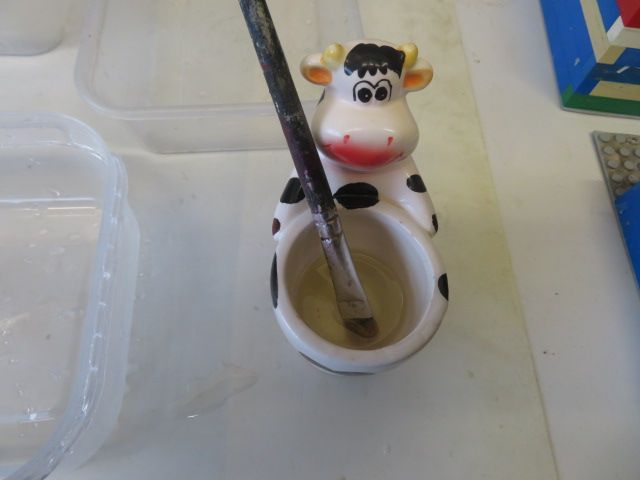
                                  Items needed:……mixing "bowls", spatula for scraping out the remains in the bowl, mixing stick…[my choice a knitting neadle], fittings [of course], a glass of water, rubber and hardener, and most importantly!, a release agent, as the rubber will stick to almost anything.

                                  Now!, I used to buy a spray on, none silicon release agent from Tiranti's of Reading until one day one of the technical guys told me that they could no longer send spray release agent out in the post, and was collect only.

                                  "What can I use then,"……

                                  "easy" the techy said, "you can use vasiline/petroleum jelly, just rub it on with your finger or a small soft paint brush, or you can even paint on some ordinary cooking vegitable oil………..both work great"

                                  And they did and still do!

                                  The water was also a mystery to start with, as this type of rubber hardens quicker so the instructions say if it can set with an ambiant moisture content in the air, like in an airing cupboard, but my ex went balistic when i tried the first and only time………Not only did the cloths and towels smell of rubber, but i think the last straw was that i couldn't get the rubber out of a wooly jumper that had dripped on to it…….

                                  So back to the teckies, and they said add a mix of a tea spoon of water into the resin/hardener, and that takes care of the moisture in the atmosphere…….no more ruined or smelly cloths, lol.

                                  the rest is plain sailing, just mix to the recommended quantities as sent out in the sales label, add water…..give a great deal of thorough mixing and pour into the moulds…….but dont add too much hardener/catylist or you might end up with just a block of rubber in your bowl.

                                  However if this ever does happen……….keep the block, cut it up into very small pieces and add a little into the top of a mix next time you have some big moulds to do to bulk out the content of rubber……..that works as well.

                                  And so, having set the fittings into the boxes the rubber was poured, but you will note that in the box for the anchor windless, only half the large fitting is covered…….this is because if you are ,as i did mount the base flat surface on to flat plasticine, it can have a tendency to "float" up into the rubber whilst the rubber is cgoing off…..so once the rubber is set in this mould i will then mix a little more and pour on top of the original……the second layer WILL BOND with the first layer as no release agent will get between these two layers.

                                  Just my own method , but for those for those who, like me would find "making my fittings " in graphics for a printer to do the job…….find this an infinitely more enjoyable way of making my fittings……..
                                  img_3584.jpg

                                  img_3585.jpg

                                  img_3587.jpg

                                  img_3588.jpg

                                  img_3589.jpg

                                  img_3590.jpg

                                  Edited By neil howard-pritchard on 08/09/2022 10:04:21

                                  #101945
                                  neil hp
                                  Participant
                                    @neilhp

                                    the surface casting moulds were split down and cleaned up this afternoon……and look as though they will cast well. try tomorrow after the moulds have cured properly.
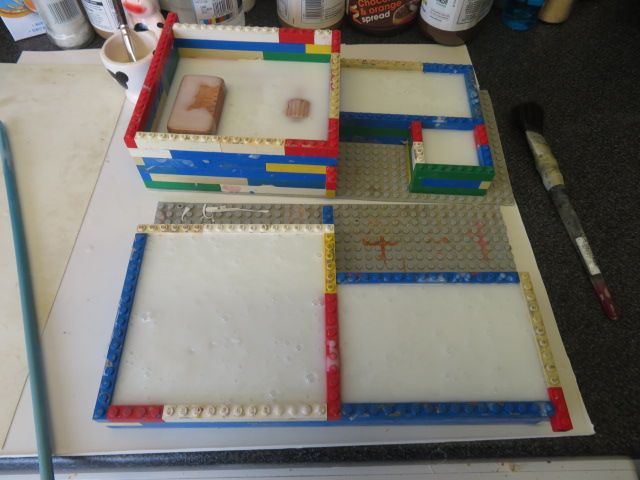
                                    the split mould had the plasticine taken out, the box walls built up and release oil brushed in to the moulded half.

                                    And then the second half of the mould was poured.

                                    Its going off and getting harder as I write, so will split that down tonight and leave till tomorrow before casting.

                                    img_3592.jpg

                                    img_3593.jpg

                                    img_3591.jpg

                                    img_3594.jpg

                                    #101956
                                    neil hp
                                    Participant
                                      @neilhp

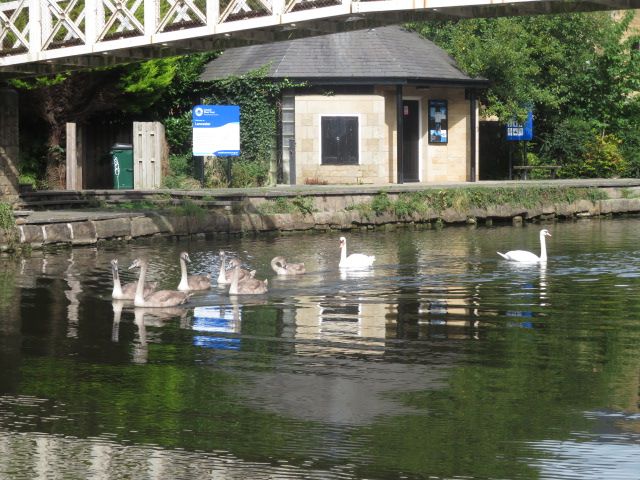
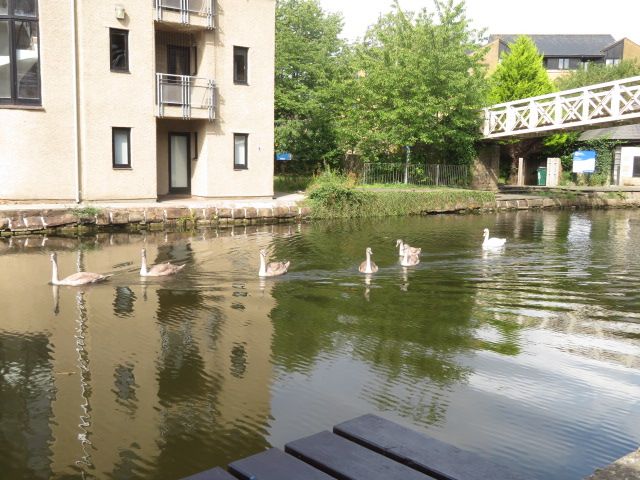
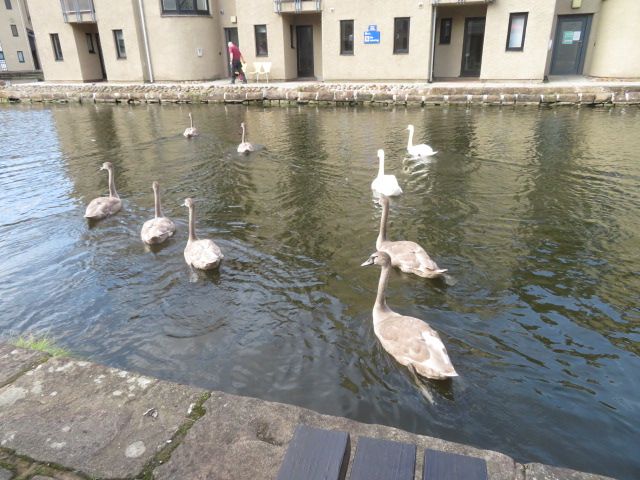
                                      Was out this morning with my daughter in a local historic city, which our late Queen Elizabeth 11 was the Duke of the parish as the Duke of Lancaster, from which the city got its name.

                                      It was fitting to take a walk through the City and then down the canal that runs through the city to a lovely canal side restaurant, and pub, where we had lunch.

                                      Such a tranquil place and somewhere to sit, think of our lovely Queen and all she meant to the country and the world, when as though by magic, the bird of Royalty came sailing by with her mate, and 7 offspring……to set the scene.

                                      After all, the Swan in the UK is a protected bird of the Crown……and I just found it a very peaceful tranquil scene to share with you all. .

                                      img_3607.jpg

                                      img_3608.jpg

                                      img_3611.jpg

                                      #101957
                                      neil hp
                                      Participant
                                        @neilhp

                                        Then it was back to reality and the drive home.

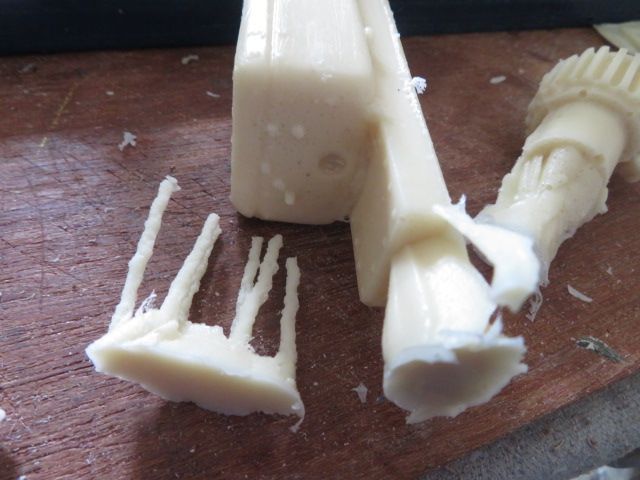
                                        Once home I looked at the fittings already cast to look at imperfections caused by not enough "bleed" tracks to let out air that causes blow holes in the resin.

                                        I always use the first and sometimes even a second casting. However this time the cutting of extra "bleed" tracks did the job, and the second casting came out almost perfectly for whjat I needed……after all, i'm not aiming for 3D quality castings…..

                                        And after trimming of some "flash" on them i have a full set of the fittings needed.

                                        The rest of the fittings for the boat, I have in stock from my previous builds

                                        img_3605.jpg

                                        these problems above are the problems faced when not enough "bleed" tracks are cut

                                        img_3616.jpg

                                        img_3619.jpg

                                        img_3621.jpg

                                        #101987
                                        neil hp
                                        Participant
                                          @neilhp

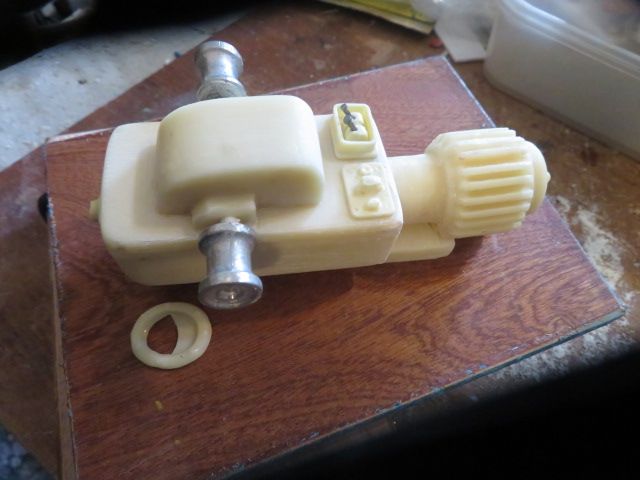
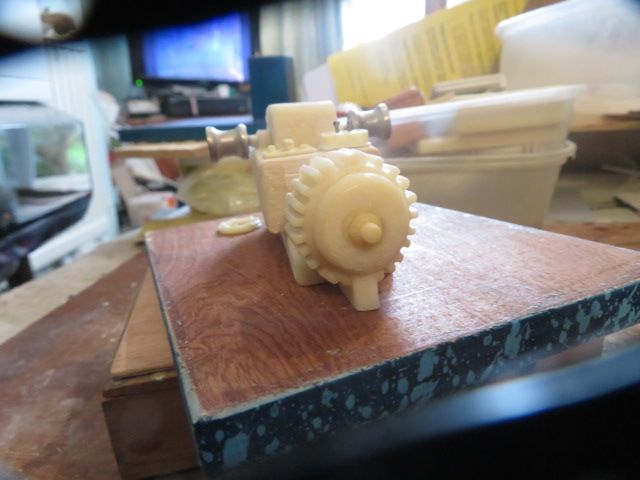
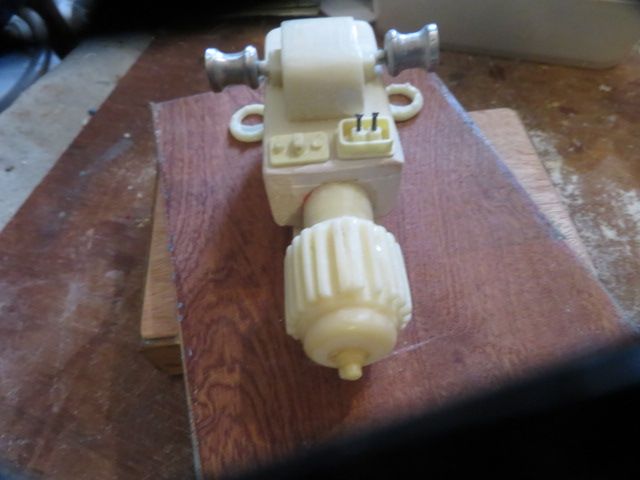
                                          Did some detailing to the anchor windlass today as I cant get out in the jungle of a garden to sand the hull of my Barnett as its raining again.

                                          Put the capstans on, the rope storing deck covers, controls and end bearings for the main shaft on to the front and rear extremities

                                          img_3622.jpg

                                          img_3623.jpg

                                          img_3626.jpg

                                          img_3627.jpg

                                          #101993
                                          neil hp
                                          Participant
                                            @neilhp

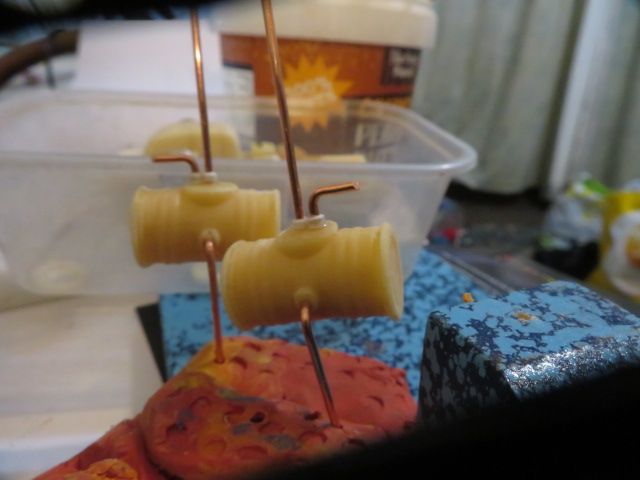
                                            a few more parts detailed tonight.

                                            two water header tanks with inlet, outlet and breather pipes added from copper wire,

                                            and then…….

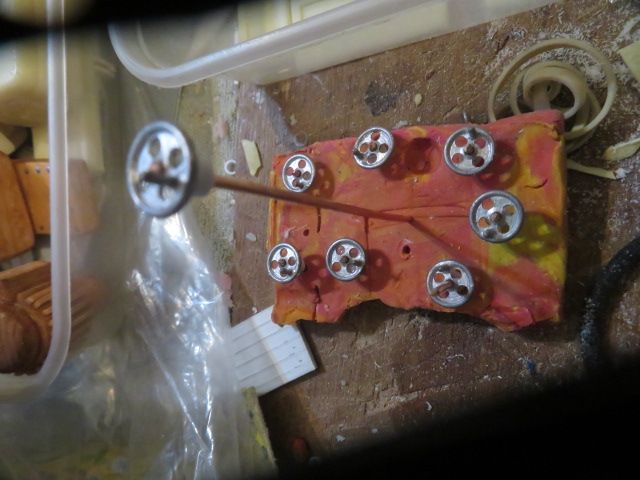
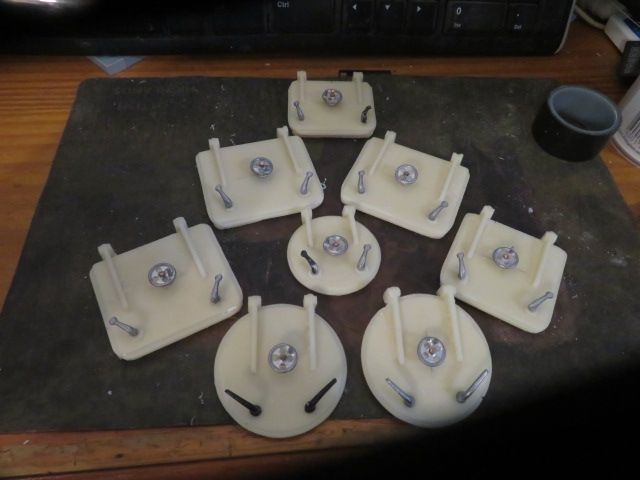
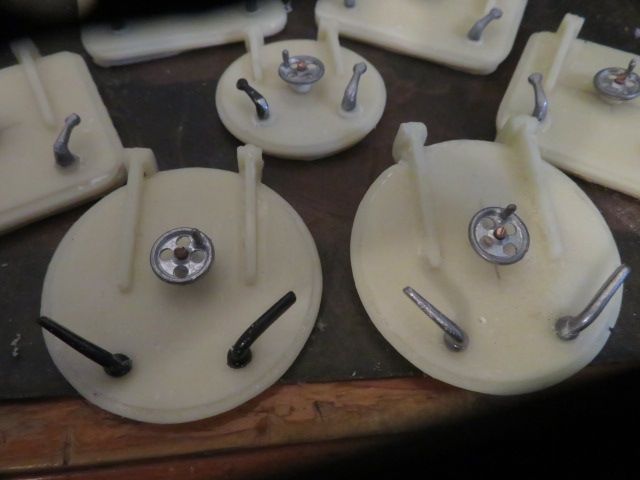
                                            the 8 W/T hatches were given their locking handles and the central locking wheel to make the hatches completely watertight.

                                            img_3628.jpg

                                            img_3629.jpg

                                            img_3630.jpg

                                            img_3631.jpg

                                            #102002
                                            Cecil Webb
                                            Participant
                                              @cecilwebb96087

                                              Hi Neil,

                                              I'm highly interested to get the update of your project.

                                              #102006
                                              neil hp
                                              Participant
                                                @neilhp
                                                Posted by Cecil Webb on 13/09/2022 07:16:48:

                                                Hi Neil,

                                                I'm highly interested to get the update of your project.

                                                Its coming up, and closer to moulding every day, Cecill, stay tuned!!

                                                #102007
                                                neil hp
                                                Participant
                                                  @neilhp

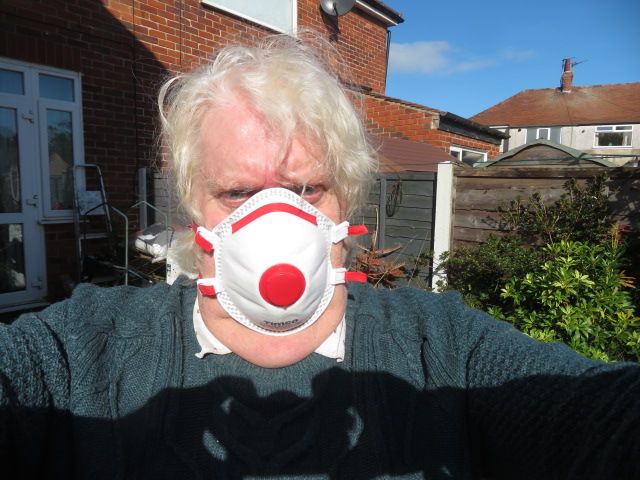
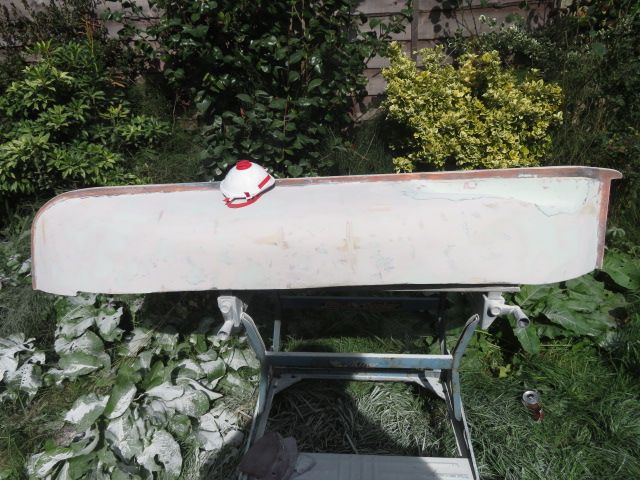
                                                  IT'S BRIGHT AND SUNNY………..YIPPEEE.And so, not a moment to waste…..I've donned my 20 factor face mask, and if I catch the dock and make her keep it on would put one on her too, lol

                                                  Out with the sander on 80 grit to begin with as Lord Leiutenant of North Wales Dave Stavros Jones told me…….

                                                  And a sanding I did go.

                                                  And after about 40 minutes one side was done initionally, and i think i did pretty good with my filling with Dolphin Glaze as there were only two small areas that still showed low spots marked by the black paint sprayed on to mark low spots.

                                                  So these hav been reskimmed and will be sanded down later once the other side has been sanded.

                                                  but for now my back is aching as well as my arthritic shoulders, and so will have a 30 minute brew break, and then back on to the other side.

                                                  img_3640.jpg

                                                  img_3641.jpg

                                                  img_3642.jpg

                                                  img_3644.jpg

                                                  #102008
                                                  neil hp
                                                  Participant
                                                    @neilhp

                                                    Second side sanded up even smoother than the first, with only a half dozen or so blow holes needing a skimming.

                                                    However the tunnels were as rough as a bears bum and needed some filling.

                                                    This I have done and will sand down by hand once the filler has set.

                                                    BUT!!!……….Remembering how I coped with the same problem with all of the other classic lifeboats I have made and moulded…this unevenfinish in the plug, makes little IF NO difference to the actual production moulds……WHY………..because when the moulds come off the plug the uneven ruts and dents that are in the plug, come out in the moulds as raised bumps and lumps which can then be pollished out to give a very smooth surface on the working mould, which is then transfered into nice smooth tunnels on the production mouldings……simples,

                                                    And as such, the tunnels on the plugs are the least of my worries.

                                                    Having a rest and then the fine 180 grit paper goes on to smooth down the plug to a sufficient standard for an even lighter grit paper to do the final sanding before adding some detailing to the hull plug ready for moulding.

                                                    img_3649.jpg

                                                    img_3650.jpg

                                                    img_3651.jpg

                                                    #102010
                                                    ashley needham
                                                    Participant
                                                      @ashleyneedham69188

                                                      Neil. Interesting technical description regarding the smoothness of your tunnels.

                                                      Although large, it’s actually easier to wet n dry something like this as you can get a good sweep on the sanding block and it’s surprising how quick you can remove material.

                                                      When I stripped paint off the big destroyer (6 foot bread and butter bottom) with a hot air gun and scraper I could really give it some welly and it didn’t take that long to accomplish, likewise smoothing with (dry) sandpaper.

                                                      Ashley

                                                    Viewing 25 posts - 126 through 150 (of 648 total)
                                                    • Please log in to reply to this topic. Registering is free and easy using the links on the menu at the top of this page.

                                                    Code of conduct | Forum Help/FAQs

                                                    Advert

                                                    Latest Replies

                                                    Home Forums Scratch build Topics

                                                    Viewing 25 topics - 1 through 25 (of 25 total)
                                                    Viewing 25 topics - 1 through 25 (of 25 total)

                                                    View full reply list.

                                                    Advert

                                                    Newsletter Sign-up