TYNE Class Lifeboat build

Advert

TYNE Class Lifeboat build

Home Forums Build Blogs TYNE Class Lifeboat build

  • This topic is empty.
Viewing 25 posts - 401 through 425 (of 593 total)
  • Author
    Posts
  • #94267
    neil hp
    Participant
      @neilhp

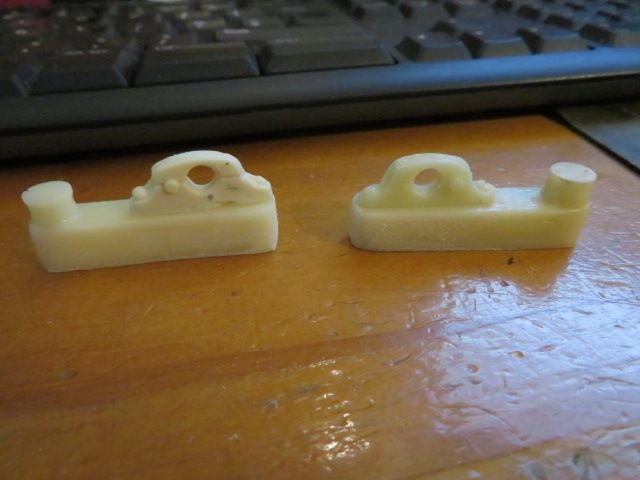
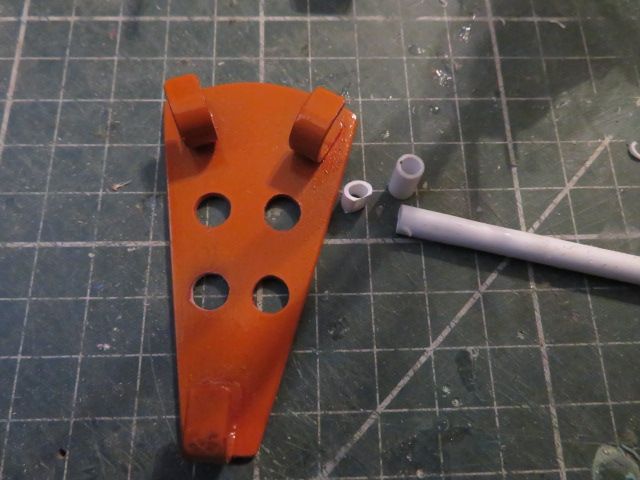
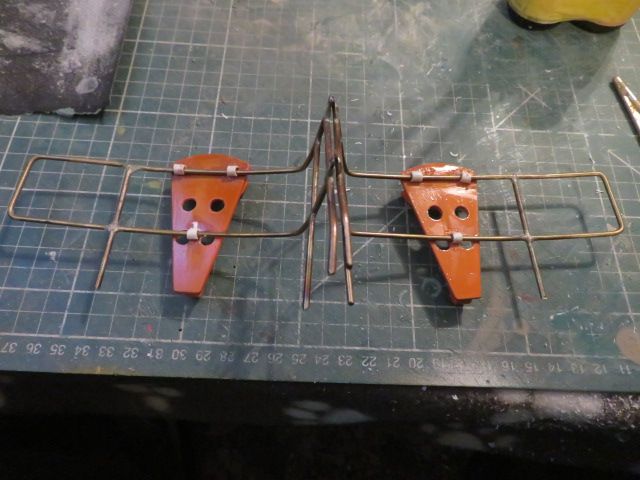
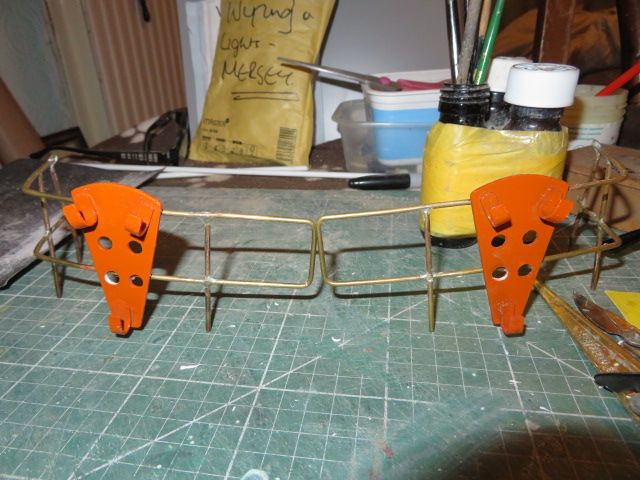
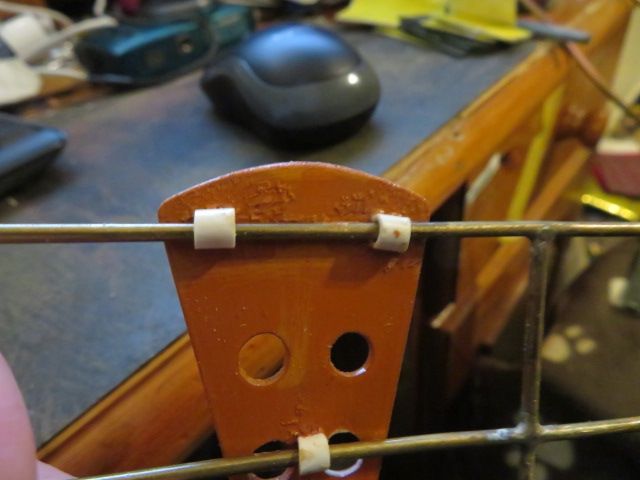
      as usual, i have made a blunder.when i sent Dave Stavros Jones the fittings for Mick French's Mersey to be painted along with his cabin and my boat, i enclosed into the pack to be painted orange, the two life ring brackets that go on the stern pulpit rails……..

      they are supposed to be grey, as the rails and some stanchions are.

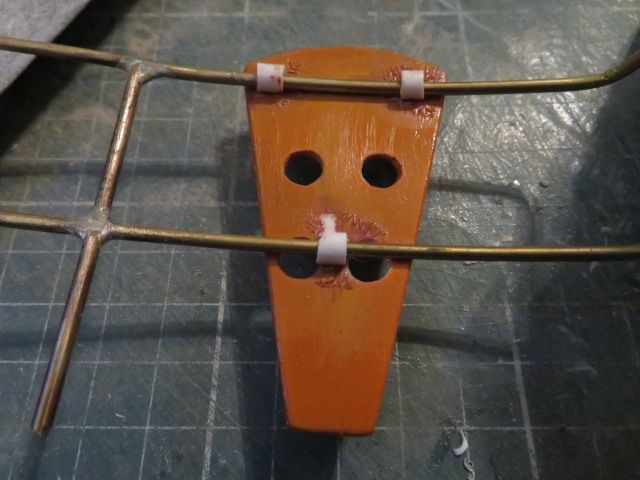
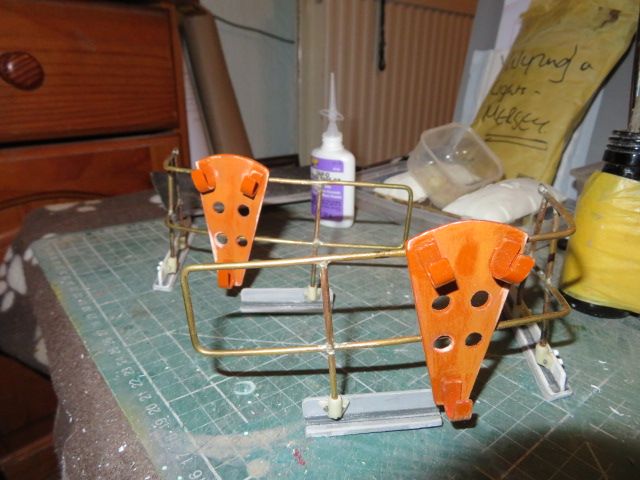
      so in fact it has allowed me to muck up Daves painting and get away with it, for i had to make some brackets this evening from plastic tube which fits around the rails and glues to the plastic of the holder. By using plastic weld glue it has crinkled the paint work around where the brackets glue.

      You can see the efect of putting plastiweld on to 2 pack and cellulose/acrylic paint on photos 2 and 5.

      But, because of the fact that they should be grey, the crinkled paint will be rubbed smooth and then sprayed my personal grey……..Ford Polar Grey.

      img_8160.jpg

      img_8159.jpg

      img_8161.jpg

      img_8162.jpg

      img_8165.jpg

      Advert
      #94268
      neil hp
      Participant
        @neilhp

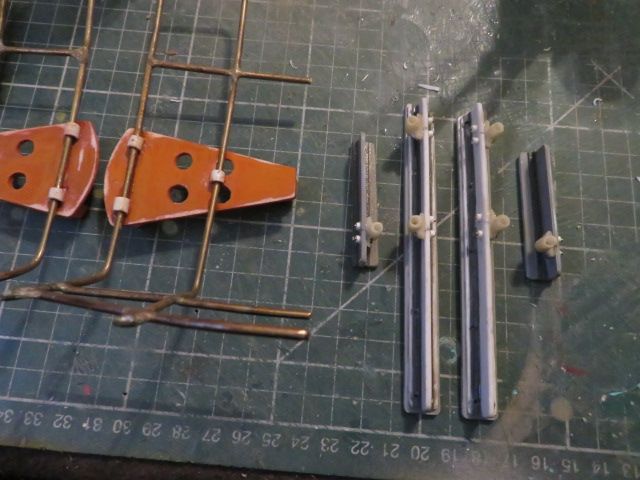
        just having a play and having a dry fit of the toe boards for the aft pulpit rails……

        took me a few minutes to find one of the short toe boards as it had become estranged from all the others.
        its just to see what length i have to trim the stanchions too. which i'll do tomorrow and then glue together readying for spraying.

        img_8166.jpg

        img_8169.jpg

        #94284
        neil hp
        Participant
          @neilhp

          you get to a stage in life, never mind model building, when you are not quite in control of your "destiny" and in model building it is exactly the same.and its two steps forward and one back…………………..or in todays fiasco it was one forward and TWO back

          fitted all of the pulpit rails to the to boards via the toe board brackets. i had made them from cast polyurethane resin some time back, thinking they were strong enough…….could have used some white metal ones but chanced it………that gamble didn't pay off as one of them broke almost immediately when i accidentally dropped it on the floor and the plastic gave in, where as the brass rails didn't.

          the plastic stanchions with molded brackets wont be so tender.

          Hoever after a little giggery pokery and some strengthening with brass tubing [although not quite to scale] will be strong enough to stand the rogours of even Mick French's handling.

          and so i fitted the rails top the toe boards and then dry fit them all to the deck so that both the pulpit rails and the tops of the stanchions sit level on the deck.

          and then………the other step backward. on looking at the life ring brackets, one U shaped holder on the bottom of the bracket had "pinged" off somewhere, and so i had to make another of those, using plasticard and heating it on the cooker to bend it………….small job, that could have not been neaded had i not been clumsy myself….

          the bracket is still loose somewhere……………..grrrrrr.

          but at least all stanchions and rails can now be painted, ready for fitting.

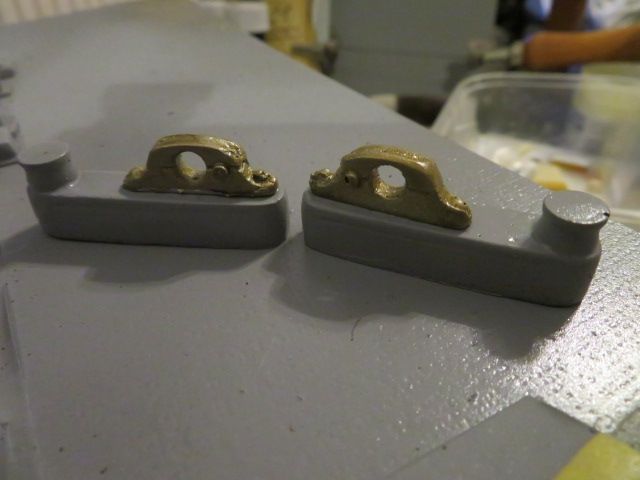
          the bed for the two quick release towing fairleads on the stern, with the small brass roller bollard have been sized up and the base for the roller bollard and fairlead have benn chopped down from that fitting made for the Tyne class stern fairlead and bollard……..fits a treat.

          theres going to be a lit of painting tomorrow, lol.

          img_8179.jpg

          #94289
          neil hp
          Participant
            @neilhp

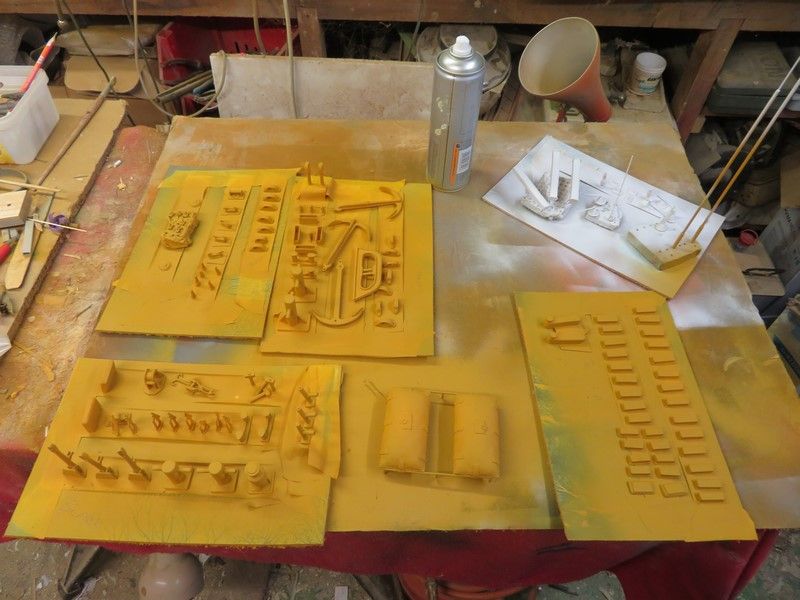
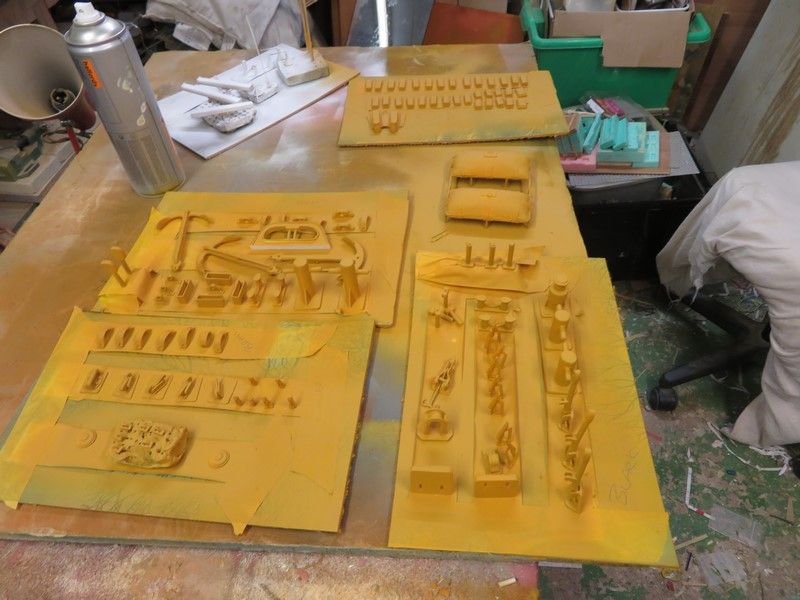
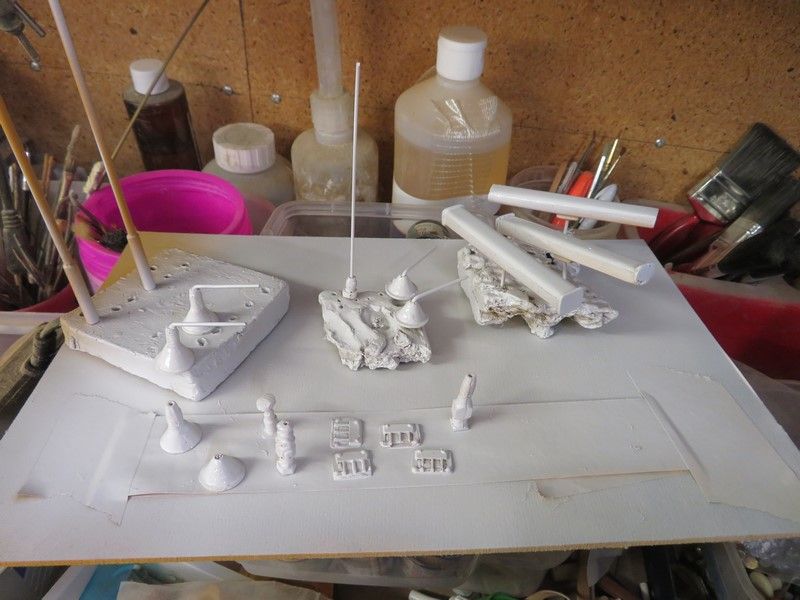
            Except for a few parts which were painted earlier, all parts for the Mersey, and a few for the Tyne that were handy have all been spray painted with filler primer.

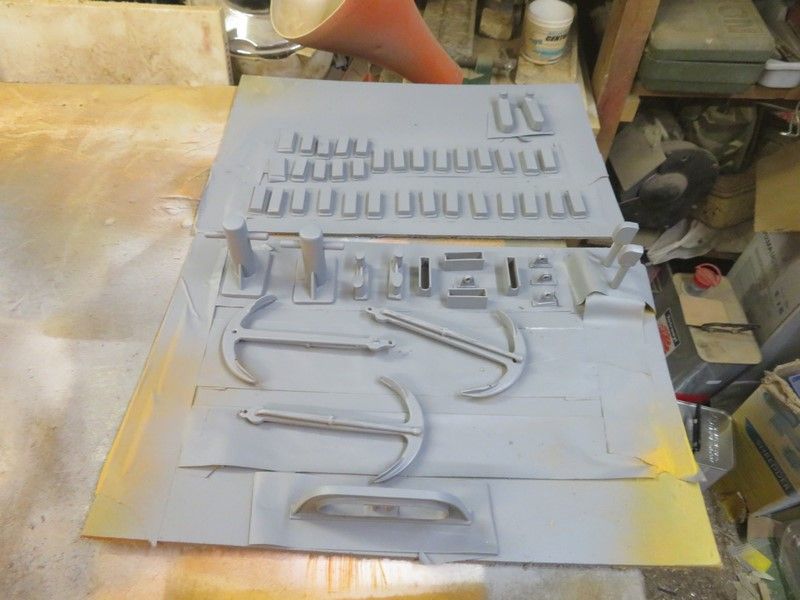
            later, perhaps tomorrow I will get up early for a change and give them all a grey undercoat primer, before painting them in batches in their finished colours, black, grey, white alluminium/chrome and "brass/bronze"

            Once dry, then it will be just a task od attaching them to the hulland deck, before adjusting to fit, each section of the stanchion sets………and then these will be fitted. Hopefully by friday evening or Saturday.

            img_8186 (copy).jpg

            img_8187 (copy).jpg

            img_8189 (copy).jpg

            img_8190 (copy).jpg


            Edited By neil howard-pritchard on 17/03/2021 20:54:35

            #94297
            neil hp
            Participant
              @neilhp

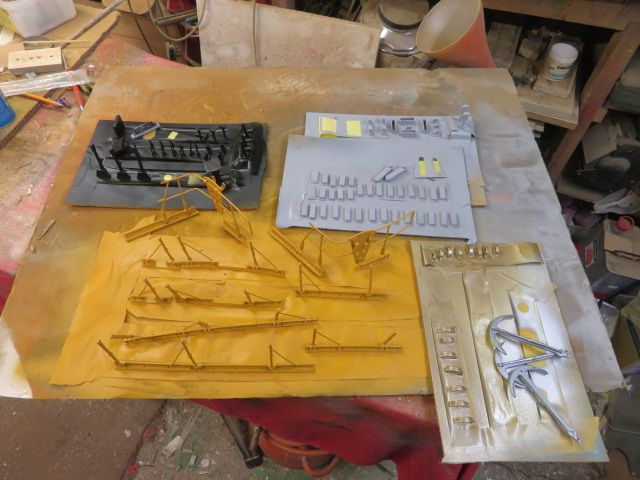
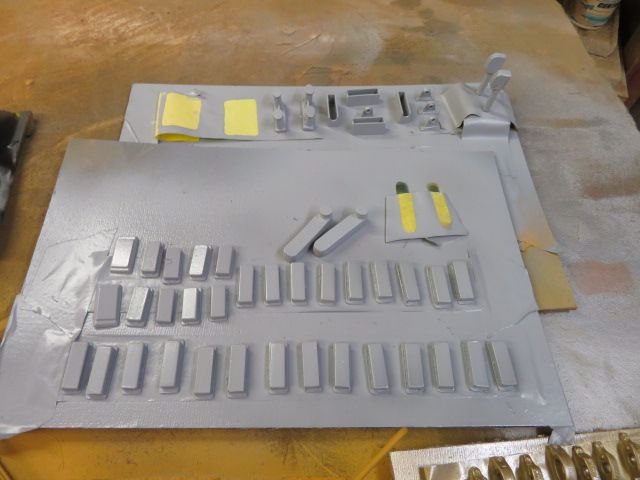
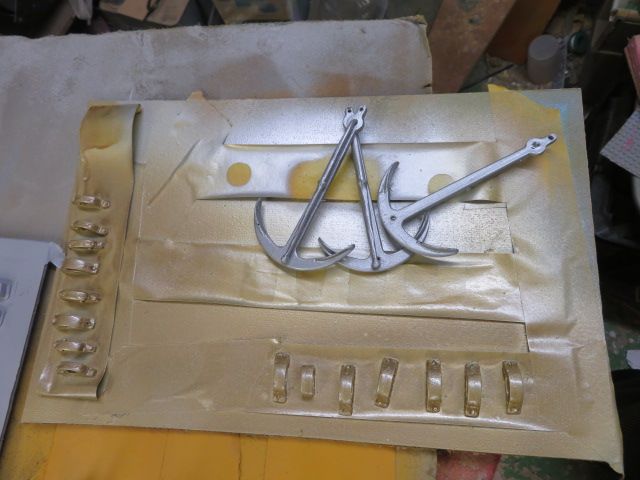
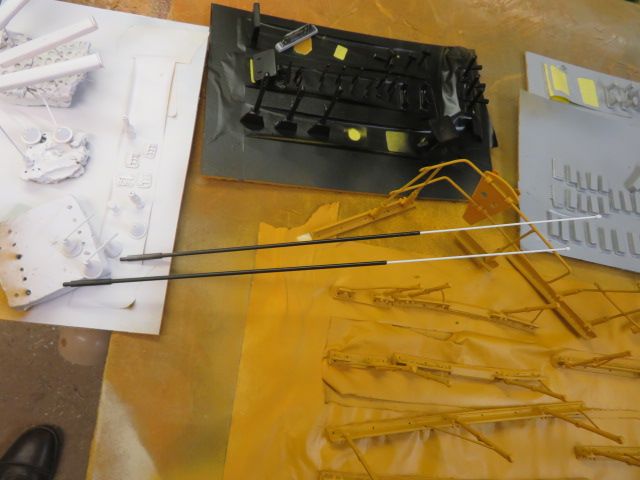
              today was paint the parts day.

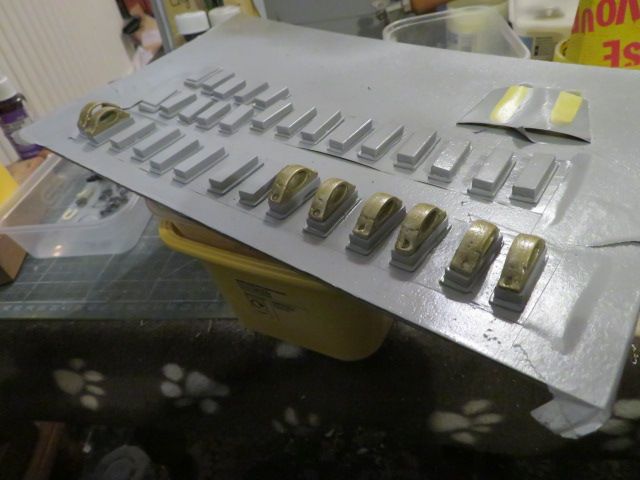
              and so i taped them in to seperate colours on scrap hardboard rectangles.

              then just sprayed each section of fittings………white, black, grey. alluminium/silver and ford gold [nearest to brass/bronze]

              And then………it was down to getting the toe boards with fitted stanchions onto the deck thwarts so that there was a slight "toe in" towards the centre of the vessel.

              This entailed using my linisher to sand the base of each stanchiom board to an angle to take into account the camber at the thwarts of the boat to allow the head of the stanchion to be leaning in towards the cabin. Each set needed a slightly different amount of sanding to get the same angle of "lean".

              even sprayed the two colours for the whip areals, lol.
              img_8194.jpg

              img_8196.jpg

              img_8197.jpg

              img_8199.jpg

              img_8201.jpg

              #94298
              neil hp
              Participant
                @neilhp

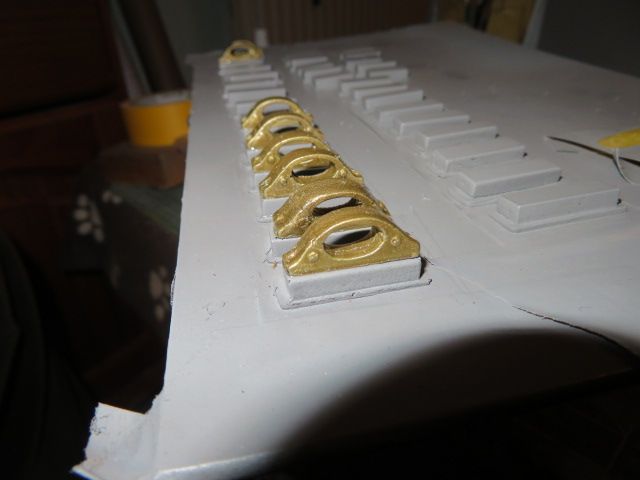
                think i over did it with the number of bases that i painted for the fairleads………but better more than less, lol………..

                but i have started putting the bits together to make a whole one or more.

                the fairleads have been glued to the bases and are ready for fitting to the deck of the Mersey, and evemtually the Tyne.

                img_8203.jpg

                img_8204.jpg

                img_8207.jpg

                #94321
                neil hp
                Participant
                  @neilhp

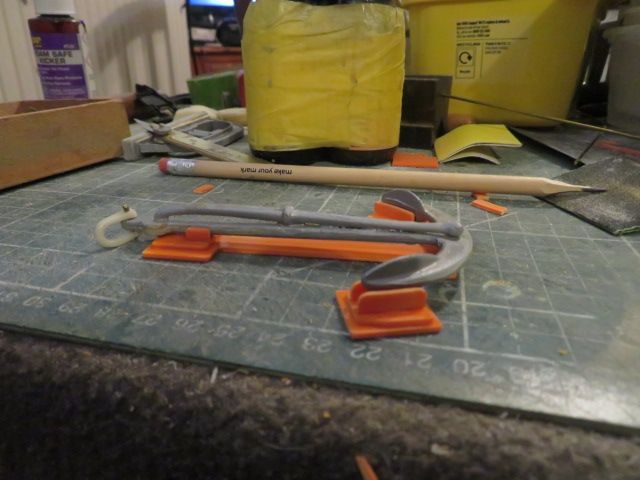
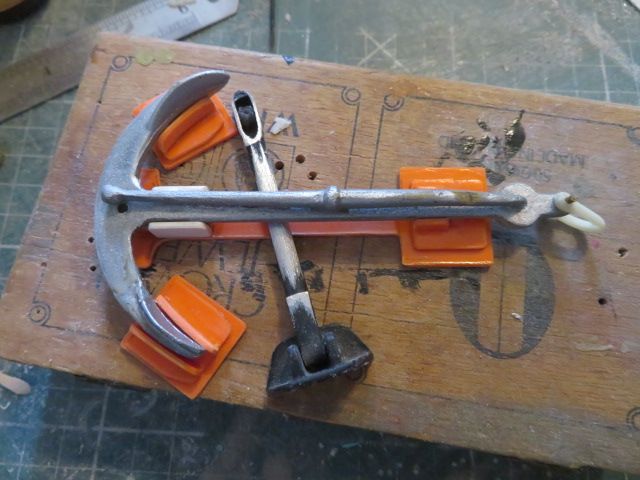
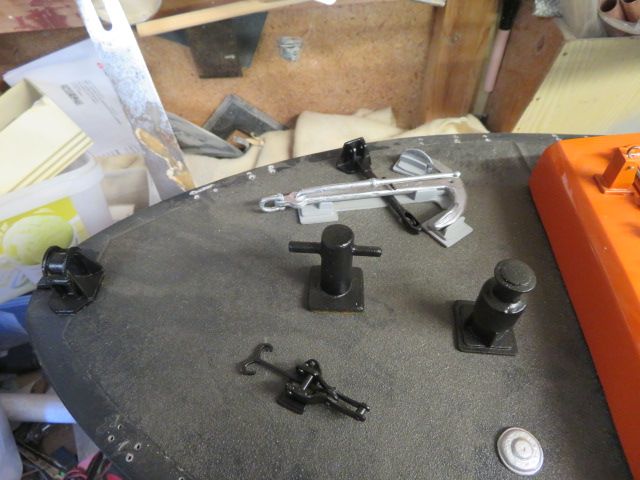
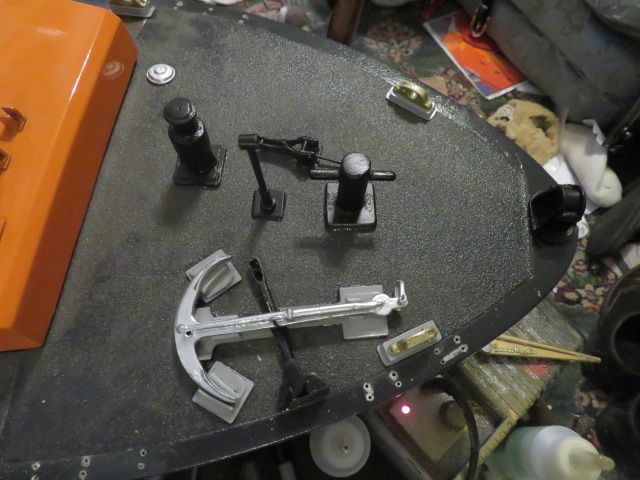
                  As i couldn't see a "fishermans" pattern type anchor on the plans i have for the mersey, i have been wondering about fitting one, and where/how.

                  But this morning

                  Martin Kinghoward

                  solved my dilemma by posting photos of a Mersey with one on the starboard bow.

                  just what i needed………….Martin, you must be a mind reader, but it has helped greatly.

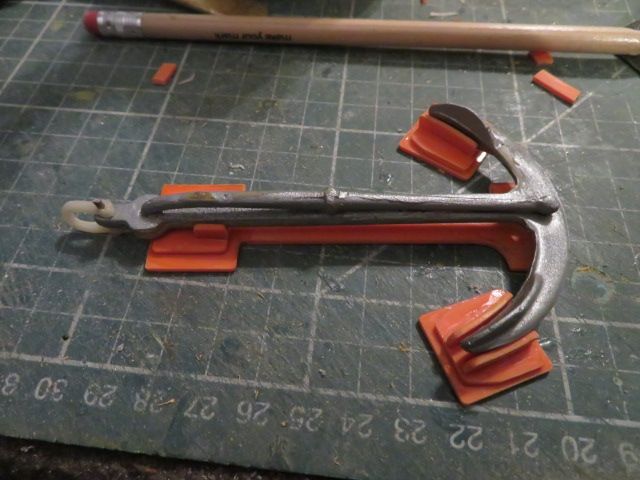
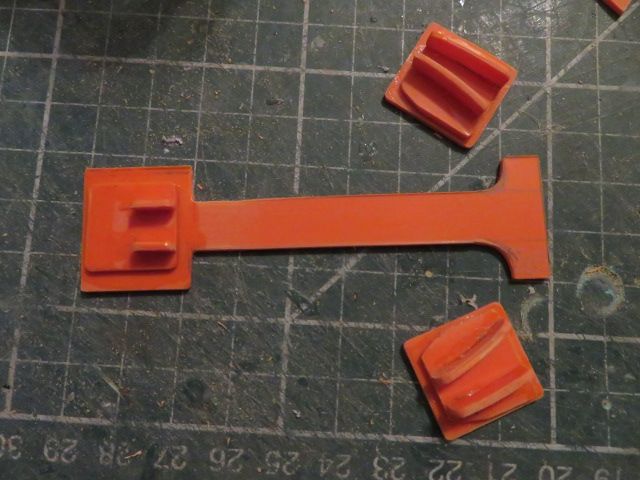
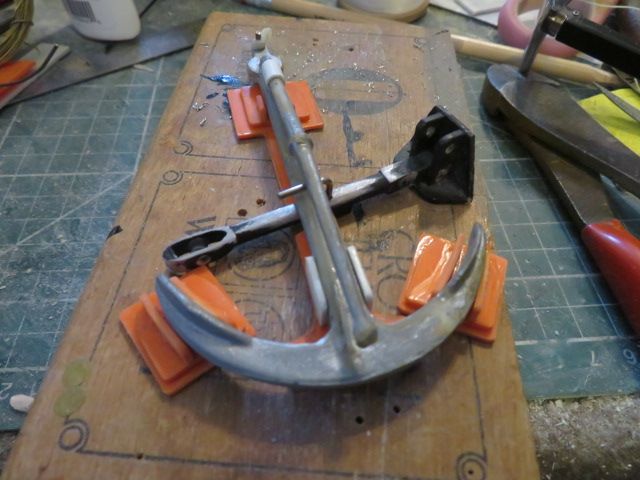
                  here is my interpretation of the deck brackets that hold the anchor in place. i have the upright bracket and post in my box of tricks and this will be added to the fixture once anchor and brackets are painted and also fitted.

                  img_8214.jpg

                  img_8216.jpg

                  img_8217.jpg

                  #94322
                  gecon
                  Participant
                    @gecon

                    Morning Neil,

                    May I ask what you have painted the fairleads and anchor with? I've been having trouble with my old tins of Testor's and Humbrol metallics not drying/cureing so well.

                    May be that I simply don't wait long enough, but Ray has observed some Humbrol metallics being permanently 'soft'.

                    Planning to try a Tamiya acrylic(Titanium silver) this weekend and just wondered if your metallics above are acrylic?

                    George

                    #94331
                    neil hp
                    Participant
                      @neilhp

                      hi george……..Halfords rattle cans, either alluminium, chrome, silver or in the brass coloured ones……Ford Gold.

                      #94333
                      gecon
                      Participant
                        @gecon

                        Thanks Neil, might have to resort to this if I can't sort the problem.

                        Have just done a new test on my Humbrol silver. Thinned it out about 5% and painted by brush straight onto a scrap of brass tube. Touch test tomorrow for fingerprints!

                        George

                        #94343
                        neil hp
                        Participant
                          @neilhp
                          Posted by gecon on 20/03/2021 13:37:41:

                          Thanks Neil, might have to resort to this if I can't sort the problem.

                          Have just done a new test on my Humbrol silver. Thinned it out about 5% and painted by brush straight onto a scrap of brass tube. Touch test tomorrow for fingerprints!

                          George

                          i always, even with a humbrol enamel, spray an undercoat or filler primer first to give a key to the top coat, whether acrylic, cellulose or enamel……..but never put an enamel on first, and then an acrylic or cellulose on top of your enamel………..you will just get orange peel reaction and the paint will crinkle and flake off.

                          #94344
                          neil hp
                          Participant
                            @neilhp

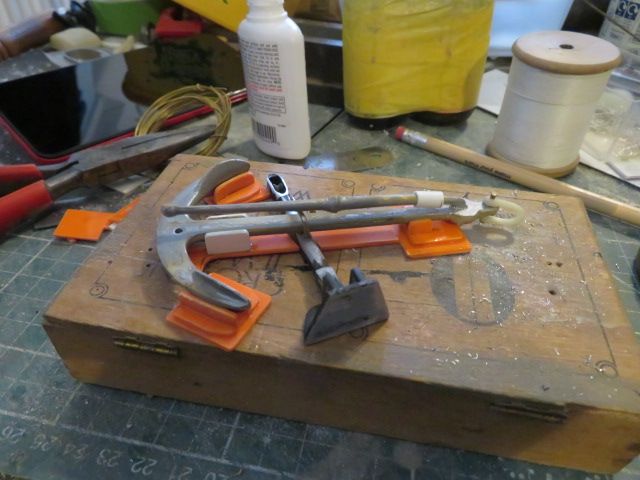
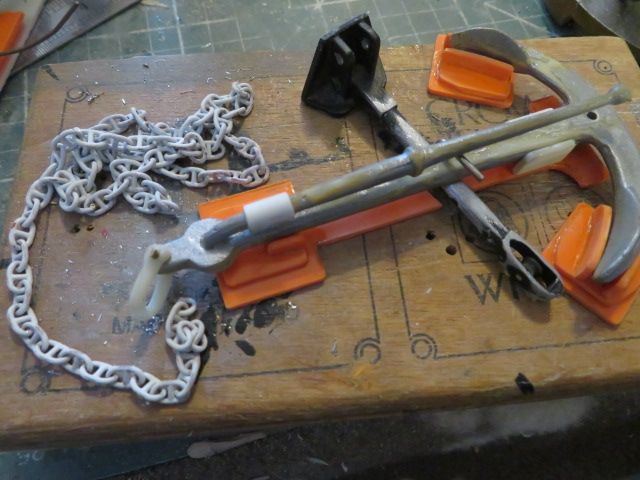
                            The "Fishermans" pattern anchor, [and from asking friends about this type, it is the only anchor that the boat I am building carried at her point in life] has now been finished as per deck brackets and holding stock and so will go for painting as soon as there is a break in the tv prog I am watching.

                            Then it will be put asside whilst I assess if there is anything more to fabricate and paint before i put all the bits and pieces on to the boat.

                            And as I am still within my proposed deadline to finish it by the end of March I am quite happy with progress.

                            img_8222 (1).jpg

                            img_8223.jpg

                            img_8224.jpg

                            img_8225.jpg

                            #94346
                            gecon
                            Participant
                              @gecon

                              The anchor detail and chain are nothing short of fantanstic. Truly superb work Neil. Though we never expect to see anything less on this build-blog.yes

                              George

                              #94347
                              neil hp
                              Participant
                                @neilhp

                                thank you George, your comments are greatly appreciated.

                                however i cannot take any credit for the anchor chain. i bought that some years ago from Jotika Coldercraft by a meter length…..beautiful stuff it is too.

                                #94349
                                neil hp
                                Participant
                                  @neilhp

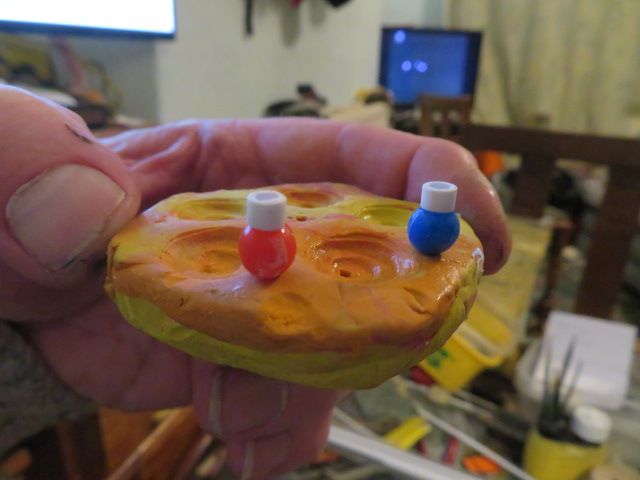
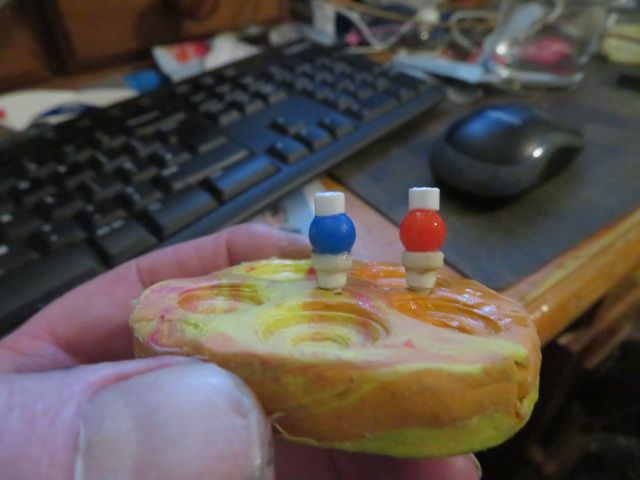
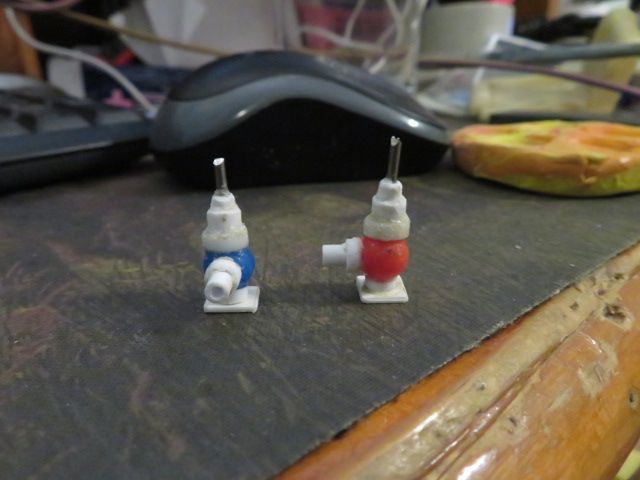
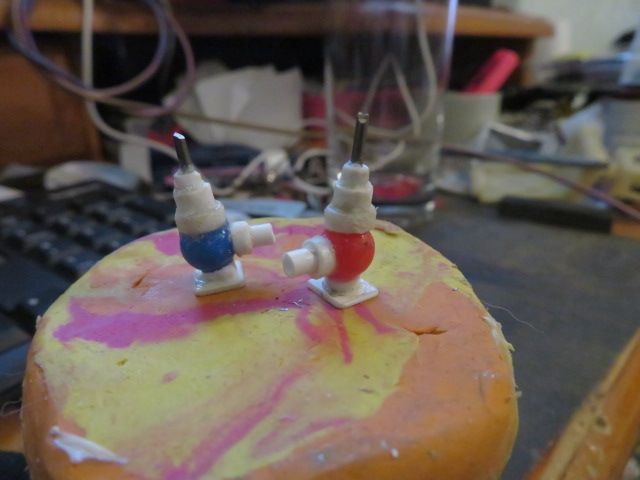
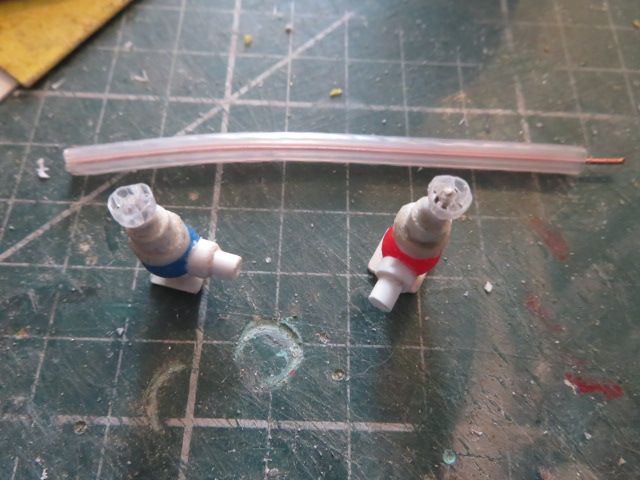
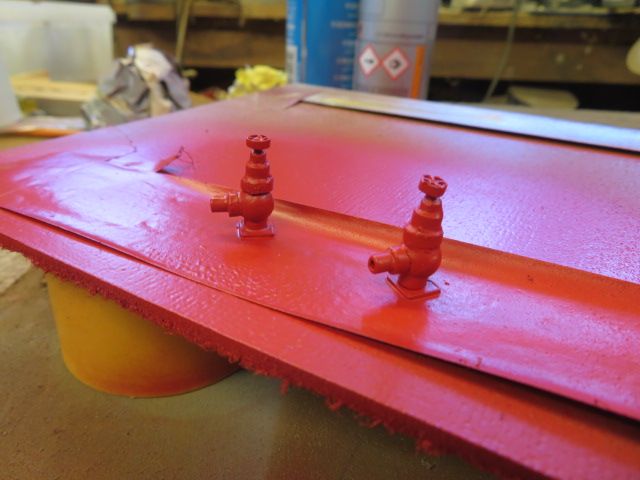
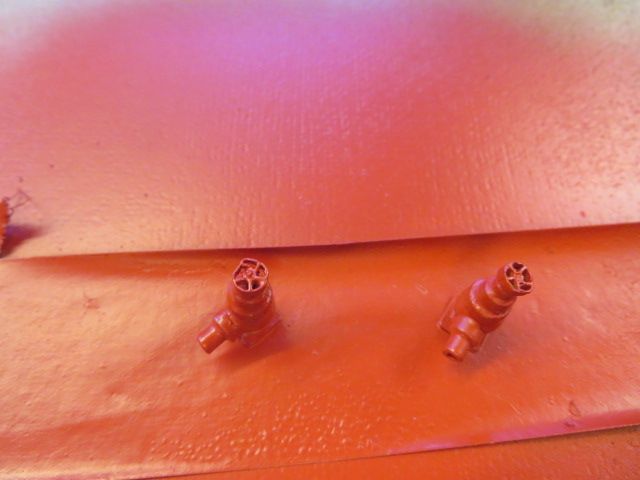
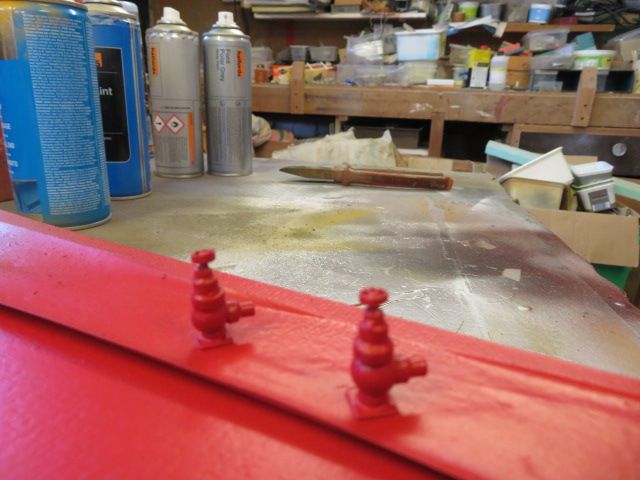
                                  Needed to make two water valves for the fire fighting hoses fitted into recesses on the fore end of the cabin, port and starboard.

                                  lateral thinking and the use of everyday items came into the mix, and along with some plastic tubing came into play.

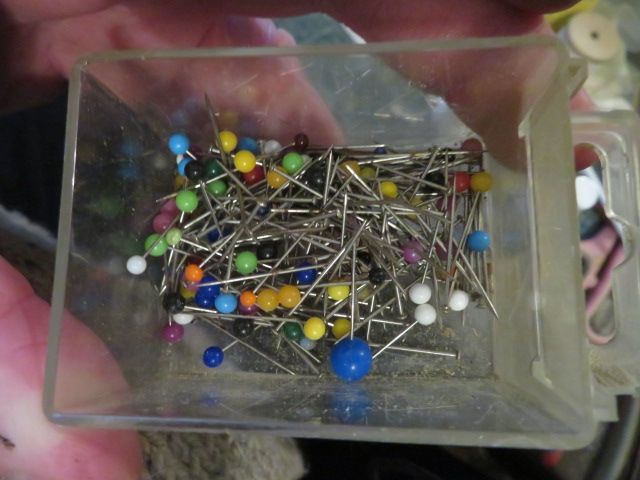
                                  take two "pin board" pins with ball ends, and snip the actual pims off .

                                  the rest is just using differentt interfitting plastic tubing for the valve fittings, and bob's your uncle, fanny's your ant, as my old mum would say as she put a creation into the oven to bake.

                                  the valve wheels for the two will be made from the centre of a TV areal co-axial cable sliced thinly and glued on to the brass pin.

                                  img_8227.jpg

                                  img_8226.jpg

                                  img_8228.jpg

                                  img_8229.jpg

                                  img_8231.jpg

                                  #94350
                                  Eddie Lancaster
                                  Participant
                                    @eddielancaster

                                    Nothing short of ingenious, I have great difficulty in this lateral thinking lark.

                                    A beautiful build and attention to detail all through the build.

                                    Regards.

                                    Eddie.

                                    #94352
                                    neil hp
                                    Participant
                                      @neilhp

                                      thank you Eddie……..much appreciate your comments.

                                      they truly spurr me on, to receive them. cheers,

                                      #94353
                                      Bob Abell 2
                                      Participant
                                        @bobabell2

                                        Hi Neil

                                        Your attention to detail is a sight for sore eyes!

                                        The build ingenunity, if that`s how it`s spelt, is very surprising and very entertaining to watch during creation

                                        You richly deserve the praise that is flying about!

                                        All the best, my mate

                                        Bob

                                        #94354
                                        neil hp
                                        Participant
                                          @neilhp

                                          thank you Bob………it came to me in an instant the other night to use the pins, as i was looking for something else……..i tend not to throw anything away, and why my workshop looks like a junk yard……and the small wheels came to me many years ago when i was making a model warship……….co-axial cables are great for tiny wheels…..

                                          img_8236.jpg

                                          img_8239.jpg

                                          img_8240.jpg

                                          img_8241.jpg

                                          and at the same time, i painted and glued the anchor to its locating deck brackets……they just have to be tied and secured now before gluing it to the deck!

                                          img_8237.jpg


                                          Edited By neil howard-pritchard on 21/03/2021 17:07:06

                                          #94363
                                          neil hp
                                          Participant
                                            @neilhp

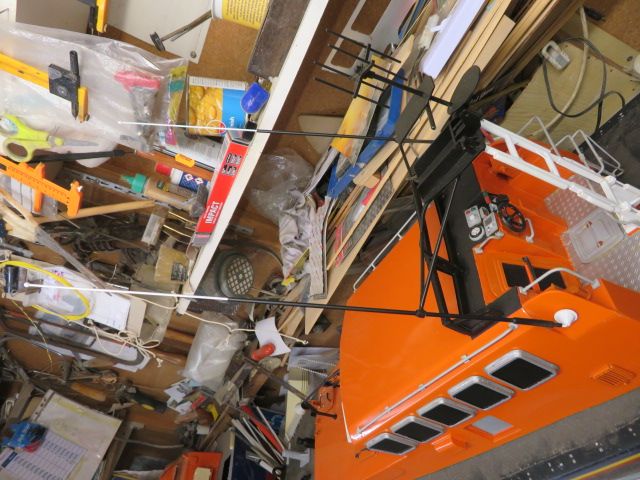
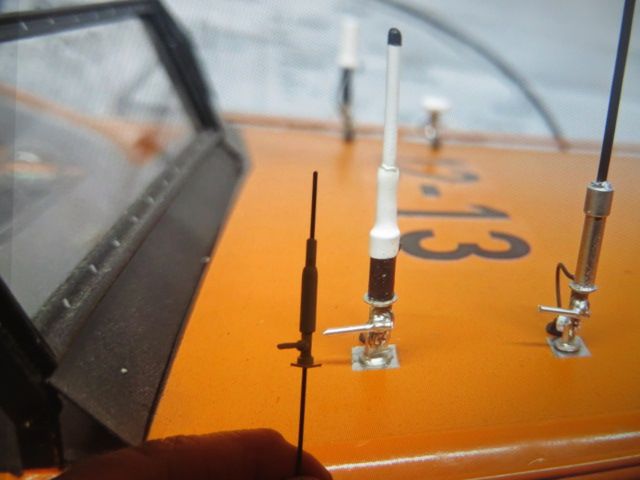
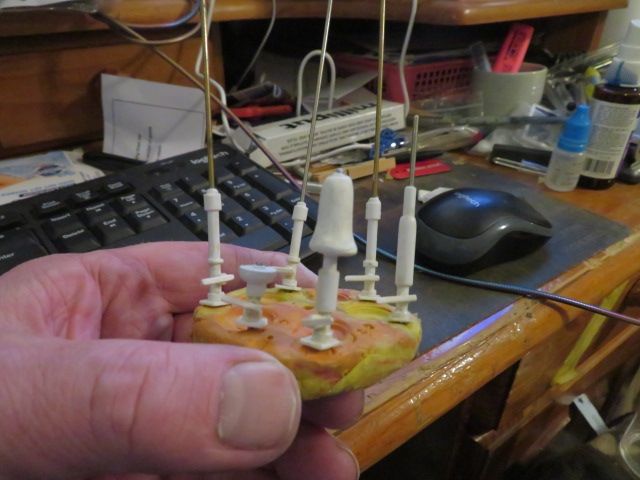
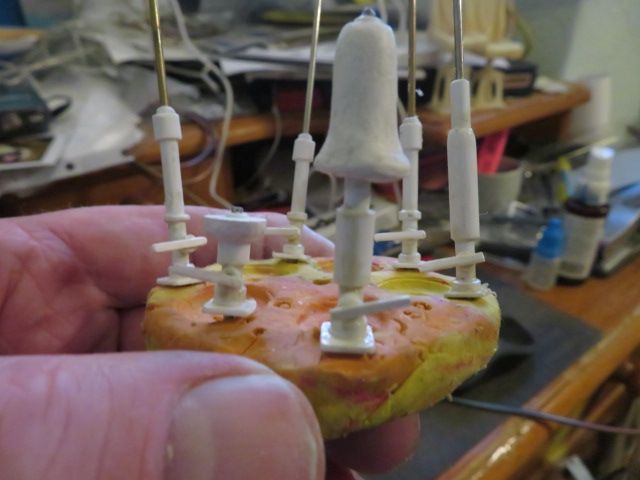
                                            the aray of cabin top areals have been fabricated, loosley on Chris Beynon's fabulous ones that he has produced and shown photos of on here earlier today.

                                            the odd toadstool shaped one has been fabricated by using a piece of milliput white moulded around a piece of plastic tube glued tp a core of 1mm stainless steel rod.That one will then be sanded to shape once the milliput has cured.

                                            they aren't anywhere near the sname standard as Chris's, but wont look too bad once painted.

                                            img_8259.jpg

                                            img_8260.jpg

                                            img_8261.jpg

                                            #94378
                                            neil hp
                                            Participant
                                              @neilhp

                                              well!!!, last night,

                                              Chris Beynon

                                              asked me if i was going to produce the aerials for the Mersey and other lifeboats from the masters i had made and shown last night,

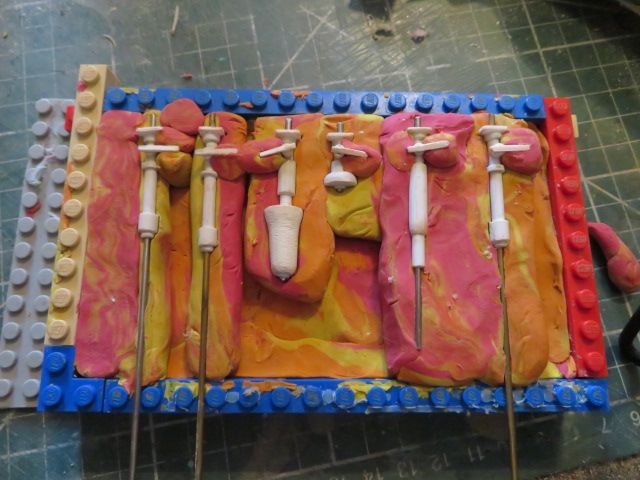
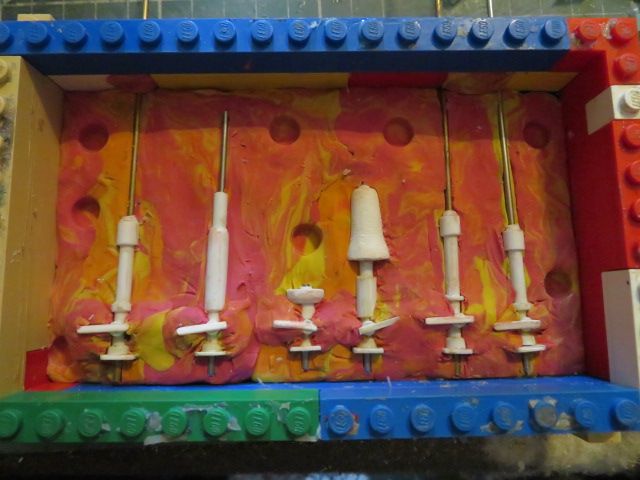
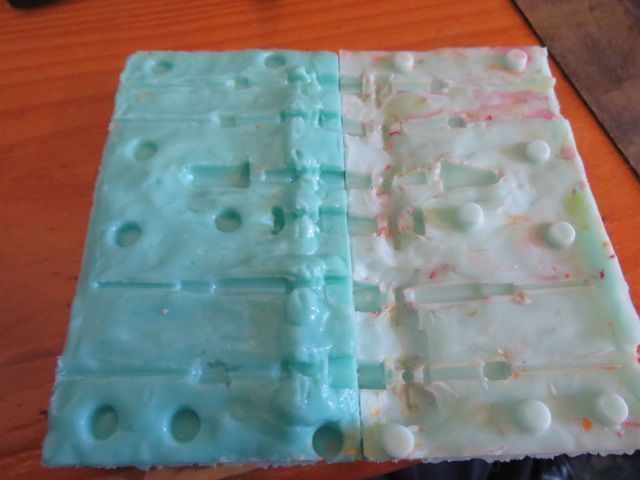
                                              never let it be said that i am not up for a challenge, and so this morning i laid them up in plasticine ready for moulding.

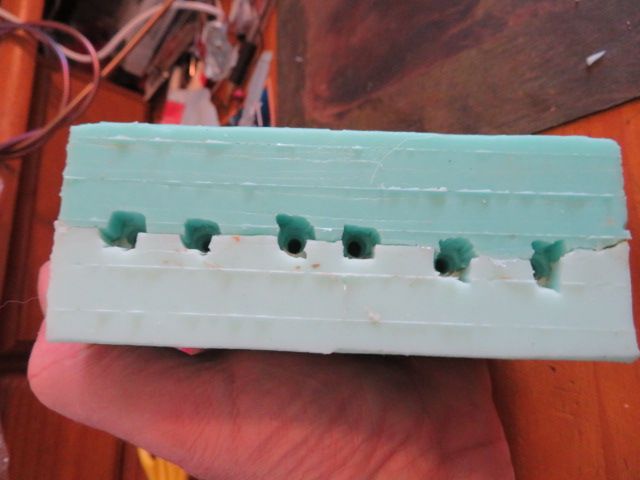
                                              you will see that the steel wire is still attached, and also protruding out of the mould box……..do not dispair….

                                              i'll be lucky if the resin once moulds have been made in two halves will ever run down the thin track of the steel…………

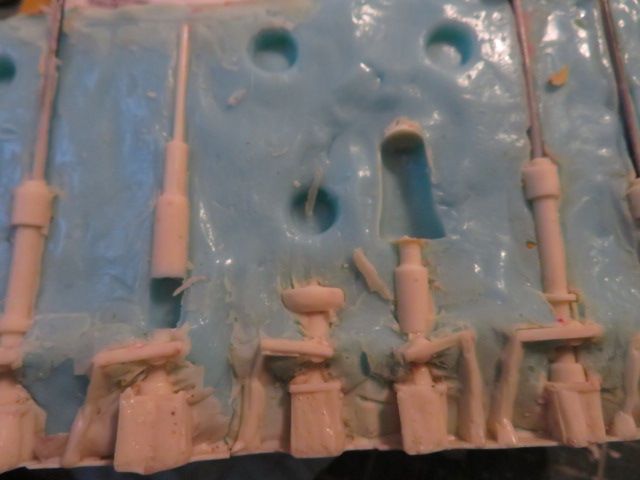
                                              however once a casting is ready for going in, i just put into the track that has been left in the rubber by the steel wire, a piece of stainless steel, very slightly smaller in diameter into that track so that it penetrates the base by aproximately 10 – 15mm and then cast away. the steel is then embedded into the newly cast resin, and stuck in place………

                                              well!!! thats the idea………worked well once before, so dont see why it shouldnt this time.

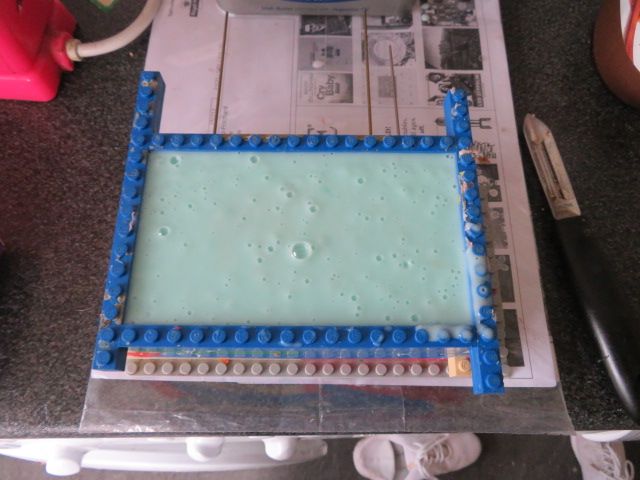
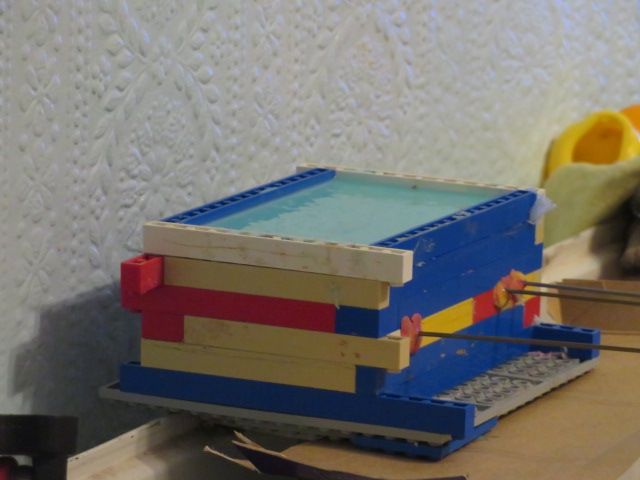
                                              then i just mixed the rubber and catylist, and poured into the moulding box, made from lego bricks.

                                              img_8263.jpg

                                              img_8264.jpg

                                              img_8265.jpg

                                              #94391
                                              neil hp
                                              Participant
                                                @neilhp

                                                second half laid up and now curing on the nice hot radiaimg_8278.jpgtor.

                                                #94403
                                                neil hp
                                                Participant
                                                  @neilhp

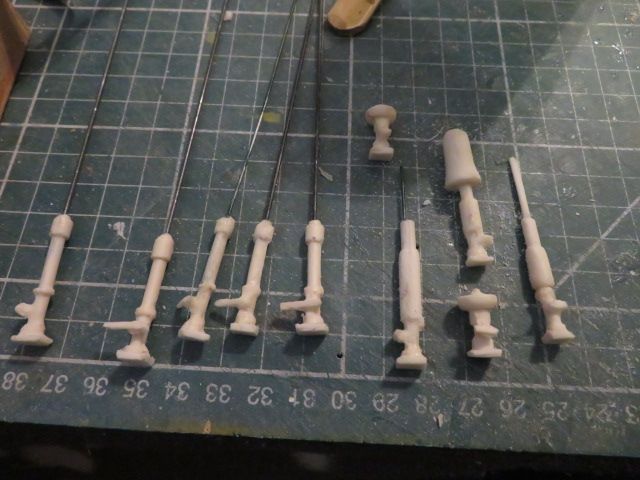
                                                  some you win, some you lose, and this one i lost!

                                                  the molds came out, so i thought well,and i removed the masters that i had made.

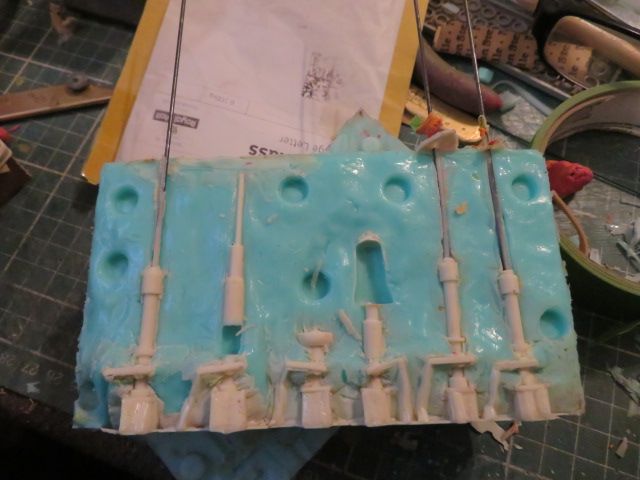
                                                  and so i cut the tracks to pour the resin in, made two ply backing boards and inserted the wire for the aerials……and then i cast them!

                                                  it wasn't so much a disaster, as more a waste of silicon rubber, casting resin and time.

                                                  some of the items only cast half an object, and it took two casts to get one set plus a few spares out of the moulds.

                                                  also it was a pain to keep the wires from falling out of the bottom of the mould.

                                                  on the first casting i held them into the mould with masking tape and plasticine. the second mould i "stuck" the wires in place using vaciline, and although that worked better, the overall effort was not worth the expenditure of resin, for what i could sell them for.

                                                  in fact it fook me at least 2 hours to clean them up ready for painting…………and i made the masters in less time……

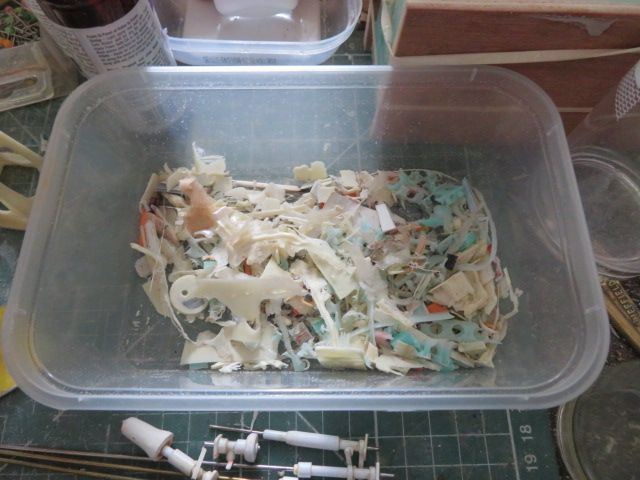
                                                  so sadly, this set of fittings is a dead duck in the water, and i'll shred the rubber to pad out some more moulds in the future.
                                                  the last photo is of the waste in a container from just 2 castings……….

                                                  i know when i'm beaten with a mould lol.
                                                  img_8286.jpgimg_8288.jpg

                                                  img_8293.jpg

                                                  img_8294.jpg

                                                  img_8295.jpg

                                                  img_8302.jpg

                                                  #94471
                                                  neil hp
                                                  Participant
                                                    @neilhp

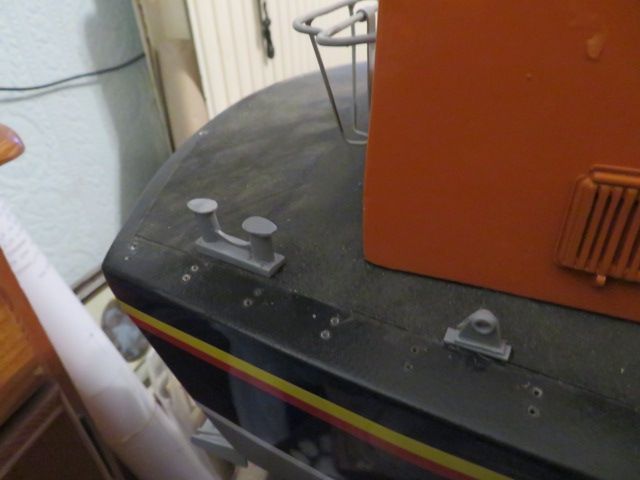
                                                    this is going to please my friend Mick French…….who's model this is.
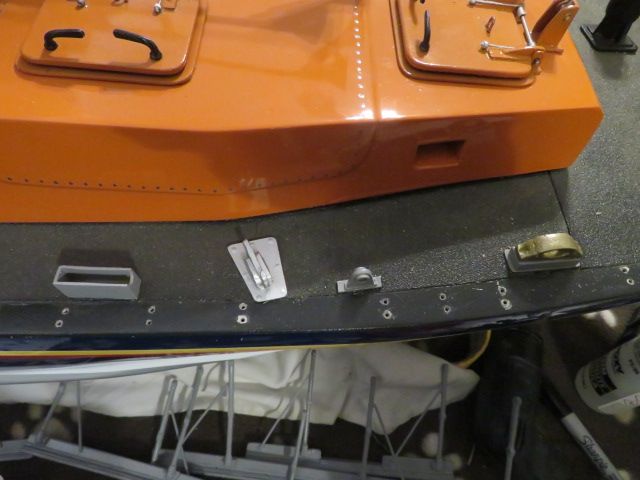
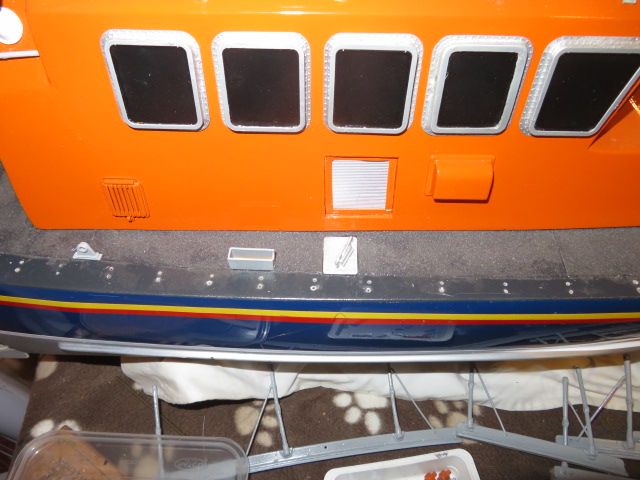
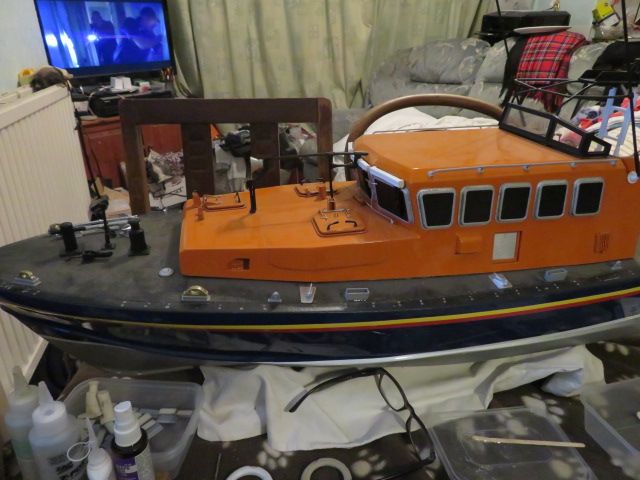
                                                    i've started to fit the deck fittings [ made months ago] using 2 part epoxy glue, setting time of 30 minutes to get a better adhesion rate

                                                    Done the starboard side and bow deck tonight,and now going to have a couple of beers, whilst watching the goggle box, and will do the port side tomorrow morning along with the aft deck fittings.

                                                    img_8324.jpg

                                                    img_8323.jpg

                                                    img_8322.jpg

                                                    img_8321.jpg

                                                    #94472
                                                    neil hp
                                                    Participant
                                                      @neilhp

                                                      hadn't started a beer yet so did the port side and stern bitt as well

                                                      img_8325.jpg

                                                    Viewing 25 posts - 401 through 425 (of 593 total)
                                                    • Please log in to reply to this topic. Registering is free and easy using the links on the menu at the top of this page.

                                                    Code of conduct | Forum Help/FAQs

                                                    Advert

                                                    Latest Replies

                                                    Home Forums Build Blogs Topics

                                                    Viewing 25 topics - 1 through 25 (of 25 total)
                                                    Viewing 25 topics - 1 through 25 (of 25 total)

                                                    View full reply list.

                                                    Advert

                                                    Newsletter Sign-up