61′ Barnett class lifeboat

Advert

61′ Barnett class lifeboat

Home Forums Scratch build 61′ Barnett class lifeboat

Viewing 25 posts - 201 through 225 (of 648 total)
  • Author
    Posts
  • #102260
    Richard Simpson
    Participant
      @richardsimpson88330

      Why do you incorporate a flange into the mould Neil?

      Advert
      #102261
      neil hp
      Participant
        @neilhp
        Posted by Richard Simpson on 02/10/2022 13:17:15:

        Why do you incorporate a flange into the mould Neil?


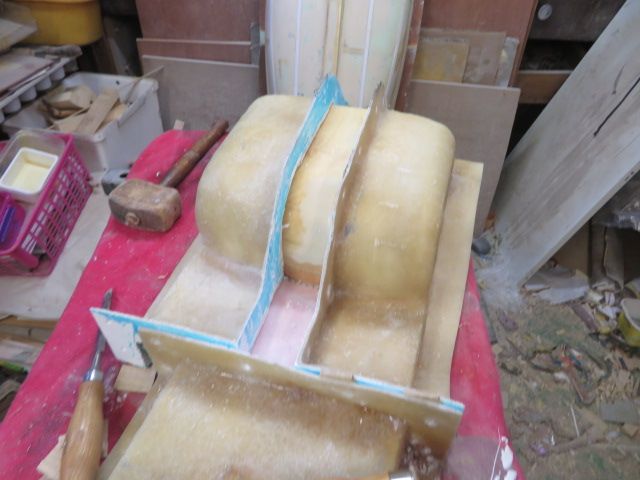
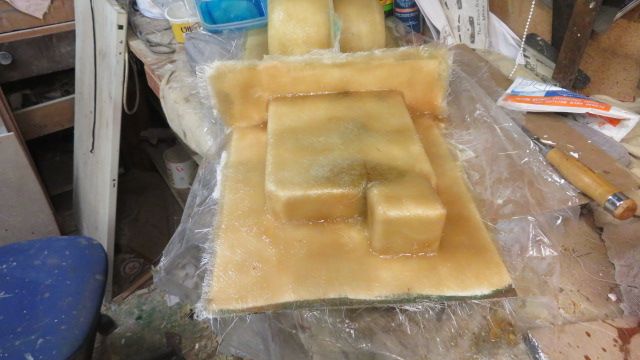
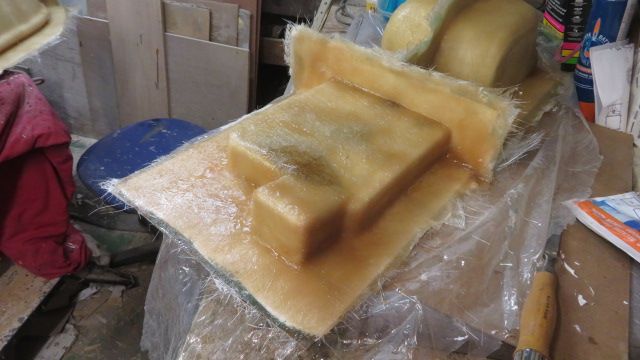
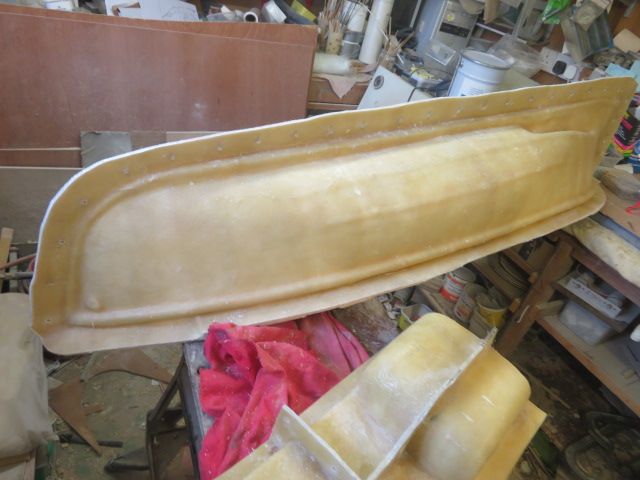
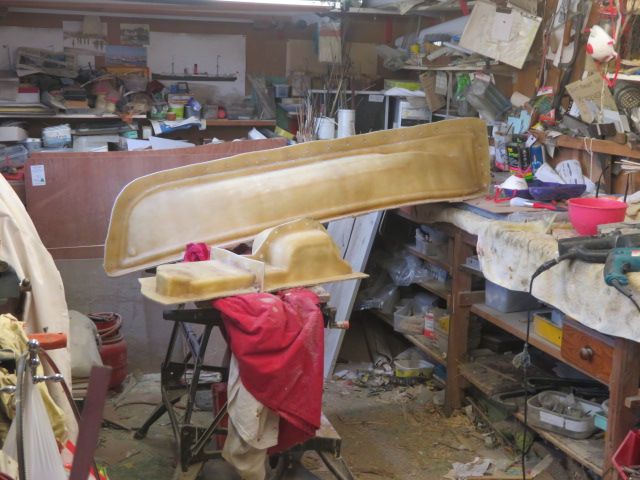
        Richard, a very good question as a lot of moulders don't put on on, which usually ends in a ragged uneven finish to a moulding.


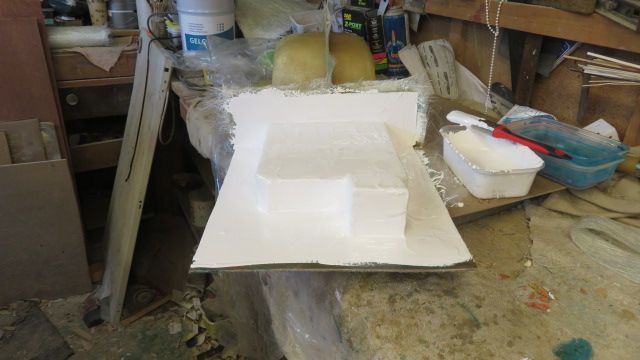
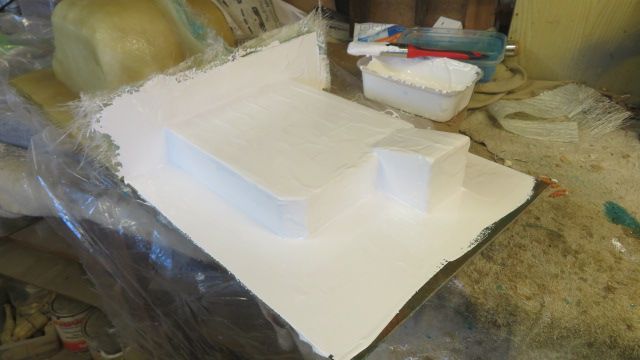
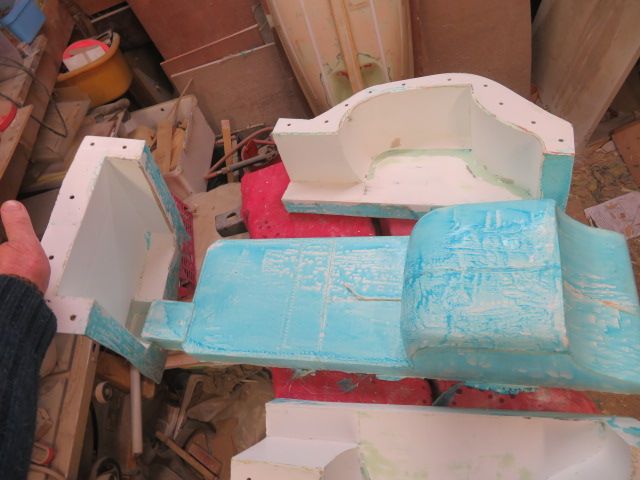
        The flange is there to support the first half of any mould that is laid around the plug in the vertical position, and then it is taken away once the first half laid up has gone hard.

        That flange is then taken away, and dumped.

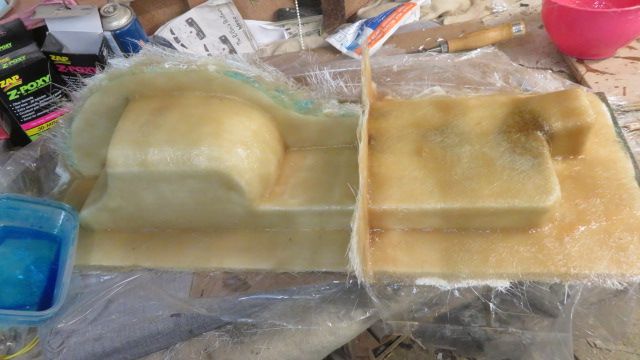
        Then the second side, with aid of wax and release agent can be laid up against the now flat face of the first half, and gives a perfect joint for the two halves of the mould.

        HOWEVER, the flange on the base of the cabin, and the top of the hull has a different purpose.

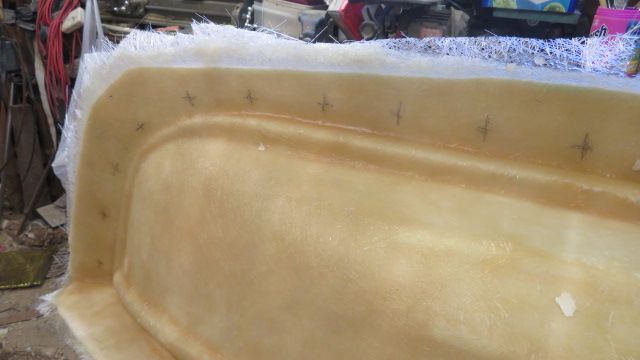
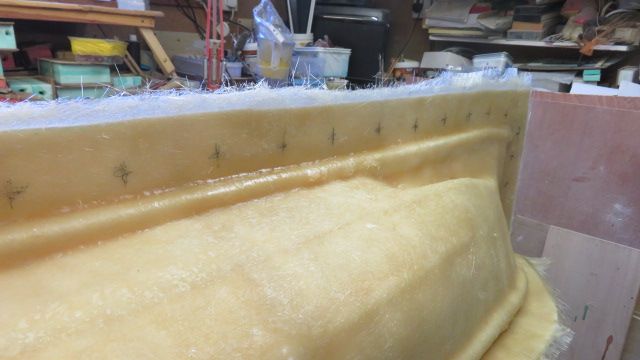
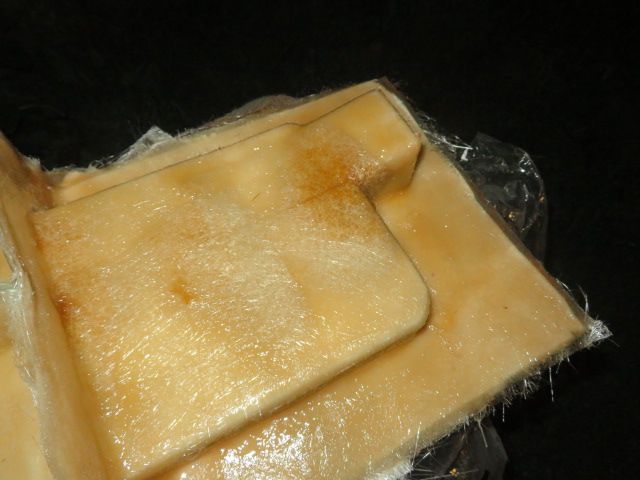
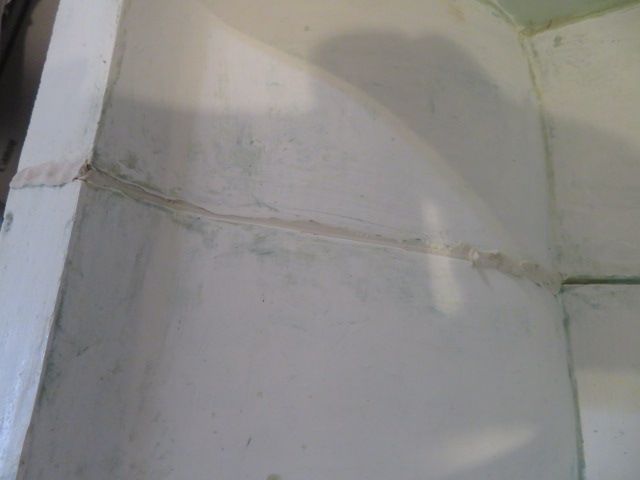
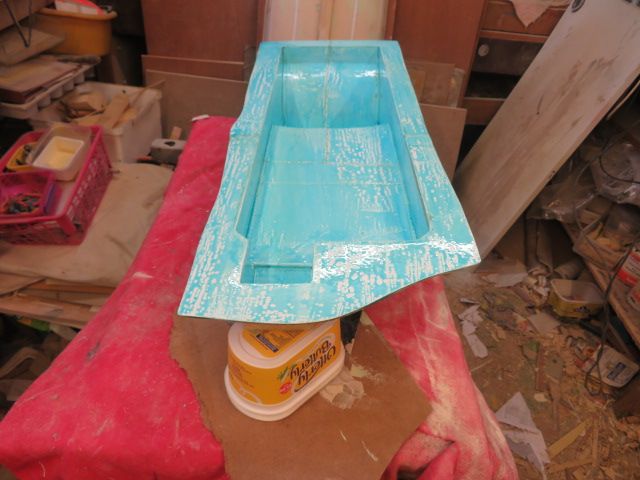
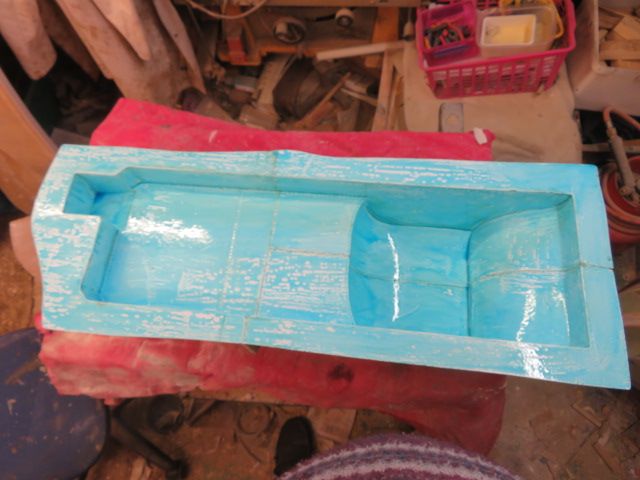
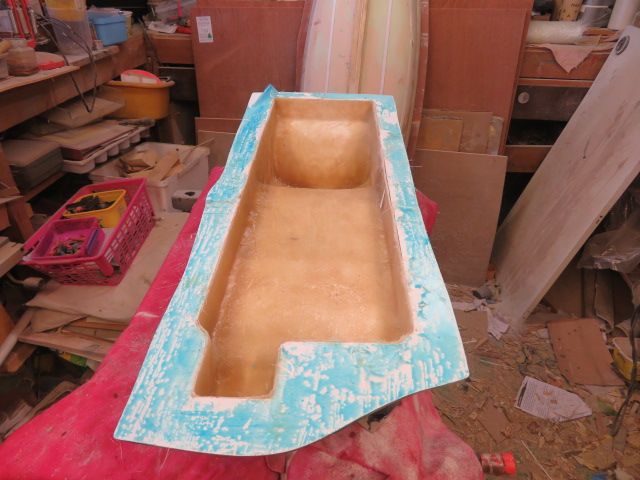
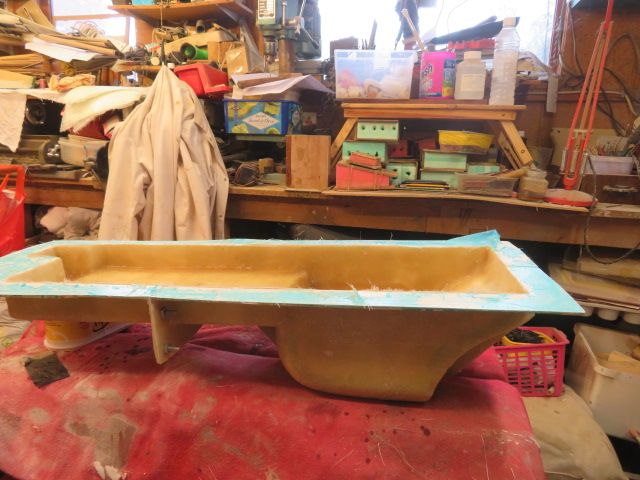
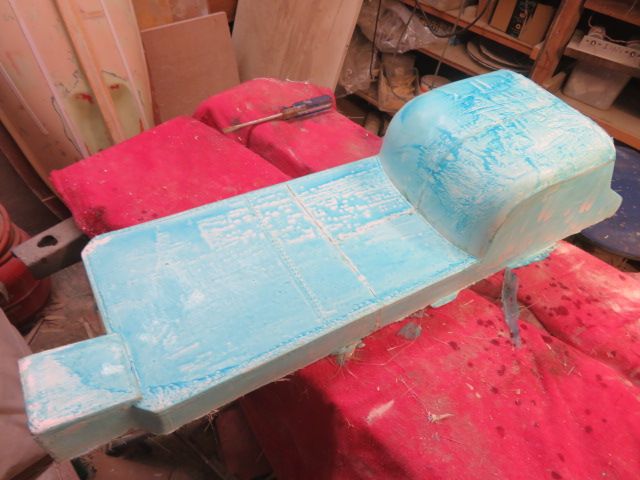
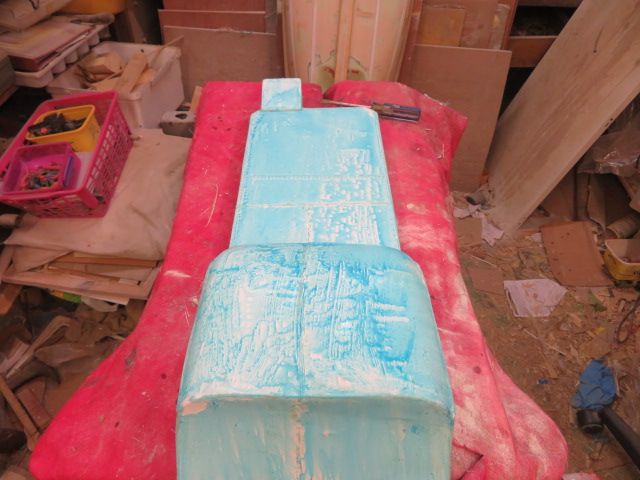
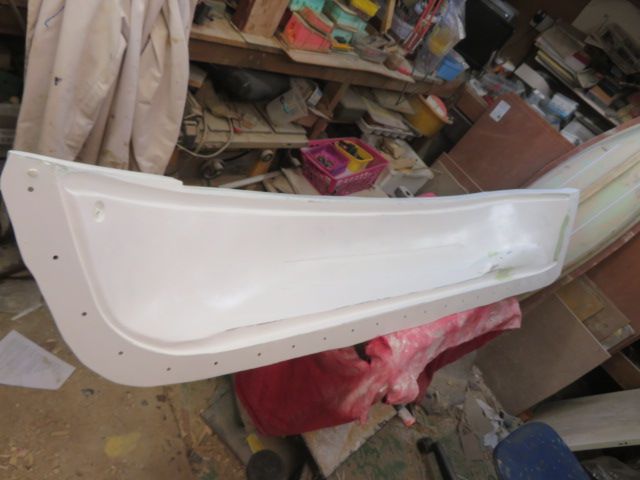
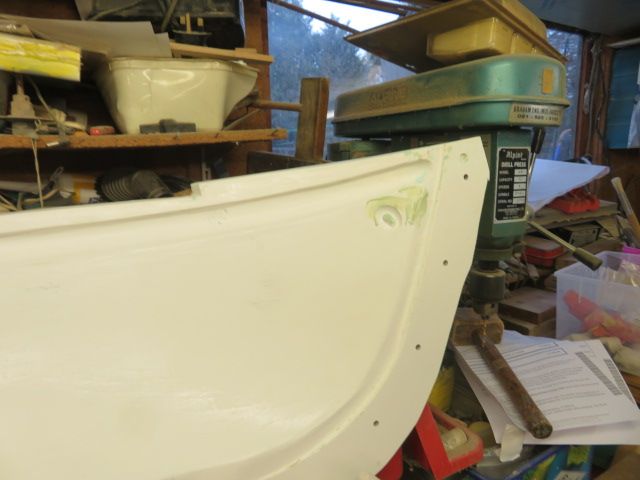
        Once this flange has been trimmed and comes away with the plug from the moulds, what is left is a nice smooth surface sticking out from the mould and this is used as a trim line for the bottom of the cabin or the top sheer line of the hull, and in that way, both moulds are a perfect replica of the plugs before the flange made from wood was stuck on to the plugs……

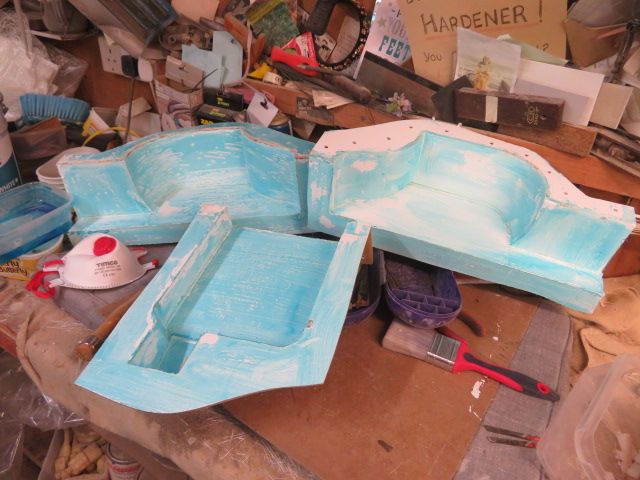
        It will be easier to see when the moulds are released from the plugs.

        Edited By neil howard-pritchard on 02/10/2022 13:53:14

        #102262
        neil hp
        Participant
          @neilhp

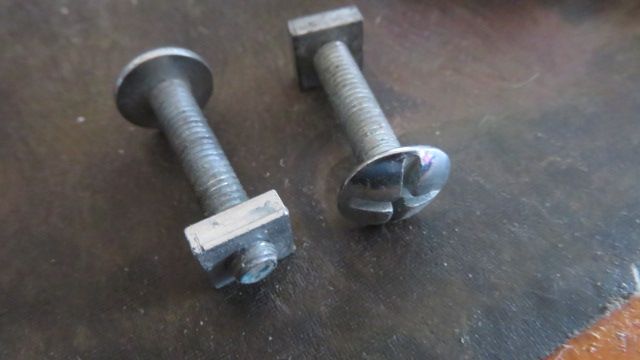
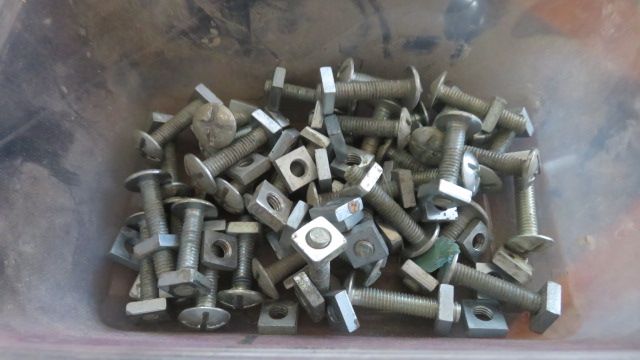
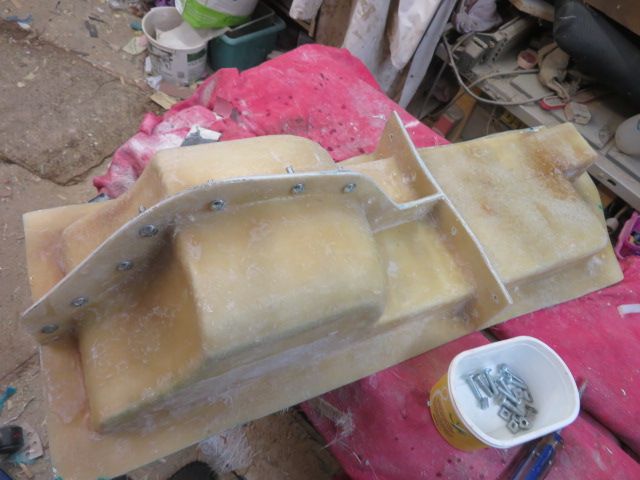
          And now i'm getting a little excited as i have dug out my coach bolts and nuts out ready for drilling the holes before I separate the halves of the moulds.

          Think I have enough with 6 dozen of them in that container. These are the bolts that hold the two halves of the moulds together when moulding a hull inside the moulds.img_3924.jpg

          Time of laying up is coming soon.

          img_3925.jpg

          #102264
          neil hp
          Participant
            @neilhp

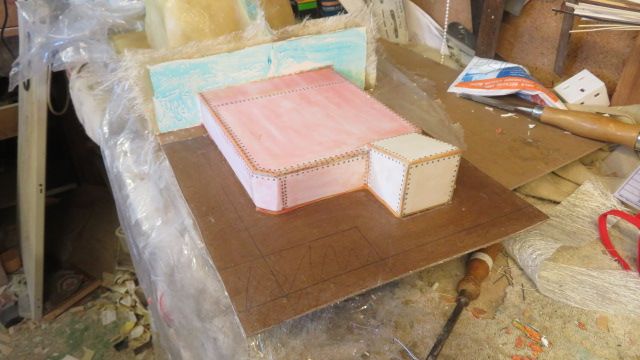
            The last flange has now been released from the engine casing, leaving the grp to form the flange for bolting the mould together.

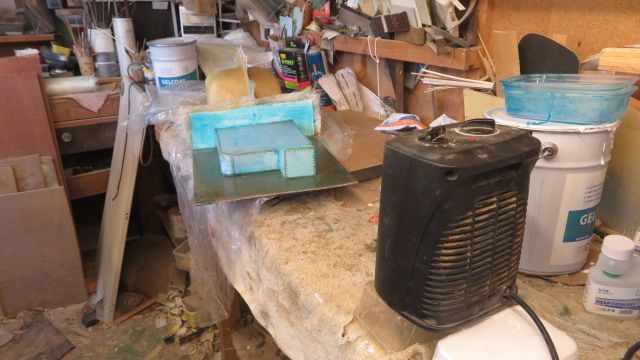
            Release agent has been applied to the plug and, as I want this mould to be finished tonight at the latest, I have added a little artificial heat other than the normal heat of the radiators already in the workshop.

            I'll give it an hour to dry and then add the gelcoat for the final time on the moulds.

            img_3926.jpg

            img_3927.jpg

            img_3928.jpg

            #102267
            neil hp
            Participant
              @neilhp

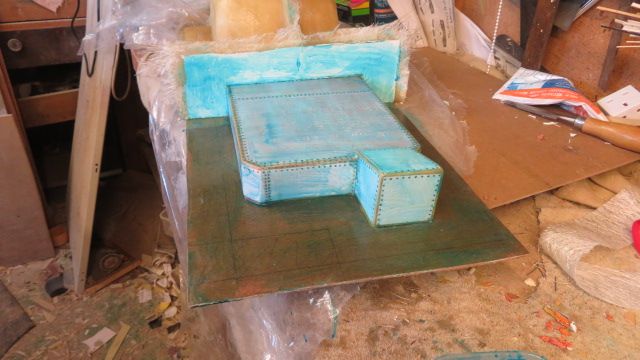
              So be it……….the last layer of gelcoat has now gone on to the mould of the cabin/engine room casing!

              And the next time it will be used is on a set of production mouldings in a couple of days, which I am lookimng forward too immensely.

              But work goes on, and I have marked the drill holes for the coach bolts to go through when holding the halves of the hulls mould together during the laying up of a moulding.

              These will be drilled tomorrow, before I trim and then split the mould outside in the jungle.

              img_3929.jpg

              img_3930.jpg

              img_3931.jpg

              img_3932.jpg

              #102274
              neil hp
              Participant
                @neilhp

                And on my last layup after a week of work I might have "cooked" it………..literally!!!

                By becoming blase' with the last mix I skipped the process of weighing the resin before I put a measure of catylist and think i overdid the cat, by putting too much in to the pot, and I ended up with a "hot" mix, hence the brown colouring seeping through the resin and matting.

                And I won't know if I have done any damage to the mould, or the plug or both until i seperate it all….just have to waite and see. The good sign is………the resin didn't smoke which means it didn't get so hot that it was at the point where it would become brittle and crack……….but as a precaution I put it on a workmate out in the garden for the night temperature and cold wind to cool it off , and I shall just have to wait now until tomorrow to look for any signs of damage.

                Morale is……..you only waste time by rushing.

                img_3936.jpg

                img_3937.jpg

                img_3938.jpg

                img_3943.jpg

                #102275
                neil hp
                Participant
                  @neilhp

                  Just had a look and a feel of the mould and it shows no cracking, bubbling or lifting and it is cool all over, so hopefully I have got away with my stupidity, thank goodness.

                  #102276
                  Chris Fellows
                  Participant
                    @chrisfellows72943

                    Good job Neil, otherwise you'd have to make another sign! laugh

                    Looking forward to seeing the results from your moulds. By the way, your canoe you showed earlier looked great. I had a fibreglass kayak finished in yellow and red gel coat when I was young which I had many hours of fun with. I don't remember what happened to it? sad

                    Chris

                    #102277
                    neil hp
                    Participant
                      @neilhp
                      Posted by Chris Fellows on 02/10/2022 21:01:45:

                      Good job Neil, otherwise you'd have to make another sign! laugh

                      Looking forward to seeing the results from your moulds. By the way, your canoe you showed earlier looked great. I had a fibreglass kayak finished in yellow and red gel coat when I was young which I had many hours of fun with. I don't remember what happened to it? sad

                      Chris

                      ahhh that wasn't mine Chris…..just a facsimile of the type i built…………only ever got one picture of mine and it was on a 35mm slide, and god knows where that went lo..but it was fun

                      #102283
                      neil hp
                      Participant
                        @neilhp

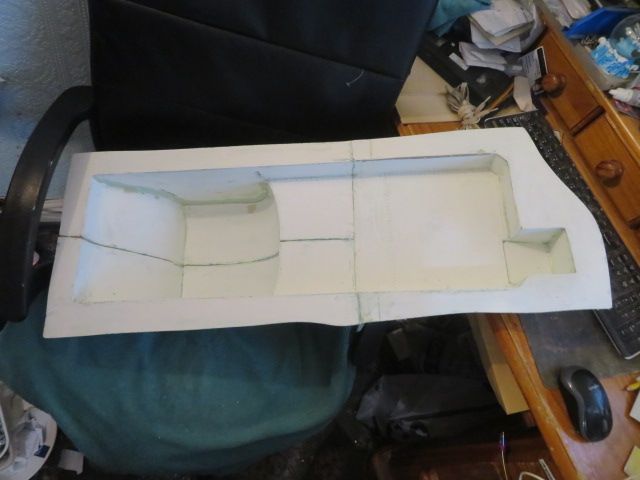
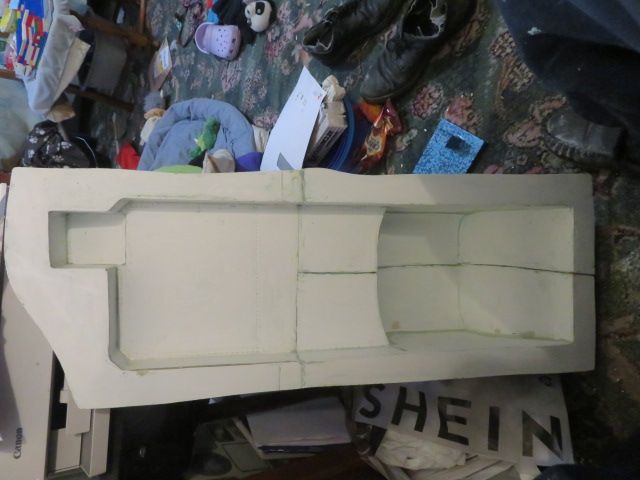
                        This is what I like to see!!!

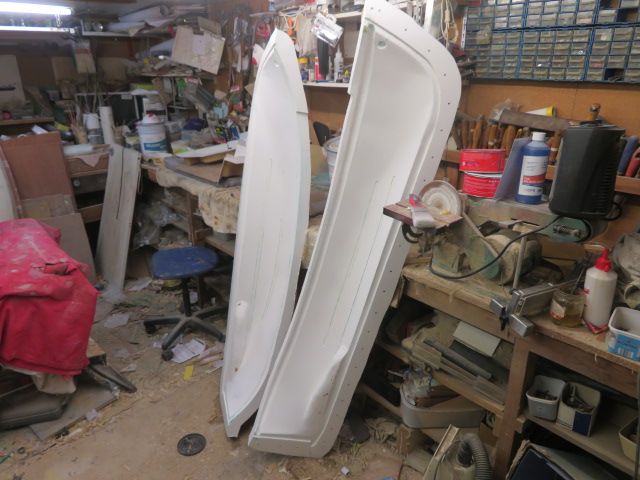
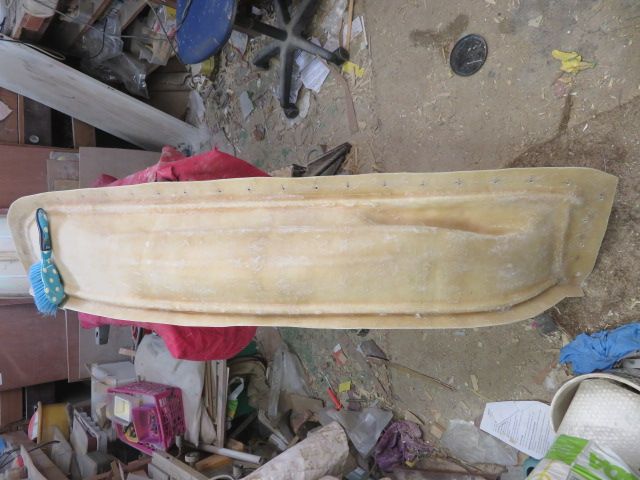
                        Drilled, trimmed, rubish in a bag ready for disposal and the moulds ready and aching to be used.
                        I shall split both moulds tonight….and looking forward to that.

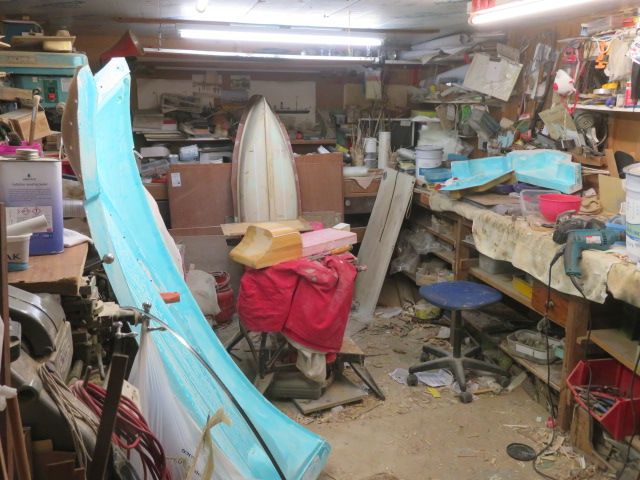
                        But I can't believe, by looking at it stretched across the workshop, that it is still smaller than the Clyde moulds I made from an old wooden hull that I bought off a gentleman from Appledore 12 years ago….and the rest is history on that one, lol.

                        IT'S come a long way sinse July and a trip to Ulverston for some scrap plywood to make the keel and frames.

                        img_3944.jpg

                        img_3946.jpg

                        img_3950.jpg

                        img_3951.jpg

                        img_3953.jpg

                        img_3955.jpg

                        Edited By neil howard-pritchard on 03/10/2022 15:25:50

                        #102291
                        neil hp
                        Participant
                          @neilhp

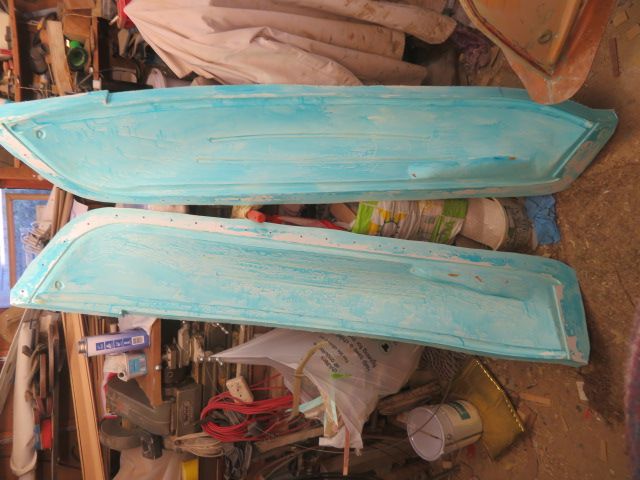
                          well, that was a bit of a struggle.

                          And as promissed I video'd the split of the first half of the hull to show its release.

                          The second half came off after I found some leverage points at the bow and stern on the keel…….then it too popped off easily.

                          And the only damage to the plug was one of the card strips took a little ware and tear, and the anchor hause hole came off from the port side .

                          However the second side is always a little harder to get off as it doesn't have the first side to lever from…..but that too came off without much of a struggle.

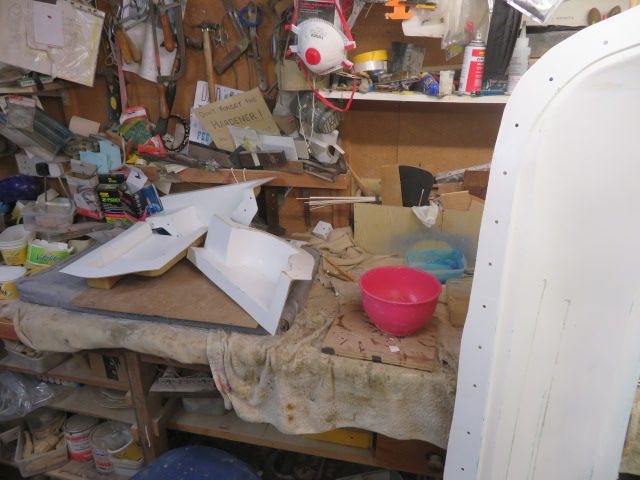
                          But the splitting of the cabin mould was a little bit more of a problem.

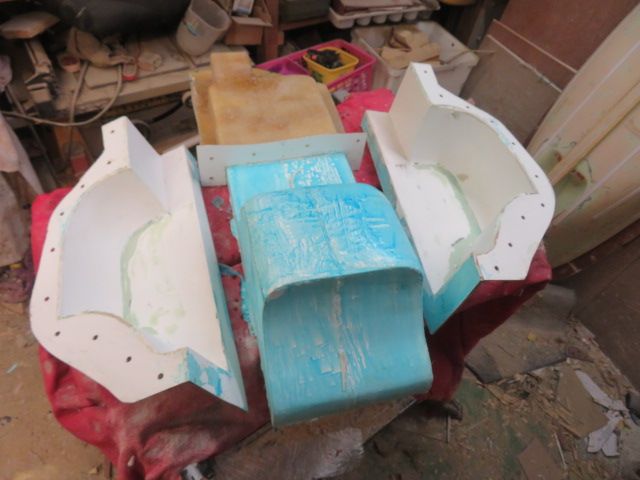
                          The two rear parts contining the cabin, split and came off the plug easily.

                          However the front section caused a bit of hard work and the use of two bevel edged chisels to use as "crowbars".

                          Resin matted moulds will shrink slightly when curing as is to be expected and a well known piece og knowledge.

                          I thought that I might get away with pulling it off with a little brute force and wedges.

                          However it really was stuck fast with shrinkage against the walls of the engine casing and the front stand for the companion way, and the only way of getting it off the plug was with more brute force and leverage than just a few wedges.

                          I had to resort to using two bevel edged chissels, driving them under the flat surface of the grp and the top of the engne casing, and using a lot more leverage than anticipated.

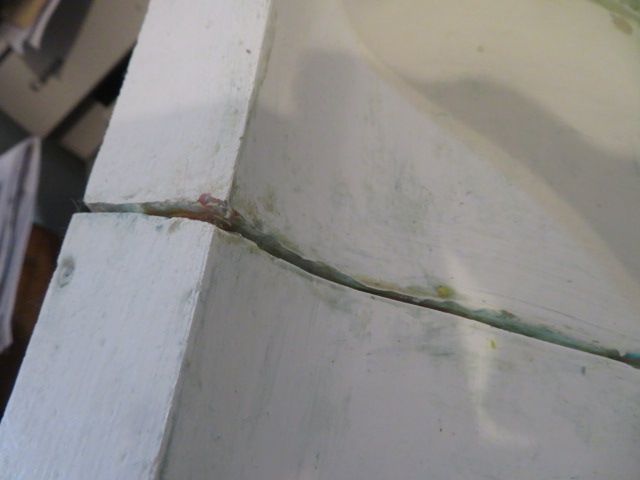
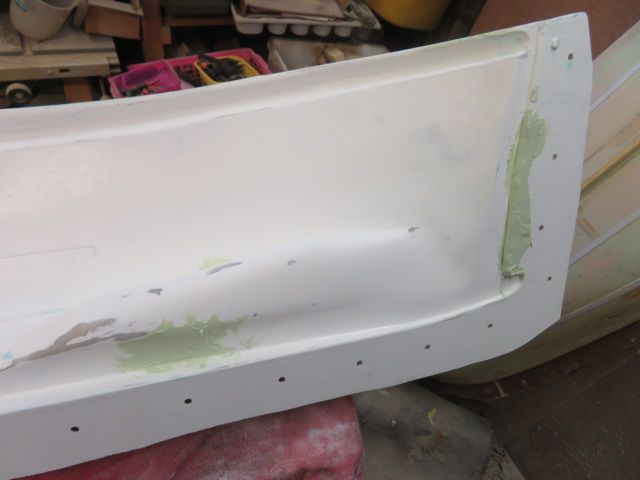
                          However, with a good bit of effort a lot of leverage, and much swearing and cursing i got the mould to seperate from the plug, with only a very small chip in the flange.THIS I will repair with a small dollop of gelcoat, and sanded smooth.

                          The good part about the mouldings is, they will also shink slightly upon curing, and I wont have the problem of them sticking inside the moulds……….as it will be they that will have shrunk ever so slightly and will then release easily too.

                          And then the big question is……..what the hell do I store the hull plug in and where!
                          img_3959.jpg

                          img_3961.jpg

                          img_3964.jpg

                          img_3968.jpg

                          (1) Facebook

                          #102306
                          neil hp
                          Participant
                            @neilhp

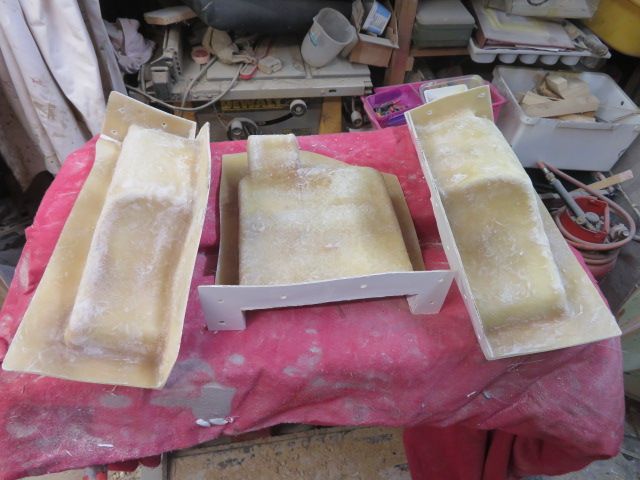
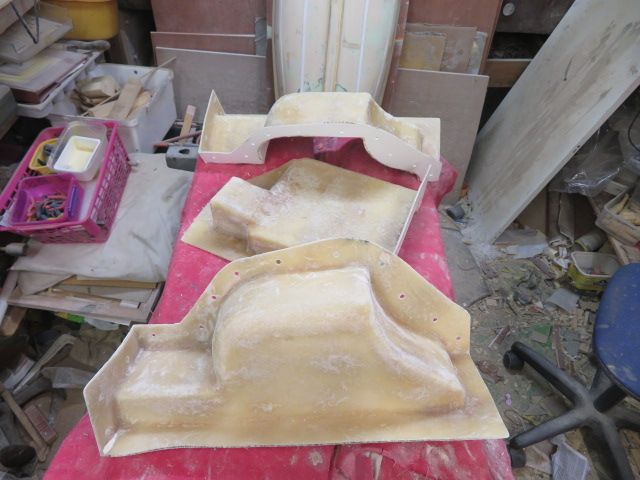
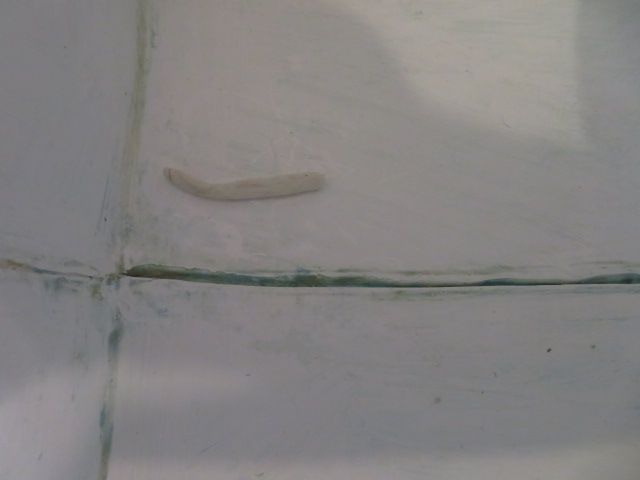
                            All of the moulds have now been washed in warm soapy water in the bath to clean off the blue release agent that transfered from the plug to the moulds……..a very usual occurance.

                            Once washed they were put out onto the garden to dry, but it started to rain heavily so took them into the workshop to dry.

                            I have been out this evening and sanded, with a sander, and NOT by hand, the outside of the grp matting that usually sets and cures with sharp needles. THESE WILL HURT, if not removed! As one has to handle the moulds to both prepare the inside moulding surface and move the moulds your hands come into continuous contact with the outer skin of the mould.

                            And so all the surface areas were well sanded.

                            Tomorrow I will sand by hand any bumps and lumps in the surface that were hollows in the plug and which I could not get at easily to fill and sand smooth!. Most of these irregularities are around the tunnels and the fore and aft ends of the belting.

                            That all should take me tomorrow and then later tomorrow evening and night I will wax all of the parts up [the white bits of the moulds] will be also be coated with release agent before bolting together.

                            And hopefully by wednesday lunch time, i will be able to start moulding my first of 3 sets of hull and cabin.

                            img_3974.jpg

                            img_3975.jpg

                            img_3976.jpg

                            img_3977.jpg

                            img_3978.jpg

                            img_3979.jpg

                            #102310
                            neil hp
                            Participant
                              @neilhp

                              got a nice surprise from lifeboat enthusiast Mike Wrigley this evening.

                              He posted a wonderful photo of Ex RNLB Princess Mary as she is today, alive and sailing and based in Spain, but photographed in Ibiza.

                              She looks stunning.

                              Thanks Mike.

                              310536064_3157303817914849_990577276877814410_n.jpg

                              #102316
                              neil hp
                              Participant
                                @neilhp

                                To say thay I am disappointed this evening is an understatement!

                                Two days ago I had my covid booster and my flu jabs, and after fealt a little dizzy but carried on with bits i was doing on the boats' moulds.

                                However by last night I was feeling as rough as a bears ass and knowing i had to press on with these moulds I was feeling very rough by tomorrow night and so went to bed early.
                                Got up this morning feeling just as bad, I took my daughter to work and then came home and lay on the sofa and………woke up 4 hours later feeling much better.

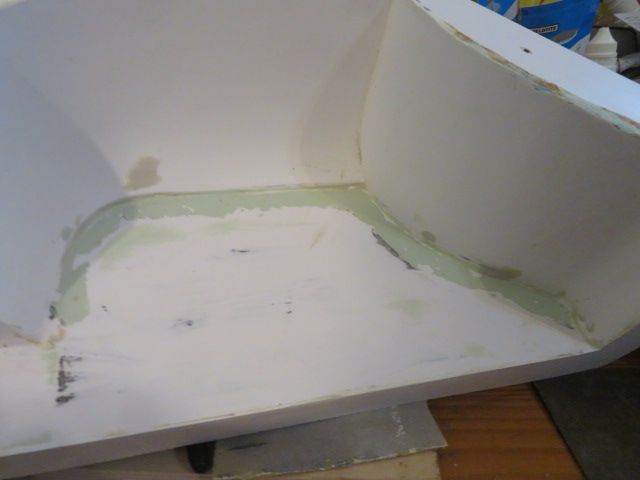
                                And so decided to clean up the cabin moulds first……….It was then that my fingure went through a thin piece of gelcoat with no resin/matting support behind it.

                                NO EXCUSE!!! I hadn't spent enought time stippling the matting down where there is a raised piece of sprue attached to the cabin, and on both halves it had left a hollow air space.

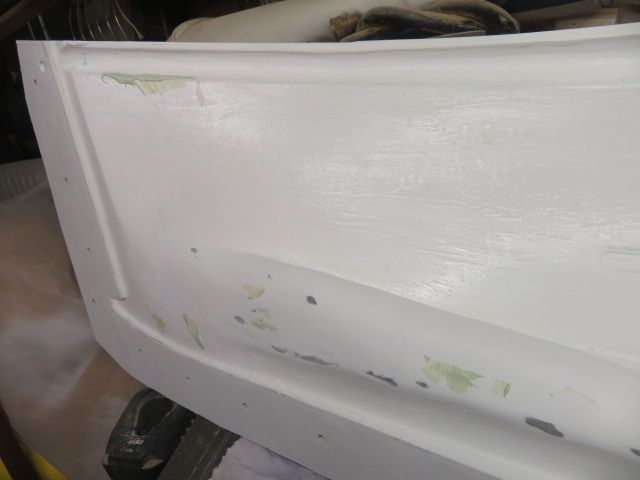
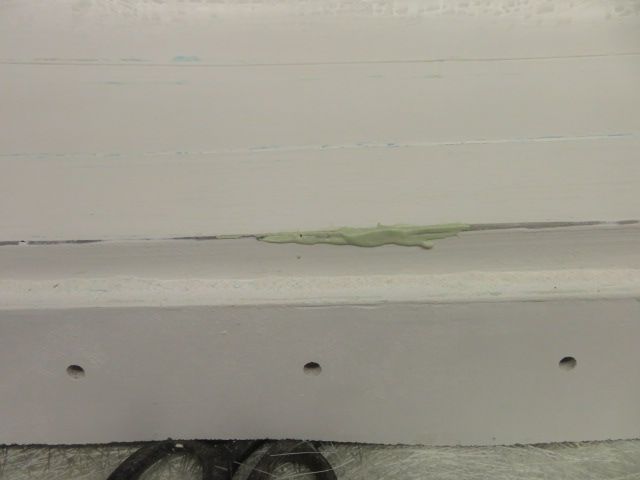
                                Luckily it is on the edge of where the sprue line is, and so was an easy fill with Dolphin glaze fine filler, and can be sanded down to level with fine abrasive paper, But, I am still annoyed with myself for not pulling a perfect mould in the first place.

                                img_3981.jpg

                                img_3982.jpg

                                img_3983.jpg

                                #102320
                                neil hp
                                Participant
                                  @neilhp

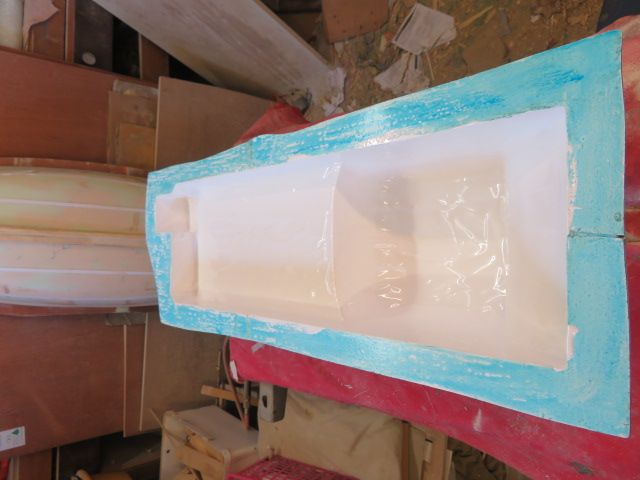
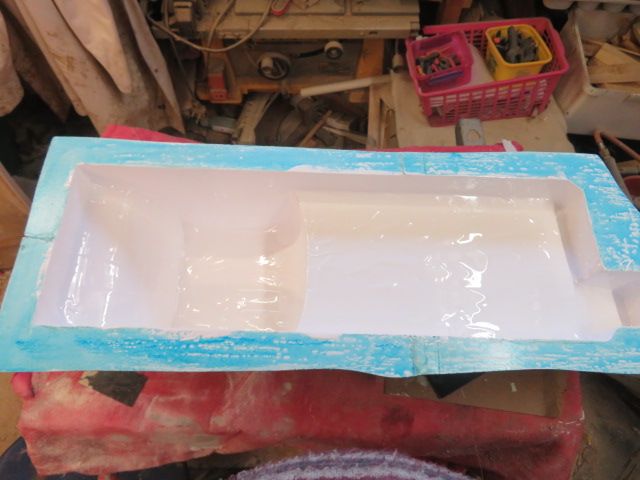
                                  So, having filled the holes in, I have now sanded them smooth and finally given the three moulds their first coat of release agent wax.

                                  As this is a tricky mould to release I will give it a few more layers of wax than normally given, and also one of wax after the parts are bolted together before the blue PVA release agent is applied.

                                  img_3986.jpg

                                  img_3987.jpg

                                  img_3988.jpg

                                  #102323
                                  Richard Simpson
                                  Participant
                                    @richardsimpson88330

                                    We all do it Neil. Deep breath, do what has to be done and go forward again. At the end of the day you will get there and it will be something to be proud of.

                                    #102324
                                    neil hp
                                    Participant
                                      @neilhp

                                      cheers Richard,,,,,,,

                                      it has been done and the 3 parts to that mould have been given 4 coats of wax so far this evening with one more to go tonight before bed time.

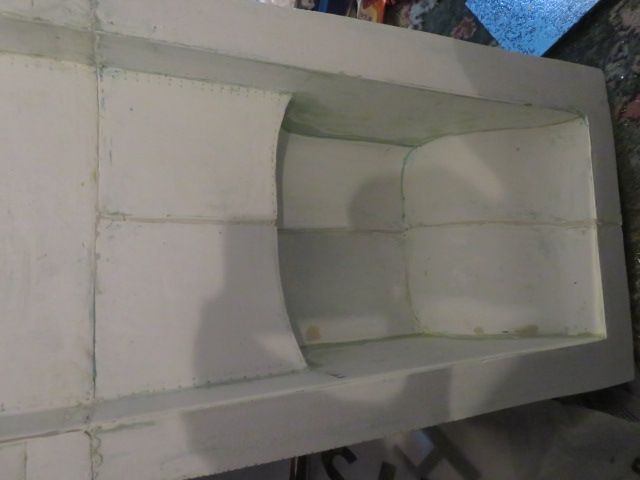
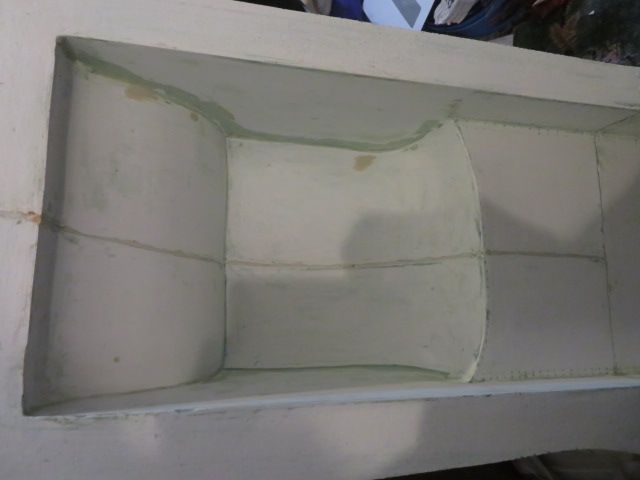
                                      I have also now bolted the parts together to give an idea of what the mould looks like before laying up.
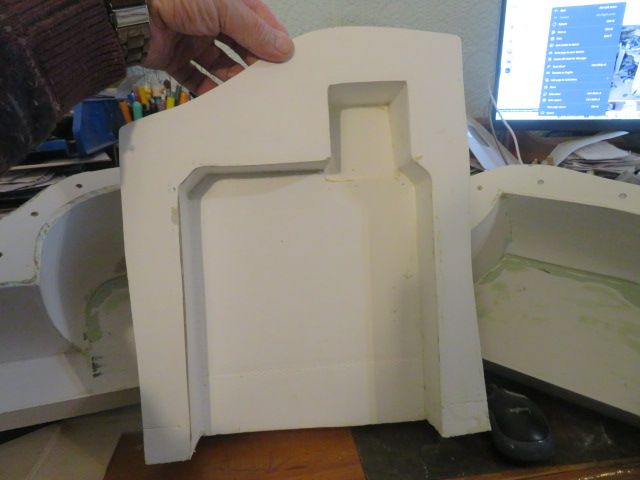
                                      Tomorrow i will put all the bolts in and tighten them up.
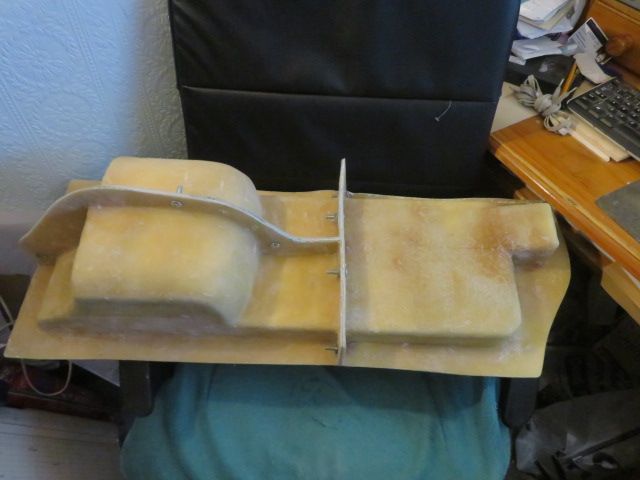
                                      Once that has been done i will lay plasticine into the jointing seams and then another couple of layers of wax, before the blue release agent.

                                      And once back from Liverpool with my daughter i will lay into the mould, the gelcoat tomorrow evening for fridays laying up of a cabin moulding.

                                      The hull will follow on saturday.

                                      img_3990.jpg

                                      img_3991.jpg

                                      img_3992.jpg

                                      #102325
                                      neil hp
                                      Participant
                                        @neilhp

                                        I couldn't wait until tomorrow.

                                        I have now filled the gaps in the seems, made by the undercuts in the moulded sections where plasticine had been used to form the original flanges on the plug.

                                        The inside of the mould has now been waxed again giving a total of 6 coats. With the coating of PVA release agent tomorrow, there is a very fair chance that the moulding will release wall from the mould.

                                        img_3993.jpg

                                        img_3994.jpg

                                        img_3995.jpg

                                        img_3996.jpg

                                        img_3998.jpg


                                        Edited By neil howard-pritchard on 06/10/2022 00:45:54

                                        Edited By neil howard-pritchard on 06/10/2022 00:48:59

                                        #102327
                                        neil hp
                                        Participant
                                          @neilhp

                                          I have a new slant on the old saying…………

                                          "early to rise,
                                          late to bed…….
                                          A lifeboat modeller,
                                          Is nuts in the head!!!

                                          Anyway, a final polish with wax this morning and then the PVA release agent has been applied,

                                          This gives me a chance to get the gelcoat on before i go to Liverpool for the day with my daughter and pooch…………ohhh, happy days.

                                          img_3999.jpg

                                          img_4000.jpg

                                          #102330
                                          neil hp
                                          Participant
                                            @neilhp

                                            And the gelcoat has now been laid into the mould.

                                            Tonight after getting back from Liverpool I will lay up the cabin assembly and trim before it finally hardens, around the top rim with a Stanley knife to leave a clean cut finish.

                                            That is what the top flange is for…..the trim line.

                                            img_4001.jpg

                                            img_4002.jpg

                                            #102332
                                            Richard Simpson
                                            Participant
                                              @richardsimpson88330

                                              You've got us all holding our breath!

                                              #102335
                                              neil hp
                                              Participant
                                                @neilhp
                                                Posted by Richard Simpson on 06/10/2022 13:34:59:

                                                You've got us all holding our breath!

                                                well, here it goes Richard……….only a couple of hours more for you to wait.

                                                It took just over an hour to start going off reasonably hard enough to trim the overhang with a stnley knife, and even then some of the rim was still soft, and yet some hard as nails and just about cutable……..but it has now all been trimmed and left to harden, ready for taking out of the mould tonight.

                                                And so!….work on the moulds of the hull tomorrow getting those two pieces fit for moulding a hull.

                                                img_4009.jpg

                                                img_4010.jpg

                                                Edited By neil howard-pritchard on 06/10/2022 17:55:28

                                                #102337
                                                neil hp
                                                Participant
                                                  @neilhp

                                                  Well here you go Richard,

                                                  I even amaze myself at times!!!

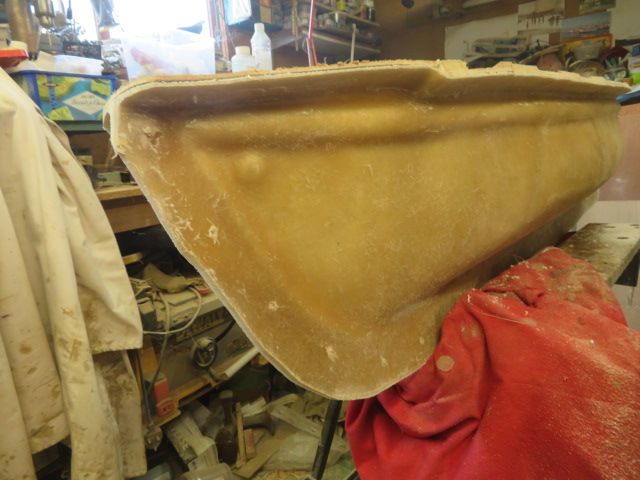
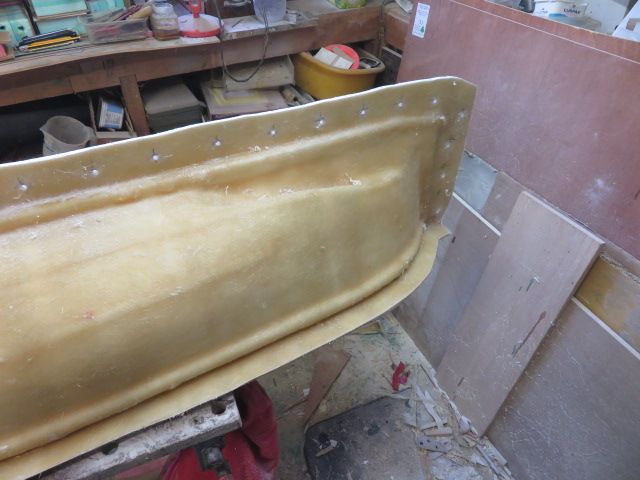
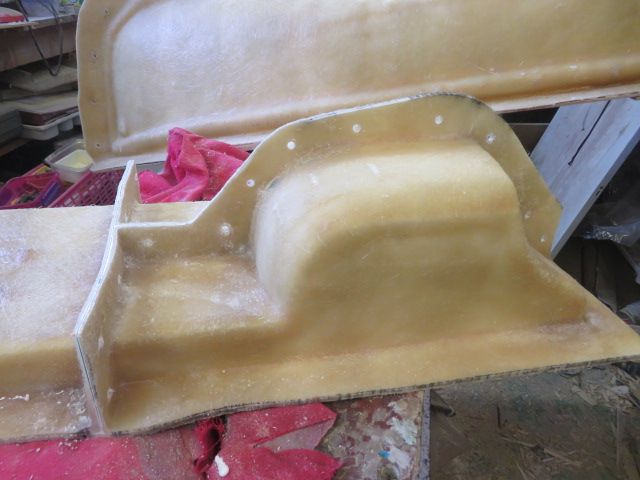
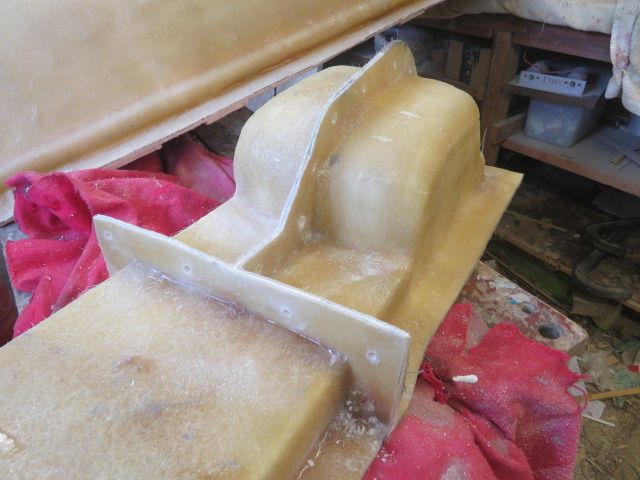
                                                  NEVER EVER have I had a moulding release from the mould as easily as the cabin/engine casing for the RNLB Princess Mary just came away this evening……Absolutely gobsmacked, and a perfect moulding as well.

                                                  I am so pleased .

                                                  Given me great confidence now in getting the first hull moulding out of the moulds,

                                                  img_4011.jpg

                                                  img_4013.jpg

                                                  img_4014.jpg

                                                  img_4018.jpg

                                                  img_4022.jpg


                                                  Edited By neil howard-pritchard on 06/10/2022 19:00:41

                                                  #102341
                                                  neil hp
                                                  Participant
                                                    @neilhp

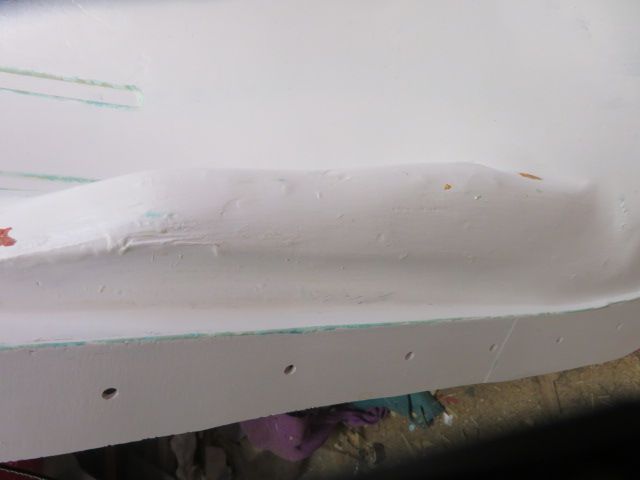
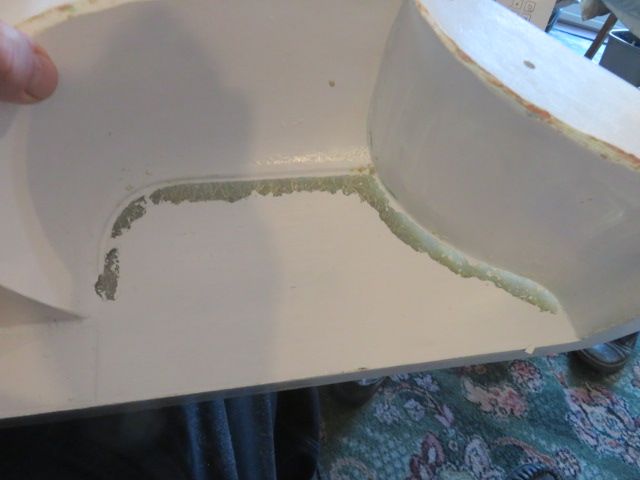
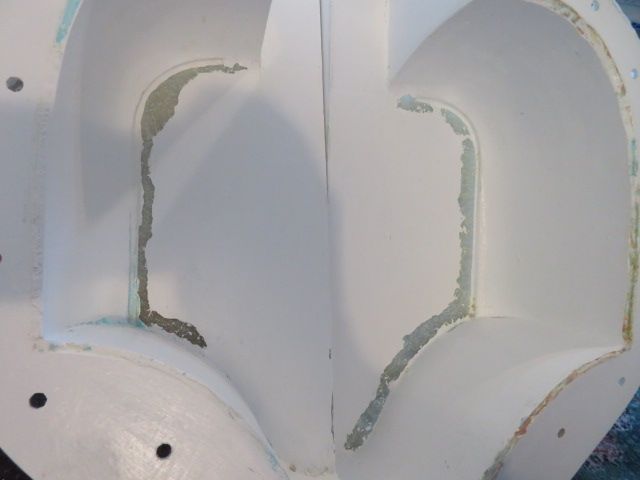
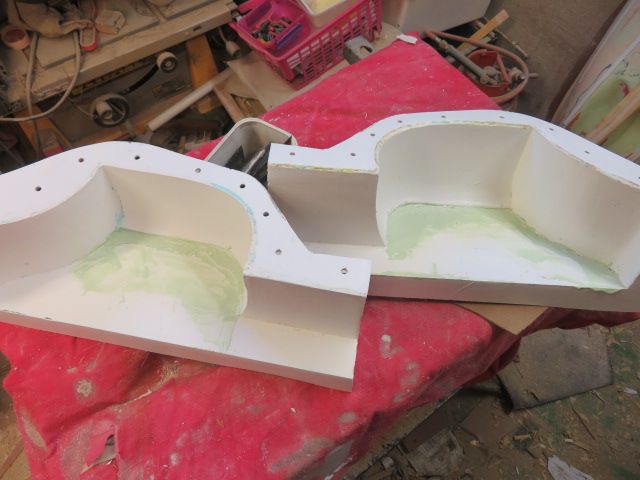
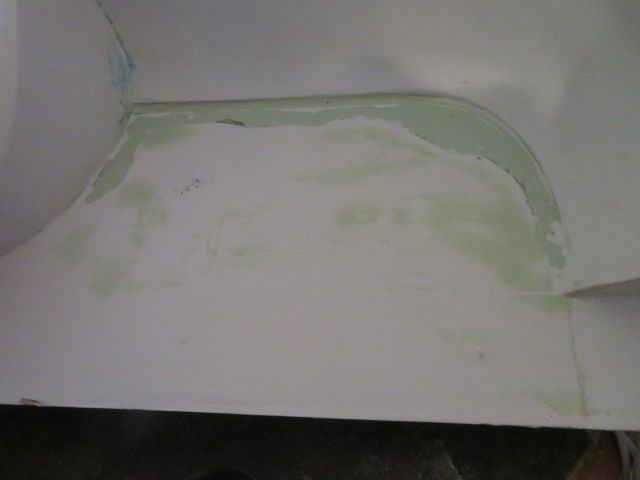
                                                    After sanding both halves of the hull I came across a couple of irregulatities at the stern prop tunnels that needed filling and a few hollow spots opened up at the tight seams.

                                                    These were all filled with Dolphin Glaze and am now just giving 30 minutes to harden before sanding down before i wax pollish them all and start the big process of a hull moulding.

                                                    wish me luck.

                                                    img_4023.jpg

                                                    img_4024.jpg

                                                    img_4026.jpg

                                                    img_4027.jpg

                                                    img_4028.jpg

                                                    #102345
                                                    Trevor Holloway
                                                    Participant
                                                      @trevorholloway99134

                                                      Good luck, I've done a bit of fibreglassing in the past but not on this scale, I found it quite daunting.

                                                    Viewing 25 posts - 201 through 225 (of 648 total)
                                                    • Please log in to reply to this topic. Registering is free and easy using the links on the menu at the top of this page.

                                                    Code of conduct | Forum Help/FAQs

                                                    Advert

                                                    Latest Replies

                                                    Home Forums Scratch build Topics

                                                    Viewing 25 topics - 1 through 25 (of 25 total)
                                                    Viewing 25 topics - 1 through 25 (of 25 total)

                                                    View full reply list.

                                                    Advert

                                                    Newsletter Sign-up