Liverpool class Lifeboat, a Metcalf models kit.

Advert

Liverpool class Lifeboat, a Metcalf models kit.

Home Forums Building Kits Liverpool class Lifeboat, a Metcalf models kit.

  • This topic is empty.
Viewing 25 posts - 101 through 125 (of 214 total)
  • Author
    Posts
  • #99269
    neil hp
    Participant
      @neilhp

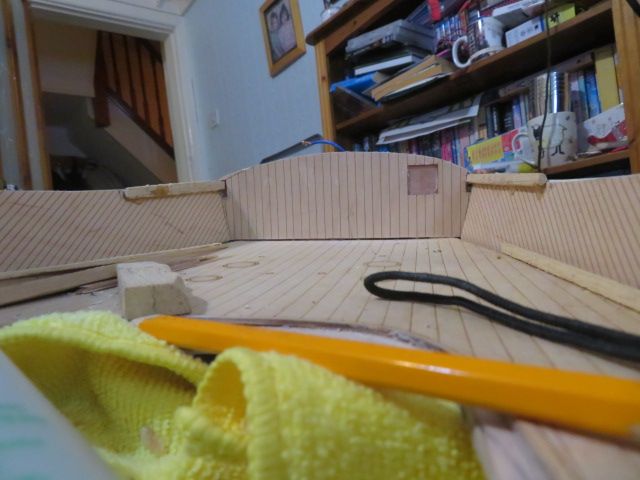
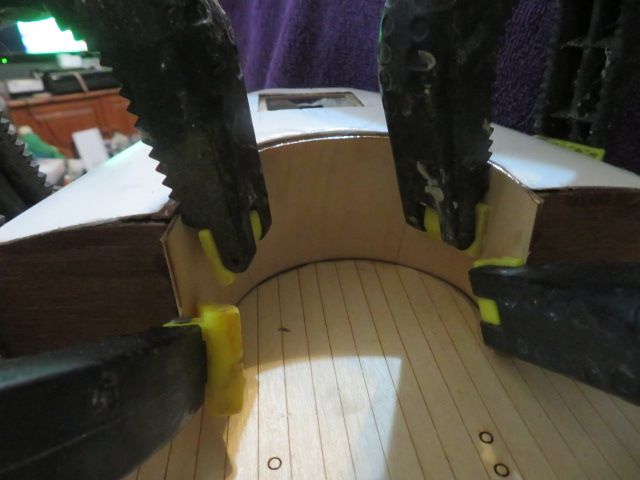
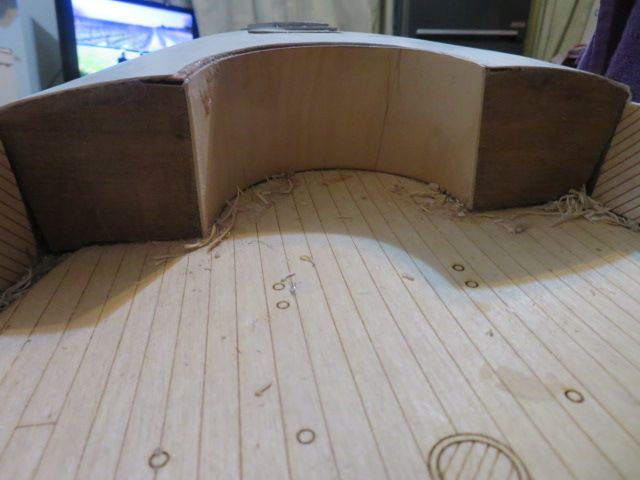
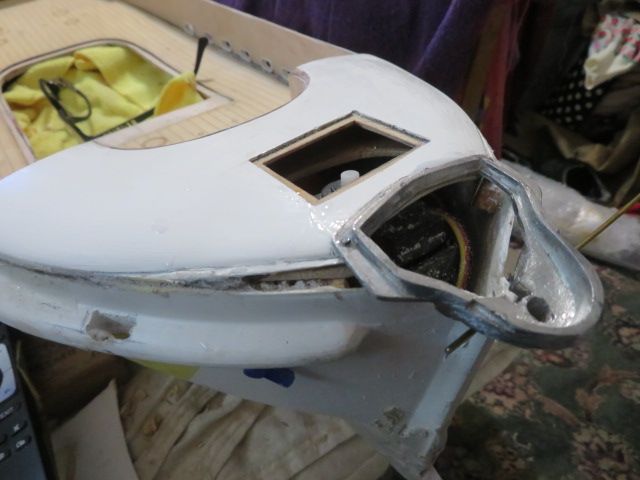
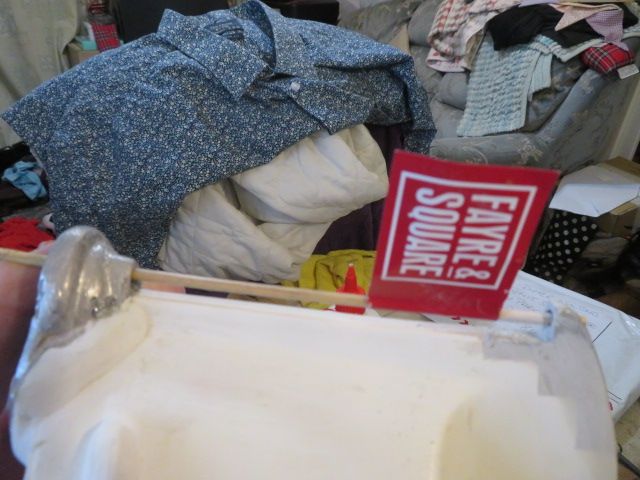
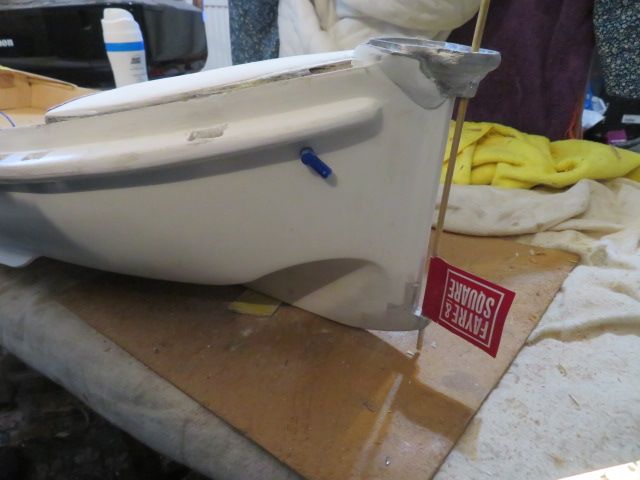
      work done tonight……………beginning to take shape.

      img_1233.jpg

      img_1234.jpg

      img_1235.jpg

      img_1239.jpg

      img_1242.jpg

      img_1240.jpg


      Edited By neil howard-pritchard on 26/01/2022 23:23:58

      Edited By neil howard-pritchard on 26/01/2022 23:26:41

      Advert
      #99271
      gecon
      Participant
        @gecon

        I'm studying your aft-mouted rudder servo Neil… I note that I should have tried that on the Colin Archer to avoid a the long-ish pushrod affair I have now. It was very late on in the build planning before I realized I could make several deck hatches to gain access below. I have ended up with inspection hatches all over the place but not that far aft.

        You're getting along at quite rate with this build. Impressive.

        George

        #99281
        neil hp
        Participant
          @neilhp

          those hatches are set in place and then sanded to the curves of the grp pouldin George, and for normal sailing just seyt in place with a litle vaciline…… but on the marathon sail, will be taped over with duct tape.

          #99297
          neil hp
          Participant
            @neilhp

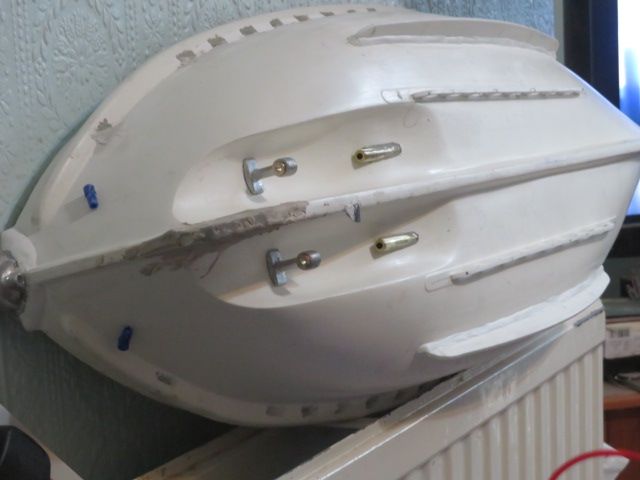
            I have the hull of the Liverpool sat on a warm radiator at the moment, as I have added some milliput white into the cut outs in the belting to get a nice clean surface to the inner recesses once filed and sanded…

            But more importantly I have had to put a strengthening fillet of milliput all around the main bilge keels. the reson being………I'm a clumsy sod and over the period that they have been fitted, I have kept knocking them as I have worked on the top side of the boat, and on has become loose at the foreward end…………..the fillets will be sanded to blend in once set, but for now it has hampered progress for a few hours.

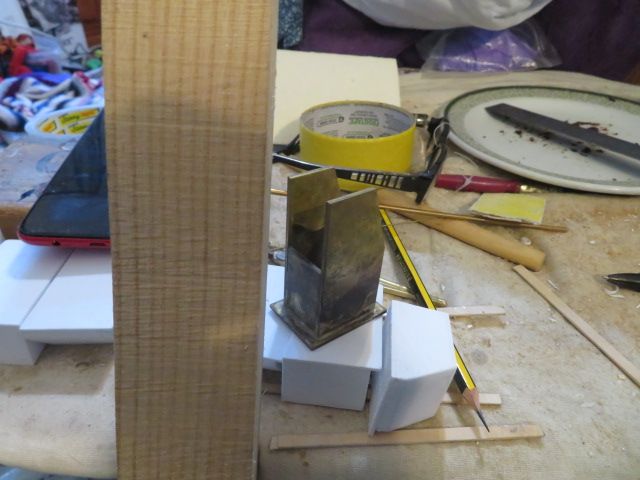
            And so, I have turned my attention to something I can do off the boat……..the tabernacle for the main mast.

            I wont be using the one from the kit, as I think it would take too much hammering whilst on the Windermere sail should the winds be strong.

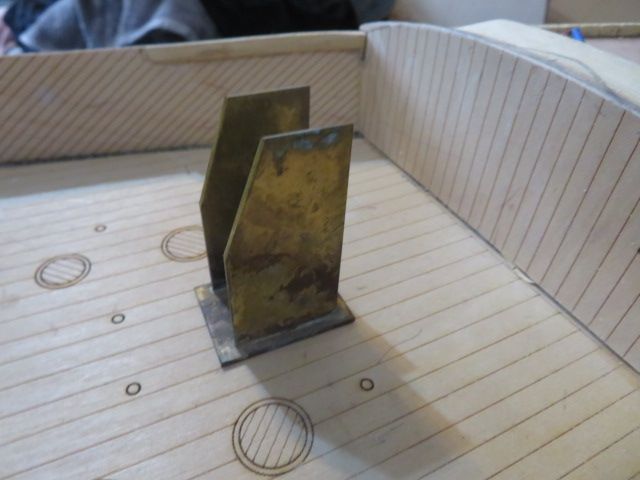
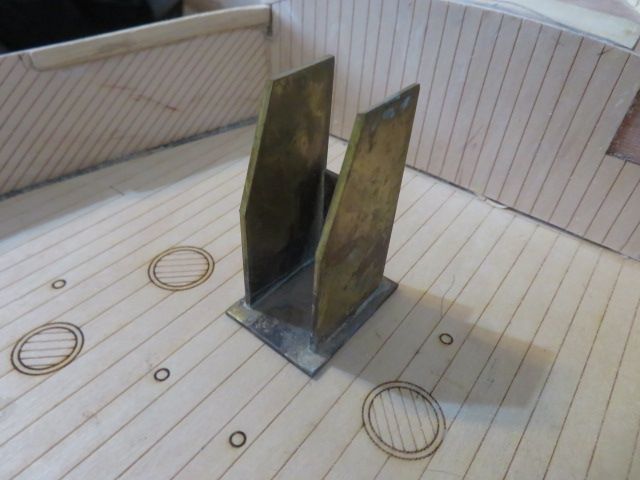
            And so I have reverted to one of 4 tabernacles that a friend made for me out of 1.2mm brass, silver soldered, some time ago when I was building my two sailing lifeboats, and whilst he was working for Fleetwood Lighting Co. Ltd……….and what a lovely job he made of them to………probably need a hurricane to break this one.

            The base will be drilled in 3 places and screwed to the deck which was strengthened underneath with 6mm ply in 3 seperate layers. the upright sides will also be drilled to take the mast pivot and the locking bar as well, once I have made the mast, which itself will be a custom made mast from Ash rather than the dowel supplied in the kit………..ABSOLUTELY NOTHING wrong with any of the timber supplied in the kit, in fact it is excellent quality. But i'm just taking extra precautios of every kind to avoid anything going wrong mid lake knowing what the weather can be like on a very open large lake. If such weather can break masts of actual yachts on Windermere, It can certainly do so on a model.

            I failed [or my boat did under the command of my friend Dave Forrester] on the Loch Ness sail in 2011 to reach the end because I hadn't made provisions for what we were facing, and one failure in an endurance sail is enough…….I have learned my lesson, and treating this one more seriosly.

            Hence the modifications to the boat I have chosen.
            img_1254.jpg

            img_1253.jpg

            img_1252.jpg

            #99310
            neil hp
            Participant
              @neilhp

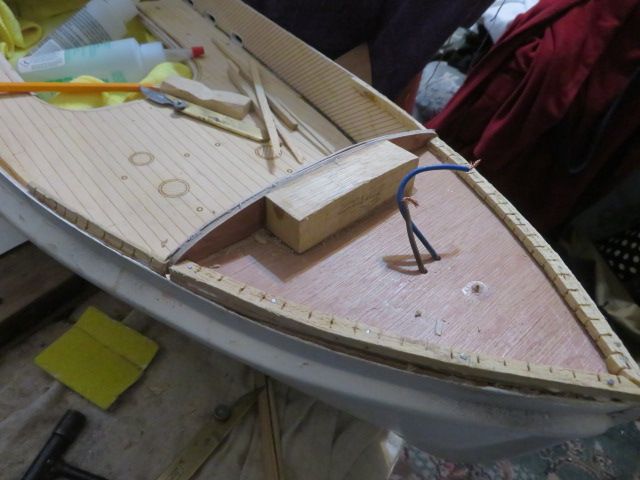
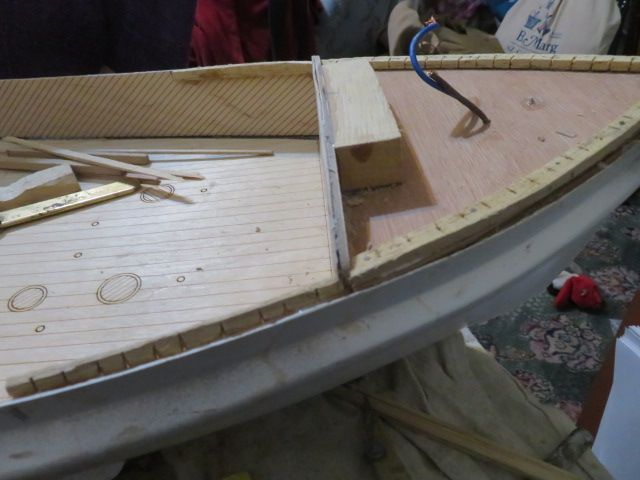
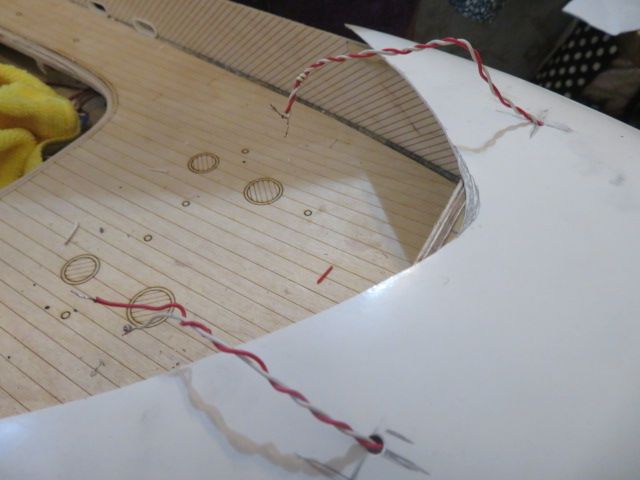
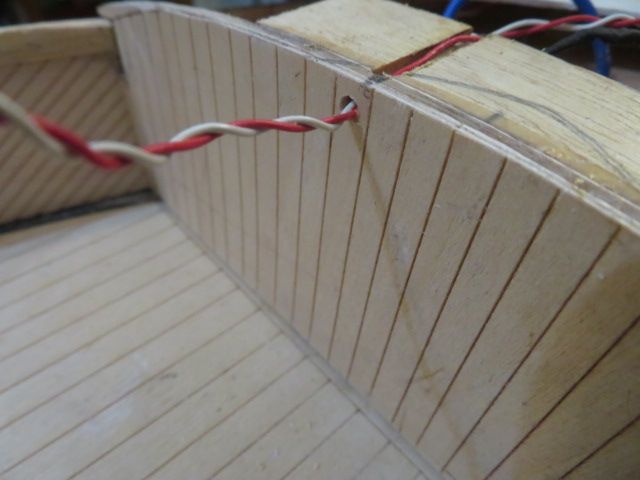
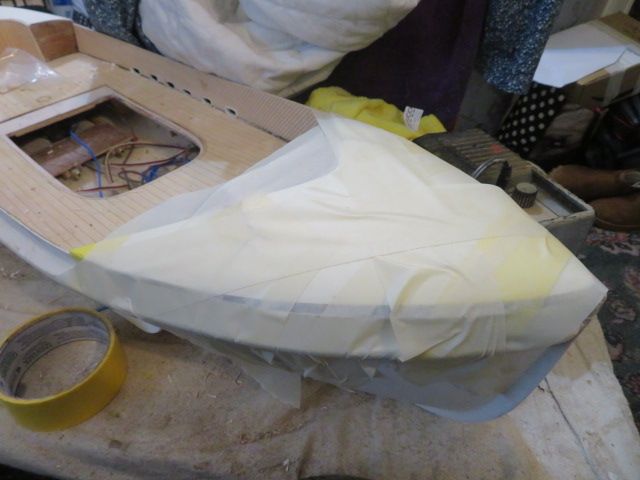
              it was time to put the grp top on to he bow end box today as i had been putting it off for long enough.

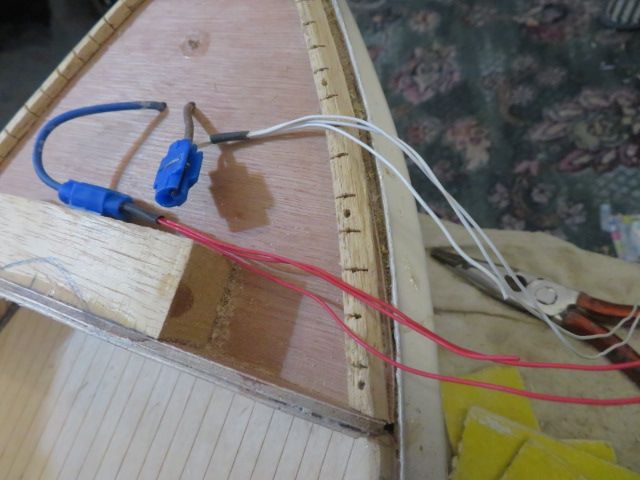
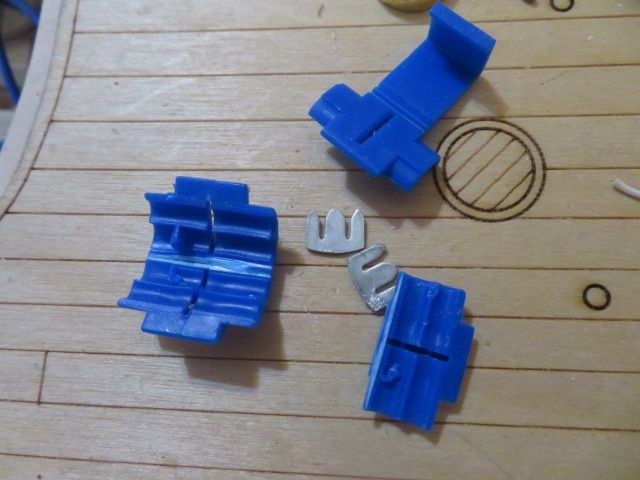
              however i had to attach very fine wire to the two wires protruding from the deck plate, and did so using wire snap joints…………sadly they wouldn't work. it would let current through from the main 12v battery to an electric motor for a test on all 3 leads ment for navigation lights, but wouldn't allow the 12v LED lights to function,

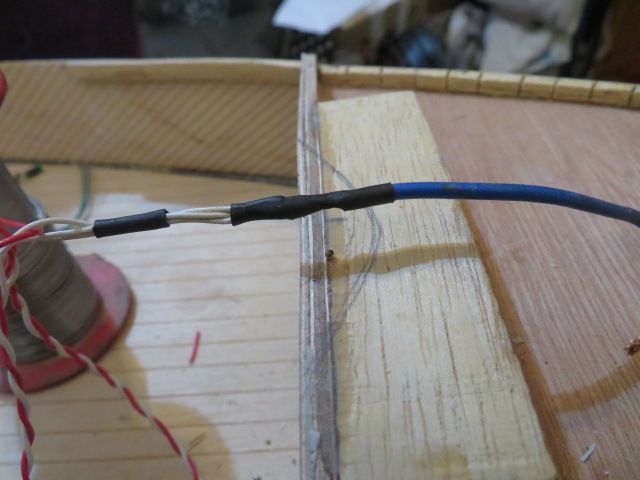
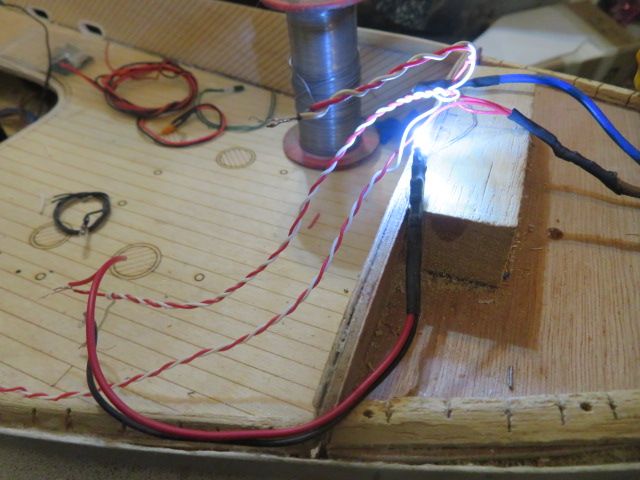
              and so put a plea out on one of the facebook forums for help. a goodly number came up with feasable ideas and solutions, but in the end Stavros came to my aid by simply telling me to get rid of the blue clamps and simply soft solder the two sets of wires together. this simple task workd and i now had working lights to the bow.

              with that simple modification i was able to route the wires through the grp top and then glue the top to the boat.

              img_1256.jpg

              img_1263.jpg

              img_1268.jpg

              img_1269.jpg

              img_1270 (1).jpg

              img_1272.jpg

              img_1275.jpg

              #99311
              Richard Simpson
              Participant
                @richardsimpson88330

                The trouble is with those blue connectors is that they are made for specific wire gauges and don't work very well when connecting a much smaller cable. I'm sure what was happening is that the width of the metal connector plate jaw was not small enough and so was not touching the core of the smaller cable because the jaw was large than the core diameter.

                Soldering is always the best solution with such dissimilar cable diameters. If you want a belt and braces job in future it might be worth considering painting the cables with either a silicone sealant or a "Liquid Insulation" before sliding the heat shrink over it and heating it. Moisture can never enter the joint then which is always a possibility when you are applying heat shrink to multiple cables in one end.

                #99319
                neil hp
                Participant
                  @neilhp

                  what i couldn't understand was……the LED'S wouldn't work and yet a small electric motor would when held against the same wire terminals coming out of the connecters………..but its sorted now, much to my great relief.

                  #99321
                  Richard Simpson
                  Participant
                    @richardsimpson88330

                    You did have the LEDs connected the right way around?

                    #99322
                    neil hp
                    Participant
                      @neilhp
                      Posted by Richard Simpson on 30/01/2022 22:13:59:

                      You did have the LEDs connected the right way around?

                      yeh, honestly Richard, as they were supplied with red and white leads………..just had to connect them to red and white available………very odd indeed.

                      #99323
                      neil hp
                      Participant
                        @neilhp
                        Haven't done a lot today as i got up late, then had to take my daughters car for a new light bulb to Kwikfit
                        and then set about sorting the virus that my computer picked up even though i was "covered" by McAfee………
                        and then she loaded on a new browser to me, Firefox which she and her boyfriend who is studying a PhD in computer programming and designs and builds his own stuff were adamant that it is one of the safest browsers
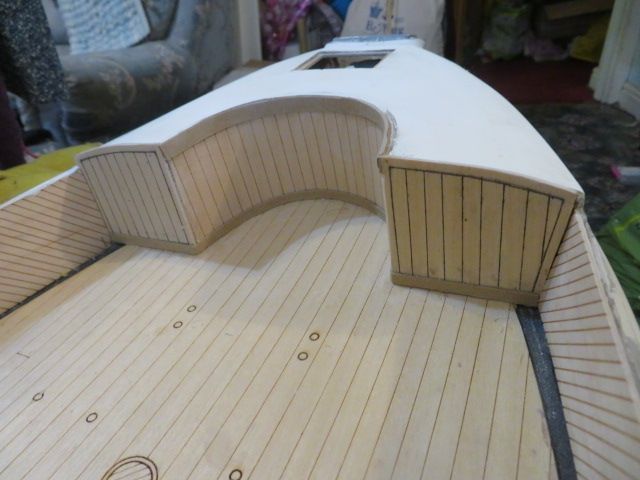
                        Then I had to transfer all my old contacts and pages, including these……..so all I got round to this evening was to finish the aft quarter end box, sand down the rudder skeg, and drill for my new rudder and pintel.
                        how do you like my new rudder, lol.
                        img_1279.jpg
                        img_1277.jpg
                        img_1278.jpg
                        #99331
                        neil hp
                        Participant
                          @neilhp
                          As I get nearer to taking the hull to Stavros for spraying, I am beginning to put on to the hull those parts that are integral to the hull.
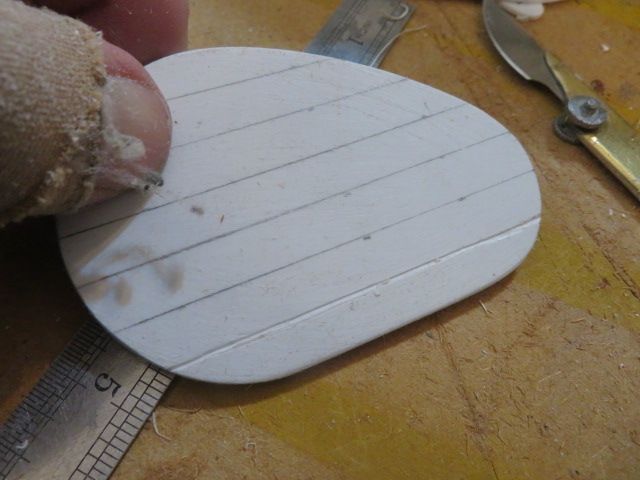
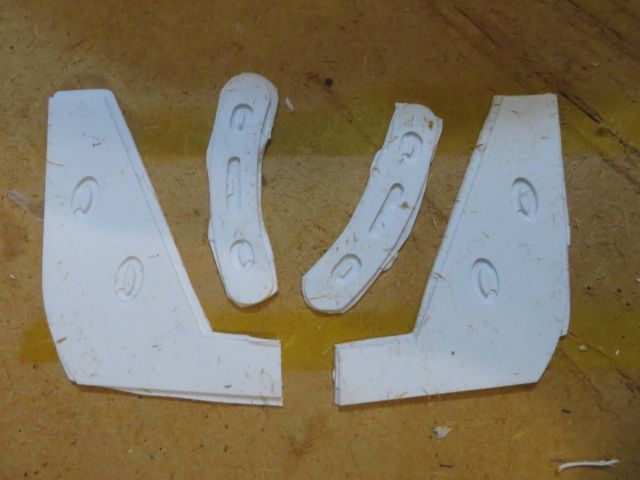
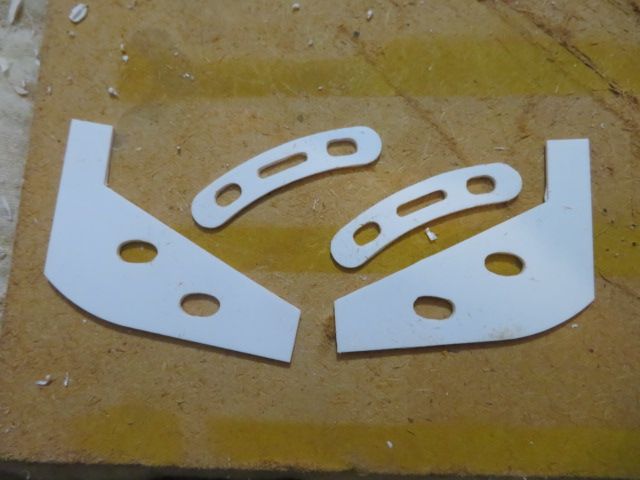
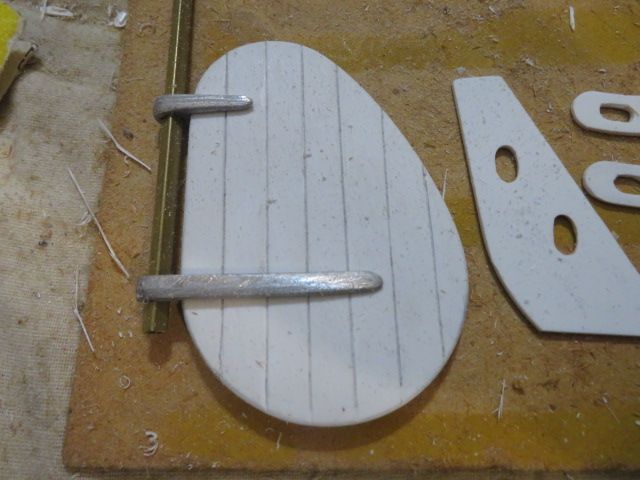
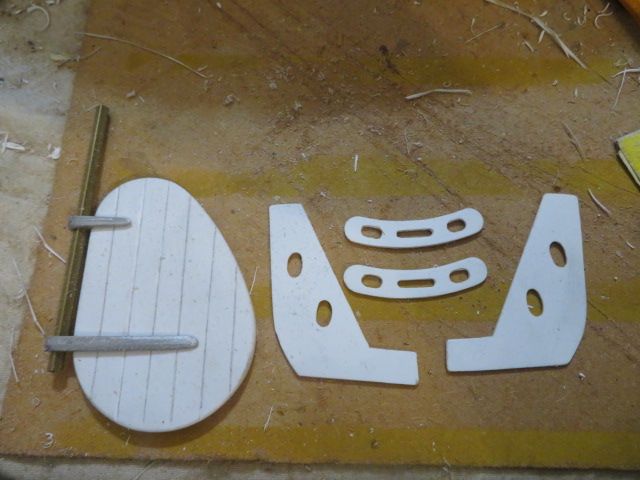
                          The rudder in 3 parts was glued together and the ruffle hole plates were cut out and trimmed,
                          Then I took the rudder and sanded it smooth and rounded the edges.
                          The rudder was detailed
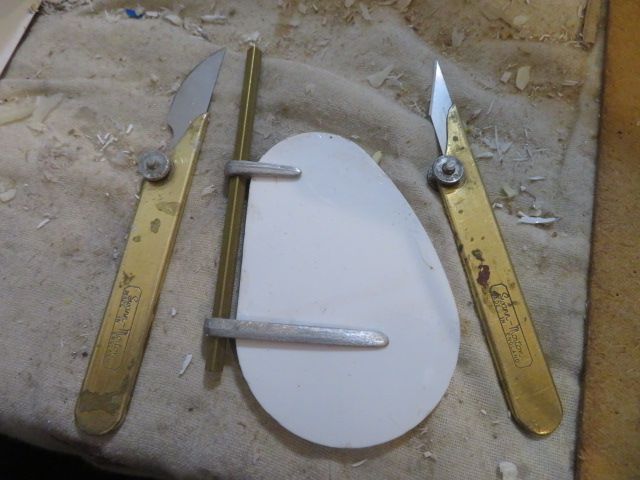
                          To show these planks on the plasticard rudder I marked 9mm planks and then cut into the lines with a blade, held vertically. Then went down the line at 45* to cut a shallow groove, and sanded
                          Tonight I'll glue the ruffle hole plates on to the hull.
                          img_1287.jpg
                          img_1288.jpg
                          img_1291.jpg
                          img_1289.jpg
                          img_1290.jpg
                          img_1293.jpg

                          img_1292.jpg

                          #99382
                          neil hp
                          Participant
                            @neilhp
                            If you don't succeed!………try again………..and then again, and if then you don't succeed?.
                            Just say sod it until later!!!.
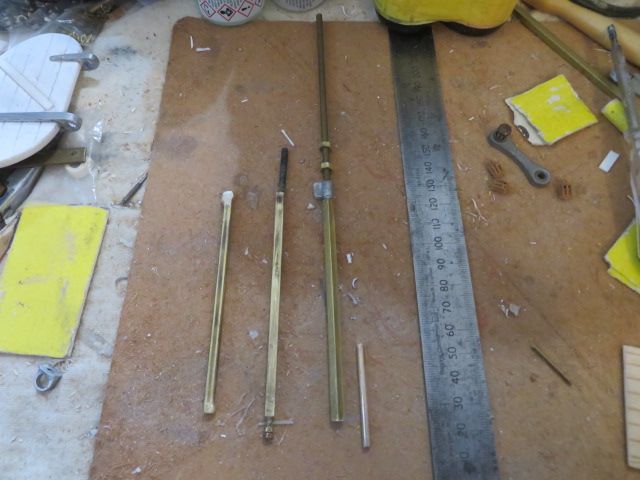
                            This was my mind set last night when I was going to fabricate the rudder stock.
                            First try….I was carrying the bits out to the workshop to silver solder just as dusk was falling when I slipped on the wet grass….and dropped the screw cut bar for the top that goes in to the cast rudder box…….have you ever tried searching for a 25mm piece of threaded rod in grass that hasn't been mown since last November……….but at least I tried with the torch on my phone….
                            SO! On to try no. 2……I found an old piece of threaded steel shaft, and took the thread off a 100mm length of it, and on shaft [left] started to silver solder the threaded rod into the brass square tubing…..disaster!!!…..the rod turned out to be stainless steel, and by the time the ss rod had heated up, the brass tubing had melted at the end. ******g **ll
                            #99383
                            neil hp
                            Participant
                              @neilhp
                              AHHH HUM!! .try 3. So, I had some spare square brass, and so cut to the length of the original, found a brass threaded rod and silver soldered it in to the brass……..so then, as my brain was getting bogged down, numb and stupefied by now, s.soldered the bottom rod in to the tube as well……….yet more fun as the set up was too short both at the top, and the bottom, for although I had cut the brass screw [top casting] and bar [bottom pintle] I had cut them too short to hold the place in to the boat without falling out.
                              Try 4, could I get my act together this time………..errrrr NO!!!
                              I found some more threaded brass rod, but in a longer 150mm length and this time for some reason it allowed me to "screw" the rod into the tube……by this time I just wasn't thinking straight but was determined to get the job done, but it was nearly 23.00 hours, and so instead of turning the power back on in the workshop, firing up the gas porch and s.soldering it all together [which was mercifully a very good decision, I decided just to rough up the brass rod on the bottom end and glue bosth ends with 1 hour epoxy………..bl***y good job I did make that choice, as after about 30 minutes I decided as the epoxy was going off to just try the fitting…being by now brain dead……I realised that the stock would NOT FIT between the top casting, and the bottom pintle whilst the bottom rod was in place, because there is a clamp to go on to the top of the square brass tube, once the stock is fitted….and therefore I removed the bottom rod whilst the epoxy was still slightly tacky.
                              That was it……I'd had enough, and where I left it for the night, and so I will move back to it tonight.
                              Picture of the 3 attempts as in order.
                              img_1306.jpg
                              #99384
                              neil hp
                              Participant
                                @neilhp
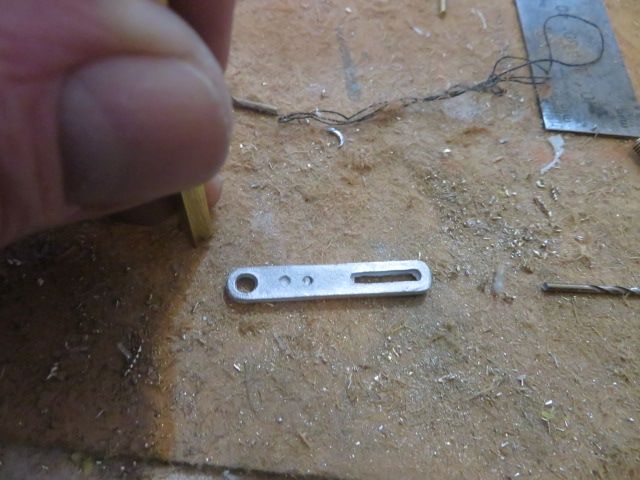
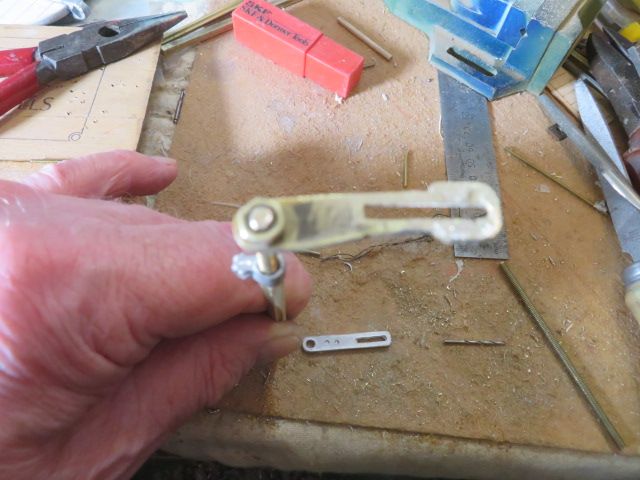
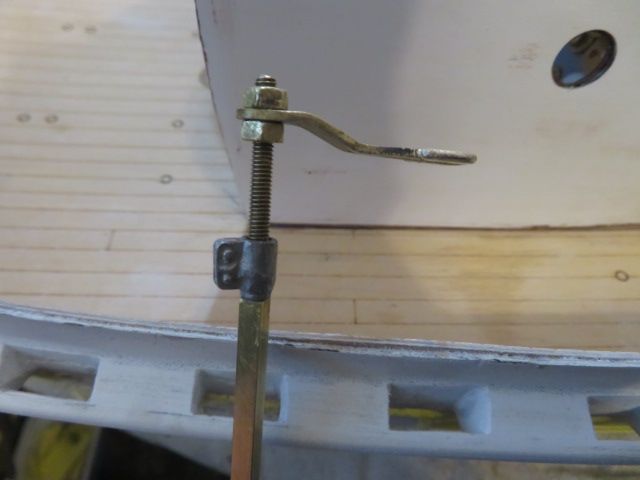
                                One small, but vital modification I am making to the rudder stock set up, is to replace the sliding arm of the rudder stock from the white metal fitting to one of brass.
                                The one supplied in the kit of both the Liverpool class, and Dave's earlier Ann Letitia Russell which I have owned and sailed 4 including the prototype in 1995 worked superbly, never broke nor wore out and would be perfect on my model, but for one thing……having used the Ann Letitia Russell rudder box on the Liverpool, I have to make a sharp bend in the slider to get it under the stern end box, and so, being white metal, I don't want to even try bending it for fear of weakening or fracturing it.
                                Also with the sail being so long, I know that directional sail will be constant as I have never sailed a "yacht" before, and so just cutting out possibilities of failure in the rudder set up.
                                As such, I have made one in 1.2mm brass. This will also give me less worry as I am, just for the Windermere sail fitting a removable bigger rudder that slips over the existind scale rudder to help directional steering whilst the model is under sail.
                                img_1307.jpg
                                img_1308.jpg
                                #99387
                                Richard Simpson
                                Participant
                                  @richardsimpson88330

                                  I think after I'd have got to failure number three I would have gone for a sit down and a beer. Sometimes you get to the point where the harder you try the more mistakes you make!

                                  #99388
                                  neil hp
                                  Participant
                                    @neilhp
                                    Posted by Richard Simpson on 04/02/2022 22:30:27:

                                    I think after I'd have got to failure number three I would have gone for a sit down and a beer. Sometimes you get to the point where the harder you try the more mistakes you make!

                                    true Richard….a fresh day and all has been sorted………….sadly i had no beer or wine in store lol……..made it even worse,

                                    #99389
                                    neil hp
                                    Participant
                                      @neilhp
                                      so, i got stuck back in to it tonight, and started by bending the sliding tiller for the rudder stock, that i had made this afternoon.
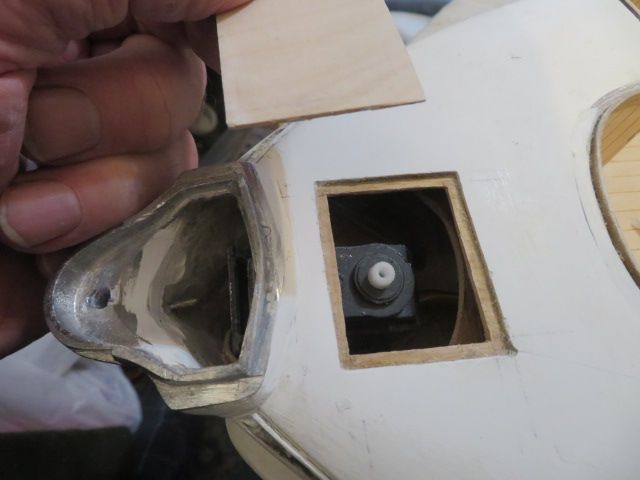
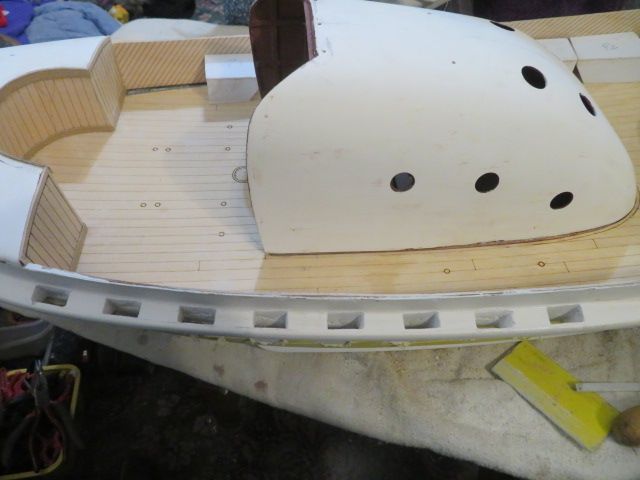
                                      And to take my mind back to the job in hand, i.e. get it ready for Dave Stavros Jones to take it back to wales for giving it some colour, after a quick visit to Blackpool i trimmed up the holes in the belting,
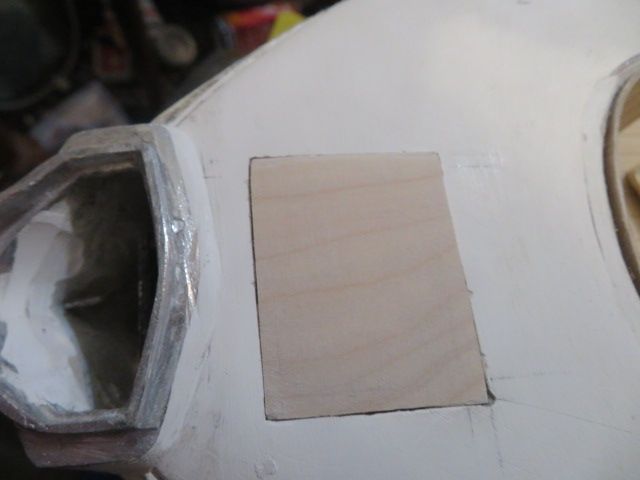
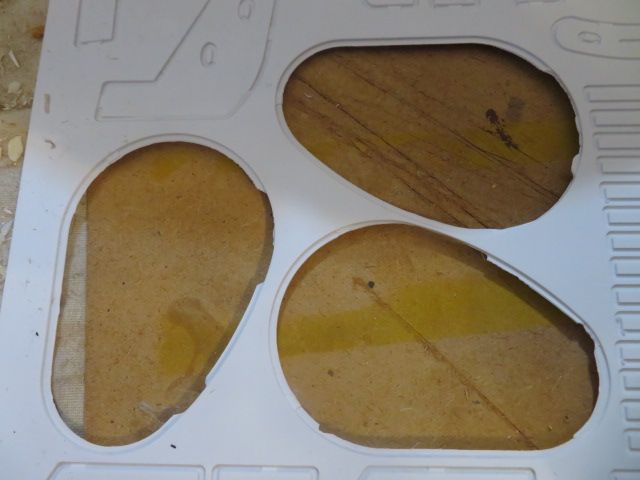
                                      and finally i decided to do something different, and made the port side flotation boxes, from the laser cut 1.5mm plasticard supplied in the kit.
                                      img_1312.jpg
                                      img_1310.jpg
                                      img_1311.jpg
                                      #99399
                                      neil hp
                                      Participant
                                        @neilhp

                                        a few jobs done today….

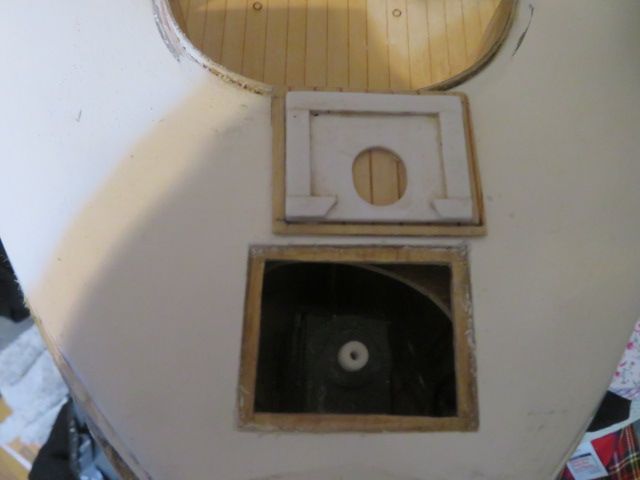
                                        1] The small hatch to gain access to the servo capstan was made from a top made from scraps of ply that I rescued from other kits, plus some plasticard glued to the underside to both strengthen the top and also as a locator to the rectangular access hole in the end box.

                                        2] the first stringers of mahogany went on to the bulwarks on the inside of the boat. They were easy enough to measure holding the aft end and middle with clamps and marking the front end for cutting. I used aliphatic water proof timber glue to glue mahogany to ply facing. Tomorrow I'll glue the teak capping onto the bulwark tops.

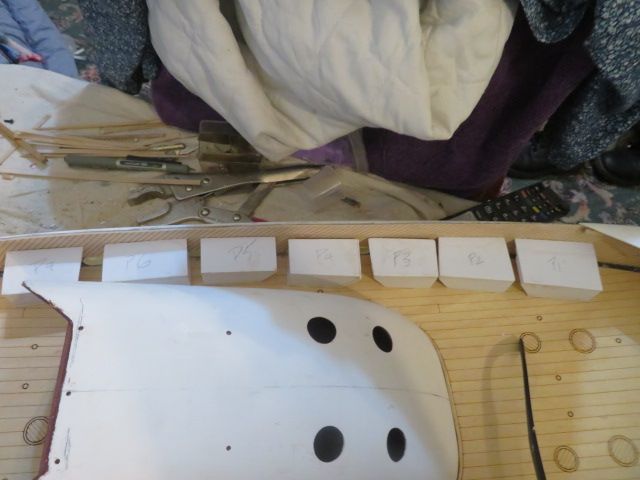
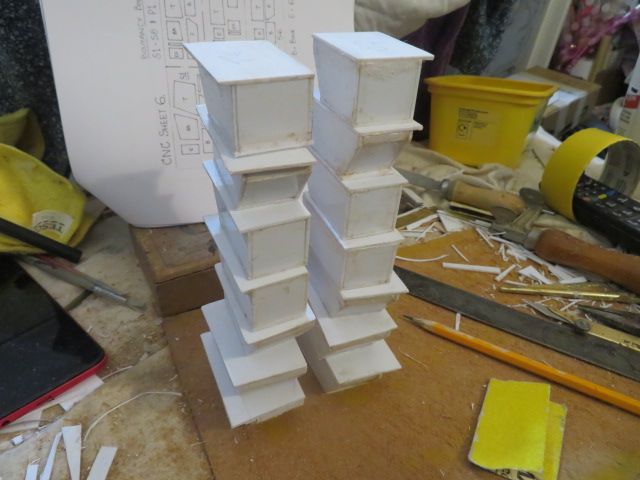
                                        3] I fabricated the starboard side flotation boxes from the cnc cut plasticard in the kit…..all went together well,

                                        img_1313.jpg

                                        img_1314.jpg

                                        img_1320.jpg

                                        img_1317.jpg

                                        img_1315.jpg

                                        img_1318.jpg

                                        img_1319.jpg

                                        #99421
                                        neil hp
                                        Participant
                                          @neilhp
                                          Today, I saw my daughter off back to uni and collected my friend Allan Macfarlane's ashes that have promised to take back up to his home of birth , Millport on Cumbrae for a last trip which was his wish just before he passed, so havent done a great deal today…
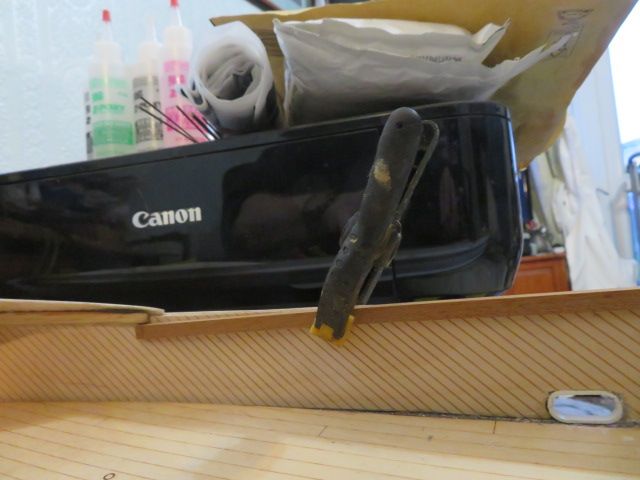
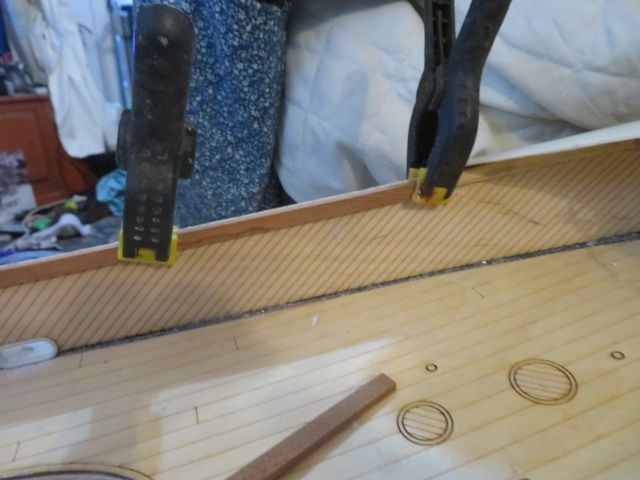
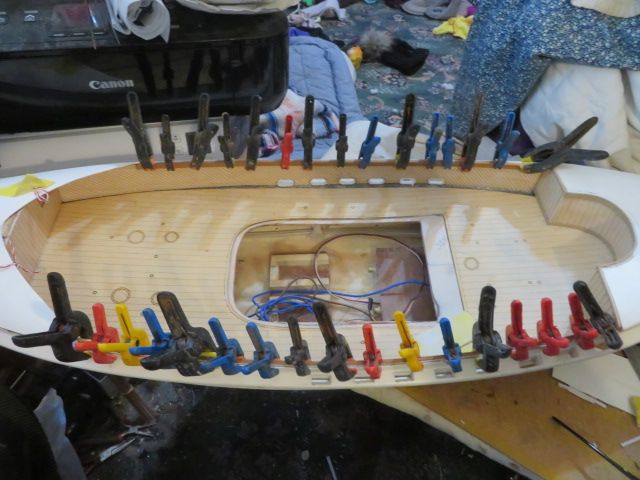
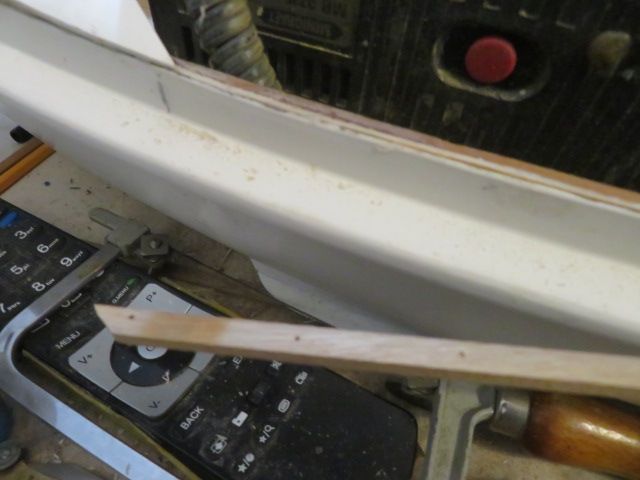
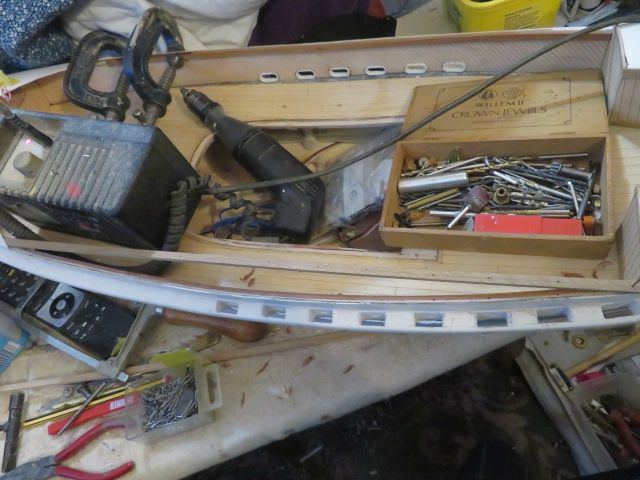
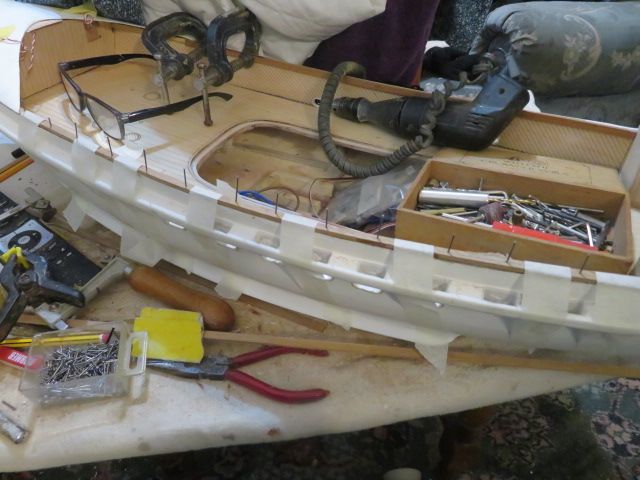
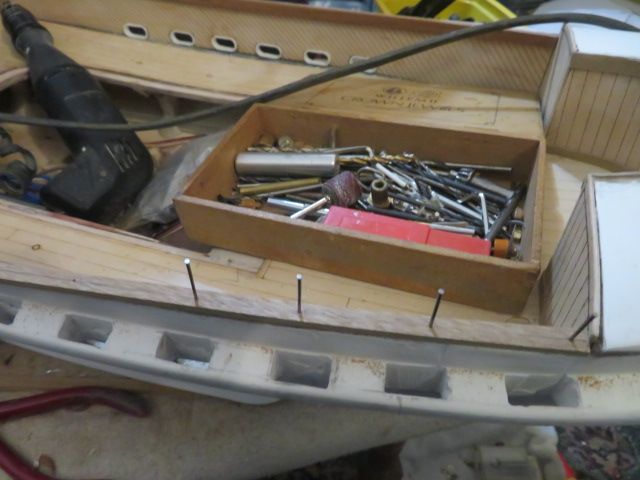
                                          but i did put the teak capping rail on both sides of the boat, glued with epoxy and held with thin framing pins [which will be taken out in a couple of hours or so, masking tape and strong spring clamps.
                                          i also got the fittings that attach to the hull ready for pick up and spraying by Dave Stavros Jones on Thursday along with the hull
                                          img_1344.jpg
                                          img_1346.jpgimg_1347.jpg
                                          img_1345.jpg
                                          #99446
                                          neil hp
                                          Participant
                                            @neilhp
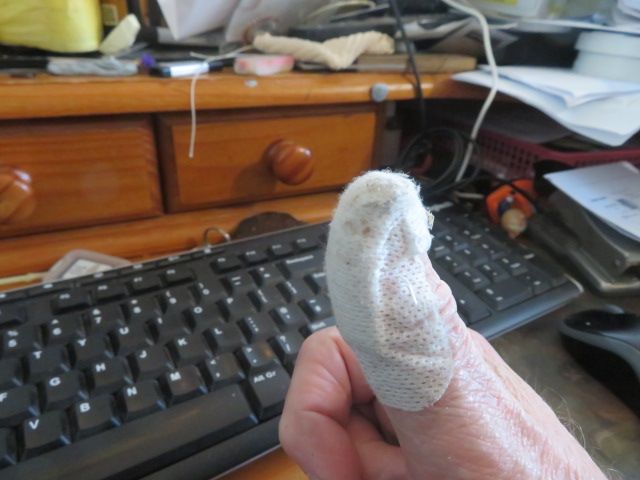
                                            have you ever tried doing things without your thumb to grip things………its harder than you think.
                                            i rang my doctors on Friday to ask if my thumb could be looked at as it was developing a lump and was painfull doing simple tasks, like holding the steering wheel……..and thought that i had a grp splinter in it from some months ago.
                                            so yesterday the nurse practitioner rang me and asked if i could come in this morning so that the doctor could have a looksee.
                                            i went along and our doc got his scalpel and tweesers out after numbing my thumb and found the splinter [about 4mm long and very pointed] after cutting through the skin and out it popped with a little spurt of blood……no wonder it was irritating to the touch he said.
                                            but it certainly limits what you really do rely on when you dont have your 5th digit……i am amazed…………God really was an amazing being when he designed us…no dispute.
                                            img_1432.jpg
                                            going out to the workshop now to see if i can paint with my teeth, lol.
                                            #99448
                                            Ray Wood 3
                                            Participant
                                              @raywood3

                                              Hi Neil,

                                              You have my sympathy sore fingers and toes are the worst things ever !! you always have your other hand ?

                                              Kind Regards Ray

                                              #99449
                                              neil hp
                                              Participant
                                                @neilhp

                                                The only thing i do with my other hand is scratch my head lol.laugh

                                                #99450
                                                neil hp
                                                Participant
                                                  @neilhp
                                                  The Hull, of the Liverpool is going to Wales tomorrow, for sanding, filling, more sanding and painting to colours by a man, I don't know whether to call a hero or a fool to take on one of my builds
                                                  But Dave Stavros Jones is definitely one thing, a very good painter, and I look forward to seeing it back in a little while
                                                  .
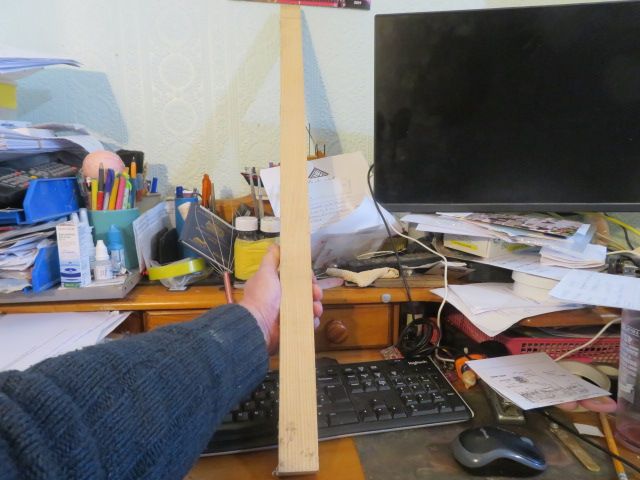
                                                  BUT!. time marches on and there are plenty of jobs to do on the boat whilst it is away, and so i decided to start on the masts.
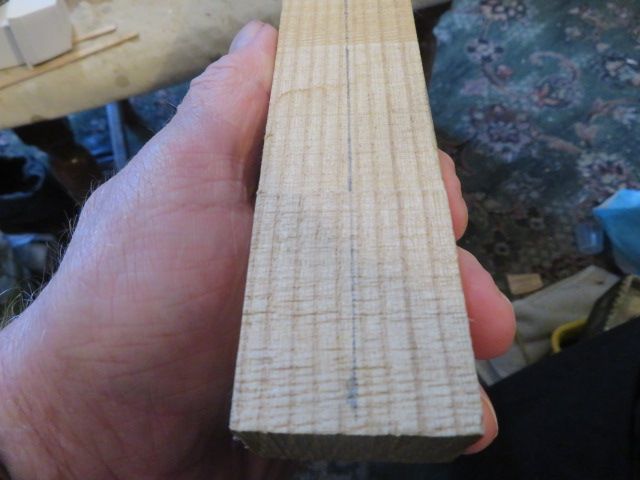
                                                  I have a lump of Ash, which is a superb timber, straight grained, strong and pliable, and a great medium for making a mast that will be up to the job of an endurance sail, and tonight I am going to cut a blank from it to do the main mast and the main mast spar, whilst the mizzen mast I will use two pieces of Ash doweling that I bought some time ago
                                                  .
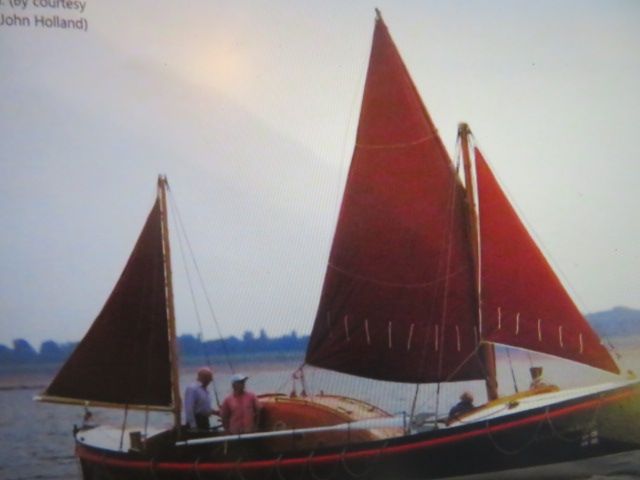
                                                  The main mast will be cut including the square section bottom 4 inches included in the full length, and all measurements were taken from the photo of the Liverpool under sail and lengths scaled by taking the tall man at the stern of the boat to be 6' tall.
                                                  I know, guesswork!!!, but Who will know from 30 m
                                                  img_1439.jpg
                                                  img_1434.jpg
                                                  img_1438.jpg
                                                  img_1436.jpg
                                                  #99455
                                                  Richard Simpson
                                                  Participant
                                                    @richardsimpson88330

                                                    Just to clarify Neil, that model isn't going to be wind powered for the run is it? I take it the sails will be furled and you will rely on the motor?

                                                    #99456
                                                    neil hp
                                                    Participant
                                                      @neilhp

                                                      Actually, Richard it is going to sail the length with a rig like in the photo…….there is little space in the hull for more than two nimh packs so the maximum I can get in there is about 12amps, and the motors I think draw about 1.5ah each,[small Buhlars11 pole] so would have a maximum of around 3.5 hours sailing, as the cabin will be screwed down for this venture and not really a chance for a "quick pitstop"……..

                                                      So the batteries and motors will be used to get me out of trouble and harms way fro the big lake steamers….the other 3 guys are building 6 – 8' long boats with plenty of batteries to do it in one stop, andIi want to try proving that sail is just as good as power, lol………

                                                      I can always call on the AA to give me a tow, as I'm a member lol.

                                                    Viewing 25 posts - 101 through 125 (of 214 total)
                                                    • Please log in to reply to this topic. Registering is free and easy using the links on the menu at the top of this page.

                                                    Code of conduct | Forum Help/FAQs

                                                    Advert

                                                    Latest Replies

                                                    Home Forums Building Kits Topics

                                                    Viewing 25 topics - 1 through 25 (of 25 total)
                                                    Viewing 25 topics - 1 through 25 (of 25 total)

                                                    View full reply list.

                                                    Advert

                                                    Newsletter Sign-up