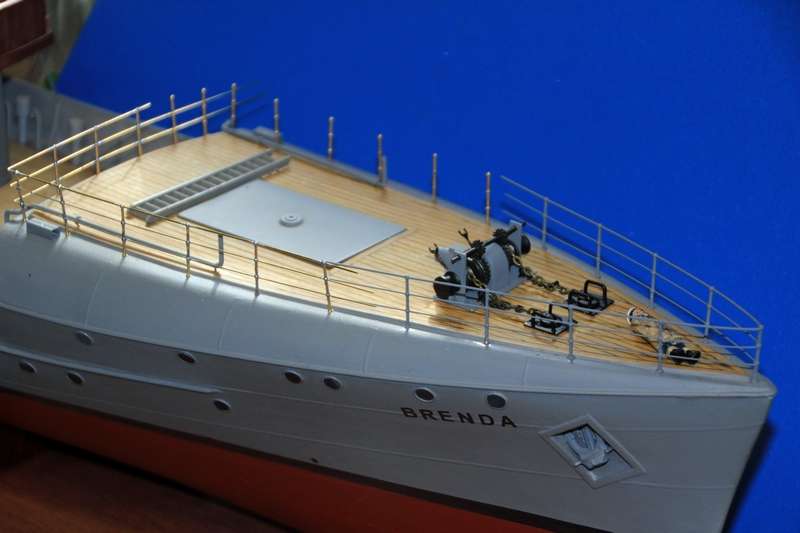
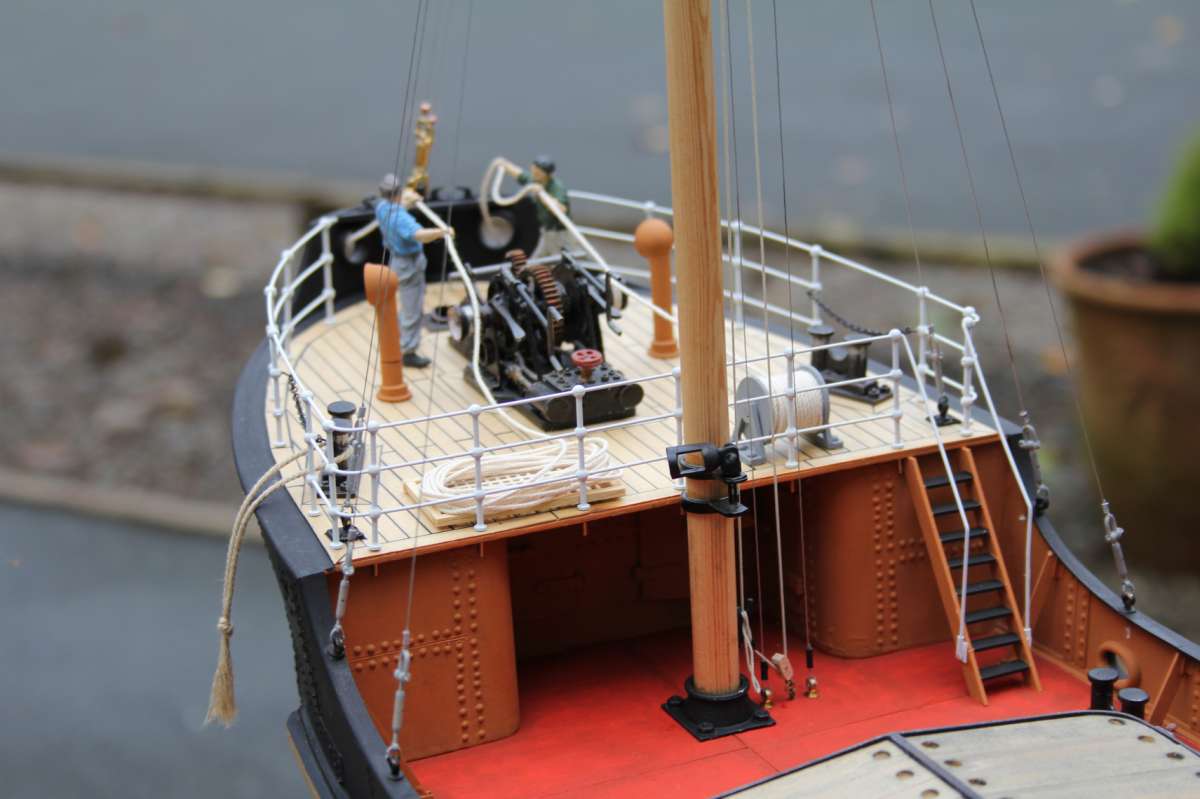
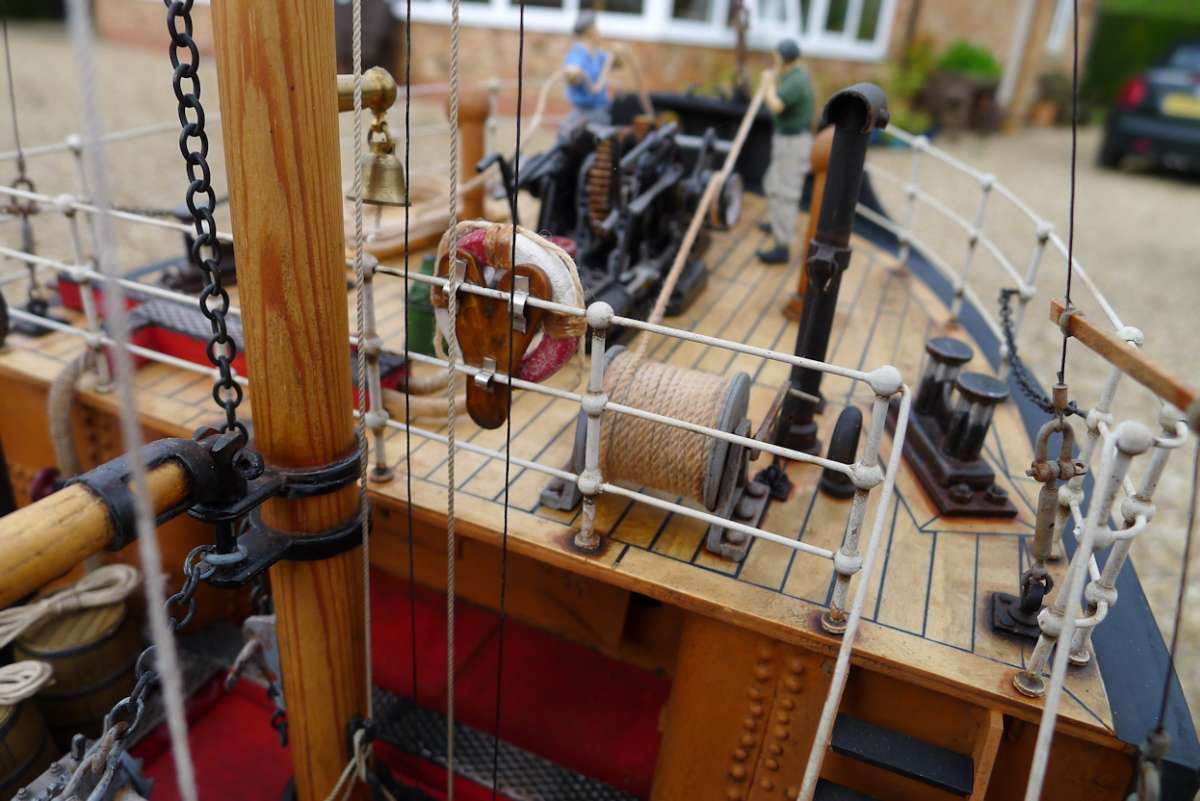
Billing Boats Smit Nederland

Advert

Billing Boats Smit Nederland

Home Forums Building Kits Billing Boats Smit Nederland

Viewing 25 posts - 51 through 75 (of 205 total)
  • Author
    Posts
  • #121326
    gecon
    Participant
      @gecon

      20240707_185351

      Advert
      #121415
      gecon
      Participant
        @gecon

        I’m carrying out my threat from last Sunday. Done so many small jobs that I can hardly remember what I’ve done. Photos of efforts should appear below.20240714_18445220240714_184550

        #121416
        gecon
        Participant
          @gecon

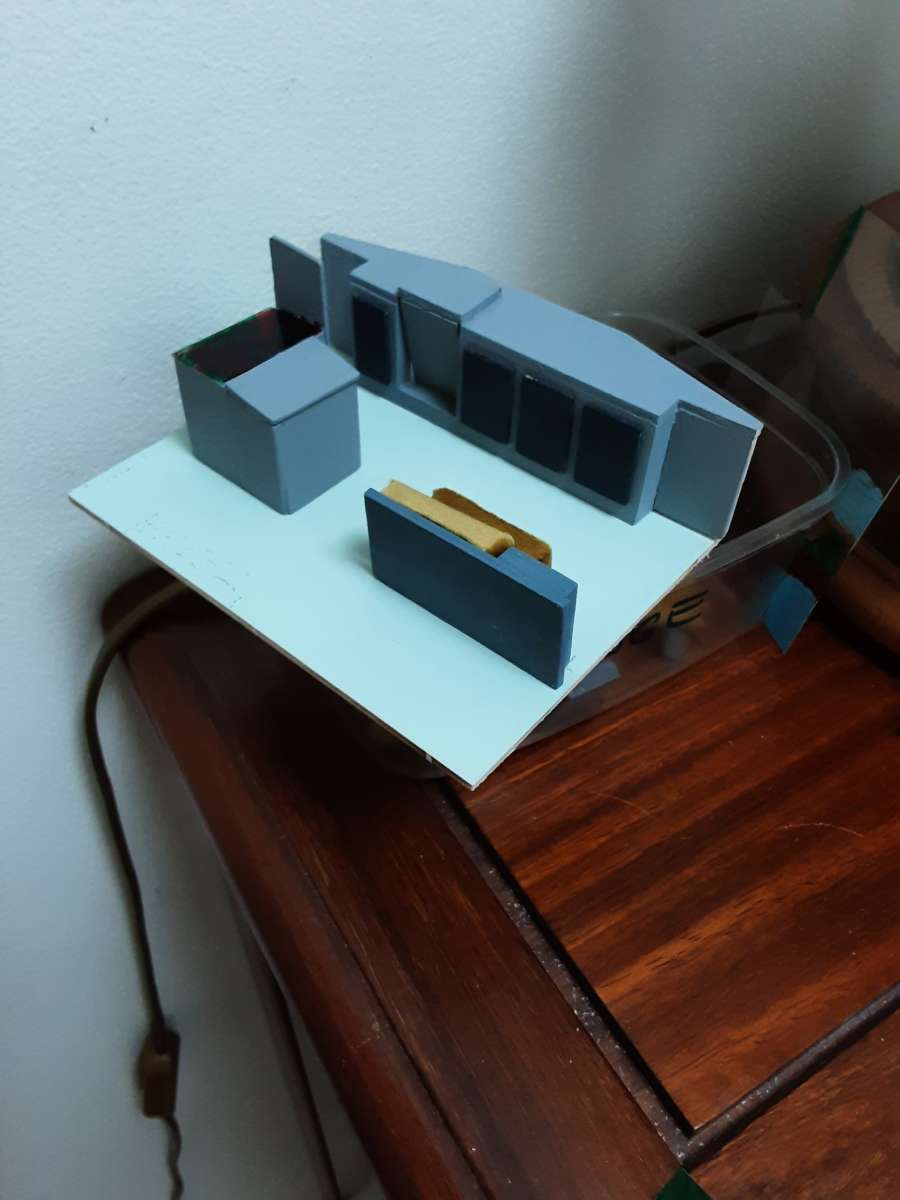
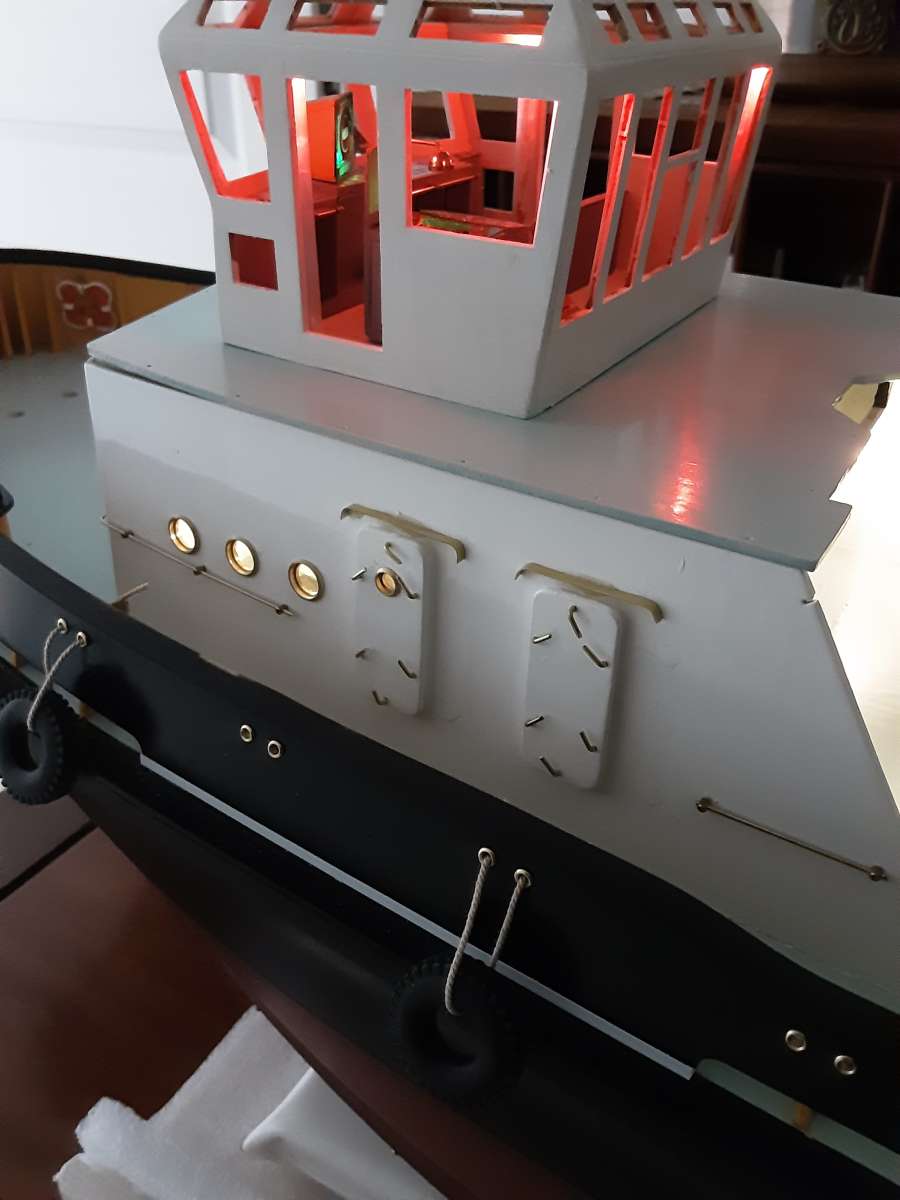
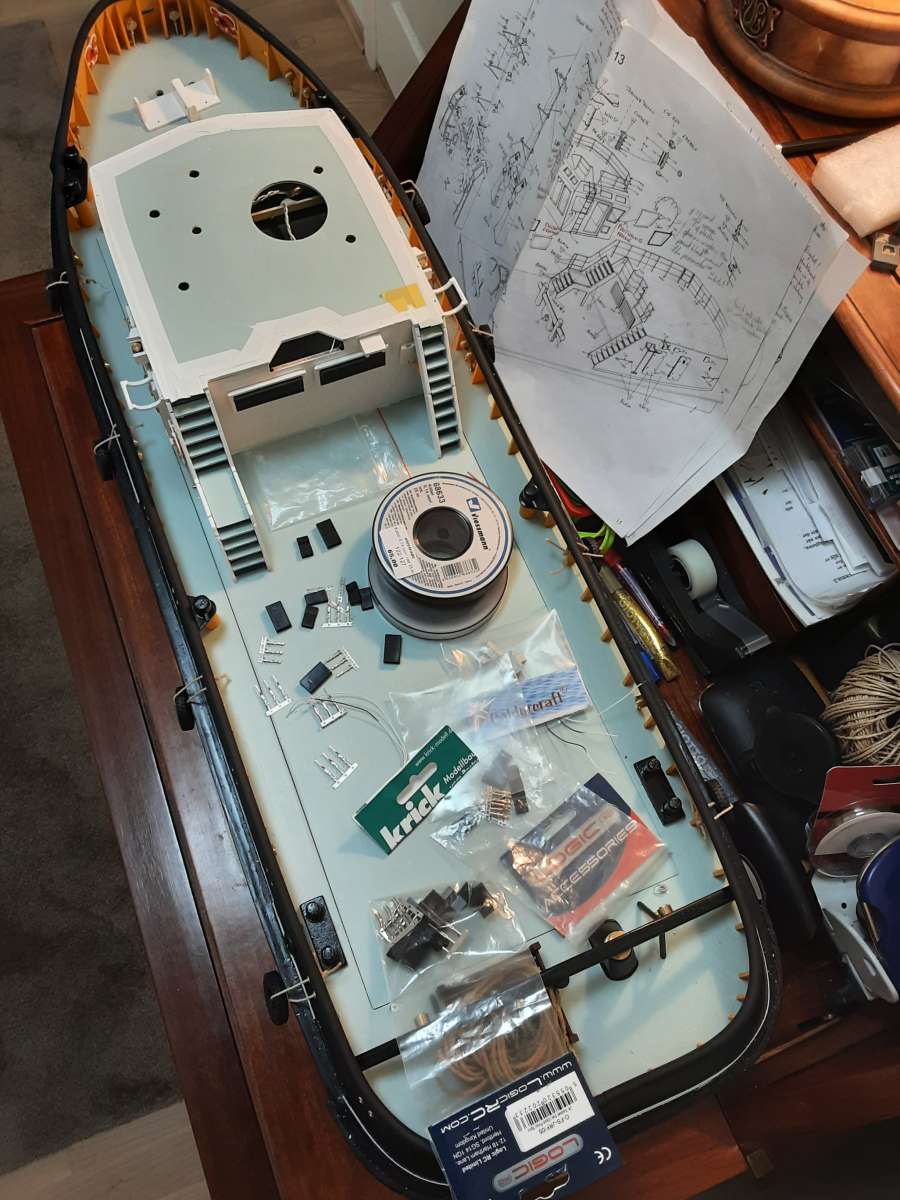
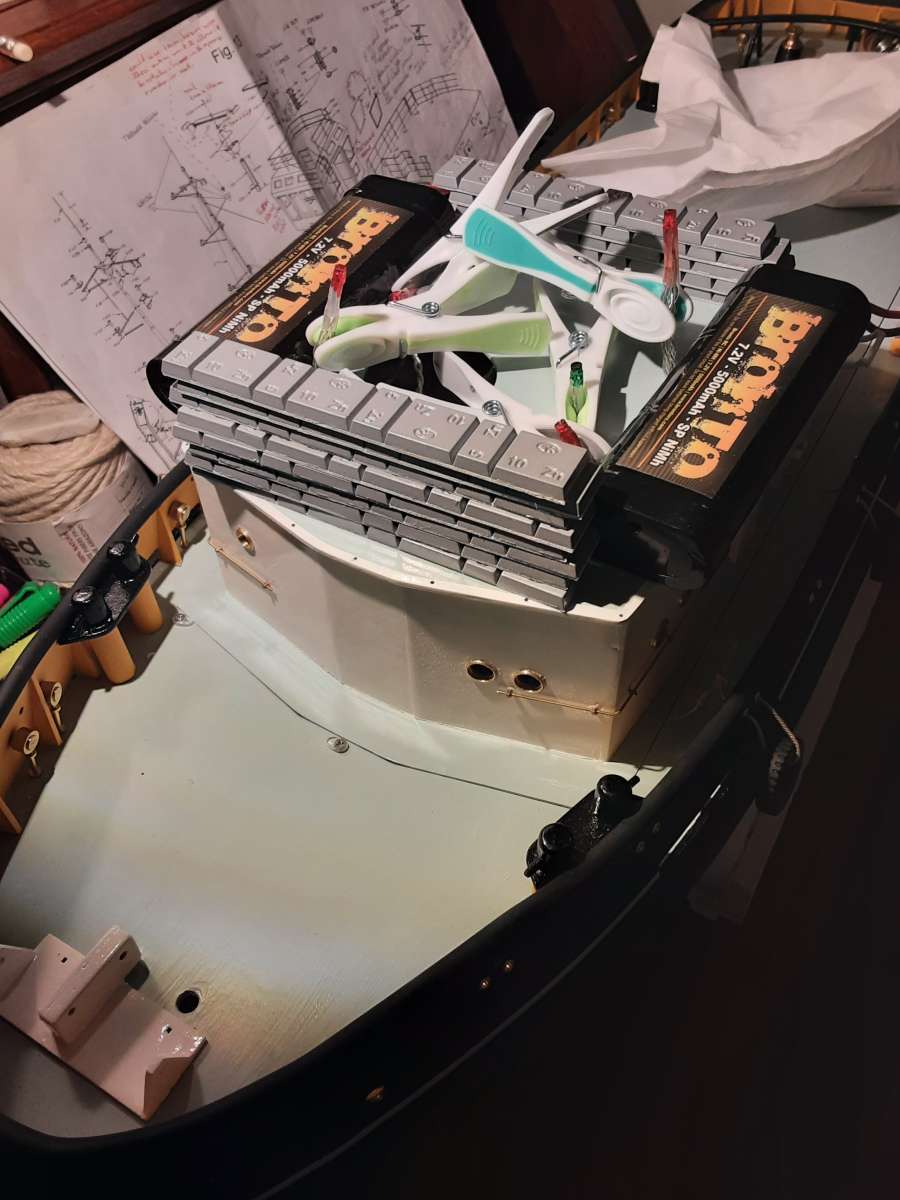
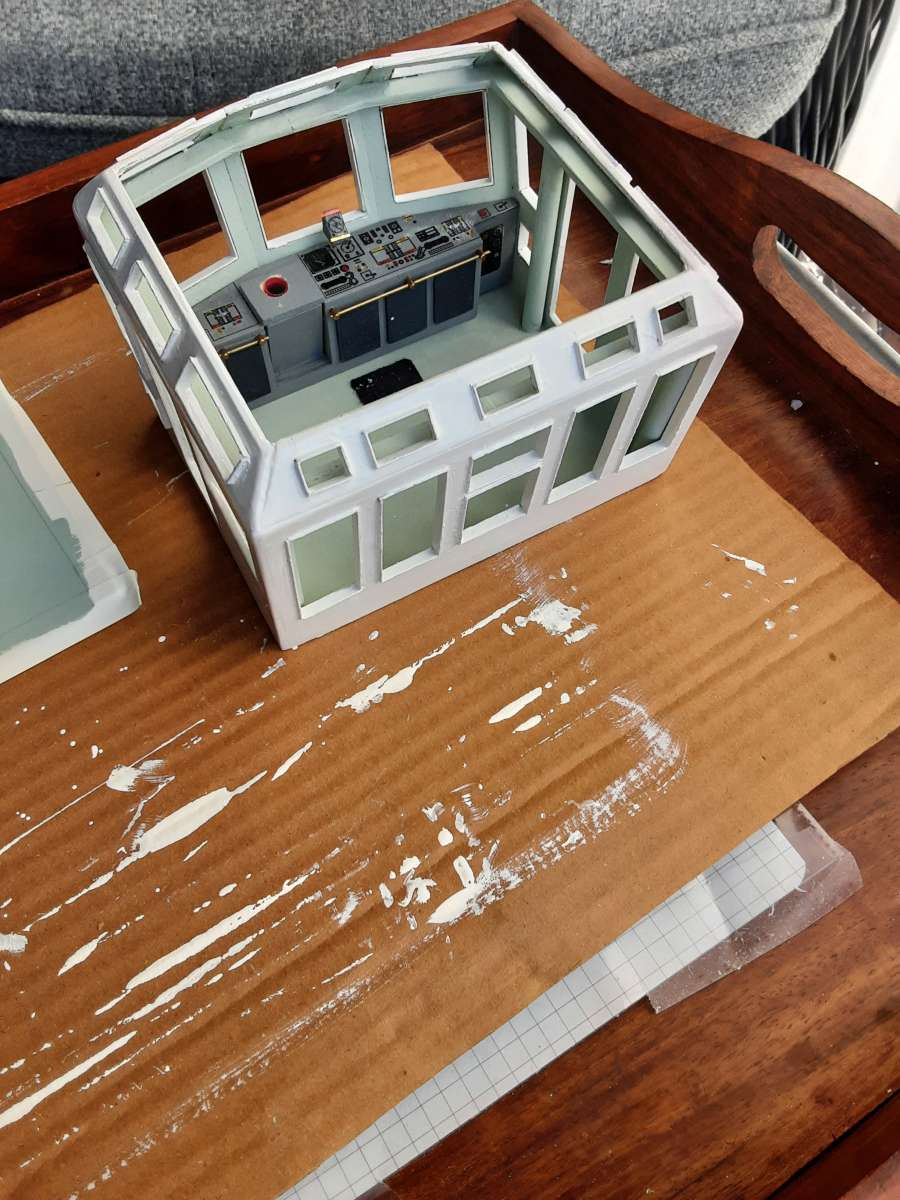
          20240714_184518Having some trouble writing below photos…anyway, the crew quarters has no space left for the crew, it’s full of lighting wires and battery boxes. It is well illuminated so light shows through all the portholes.

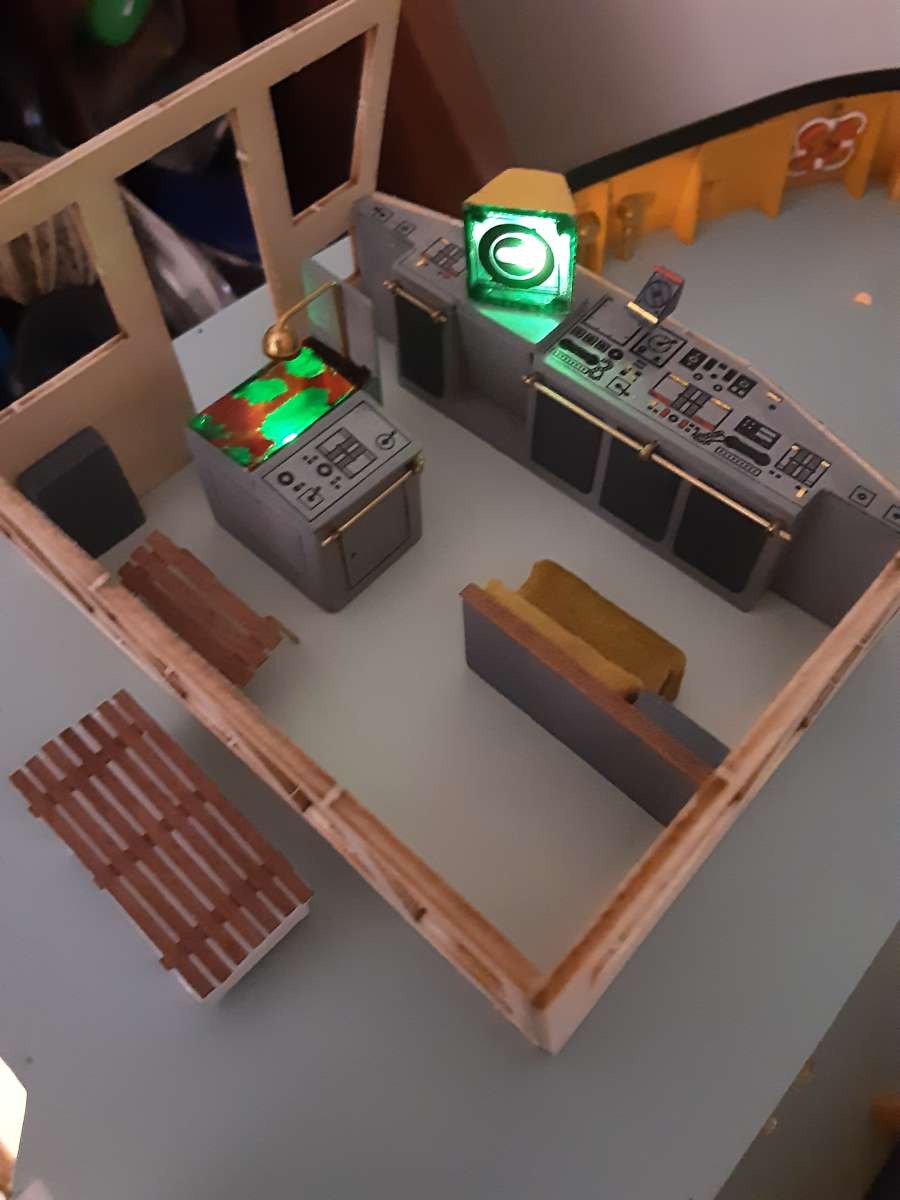
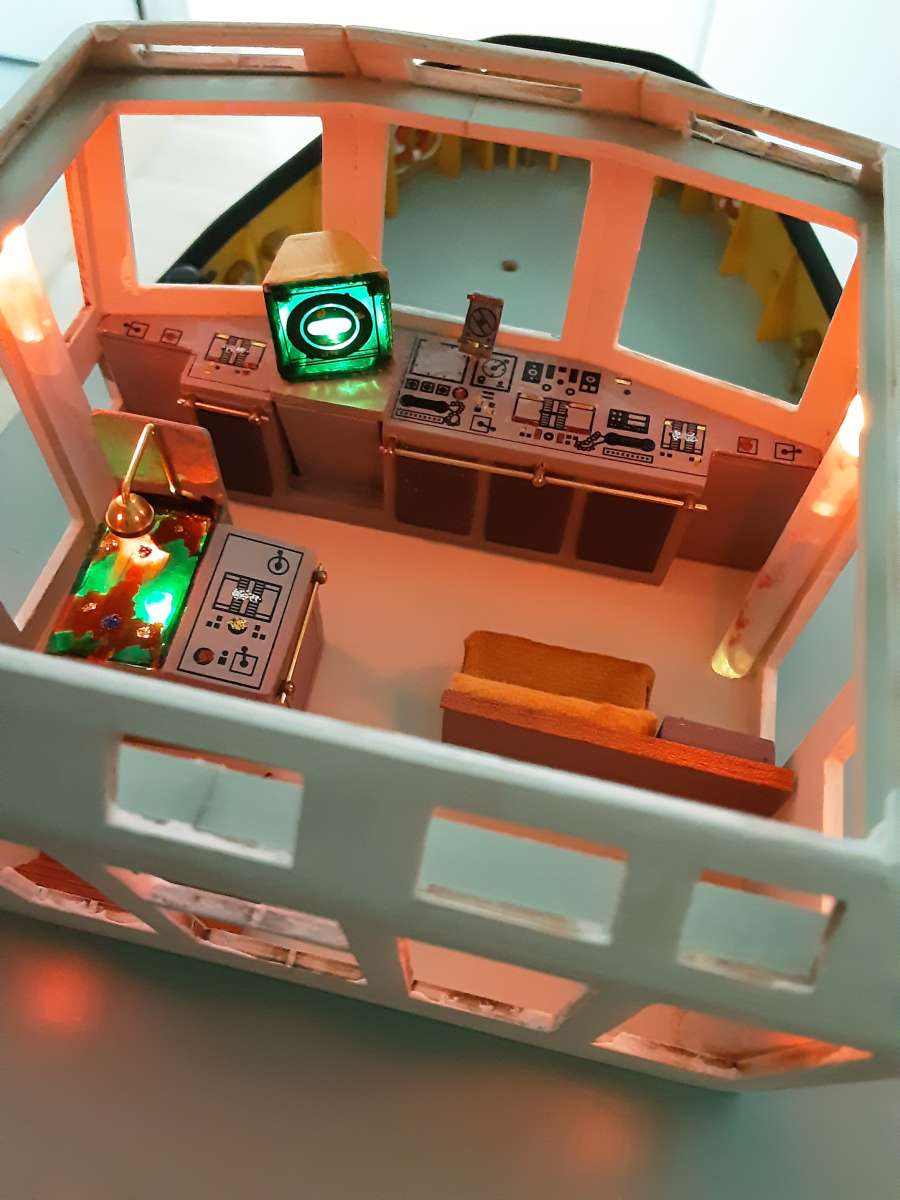
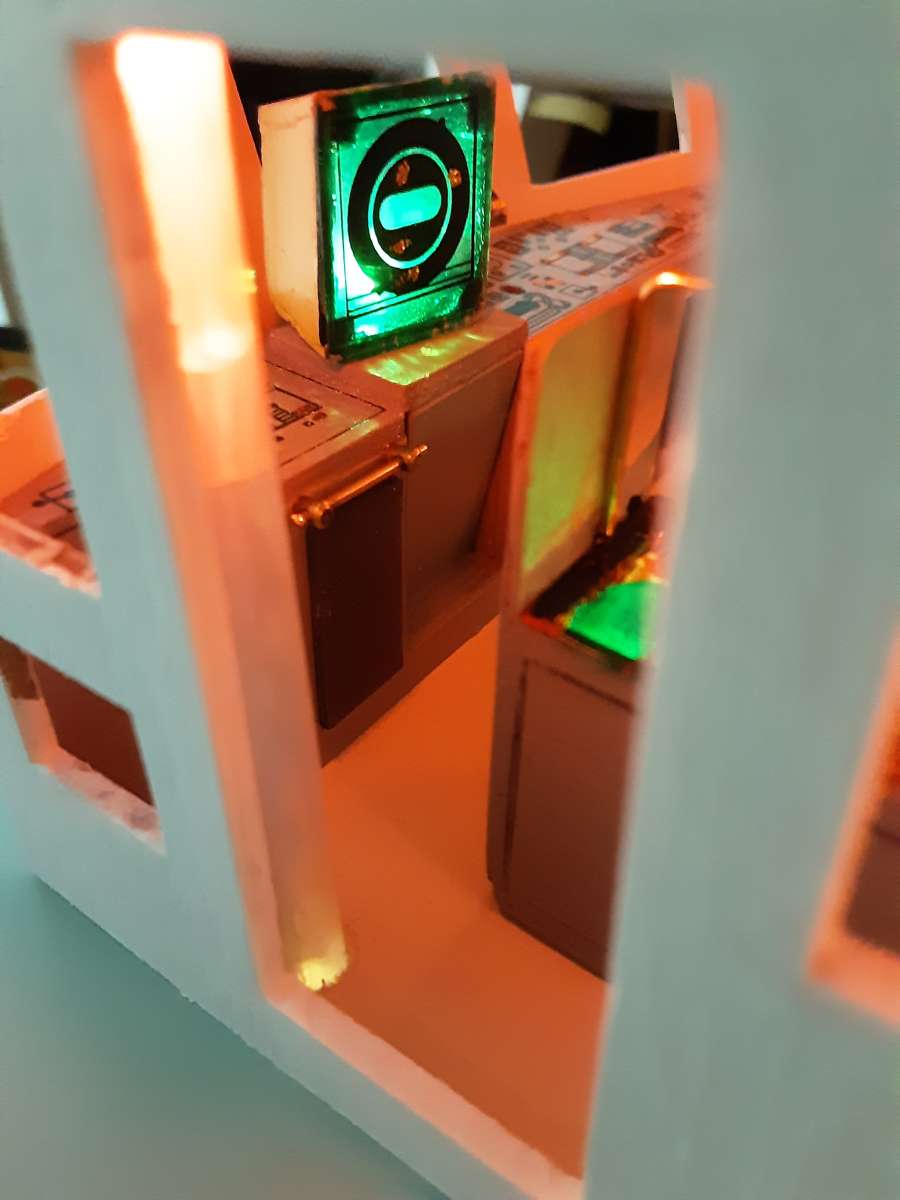
          Hope all the wire doesn’t re-route the signals from the R/C. The chart table has is now illuminated as is the radar screen.  The bridge will receive a dose of suttle illumination too, but the bridge deck area will be 2-3 weeks in production. Several fiddly jobs to do before the bridge can be properly attached the the deck.

          Have a good week,

          George

          #121536
          gecon
          Participant
            @gecon

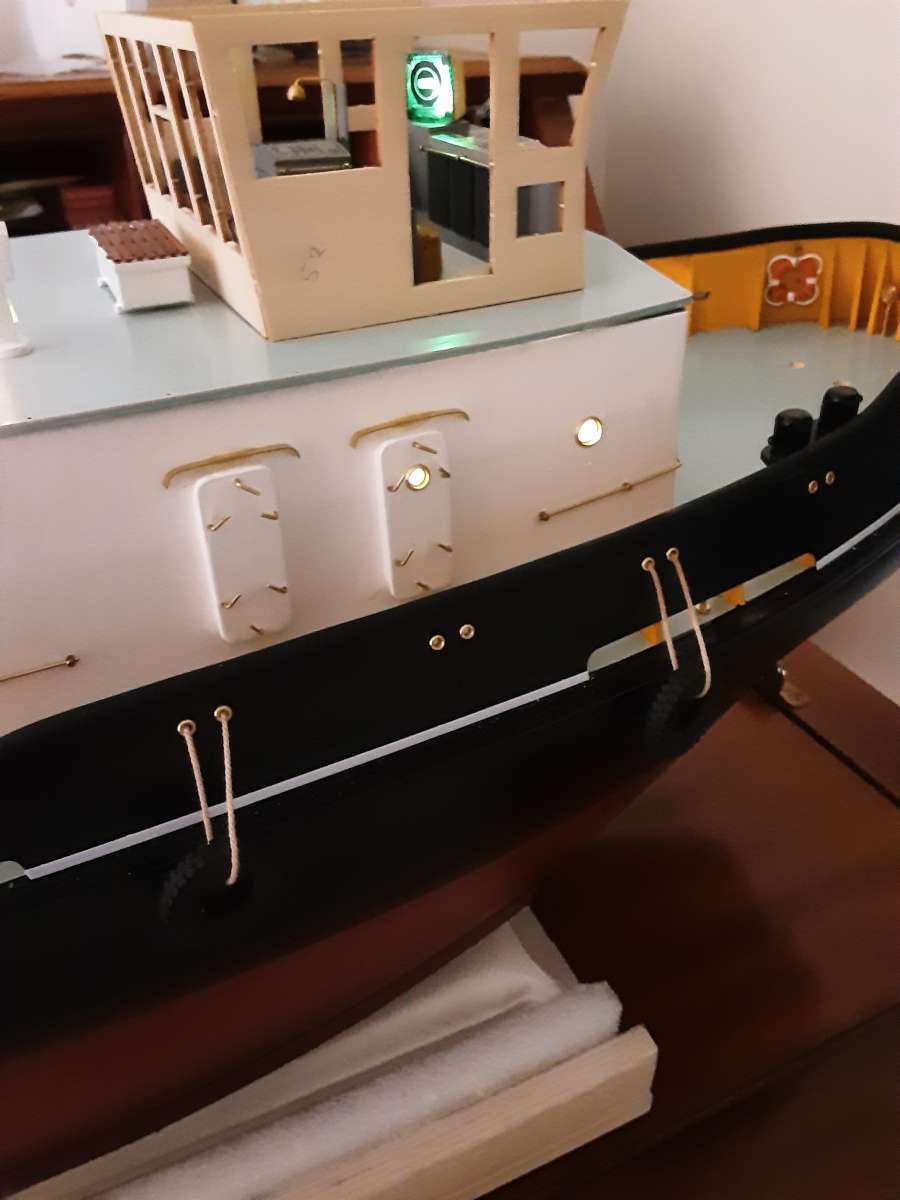
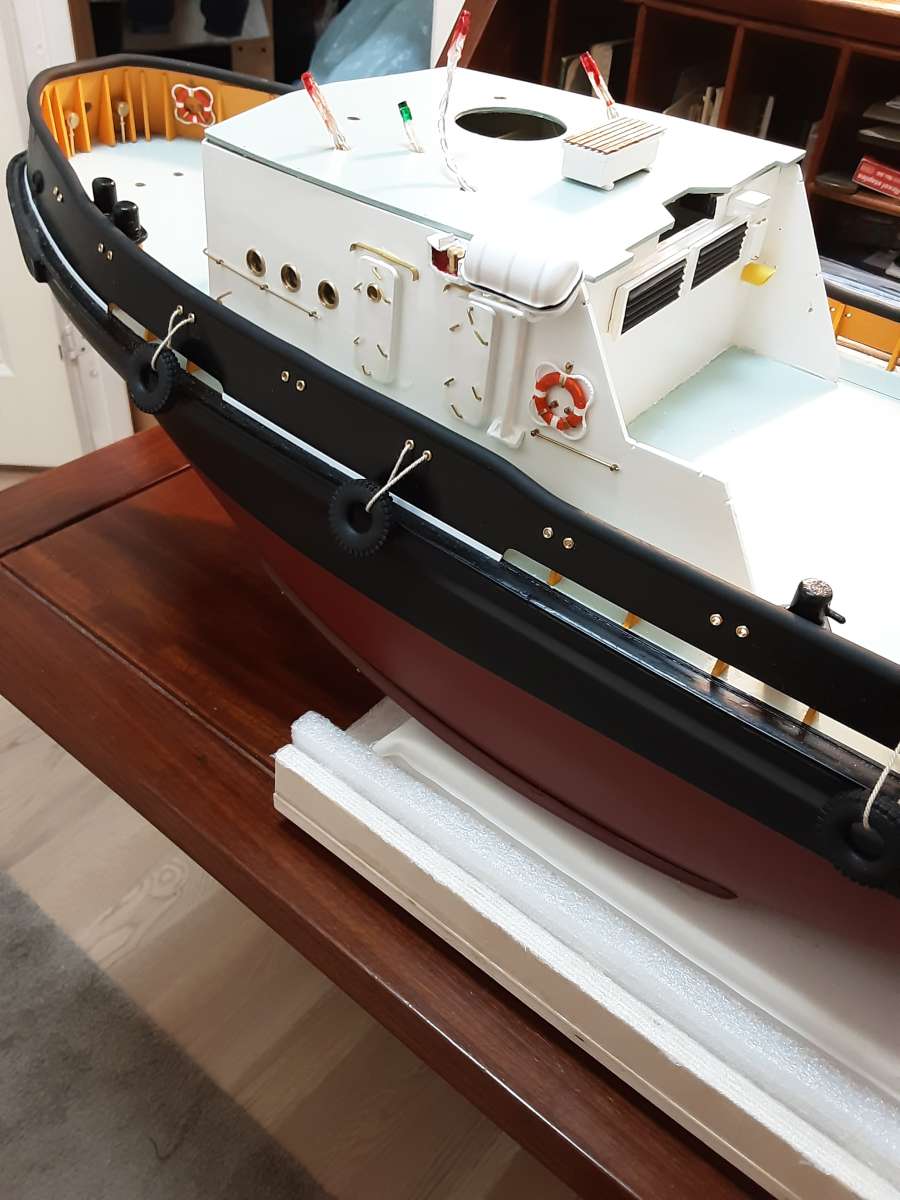
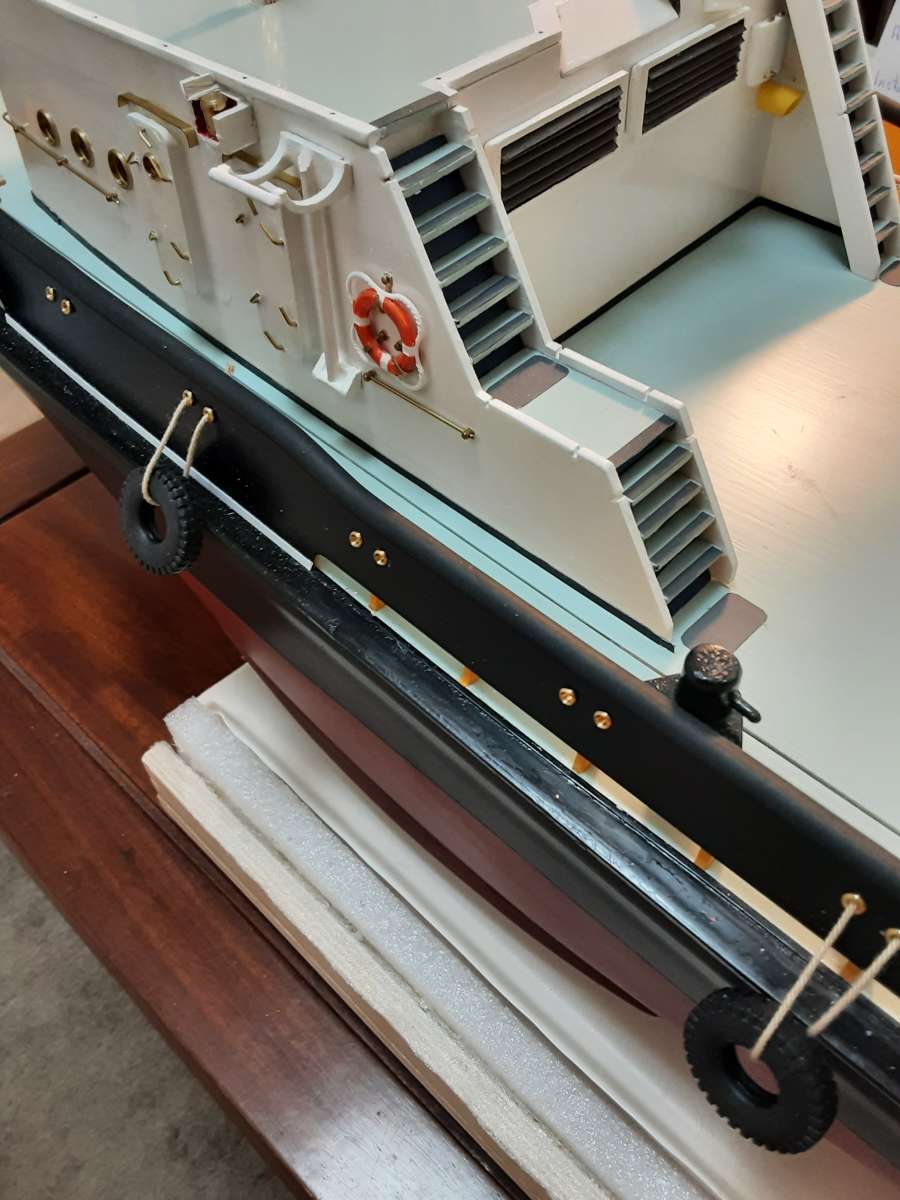
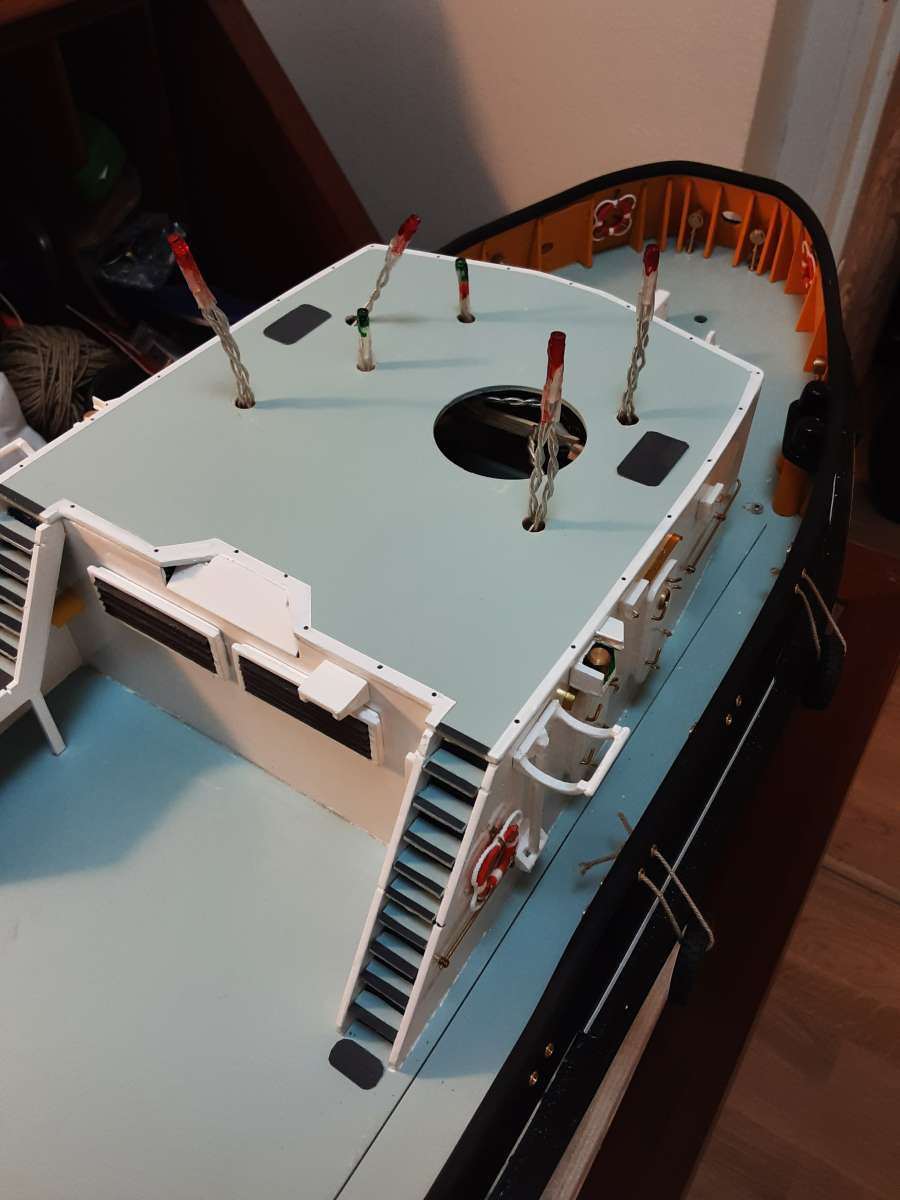
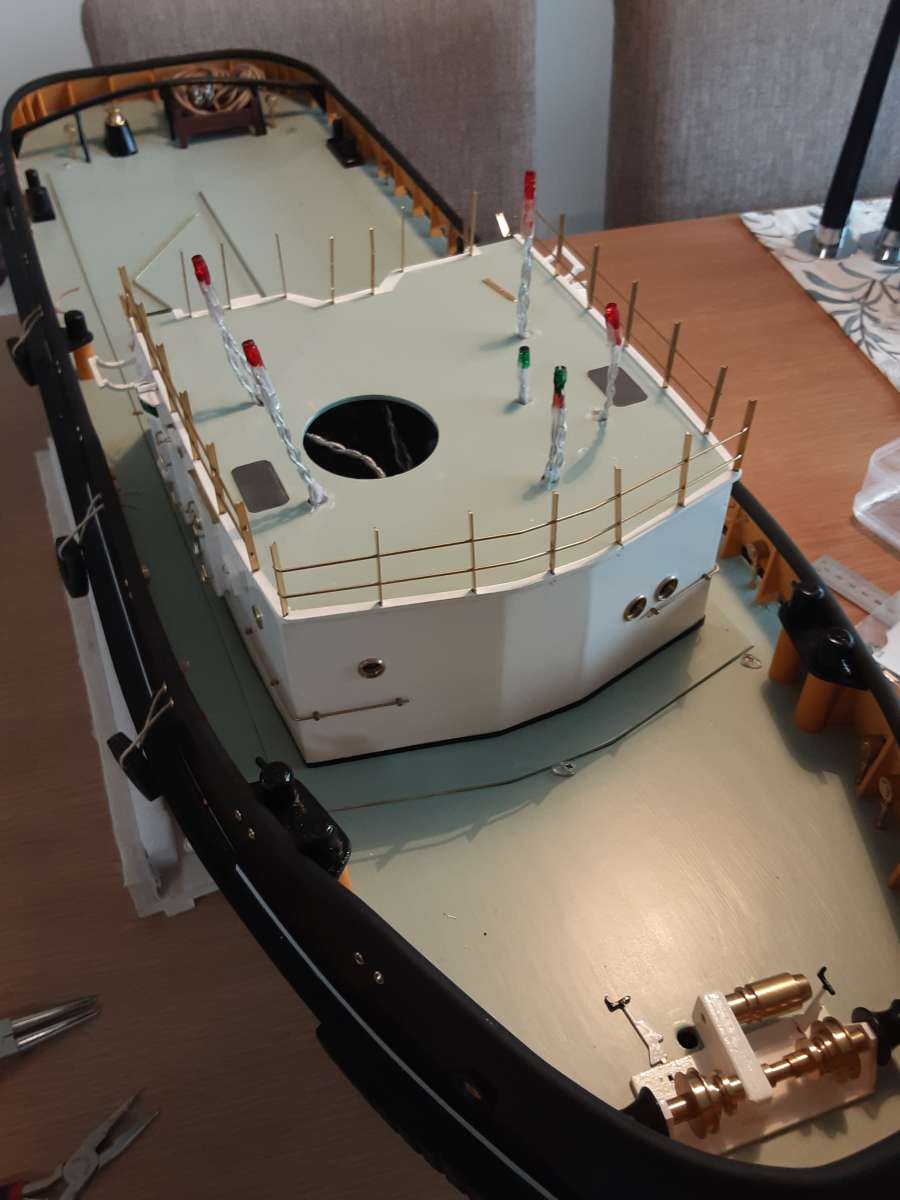
            The sunday sermon. It’ll be short. No waffles. Many small details added this week too. Nav lights -with grain of wheat bulbs, life raft holders, life belts (liferings?) Ambient light on the bridge and targets added to the radar and plotter. More detail added to the helm/consol panel.

            20240717_14120920240717_140823

            #121537
            gecon
            Participant
              @gecon

              20240721_172328I20240717_140626

              #121538
              James Hill 5
              Participant
                @jameshill5

                Really nice model, with plenty of detail.

                Going to be impressive when complete.

                Jim.

                #121554
                Tim Cooper
                Participant
                  @timcooper90034


                  George

                  Nice interior detail. I remember the super interior detail on your Colin Archer.

                  Tim

                  #121609
                  gecon
                  Participant
                    @gecon

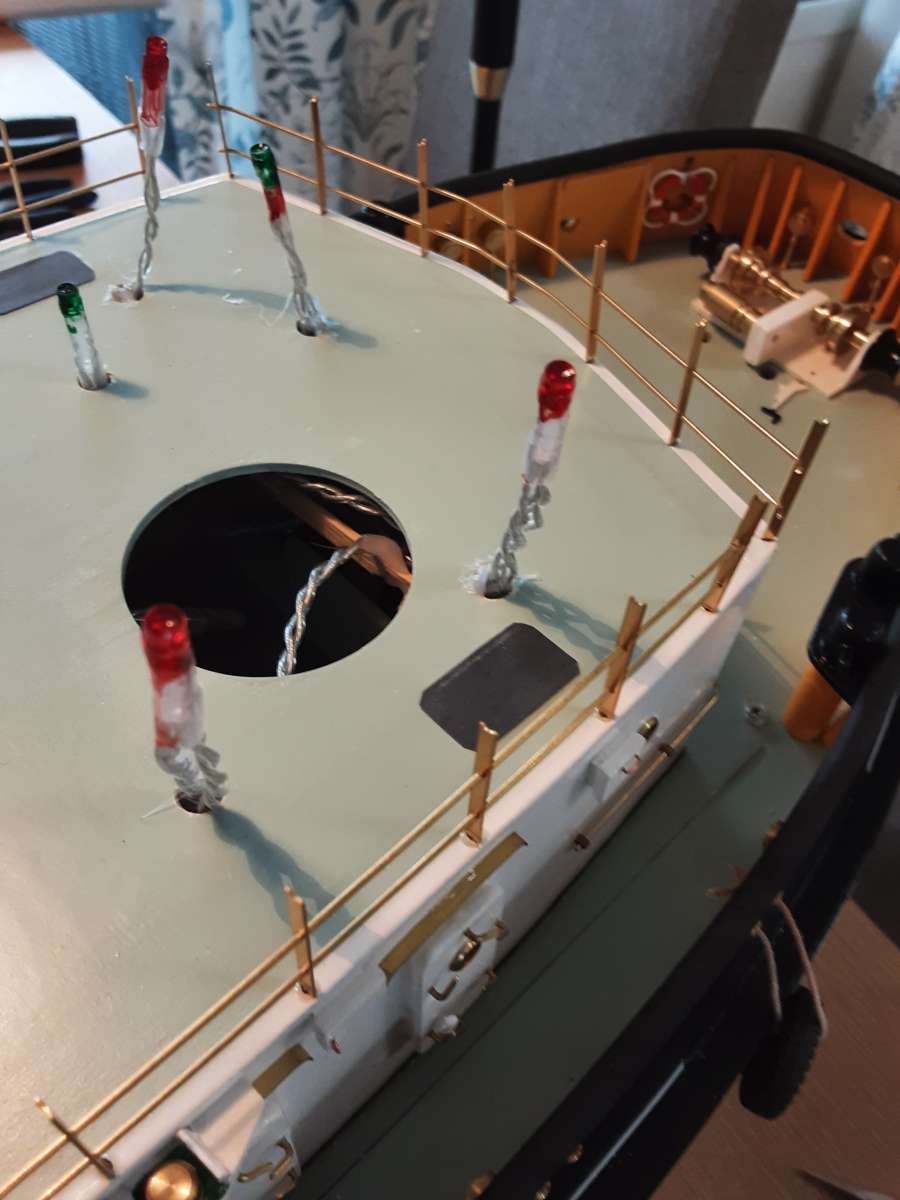
                    Electricians were onboard on Sunday. The 6 small holes are for ambient lighting LEDs on the bridge. The different wires will protrude from 2cm to 6.5cm into the bridge area. 20240723_101414

                    #121610
                    gecon
                    Participant
                      @gecon

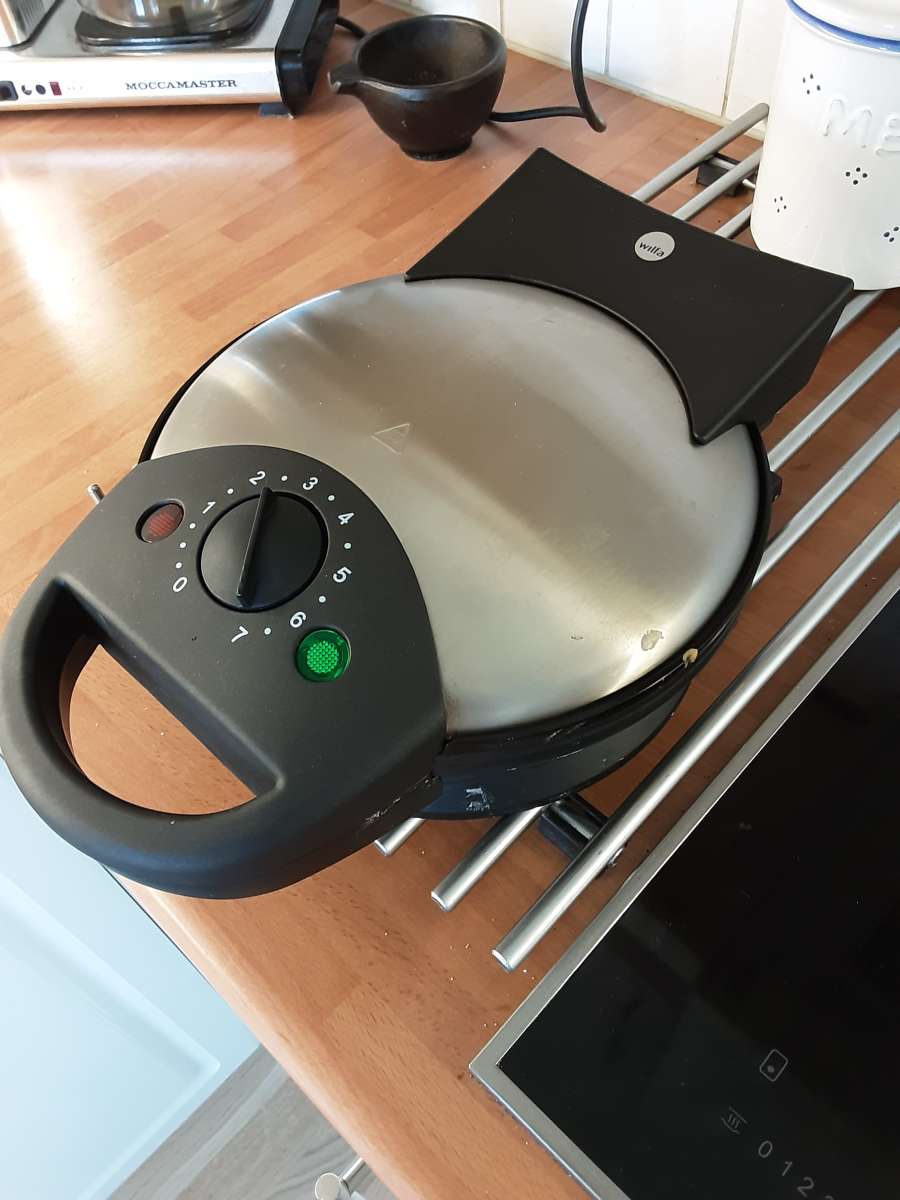
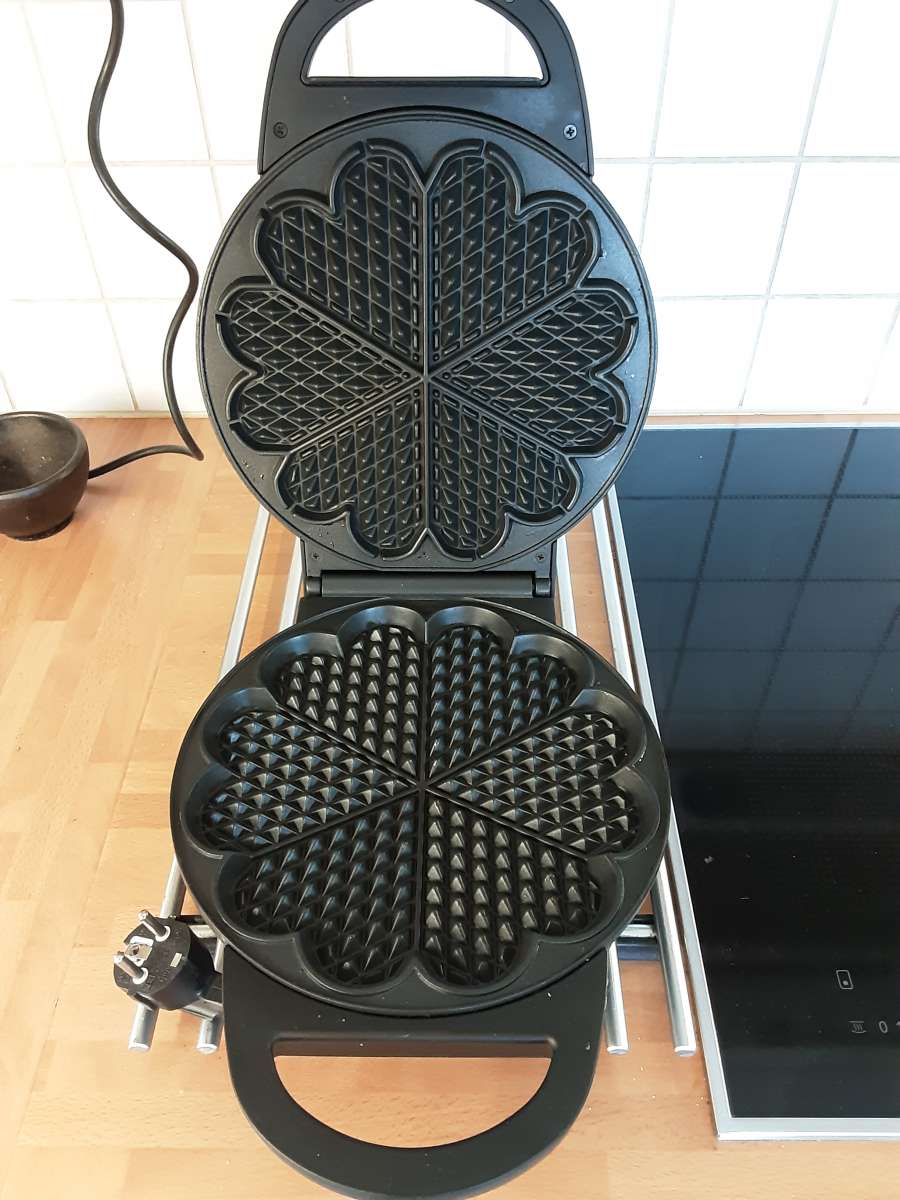
                      This is the waffel iron. It’s not plugged in. So no more waffel until Wednesday😁20240723_12421920240723_124207

                      #121611
                      Richard Simpson
                      Participant
                        @richardsimpson88330

                        This all reminds me, as with Tim, of the superb interior of the Colin Archer.  I enjoyed watching that go together and I’m enjoying this one as well.  Great atmosphere created in the bridge area with the lighting, it will look stunning in the dark.

                        By the way how is the Colin Archer doing?  Sailing reliably and frequently?

                        #121616
                        Ray Wood 3
                        Participant
                          @raywood3

                          Hello George,

                          I had toyed with a picture of my airfryer ! but no !!

                          I thought you would be more interested in this picture 🙂

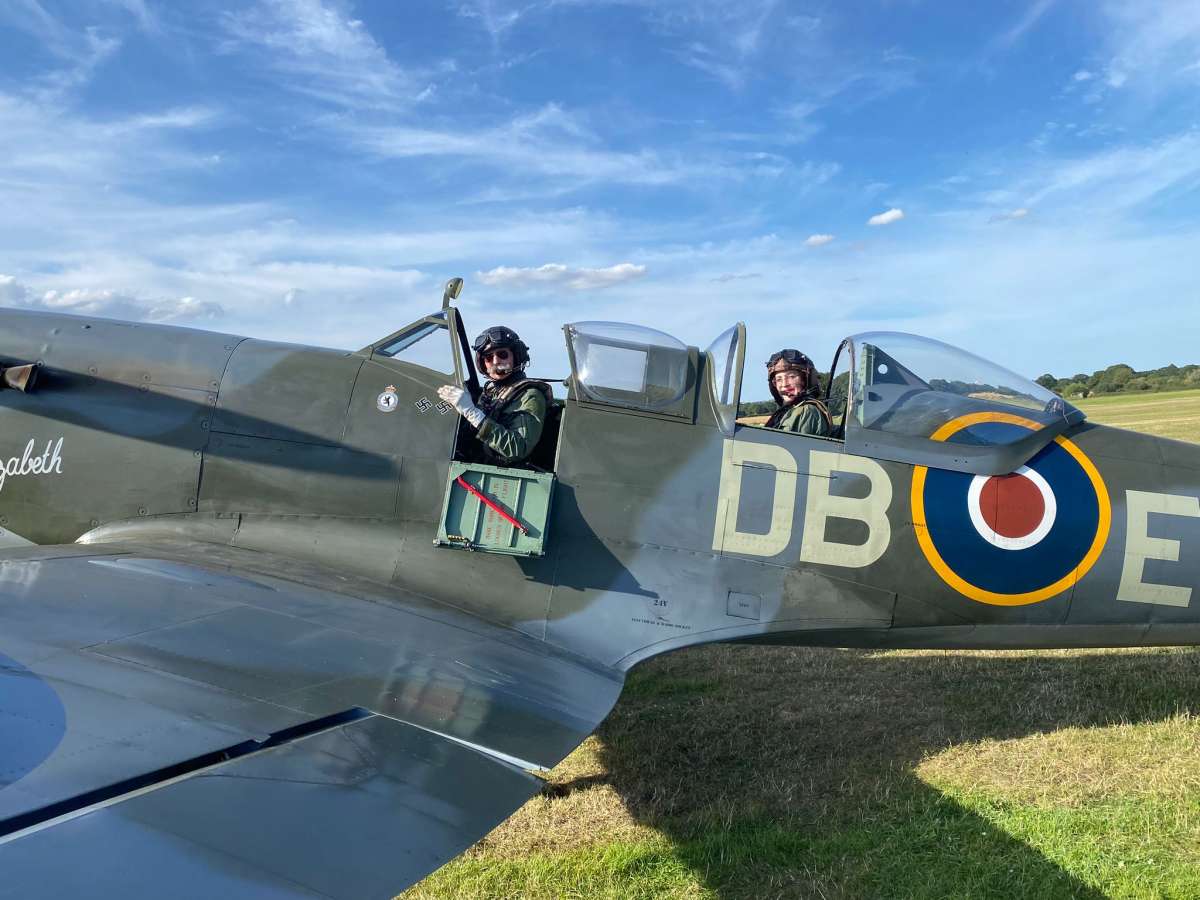
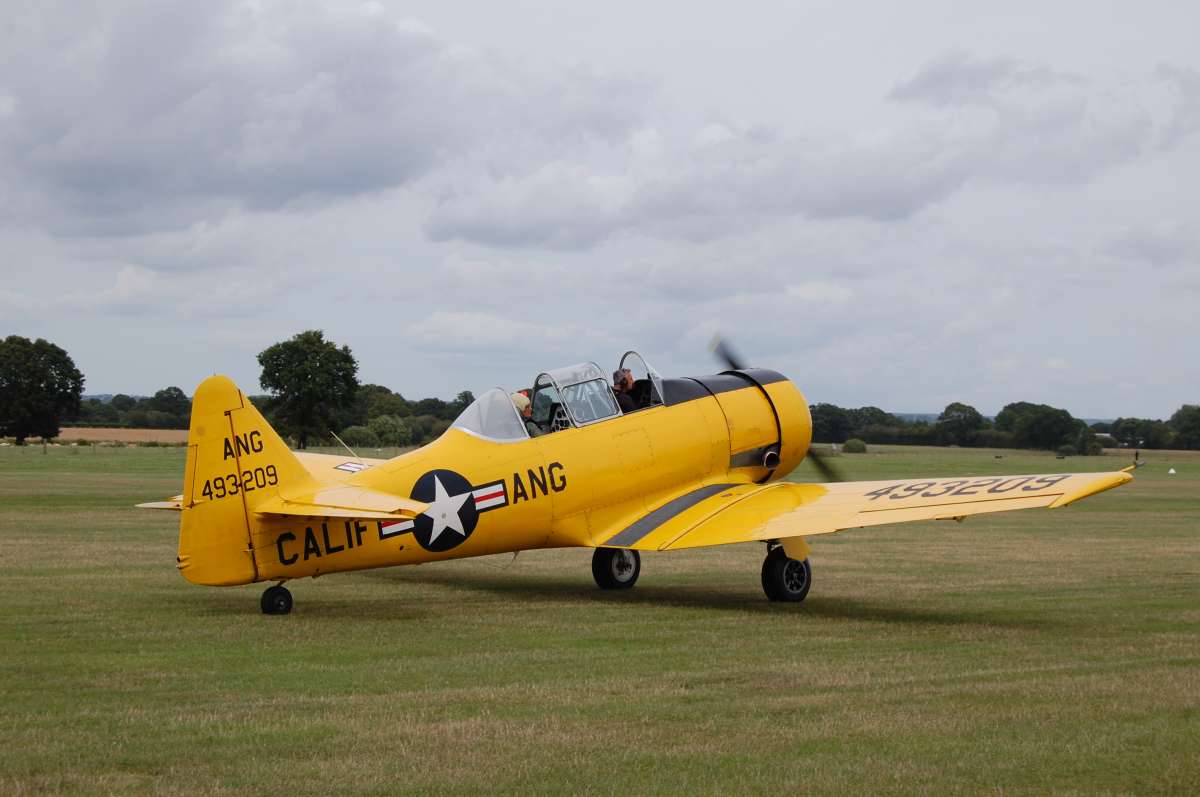
                          Emma my 18 year old granddaughter now works for Aero Legends at Headcorn Aerodrome, as a perk when there’s a spare seat on a ferry flight back to Duxford for maintenance she gets the back seat 🙂 Charlie Brown is the pilot of Elizabeth a beauty to behold.

                          Regards RayEmma Charlie 280724

                          #121620
                          gecon
                          Participant
                            @gecon

                            And I was going to post a pic of a half a waffle, but I managed to control myself.

                            Thanks to Jim, Tim, and Richard.

                            The Colin Archer has only been wet twice this year. Sails surprisingly well but would be better if I had used 2 genoa / foresail winches as on the Fisher, but the installation would be complex due to the interior fittings. The single winch drum over-runs the sheet rather easily. It is necessary to wait until the foresail fills on the new tack before operating the winch drum. It’s not a big problem and I’m not going to even think about where to  install a second winch servo.

                            Hi Ray, nice photo of an “air fryer” of bye-gone days.

                            George


                            #121621
                            gecon
                            Participant
                              @gecon

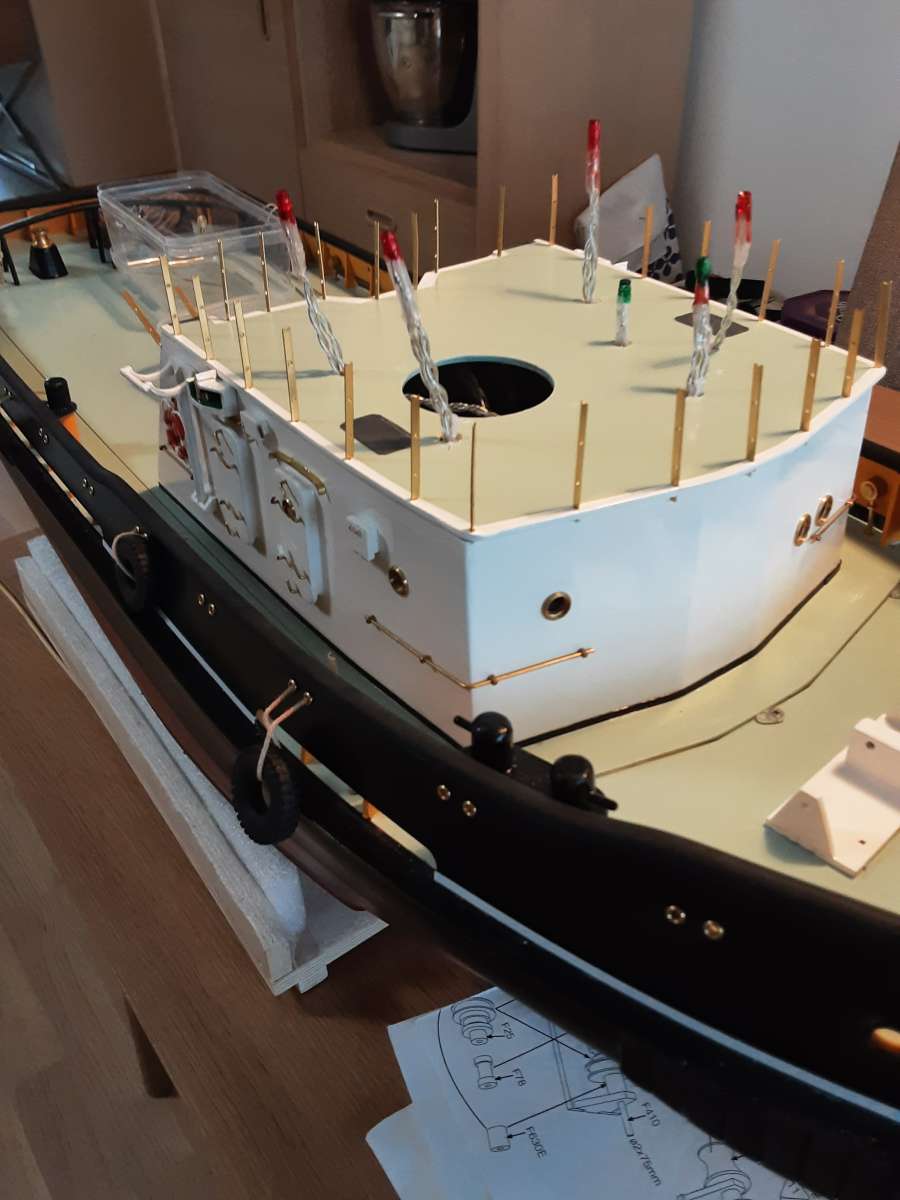
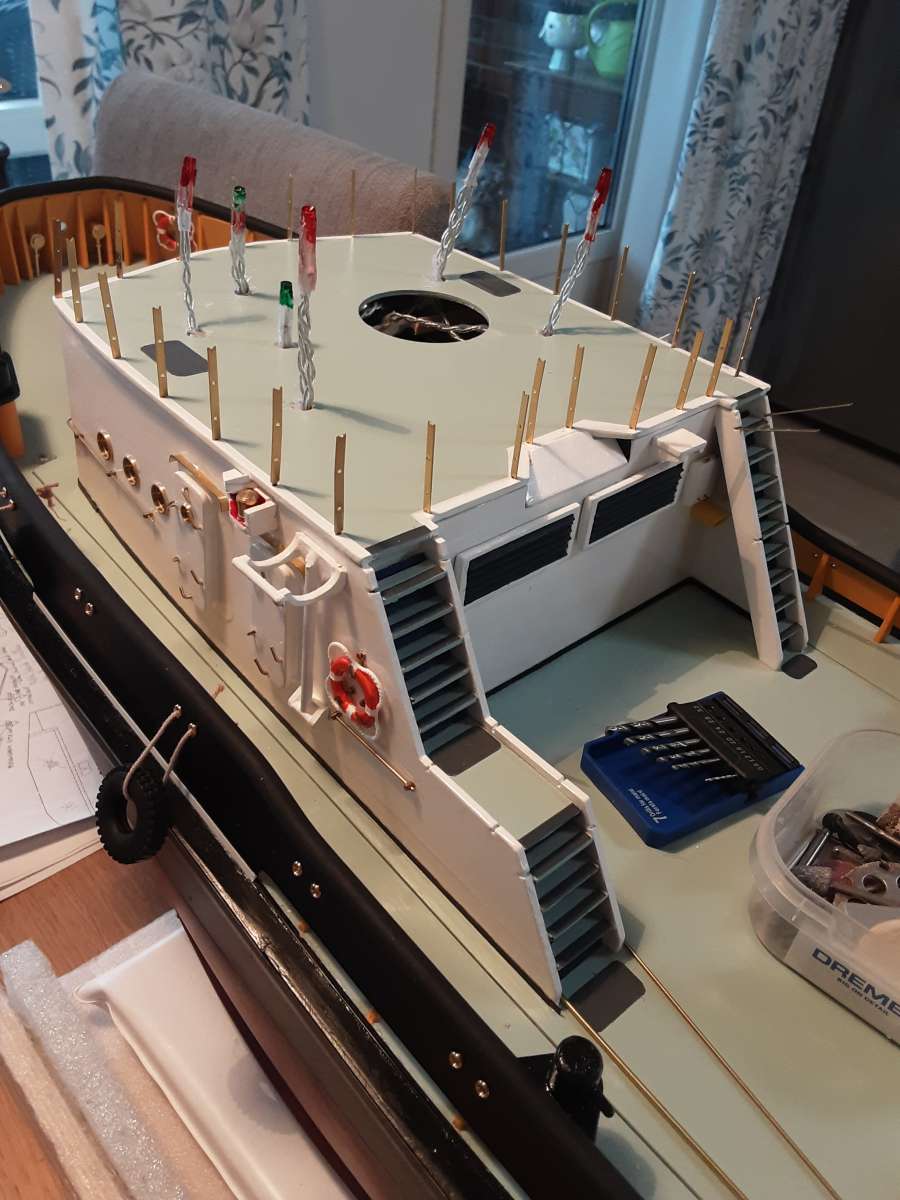
                              A few progress photos will hopefully appear somewhere be20240731_144620low here. One shows part of my clothes peg, wheelweights and battery collection. “You can never have too many….etc, etc.

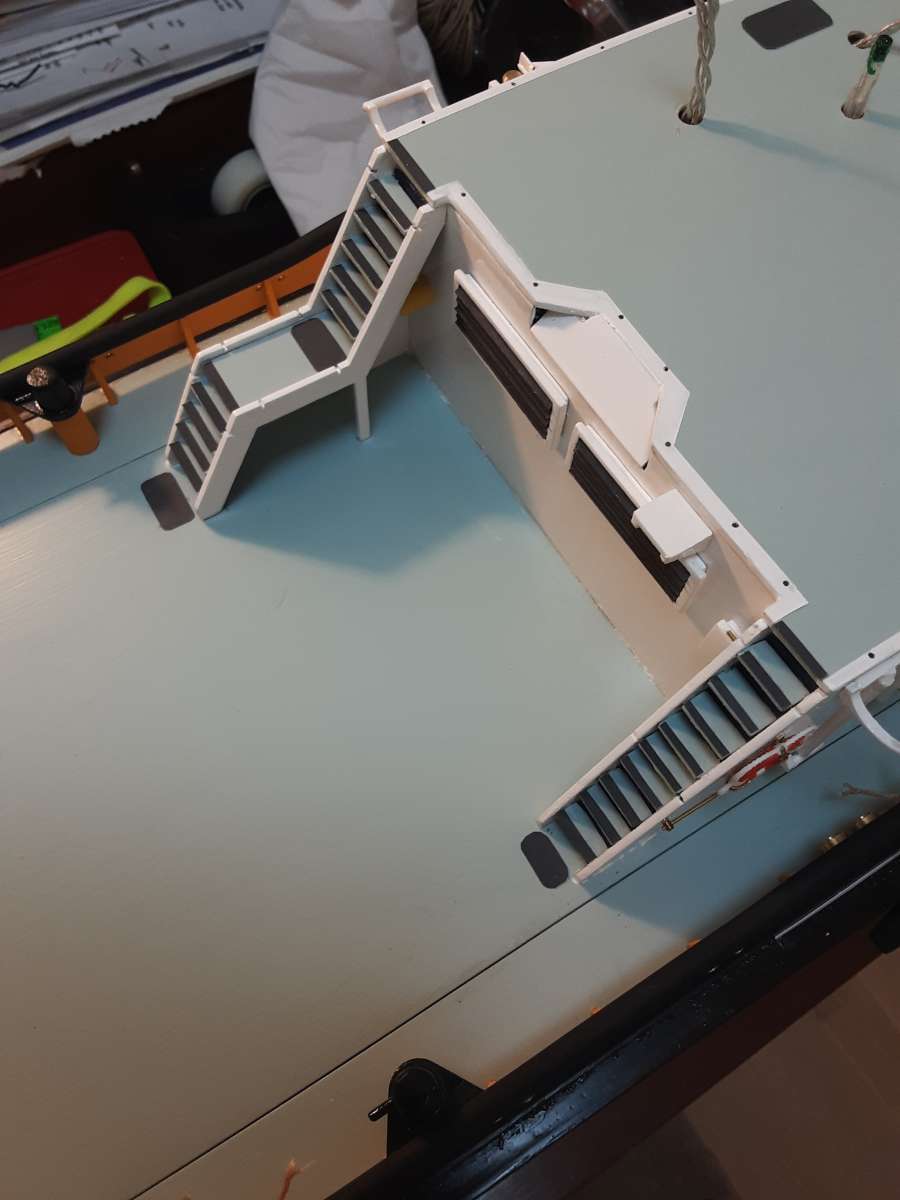
                              The deck steps have been added, complete with non-slip edging.

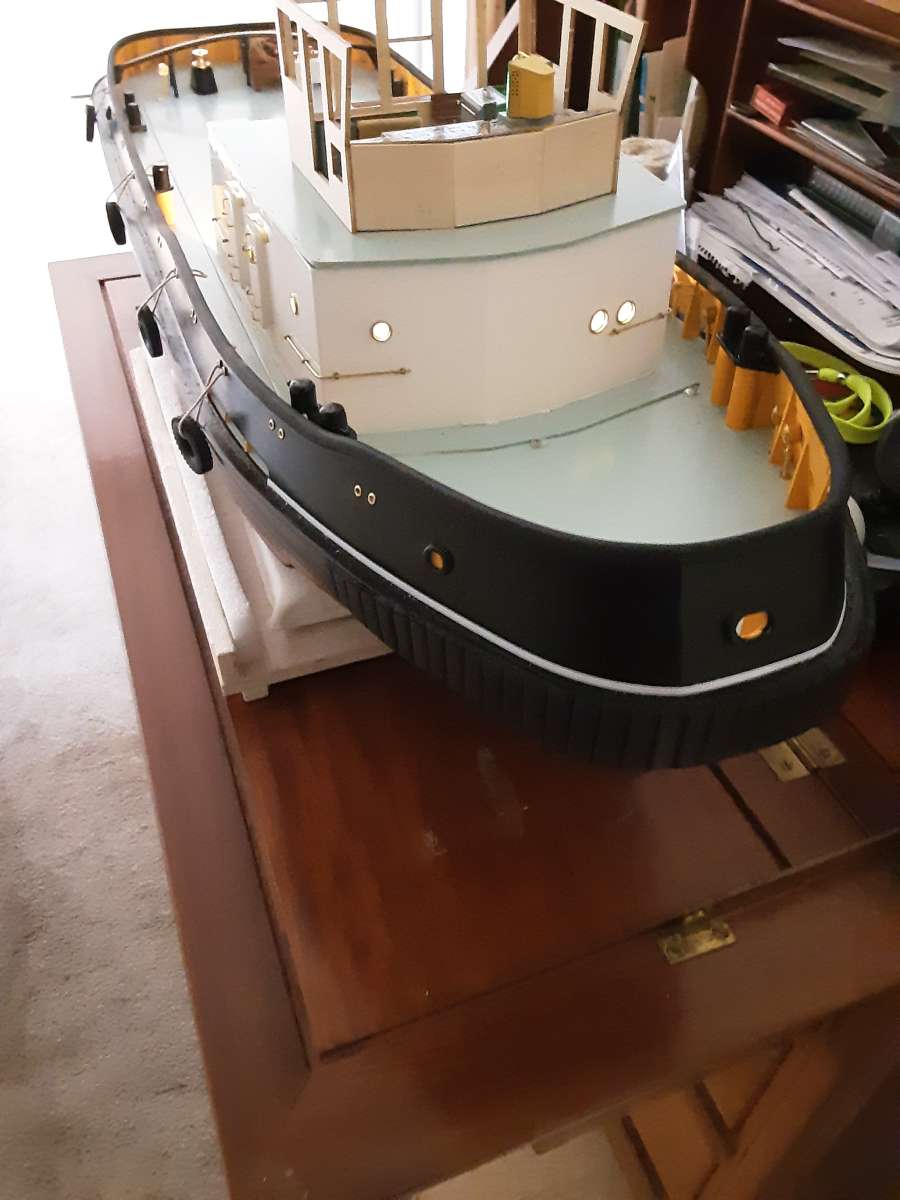
                              Wires for bridge illumination have been adjusted for length and secured using a blob og ‘glue-gun’ wax. The bridge unit will be ‘threaded’ over these wires during final fitting of the bridge in a couple of weeks++.

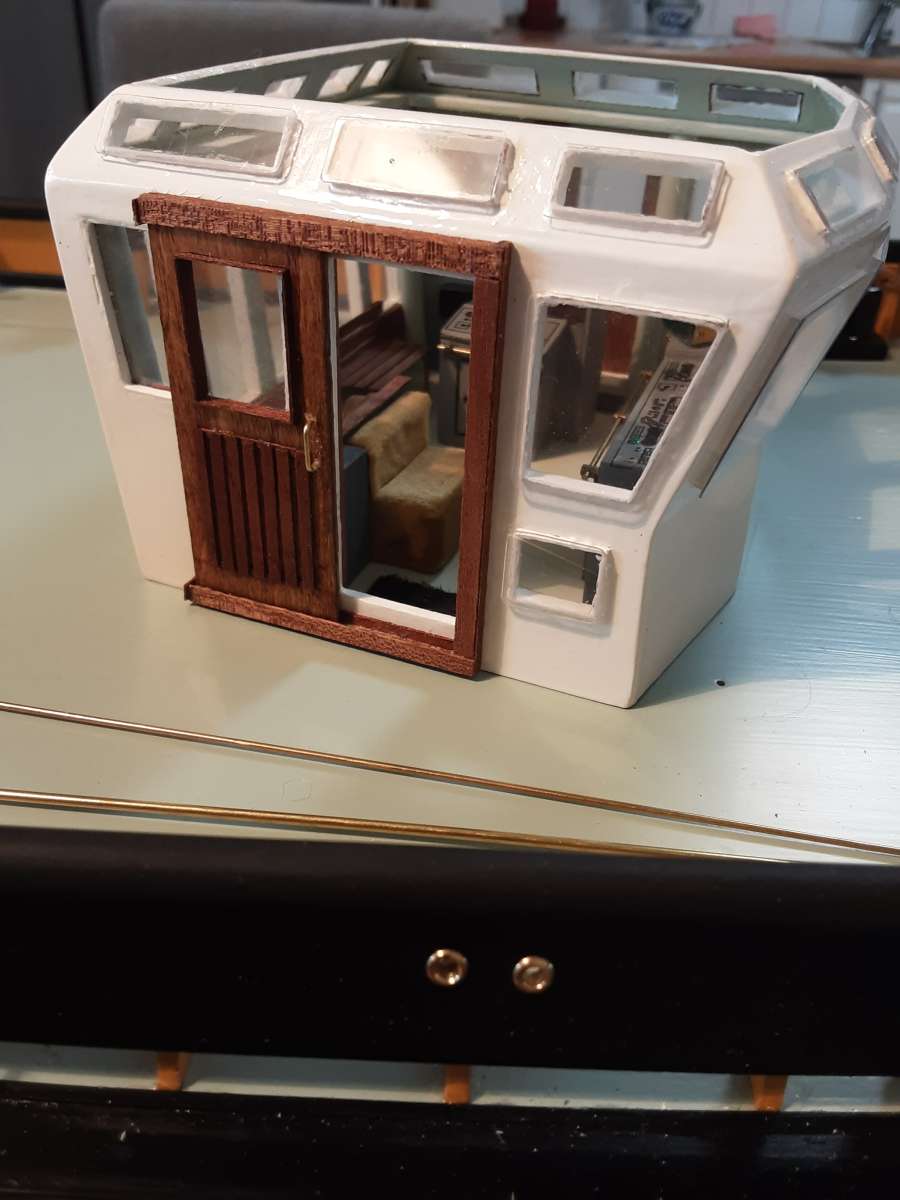
                              The bridge has 29 windows. 27 of them to be ‘glazed’ externally onto protruding window sills. It took me 2 days to cut and glue in 126 short pieces of mahogany (sapelli?) window sills. The’yve been painted gloss white today.

                              A black stripe has been added to the deck-superstructure join and other small items prepared -like the kit for the PT109 6-man crew -now in civies clothing.

                              20240723_19565320240731_10182220240731_10190420240731_144707

                              #121624
                              Roger Fuge
                              Participant
                                @rogerfuge

                                Looks great  a brilliant build

                                #121630
                                gecon
                                Participant
                                  @gecon

                                  Thanks Roger, it is of course only a standard kit so I can’t take much cred’ for that. The lights should jazz it up a little for the ‘show’ photos.

                                  Back to Ray’s flying grand daughter…..I googled Aero Legends an had a look at their website. Interesting stuff. A bit expensive to have a ride in the back seat of a Spit’ though.

                                  I expect we’ll see a Mk lXT on Ray’s drawing board soon? Or probably you built one years ago?

                                  PS. I’d prefer to fly FROM Duxford AFTER maintenance, than TO Duxford BEFORE🙂   Pessimistic?…me?, just a bit.

                                  PPS. I gave my air fryer to a grandson,,,because I couldn’t use it for waffeling😁

                                  Gone until Sunday, promise…-ish.

                                  #121631
                                  Ray Wood 3
                                  Participant
                                    @raywood3

                                    Hi George,

                                    The smile on the folks faces who fly for 30 mins in the back seat of the Spit is worth the 3k for the pleasure 🙂 in truth these are new aeroplanes carrying the makers plate from a a salvaged one, with a price tag for their second 2 seater Lady Luck of £3 million there is serious money in this venture, I’m hoping to go up in September in an AT6 Harvard at a much more reasonable rate !!

                                    I use the airfryer for lots of cooking it saves on the washing up, more time for building 🙂

                                    Harvard Headcorn 260724

                                    Regards Ray

                                    #121633
                                    Richard Simpson
                                    Participant
                                      @richardsimpson88330

                                      A lot of concerns here locally as regards Spitfire maintenance after the very sad events on the 25th May.  Since then I have also noticed two replica Spitfires have had crashes with similar outcomes on the last few days.  We need to remember that these things do not come without their risks.

                                      Nice to see though that the BBMF Lancaster has finally taken to the air again, although no-one is any the wiser as regards when they are going to let the Spitfires and Hurricanes return to active duty.

                                      It does beg the question though, if we ground all the BBMF when they have such an incident with one of the aircraft and they miss out on a large portion of the Summer’s display commitments, are we getting to the point where we should be considering pulling the plug on the BBMF?  My take is that we should keep them going, but then we shouldn’t ground the whole lot for the entire Summer because one has had a failure.

                                      I once had an hour in a Tiger Moth, around ten years ago, and flew it over Ladybower Reservoir to follow the practice runs that the Lancasters did in preparation for Operation Chastise.  That was pretty basic!  I looked up the reg number only a couple of weeks ago to see where the aircraft is nowadays, to find it crashed!
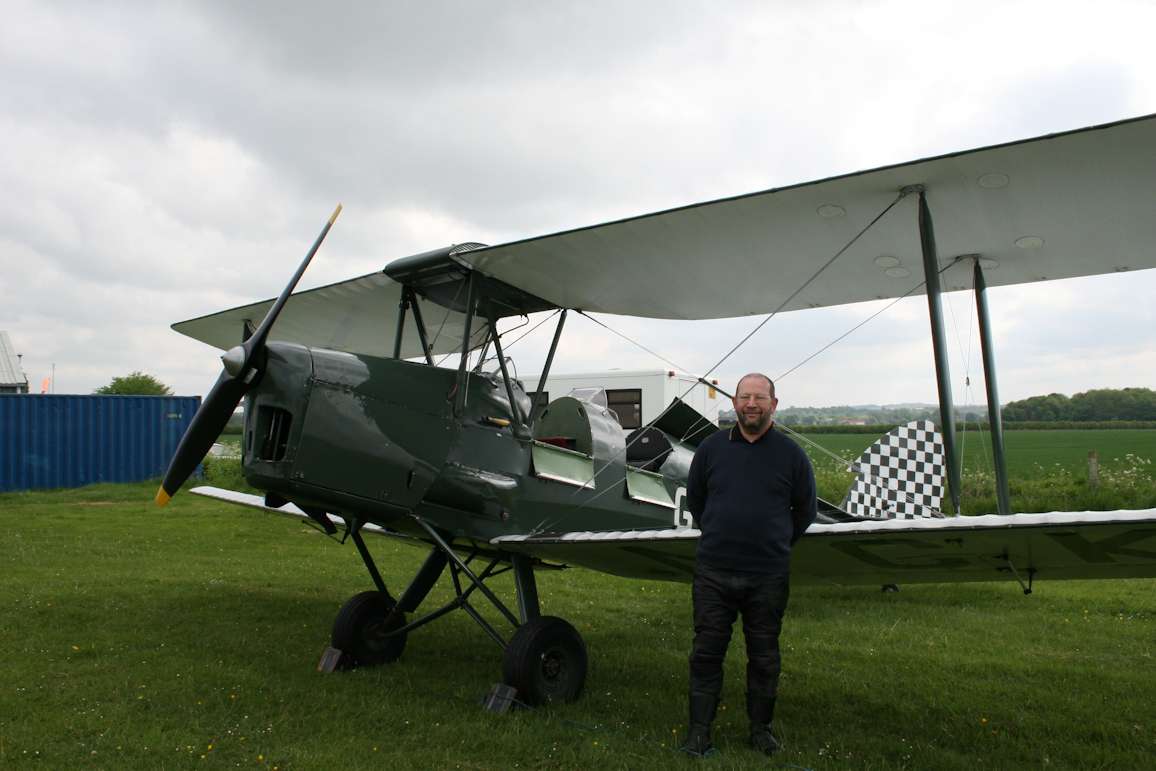
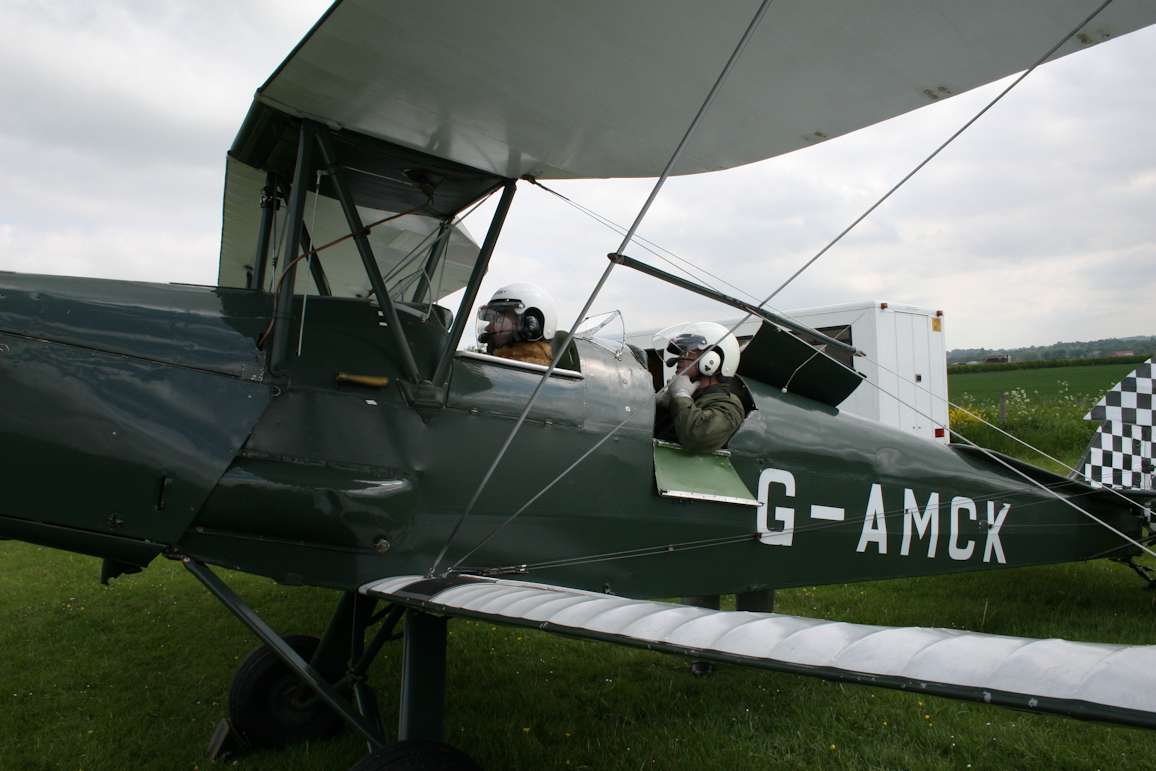
                                       

                                      14-05-08-19TigerMothFlightPlaneRichard4


                                      14-05-08-23TigerMothFlightPreFlight5


                                      #121677
                                      gecon
                                      Participant
                                        @gecon

                                        All 29 windows on the bridge have now been ‘glazed’. Took me ages. Sliding doors fitted. Bridge deckhead  has been faired -ish to the top of the bridge, but not glued on yet.

                                        Started on railings. Not sure yet if they’ll be bare brass or given some paint. I think maybe the top rail will be painted black as on the boxtop photos. I don’t think my eyesight will give the required quality for the uprights and lower rails. I suppose all the components could be painted before construc20240805_19261720240805_19264220240805_193021tion, but there’s the small issue of soldering to take into account. I felt that the Colin Archer was small at 1/15th scale, the Smit Ned’ is 1/33 and I notice the difference in the size of the detail!
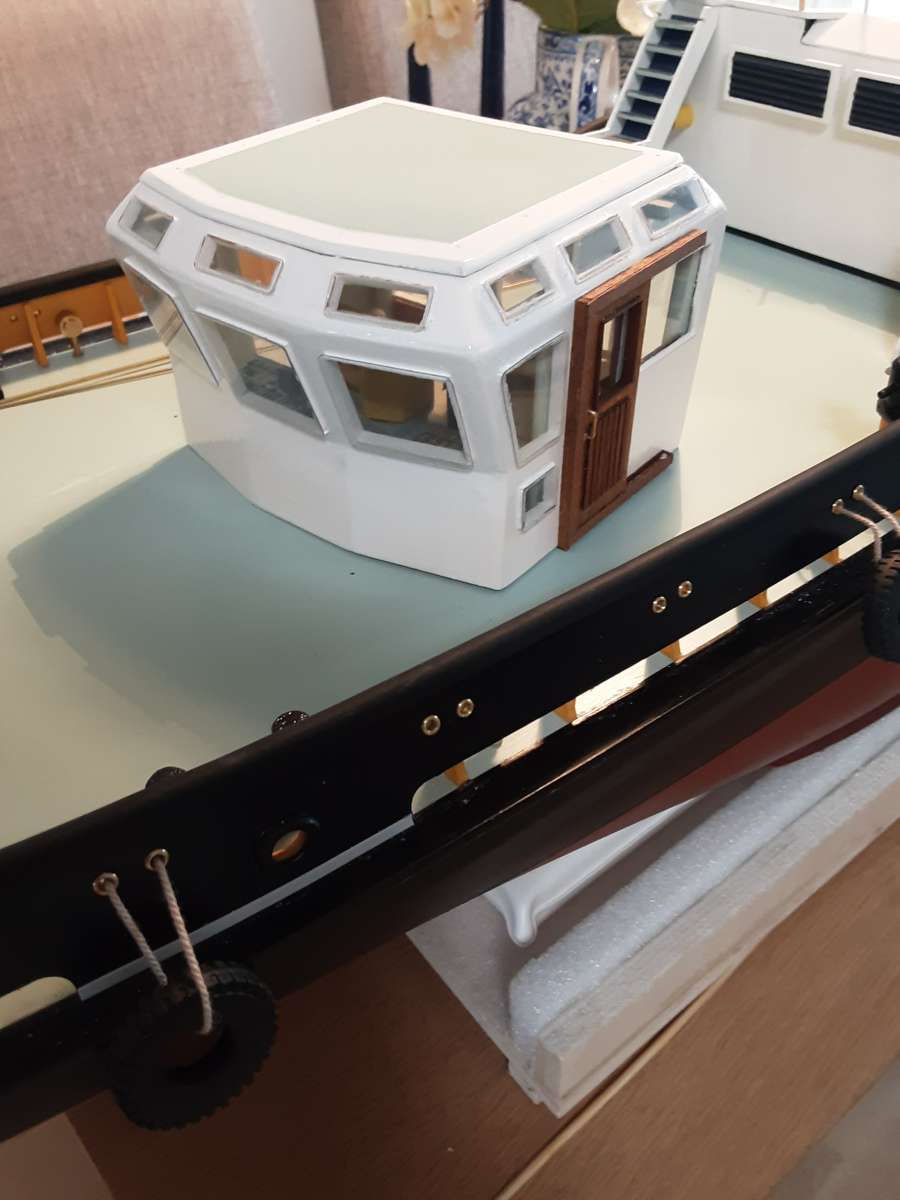
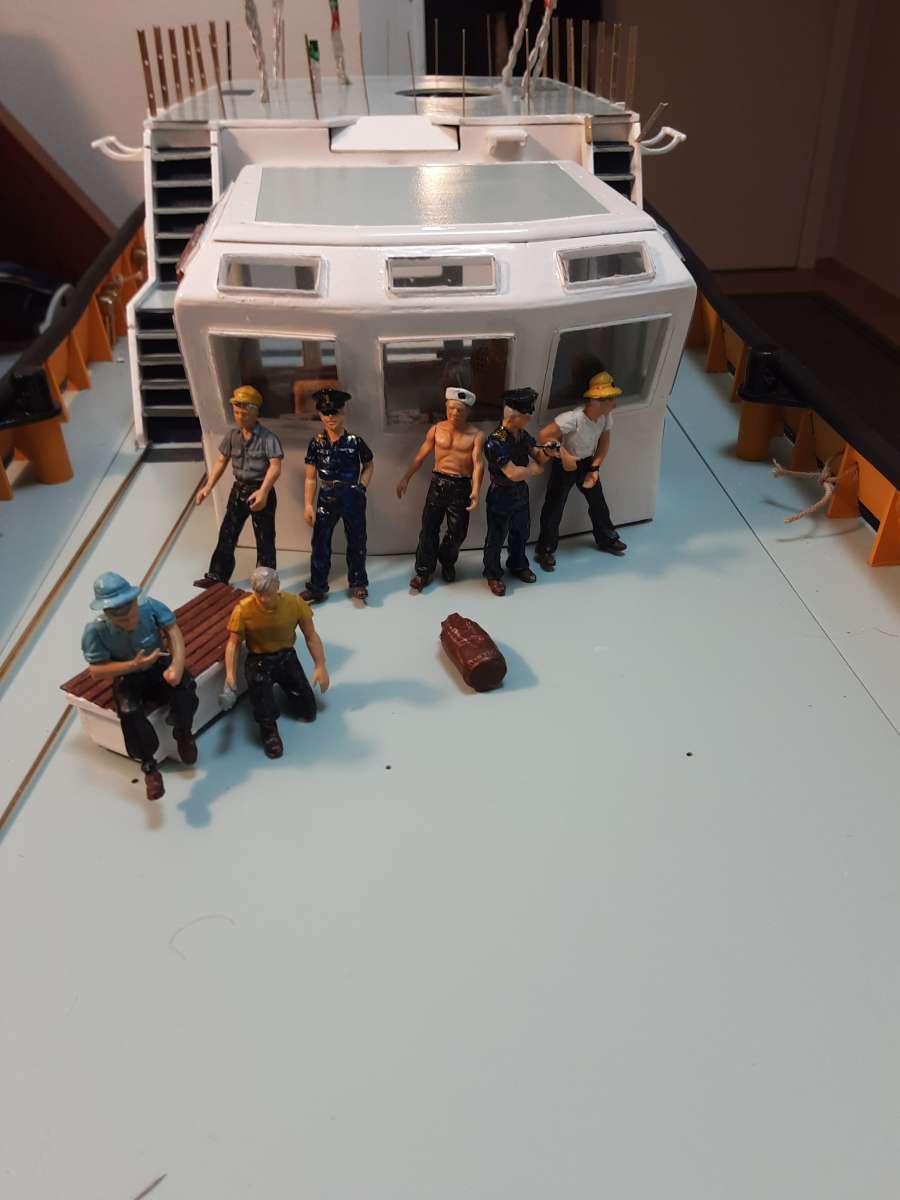
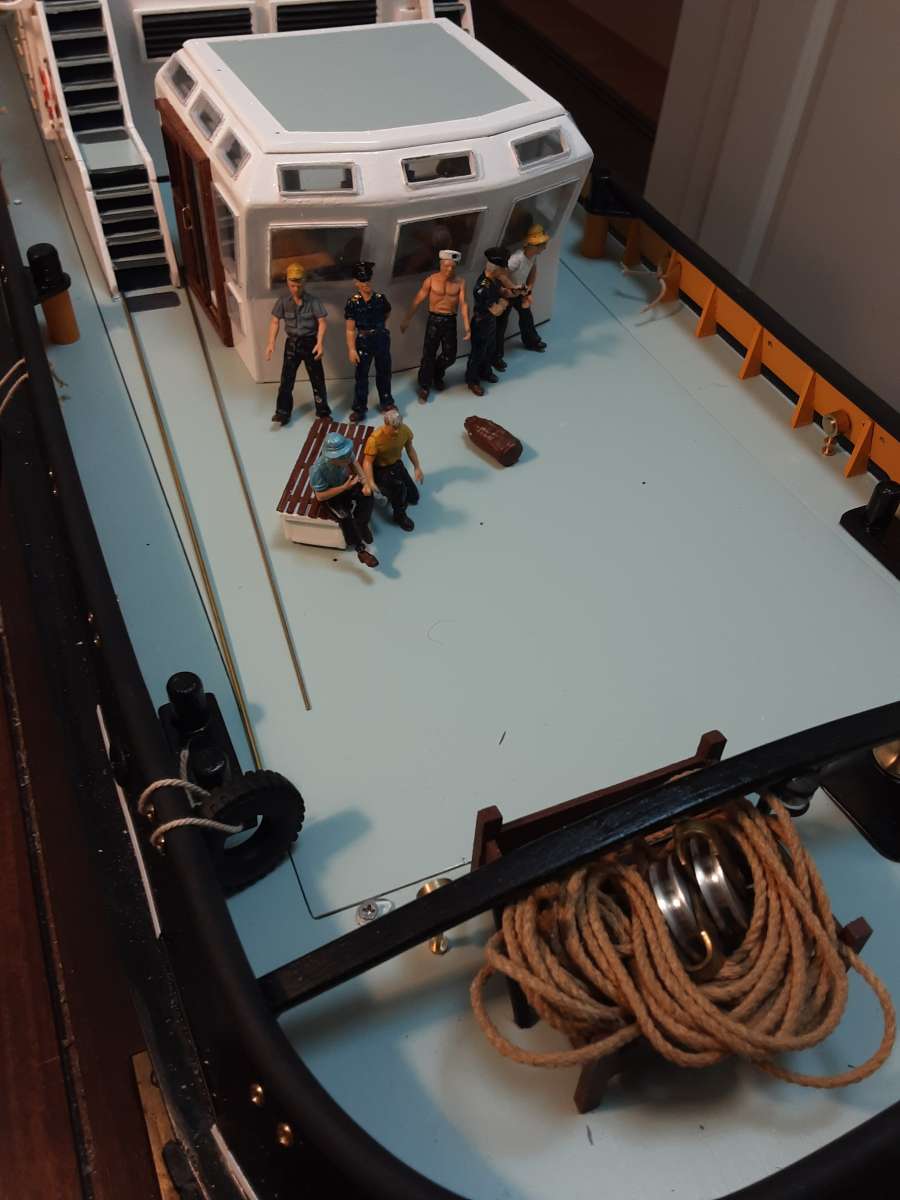
                                        20240805_193119

                                        #121678
                                        gecon
                                        Participant
                                          @gecon

                                          I forgot to mention that the crew turned up on Saturday afternoon. Sober.

                                          This lot used to work on the Italeri PT 109 torpedo boat. Scale 1/35. They got torpedoed, so they decided that working on a tug was a safer option. They bought new ‘togs’ so now they are here in Norway. That was todays waffel😁.

                                          George

                                          20240805_20201620240805_202120

                                          #121679
                                          Colin Bishop
                                          Moderator
                                            @colinbishop34627

                                            They look like the Village People!

                                            Colin

                                            #121680
                                            gecon
                                            Participant
                                              @gecon

                                              Except that the guy in the middle doesn’t have feathered headgear!

                                              Now there’s an idea for further development and added interest – and an excuse to waffle.

                                              I’ll work on it, but not this evening.😀

                                              George

                                              #121699
                                              gecon
                                              Participant
                                                @gecon

                                                This is the first time I have ever tried ‘ships railings’!

                                                Having trouble getting the rails to look right. The side rails are going well enough. Even bending the wires to parallel the deck ladders is OK -so far.

                                                However the only way I could see how to do the foreward railing section is to bend both rungs to shape and thread on the stanchions and epoxy all in place at the same time. Don’t think that would work too well. One slight misalignment and stanchions move/lift before the epoxy cures. Don’t expect Cyano will help much either.

                                                I’m going to epoxy just one end-stanchion in place and let it cure. This will at least give one secure point which will help to anchor the 1mm rails as I thr ead on the rest of the stanchions.  Fwd railings shown in  photos are just loose fitted….and it took me several attempts to get it all in place. One epoxied end-stanchion should make it easier. Off to mix a drop of 5 min Zap…..

                                                George

                                                20240810_11285220240810_112908

                                                #121700
                                                Colin Bishop
                                                Moderator
                                                  @colinbishop34627

                                                  Yes, railings can be a problem. I found the answer was to use solder paint and break the process down into stages. Extract from my Bilsdale paddler article below. I previously used the same method on my fishery cruiser.

                                                  Colin

                                                  *********************

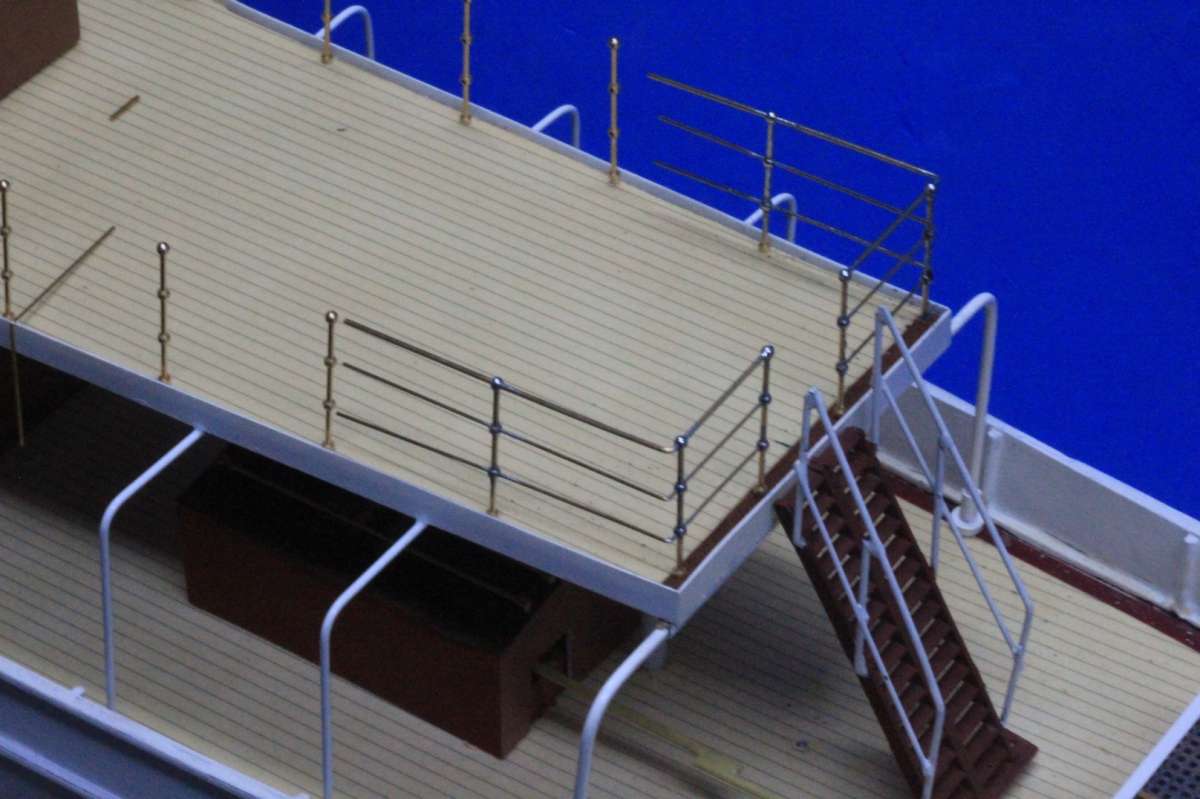
                                                  Railings are quite tricky to make from scratch, requiring accurate jigs for soldering. Commercial railings are available but rather expensive and you cannot change the stanchion spacing which can make them difficult to fit. I decided on a halfway house by purchasing pre drilled stanchions from Caldercraft and using brass wire/rod for the rails. Not cheap but it does make things an awful lot easier at 1:48 scale.

                                                  It is probably worth describing the assembly procedure as follows. I used 30 thou brass wire for the top rail which entailed opening up the stanchion holes slightly with a micro drill bit. The two lower rails were 20 thou wire. Holes were drilled in the deck at all the stanchion positions and the stanchions temporarily inserted. The brass wires were then threaded through. This becomes a bit more fiddly when corners are involved but everything can fairly easily coaxed into place. Joints in the railing sections should be between stanchions and I use thin tube or tubular jewellery beads as sleeves. If necessary, the joints can be masked with lifebelts mounted on the rails. Once set up, the wire/stanchion joints are ‘painted’ with Carr’s solder paint which combines solder with flux and just requires a touch with a soldering iron to make a strong and clean joint. The finished rail sections can then be unplugged, cleaned up, painted (preferably sprayed) and glued into place. The photos illustrate this.


                                                  (DTR)IMG_4207


                                                  FC 019 (Copy)

                                                  #121701
                                                  Richard Simpson
                                                  Participant
                                                    @richardsimpson88330

                                                    Many different methods for brass railings, most of us have our favourite and some methods lend themselves better to different scales.  Colin’s is just as good as any and almost identical to mine apart from the soldering method.

                                                    As Colin I assemble the brass stanchions into their vertically drilled accurate holes ( 🙂 ) and thread the rails through the holes, bending as I go along.  This requires the stanchions to be removed and threaded onto the rails as I progress then replaced into the deck.  This lends itself well to rails that become companionway handrails, allowing you to use a single piece of brass rod to continue the rail.

                                                    When the stanchions and rails are all assembled and I’m happy with the final tweaks and adjustments I then soft solder the assembly in place.  The way I like to do this is with model railway non clean liquid flux, applied with a paintbrush, and fine railway solder.  After applying a spot of flux I heat the joint with a gas burner as it heats up the joint very quickly spot it with the solder and then cool it with another spot of flux.  If you do this nice and quickly there should be no heat transferred into the deck and you should end up with a nice neat soft soldered joint.

                                                    When all the joints are soldered the entire unit can be carefully removed for painting with an etching primer from a rattle can and an enamel top coat.  Finally the entire assembly can be replaced and the stanchion joint at the deck spotted with a very thin glue such as cyano, watered down PVA or aliphatic.

                                                    04-11-11-17BenAinConstruction649


                                                    01-05-24-12BenAinConstruction 785

                                                    #121702
                                                    Colin Bishop
                                                    Moderator
                                                      @colinbishop34627

                                                      Excellent work Richard. I have never been a very good solderer so the solder paint, which includes its own flux, has been a life saver for me.

                                                      Also my workshop is very small and highly combustible so I have a strict rule of no naked flames in it under any circumstances!

                                                      Colin

                                                    Viewing 25 posts - 51 through 75 (of 205 total)
                                                    • Please log in to reply to this topic. Registering is free and easy using the links on the menu at the top of this page.

                                                    Code of conduct | Forum Help/FAQs

                                                    Advert

                                                    Latest Replies

                                                    Home Forums Building Kits Topics

                                                    Viewing 25 topics - 1 through 25 (of 25 total)
                                                    Viewing 25 topics - 1 through 25 (of 25 total)

                                                    View full reply list.

                                                    Advert

                                                    Newsletter Sign-up