Billing Boats Smit Nederland

Advert

Billing Boats Smit Nederland

Home Forums Building Kits Billing Boats Smit Nederland

Viewing 25 posts - 1 through 25 (of 37 total)
  • Author
    Posts
  • #104791
    gecon
    Participant
      @gecon

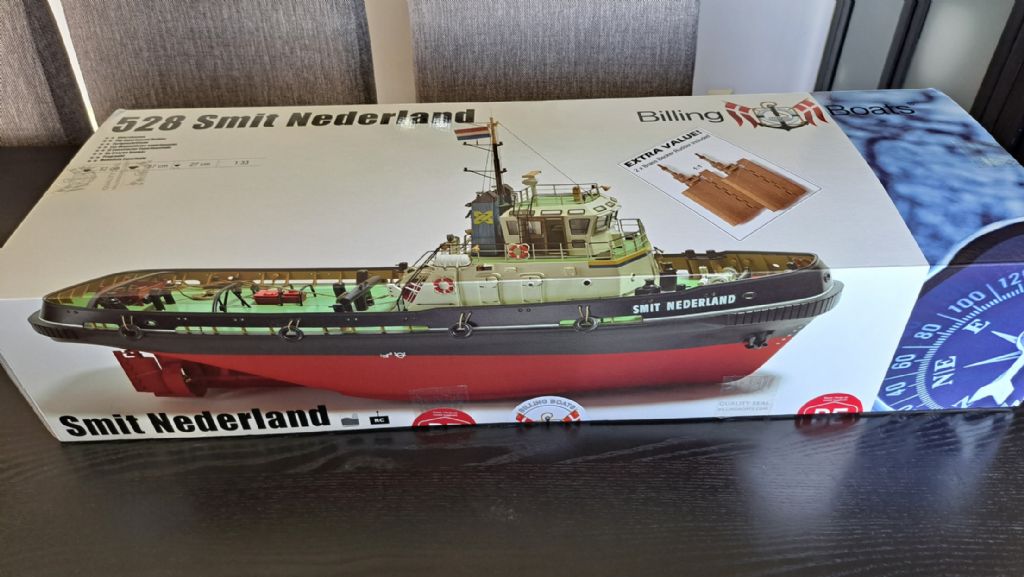
      20230505_124407.jpg20230505_124345.jpgI cannot remember seeing an 'unboxing' photo-sequence on the forum. Maybe due to me not paying suffient attention OR, so many members building from scratch… ie. NO box.

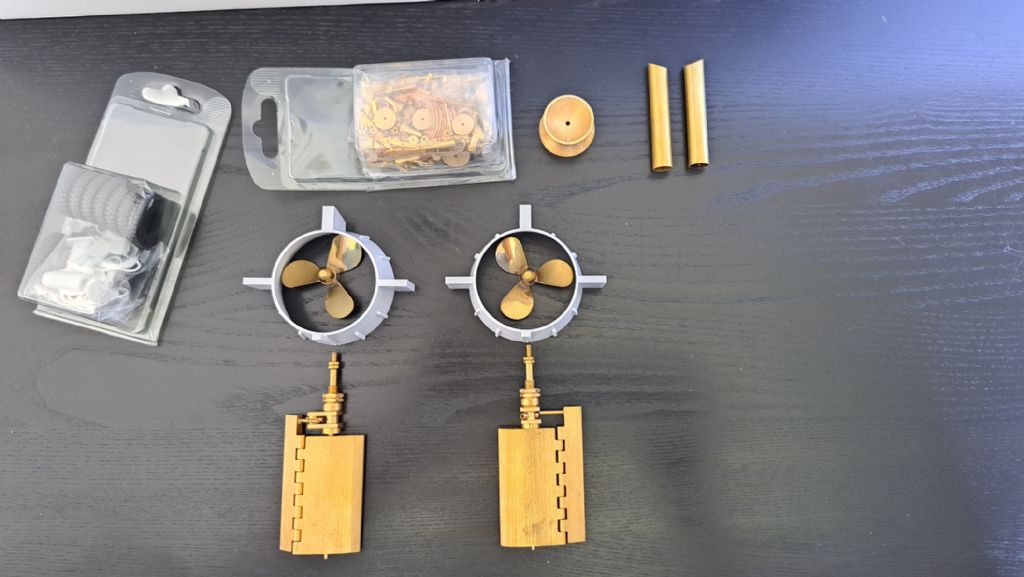
      I have posted a few photos on 'album' of the kit contents of the Billing Boats Smit Nederland. I know this is not particularly interesting to see, but I wanted to see it!smiley

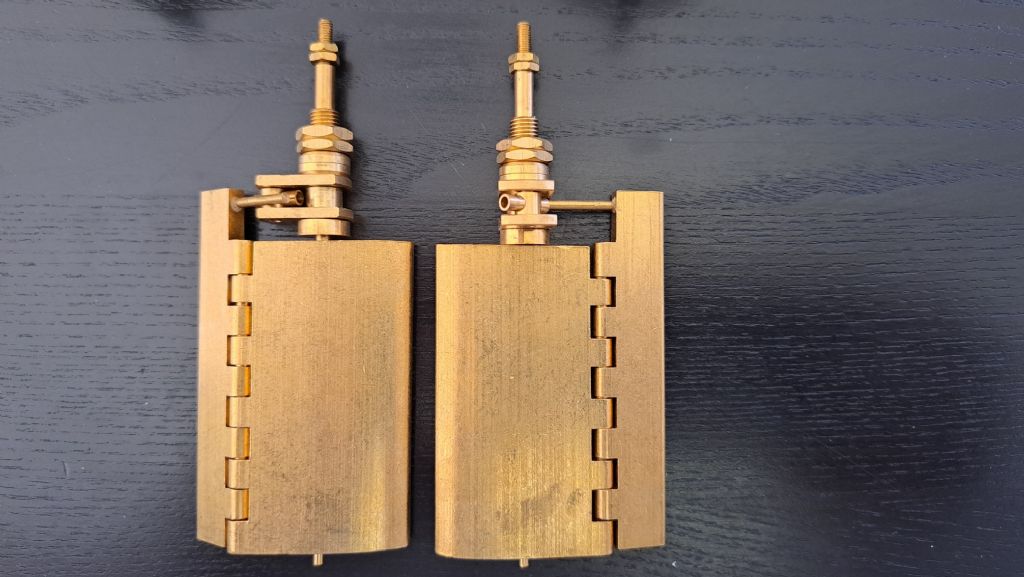
      This a 'new-improved' effort from the new owners of Billing. I think the instructional drawings have been made larger and clearer but the main thing being the kit now includes two solid brass Becker rudders.

      When I built the Fisher and the Colin Archer the slogan was…"never mind the quality, feel the width".

      The new slogan is " never mind the hull, look at those rudders"!20230505_123406.jpgWhich is some thing I used to say in my younger days. Being Sunday, I won't expand on the new slogan.

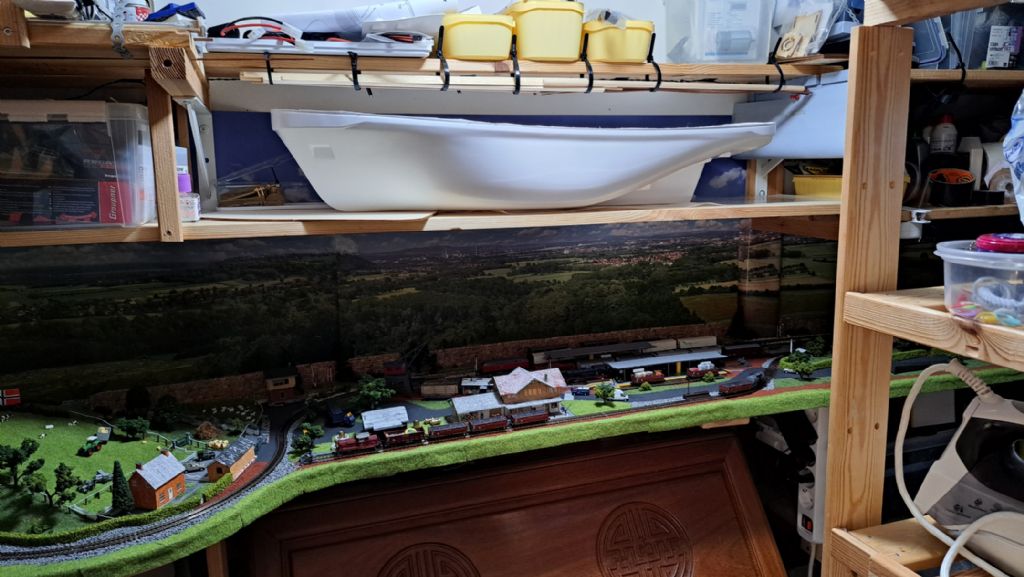
      There is an N-guage train layout occupying the 'builders yard', so the 'keel' will not be layed for some time…..after the summer I expect.

      George

      Advert
      #6358
      gecon
      Participant
        @gecon

        Unboxing

        #104953
        gecon
        Participant
          @gecon

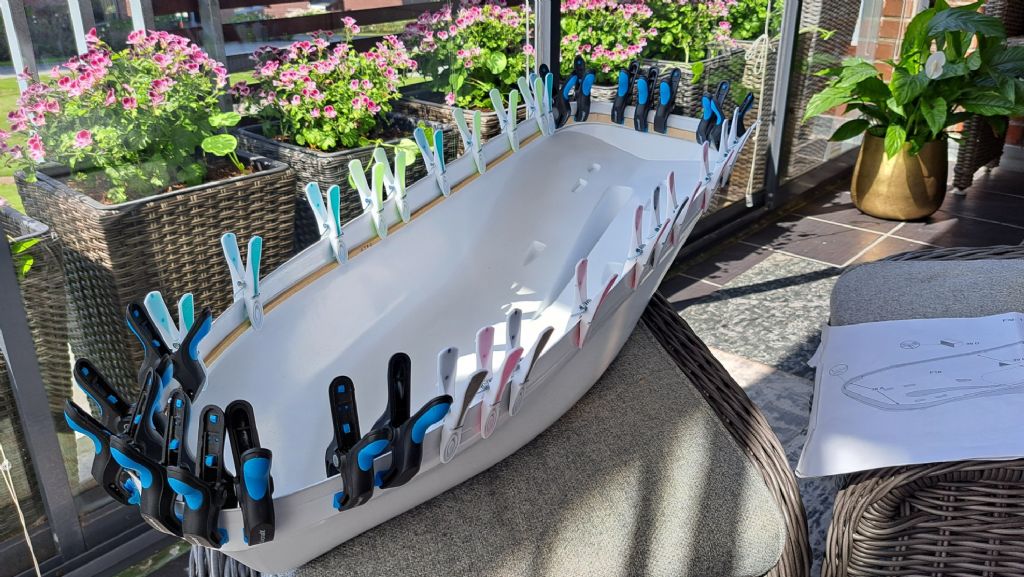
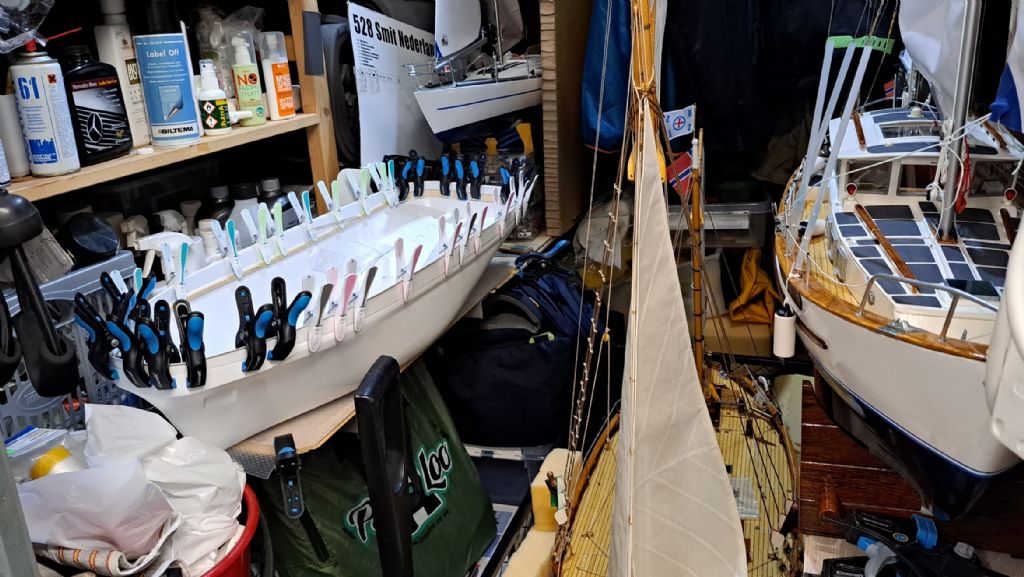
          The sun is shining but it's blowing 15 knots from the north, 8*C. So there was only one thing to do while the Admiralty was 'doing' her nails…..

          I pegged it. Ply stiffeners carefully bent around the bows and stern and pegged in place. They'll be epoxied in a day or two.

          George

          20230523_145243.jpg

          #104954
          gecon
          Participant
            @gecon

            Smit-Ned' is now back in the dungeon-storage with the rest of the navy. The Colin Archer rests on a transport trolley and has to be rolled out in order to get at anything else in the store room! I don't really have the space for another project so these small hardships have to be endured. wink 2

            I've decided not to dismantle the train layout in the store room up in the flat so the Smit Ned' will be built in modules -in any available space- during rainy/windy days (most days!) this summer, autumn, winter+++.

            Motors, batteries, switches, and other goodies have been arriving in the post at a rate of knots so the festivities have begun.

            George

            20230523_150332.jpg


            Edited By gecon on 23/05/2023 15:21:27

            #104955
            Ray Wood 3
            Participant
              @raywood3

              Hi George,

              Some very fancy hardware there looks like Mr Billings is a very happy chap $$$

              The rudders are indeed spectacular being articulated !! (shame we don't do humour here )

              Your obviously going to need a bigger Boathouse, and the bonus is no sails to rig kulou

              Had great week on the Norfolk Broads which has me busy on the drawing board .

              All the best Ray

              #104957
              Chris Fellows
              Participant
                @chrisfellows72943

                Good to see you doing another build George. Will be keeping abreast of progress! blush

                And good to hear you had a great week on the Norfolk Broads Ray.

                Chris

                #104958
                ashley needham
                Participant
                  @ashleyneedham69188

                  George. Yes, the rudders!. It would be nice to be able to buy them separately.

                  It looks like it will be fighting for space amongst the other important stuff!

                  Ashley

                  #104961
                  gecon
                  Participant
                    @gecon

                    Hei Ashley,

                    CMB have them for about £40 each,wink

                    #105034
                    gecon
                    Participant
                      @gecon

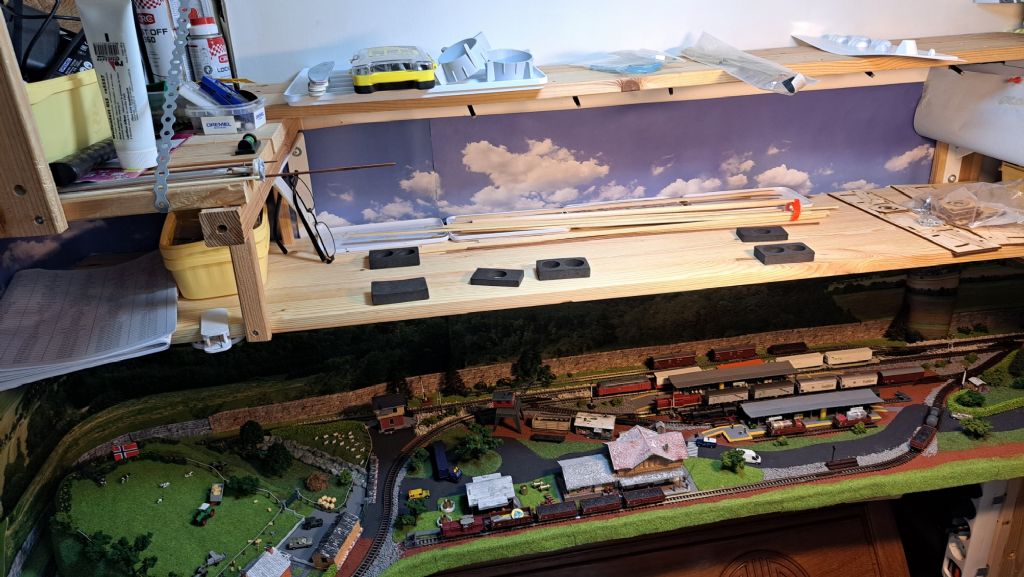
                      I've been rattling my grey cell to come up with a building space solution without packing away the train layout. I was lying awake at about 5am this morning at suddenly realised that I could install a new temporary shelf between the layout and the top shelf which is 1 metre above.

                      The 150cm x 30cm shelf -with trainset background scenery -will accomodate the wood, accessories and a few tools and the Smit Ned' will rest here while I'm not working on it. The top shelf has been cleared of train set snow-and-scenery-making stuff and will now hold glue, epoxy, tools etc. There is a drop-leaf writing bureau below the layout. The 'leaf' will be dropped when work is in progress on the tug.

                      I hope many members will be super-impressed by my determination to solve my building space issue. No? Not to worry, you won't be alone, someone else near me won't think much of it either…..when she notices it.

                      Sorry about all this, I needed the therapy, crook

                      George.

                      20230531_174834.jpg

                      #105112
                      gecon
                      Participant
                        @gecon

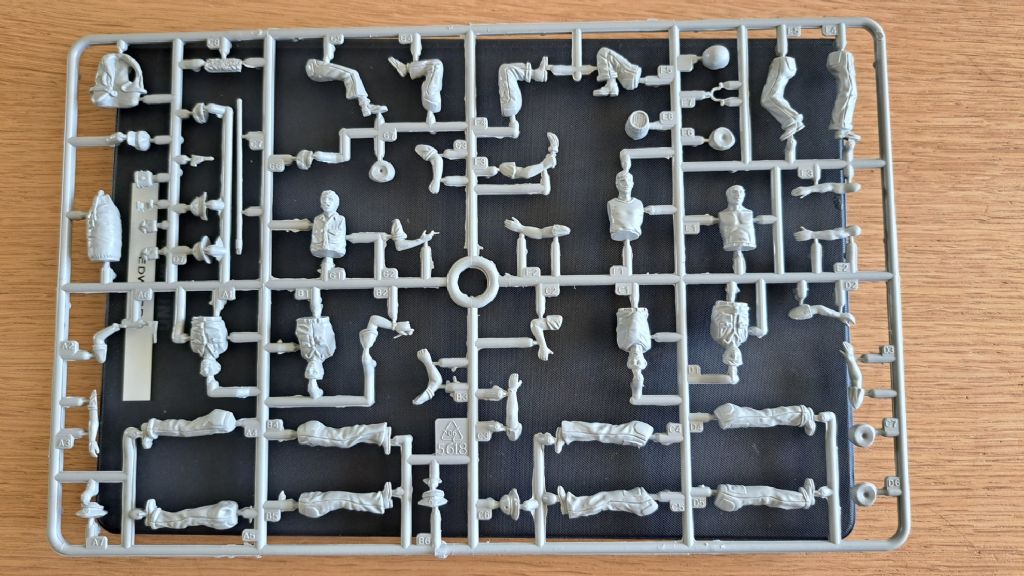
                        Unboxing the crew -who always seem to turn up early for duty. This time they don't seem to have quite got their act together. Some major surgery plus a visit by the Esté Lauder lady will be needed. Could not source the Vosper crew suggested by Harry, so this lot will just have to be 'doctered' as required.

                        George20230606_140734.jpg

                        #105127
                        gecon
                        Participant
                          @gecon

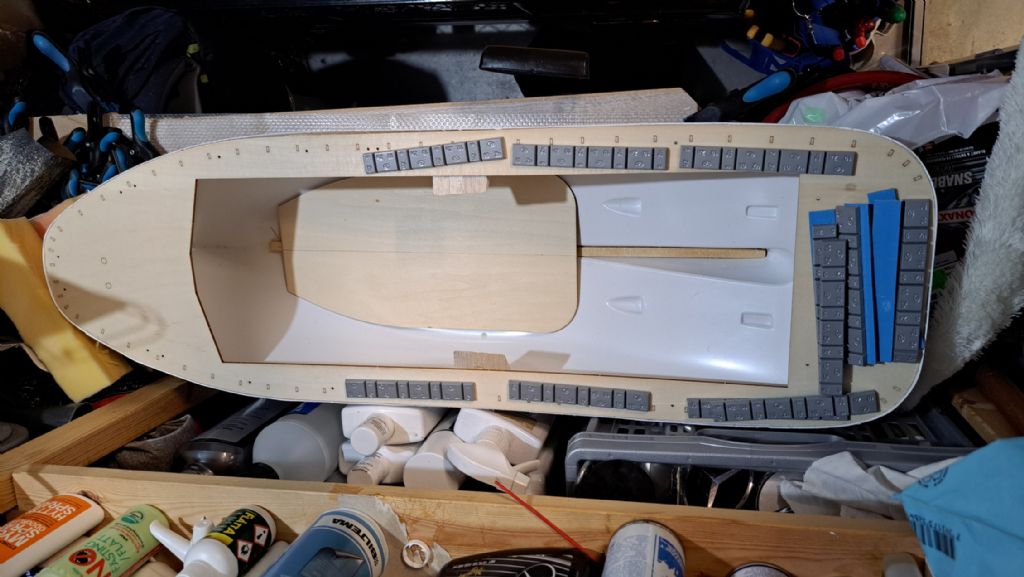
                          I knew before buying the Smit-N that the most demanding issue would be where to get space for the build. The tug is now within easy reach in the flat, but there'll be a lot time spent tidying up after each build session. However the tug is not too large, and with no masts will be much easier to handle than the 3 previous long-masted efforts.

                          I read that a primer coat is not essential on ABS so long as it's de-greased and cleaned with ABS/Polycarbonate cleaning fluid. I have already bought Tamiya spray primer so it's going on anyway.

                          I have to spray outdoors. The forecast for the next week suggests that I should spray the hull soon-ish and then try not to scrape up the paintwork during the build. There are several 'modules' in this build, so a lot can be done without having to touch the hull.

                          The Smit-N kit is not exactly 'pioneering modelling' so I won't be clogging up the forum as with the 2 previous efforts. I'll post a photo or two -occasionally- of the different modules when they are assembled.

                          George

                          20230608_092758.jpg

                          20230609_191543.jpg

                          #105153
                          gecon
                          Participant
                            @gecon

                            I did not intend to start on the Smit Nederland until after the summer. Hard not to ponder over the possible solutions to some of the small jobs which need to be done though. I'm not excactly 'unboxing' any more but more trying to work out why I bought a 1/33 scale model when I my eyesight was already taxed by the two previous 1/15 and 1/12 scale projects. Some of the tiny brass bits in this set are almost invisibble -to me.

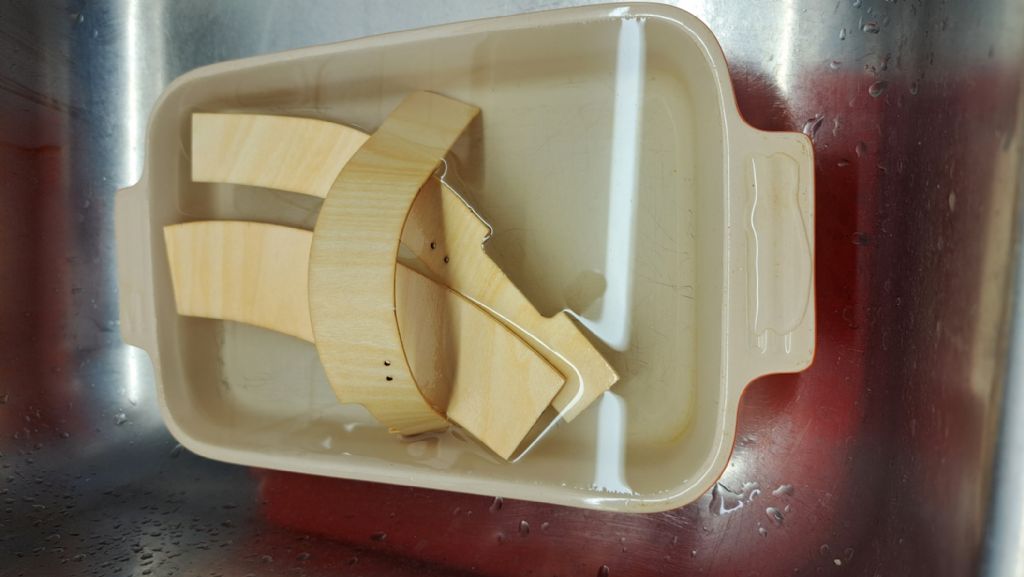
                            I'm having a go at some simple plywood soaking-and-bending (fore and aft bulwarks) just to try to get up my interest.

                            2 days ago there was almost no wind so I managed to get the hull primed in light grey Tamiya primer. I had forgotten that the Comtesse was a pain to get sprayed (due to no suitable open areas) and should have opted for a brushed finish on the S-N. I could just brush paint from now on but I've bought the hull spray cans and I'm too cheap to start buying in alternatives.

                            George

                            Bulwark-bending in hot water.

                            20230614_181156.jpg


                            Edited By gecon on 14/06/2023 18:26:35

                            #105161
                            gecon
                            Participant
                              @gecon

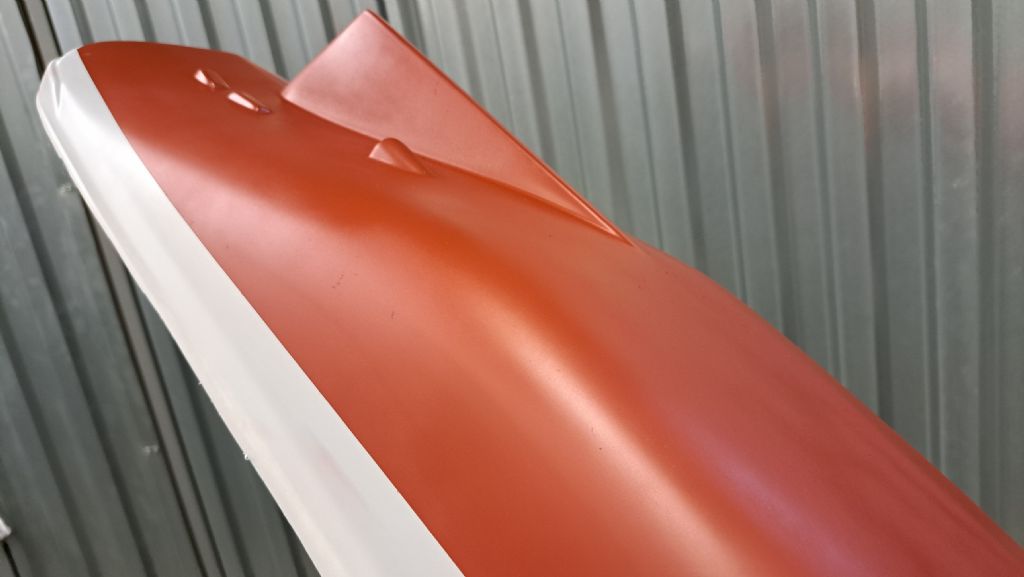
                              Found a secluded, industrial backyard just 3 mins drive away! So, on went the anti-fouling. Tamiya Hull Red. I think the standard colour should be Billing Boats Crimson but too bad, I like Hull Red. Got a few smudges on the light grey primer but that will eventually be black.

                              20230615_133641.jpg

                              20230615_133628.jpg

                              #105169
                              gecon
                              Participant
                                @gecon

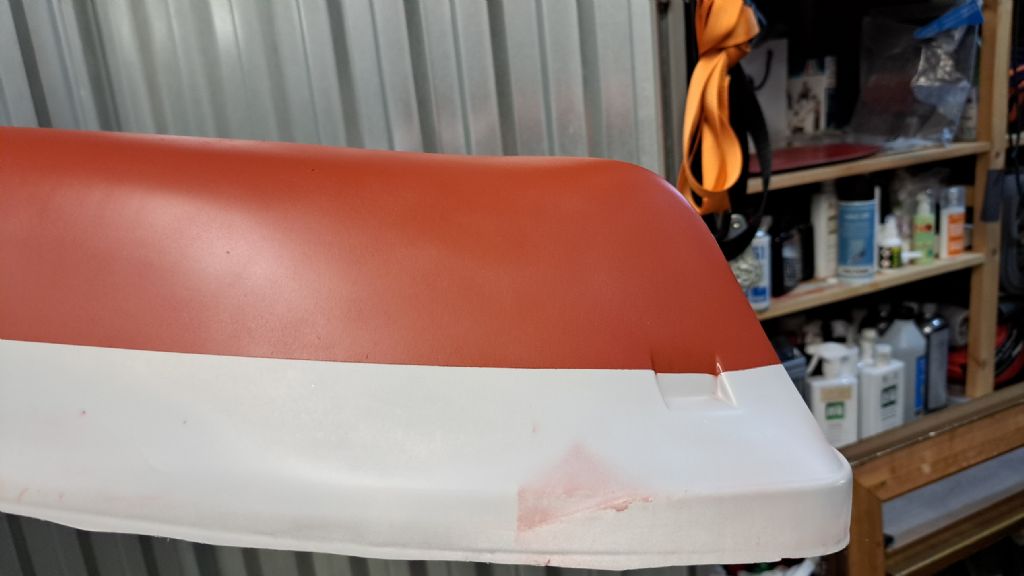
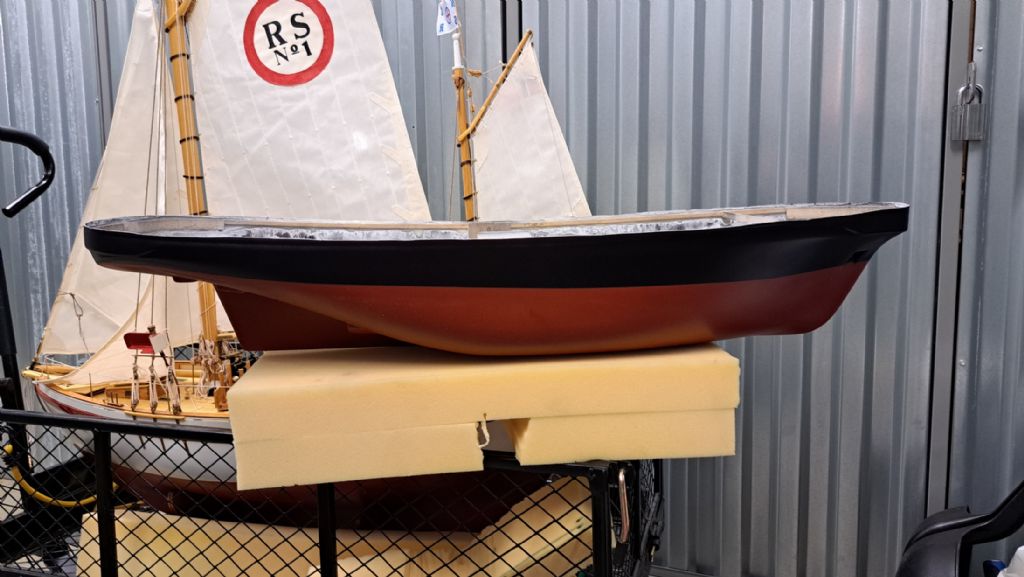
                                Managed to get the hull topsides sprayed in Tamiya semi-gloss black today. Sprayed the bulwarks too but they will not be fitted for a while yet. Have to first do a bit of planning to organise the optimum sequence for installing the drive line.

                                Will follow Harry's advice on incorporating stern tube greasing. The tube does not protrude very far into the hull but I think there will be space. I'll be using a stern tube grease nipple on a clamp/bracket.

                                Wish a good weekend to all, George

                                PS. Sorry about the background, took a quick pic just after removing the masking tape and plonked the S-N onto the edge of the Colin Archer transport trolley.

                                20230616_141733.jpg

                                #105202
                                gecon
                                Participant
                                  @gecon

                                  As usual with Billings kits, you have to spend some time deciding the optimum build-sequence for each section. Billing produce a clear drawing but they don't write a single word of advice.

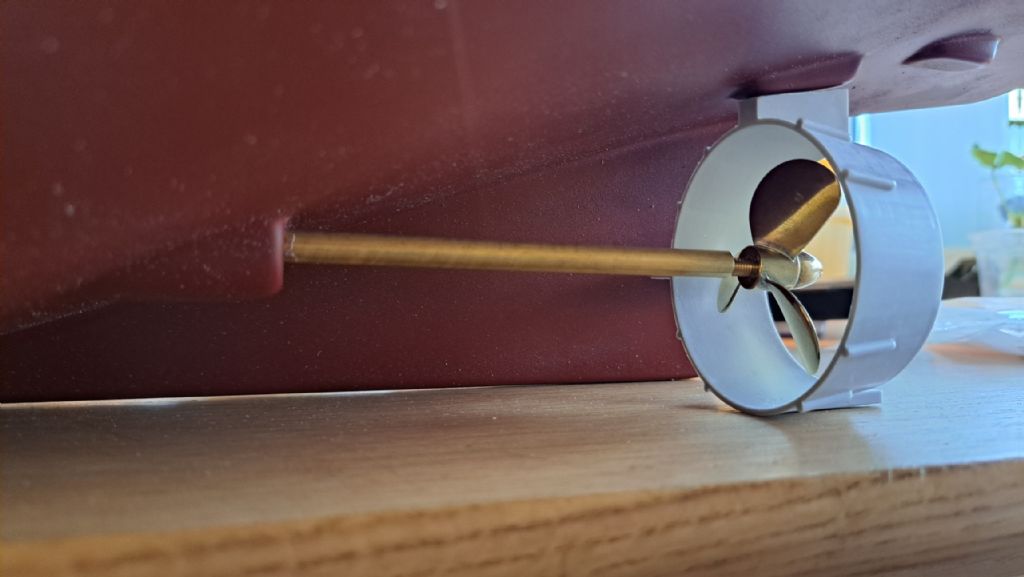
                                  The Kort nozzles actually dictate the position of the other drive-train components. Stern tube position and angle in particular, have to be adjusted so that the propeller sits correctly inside the nozzle. Thereafter the motor and/or motor mount needs to be placed/angled to suit the propshaft. I think there will be just enough space inside the hull to fit a grease nipple.

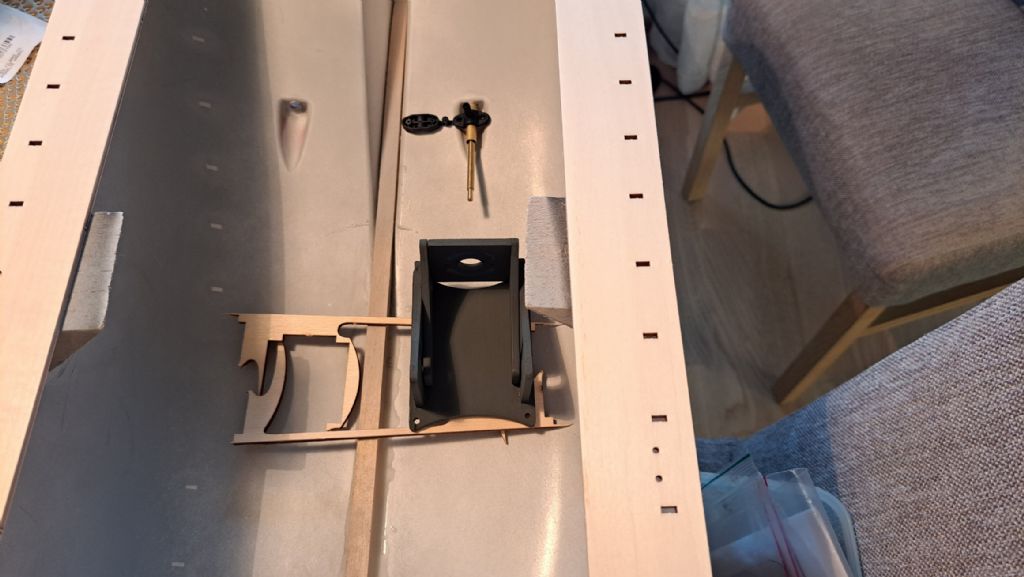
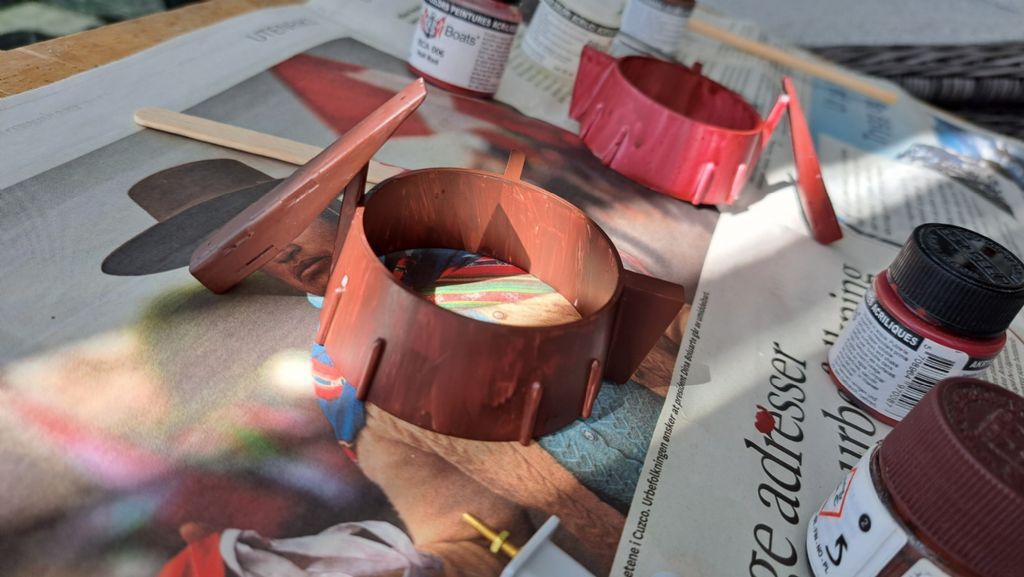
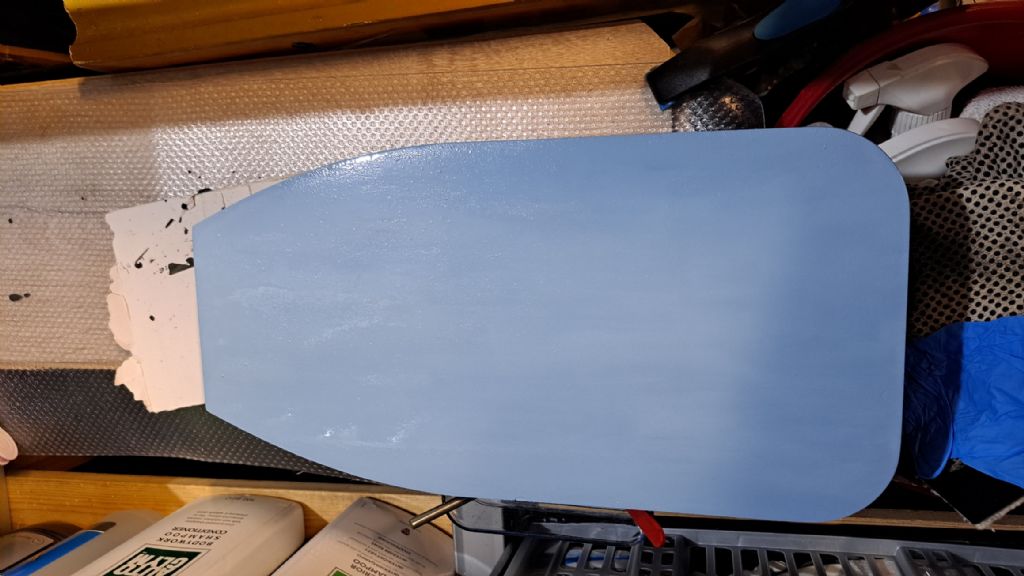
                                  The motor/equipment mounting tray (not shown) has just been painted and will be loose fitted inside the hull in due course. The Kort nozzles and shaft support brackets have been de-greased and will be painted this week, Maybe even fitted!

                                  George

                                  20230620_073941.jpg

                                  20230620_074025.jpg

                                  20230620_074039.jpg

                                  #105207
                                  gecon
                                  Participant
                                    @gecon

                                    Had a go at brush-painting the Kort nozzels. The hull is sprayed in Tamiya 'Hull Red', which I like. Tamiya brush-on Hull Red is more 'brown' than 'Hull Red'. Billing Boats Hull Red is more like a Crimsonsmile o.  So now I'm buisy mixing the above two with red and/orange to try to match the Tamiya spray which is on the hull as 'antifouling'. If I can't make a decent blend I may paint the parts in a Humbrol brassy-copper mix. indecision But I don't think the acrylic will apreciate a 'visit' by old style Humbrol oil paint.

                                    20230620_152718.jpg


                                    The equipment tray is an uncomplicated, Humbrol Light blue, and will receive another coat tomorrow.

                                    20230620_142439.jpg

                                    George


                                    Edited By gecon on 20/06/2023 15:53:17

                                    #105209
                                    gecon
                                    Participant
                                      @gecon

                                      Yes I'll do it, I'll buy another spray can of Tamiya Hull Red tomorrow.smiley

                                      #105217
                                      Ray Wood 3
                                      Participant
                                        @raywood3

                                        Hi George,

                                        I'm glad to see your getting on with the build very amused you have to nip out and find somewhere to spray

                                        Best from the UK

                                        Ray (I have PM'd you)

                                        #105218
                                        gecon
                                        Participant
                                          @gecon

                                          Hi Ray,

                                          Yes it is a bit unusual I suppose. There's a lot of parkland and paths around the flats where I live. So popping out with two spray cans, a boat and a home made cardboard spraying booth makes you just a little bit conspicuous -not mention dangerous!

                                          Anyway I now have a whole spraying-yard at my disposal, but I only planned to spray the hull, all the smaller stuff, decks and superstruture will be done by hand.

                                          Regards,

                                          George

                                          #105256
                                          gecon
                                          Participant
                                            @gecon

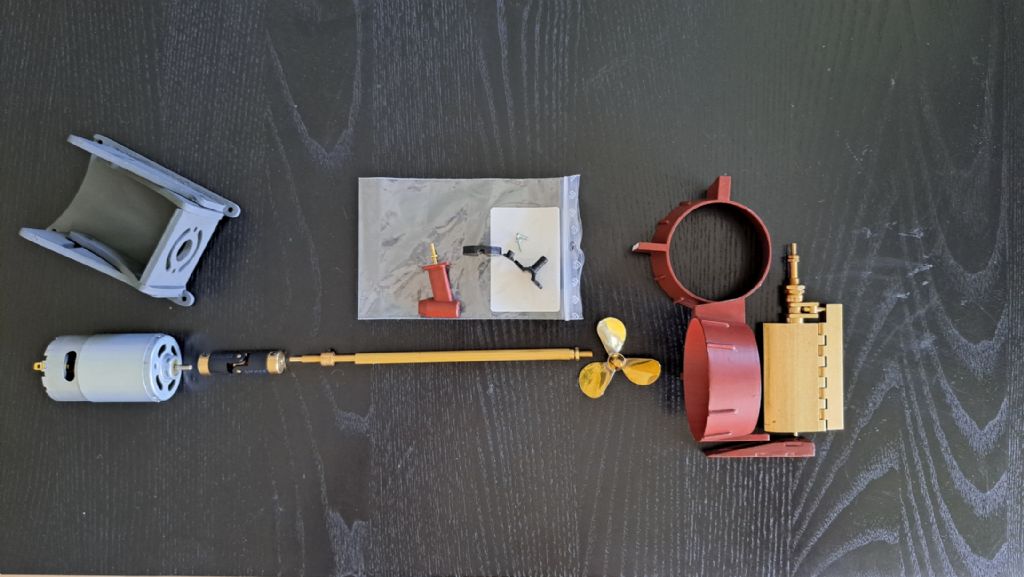
                                            Here's yet another uninspiring photo of the Smit-Ned' project. This is the drive train -or half of it. The rudder has to be installed first. This is physically connected to the Kort nozzel by a short, fixed-length beam. These two parts actually dictate where the rest of the 'train' ends up inside the hull. I hope that the supplied stern tube is long enough to permit the incorporation of the plastic grease nipples which I already had in store. Otherwise, I'll solder on a brass tube.

                                            Eventually the motor and adjustable-angle motormount will be placed on a light blue equipment tray inside the hull. The final position of this tray will also be dictated by the length of the whole drive-train.

                                            George

                                            20230625_140709.jpg

                                            Edited By gecon on 25/06/2023 13:45:12

                                            #105260
                                            gecon
                                            Participant
                                              @gecon

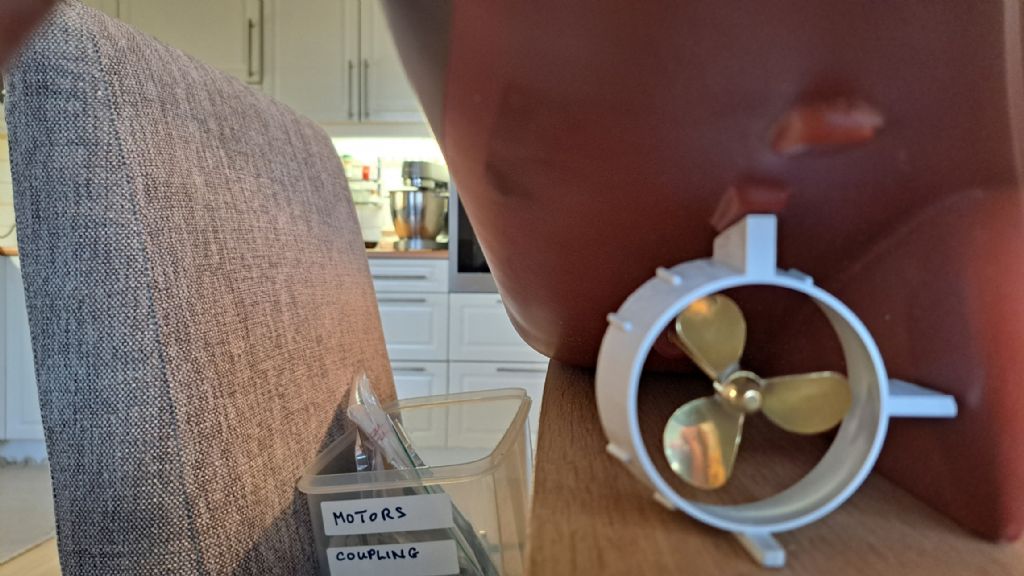
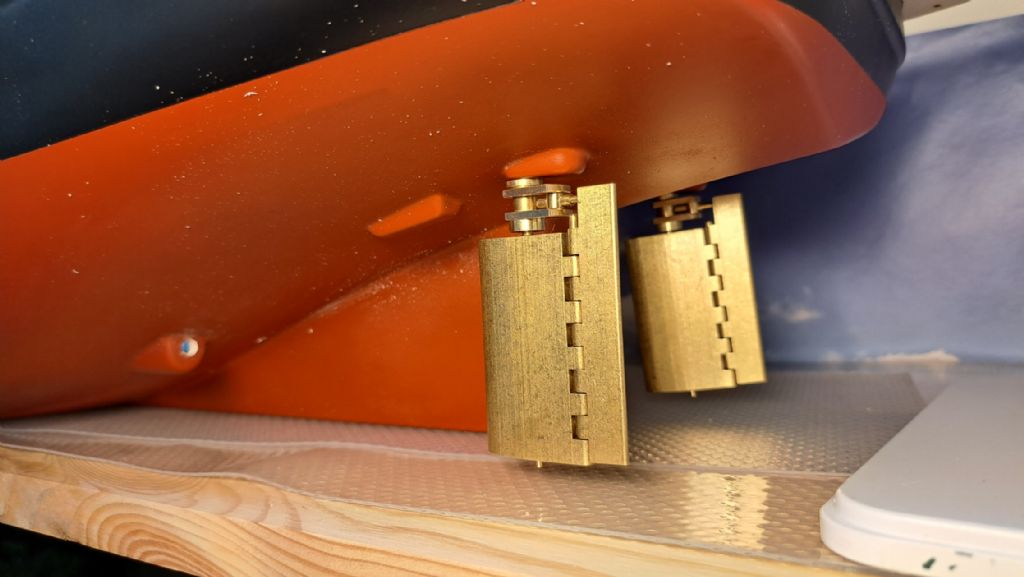
                                              The Becker rudders were added this afternoon. Quite fiddly to get in place. They are not properly aligned yet, but they're not as wonkey as they look in this strange-angle shot. Thought I was going to fit the Kort nozzles too but I lost momentum somewhere along the line. I've planned the installation sequences though, so maybe tomorrow.

                                              George

                                              20230626_180630.jpg

                                              #105287
                                              gecon
                                              Participant
                                                @gecon

                                                Wrestling with the rudders. Having trouble getting the Becker rudders to work as designed. Parts which ar not supposed to revolve are revolving! Tightening up sufficiently to affect a cure causes other parts that should revolve to became clamped and not revolve sad Maybe something needs to be soldered/epoxied (?) but nothing is shown on the plans…and of course, there are no instructional words from this particular manufacturer.

                                                I have asked Harry about his 'refurb' of a Smit Ned' but he only needed epoxy to water-seal around stern tubes and rudder bearing shafts.

                                                I have written to Billing Boats to ask for info, but welcome inputs from anyone 'in the know'.

                                                George

                                                #105305
                                                gecon
                                                Participant
                                                  @gecon

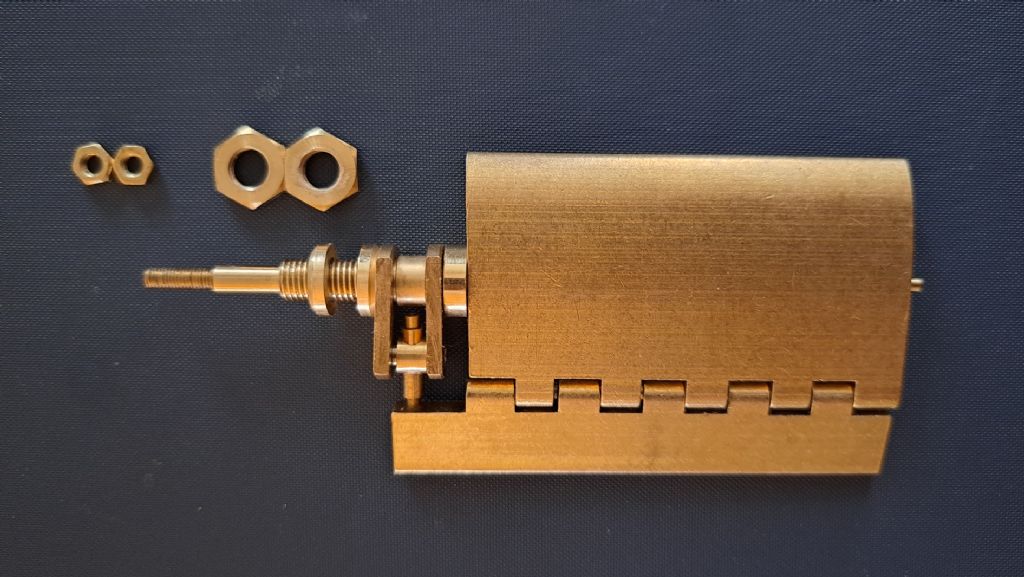
                                                  The weekend has been all 'rudder-on-the brain-cell' dont know. I have thought through a process (wow!) which I will try out on the Becker rudders. Not heard anything from Billing Boats yet so this morning I bought some 2701 Loctite. This is one notch up from 'Normal' strength and is apparently NOT easy to remove.

                                                  Loctite will be applied to most of the components shown threaded onto the rudder shaft in the photo below, and then lightly compressed by screwing on one of the brass nuts. Later, the two shaped bearing washers will be threaded onto the tube and epoxied -and clamped- to the hull; one inside the hull, one below.

                                                  Cannot see how the Becker rudder-flap can work without all of these components being locked onto the rudder tube. I'll leave out the rest of the boring detail and simply post again in a day or two -if it works or not.smiley

                                                  George

                                                  20230703_122201.jpg

                                                  Edited By gecon on 03/07/2023 12:03:51

                                                  Edited By gecon on 03/07/2023 12:06:48

                                                  #105321
                                                  gecon
                                                  Participant
                                                    @gecon

                                                    The last couple of days have been partly devoted to my rudder-trouble. I tried the 'heavy' 2701 Loctite on the first brass part to be threaded onto the rudder tube and was almost caught out by the speed of the curing process. I thought that I would have several minutes during which I could thread the various bushes onto the rudder tube, line then all up nicely, and then set aside for the day to cure. Wrong…again.

                                                    Beware, Loctite 2701 cures on brass almost immediately it is deprived of air! And thereafter does NOT release it's grip willingly. Anyway, with great care and respect for this product, the rudders are now resting on a shelf for a prescribed 24hrs.

                                                    This morning I received an e-mail from Billing Boat's Jens Henrik Thrane, who has been mentioned in the MB mag. He writes "epoxy or Super CA glue" to assemble the rudder-tube parts.

                                                    He also writes that Billing Boats website has been hacked and that it will take a month or two to retreive all the lost data and get it up and working.

                                                    George

                                                    #105551
                                                    gecon
                                                    Participant
                                                      @gecon

                                                      As I mentioned on Ray's thread, I got "perked up" by reading that it's usual to "slow down" occasionally. Not done anything to the tug for over a month. This week I've been helping my wife sort out a missing package sent from Birmingham UK. It was sent by 'FedEx' last week, and I have today tracked it down to having been sent to the wrong 'Stavanger'.

                                                      There is apparently a town called 'Stavanger' near a place called 'Norway' in the state of Illinois USA! The package has already been through Garland Texas, Dallas Texas and today in Memphis Tennesee. FedEx write that it's now enroute 'Norway'….but which one?

                                                      Getting back to the Smit Ned' project will surely be soothing therapy -if I'm not too exhausted by all this geographywink

                                                      George

                                                    Viewing 25 posts - 1 through 25 (of 37 total)
                                                    • Please log in to reply to this topic. Registering is free and easy using the links on the menu at the top of this page.

                                                    Code of conduct | Forum Help/FAQs

                                                    Advert

                                                    Latest Replies

                                                    Home Forums Building Kits Topics

                                                    Viewing 25 topics - 1 through 25 (of 25 total)
                                                    Viewing 25 topics - 1 through 25 (of 25 total)

                                                    View full reply list.

                                                    Advert