TEV Wahine 1/35 Build

Advert

TEV Wahine 1/35 Build

Home Forums Scratch build TEV Wahine 1/35 Build

Viewing 25 posts - 76 through 100 (of 411 total)
  • Author
    Posts
  • #61280
    Richard H Dunn
    Participant
      @richardhdunn

      @ Bob

      The reason I decided early on to sheath the topsides with Ply as opposed to plank it is apart from the bow it is flat in 1 plane and is much less work, it also means less work to clean up and prep for glassing.Also the cost, it cost me nearly $200 for the cedar for the planks and that would have cost more like $500 if I did the whole hull.

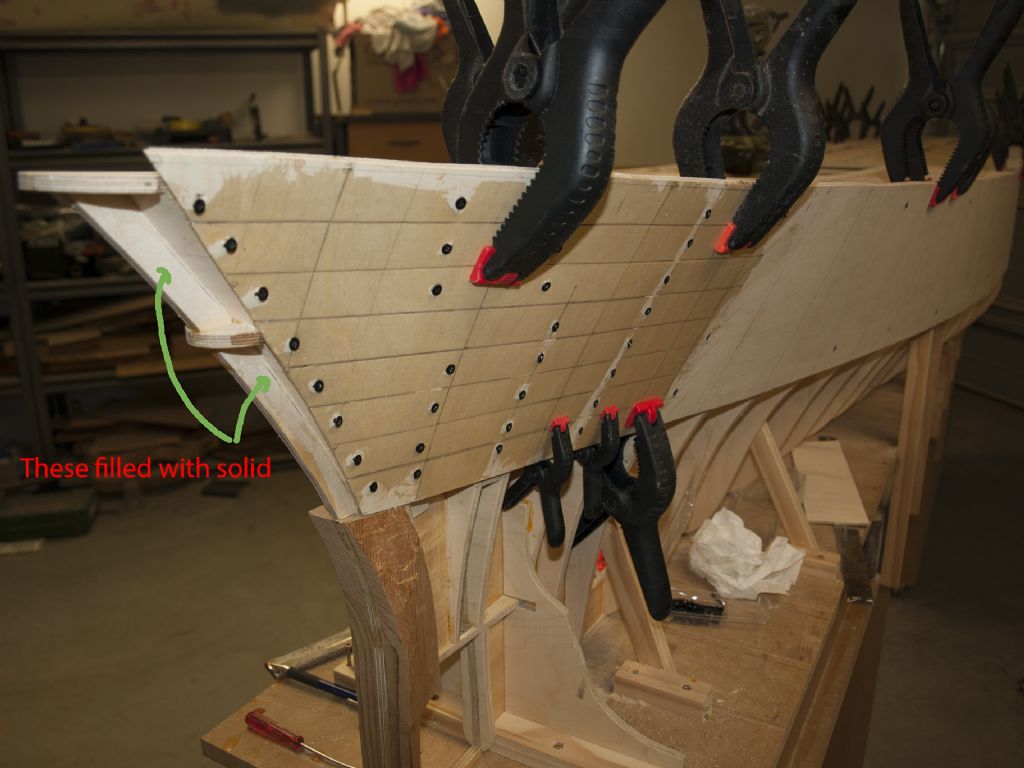
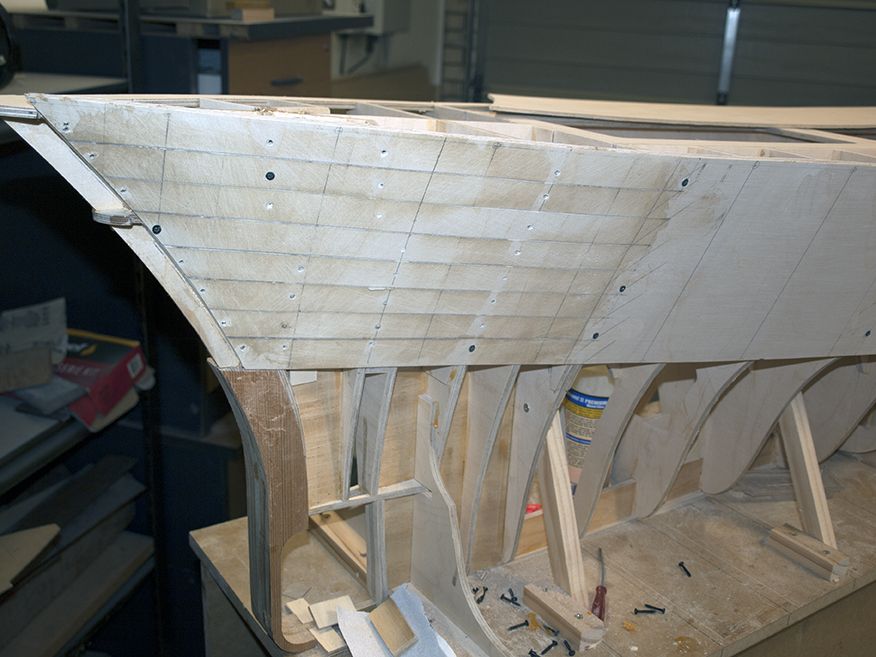
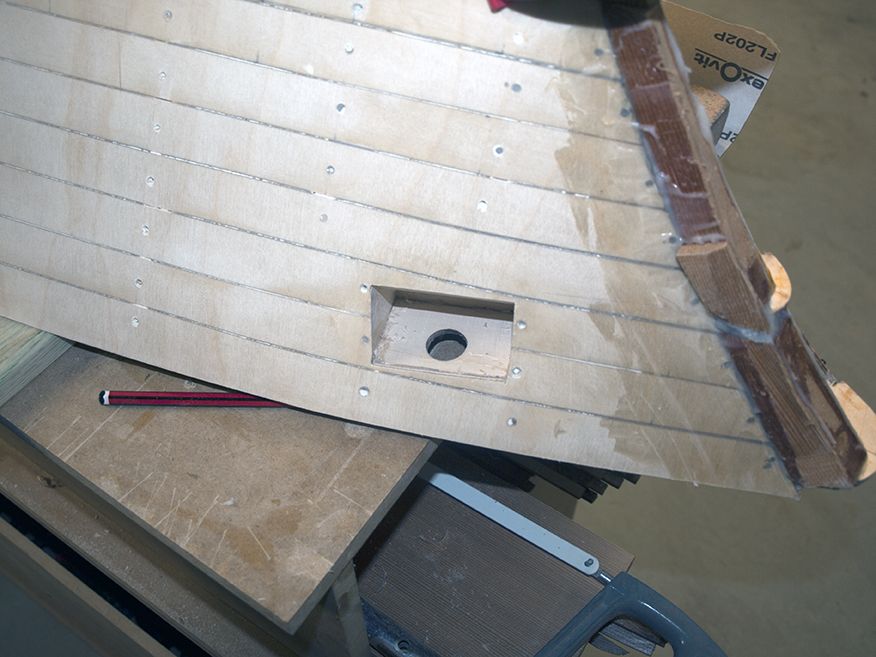
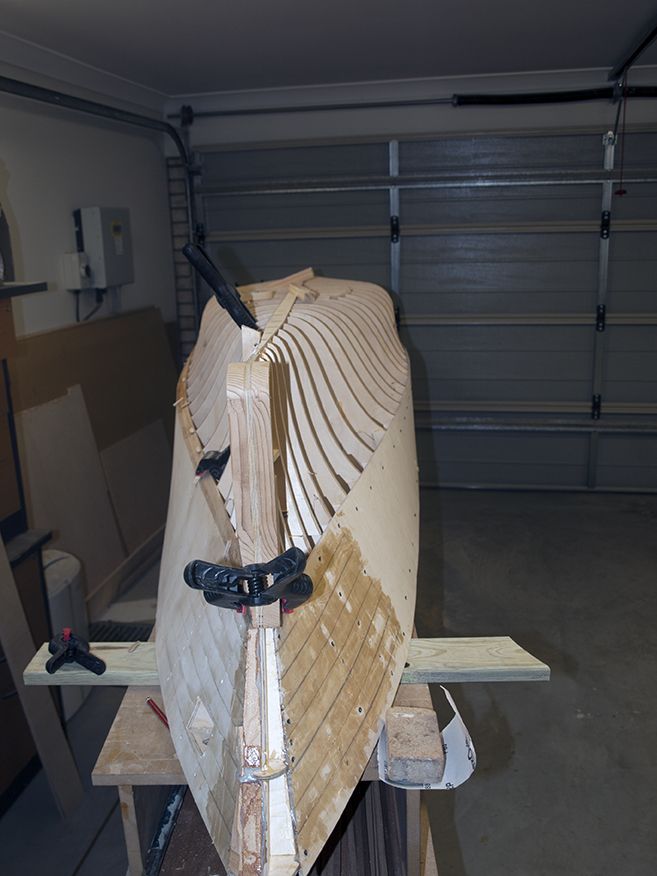
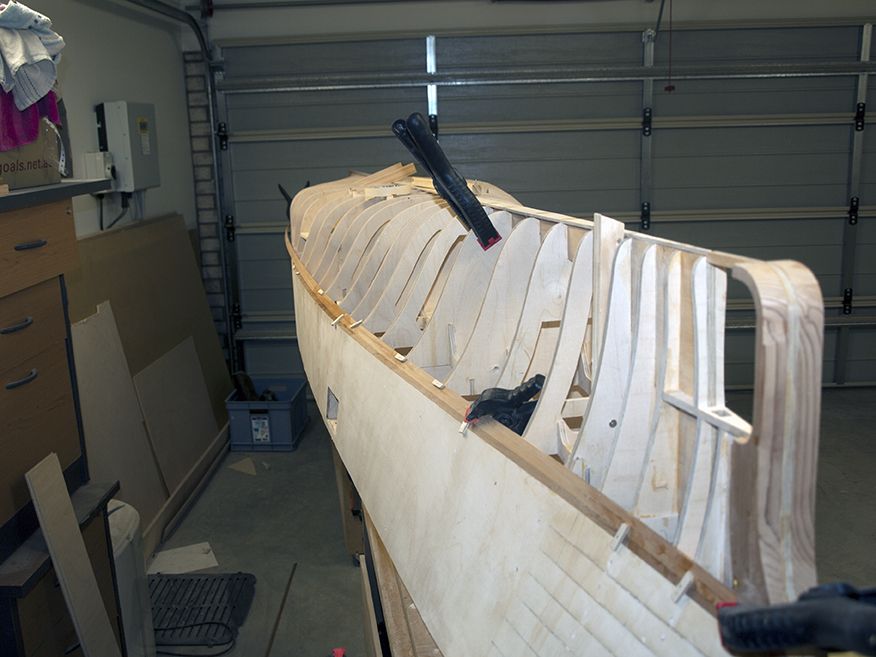
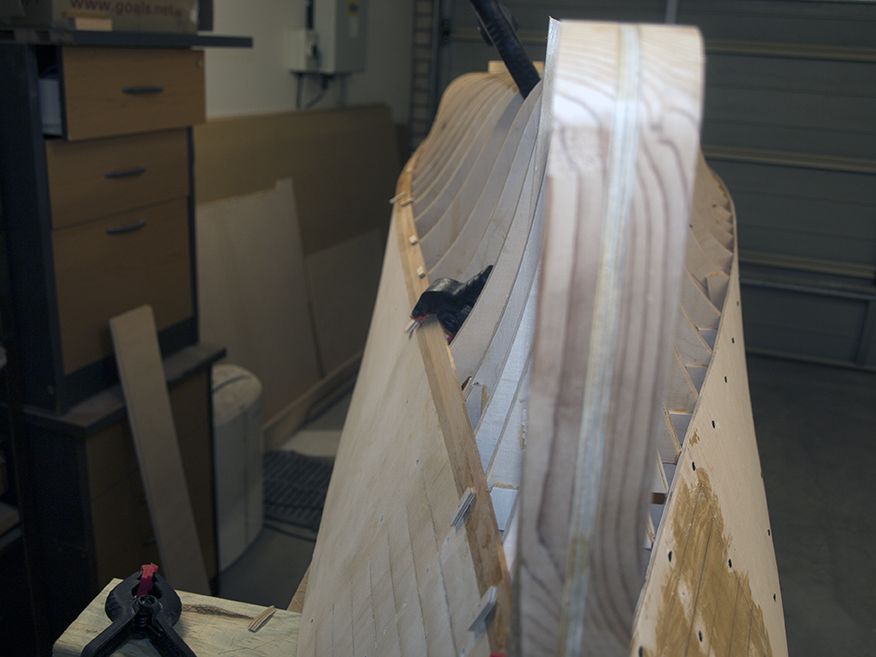
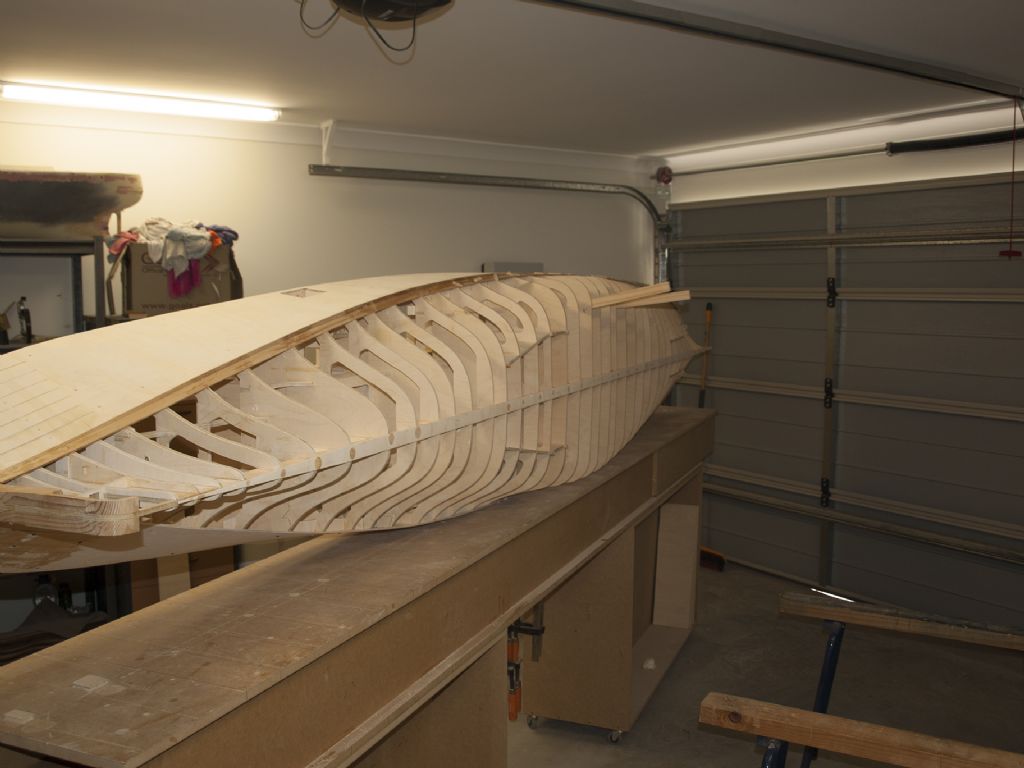
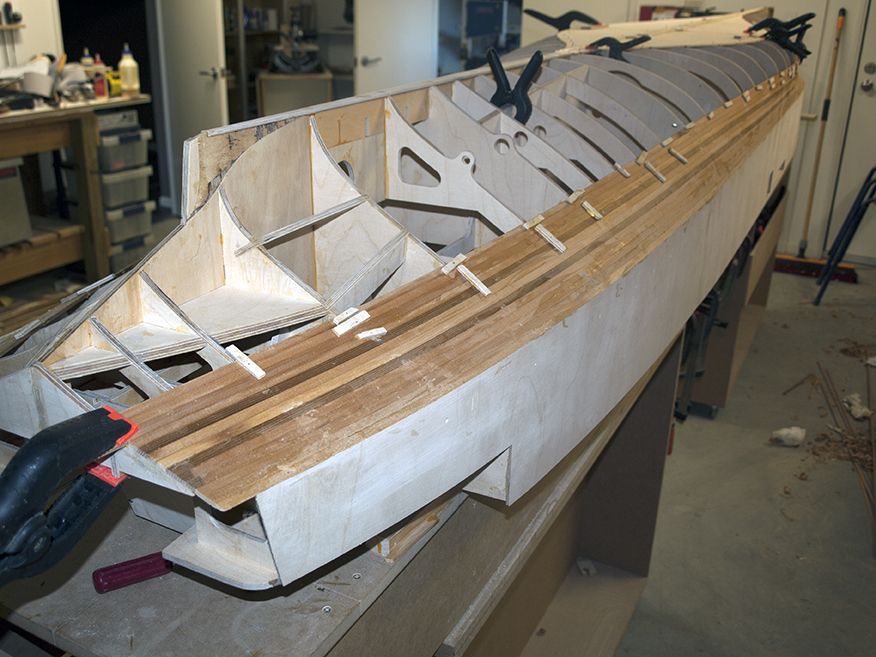
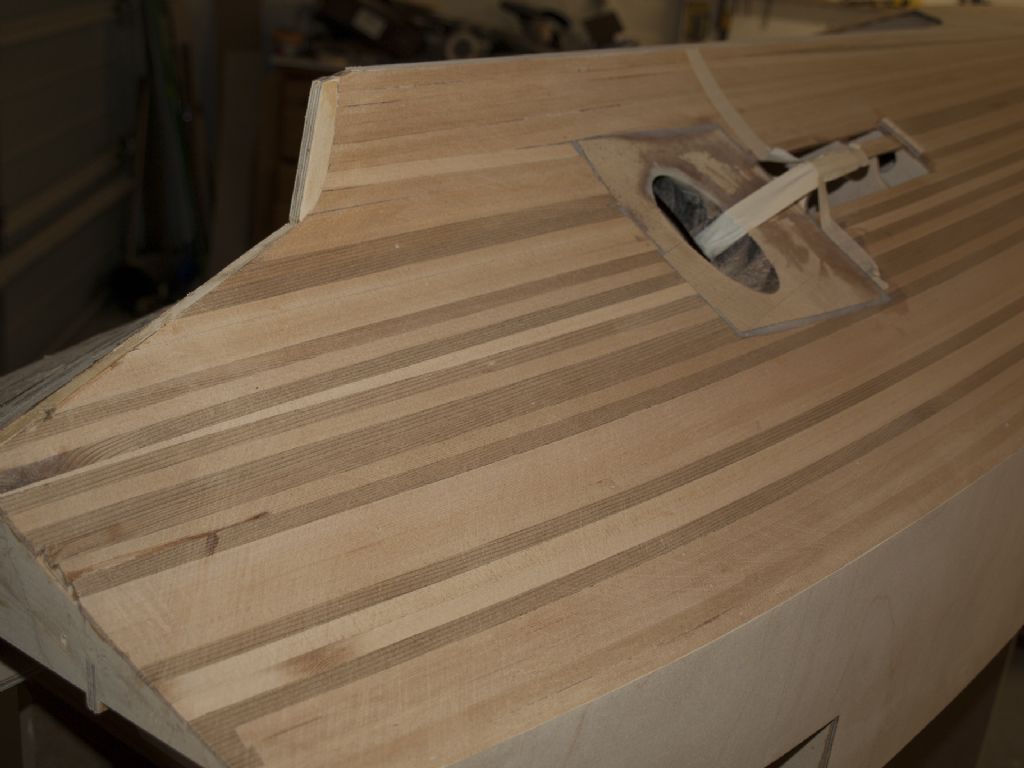
      I decided to slit the bow on the bandsaw into strips and the resulting fanning is only 1-2 mm so I screwed it off and troweled epoxy into the gaps until it started to come out inside, I will then remove the sheet sand it clean , reapply glue into holes and inside..sand it again and then glue to hull.

      pb106531.jpg

      pb106532.jpg

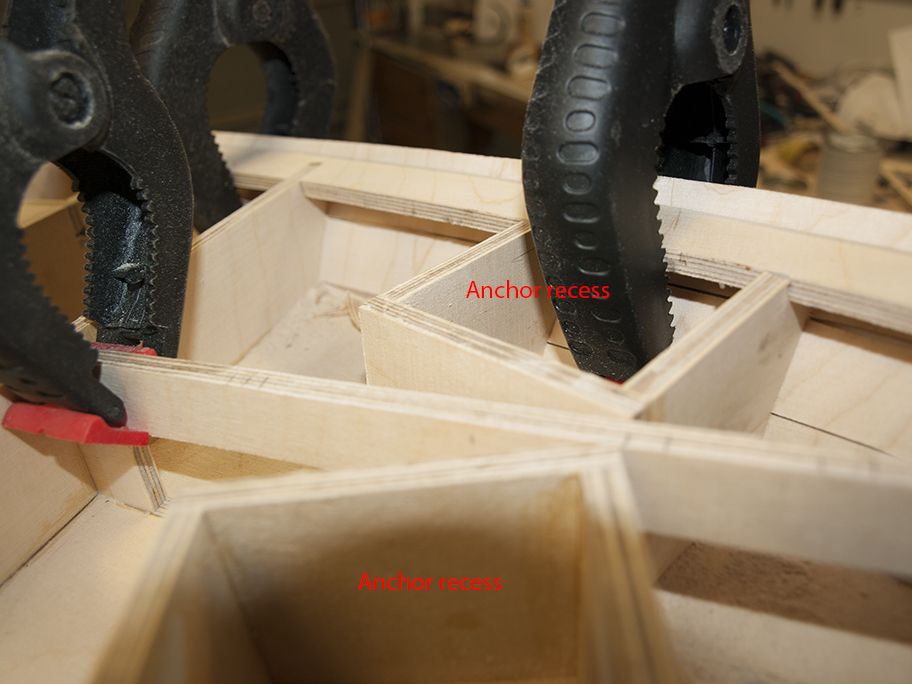
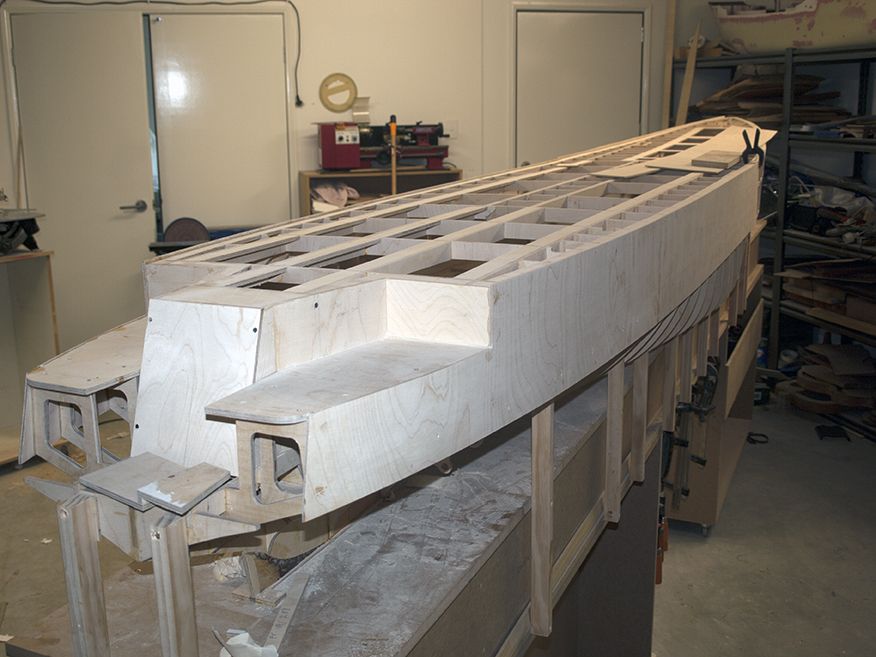
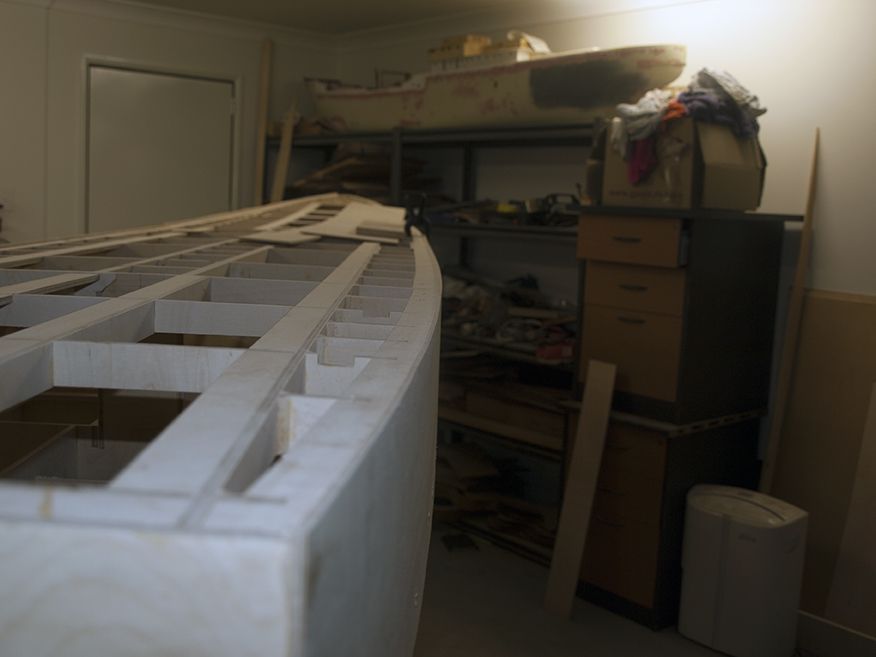
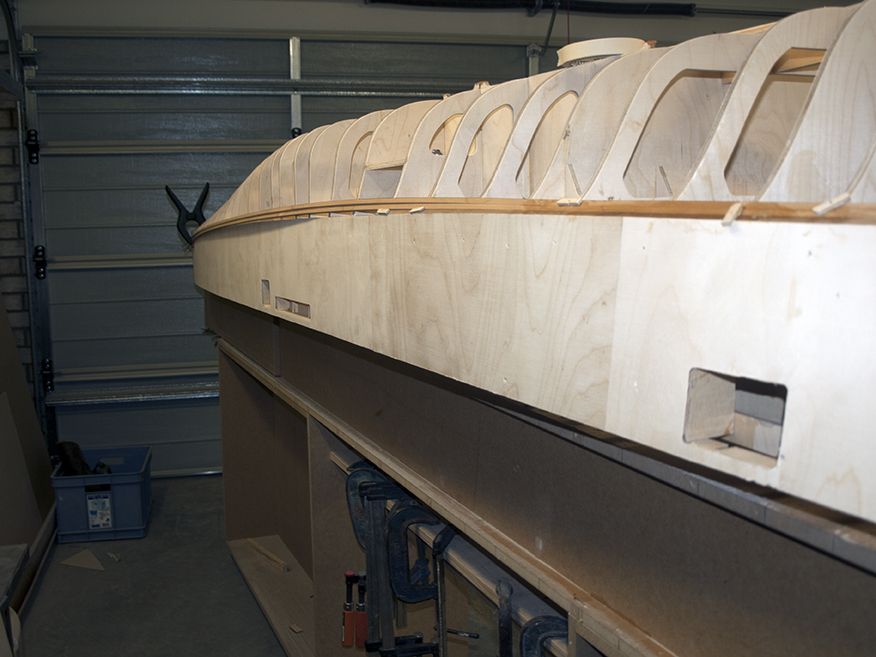
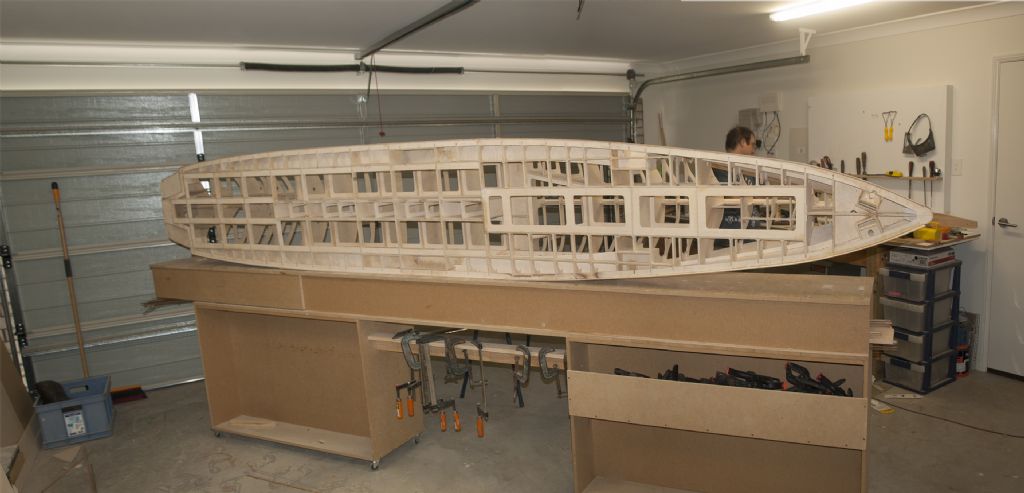
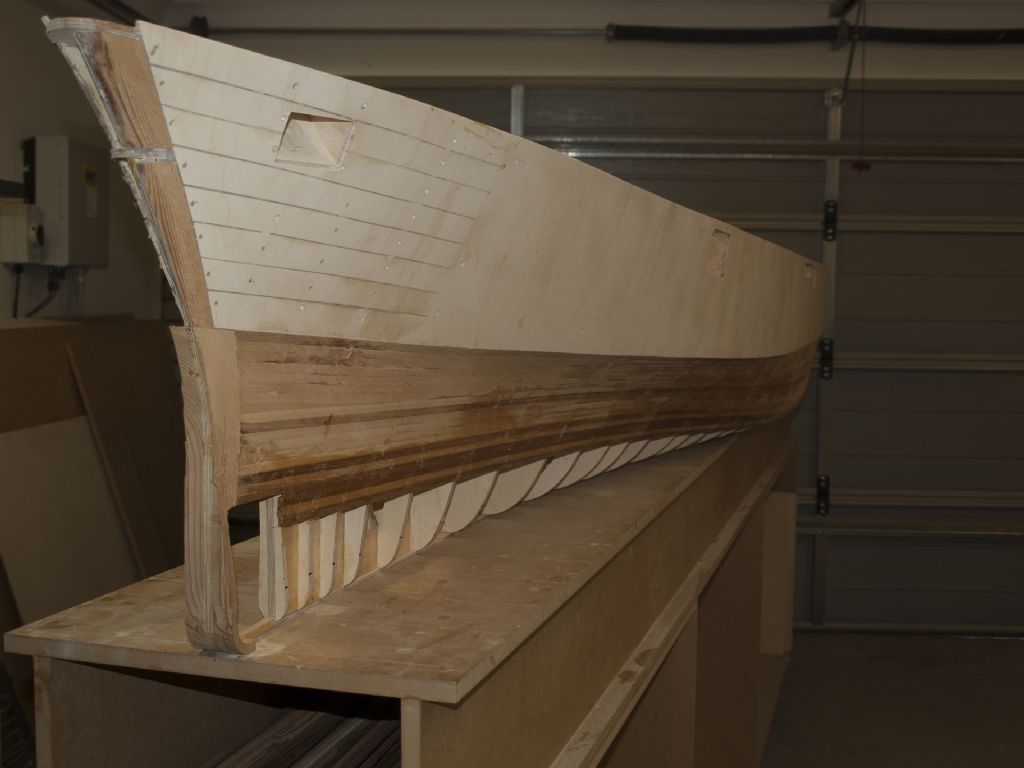
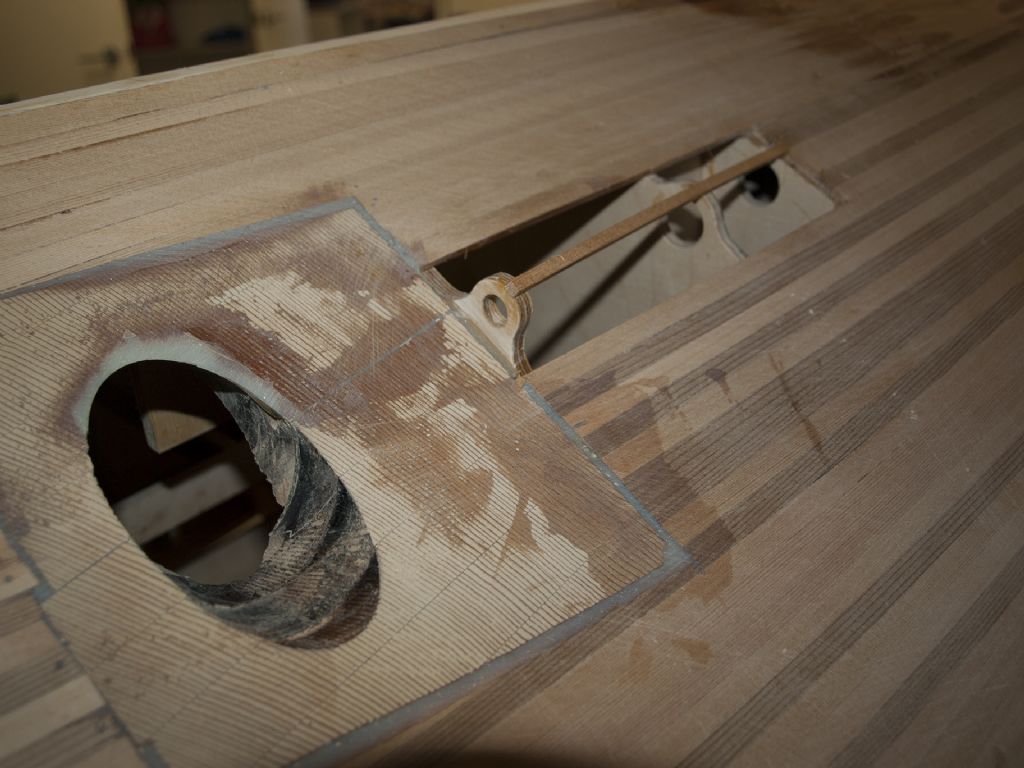
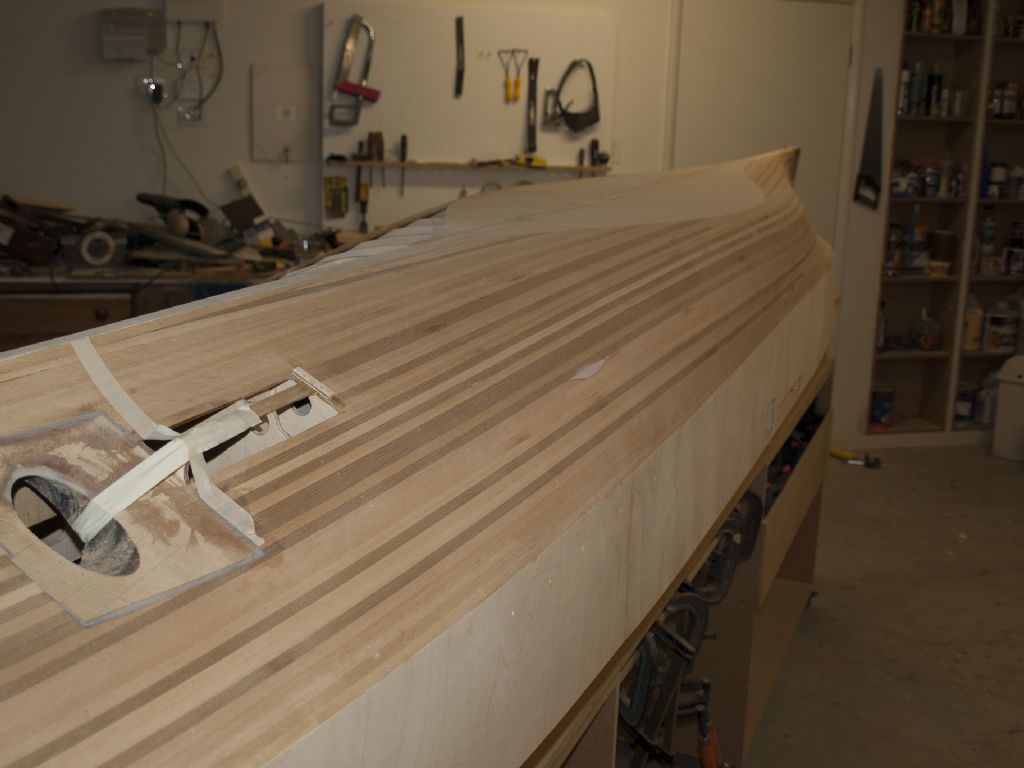
      Also you can see I have pre-framed the anchor recess so they form cant frames of sorts,I have made the mistake before of leaving these until later and having to carve away structure later , it always seems to be that something is in the way.

      This way I can just run around the large openings with a router and bearing bit to remove voids in hull skin.


      Edited By Richard Dunn 3 on 10/11/2015 00:44:02

      Edited By Richard Dunn 3 on 10/11/2015 00:45:31

      Advert
      #61281
      Bob Abell 2
      Participant
        @bobabell2

        Thank you, Richard

        I was thinking plywood planking actually

        Don't understand why you are going to remove the skin, for sanding etc………I 've noticed that the screw heads are not bottomed?

        No need to explain really…….. I'll just watch the build progress

        Bob

        #61315
        Richard H Dunn
        Participant
          @richardhdunn

          And it begins

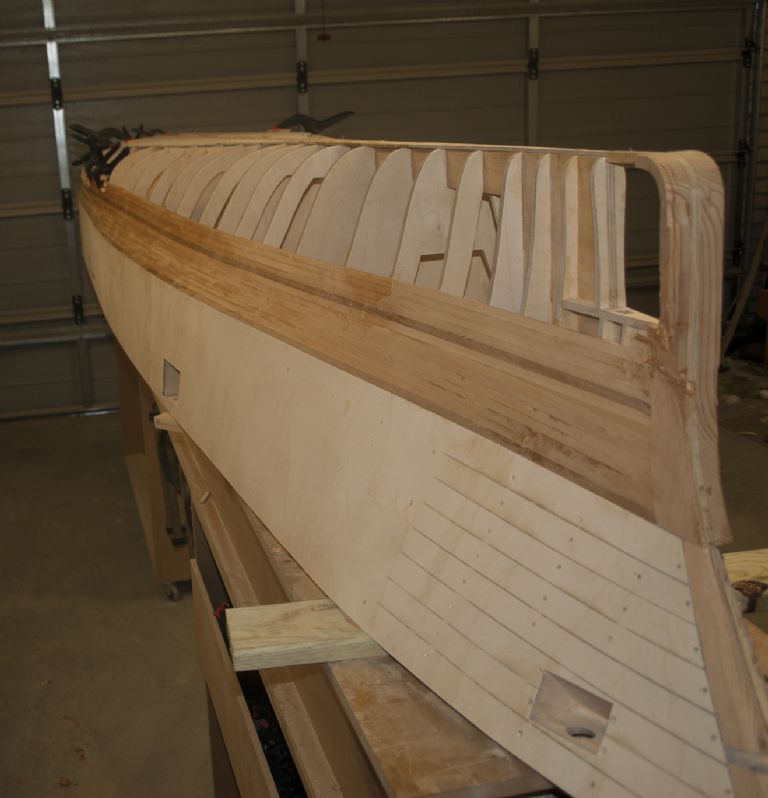
          I have started to plank the hull,I have now glued on the midship and aft topside panels, now just the forward ones to do tomorrow.

          After that we will start to plank the bottom starting with the Flat of bottom from ply and then the strip planked runs.

          I hope we can get it done in 3 days.

          some of the tumble home aft is seen here.

          Also the screws along the bottom edge of the sides have been removed ready for filling.

          pb126539.jpg

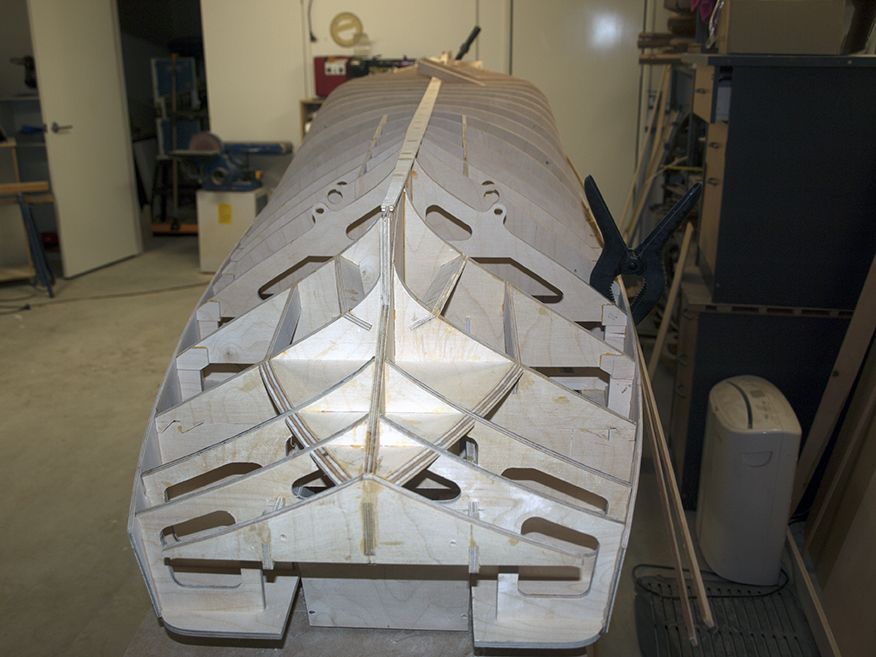
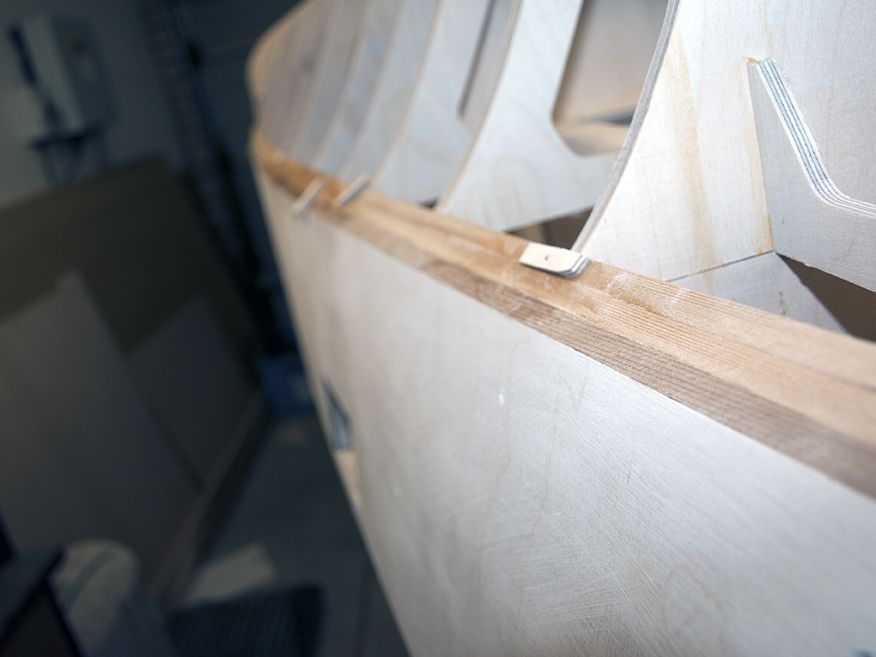
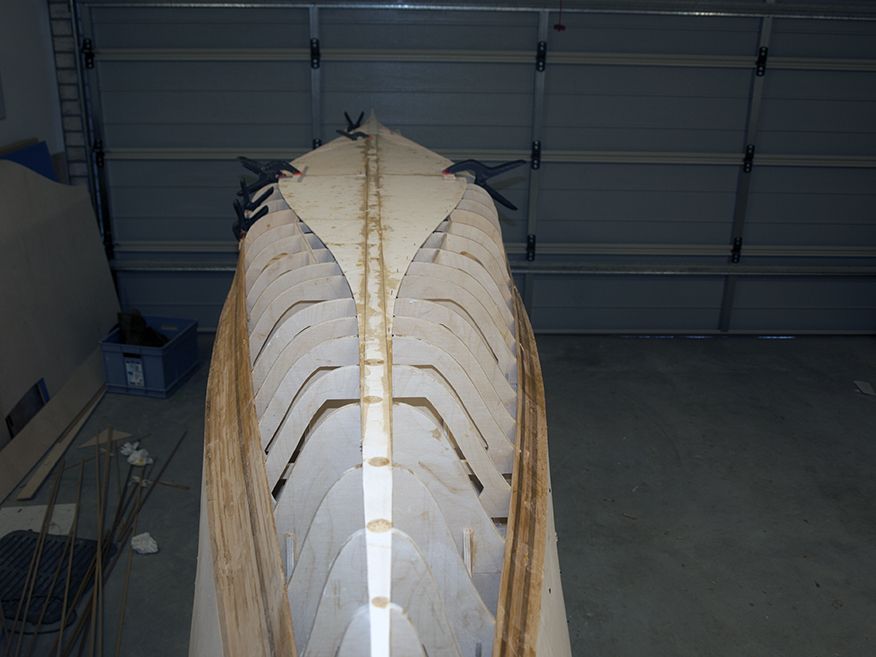
          I am really happy with the fairness of the frames so far, I have not had to pack or remove anything from frames except to modify bevels a little with a plane.

          This shot below shows you the edge of the deck line(before sanding) and as you can see it is pretty good.

          I realised about 4 weeks ago even if I have 1-2mm error on things that at this scale it gets lost anyway,that makes it all the more challenging to maintain discipline and try to not even be 1mm out.

          I zoomed in here and lost the flat of side  a little.


          pb126540.jpg

          Here is the bow after being removed sanded and temporarily screwed back on.

          The screws that were holding the individual planks were there to provide adjustment to the flushness and to hold the shape while the glue in the gaps set.

          Now they are removed and both sides sanded flat ready for final gluing to hull, just waiting to do other side so I glue them together.

          Really looking forward to getting past the hull build as I am ready to move on to the cleaner parts of building such as superstructure and making smaller parts…less mess!!

          pb126541.jpg

          I have started setting up for Photoetching!! has anybody here done it before? any tips?.

          I am using the Photo-resist film and a UV light to develop derived from computer drawn parts printed on transparency.


          Edited By Richard Dunn 3 on 12/11/2015 05:49:14

          Edited By Richard Dunn 3 on 12/11/2015 05:50:11

          #61422
          Richard H Dunn
          Participant
            @richardhdunn

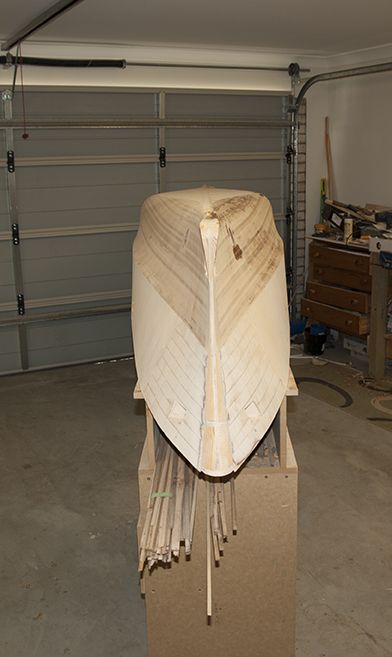
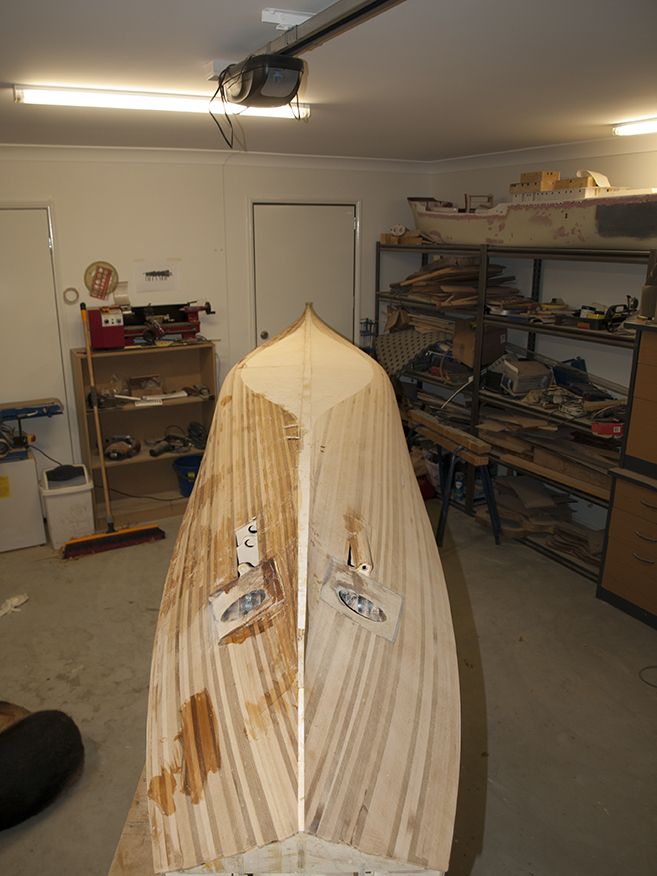
            This afternoon I released the hull from the building board and turned over, alone I might add….quite light the hull is.

            Below are some photos of the hull as it is today.

            pb156554.jpg

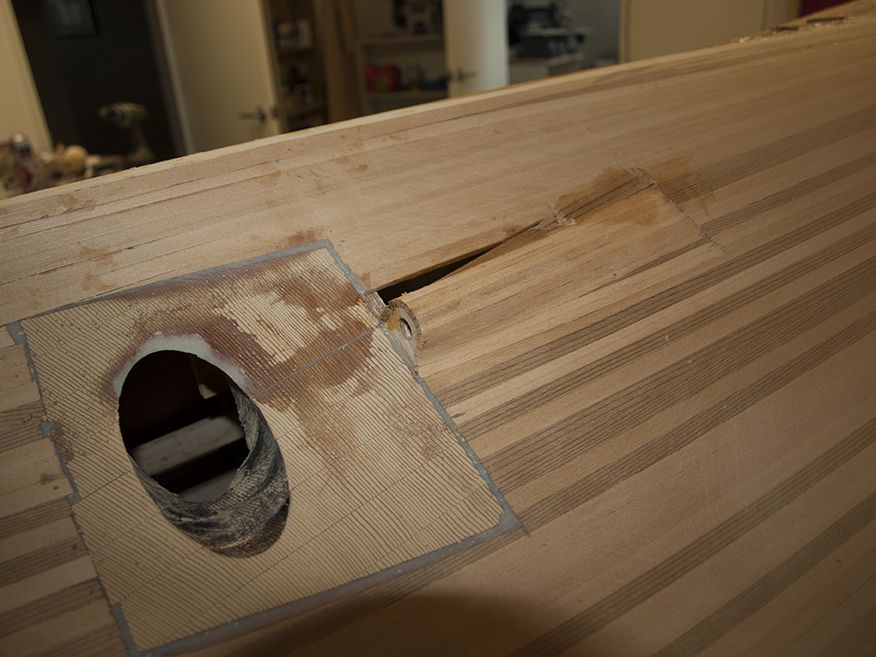
            Openings routed out for tonnage openings and gangway doors.

            pb156553.jpg

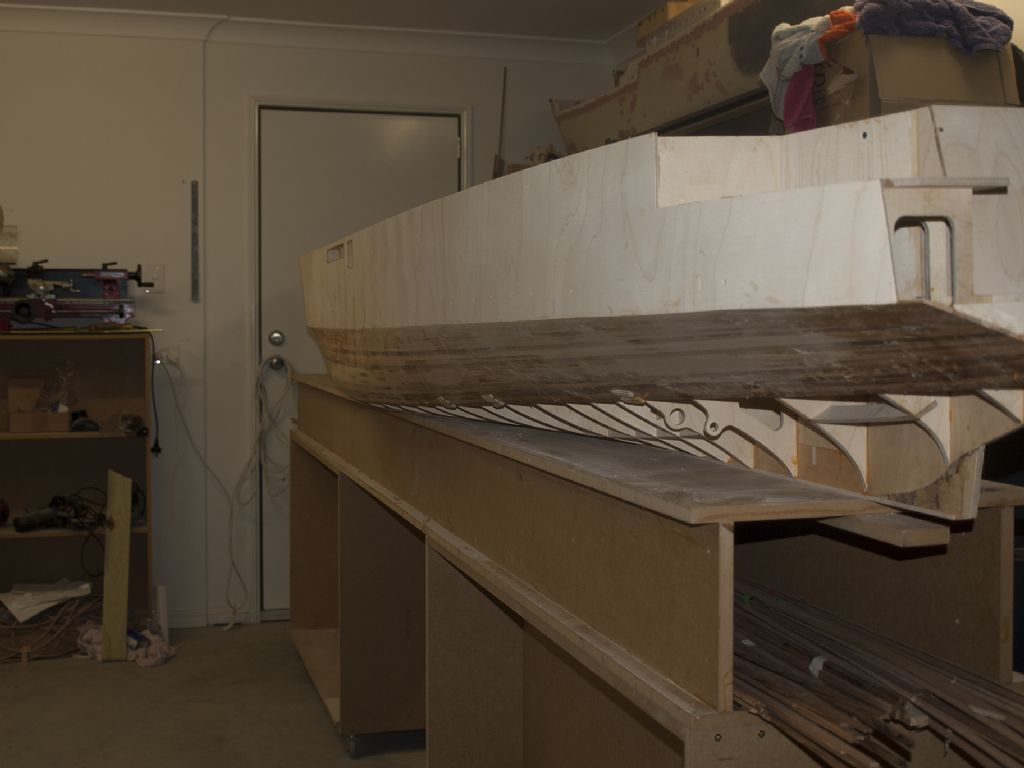
            Anchor recess, hawse drilled at correct angle on drill before assembly, openings have not been filed flush yet of course.

            pb156552.jpg

            pb156548.jpg

            pb156551.jpg

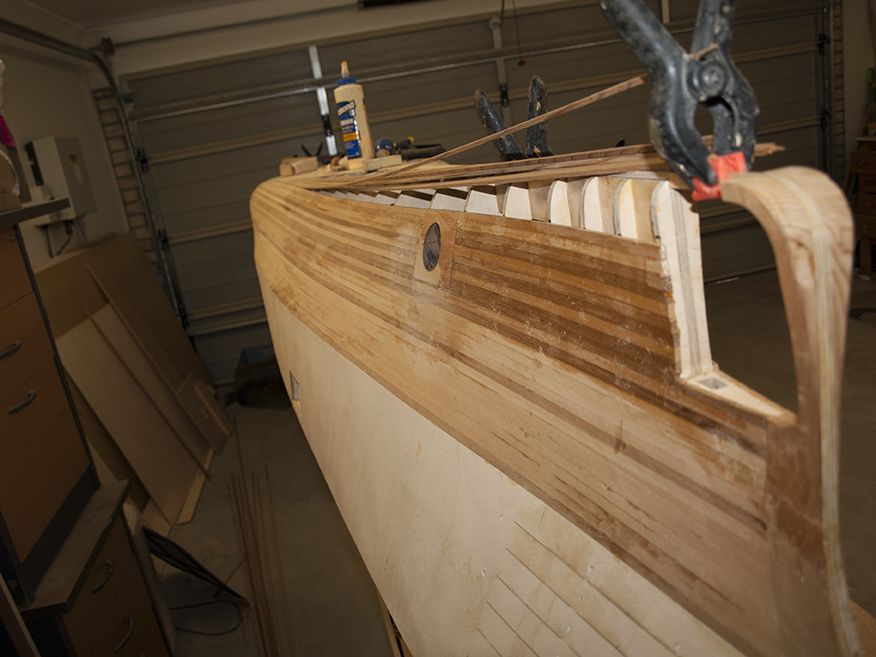
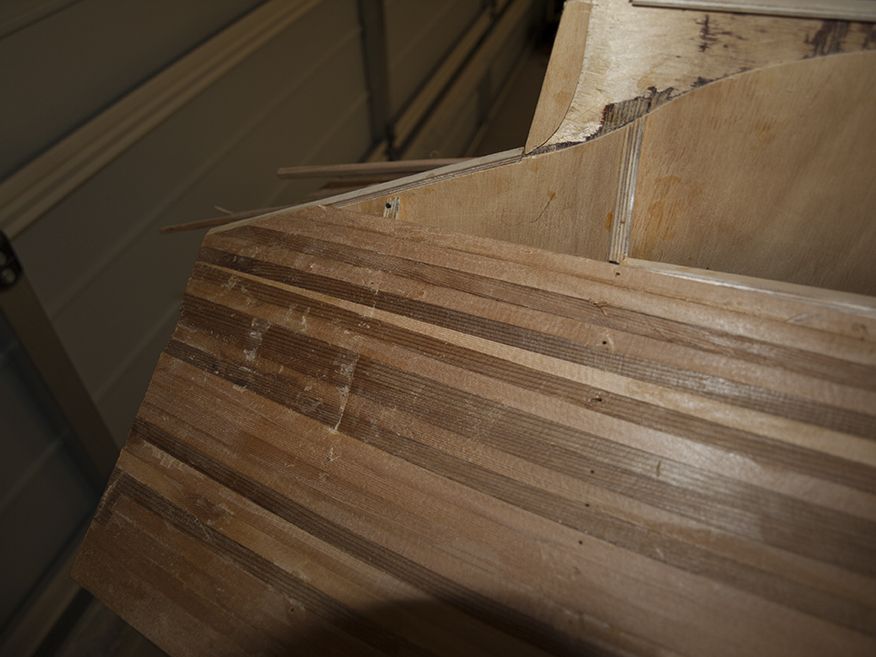
            First 3 strakes of planking, the knuckle one was beveled against topside by hand with a chisel and fitted.

            pb156550.jpg

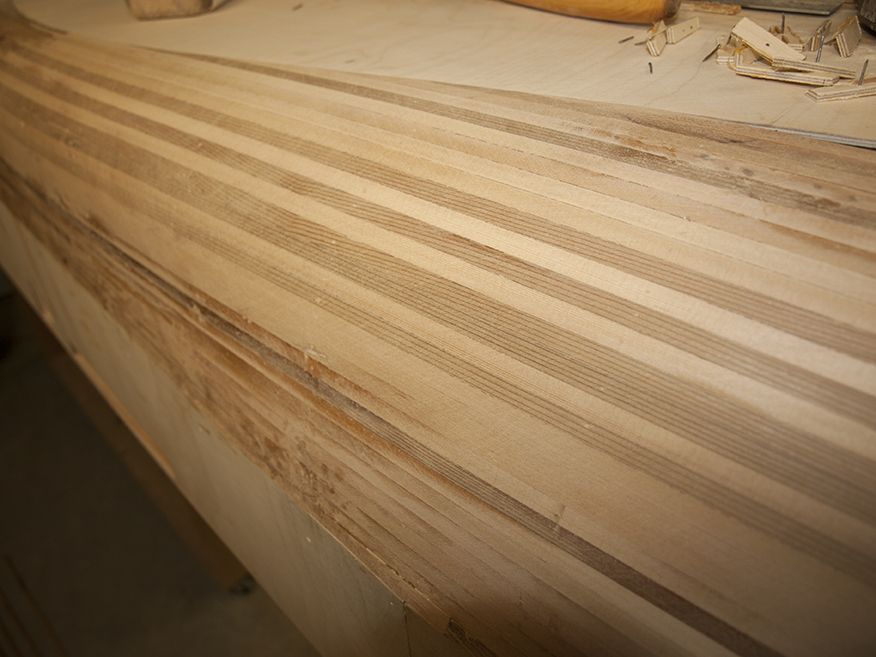
            Here is a closeup

            pb156549.jpg

            In this shot the fairness of the frames can be seen as the planking has a nice run.

            I have found I can nail about every 3-4 frame and have them bear down with no spring at all which is really nice I have to admit I am surprised at how fair the frames are as I had no way of really knowing until now.

            In the morning I will do 3 on the other side and alternate all the way to bilge.

            #61423
            Bob Abell 2
            Participant
              @bobabell2

              Looking very business like, Richard……..And heavy?

              As a matter of interest, what does she weigh at this stage?

              My guess……..40kg?

              Bob

              #61425
              Richard H Dunn
              Participant
                @richardhdunn

                Hi Bob
                I would say 25-30 kgs

                #61437
                Richard H Dunn
                Participant
                  @richardhdunn

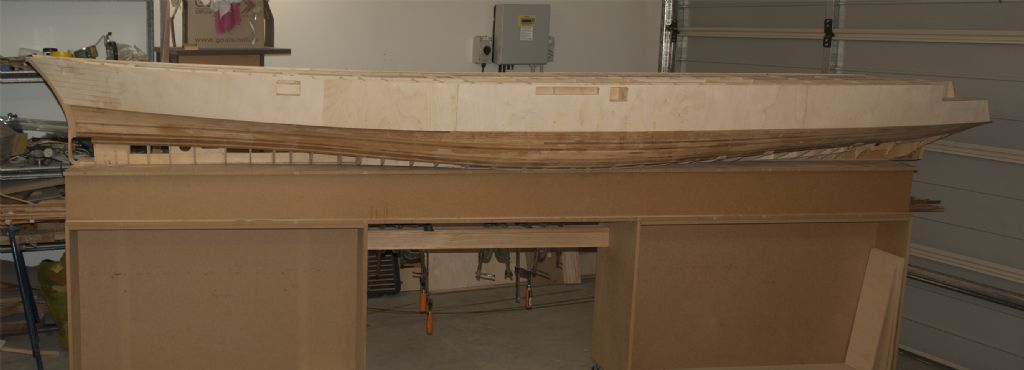
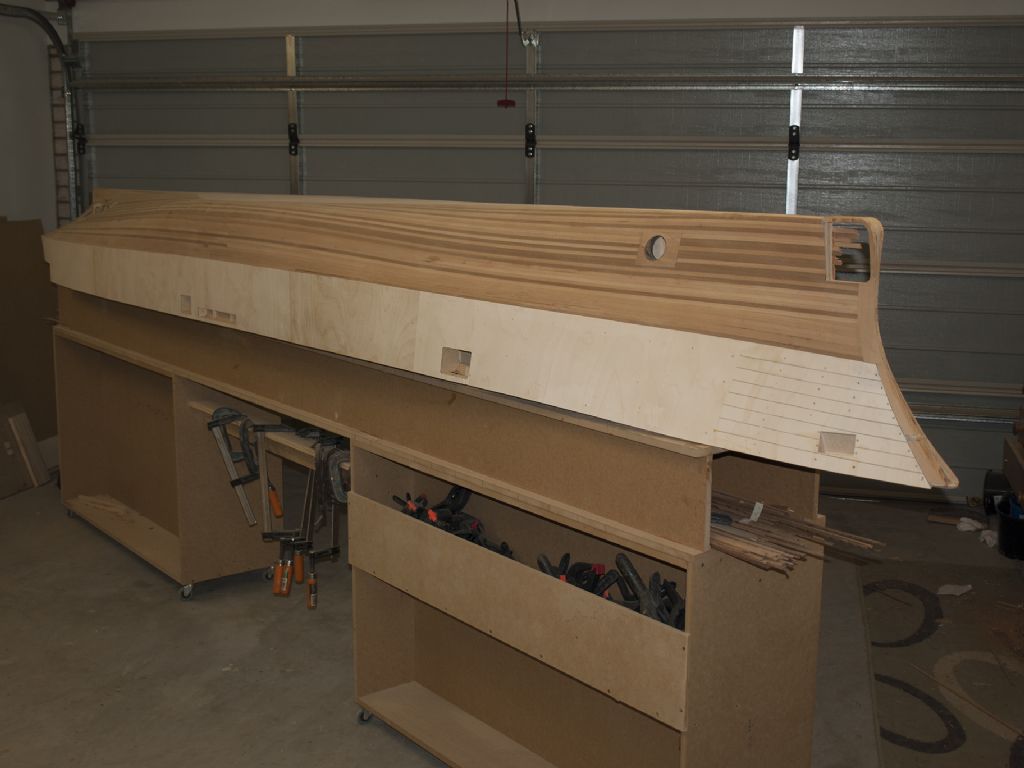
                  A couple of new views.
                  Lots of planking to see in next few days, we did 7 strakes a side today.

                  pb166555.jpg

                  untitled_panorama1.jpg

                  #61443
                  Colin Bishop
                  Moderator
                    @colinbishop34627

                    Seems a shame to cover up all that lovely woodwork – but you'd need a high capacity bilge pump if you don't!

                    Colin

                    #61445
                    Richard H Dunn
                    Participant
                      @richardhdunn

                      Ha
                      Yeah for sure.

                      #61455
                      Richard H Dunn
                      Participant
                        @richardhdunn

                        Today I glued down the flat of bottom as well as added another 4 strakes of planking.

                        pb176559.jpg

                        Flat of bottom tacked down and fitted flush to keel siding.

                        pb176560.jpg

                        pb176563.jpg

                        #61456
                        Colin Bishop
                        Moderator
                          @colinbishop34627

                          It is a very shapely hull compared with modern vessels where the 'curves' are often made up of flat plates welded at angle to each other.

                          Colin

                          #61458
                          Richard H Dunn
                          Participant
                            @richardhdunn

                            Yeah most of the cargo and cruise ship designs these days use flat and rolled sections, but its now considered too expensive to form plates the way they did back then, When I was designing ships a few years back we were only allowed to have formed plates in a very few choice locations, even the bulb is a set of wedges to form the point.

                            When you look at the bows on these modern cruise ships the entrance and run is still planar and flat it's just folded over.

                            It also enables a faster modular pre-fab workflow as well as lengthening etc later.

                            #61487
                            Richard H Dunn
                            Participant
                              @richardhdunn

                              Ok so today I had to really have a big think about how I am going to build the side thrusters, I purchased the first part of my metal parts yesterday including the 51mm tube for the thrusters, but I had not really given any thought to how it was going to connect to the shell.

                              In the end I have opted to make the area around the tunnel a solid block due tto the complex shapes of the full around them.

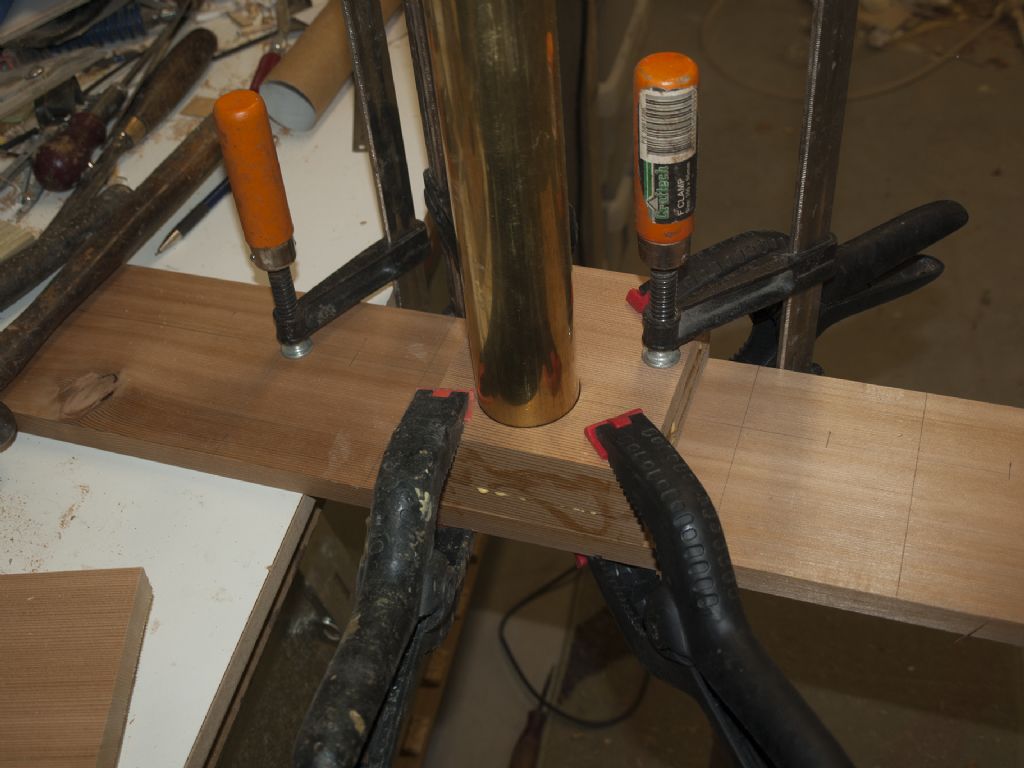
                              Here is the first side block being laminated.I have bored out the laminations to a tight fit around the tube and then the blocks will be aligned and glued into the hull between frames where it can then be carved to shape flush with planking.

                              I NEED HELP, I have no idea how to make these side thrusters and given that I am only starting out in turning it is a bit beyond my pay-grade to make them… I wander if I can buy Azimuth units of the right size and modify them to suit.

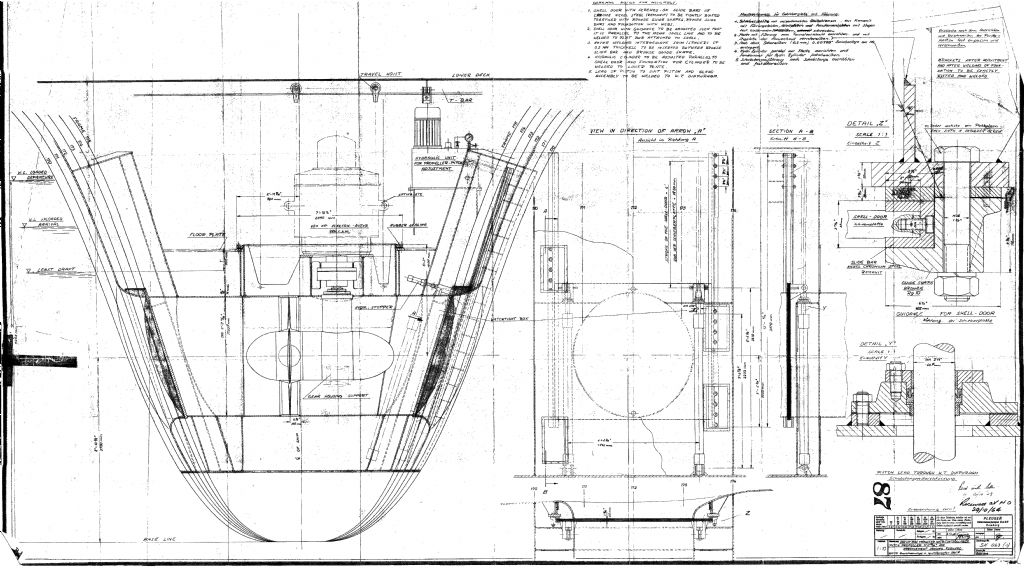
                              Here is a drawing of the Bow thruster in section..1-4 plans of this but the others will not make it any easier to understand, stern is similar but a longer tunnel.

                              construction of bow lateral thruster sh3.jpg

                              Props are variable pitch which of course is not possible but I will angle blades to 45 degrees, here is one of the units today.

                              imgp1861.jpg

                              imgp1872.jpg

                              The laminations of one of the bow blocks

                              thruster block laminations.jpg

                              bow.jpg

                              stern.jpg

                              And a nice progress shot.

                              profile.jpg

                              #61488
                              Dave Milbourn
                              Participant
                                @davemilbourn48782

                                Richard

                                Boiling it all down to basics you appear to need a motor to turn the prop; a means of connecting that motor to the prop, and a means of controlling the speed and direction of the prop.

                                As regards the prop itself I think Simon at Prop Shop could supply a Kort-nozzle type which would fit into your tube. A motor would be pretty much off-the-shelf, as would a forward and reverse electronic speed controller. The last item is a 90° bevel gearbox. I've found this one which might do; there may well be others more suitable. **LINK** It could be fitted into a cylindrical casing within the tube. Alternatively, as you say, there may be some mileage in modifying an existing drive. The 50mm one here has the prop and bevel gearbox but it's not cheap and you would be discarding most of it. **LINK**

                                I'll let you know if anything else occurs. Your build is absolutely fascinating!

                                Dave M

                                #61489
                                Colin Bishop
                                Moderator
                                  @colinbishop34627

                                  Are you aware of the Raboesch ready made thrusters?

                                  **LINK**

                                  Colin

                                  Edited By Colin Bishop, Website Editor on 19/11/2015 11:31:06

                                  #61491
                                  Richard H Dunn
                                  Participant
                                    @richardhdunn

                                    Awesome!
                                    Thank you , I might try to find the manufacturer of this Schottel unit and see if i can get a blueprint to see if it is viable to modify.

                                    Although when you think about it, it would be stripped down to just a right angle gear so why not just start with that.

                                    I reckon I can make these props as the blades are just  about  flat pretty much.

                                    Edited By Richard Dunn 3 on 19/11/2015 11:36:06

                                    #61510
                                    Richard H Dunn
                                    Participant
                                      @richardhdunn

                                      Thanks Colin
                                      Yeah I looked at those and they don't seem to be available in a big enough size and they are the incorrect style.
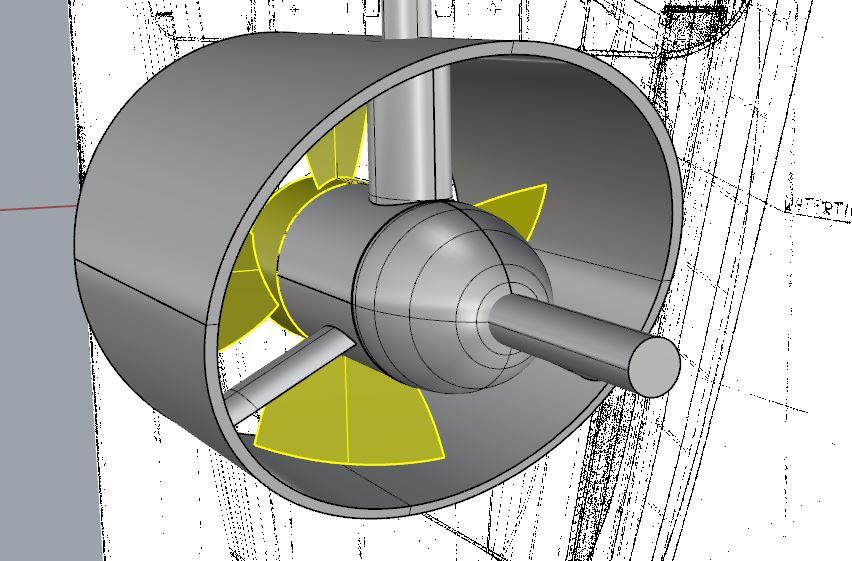
                                      I have done some 3d modeling of the unit today and decided they are not too hard to make after all.

                                      thruster 1.jpg

                                      The vertical support can house bearings for the drive shaft and the body of the thruster and its back end cap(facing camera) can screw in housing a bearing as well.

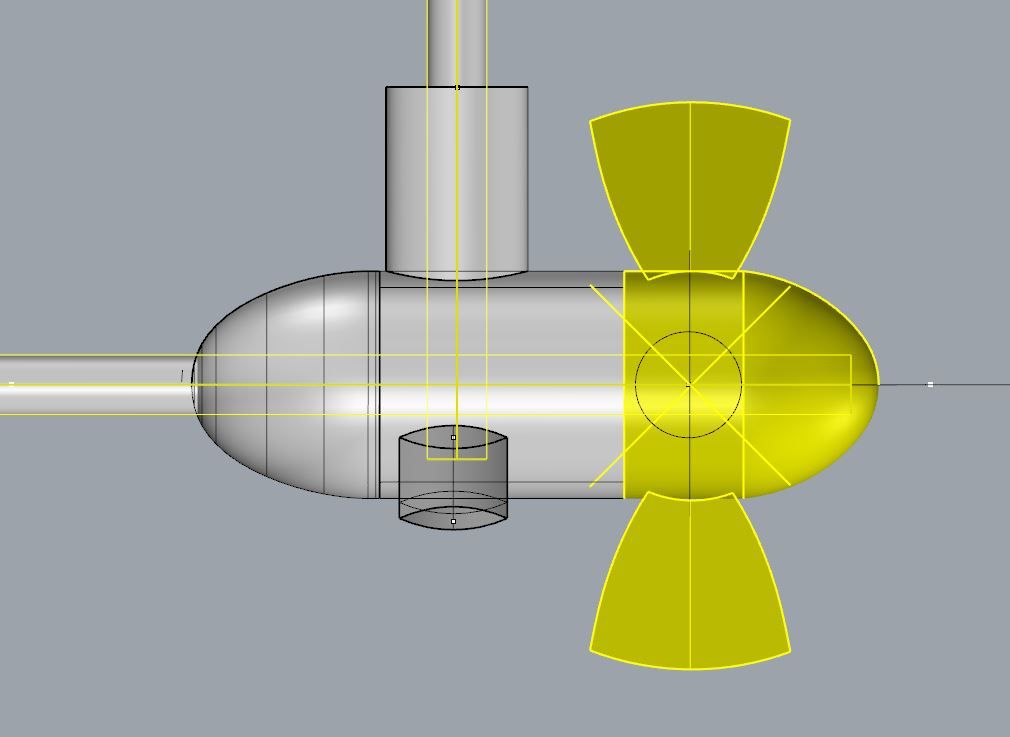
                                      thruster 2.jpgThe highlighted yellow parts are the 5mm shafts, I have gone with the Gearboxes you sent me Dave.

                                      I need to remove the casing though as it is too large to fit into the body.

                                      #61525
                                      Bob Wilson
                                      Participant
                                        @bobwilson59101

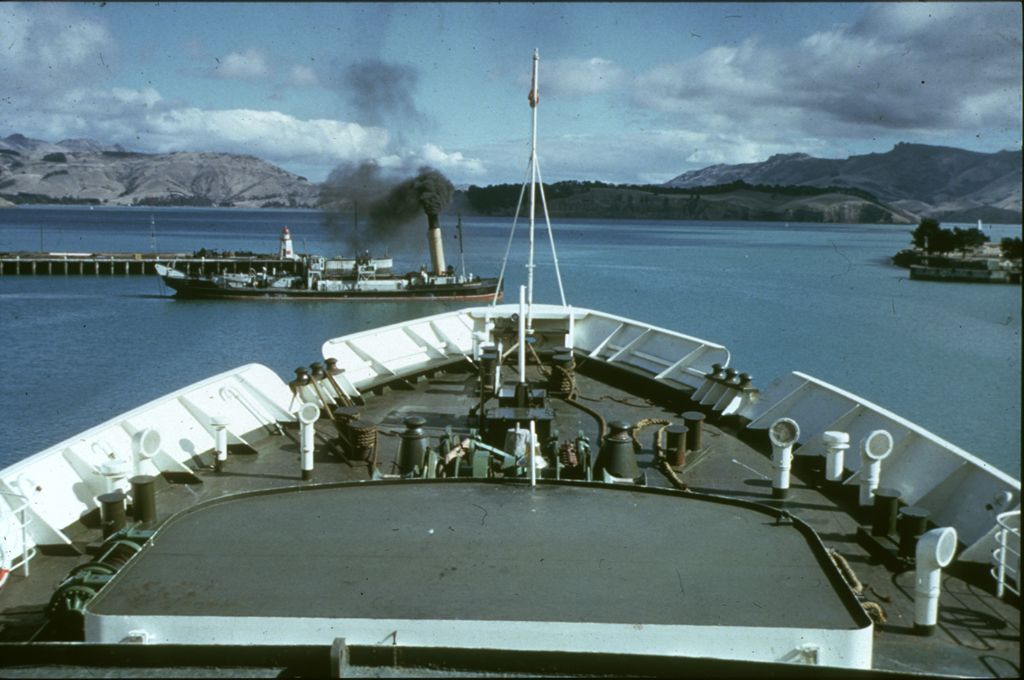
                                        That is an enormous and very impressive model! Here is a picture of a similar ship that I photographed in Port Stanley, Falkland Islands in 1982. Rangatira, possibly identical to Wahine, but very similar if not an exact duplicate. The catering officer of my ship in 1982 had been purser aboard Wahine when she was lost!

                                        Bob

                                        rangatira (large).jpg

                                        #61536
                                        Richard H Dunn
                                        Participant
                                          @richardhdunn

                                          Thanks Bob

                                          The TEV Rangatira was built to replace the TEV Wahine, she was a similar layout and size but not a sister ship , actually not nearly as nice in my opinion, very sterile inside with no nice finishes, I have sailed on this one myself.

                                          I have all the plans and a lot of photos of TEV Rangatira as well, as some stuff is relevant for Wahine, fittings etc.

                                          The shot here was taken around the time of her refit with guns for the Falkland war.

                                          #61538
                                          Bob Wilson
                                          Participant
                                            @bobwilson59101

                                            Yes, I can see differences when I look closer. I took the above photograph in Stanley Harbour, 1982 shortly after her arrival. I did go aboard several times, but all the ex passenger ships, including my own, were totally different from their normal roles, having had lots of alterations and being full of troops etc.

                                            Bob

                                            #61631
                                            Richard H Dunn
                                            Participant
                                              @richardhdunn

                                              Ok so much to my disgust I seriously underestimated the time for planking….

                                              I also had to make the thruster blocks andthat had to be slowly one block at at time as I had to set hull up level and glue them in with shafts in place on level cradles, so lost 1 week on those alone.

                                              Anyway here are some more pics.

                                              pb236593.jpg

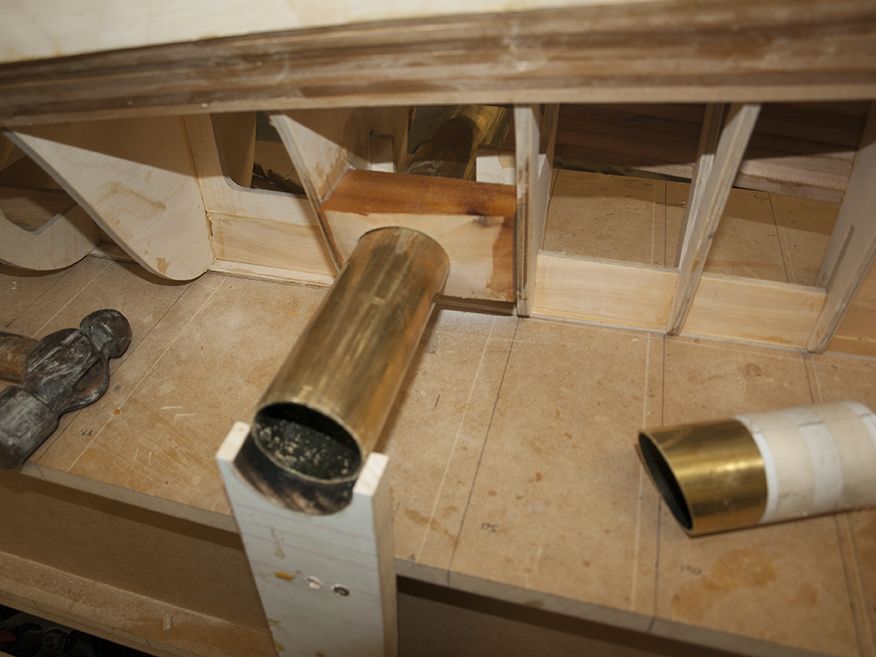
                                              Stbd bow thruster block, tube can be seen in cradle to ensure that the tunnels are level and aligned.

                                              pb236594.jpg

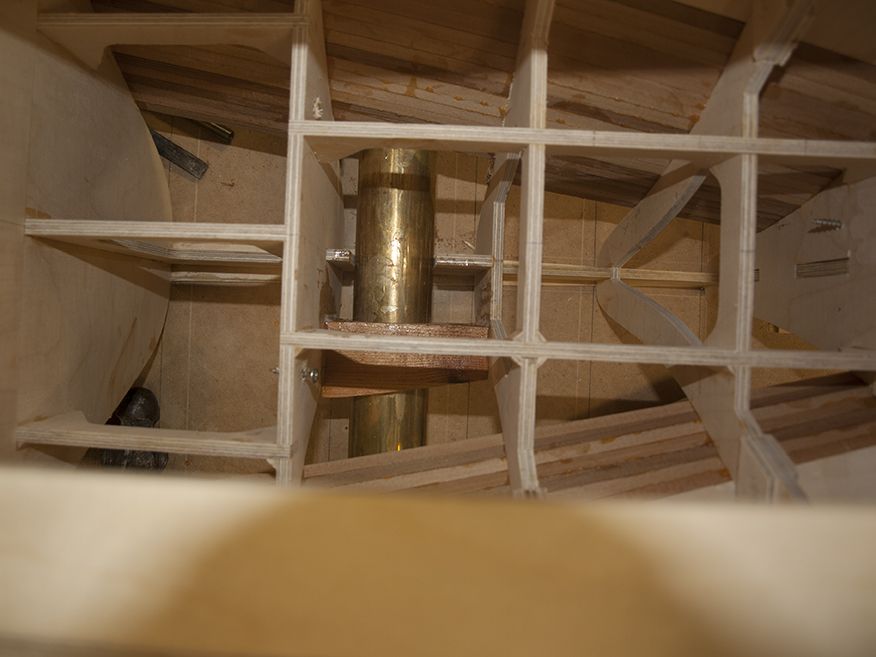
                                              Access to thruster unit

                                              pb306612.jpg

                                              Planking on bow almost done, thruster blocks carved down to a point ready for sanding.

                                              pb306614.jpg

                                              Planking sanded with 80 grit at Midship bilge, note the strakes running into flat of bottom.

                                              pb306615.jpg

                                              Planking at transom and how it sits into rabbet on centreline.

                                              #61967
                                              Richard H Dunn
                                              Participant
                                                @richardhdunn

                                                Almost finished planking, just the Stbd bottom to close in but you can see the Port side here.pc126639.jpg

                                                Planking the bossing with steamed narrow planks.

                                                pc126635.jpgpc126640.jpgpc126641.jpg

                                                Aiming to glass the hull next week

                                                #62056
                                                Richard H Dunn
                                                Participant
                                                  @richardhdunn

                                                  Ok I have a very important question

                                                  I have to start considering materials to make the superstructure from and I have always planned on using 3 things

                                                  1.4mm Plywood 1.2 m square $120 already have 4 sheets

                                                  .5 mm Styrene available from suppliers in 2.4m x 1.2 meter sheets for $15.00

                                                  And Brass shim (etched)

                                                  My intent has always been to make all the areas of the ship that have structure attached out of brass and solder the whole thing together, this is mainly for strength.

                                                  What thoughts does everybody have on this?

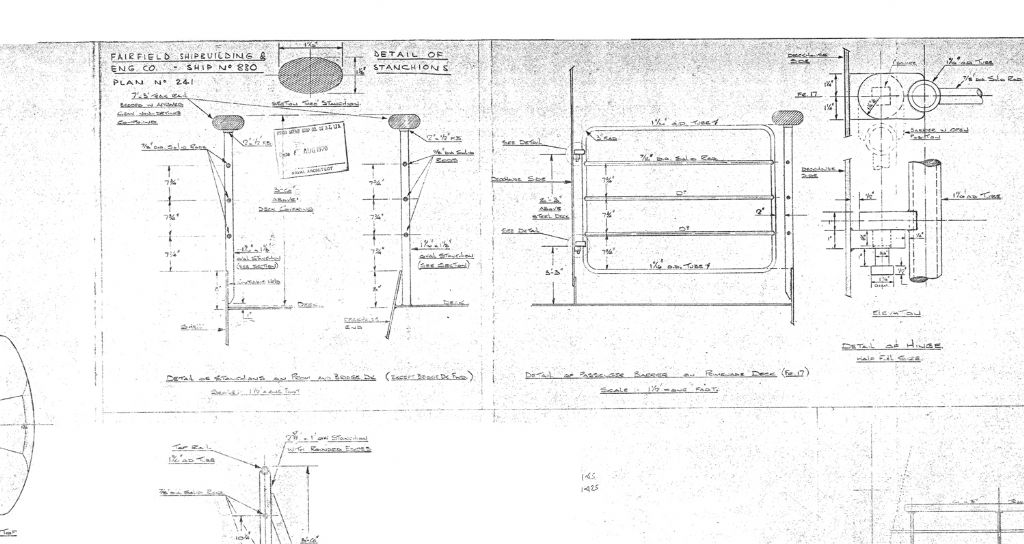
                                                  The upstands around the deck I am certain I wish to use brass as in the real ship the railing stanchions are welded to them and I can do a strong joint this way.

                                                  This of course means the  upstand would have to have all the stanchions pre soldered on before being glued to model.

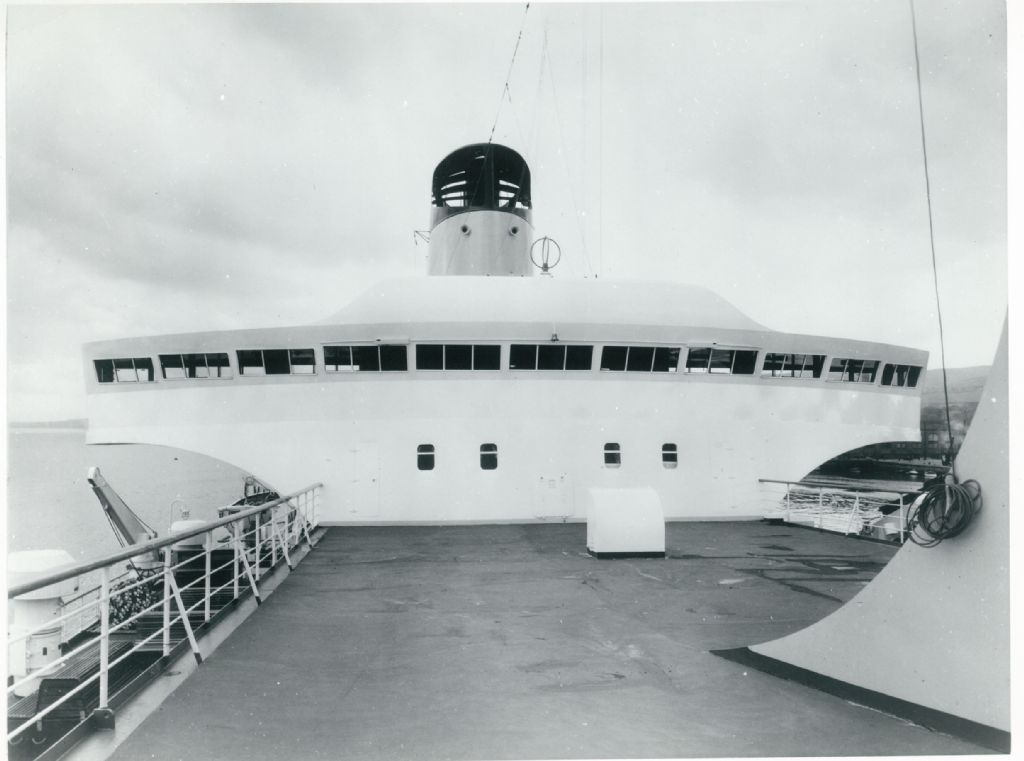
                                                  I would leave fibre glass on the hull short 10mm from edges to form a recess just about right for the thickness of the brass or styrene.

                                                  The 12'' gutter along the edge is steel the the deck is 1.5 inches on top of that made from Semprene Rubber

                                                  In this picture the arrangement is clearly shown.
                                                  bridge front.jpg

                                                  railing plan partial.jpg

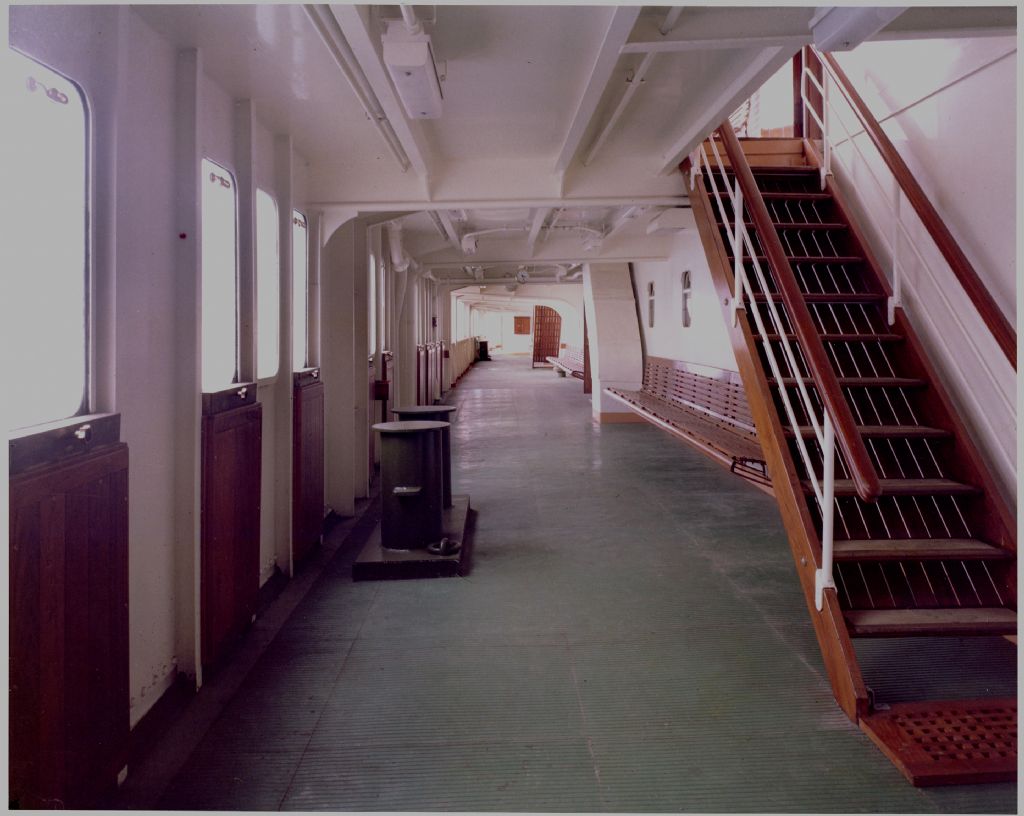
                                                  This is the other problem,I have 2 areas of the ship that are framed up in complex framing , this area shown below is the promonade and also the mooring decks aft are done in a similar way.

                                                  What do yo suggest for this? or do you think Styrene would be ok?

                                                  Luckily I have all the plans so no guessing about frame sizes and locations, all that is documented ,this is just about strength and the fact that it needs to be finished before being able to close it in.

                                                  I am thinking that the deck plating overhead here could be styrene and then the extra thickness for the rubber could be added via some other material that way all the frames and longitudinals can be easily bonded to underside.

                                                  Anyway would like to have a discussion about this with more experienced modellers.
                                                  promanade deck looking aft.jpg

                                                  Here is a part view of the shell expansion showing the way the superstructure is connected to the hull upstand.
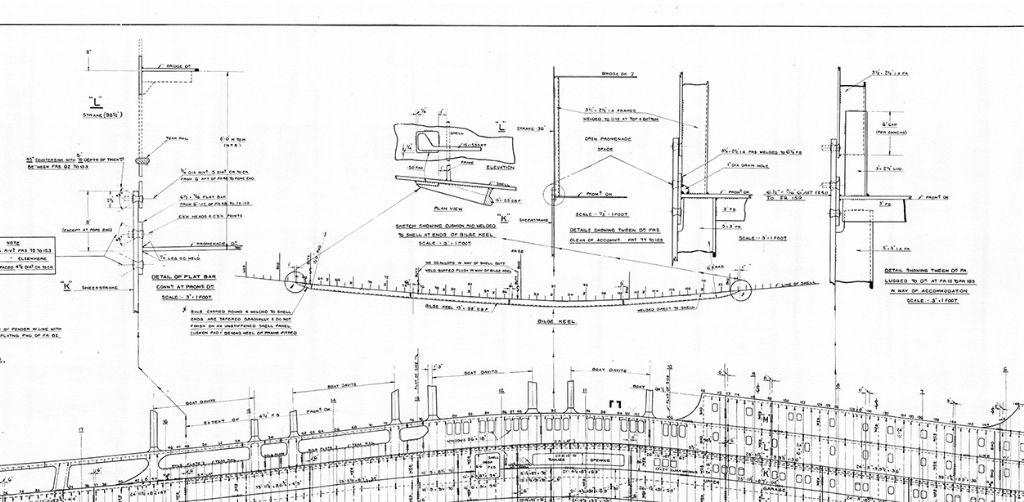
                                                  shell expansion partial.jpg


                                                  Also as you can see here the fore deck has a lot of nice structure that needs to be well made and strong.
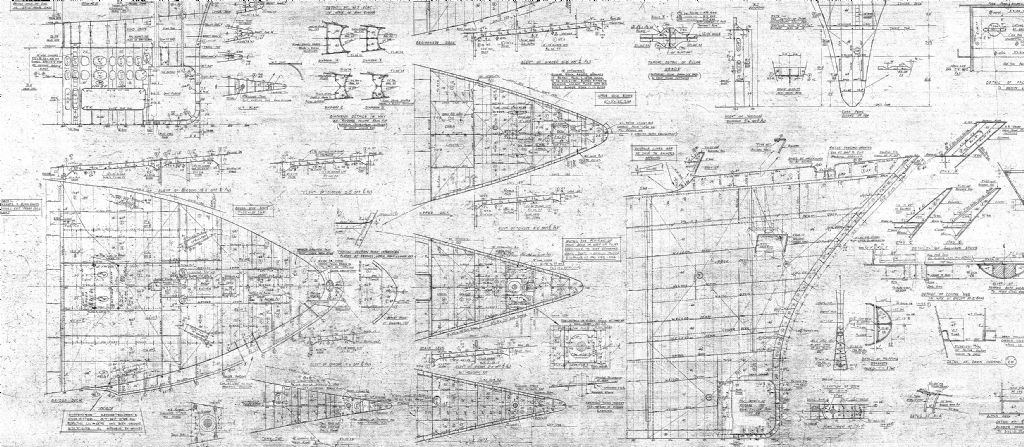
                                                  bulwarks forward.jpg

                                                  fore end framing partial.jpg


                                                  Edited By Richard Dunn 3 on 15/12/2015 01:07:43

                                                  Edited By Richard Dunn 3 on 15/12/2015 01:13:44

                                                  Edited By Richard Dunn 3 on 15/12/2015 01:22:57

                                                  #62057
                                                  Richard H Dunn
                                                  Participant
                                                    @richardhdunn

                                                    And I have completed planking apart from bossings.
                                                    What a huge relief……


                                                    Excuse the wet areas they are larger gaps in planking I have filled with epoxy

                                                    bow planking complete.jpg

                                                    planking aft complete.jpg

                                                    bossing.jpg

                                                    Edited By Richard Dunn 3 on 15/12/2015 03:35:15

                                                    #62058
                                                    Bob Abell 2
                                                    Participant
                                                      @bobabell2

                                                      You are doing really well, Richard……A quality build without a doubt

                                                      You don't really need any advice from the members as we are all watching, open mouthed, fully enthralled

                                                      All I can add is that the superstructure needs to be light……..To avoid any rolling action when on the water

                                                      I like the idea of etched brass ( How will you do this? ) and I suppose since the hull is so heavy……You should get away with it

                                                      The fine detail will be a challenge and also the mammoth painting job!

                                                      Just out of interest…….Are you enjoying the build?

                                                      All the best for Christmas and the New Year

                                                      Bob

                                                    Viewing 25 posts - 76 through 100 (of 411 total)
                                                    • Please log in to reply to this topic. Registering is free and easy using the links on the menu at the top of this page.

                                                    Code of conduct | Forum Help/FAQs

                                                    Advert

                                                    Latest Replies

                                                    Home Forums Scratch build Topics

                                                    Viewing 25 topics - 1 through 25 (of 25 total)
                                                    Viewing 25 topics - 1 through 25 (of 25 total)

                                                    View full reply list.

                                                    Advert

                                                    Newsletter Sign-up