TEV Wahine 1/35 Build

Advert

TEV Wahine 1/35 Build

Home Forums Scratch build TEV Wahine 1/35 Build

  • This topic is empty.
Viewing 25 posts - 26 through 50 (of 405 total)
  • Author
    Posts
  • #60151
    Richard H Dunn
    Participant
      @richardhdunn

      In a couple of ways
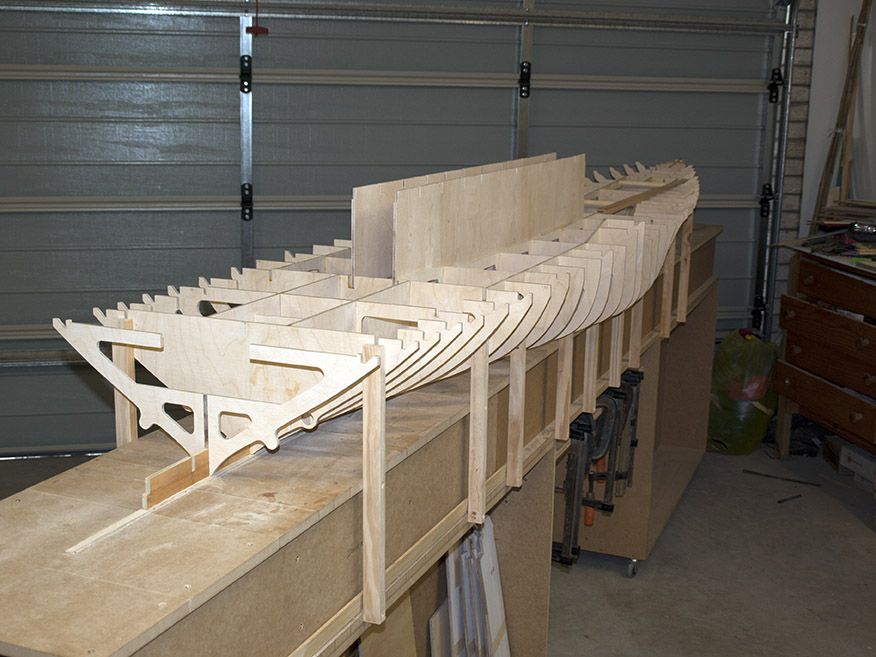
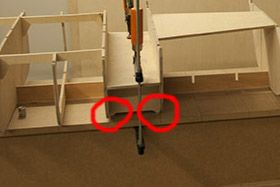
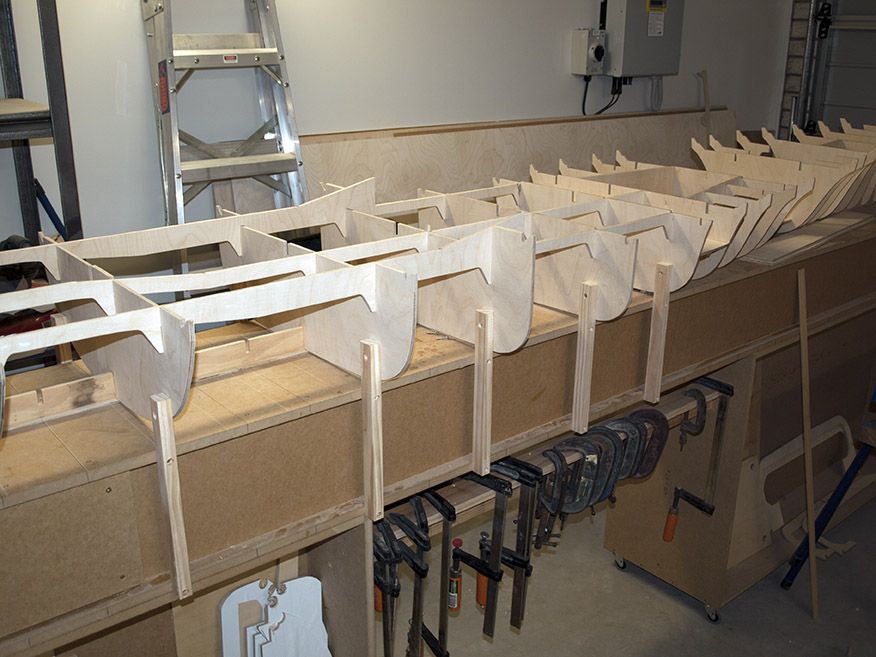
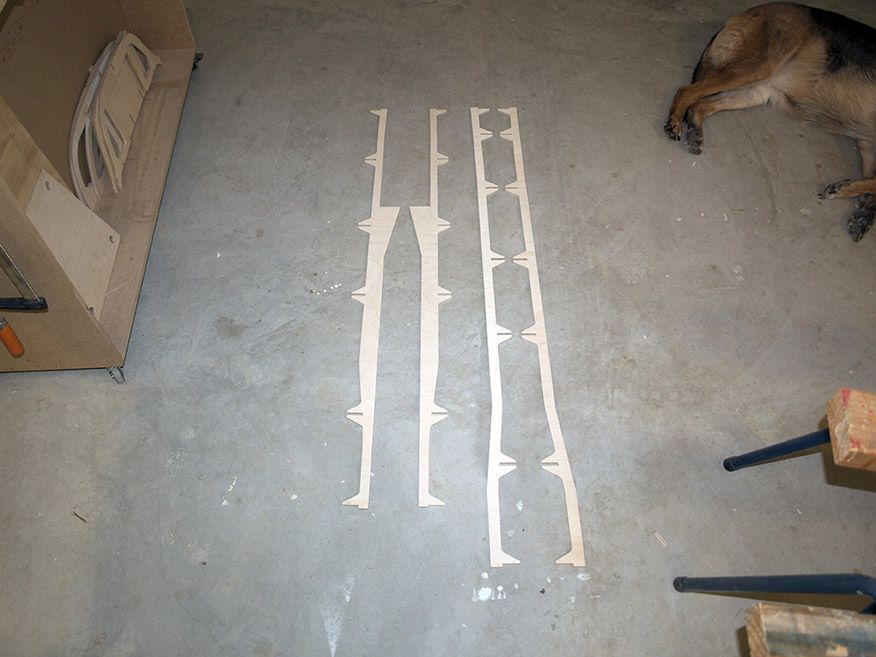
      The first is there are chunks of the hull prefabricated and on the longitudinal parts there are nubs that go down to baseboard level (see here)

      nubs.jpg

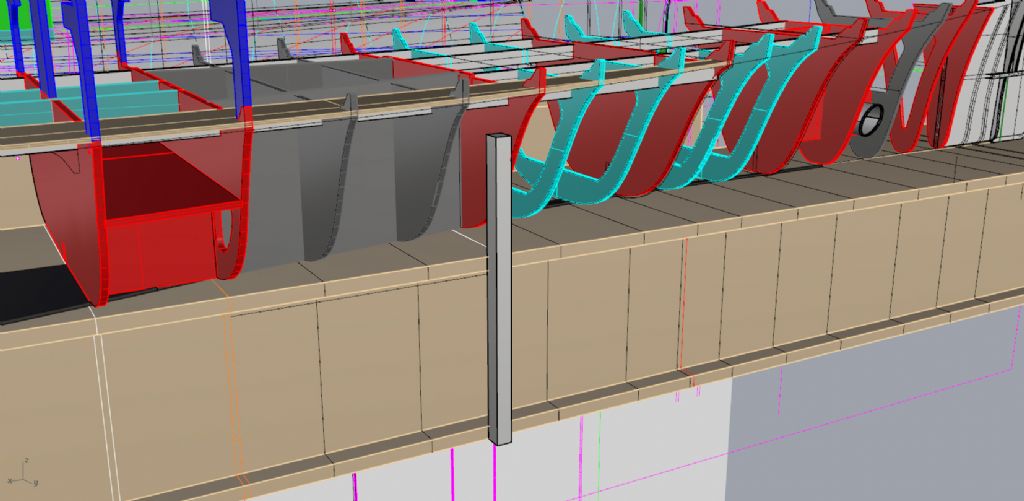
      The second is bracing the frames to the building board (see here)

      braces.jpg

      It may seem unusual to some but I have used this method before for large hulls as building this upside down used a lot more board, you will see why later when the topsides go on.

      The whole thing has girders running the length of the deck to tie it all in as can be seen amidships now.

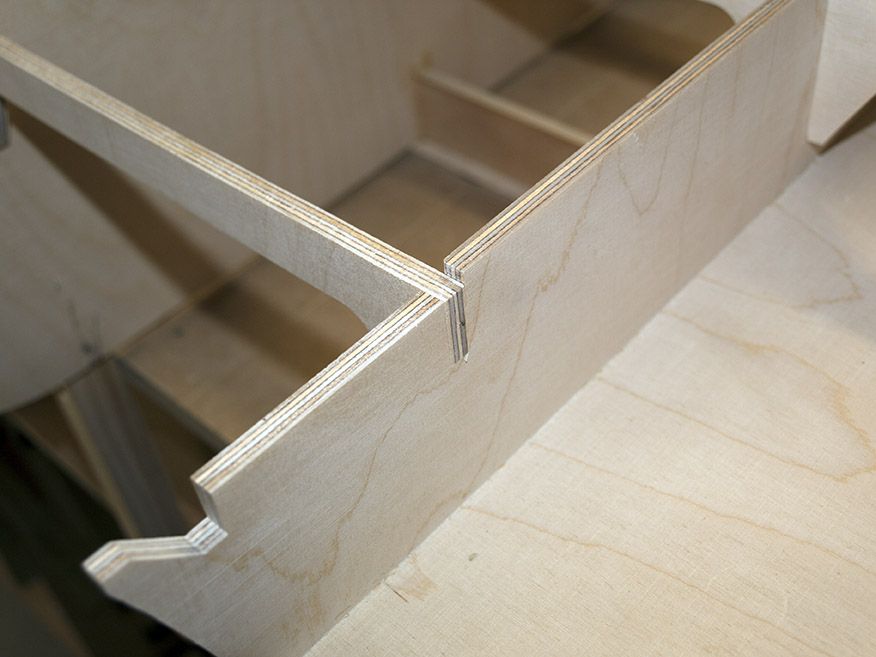
      On top of all that the openings for the compartments have surround frames that will brace all the frames square and lock it all together,after that the side deck strips will go on which are notched around the top side frame scarphs (those extensions at the side of each frame), once those are on the hull is really stiff.

      I plank from the top down to bilge then release from building board and turn it over to close it.

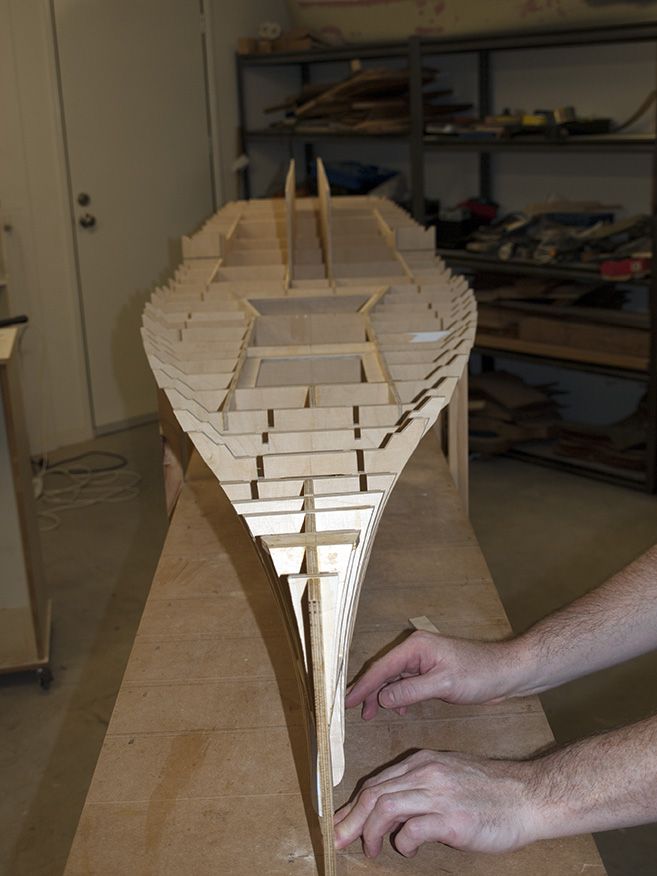
      I have built a couple of test tank hulls this way and it is very accurate, just as accurate as upside down as long as the parts are cut out with precision, the key is getting the keel straight and keeping the frames and bulkheads all in the right transverse planes which is why everything is half checked.

      Advert
      #60152
      Bob Abell 2
      Participant
        @bobabell2

        OK Richard……You have got it all planned very nicely

        I was only thinking out loud

        Bob

        #60159
        Colin Bishop
        Moderator
          @colinbishop34627

          This is shaping up to be a really interesting build Richard, thanks for sharing it with us.

          Colin

          #60184
          Richard H Dunn
          Participant
            @richardhdunn

            So today I started to glue it all together.

            I started by removing all the frames, bulkheads and longitudinal girders and giving them a sand to clean off any fluff and pencil lines.

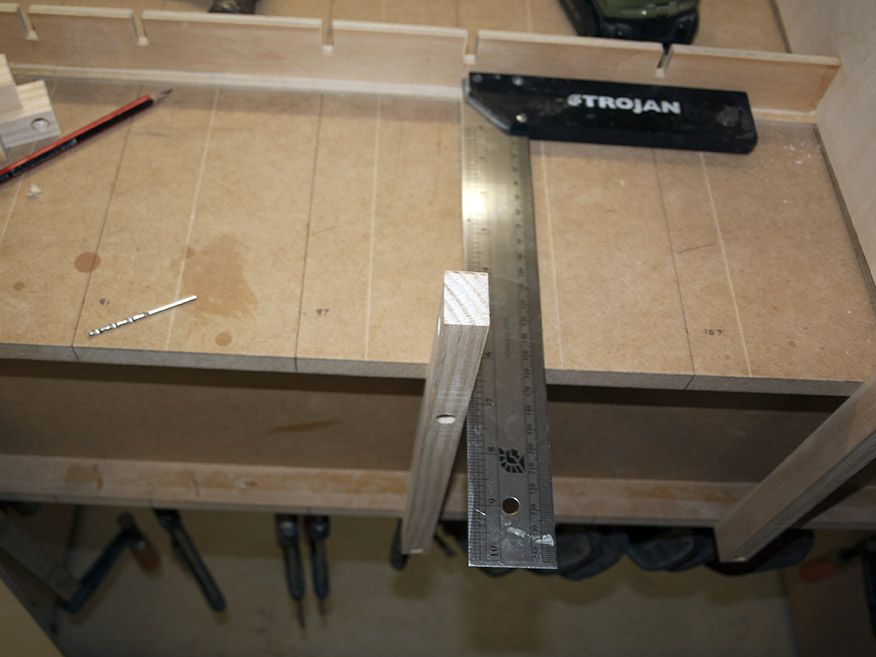
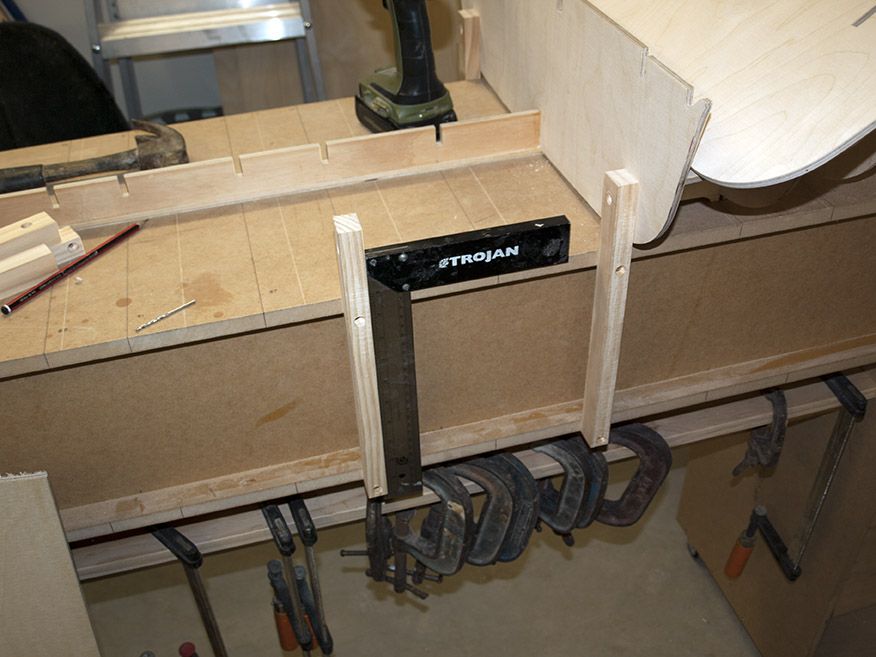
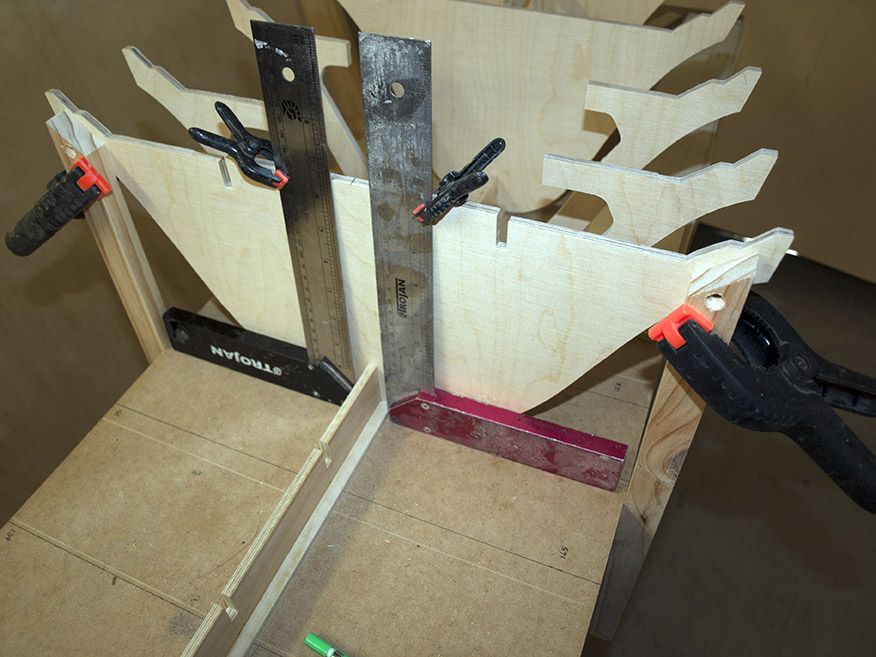
            I then set out and screwed the braces square to the keel and baseboard.

            p9076339.jpg

            p9076340.jpg

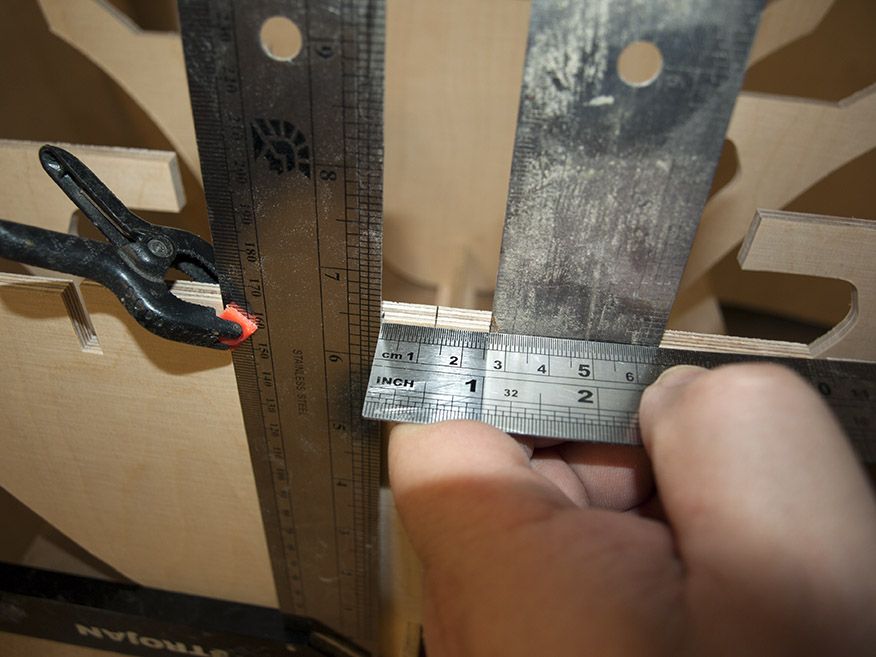
            After this was done all bulkheads are glued in and leveled with accurate measuring down to board to ensure they are level from side to side, having the braces already on means you can clamp the frame to them and tap them into line with a hammer.

            p9076341.jpg

            Girders are dry fitted to hold the tops of the frames in the right longitudinal position at the top, I can honestly say I am no more than .5 mm out at any given point and the frame is already very very rigid, even more so than I expected.

            I have to admit all hulls I have done before I have only used a band saw…….I have been missing out……

            The scroll saw cuts everything as precisely as a CNC, the joints really nice and snug..except when I messed up of course.

            p9076343.jpg

            Edited By Richard Dunn 3 on 07/09/2015 04:22:23

            #60187
            Bob Abell 2
            Participant
              @bobabell2

              Well Dunn, Richard……Excuse the pun?

              Although you've got the construction under rigid control, I would like to see the centreline of all the formers, lined up with a straightedge or taut line…….on the top edges

              Apologies for being a busy body!

              It's difficult to appreciate the size of your model…….Can you include a Metre Rule alongside, sometime, please?

              Bob

              #60194
              Paul T
              Participant
                @pault84577

                Bob

                The photos have plenty of reference points for judging scale such as step ladders, clamps etc (not to mention the 10in set square)

                Richard

                Congratulations on such excellent woodwork and nice tight joints, I was slightly confused by what I could see at the bottom of your photos until I realised it was the floor, I haven't seen the floor of my workshop for at least five years and your photos have shamed me into having a clean up.

                Paul

                #60197
                Bob Abell 2
                Participant
                  @bobabell2

                  Hello Paul

                  I can see the ladder, but a Metre Rule would be nice

                  Keep up the witty banter……It's good for the figure!

                  Bob

                  #60217
                  Richard H Dunn
                  Participant
                    @richardhdunn

                    Alright Bob

                    Just for you

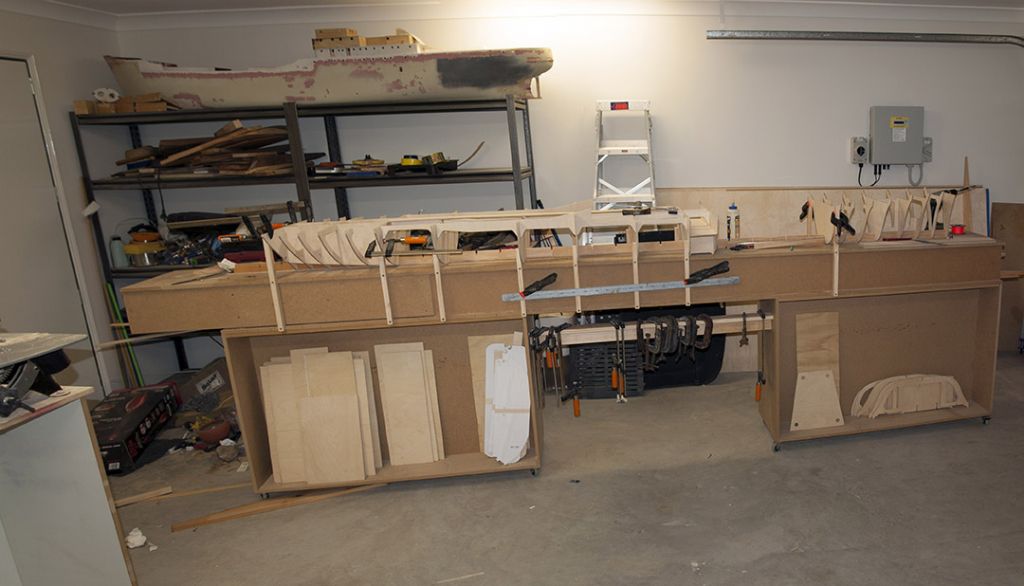
                    untitled_panorama1.jpg

                    Model is 200 mm longer than base board.

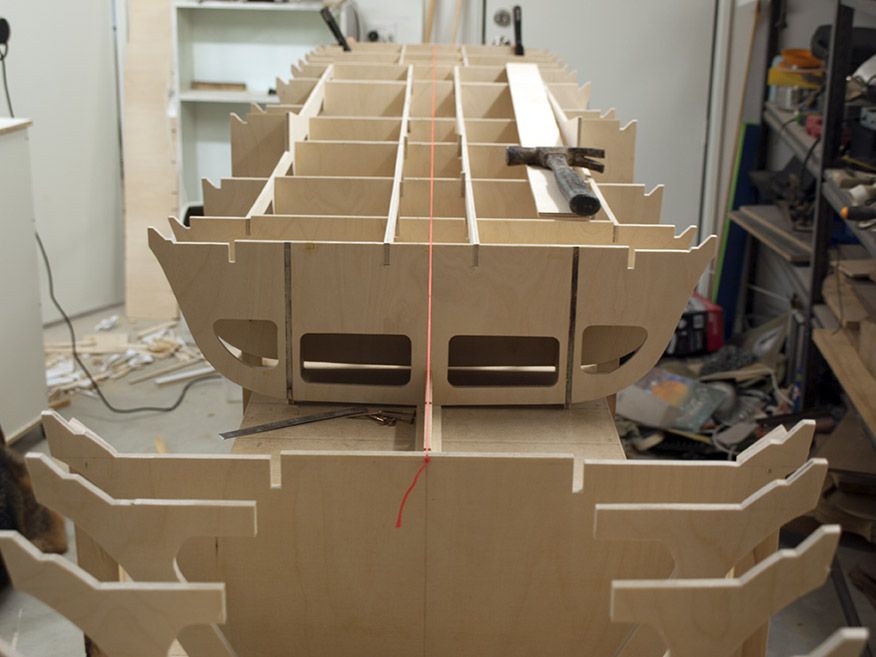
                    Now as far as convincing you that the model is straight… its a bit hard at this side to take a photo down the length as it will be out of focus at the other end but I can assure you it is very straight.

                    p9086352.jpg

                    p9086346.jpg

                    p9086345.jpg

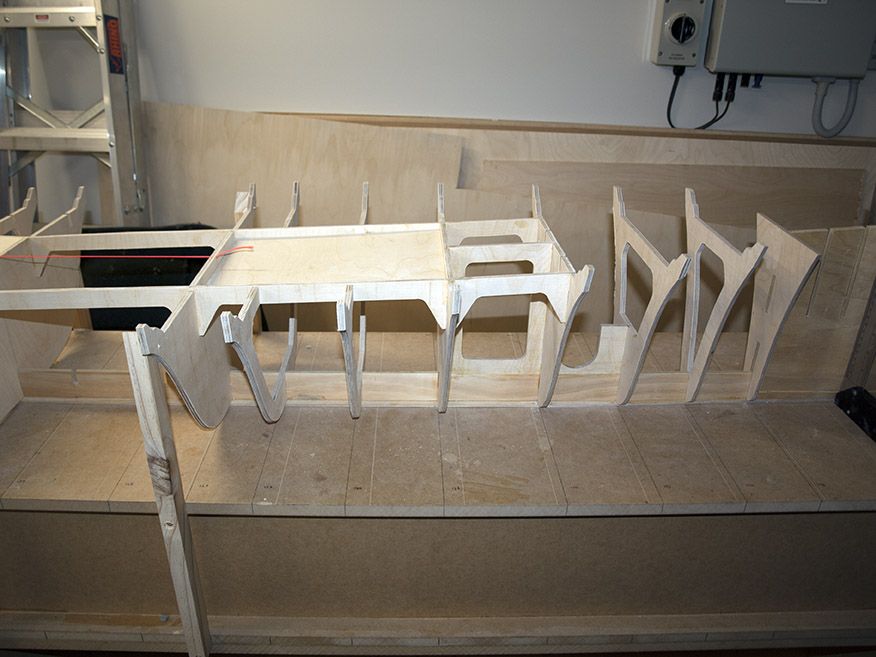
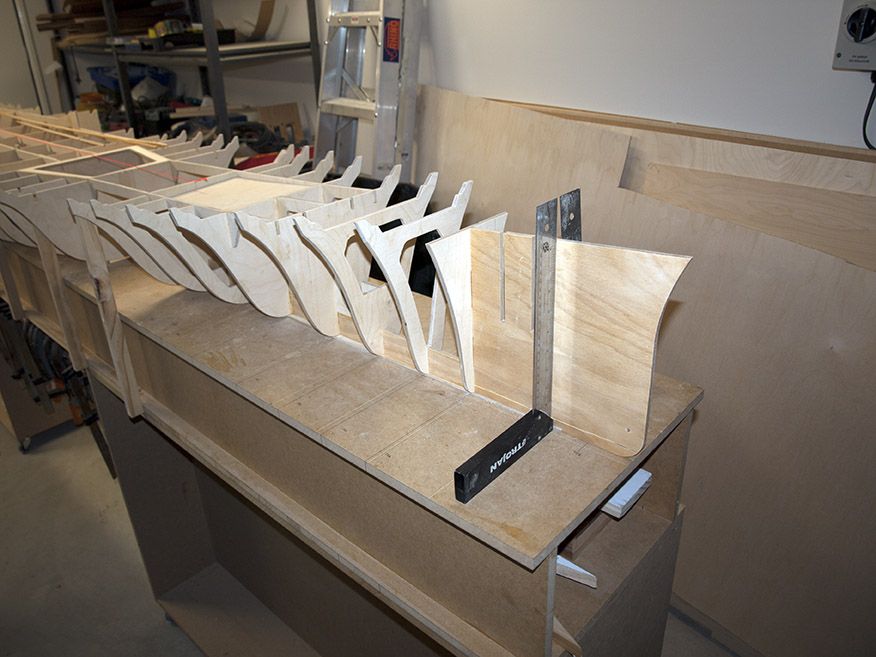
                    Almost finished the framing today, just 3 frames to cut and all the hatch surrounds to fit and then its onto the bow and stern units…

                    p9086359.jpg

                    The round bottomed cutout in the keel is part of the cradle for the bow thruster unit.

                    The sheet wedged in the opening is a surround that needs its middle removed, it will form a shelf that is lined with rubber and the hatches screw down onto them.

                    Here is another that has been done along with the first part of the bow unit

                    p9086358.jpg


                    p9086357.jpg

                    Girders prior to be glued in.

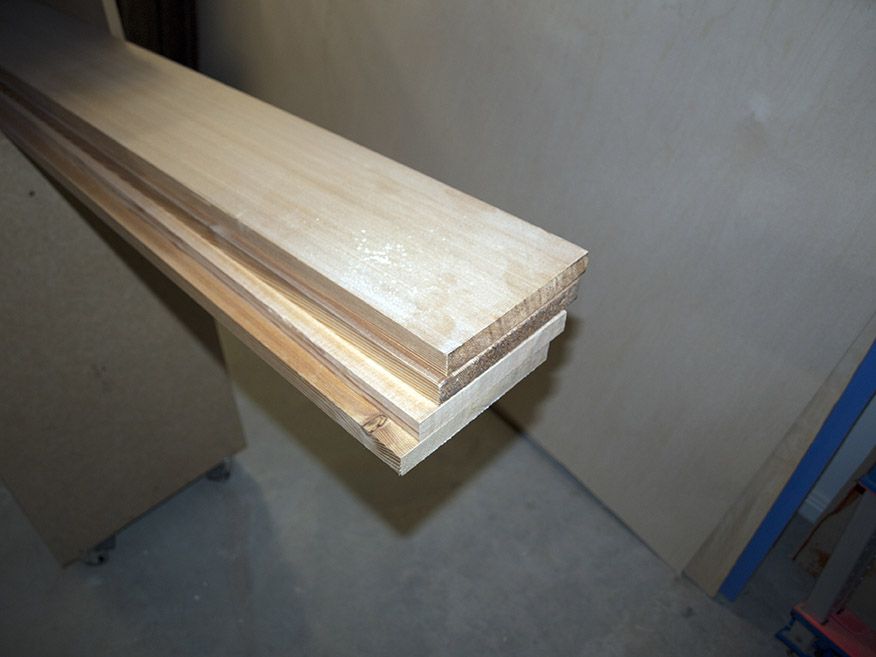
                    Planking stock ready to be machined up

                    p9086363.jpg


                    Edited By Richard Dunn 3 on 08/09/2015 10:09:27

                    #60218
                    Banjoman
                    Participant
                      @banjoman

                      This is truly a most impressive build so far! In part, certainly, because of the sheer size of the thing, but mainly because of the level of ambition, the extremely high quality of the design, the creation of beutifully clean parts based on that design and the way these parts go and have been put together!

                      I doff my hat (an Akubra, as it happens) to you, Sir, and look forward very much indeed to following this build!

                      /Mattias

                      #60219
                      Bob Abell 2
                      Participant
                        @bobabell2

                        Hello Richard

                        Thank you for going to all the trouble in explaining that the build is dead true

                        A thousand apologies………I won`t interfere anymore

                        Keep up the good work

                        I`ll keep quiet and just watch

                        Bob

                        #60220
                        Richard H Dunn
                        Participant
                          @richardhdunn

                          Thanks guys

                          Hey has anyone had dealings with Prop Shop before?

                          I have not had any answer still… is it normal for him to take a while?

                          #60221
                          Colin Bishop
                          Moderator
                            @colinbishop34627

                            I have not dealt directly with Prop Shop myself but I have heard that they can take a while to respond to emails. Could be on holiday too!

                            Colin

                            #60222
                            shipwright
                            Participant
                              @shipwright

                              Richard,

                              PropShop made 2 replacement propshafts for me in July 2014. My first contact (webmail) with PropShop was 28th June and I received the propshafts on 14th July. They had manufactured these shafts to my drawing precisely and in all my dealings with them they were very helpful. I spoke to their technical adviser Simon Higgins ( PropShop tel : +44 (0)1295 263134 ). I would definitely purchase products from them again if I had the need.

                              Ian

                              #60231
                              Richard H Dunn
                              Participant
                                @richardhdunn

                                Hi all

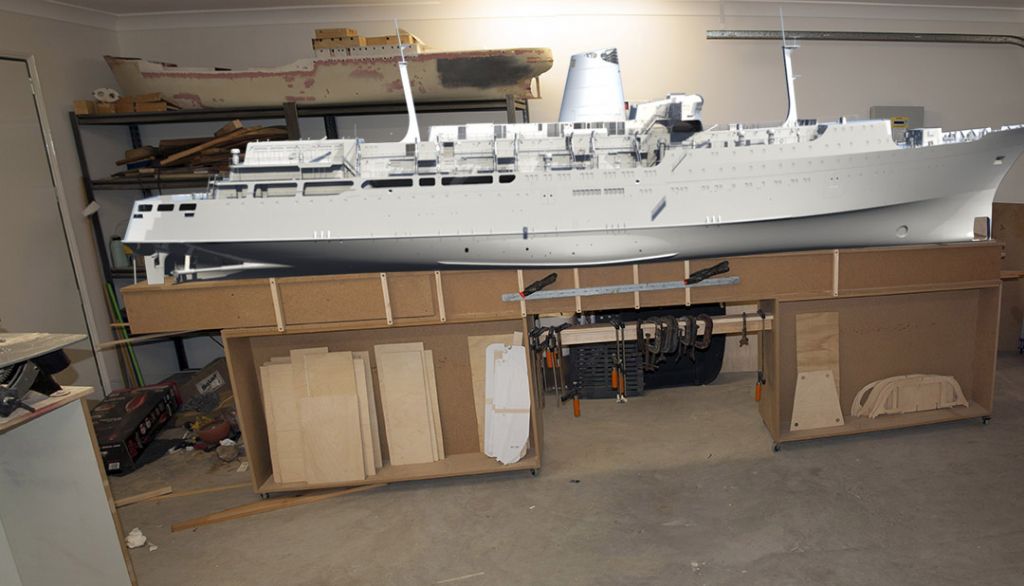
                                I just wanted to see how this will look and feel once the bulk is done.

                                I have superimposed the high detail version of the cad model over the photo of the framing to date.

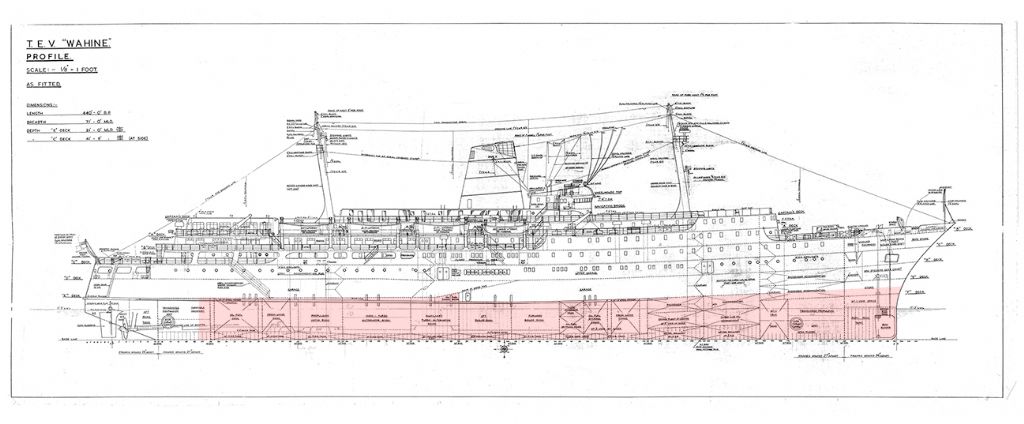
                                I have also highlighted the part I am working on this week on the GA profile.

                                size.jpg.tev wahine framing progress.jpg

                                #60232
                                Richard H Dunn
                                Participant
                                  @richardhdunn

                                  Yay

                                  I'am getting custom props made to scale off the plans…..

                                  That's a relief.

                                  #60239
                                  Bob Abell 2
                                  Participant
                                    @bobabell2

                                    Hello Richard

                                    I like the look of the CAD version……..It looks lovely, even in the gray colour scheme

                                    Bob

                                    #60240
                                    Banjoman
                                    Participant
                                      @banjoman

                                      Congratulations on the props, Richard! Did you finally hear from the Propshop, or have you found another source?

                                      /Mattias

                                      #60250
                                      Richard H Dunn
                                      Participant
                                        @richardhdunn

                                        Yes I rang Simon last night.

                                        They are making them custom to the plans , even the little bolts that hold on the nose cone will be on it and working.

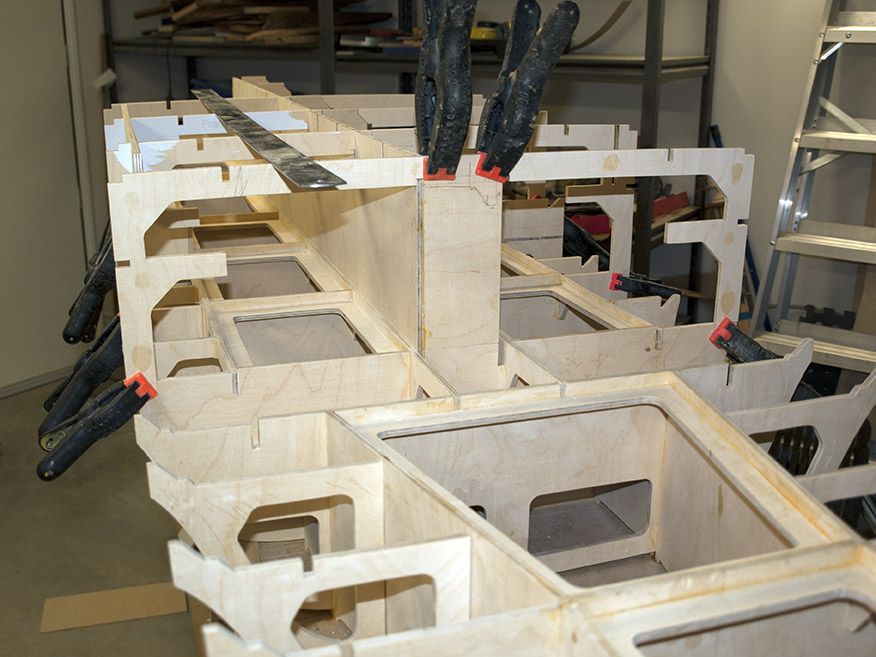
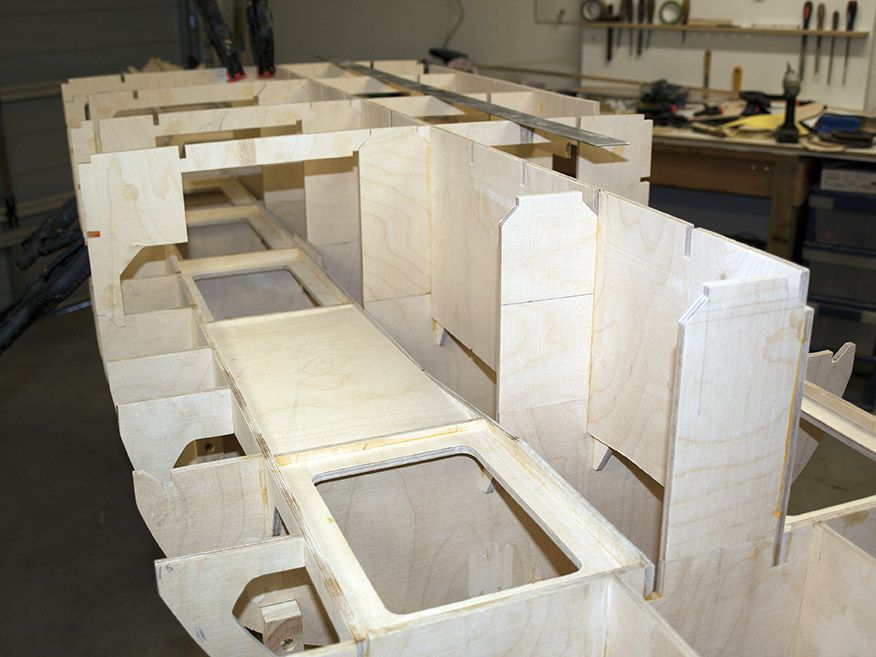
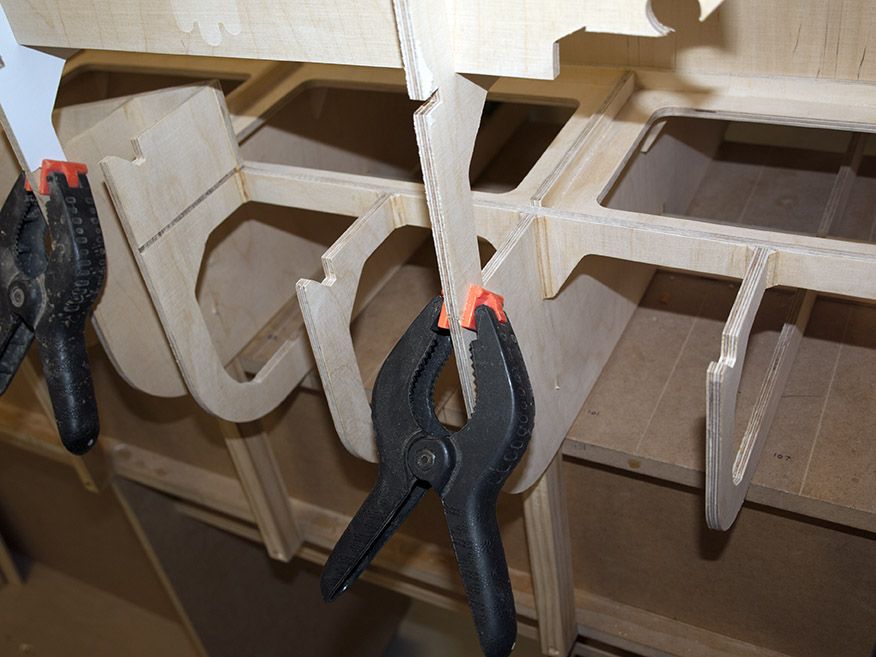
                                        So today just kept framing, I added the sides of the ventilation trunks, the top of which shows the height of the main deck.

                                        The notches in the top are the joining points for the main deck/ hull side frames.
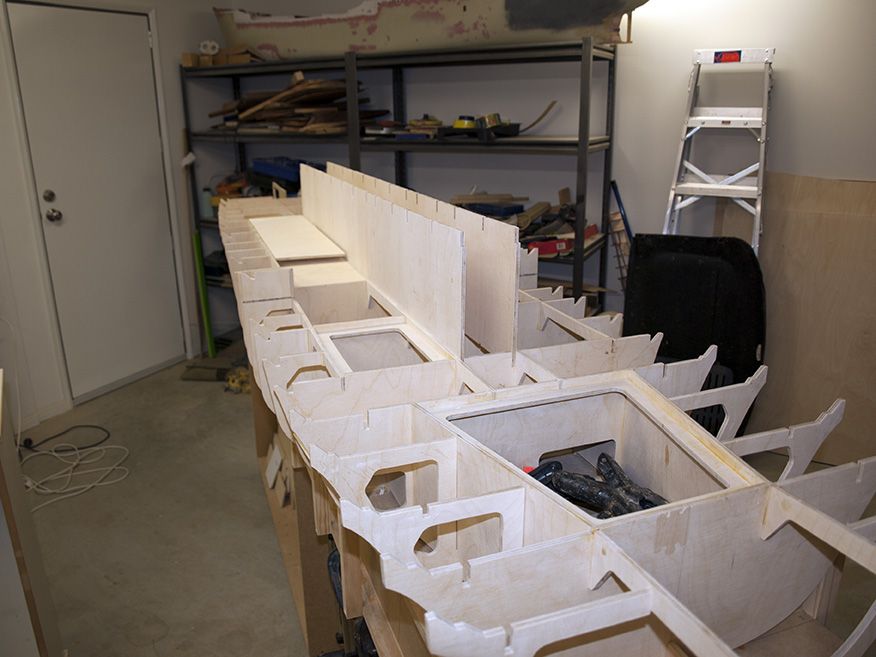
                                        p9106377.jpg

                                        p9106367.jpg

                                        I started finished the bow unit as well minus the solid stem but I will do the after planking.
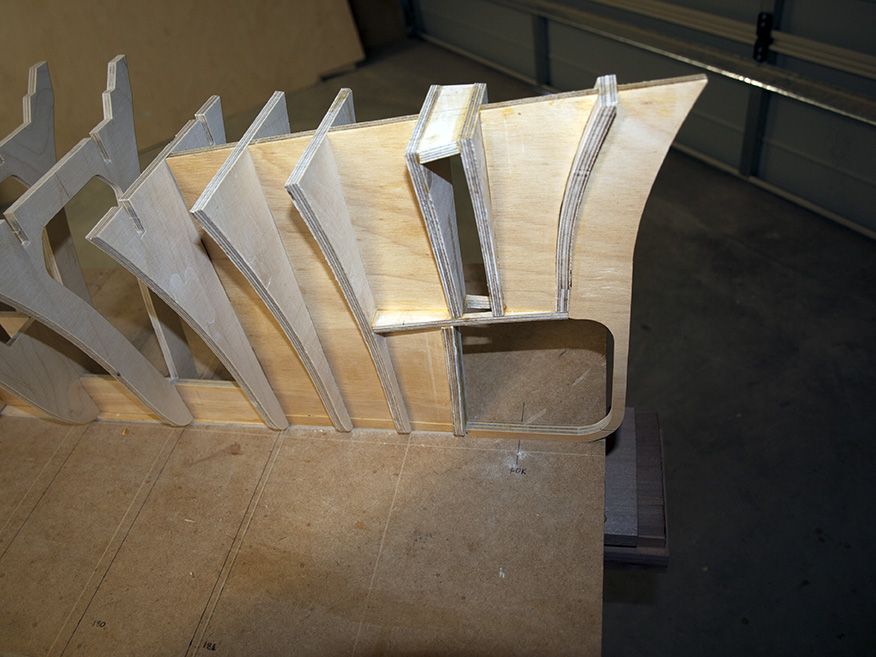
                                        p9106375.jpg

                                        p9106372.jpg

                                        They are aligned here just loose.

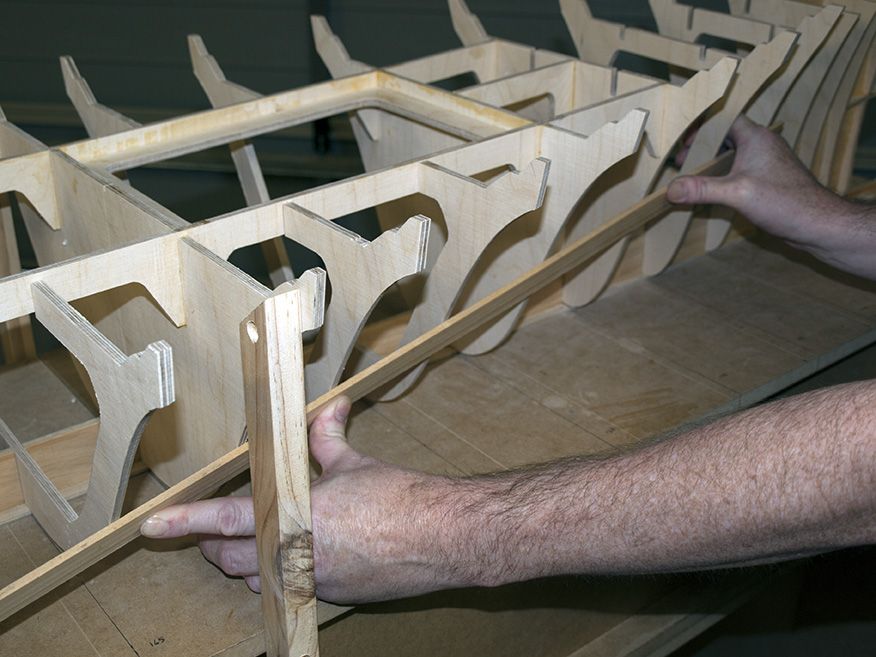
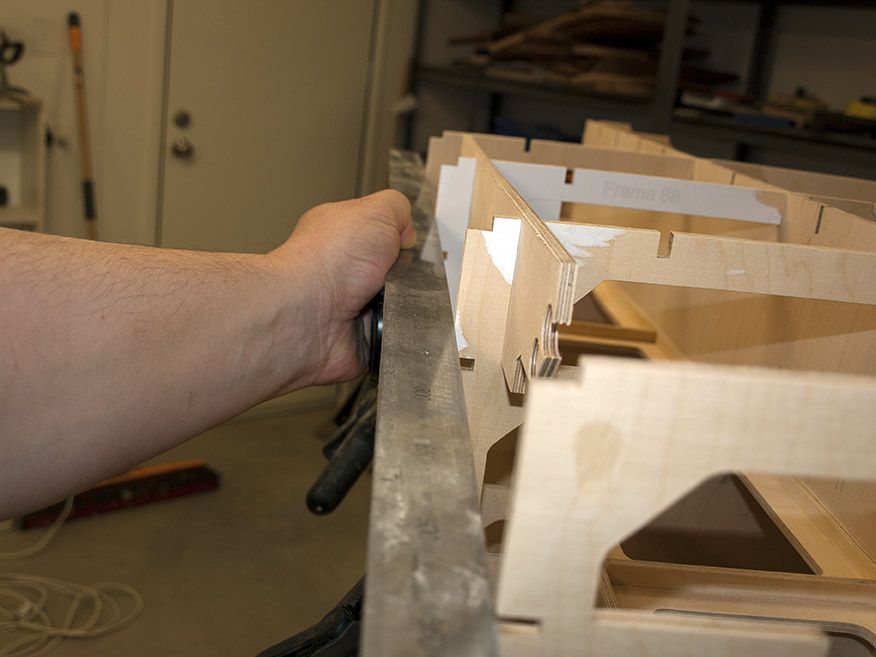
                                        I also had some help testing the fairness of the frames , I am reasonably happy with the result.
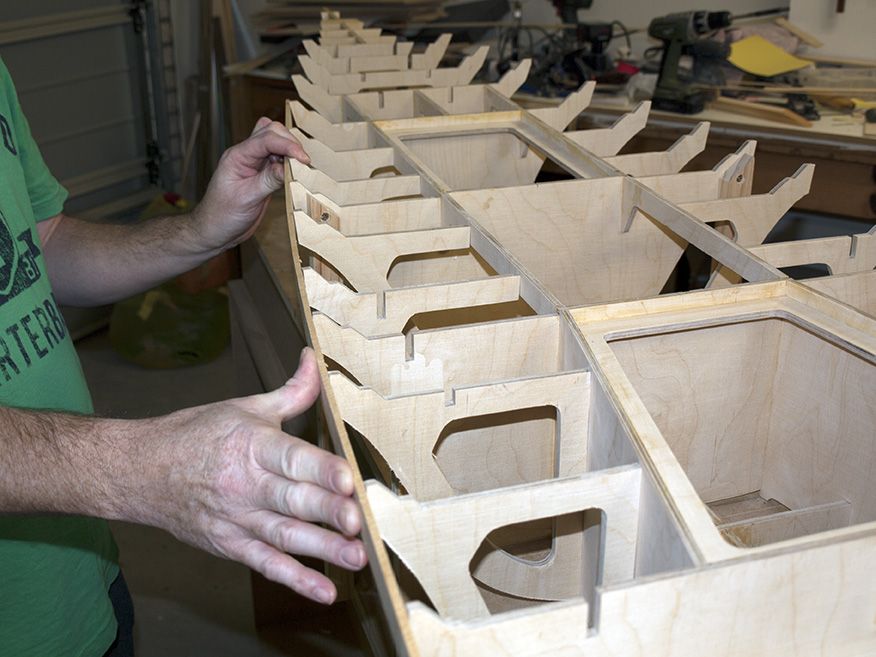
                                        p9106371.jpg

                                        p9106370.jpg

                                        p9106369.jpg

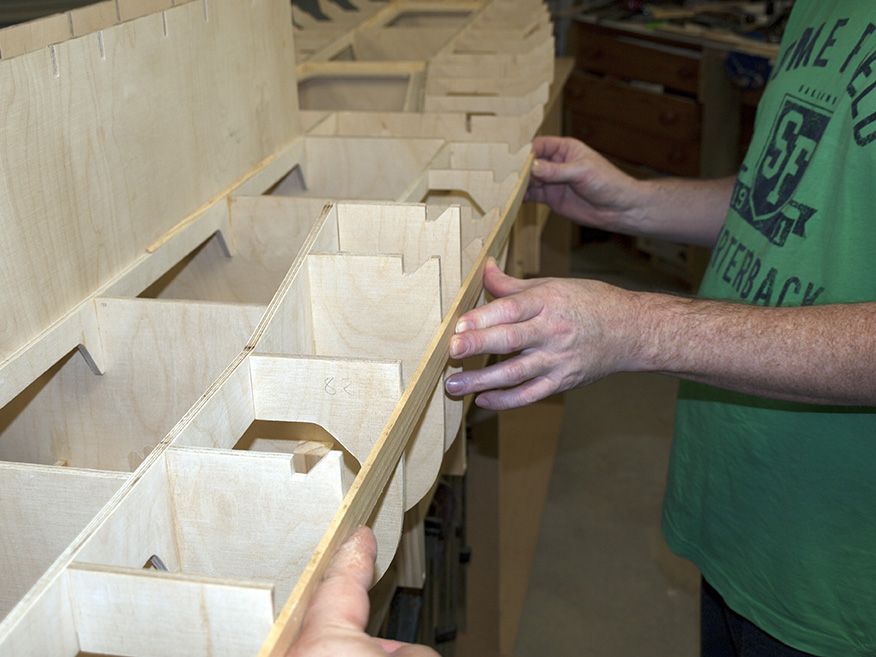
                                        I have also done a close up of a hatch surround and I also decided to use glue blocks in the corners as further reinforcement, I imagine it will also help any glassing to have a less than sharp corner.
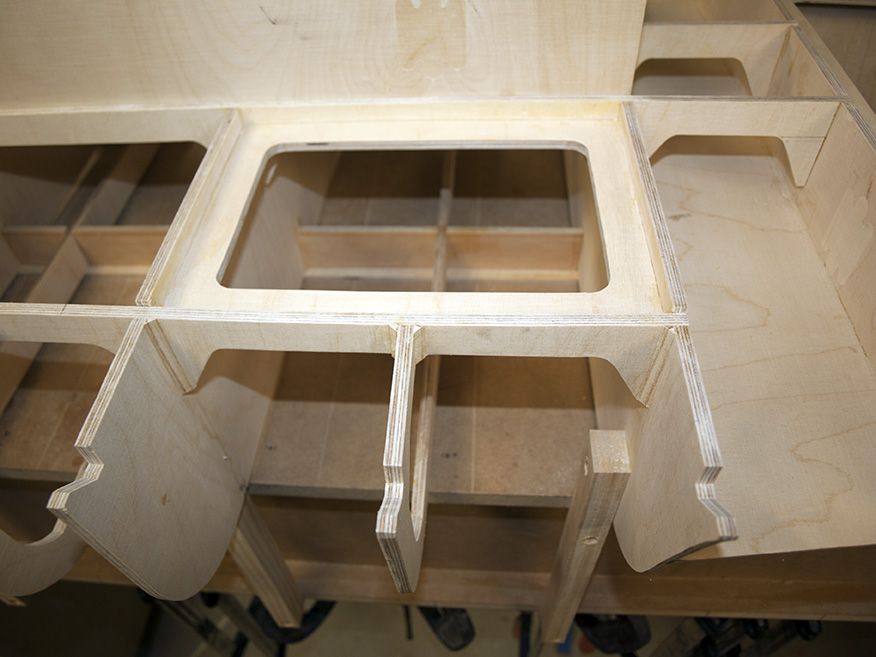
                                        p9106373.jpg

                                        This is all the framing will have as well as the deck sides which run up to the girder(the step for the 3.5mm ply can be seen)

                                        I have also started the aft unit and cut out the steering gear flat on the centerline.
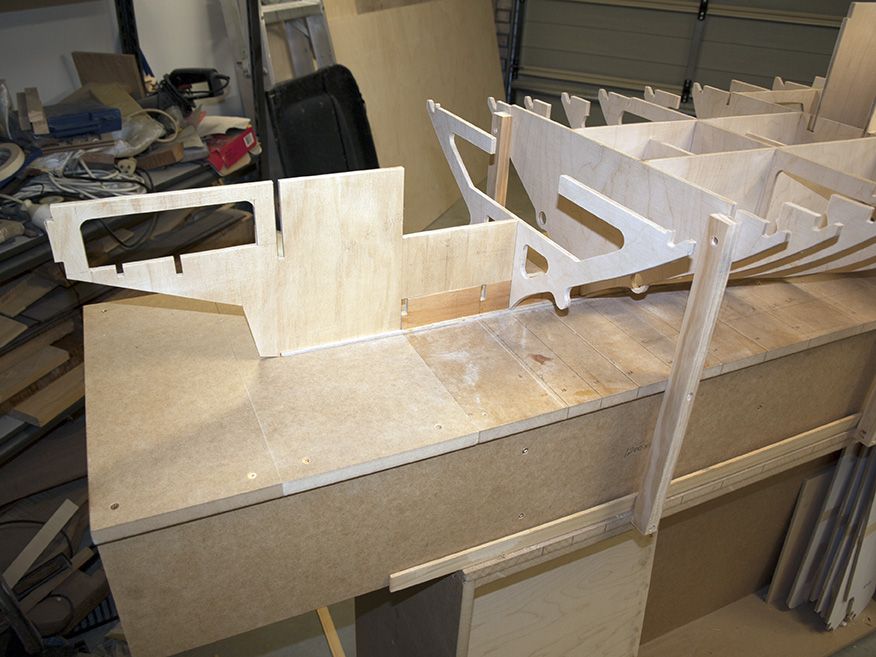
                                        p9106376.jpg

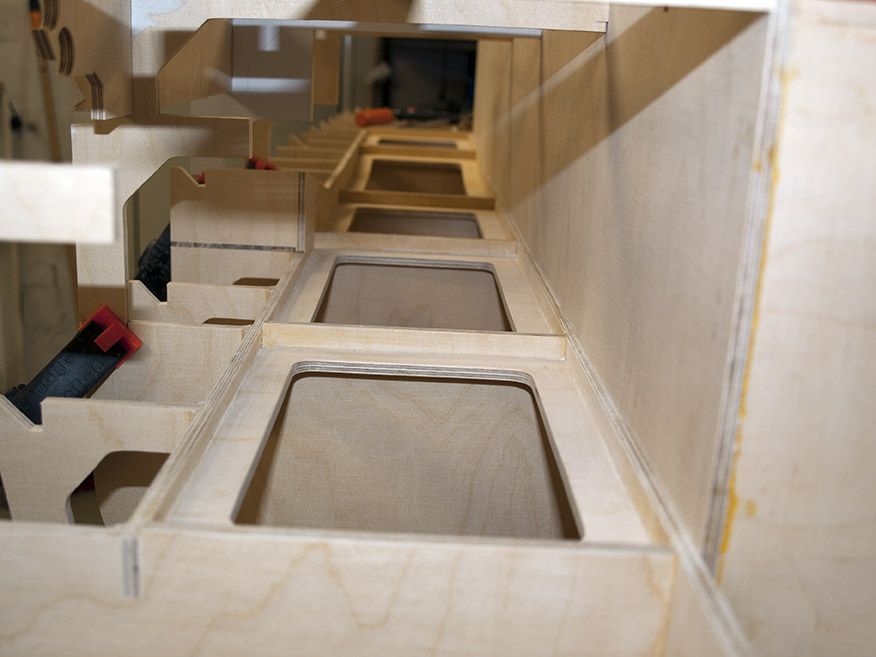
                                        Oh and I could not help myself, don't you love it when you look up the shaft holes..and they line up!!!!!
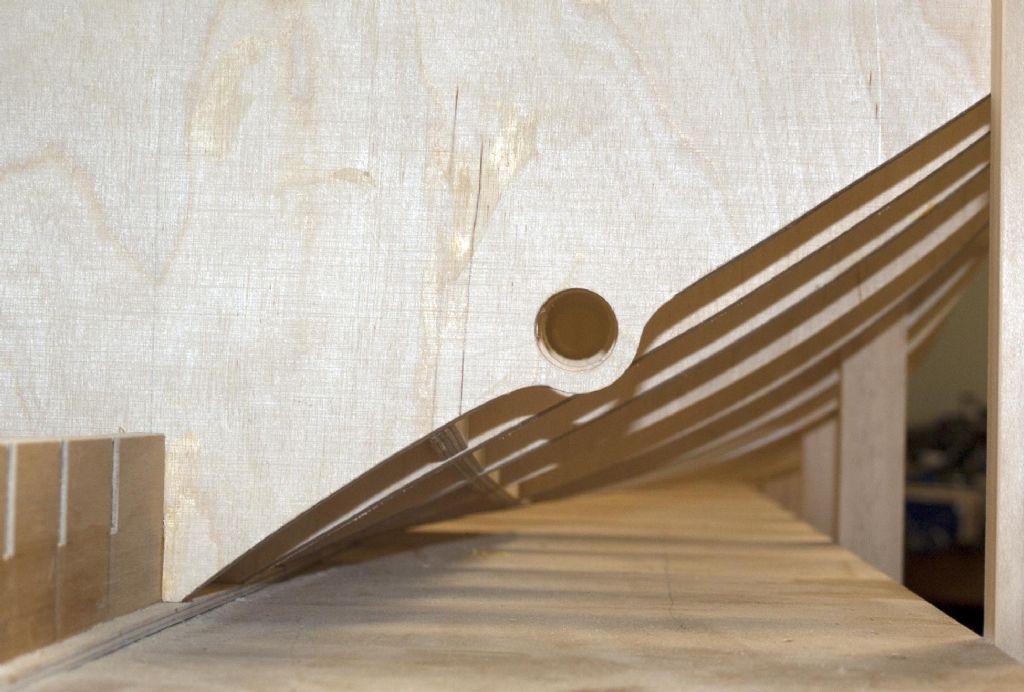
                                        p9106368.jpg


                                        Edited By Richard Dunn 3 on 10/09/2015 08:18:32

                                        Edited By Richard Dunn 3 on 10/09/2015 08:21:26

                                        #60253
                                        Bob Abell 2
                                        Participant
                                          @bobabell2

                                          Very nice build, Richard

                                          The attention to detail is awesome!

                                          Bob

                                          #60336
                                          Richard H Dunn
                                          Participant
                                            @richardhdunn

                                            I had to work for a couple of days so not a lot happening.

                                            I have started to frame the topsides.

                                            p9146378.jpg

                                            p9146382.jpg

                                            Flat of side is indeed flat…that's a relief

                                            p9146380.jpg

                                            The above shows the vent trunks before the other side was put on.

                                            p9146381.jpg

                                            Stbd side access hatch openings for the gear.

                                            p9146383.jpg

                                            Frame connection to girders with glue blocks.

                                            Edited By Richard Dunn 3 on 15/09/2015 02:03:20

                                            #60337
                                            Bob Abell 2
                                            Participant
                                              @bobabell2

                                              Lovely clean build Richard…….Not a finger mark to be seen!

                                              I'm impressed with your CAD skills too……..Every part fits!

                                              Looking very heavy, but not a problem……..Any idea of the finished weight?

                                              What will you use for the superstructure, to avoid being a bit top heavy?

                                              Bob

                                              #60347
                                              Richard H Dunn
                                              Participant
                                                @richardhdunn

                                                Hi Bob

                                                Thankyou for the comments,The CAD side is something I have done for 15 years now so that is second nature now.

                                                As for the weight the displaced weight is 200 kgs but as I am using water ballast as well as batteries I will never have to lift 200 kgs. no idea what it weighs actually.

                                                If I base it on the weight of the materials that is 4 sheets of 7mm ply and 4 sheets of 3.5mm as well as the cedar planking I reckon 80 kgs, maybe a bit more.

                                                Going to build topsides from 3mm ply , and etched brass.

                                                I was going to use a lot of .4 mm ply,,,yes ply that is less than half a millimetre  thick not sure you have seen it but I am worried it may not be robust enough and get damaged for use on things like up-stands etc.

                                                It may be top heavy until it is ballasted properly.

                                                Edited By Richard Dunn 3 on 15/09/2015 11:31:28

                                                Edited By Richard Dunn 3 on 15/09/2015 11:33:38

                                                #60355
                                                Colin Bishop
                                                Moderator
                                                  @colinbishop34627

                                                  If you know the displacement of the original ship you can calculate the displacement of a scale model. Stability is of course another issue!

                                                  Colin

                                                  #60357
                                                  shipwright
                                                  Participant
                                                    @shipwright

                                                    Richard.

                                                    Superb example of skilled ship design and construction. You must have quite a large workshop. I assume that, given the size and weight of the model, for transport and launching you will use something similar to a dinghy launching trolley.

                                                    Ian

                                                    #60358
                                                    Colin Bishop
                                                    Moderator
                                                      @colinbishop34627

                                                      If you know the displacement of the original ship you can calculate the displacement of a scale model. Stability is of course another issue!

                                                      Colin

                                                    Viewing 25 posts - 26 through 50 (of 405 total)
                                                    • Please log in to reply to this topic. Registering is free and easy using the links on the menu at the top of this page.

                                                    Code of conduct | Forum Help/FAQs

                                                    Advert

                                                    Latest Replies

                                                    Home Forums Scratch build Topics

                                                    Viewing 25 topics - 1 through 25 (of 25 total)
                                                    Viewing 25 topics - 1 through 25 (of 25 total)

                                                    View full reply list.

                                                    Advert