Hello,
This is my first posting to this forum, and as the thread title says, I would very much like to put a question to the assembled expertise on some the finer details of rigging boom guy ropes on a smaller merchant vessel, a Clyde Puffer in casu.
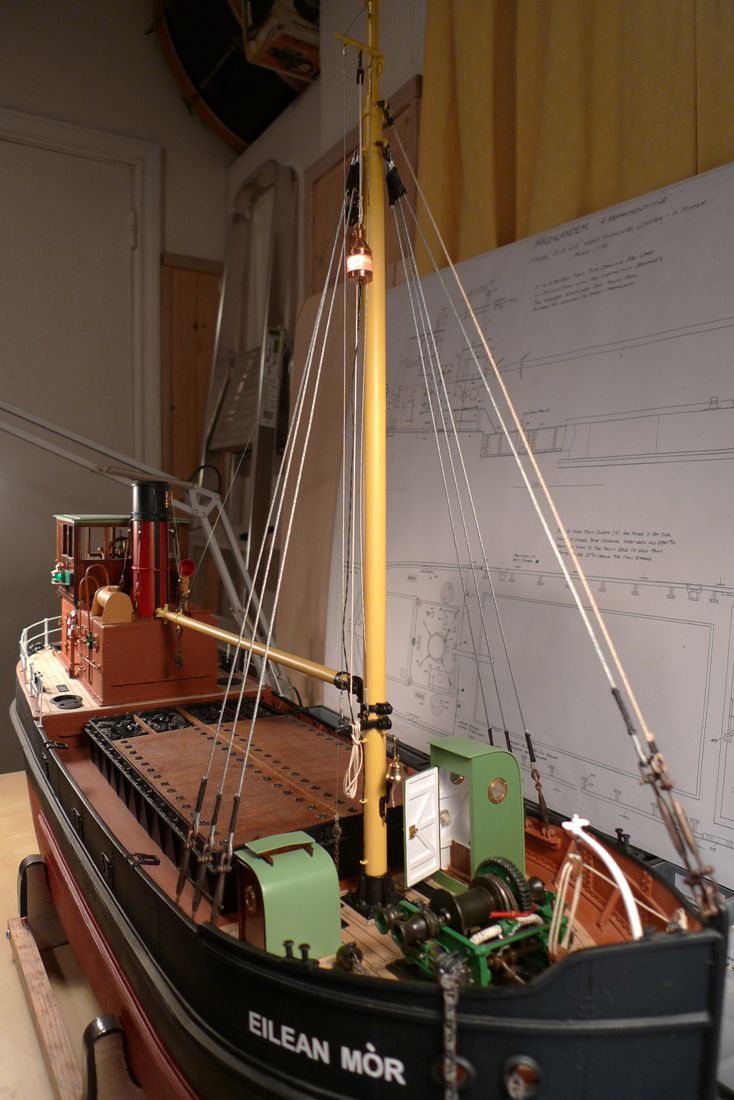
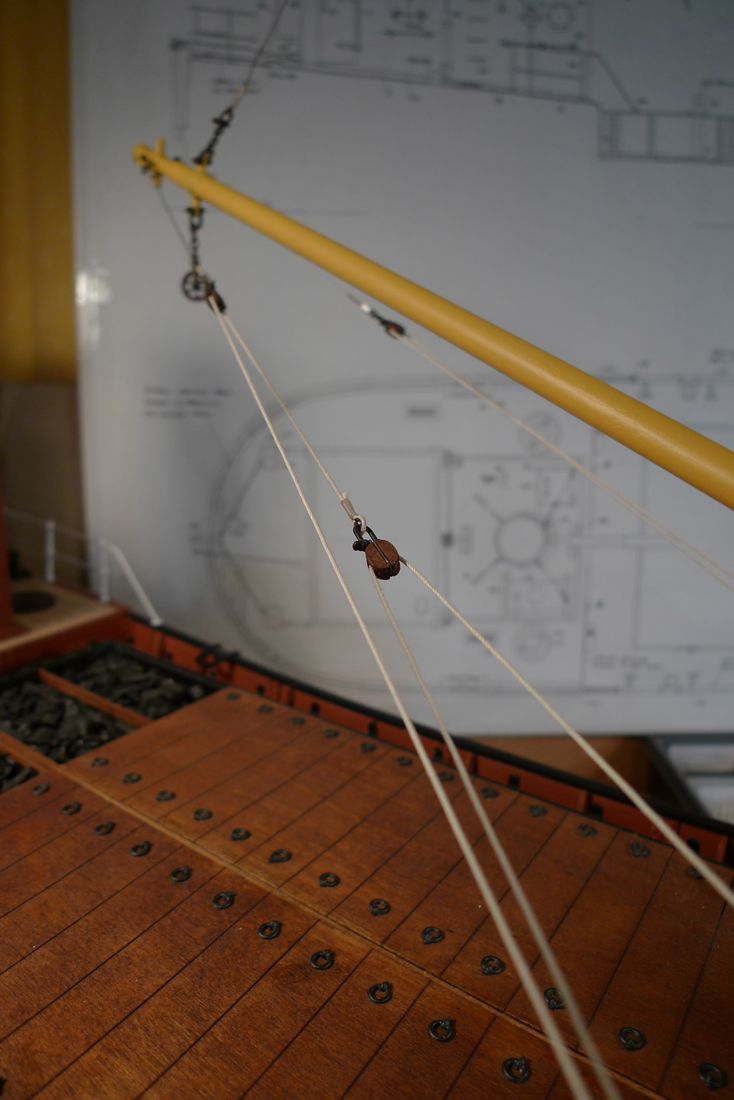
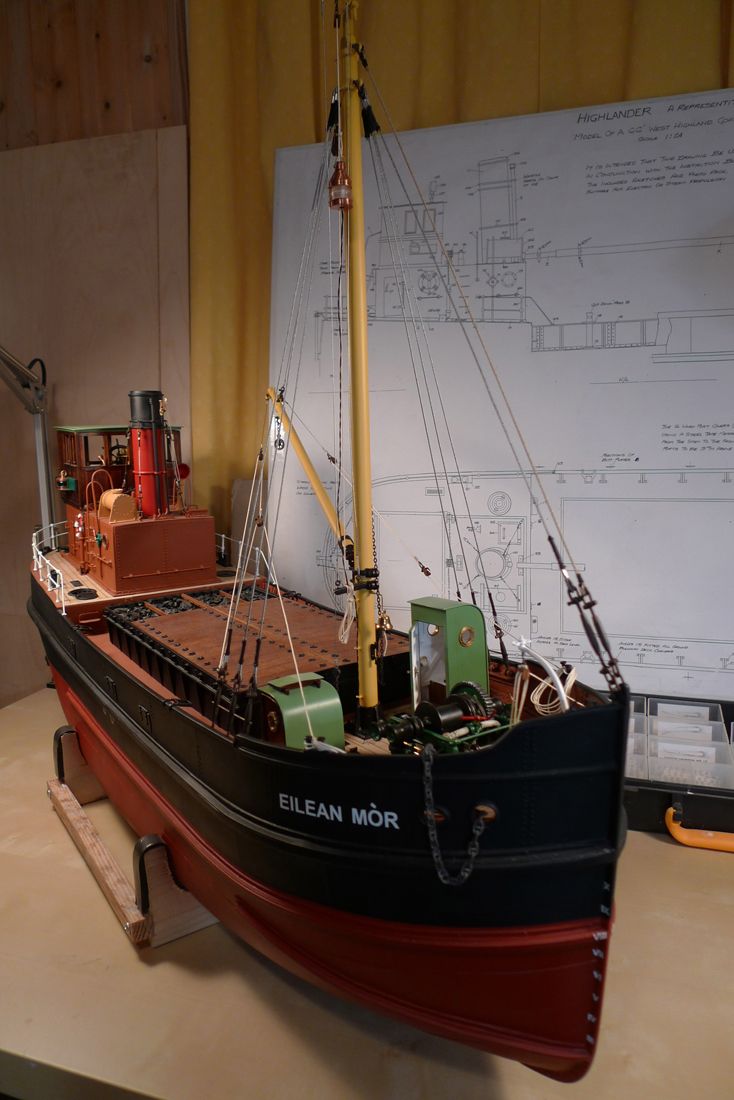
I am currently building such a vessel, the "Eilean Mòr", based on the wellknown Mountfleet Models "Highlander" kit, and have now gotten to the relatively advanced stage of rigging the mast-and-boom derrick. I attach a recent photo of my build as it more or less is at the moment.

The kit does not include any instructions for the boom guy ropes, nor does the prototype model shown on the Mountfleet Model website feature any. I woukl nevertheless like to add them to my model.
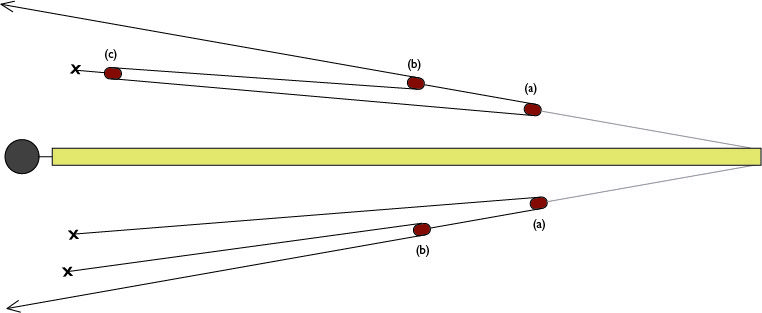
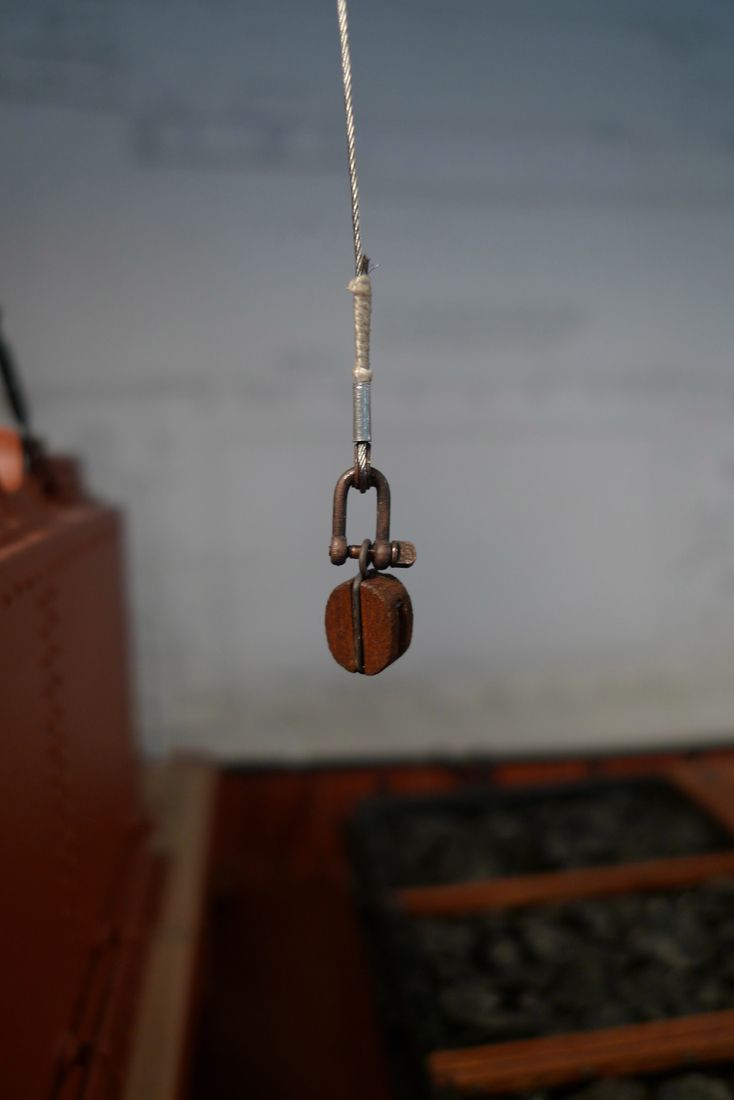
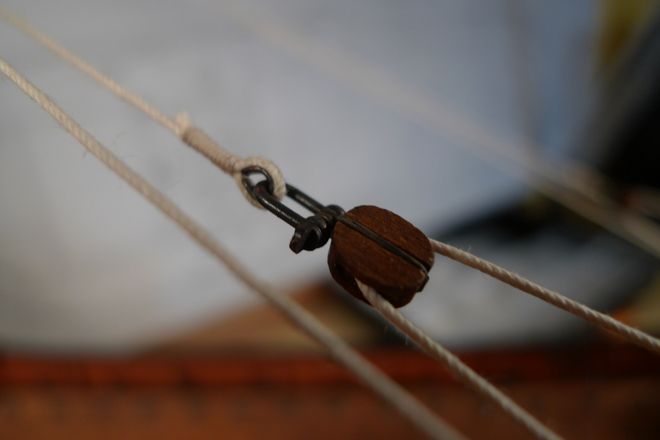
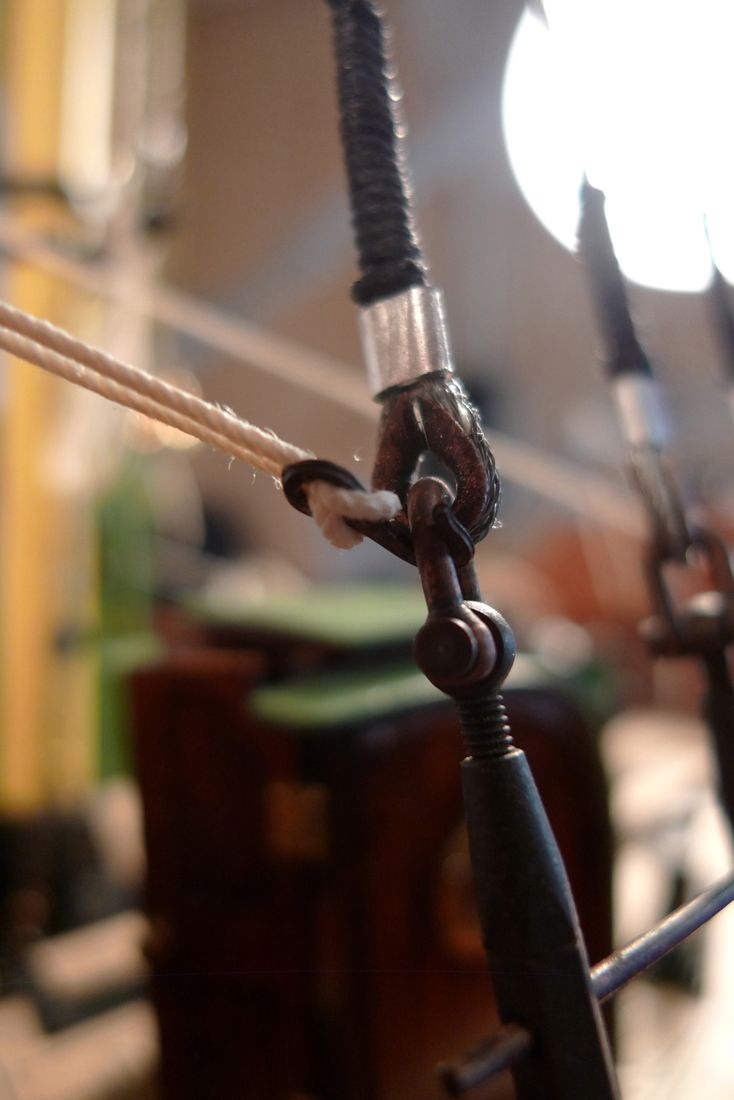
Having done some (fairly extensive) research online and in the various books I have on Puffers, I have come to the conclusion that a very common form of guy rope rigging involves pendant blocks suspended to port and to starbord from the end-of-the-boom ring [blocks (a) on my sketch, below]. Through these pendant locks were then rove ropes with another block [block (b)] at one end. So far, so good: this configuration I have spotted on a number of photos and also on various real life derrick set-up drawings that I have found through Google image search.
My problem is that neither photos nor drawings are very clear on what happens to the guy ropes below the bulwarks of the ship! More specifically, I haven't been able to dig out any information on how the standing ends are set up.
Off the top of my head I can think of two possible set-ups that would tally with what one sees in photos etc. from the higher parts of the guy rope rigging, and I have made the following sketch to illustrate them.

This sketch shows the boom seen from above, with a variant set-up of the guy ropes on either side.
In Variant 1, above the boom in the sketch (or to starboard, if one prefers to look at it that way), there is in fact only one rope involved, other than the initial pendant. This rope has block (b) attached to one end, is then rove through block (a) and from there to a third block (c) which is made fast (by e.g. a rigging hook) to the deck, the inside of the bulwark or maybe to a samson post. From block (c) the running end then goes on to be rove through block (b) and then on to whatever power source (a crew member for example) is used to work the guy rope.
In variant 2, below to the boom (i.e. to port in the sketch), there are two ropes other than the pendant involved. The first rope has block (b) attached to one end, is rove through block (a) and then made fast somewhere below the bulwarks. The second rope has its standing end made fast somewhere close to the first rope's standing end, and its running end rove through block (b) whence it again goes to whatever power source is working the guy rope.
My question thus is whether anyone here knows if either, both or neither of these variants are correct, or would have been more or less common when rigging the derrick boom guy ropes on a small merchant vessel like a Clyde Puffer? I would be truly grateful for any help or suggestions, and even more so if they were backed up documentation in some form.
Warmest thanks in advance for your kind help!


