TEV Wahine 1/35 Build

Advert

TEV Wahine 1/35 Build

Home Forums Scratch build TEV Wahine 1/35 Build

Viewing 25 posts - 101 through 125 (of 411 total)
  • Author
    Posts
  • #62059
    Richard H Dunn
    Participant
      @richardhdunn

      Hi Bob
      Am I enjoying it…absolutely..its therapy as I have a very stressful job.

      Thanks for the kind words, but I am in need of some guidance on the best material to use, the hull is now about 50 kgs and getting heavy.

      That means the hull will be about 60-75 % of its displaced weight of 200 kgs while dry.

      I have been building hulls for 10 years, sometimes for other people so I am comfortable with this part but starting to get more into the realms of the unknown.

      The fine detail I am really looking forward to as I have can slow down the pace and chip away instead of having deadlines to get the hull glassed and primed, I wanted to get it done so The wood does not move too much in our 30 degree temps.

      I plan on using etching for a lot of parts that better suite that method but the styrene is appealing for its ease of use, just worried about the fact it's not as robust and could get damaged.

      I have set myself up for etching but not done any yet.

      Paint…airbrush I think and regular spray paint for the hull,I have the actual paint formulas for the ship paint and had some made, now I need to get some matched and made..not sure what sort yet.

      Most of the paint is from the BS 381c chart

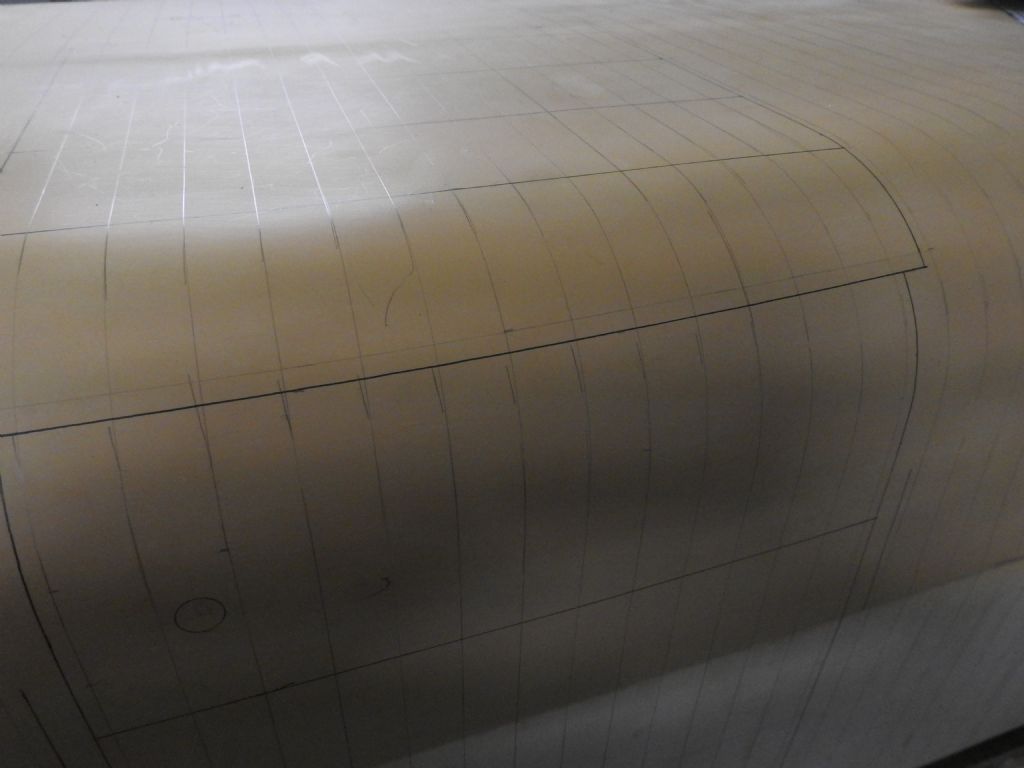
      The next step I plan to do is once the hull is glassed, faired and primed is to level her up on the building board  which needs to have every frame marked and draw all the frames on the hull so I can then markout the hull for openings..of which their are about 300 all up, ports,discharges.intakes, sea suctions,scuppers as well as adding in the weld seams with a technique I have not yet devised.

      Funny thing, now its closed in it looks a lot smaller


      Edited By Richard Dunn 3 on 15/12/2015 08:19:28

      Edited By Richard Dunn 3 on 15/12/2015 08:20:33

      Advert
      #62064
      Bob Abell 2
      Participant
        @bobabell2

        Richard

        Are you going to reproduce the plating lines on the hull?

        As a smooth hull would look like a fibre glass jobbie?

        Decision time again

        Bob

        #62066
        Richard H Dunn
        Participant
          @richardhdunn

          Yes
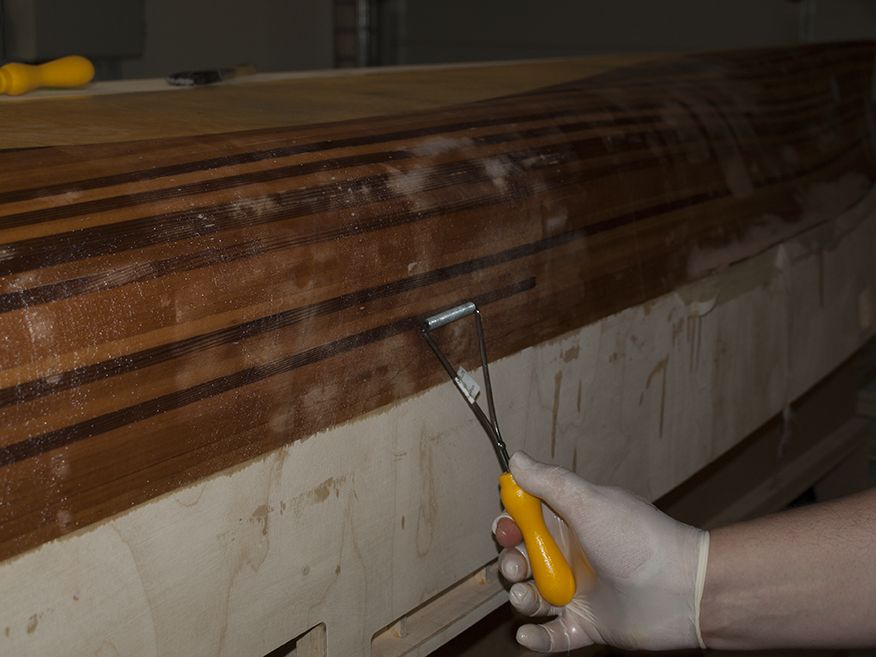
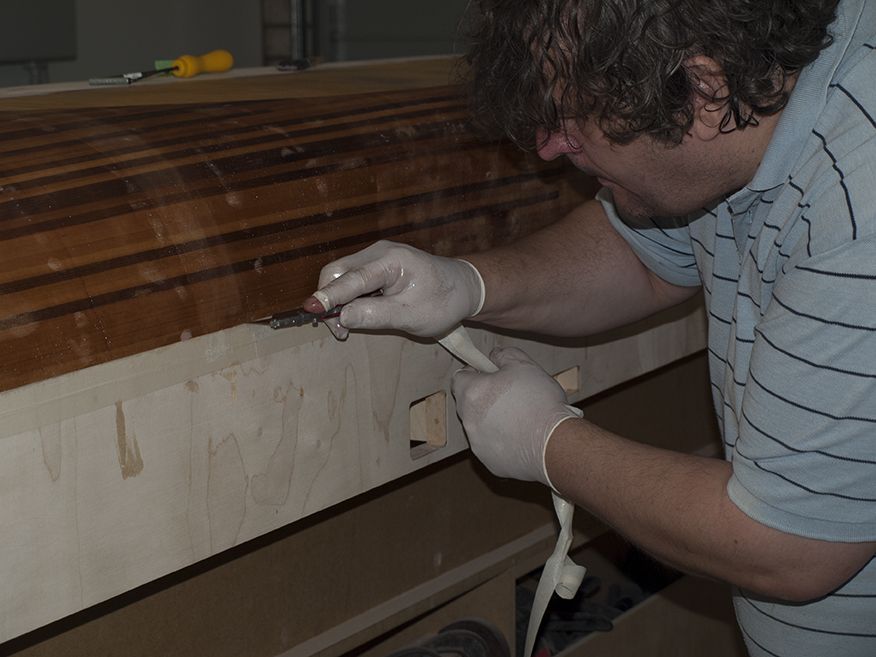
          Once I have given the hull a good thick application of high build automotive primer and marked out the seams from the plan I will firstly sand vertical subtle indentations into the primer between the frame lines to simulate the buckling of the plates and also sand the area where the seams go down as well as weld seams always seem to draw inwards and then will do the weld seams, at this stage I think I will use some kind of hard putty applied between tape and then lightly sanded to round off.

          That's my plan at this stage, but will need to try it out first on a dummy piece

          scale seam width is .5mm

          I am not a fan of smooth perfect hulls.

          #62201
          Richard H Dunn
          Participant
            @richardhdunn

            I have finally glassed the bottom of the hull with west system epoxy and glass tissue, I will not use tissue again in future…I hate the stuff.

            I had to cut numerous slits to make it conform to the shape and when trimming overlaps to get them flush could not pull off the off cut without it breaking up so decided to leave overlaps and grind down later before the filling coat of resin.only 2 overlaps per side anyway.

            on a positive note its easy to trim with a knife and wets out very well, only used 500 ml of mixed resin to do the whole underside of the hull.

            pc196666.jpg

            pc196664.jpg

            Trimming off the glass above the knuckle line

            pc196660.jpg

            The completed wet resin, the bow rudder will be done later once it is made and fitted.

            #62545
            Simon Price
            Participant
              @simonprice32277

              This is a masterpiece.

              I was very happy to stumble upon your build while researching the Wahine for a similar project. I have a question regarding your plans etc. Where can I get detailed plans like the sort you've used yourself? If you have any advise for me regarding building my own Wahine I'd appreciate it. In the mean time I'll look in regularly to see your progress.

              Regards

              Simon.

              #62597
              Richard H Dunn
              Participant
                @richardhdunn

                Thanks Simon

                I am doing a lot of research right now down some new avenues but will be priming hull in 1 week.

                Simon, I have sent you a private message.

                #63039
                Richard H Dunn
                Participant
                  @richardhdunn

                  Happy New Year guys and girls

                  Well although I have not done a lot on the model itself I have recently spent 4 weeks in New Zealand with my father and spent a fair bit of time researching this model down some new avenues.

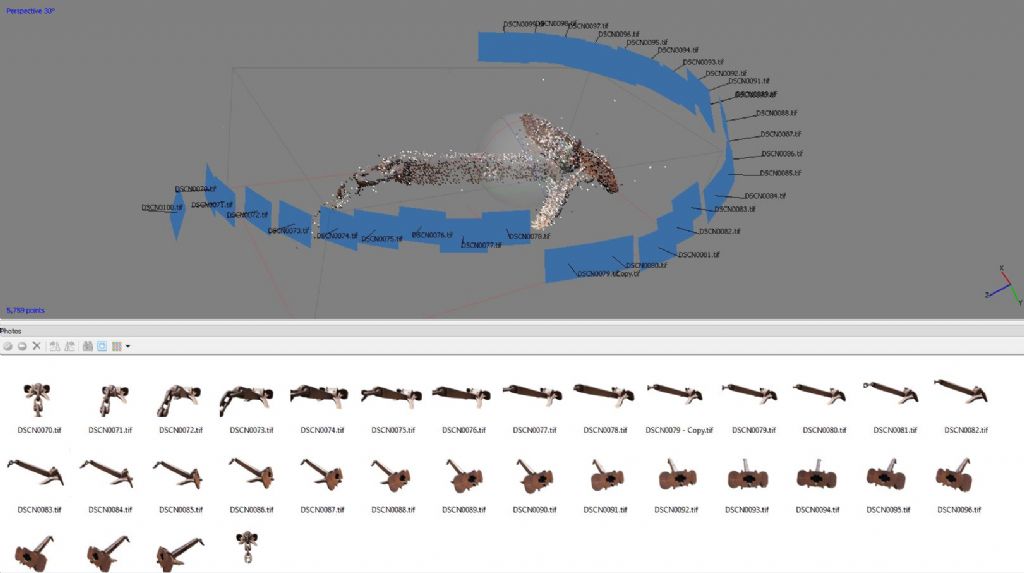
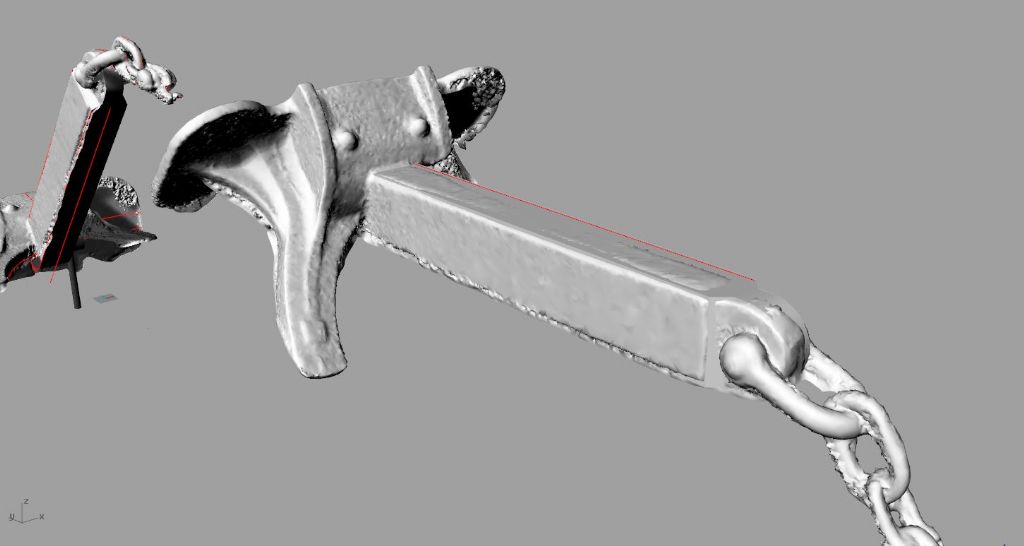
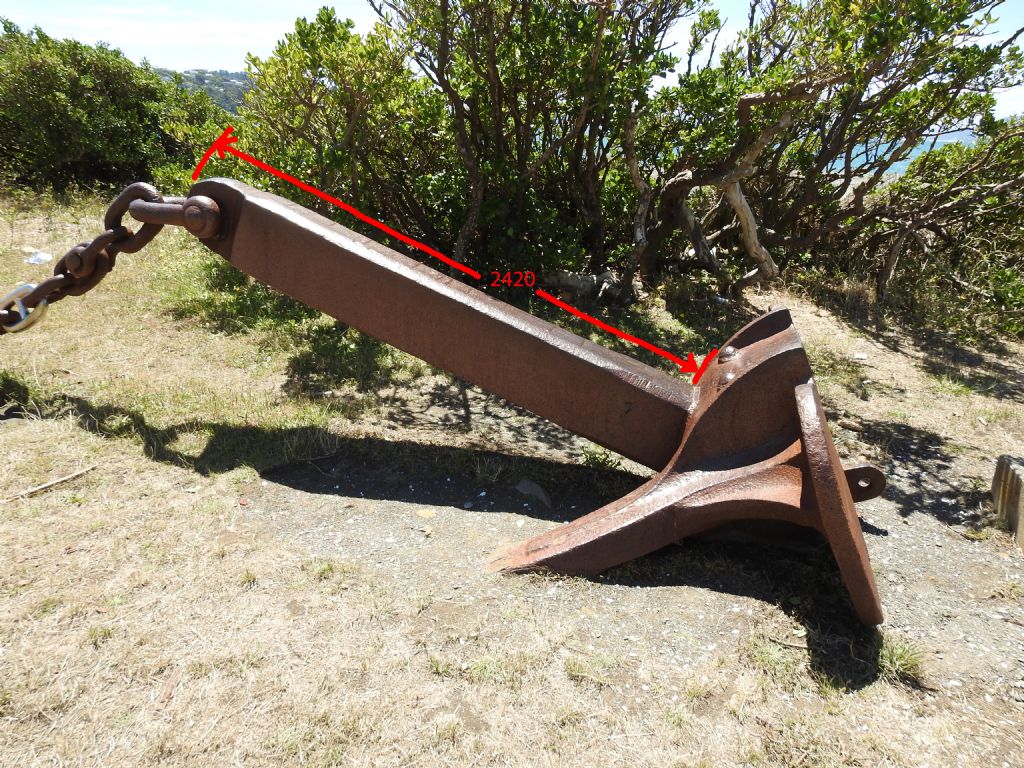
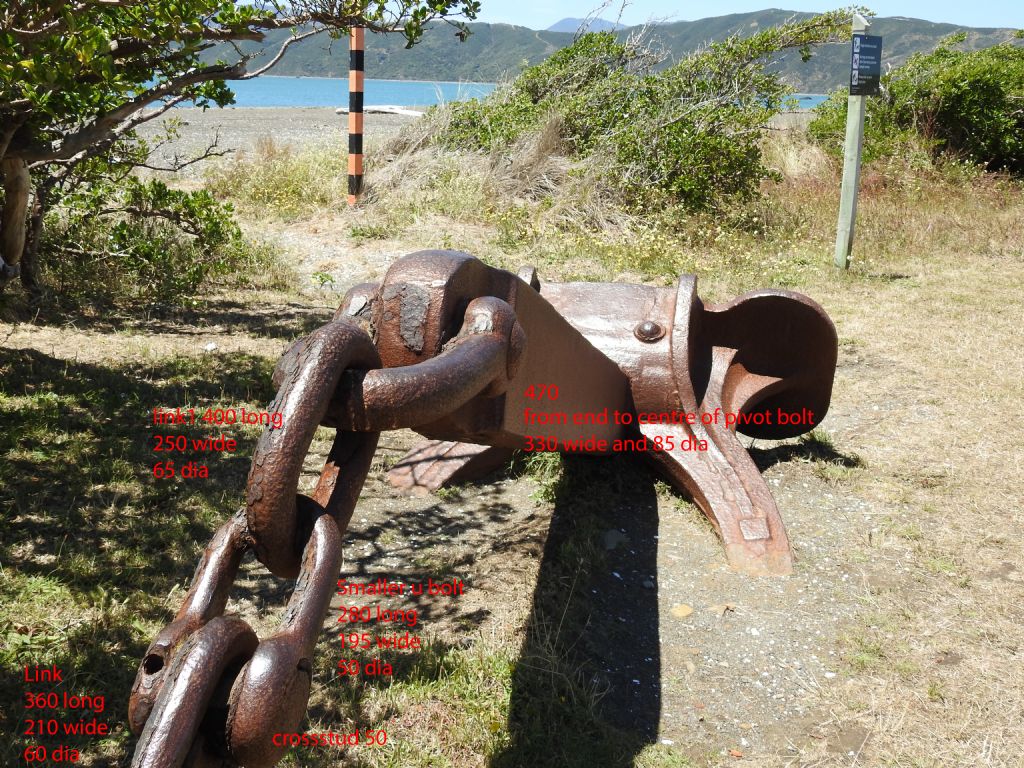
                  I have gained more photos and took photos of the anchor and side thruster to enable me to be able to photoscan the items in 3d to reconstruct accurate drawings.

                  Here is an example

                  We took a series of planned shots around the model and the backgrounds were removed in photoshop.

                  image setup.jpg

                  The resulting model in my Rhino file being measured and traced

                  resulting model.jpg

                  As you can see it's a very good way of recording fittings, all you need are a couple of reference measurements.

                  shank size.jpg

                  chain sizes.jpg

                  I also did the side thruster and the propeller.

                  The program is called Agisoft Photoscan

                  It's a program I teach for my job

                  I have now received my resin casting gear and are ready to tackle that soon as well as having test pots of the model paint which is automotive acrylic made and the formulas finalised.

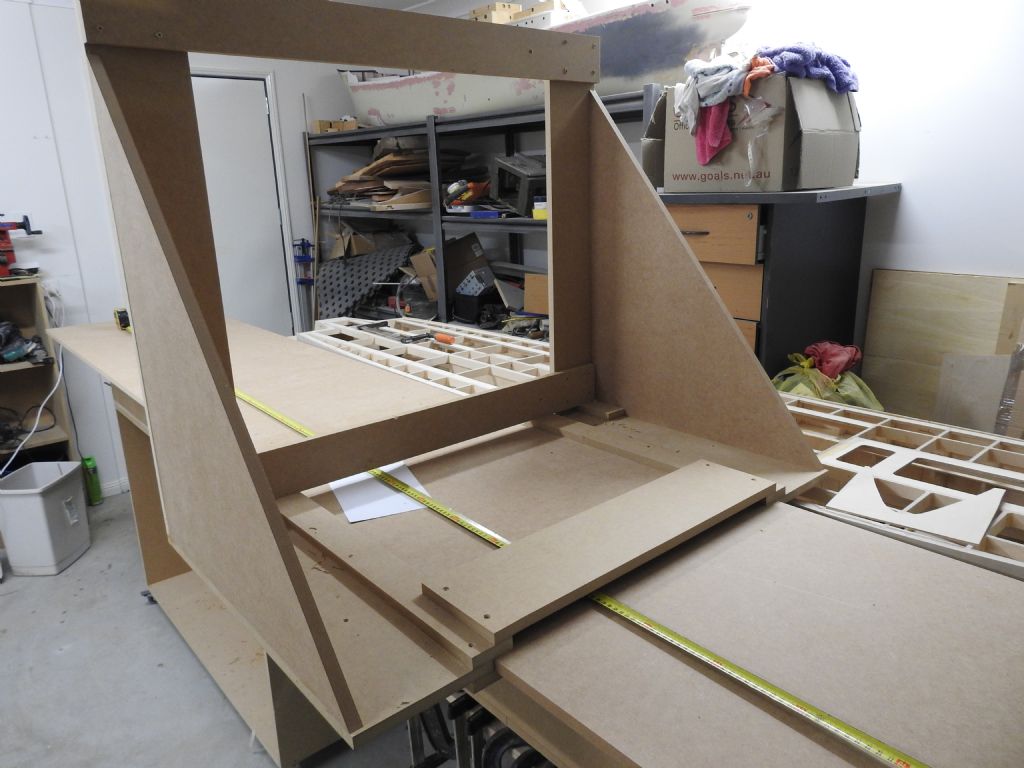
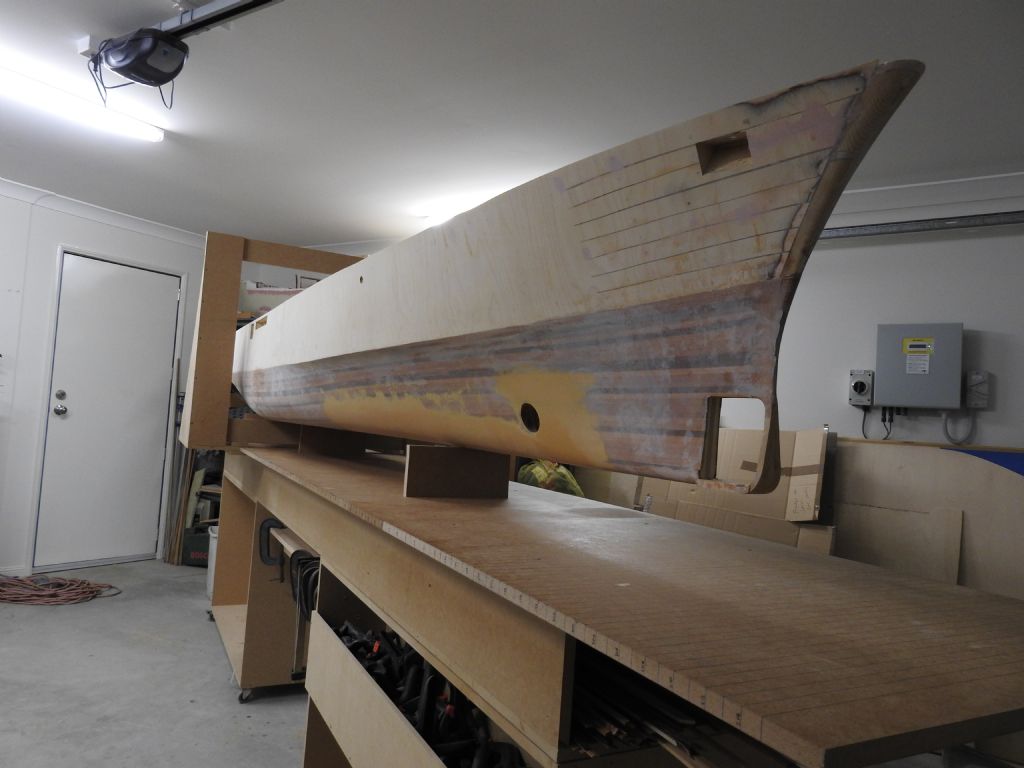
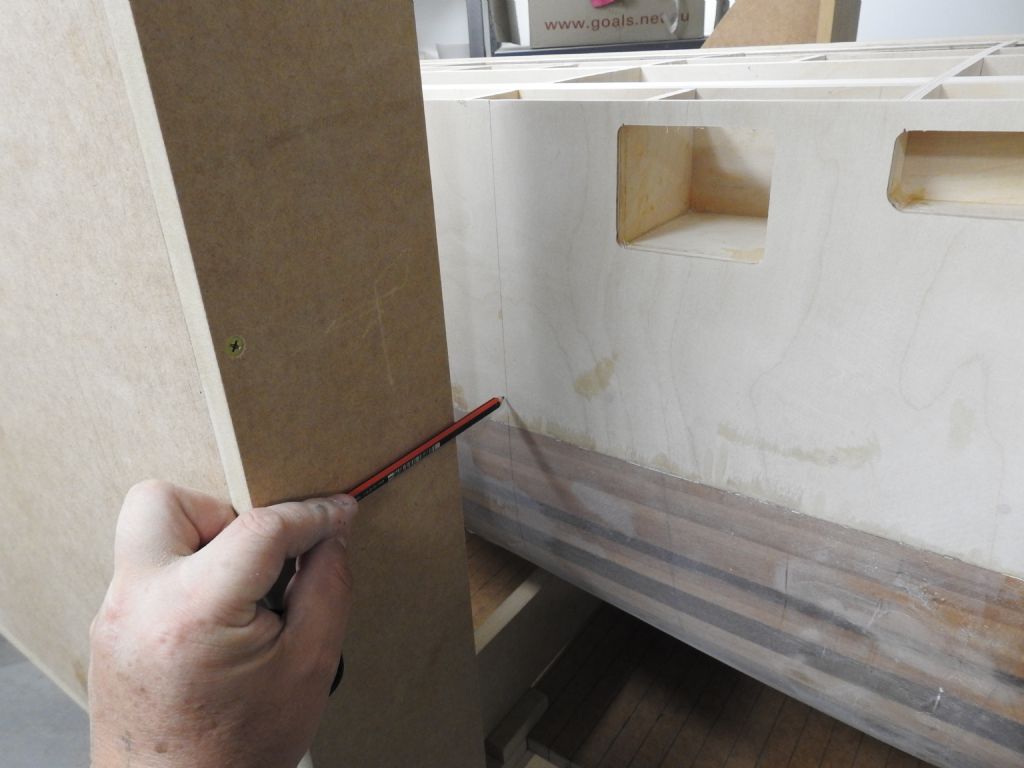
                  Today I decide to scrap the building board(which was always the plan and build one for the rest of the build which is wide enough to handle the hull and has a sliding gantry on it to mark out every frame on the primed hull ready to layout seams and openings.

                  dscn0733[1].jpg

                  dscn0734[1].jpg

                  I still need to bracket the gantry and make cross braces to keep it level.

                  dscn0736[1].jpg

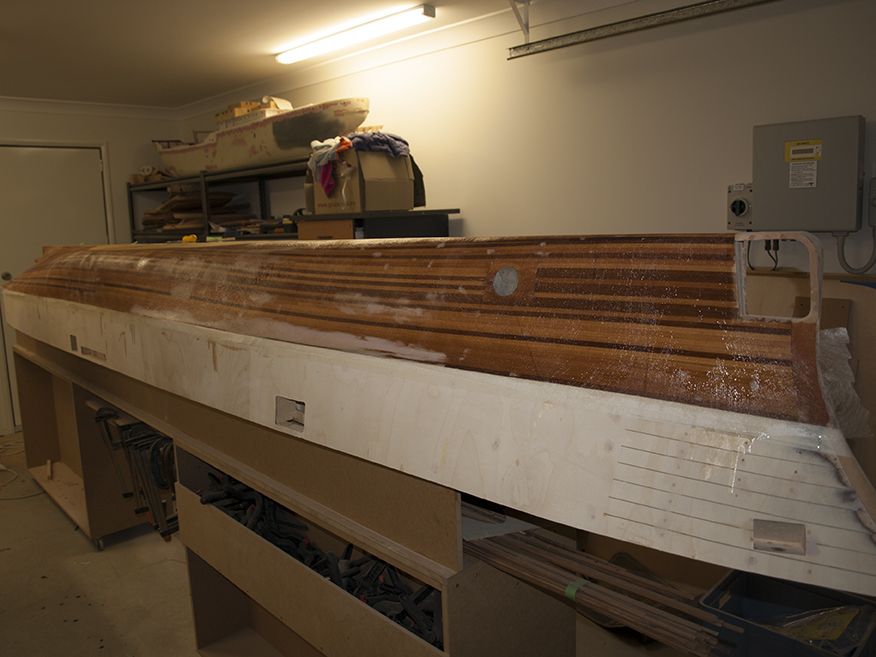
                  The hull ready for final sanding after glassing, I have spot filled and need to spot sand, I have tried out a high build primer which can be seen in yellow.


                  Edited By Richard Dunn 3 on 25/01/2016 00:41:04

                  Edited By Richard Dunn 3 on 25/01/2016 00:43:23

                  #63040
                  Richard H Dunn
                  Participant
                    @richardhdunn

                    The finished sliding Gantry, now to mark out 270 frames………………………..

                    dscn0739.jpg

                    #63047
                    Richard H Dunn
                    Participant
                      @richardhdunn

                      Just thought I would show the gantry at work around the hull, I still need to make a holder for the drafting pen so it marks flush on the face of the jig.

                      I have the hull high of the board to make it easier to mark the hull on the bottom

                      I will also be making proper cradles for the hull soon that hold her level.

                      I have shot a little video along t he hull, I hope you can get a sense of the size and fairness of the hull from it.

                      https://youtu.be/EsO6Vt2A178

                      dscn0740.jpg

                      dscn0741.jpg


                      Edited By Richard Dunn 3 on 26/01/2016 06:30:17

                      Edited By Richard Dunn 3 on 26/01/2016 06:31:00

                      #63067
                      Richard H Dunn
                      Participant
                        @richardhdunn

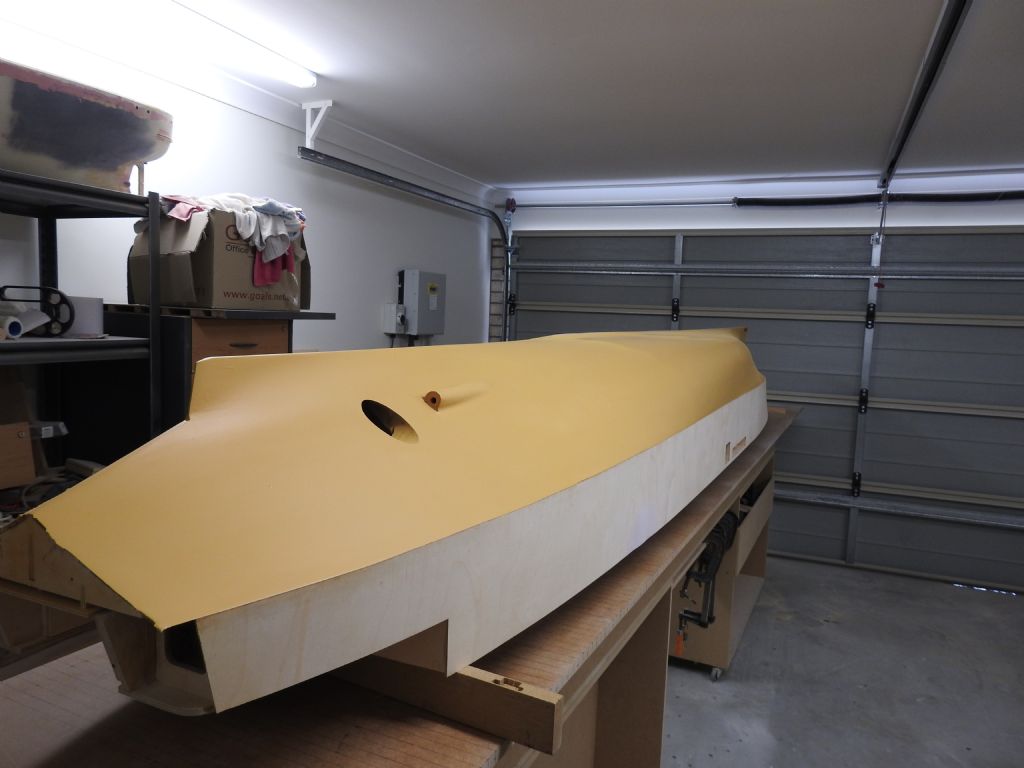
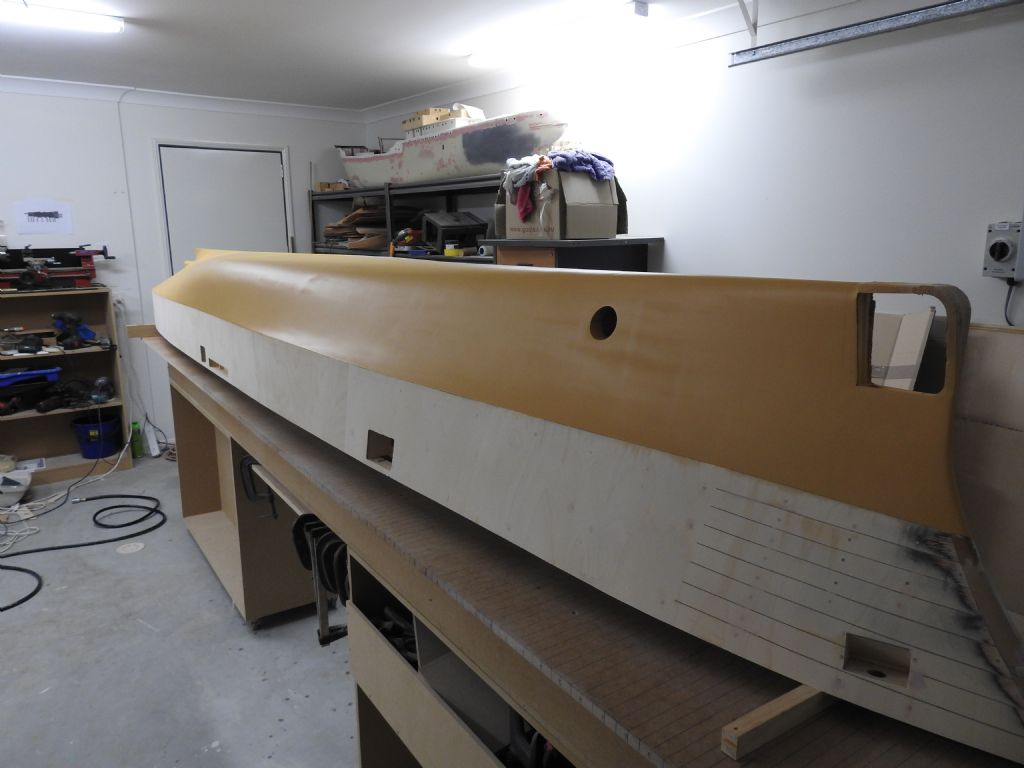
                        Today I hit a milestone in getting the hull primed with 5 coats of hi build spray putty.

                        I purchased a good compressor last week so can now spray.

                        I'm really happy with the surface of the hull, of course it has minor defects to fix which I will deal to with blade putty for those of you not familiar its a runnier form of pre mixed polyester filler(pink bog) that tries harder than bog and is suited to small imperfection, scratches, air bubbles and the like.

                        This will then get another coat of putty and rubbed back as needed with 320 grit.

                        I will then start marking out the hull which although a massive job will be a moment I have waited for for some time.

                        Hoping my props are being made(If you are watching) now as I really need them soon, I am ahead of my predicted time frame.

                        Some images

                        dscn0743.jpg

                        dscn0744.jpg

                        #63070
                        Bob Abell 2
                        Participant
                          @bobabell2

                          Hello Richard

                          Very impressive work…..As usual

                          I like the gantry idea……..Are you going to ink the lines in……Or scribe them?

                          Ink may look a bit too obvious?

                          Any idea of the current weight?

                          Bob

                          #63074
                          Richard H Dunn
                          Participant
                            @richardhdunn

                            Just going to mark out in pencil.

                            I reckon she would be 60Kgs now.

                            #63089
                            Richard H Dunn
                            Participant
                              @richardhdunn

                              When i say mark out the hull I am meaning marking all the frames on the shell and marking out the many holes intakes ,sea chests, discharges, scupper drains, ports that need to be built into or cut into the hull.

                              I will print sections of the shell expansion to model scale and lay them around the hull to mark those and the weld seams as well.

                              Does anybody have any info on the various types of grills and grating arrangements used on ships of this period,1960,s, and info or photos would be much appreciated.

                              I have sea chests that have bolted grates over them but also have a few 15" dia intakes for the boilers that I have no idea what was done to the opening on these, no photos exist of them up close.

                              #63103
                              Richard H Dunn
                              Participant
                                @richardhdunn

                                I am going to upload some plans and photos to help jog peoples memory soon

                                #63105
                                Richard H Dunn
                                Participant
                                  @richardhdunn

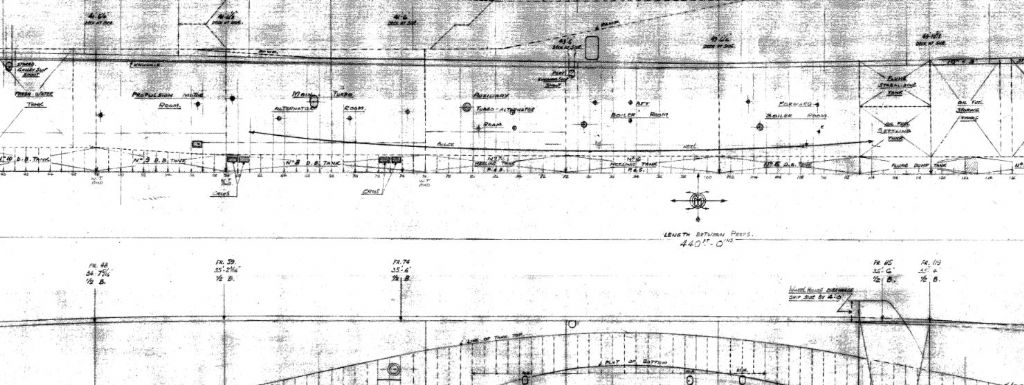
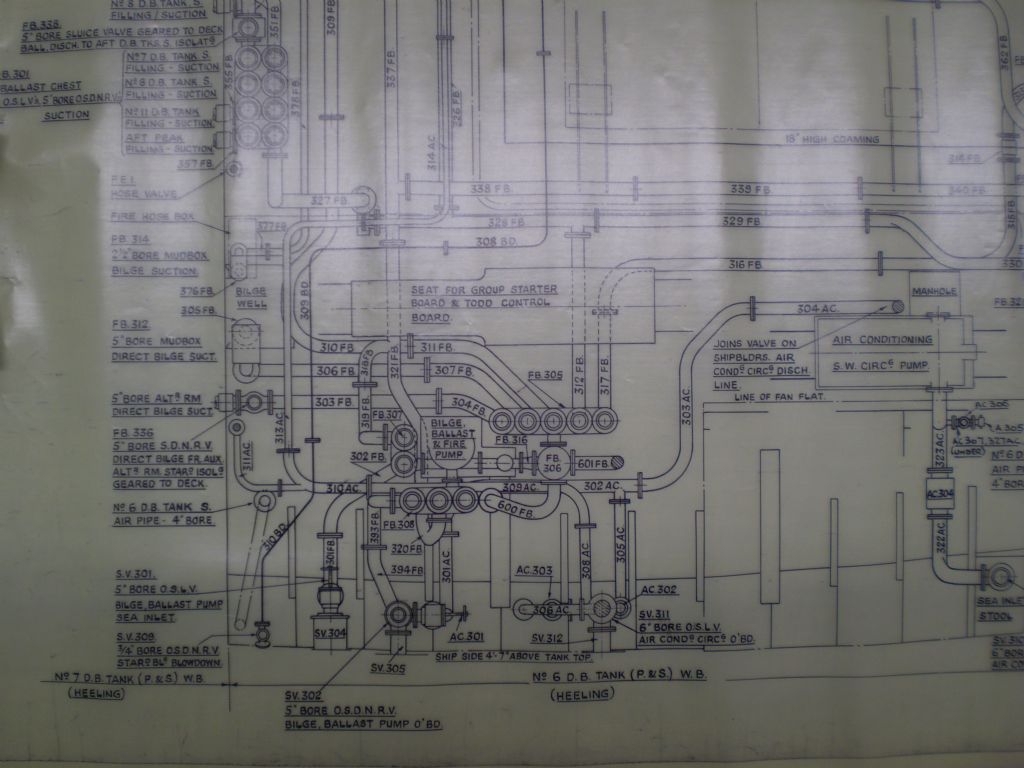
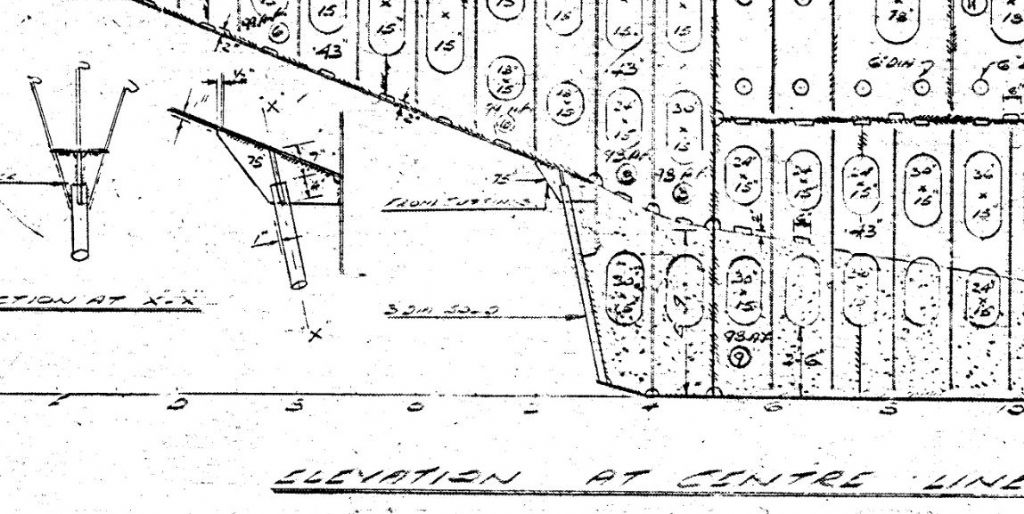
                                  Ok here are some of the Bilge ballast openings I refer to

                                  docking.jpg

                                  shell holes.jpg

                                  section 4a.jpg

                                  The opening labelled sv 305 for instance is about 15 inches in Dia, any ideas what sort of grill it may have had..found nothing online except reference to a British Standard for weed grates that says something about grills with 25 mm spacing but no idea how old that info is.

                                  #63106
                                  Bob Abell 2
                                  Participant
                                    @bobabell2

                                    Hello Richard

                                    This section does not look like fun?

                                    If you intend to reproduce to this fine detail…….How will you cope with the superstructure?

                                    I need an Asprin!

                                    Bob

                                    #63116
                                    Richard H Dunn
                                    Participant
                                      @richardhdunn

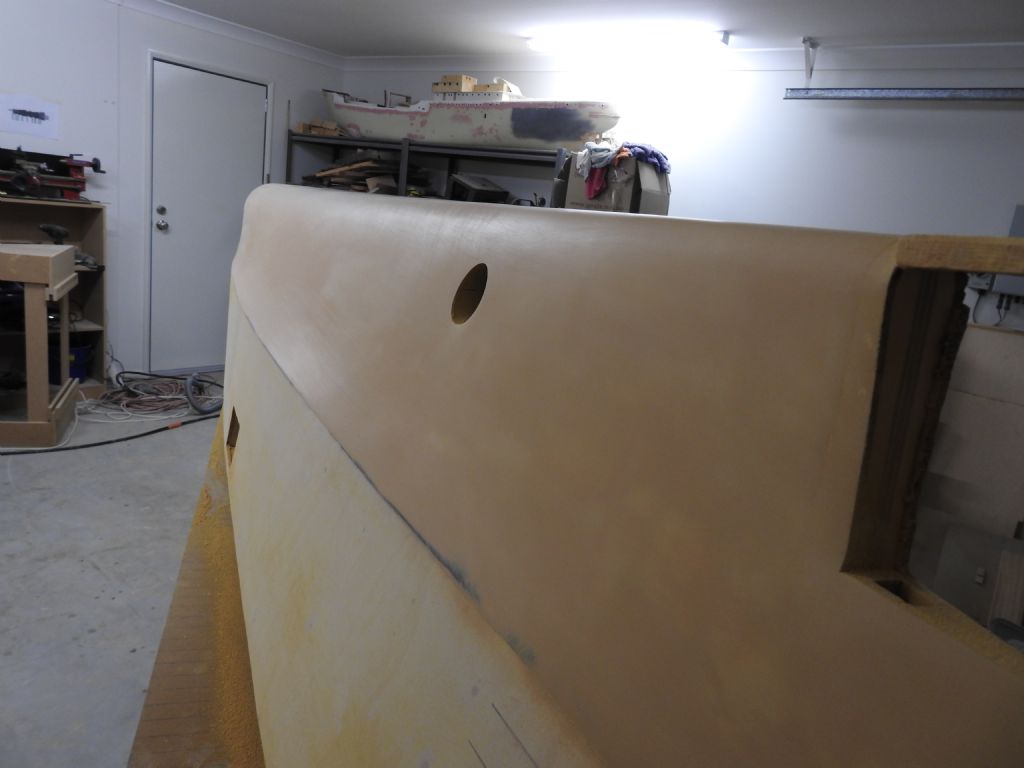
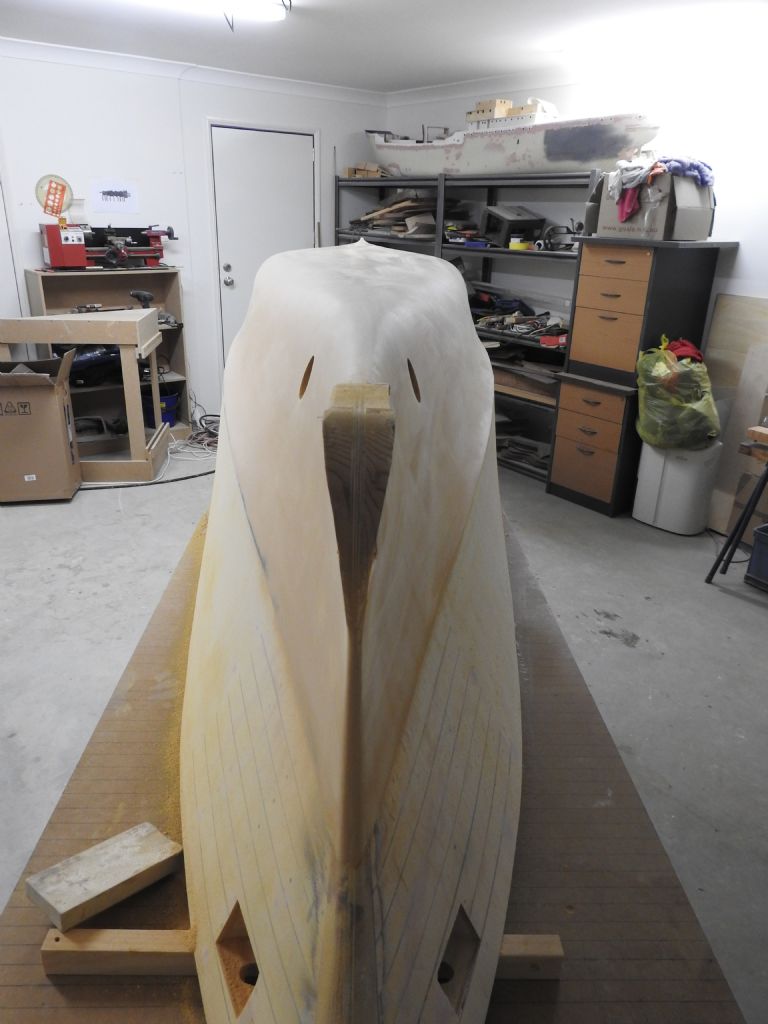
                                      I have now done the final prep sand for the hull and am ready to setup hull and mark out all framing and holes ready to bore the hull and glue in all the discharges,intakes and sea chests as well as sand in the buckling in between framing.

                                      I will also add the bilge keels soon and the rudder horns.

                                      The surface came out really well with minimal work and was a lot of fun to see coming right.

                                      dscn0745.jpg

                                      dscn0749.jpg

                                      dscn0747.jpg

                                      dscn074890.jpg

                                      dscn0746.jpg

                                      skeg.jpg

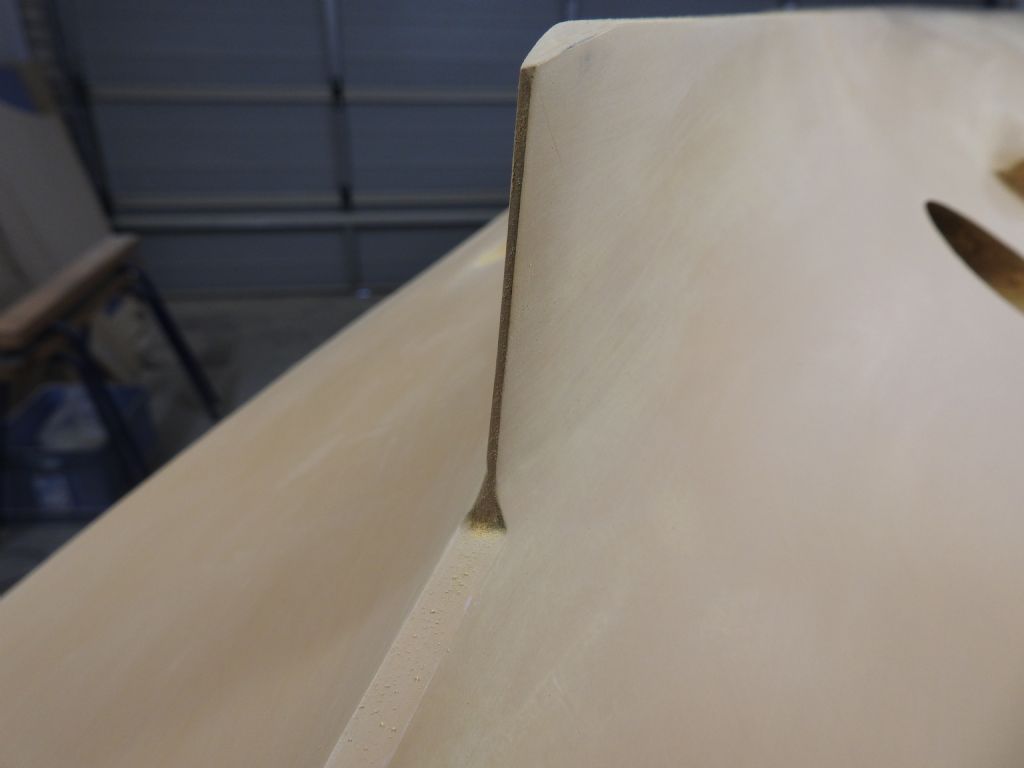
                                      A close up of the skeg end, I need to square up the sloped face a bit, this will have a styrene round on its edge and a little fairing bracket at its base where the stem widens out, its in the plans of course as you can see.

                                      The crispness of the edges is nice, it's hard work to keep them hard and defined, good primer helps.

                                      #63341
                                      Richard H Dunn
                                      Participant
                                        @richardhdunn

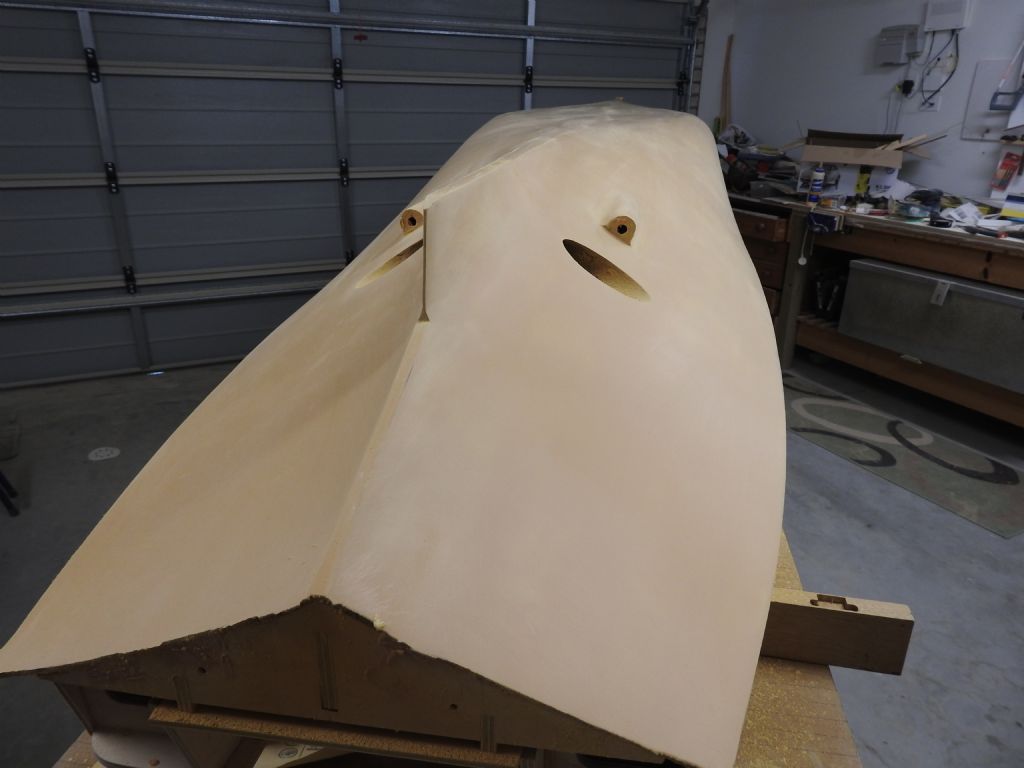
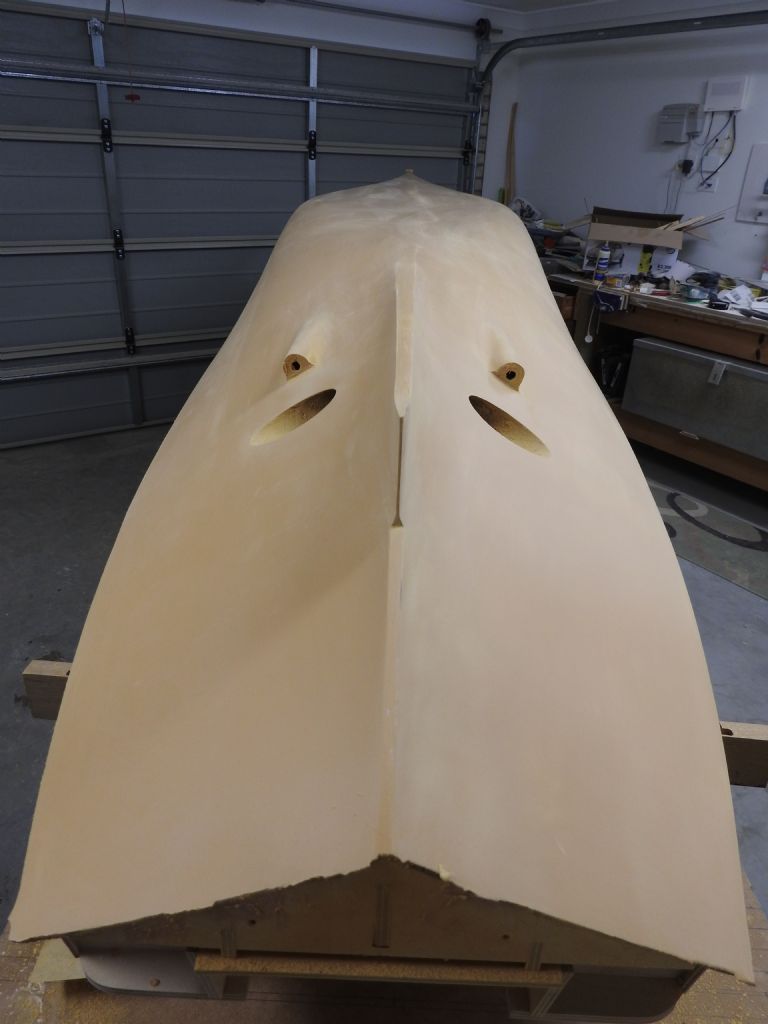
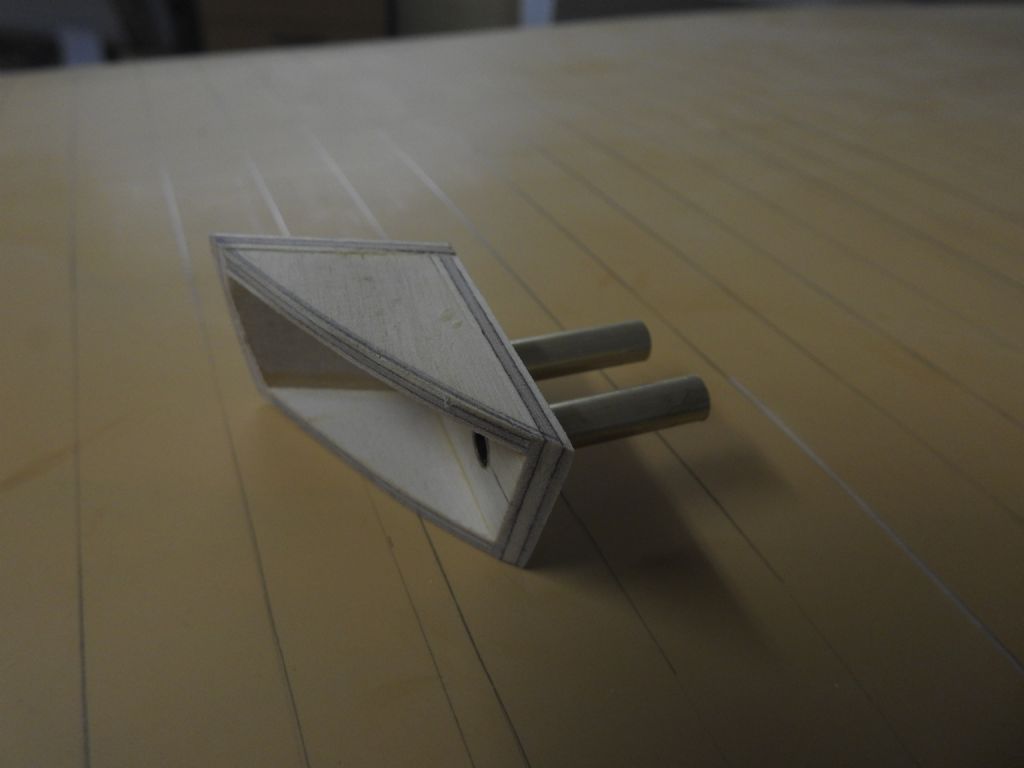
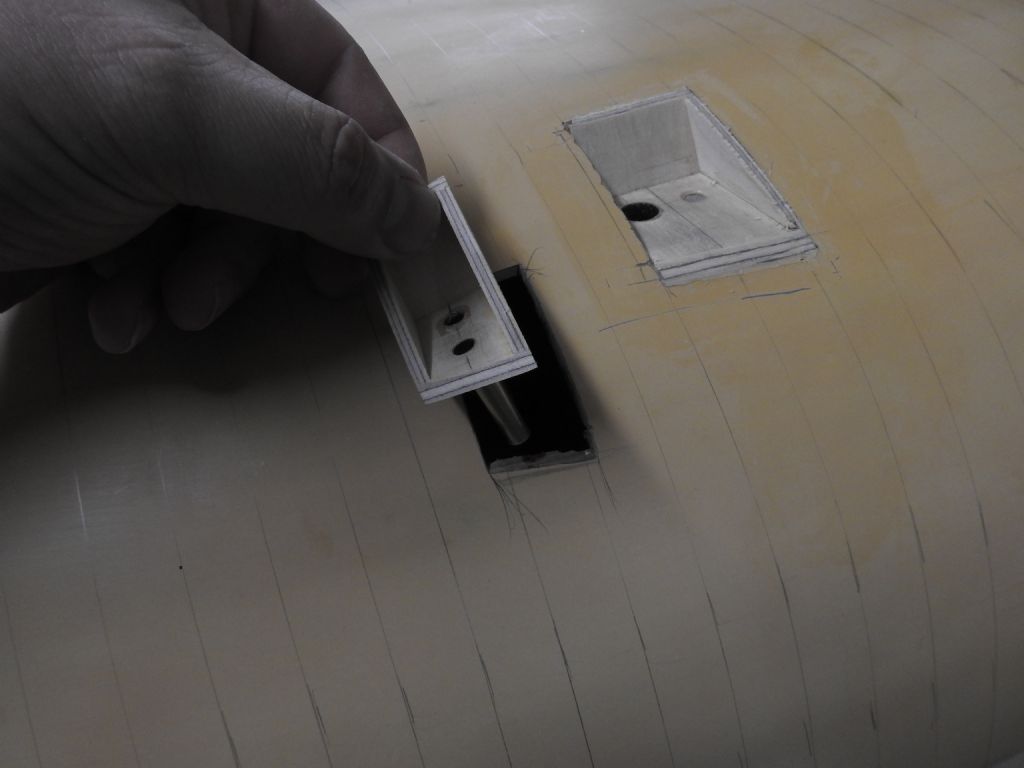
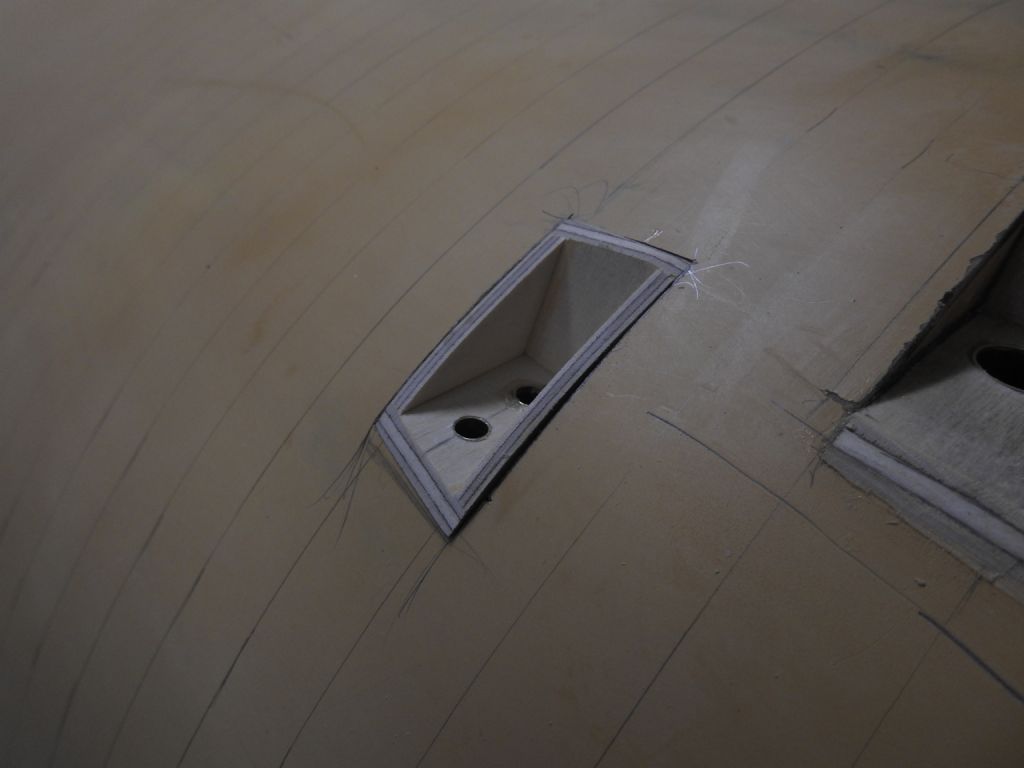
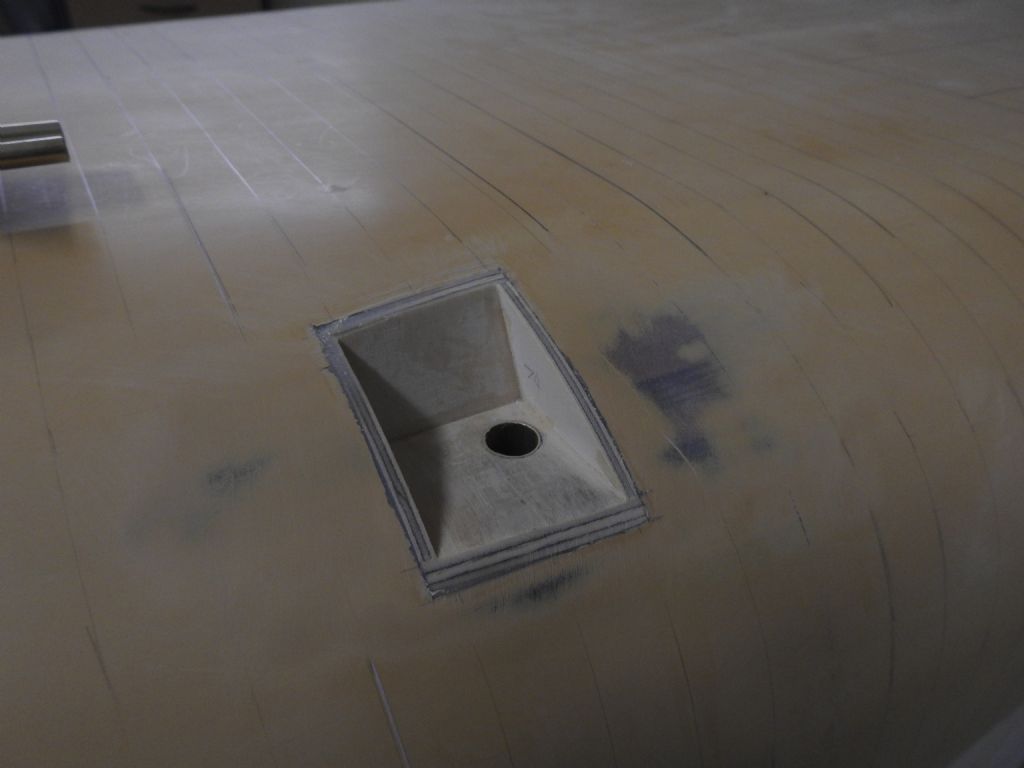
                                        Adding Sea Chests to allow water to enter the hull for various purposes.

                                        dscn0763.jpg

                                        dscn0764.jpg

                                        dscn0765.jpg

                                        dscn0762.jpg

                                        Weld seams being marked out

                                        dscn0771.jpg

                                        #63423
                                        Simon Porter
                                        Participant
                                          @simonporter93469

                                          that is a build of the highest quality Richard, you are clearly a craftsman of the highest order!

                                          #63501
                                          Richard H Dunn
                                          Participant
                                            @richardhdunn

                                            Thank you for the compliment.

                                            Just an update,I have taken a few days to finally build my tool storage cabinets and racks it was getting too hard to find anything and with the fine detail stuff starting to happen I really need to do it.

                                            We also purchased a 3d printer today so I can print some of my master parts from cad files, things like cowl vents, bollards, chain etc will be printed sanded primed and moulds made for casting resin.

                                            had some very nice results with the weld seams, I used epoxy putty like microputty pushed on in between masking tape half a mm apart, once lightly sanded it looks very very good.

                                            #63504
                                            Gareth Jones
                                            Participant
                                              @garethjones79649

                                              Hi Richard,

                                              You are doing a fantastic job with this project, the attention to detail and workmanship is outstanding. It makes my model of Shemarah pale into insignificance. Keep up the postings, its definitely a masterclass in model shipbuilding.

                                              Gareth

                                              #63519
                                              Richard H Dunn
                                              Participant
                                                @richardhdunn

                                                Thank you Gareth but I keep going to yours when I need reassurance that I can do this..

                                                So I tried the 3d printer today on fine setting with PLA plastic not ABS and the results are promising.

                                                Below is a gear that comes with it for testing and a Dundas mooring pipe I modeled in 3d and printed.

                                                dscn0821[1].jpg

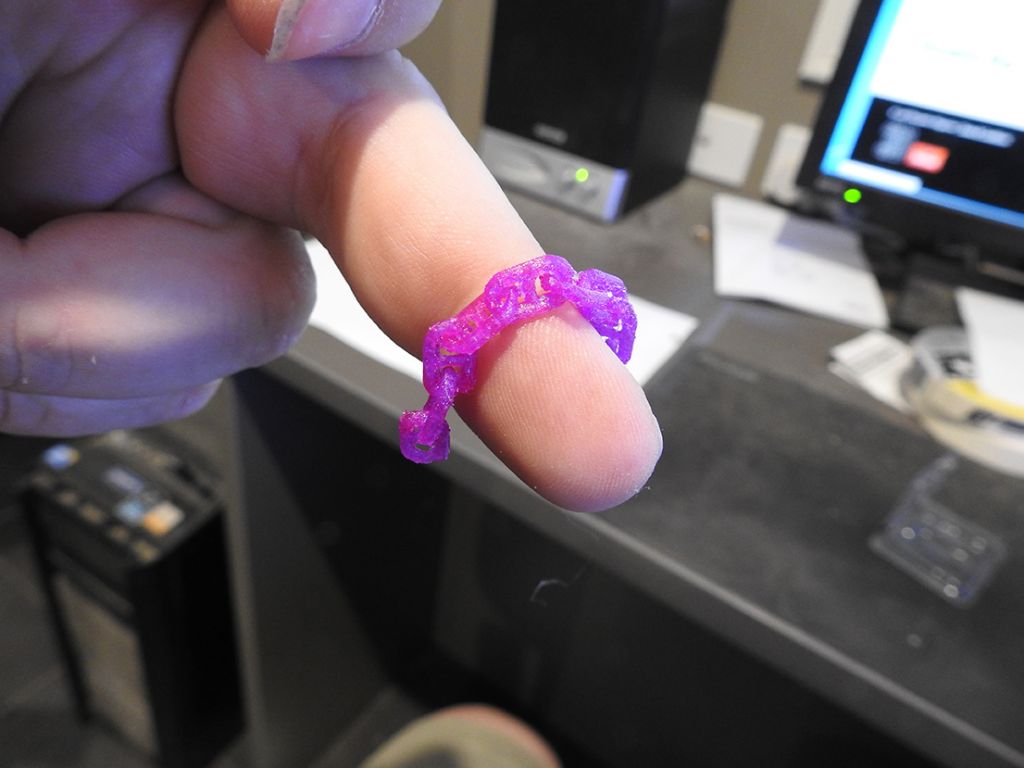
                                                Here is some scale anchor chain, really pushed its limits here but i think with the right solvent treatment it will smooth out ok.

                                                This is far from an acceptable standard I know …just a test….although chain is quite rough.

                                                some of the links were fused together because I had not spaced them out with absolute accuracy.

                                                chain 2.jpg

                                                #63523
                                                Diede van Abs
                                                Participant
                                                  @diedevanabs87670

                                                  Hi Richard,

                                                  What model 3D printer did you buy? I am (not quite yet actually… financial stuff) in the market for a printer but the jury is still out on the model/brand.

                                                  #63544
                                                  Richard H Dunn
                                                  Participant
                                                    @richardhdunn

                                                    Hi Diede

                                                    After a few days debating if the 3d printer was a gimmick or a valid purchase we opted to give it a go we purchased the Cocoon Create 3d printer from Aldi (a supermarket!) it's a re branded WanHao i3 with improvements and paid $500 for it.

                                                    The tip is a .4mm one and layers from 0 .1-0.4 mm, ok for most prototypes when you consider I will have to sand or acetone vapour polish the parts anyway.

                                                    Personally I am using it to make master models for casting so no parts will actually get used on model at this stage

                                                    So far it has been good, but it's early days…jury is still out.

                                                    We have not done ABS yet as we wanted to make sure it's not a lemon before buying more filament.

                                                    The most annoying part is having to level the table every time, and the little wing nuts are a bugger to get to with big fat fingers like me.

                                                    I think Aldi are going to be sorry they sold these as sooo many people who bought them will not have the most simple idea how to use it properly, and I imagine many will be returned for user error problems.

                                                    dscn0819[1].jpg

                                                    #63586
                                                    Richard H Dunn
                                                    Participant
                                                      @richardhdunn

                                                      Hi Everyone.
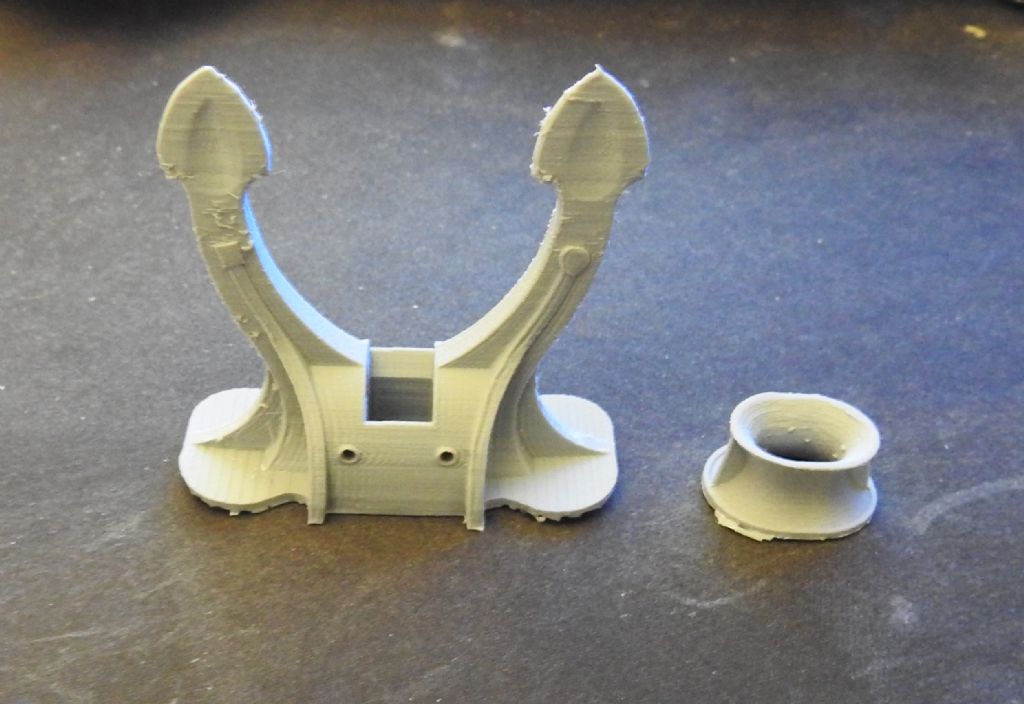
                                                      The result of my anchor print in PLA, once this is done in ABS and cleaned up, corners all filed I think it will look good.

                                                      I am printing the stock and pin now, I will upload when together.

                                                      anchor print.jpg

                                                    Viewing 25 posts - 101 through 125 (of 411 total)
                                                    • Please log in to reply to this topic. Registering is free and easy using the links on the menu at the top of this page.

                                                    Code of conduct | Forum Help/FAQs

                                                    Advert

                                                    Latest Replies

                                                    Home Forums Scratch build Topics

                                                    Viewing 25 topics - 1 through 25 (of 25 total)
                                                    Viewing 25 topics - 1 through 25 (of 25 total)

                                                    View full reply list.

                                                    Advert

                                                    Newsletter Sign-up