Prototype build of ELLIE

Advert

Prototype build of ELLIE

Home Forums Scratch build Prototype build of ELLIE

  • This topic is empty.
Viewing 25 posts - 301 through 325 (of 1,441 total)
  • Author
    Posts
  • #43168
    Dave Milbourn
    Participant
      @davemilbourn48782

      Paul
      There may be a bit of confusion in terms here. M4 shafts (i.e. the rotating bit) are the most commonly used for electric motors of the size likely to be fitted to Elie. They usually run in tubes 8mm in diameter. I have never seen actual shafts of 8mm diameter (M8) and I wonder how big the corresponding tubes are. At the very maximum I'd say that M5 shafts and tubes would suit IC motors fitted here. M8 is way too big – and where do you get the props??!!
      Dave M

      Advert
      #43170
      Bob Abell 2
      Participant
        @bobabell2

        Hello Chaps

        Been away for a few days, so I'm a bit out of touch at the moment

        I notice, there's been some gaiety over the Breast Hook again and our friend Larry has overstepped the mark?…..Not to worry, Larry…..Worse things happen at sea?

        Paul…….Was the 8mm prop shaft a typo or what?…….I guess you are referring the tube size?

        Now back to work, Bob

        Now was I?………Hmmmmmm?

        Bob

        #43171
        Paul T
        Participant
          @pault84577

          Dear All

          I must apologise for talking in O/D tube sizes when I should have been referring to shaft dimensions.

          For clarification I can confirm that the 8mm prop shaft dimensions refer to O/D tube sizes.

          Paul

          #43181
          Peter Fitness
          Participant
            @peterfitness34857

            It's all clear now Paulyes

            Peter.

            #43183
            Paul T
            Participant
              @pault84577

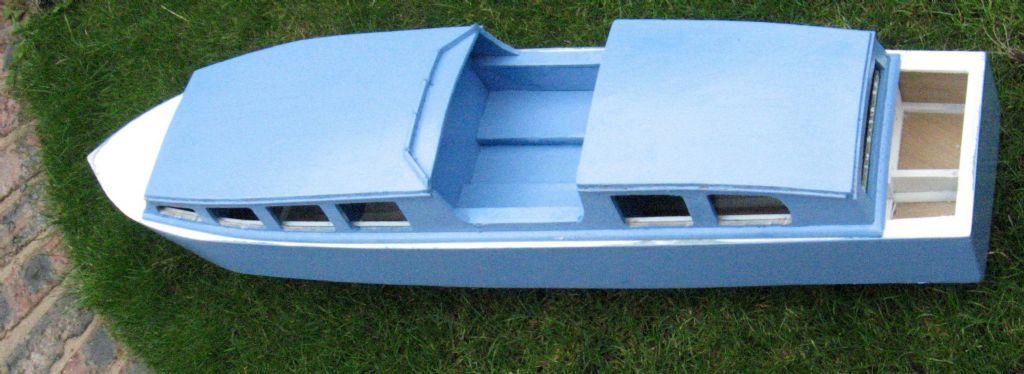
              Here are some more images of the first prototype 'warts and all'

              img_4877.jpg

              img_4882.jpg

              If you look closely you will see where I played around with the design when trying to make it easier to build.

              The frames in the cabin became a necessary inclusion in order to maintain the three dimensional camber of the cabin roofs, in the final version these parts will have optional centre cutouts.

              This prototype has been left out in the garden for a few weeks to test the specified materials and their interaction with the weather. So far it has been flooded with rain water and baked in direct sunlight without any burst seams or warping.

              Paul

              Edited By Paul T on 22/08/2013 07:49:11

              #43191
              Bob Abell 2
              Participant
                @bobabell2

                Research and development to Drawing office

                Just doing some research into hull handling, during skin assembly

                There`s no rush to remove the former base strips……They can be used for clamping the hull to the bench during skin assembly

                1.5mm ply may not sound much, but it is very reluctant to bend over short lengths! Especially the prow joint……….

                We apologise for a break in transmission!….Unable to post pictures at the moment!

                Pictures of hull assembly to follow as soon as possible

                Bob having a Senior Moment?

                #43192
                Bob Abell 2
                Participant
                  @bobabell2

                  Still not working!

                  Colin!…..Help!…..Can`t post pictures!

                  Photo select page is scrambled?

                  Bob

                  #43198
                  Dave_P
                  Participant
                    @dave_p

                    Try putting a shilling in the meter. wink

                    #43199
                    Bob Abell 2
                    Participant
                      @bobabell2

                      Hello Dave……..Those were the days…..A shilling for the meter or a few pennies for the gas!

                      In total darkness too!………..Down in the dark damp cellar!……With the odd rat or two for company!

                      Website still out of action?

                      The list of photo`s is still scrambled?……Any body else with this problem?

                      Bob

                      #43201
                      Paul T
                      Participant
                        @pault84577

                        457047.jpg

                        No problem for me Bob in fact I've just been looking at your latest photos.

                        ps whats a shilling?

                        Edited By Paul T on 22/08/2013 18:56:06

                        #43203
                        Bob Abell 2
                        Participant
                          @bobabell2

                          Hello Paul

                          Will you post the other two pix now please and I`ll say a few words

                          What`s a Shilling?

                          A Shilling is a Bob and is 12 old pennies

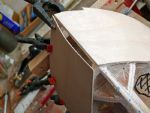
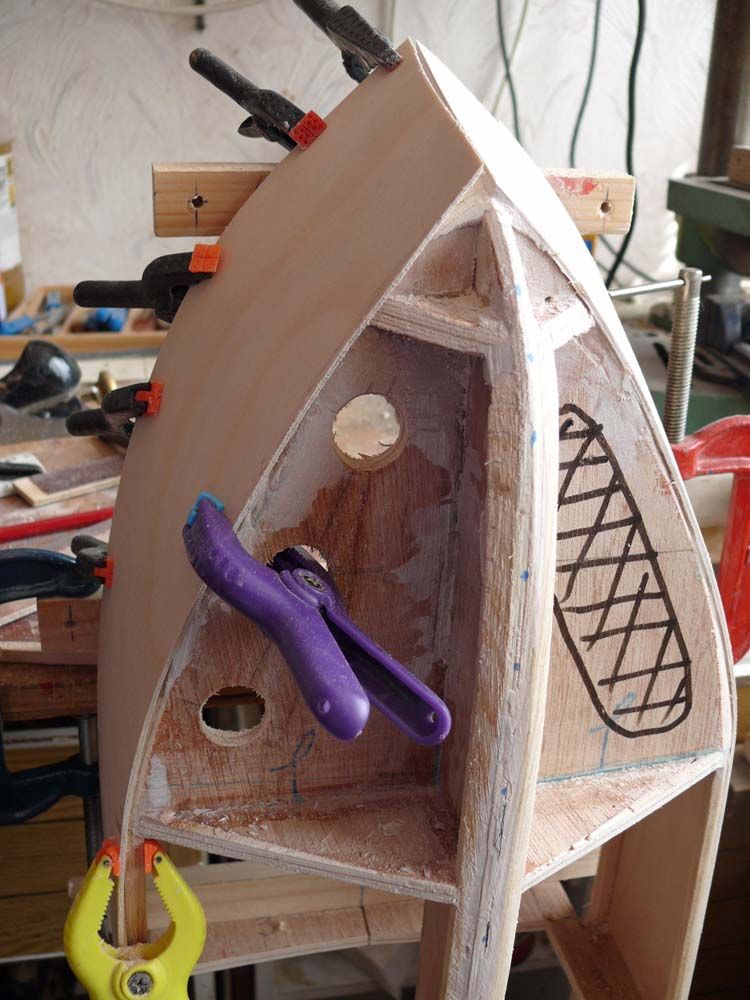
                          The picture is the prow joint and is as sharp as a razor!………If only I could clamp it!

                          For a clamp, I`m suggesting a few vee blocks, closing the point and held down by cord and weights?

                          Bob

                          #43204
                          Paul T
                          Participant
                            @pault84577

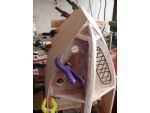
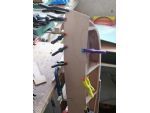
                            Pics from Bobs album

                            457043.jpg

                            457044.jpg

                            #43205
                            Bob Abell 2
                            Participant
                              @bobabell2

                              Thank you, Paul……….Rather small, old chap?

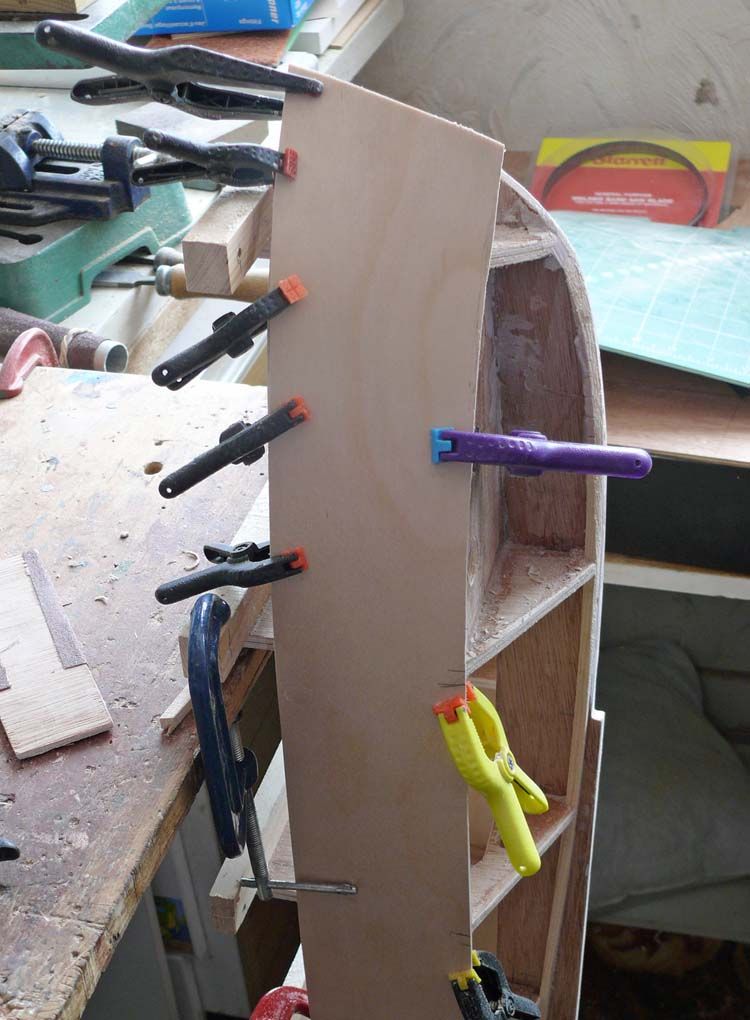
                              The top picture shows another of my great ideas!…….Holes drilled in the Breadhook for clamps!…………and it works well

                              The other picture, shows that the hull assembly can be clamped to the bench, using the former feet, for working on the prow joint

                              Bob

                              #43207
                              Paul T
                              Participant
                                @pault84577

                                Sorry Bob but thats the size that they were in the album

                                #43208
                                Dave_P
                                Participant
                                  @dave_p

                                  One bob = two tanners.

                                  #43209
                                  Bob Abell 2
                                  Participant
                                    @bobabell2

                                    Ha! Ha!

                                    Paul has cracked it!

                                    It was a compatibility problem!……..The icon is at the top of this page and looks like a piece of torn paper!

                                    Thanks Paul

                                    clamp holes.jpg

                                    The breadhook could have a few holes as shown or a sausage hole as indicated on the right

                                    upright mode.jpg

                                    The former feet can be used to clamp the hull to the bench, in the upright mode

                                    The stern needs some support too

                                    Bob

                                    #43210
                                    Bob Abell 2
                                    Participant
                                      @bobabell2

                                      Two tanners equal four Joey's!

                                      That's got yer!

                                      Old Bob

                                      #43212
                                      Dave_P
                                      Participant
                                        @dave_p

                                        Joey = 1 threepenny piece. Remember them well. Remember ha'pennies too and farthings but they were not in use. (born 1957).

                                        Sorry moderator for going off topic.

                                        Dave

                                        #43222
                                        Paul T
                                        Participant
                                          @pault84577

                                          Glad to help Bob but I can't take the credit for knowing about the 'ripped paper' icon as i was having some similar trouble a few weeks ago and our most excellent moderator showed me the solution.

                                          Since then I have found out just how much work Colin does in the background just so we can have fun on the forum.

                                          Paul

                                          #43224
                                          Bob Abell 2
                                          Participant
                                            @bobabell2

                                            Ha! Ha!

                                            Colin told me the same story about five years ago and of course I`d forgotten….Thanks once again, Colin!

                                            Still working on the prow clamp…..For the Newbies benefit!

                                            The wooden vee shape idea, is promising, but is not quite closing the prow gap!

                                            Plan B is to screw the hull on the bench again and force the vee blocks against the prow!

                                            Bob

                                            #43225
                                            Paul T
                                            Participant
                                              @pault84577

                                              Bob

                                              With the newbie in mind would it not be simpler to use Larrys idea of drilling small holes and using tie wires, or just drill pilot holes and hold the pieces in place with small screws until the glue has fully set.

                                              Either way once the glue has set the fixings can be removed and the holes filled.

                                              My preference is to lay the model on its side and use 1in rachet straps and steam to the pull the skin in to shape as this method works well on all of my larger models where I use 4mm ply as skin.

                                              Paul

                                              #43231
                                              Bob Abell 2
                                              Participant
                                                @bobabell2

                                                Hello Paul

                                                The drilled and soft wire would certainly work, but the is the danger of getting a wavey effect?

                                                Notice how easy it was to glue the first skin in position?

                                                That was because we had the prow stem to clamp against!

                                                How about glueing something similar to the previously assembled skin?

                                                To make the process even more predictable, why not glue temporary strips to both skins?

                                                I'll try it

                                                Bob

                                                #43236
                                                Paul T
                                                Participant
                                                  @pault84577

                                                  Bob

                                                  I have to admit that I can't visualise your temporary glued strip idea so I am looking forward to seeing the photos.

                                                  Paul

                                                  #43240
                                                  Dave_P
                                                  Participant
                                                    @dave_p

                                                    Personally I don't like the idea of having so much stress being built into the bows and just relying on glue to hold it. Screws would be better but I will be happier using solid or laminated block from first bulkhead/frame. Just my preference and the more likely course I may take when it comes to the build.

                                                    #43242
                                                    Bob Abell 2
                                                    Participant
                                                      @bobabell2

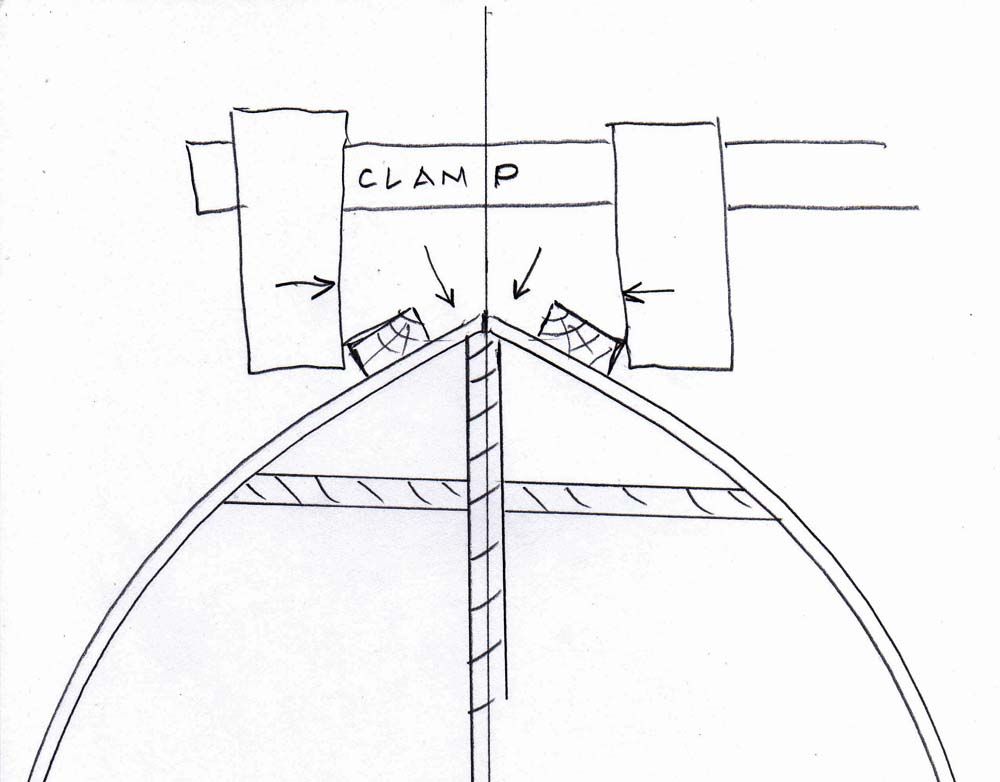
                                                      This is what I mean…..

                                                      prow clamp.jpg

                                                      The blocks would need to be really well glued, to withstand the clamping forces!

                                                      At the moment, the RH skin is glued in position and all we need to do, is simply close the LH skin

                                                      The force required is quite large and needs a good clamp somehow, don`t also forget that the prow slopes back about 20 degrees

                                                      I`m nearly there, but it ain`t too scientific!

                                                      The problem is……What are you going tell the Newbies?

                                                      Bob

                                                    Viewing 25 posts - 301 through 325 (of 1,441 total)
                                                    • Please log in to reply to this topic. Registering is free and easy using the links on the menu at the top of this page.

                                                    Code of conduct | Forum Help/FAQs

                                                    Advert

                                                    Latest Replies

                                                    Home Forums Scratch build Topics

                                                    Viewing 25 topics - 1 through 25 (of 25 total)
                                                    Viewing 25 topics - 1 through 25 (of 25 total)

                                                    View full reply list.

                                                    Advert

                                                    Newsletter Sign-up