What a difference 10 thou makes …

Advert

What a difference 10 thou makes …

Home Forums Soapbox What a difference 10 thou makes …

  • This topic is empty.
Viewing 5 posts - 26 through 30 (of 30 total)
  • Author
    Posts
  • #76322
    Banjoman
    Participant
      @banjoman

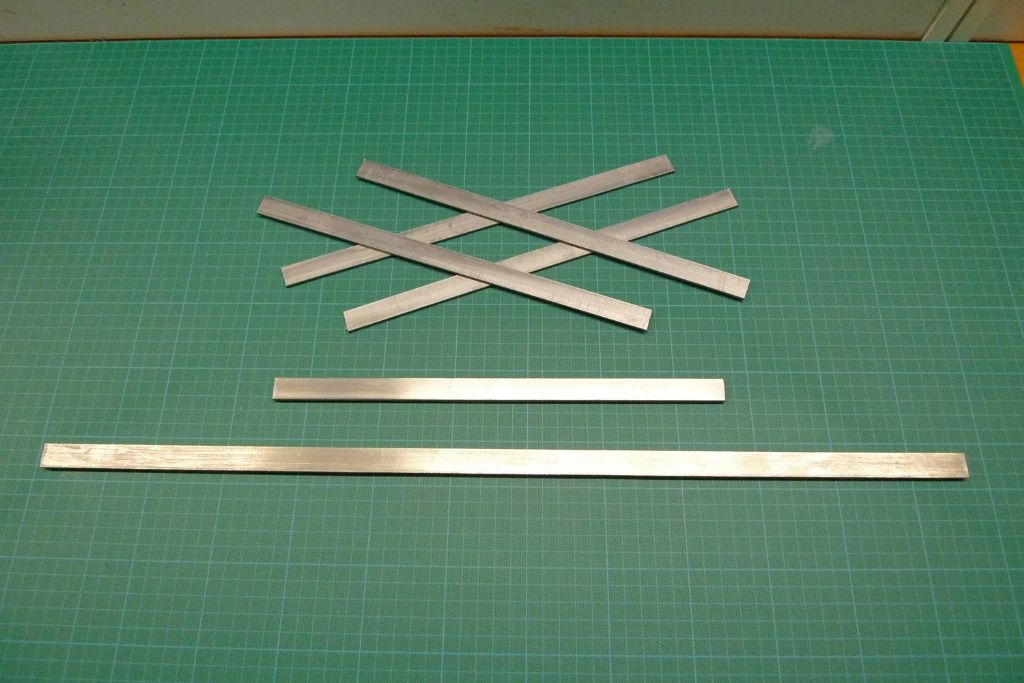
      Fortune did indeed smile, Dave; out of the six pieces of steel that I sourced from various suppliers (at, I hasten to add, very reasonable costs), only one was a perfect fit, even though they were all supposed to be 16 mm wide.

      Fair's fair, though; this sort of metal is not intended to be made (or sold as being, for that matter) to such high standards of precision; of the ones I got, four were around 6.20 mm, and so did not fit in the slot, while one was 15.85, and thus just a tad too narrow.

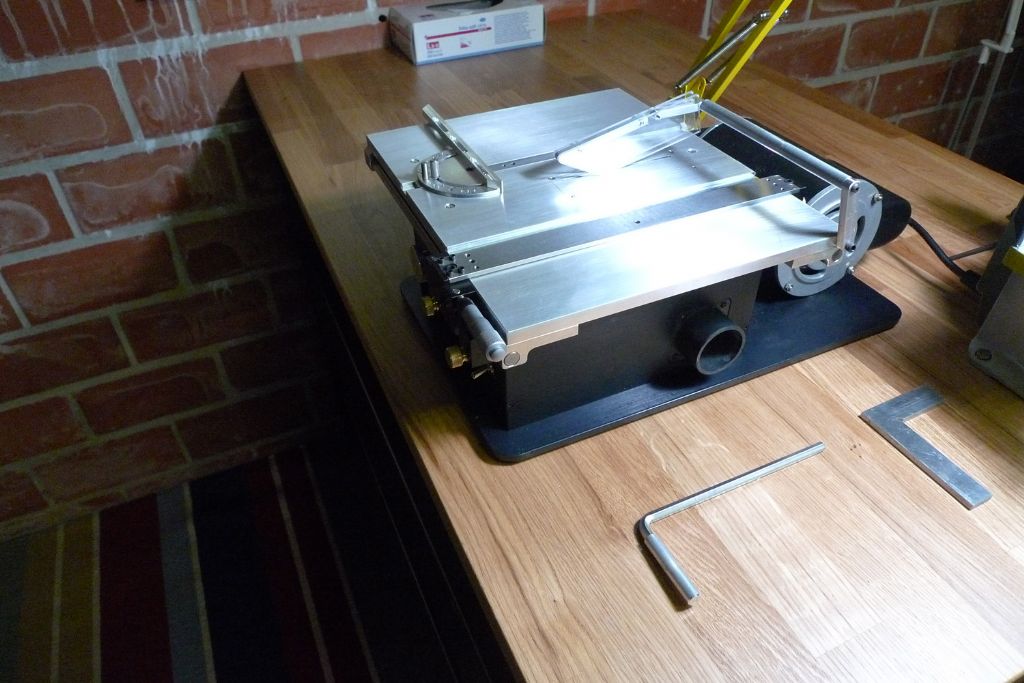
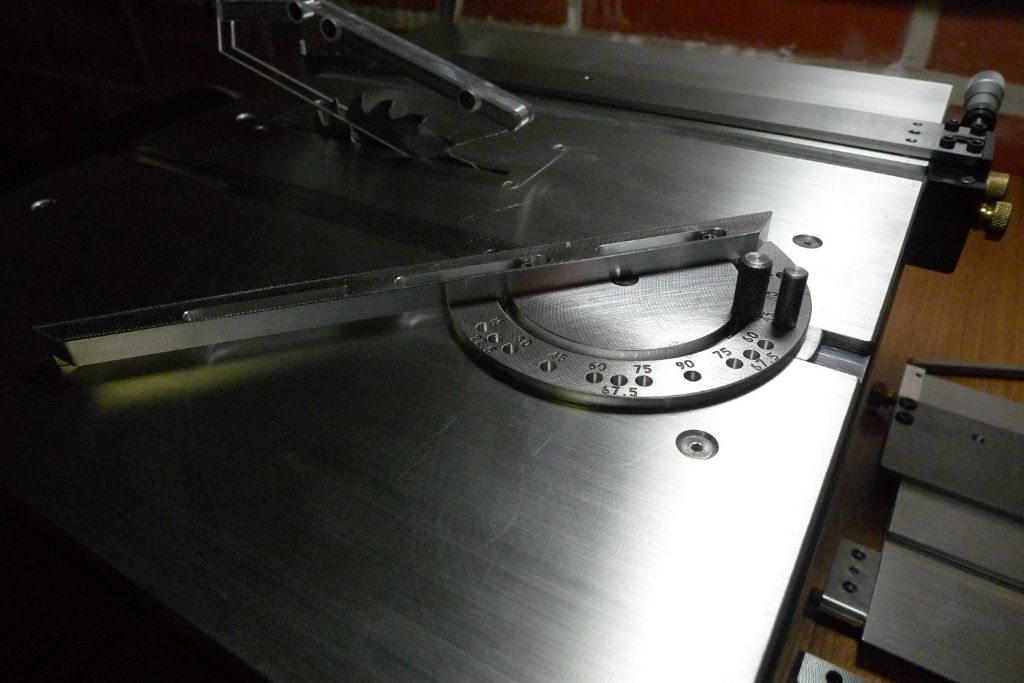
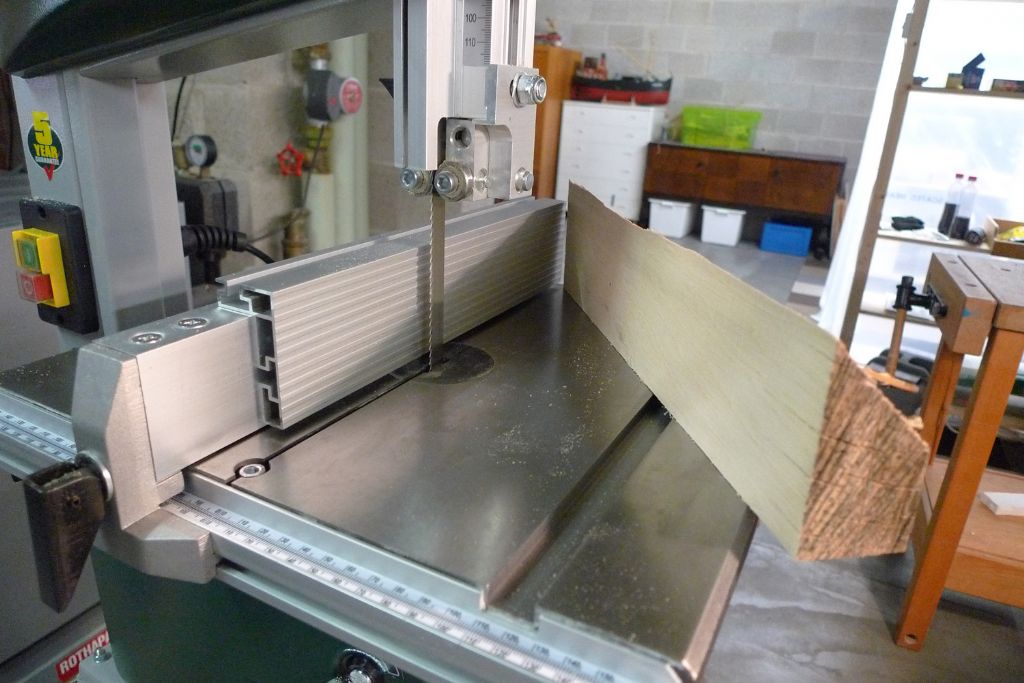
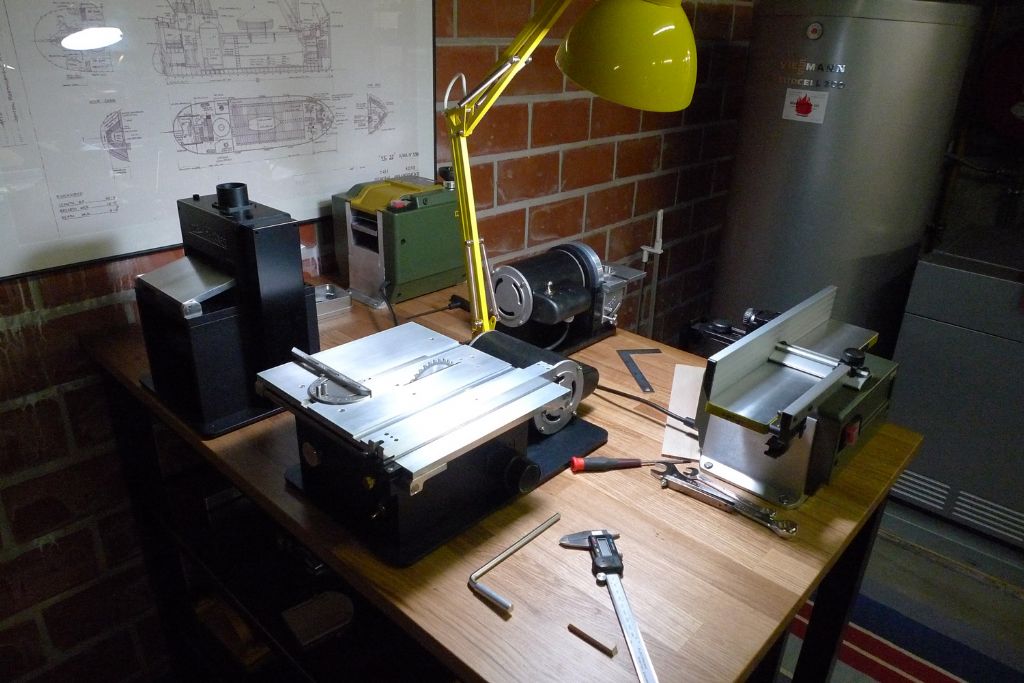
      Speaking of precision, though, I took delivery this week of a table saw from Byrnes Model Machines, and this one is a a true miracle of exactness!

      bmmsaw.jpg

      The rip fence just locks dead straight without any checking or other faffing about required, while the mitre fence is a wondrous thing in itself: it has a series of precision drilled holes set at all the usual angles, by which a desired standard angle can be selected with the simple use of a pin and set to the exact same position time after time after time. Very clever and just plain wonderful!

      verktyg199.jpg

      The cost of this machine is indeed equivalent to a selection of choice body parts, and I have had to save up for quite some time to be able to get my hands on one, but I already know that I will not regret it for one second, and that the price will be forgotten soon while the joy of the thing should last me for the rest of my natural days …

      Mattias

      Edited By Banjoman on 17/03/2018 19:43:00

      Edited By Banjoman on 17/03/2018 19:43:14

      Edited By Banjoman on 17/03/2018 19:43:24

      Advert
      #76558
      Banjoman
      Participant
        @banjoman

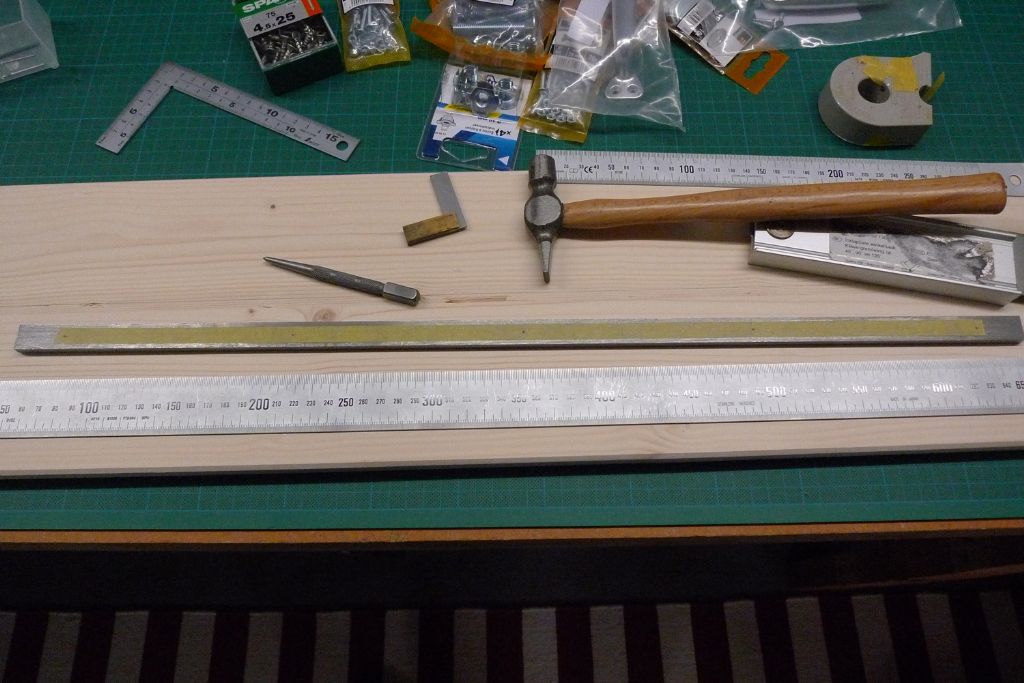
        Well! As already reported above, I managed to get hold of two feet's worth of 16×6 mm steel flat, and have, over the last few days, set out to make myself the cradle for which it was intended.

        verktyg206.jpg

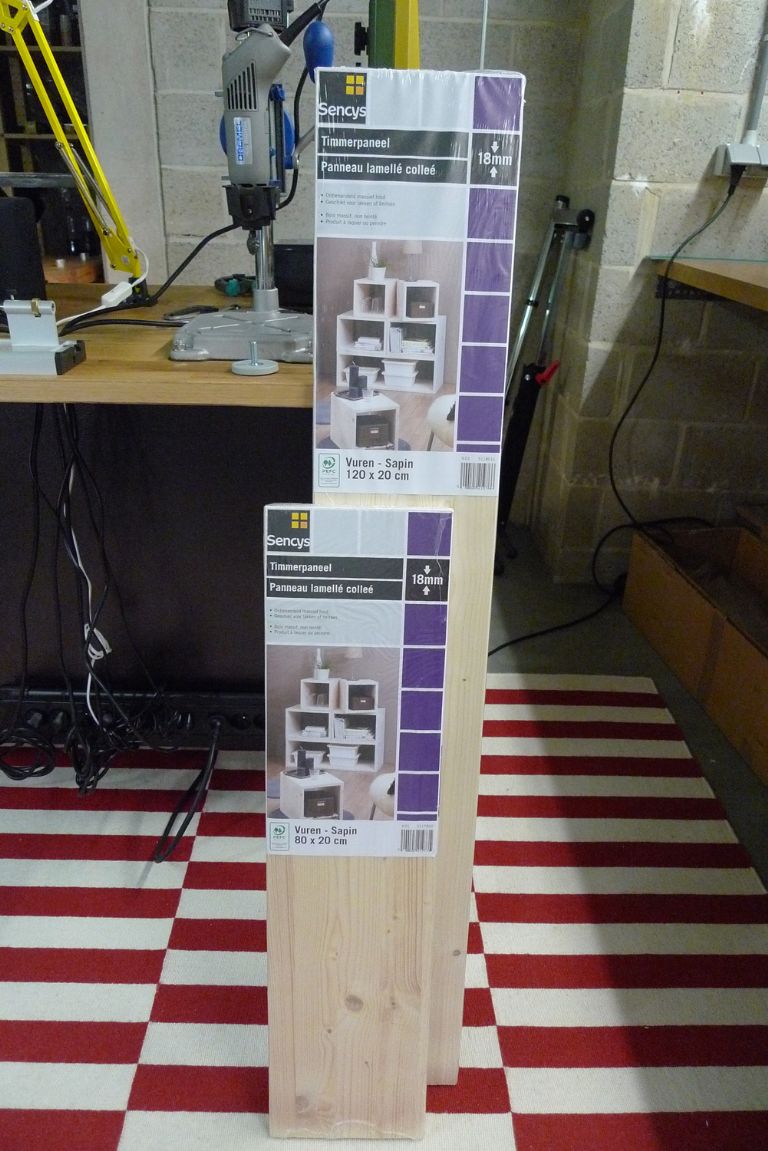
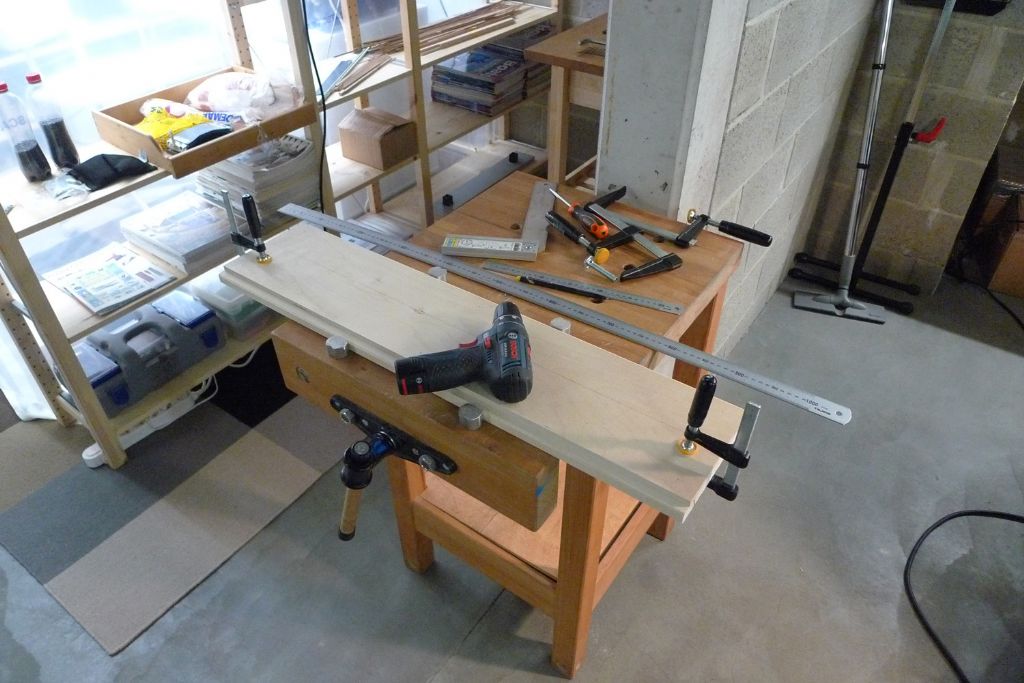
        For starters, I made a trip to the local DIY shop, where I picked up a couple of glued pine panels …

        verktyg216.jpg

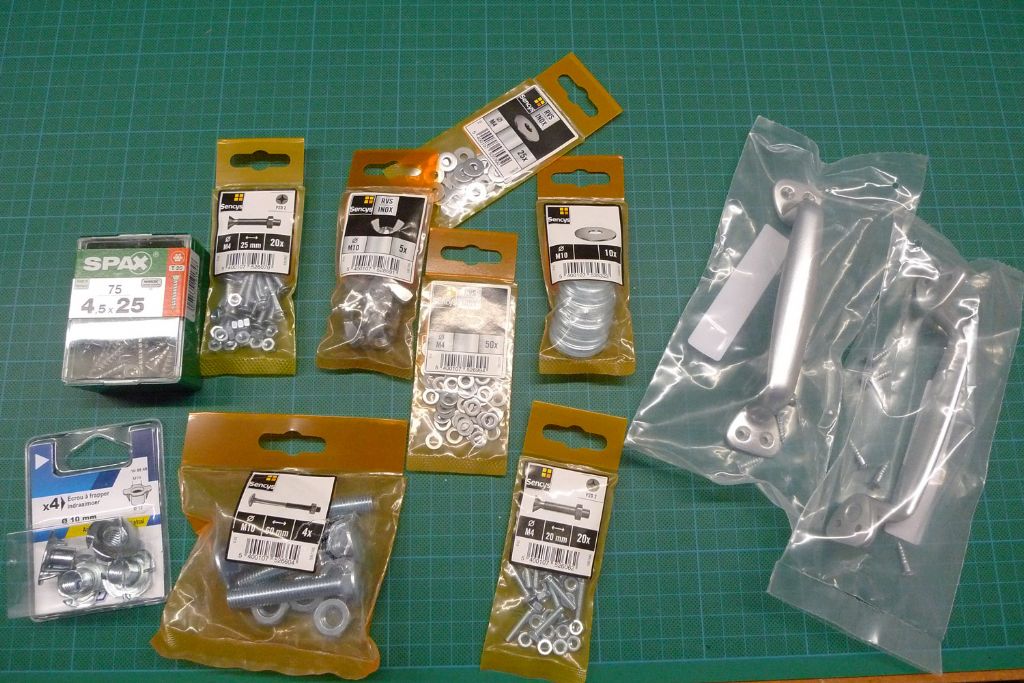
        … and assorted hardware.

        verktyg217.jpg

        I then measured for …

        verktyg225.jpg

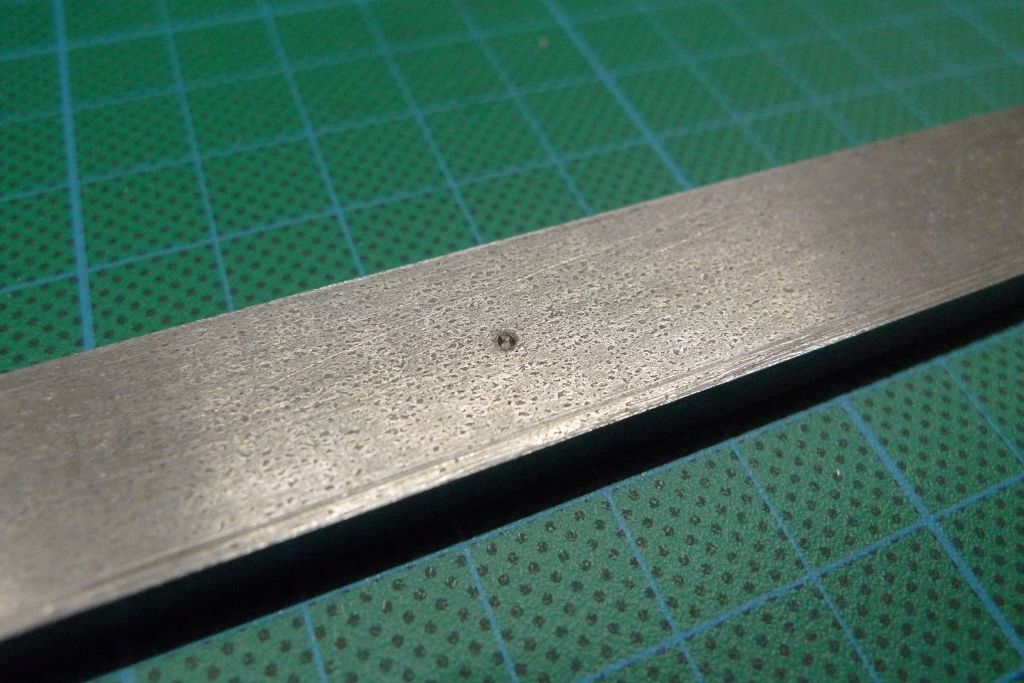
        … punch-marked …

        verktyg226.jpg

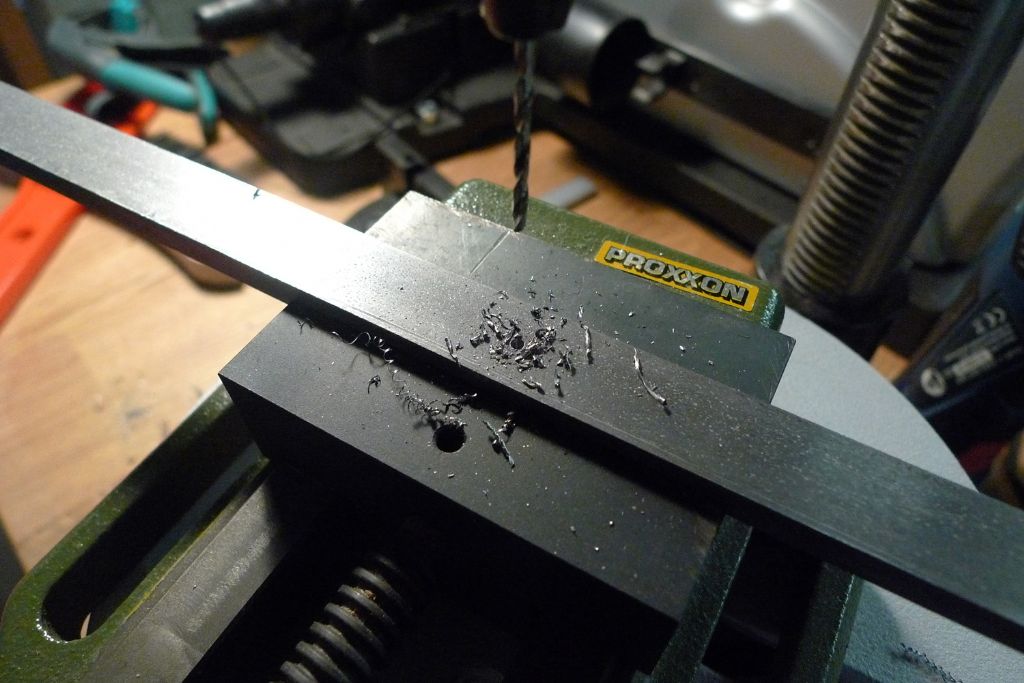
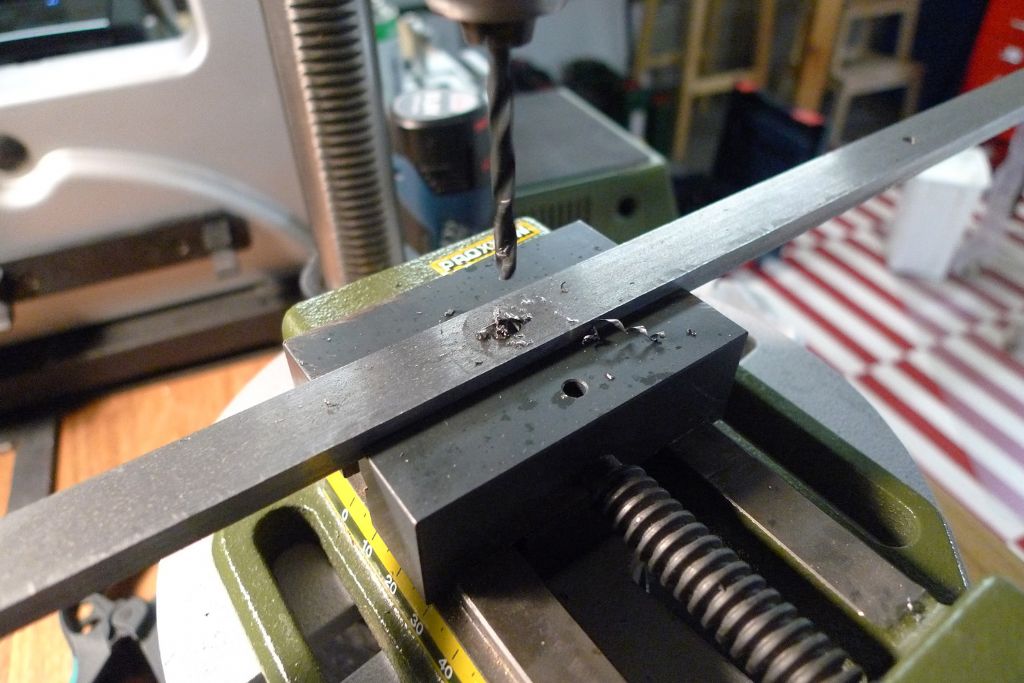
        … and drilled five 2 mm holes along the length of the steel flat.

        verktyg227.jpg

        Next, a suitable piece of 9 mm plywood was cut off from an old piece I found in my stash …

        verktyg228.jpg

        … aligned with the better part of the long pine panel …

        verktyg229.jpg

        … and fixed to the latter with six screws.

        verktyg230.jpg

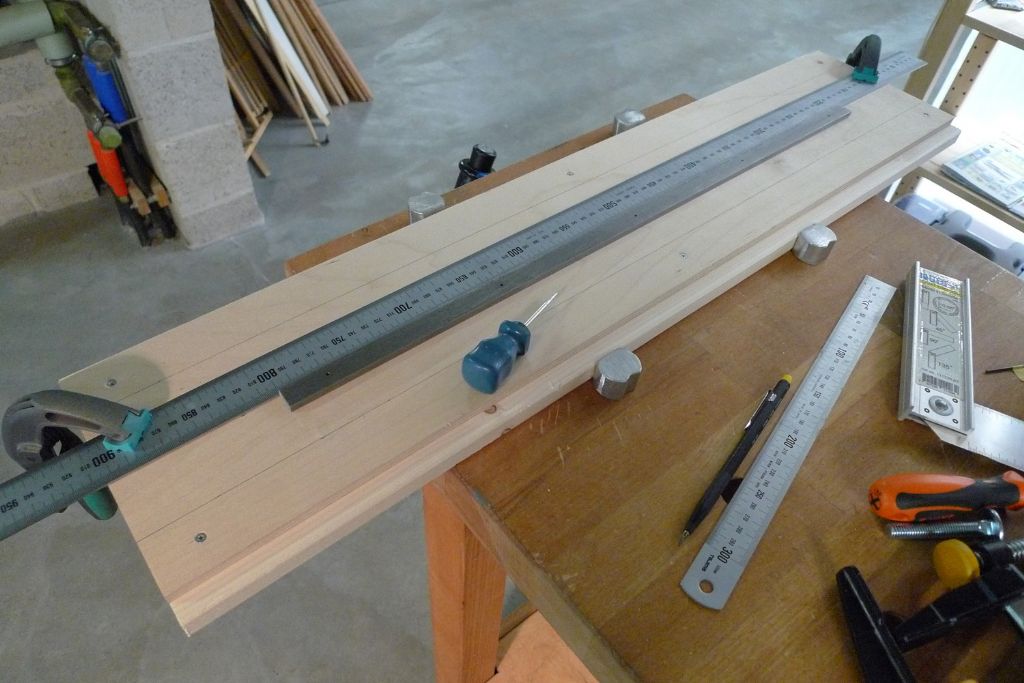
        Next, the steel flat was carefully set out, and the positions of the holes transferred to the plywood with an awl.

        verktyg231.jpg

        The five holes in the steel were then enlarged to 4 mm …

        verktyg232.jpg

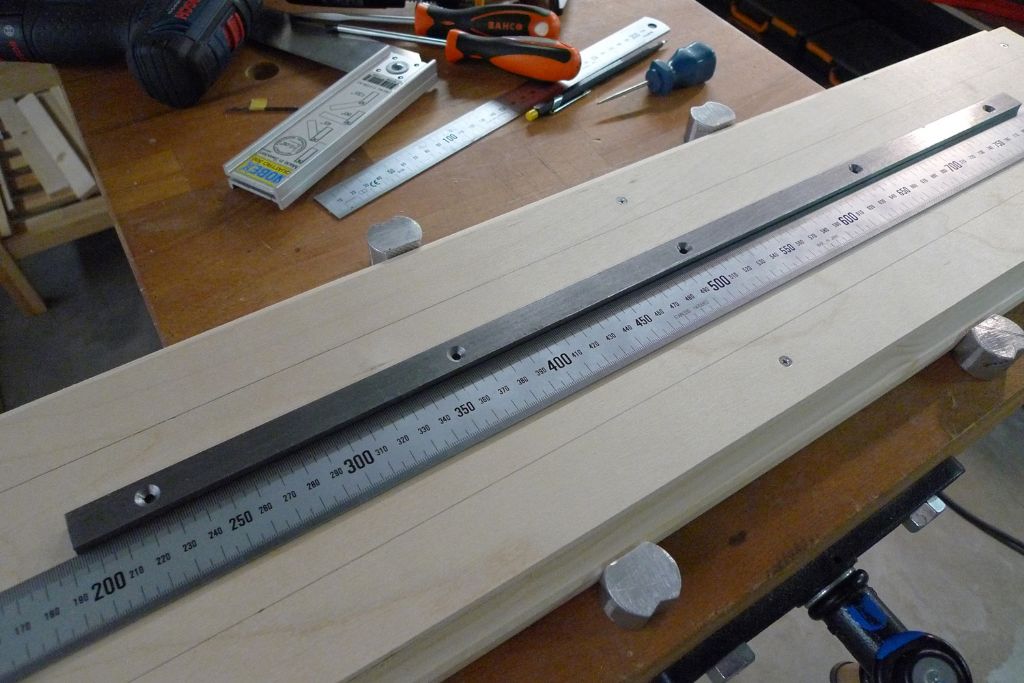
        … and countersunk on the underside …

        verktyg233.jpg

        … after which corresponding holes were drilled through the wood and countersunk on top …

        verktyg234.jpg

        … so that the steel flat could be bolted down with no parts of the nuts and bolts sticking out either side.

        verktyg235.jpg

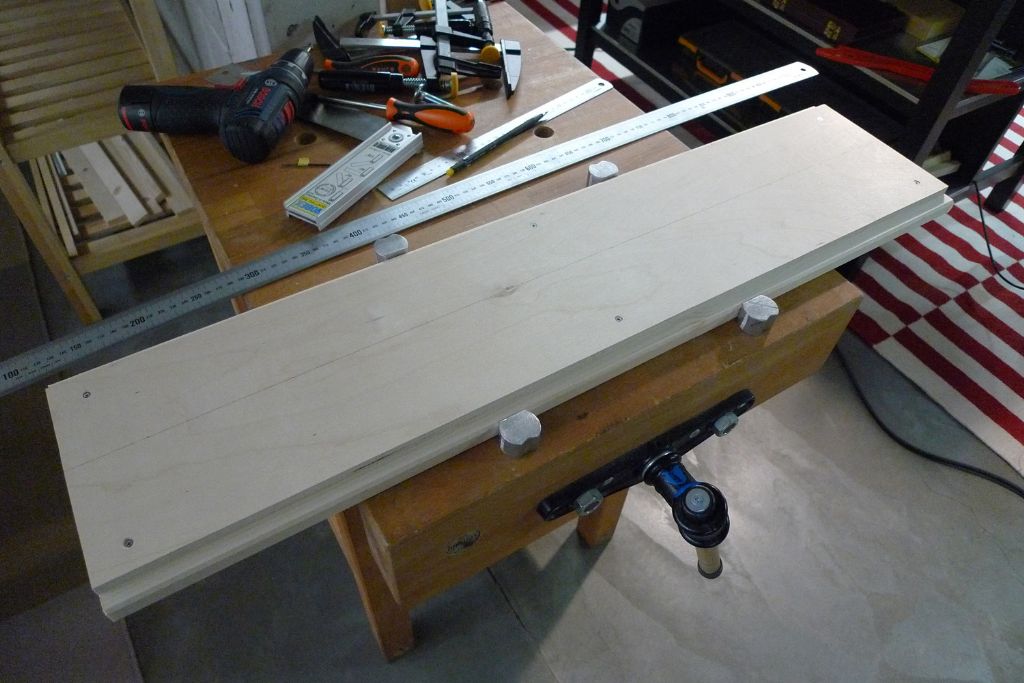
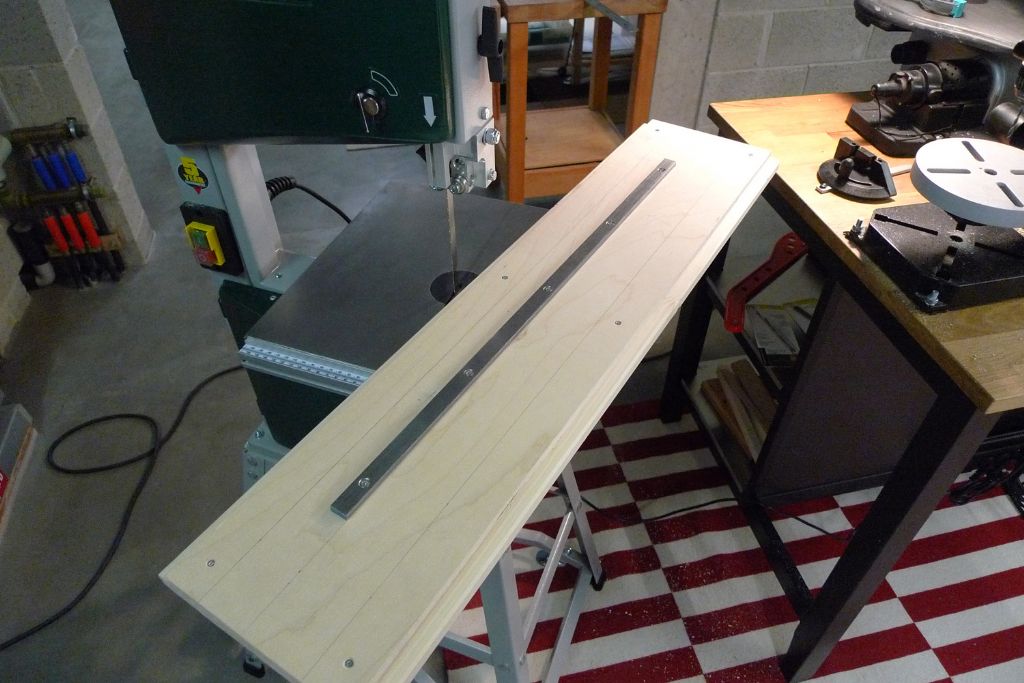
        This produced the base sledge of the cradle …

        verktyg236.jpg

        … which, with the steel flat engaged snuggly in the mitre slot, will glide smoothly in parallell with and some 6 mm away from the blade.

        verktyg237.jpg

        To be continued …

        Mattias

        #76559
        Banjoman
        Participant
          @banjoman

          The main eason why I made up this sledge base from both plywood and pine panel was that I (as yet) have no router, and figured that the easiest way to create the necessary stepped grooves would be to work with two pieces.

          To mark both those pieces with exactly the same lines, I next made four lengthwise saw cuts into them, 50 mm from each outer edge, and 250 and 350 mm from the respective ends.
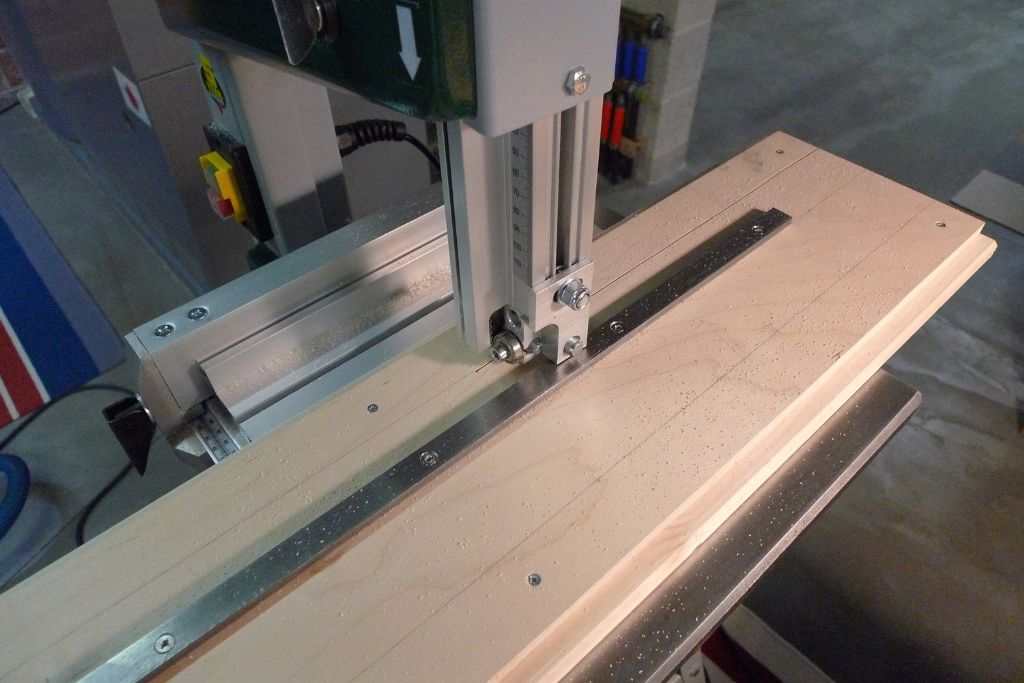
          verktyg238.jpg

          The two pieces were the separated again by unboilting the steel flat and rmovinbg the six screws, after which the plywood was given 25 mm diameter holes at the ends of the four saw cuts …
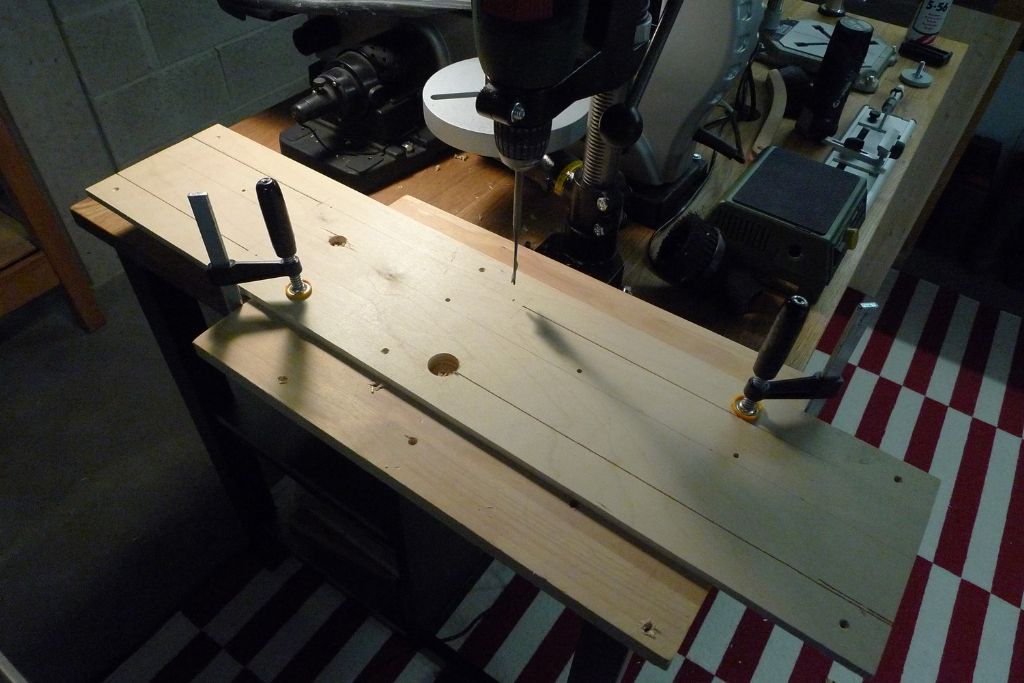
          verktyg239.jpg

          … and the correspnding strips of wood sawn away too …
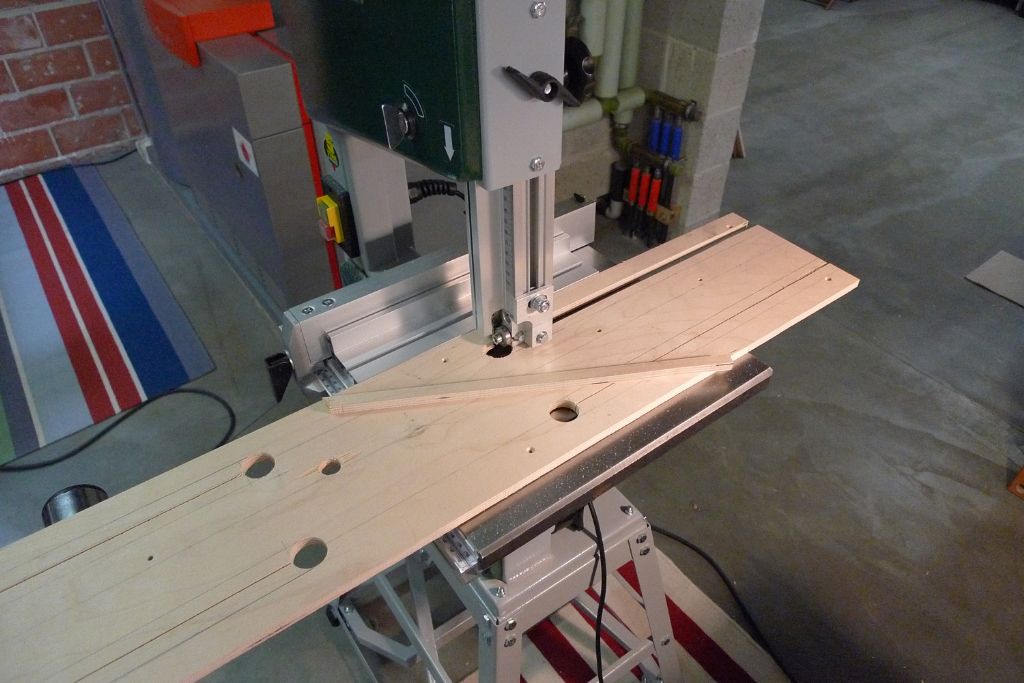
          verktyg240.jpg

          to produce four slots, 25×250 and 25×350 mm respectively.
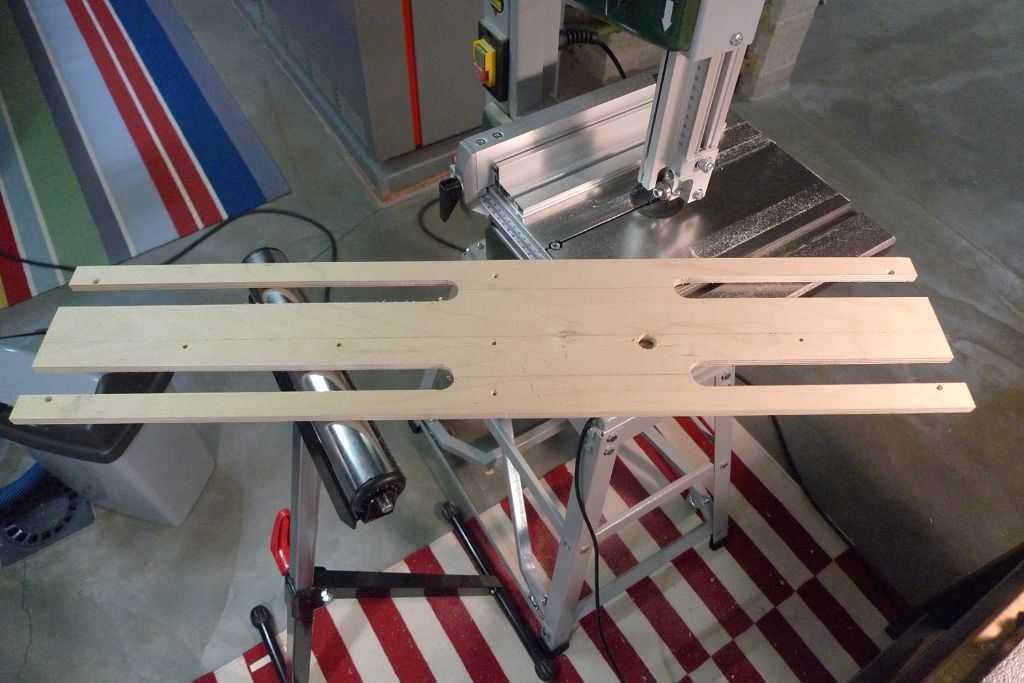
          verktyg241.jpg

          The pine panel was similarly treated, but with slots only 12 mm wide.
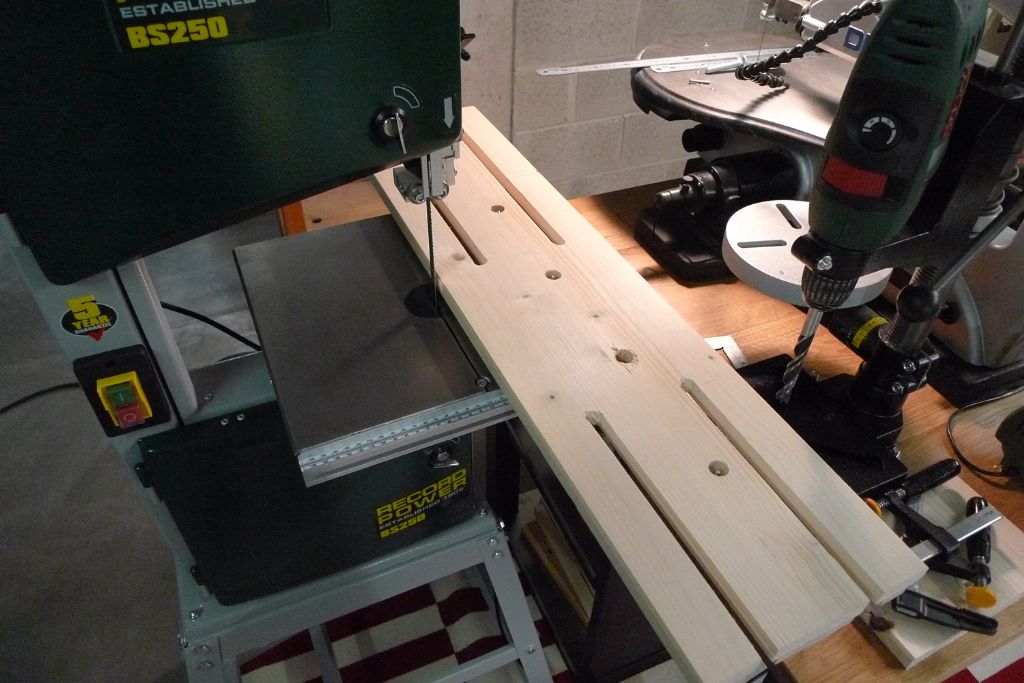
          verktyg242.jpg

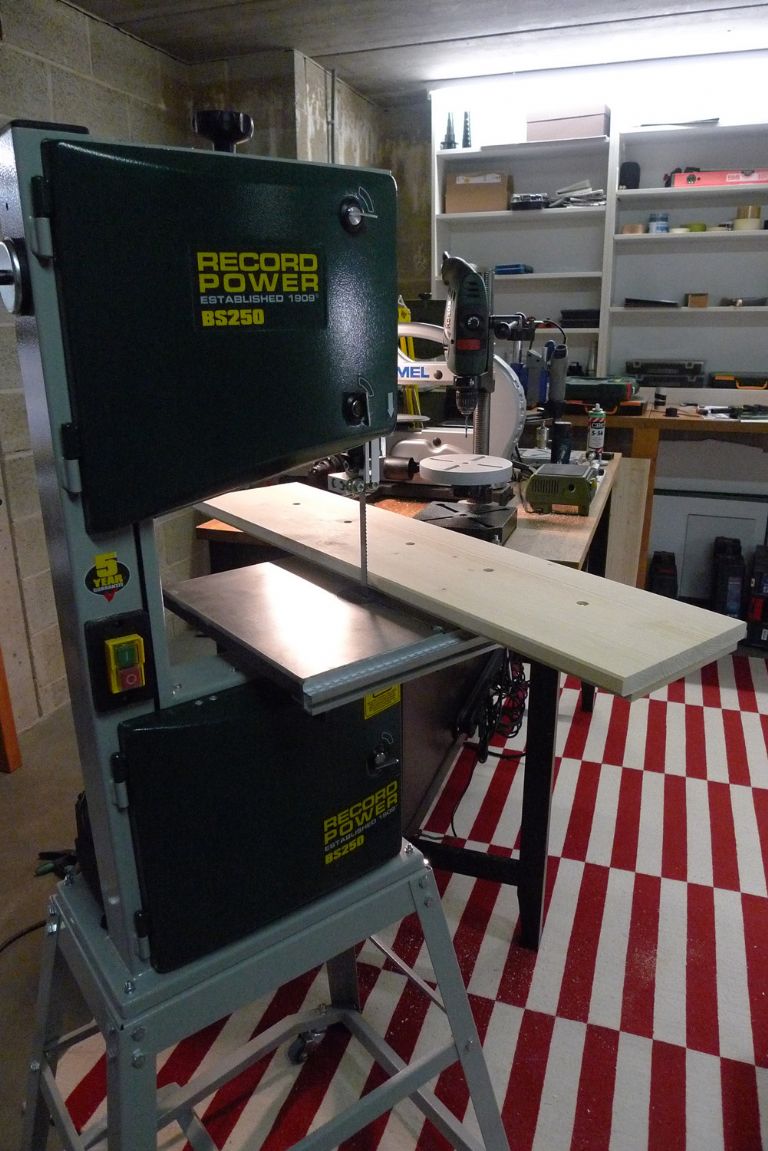
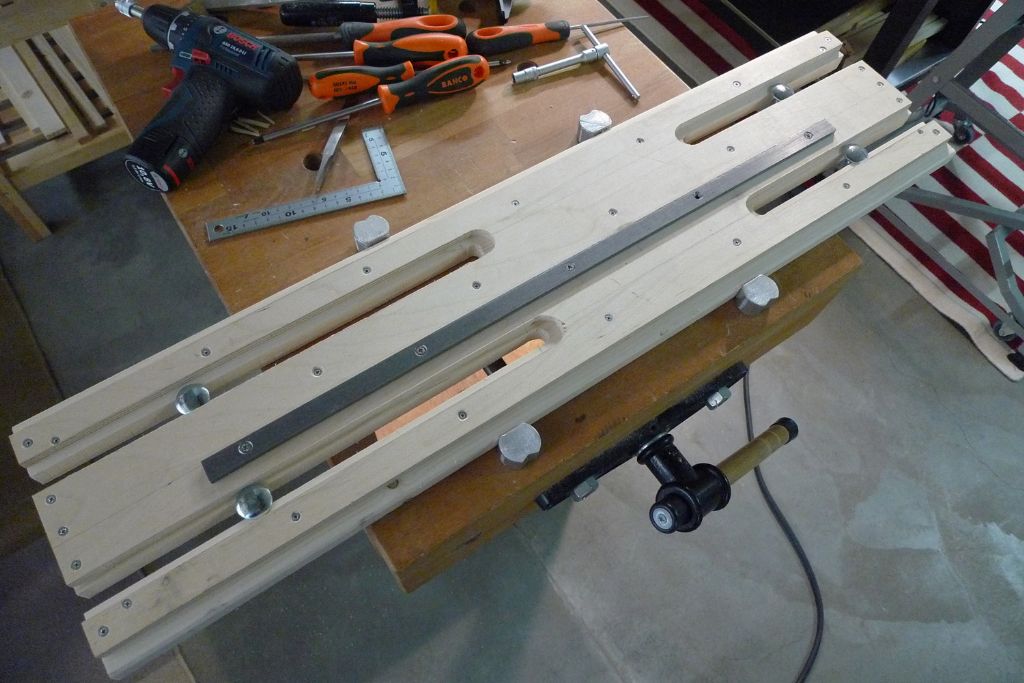
          Once the plywood and the pine were screwed back together (this time with considerably more than just six screws), 4 stepped slots were created into which the wide ends of four M10 bolts fitted nicely.
          verktyg243.jpg

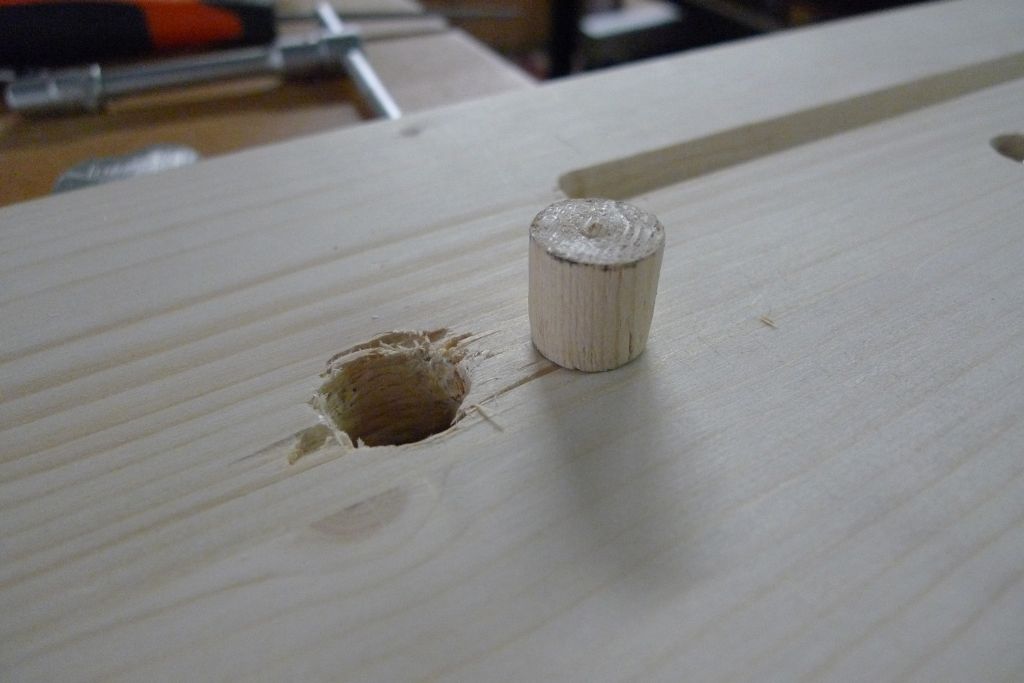
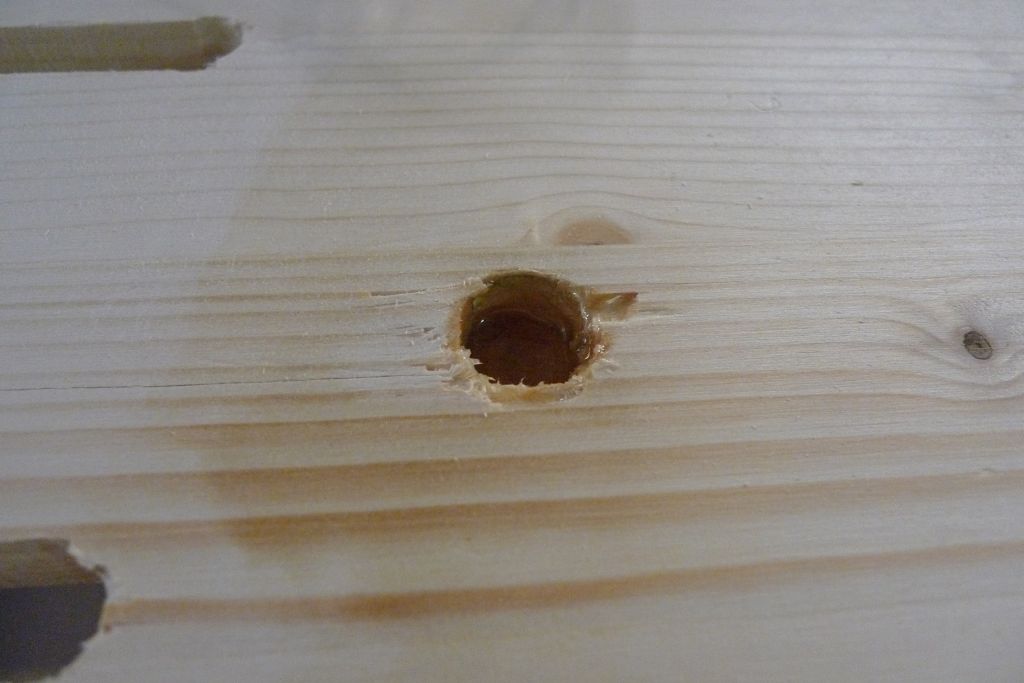
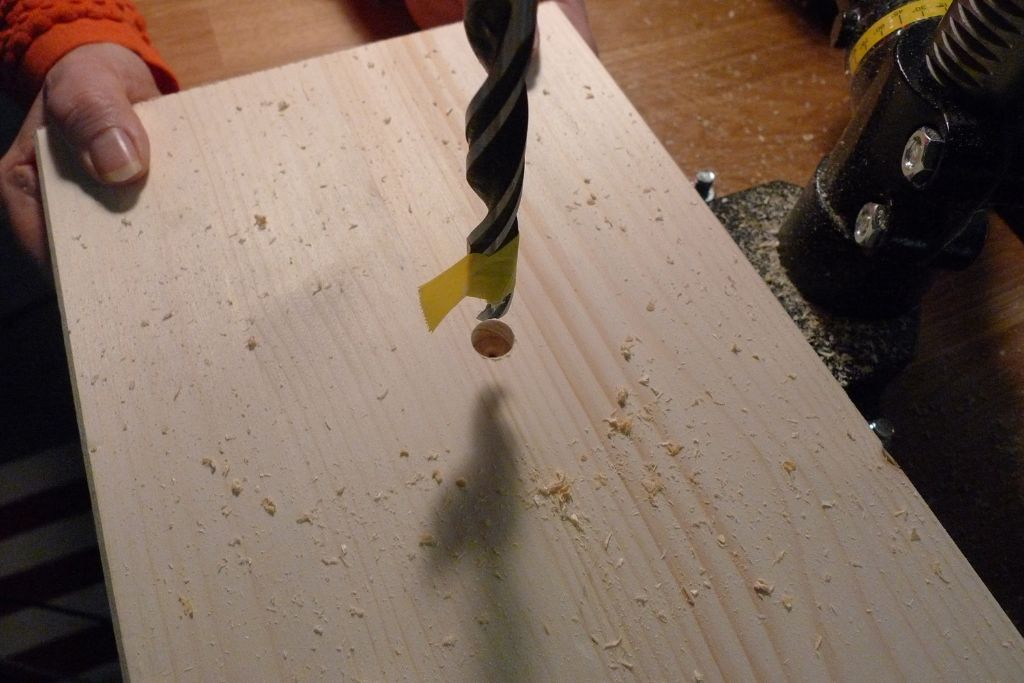
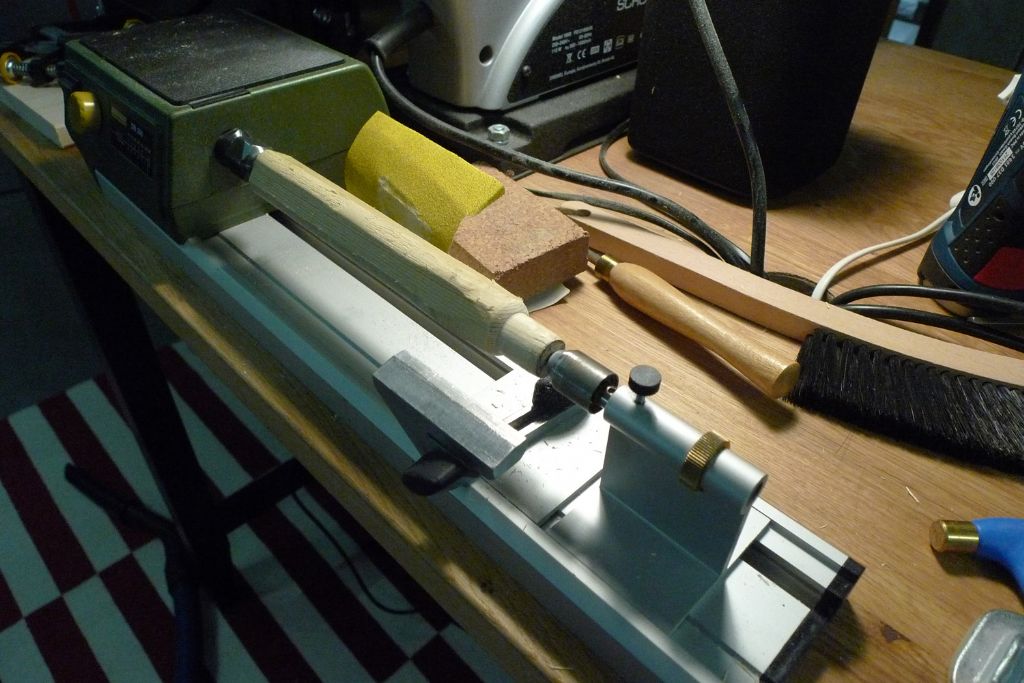
          An intermediate drilling accident had led to a large drill bit going all the way through the wood where one of the five steel flat fastening bolts were meant to go, so the micro lathe was called into service …
          verktyg244.jpg

          … to make up a suitable plug …

          verktyg245.jpg

          … which was then epoxied in place.

          verktyg246.jpg

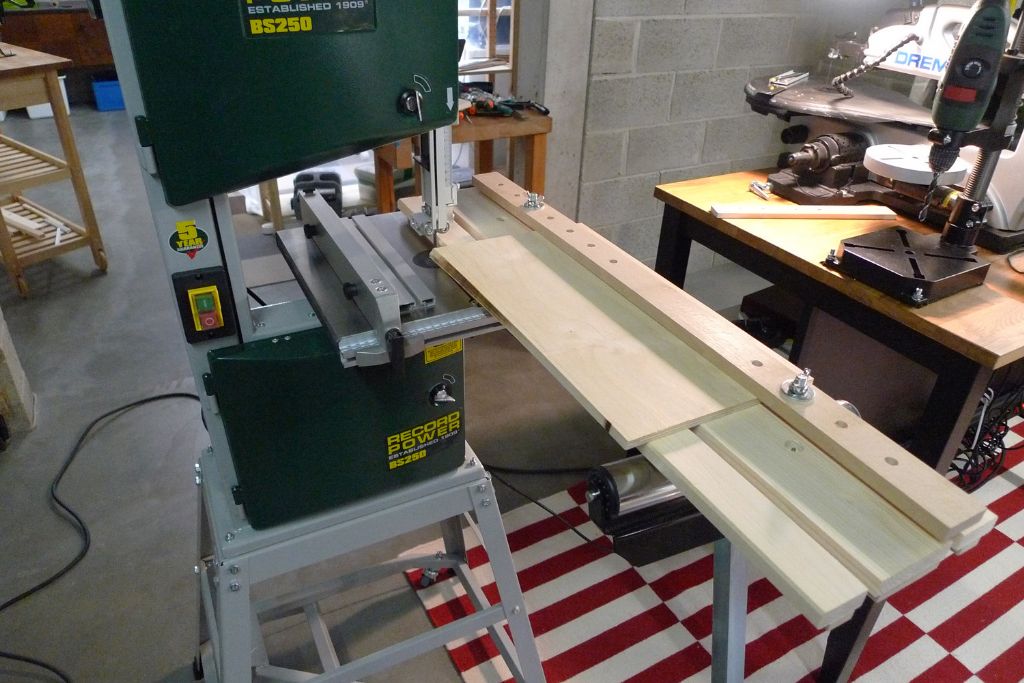
          A first holding piece was the made up in the form of a 45×18 mm lattice through which a series of 10 mm holes were drilled. With this, flat pieces, such as plywood, can be held down to have straight edge sawn on to them.
          verktyg247.jpg

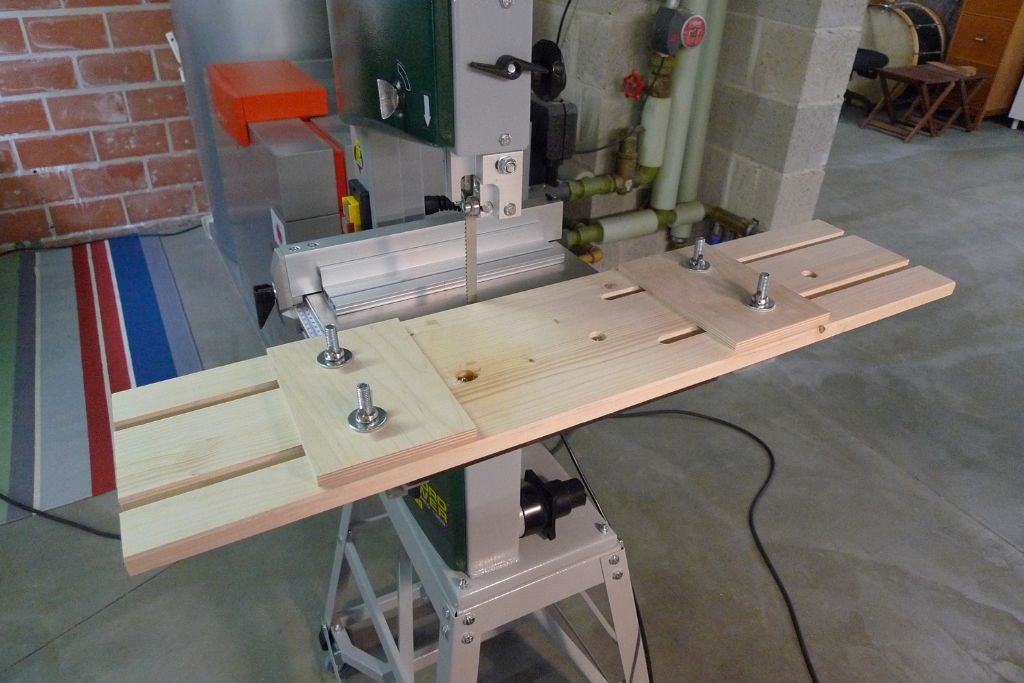
          For lumpier or more uneven pieces, a different system will be needed though, so next I made up two 9 mm plywood sliders, some 180×120 mm in size, and drilled 10 mm holes through these, too, so that they can be fixed by M10 bolts and wingnuts in any position from +/- 95 to 660 mm apart.
          verktyg248.jpg

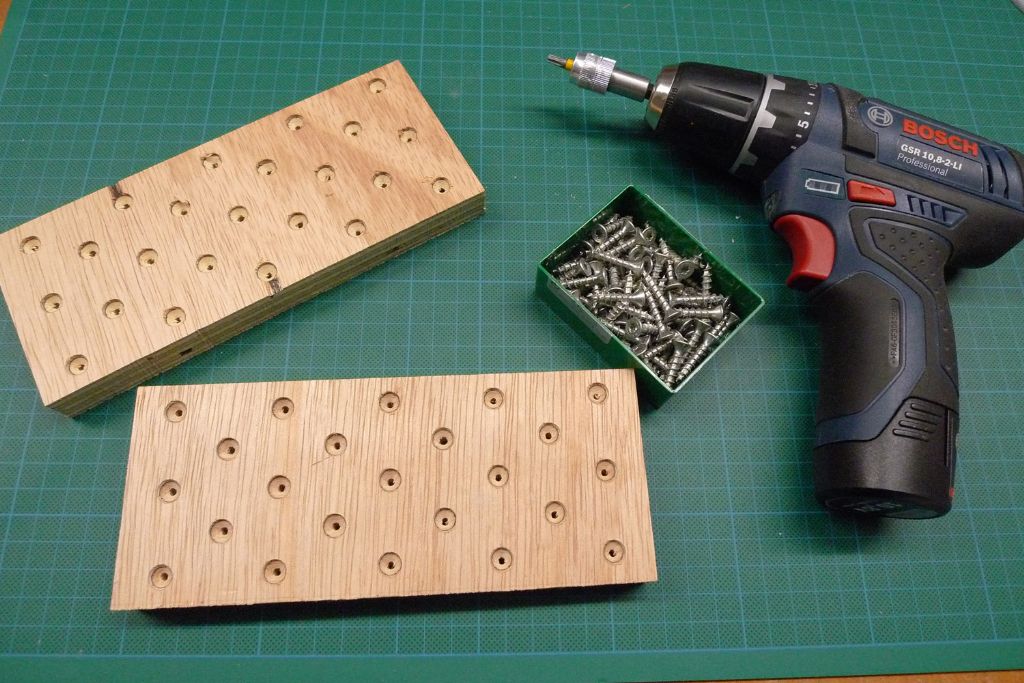
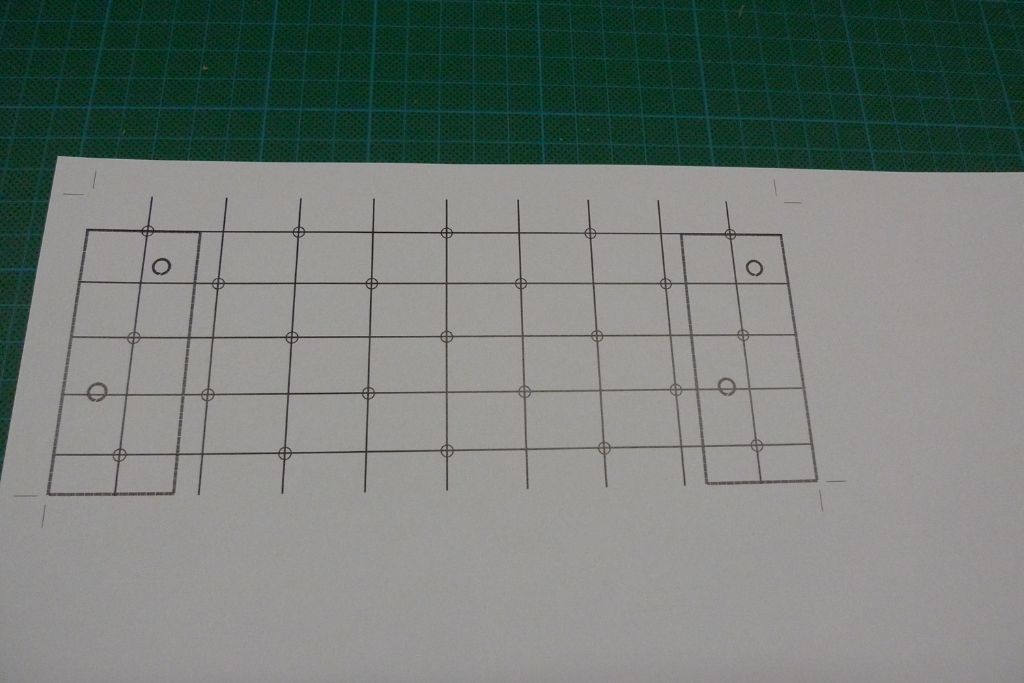
          After cutting out two further pieces of plywood, these 20 mm thick, I plotted out and printed a pattern on paper …
          verktyg251.jpg

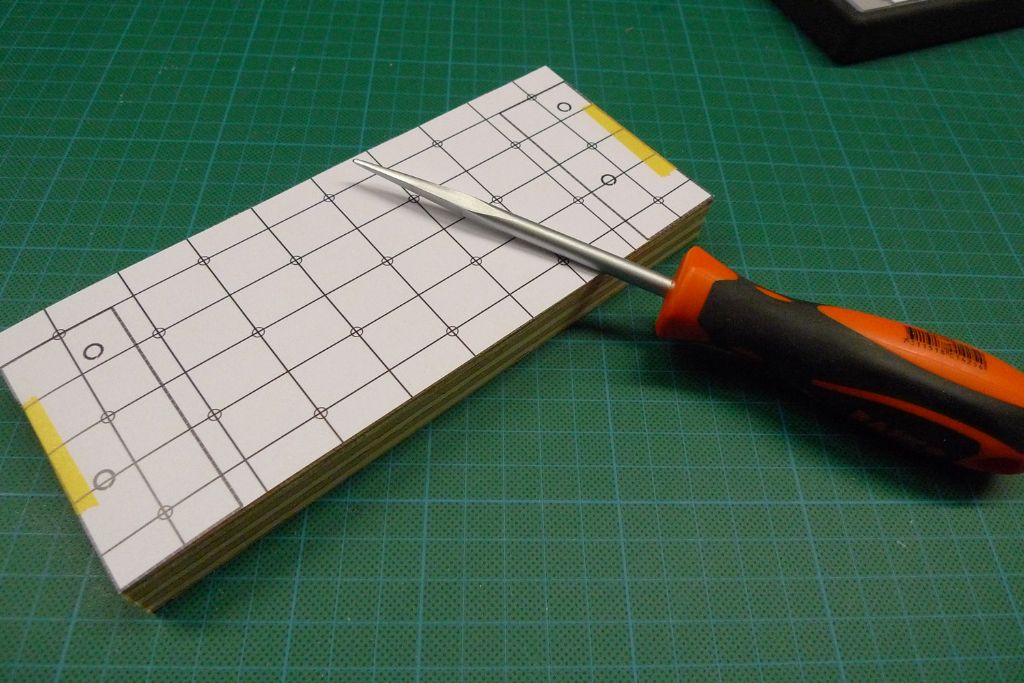
          … that was taped onto the plywood blocks …
          verktyg252.jpg

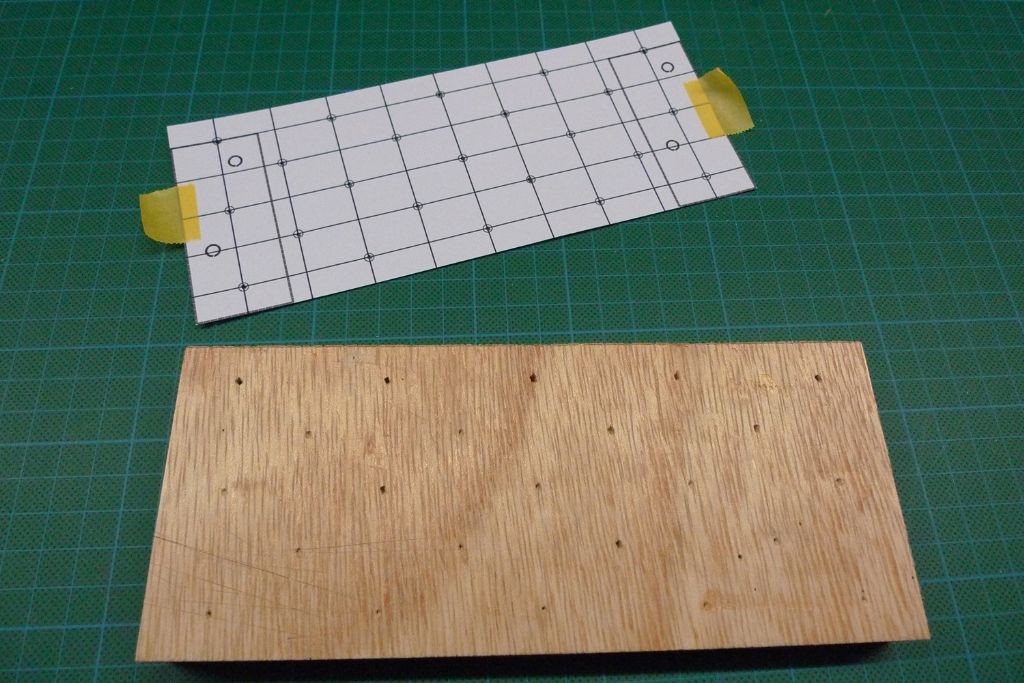
          … the pattern transferred with an awl …
          verktyg253.jpg

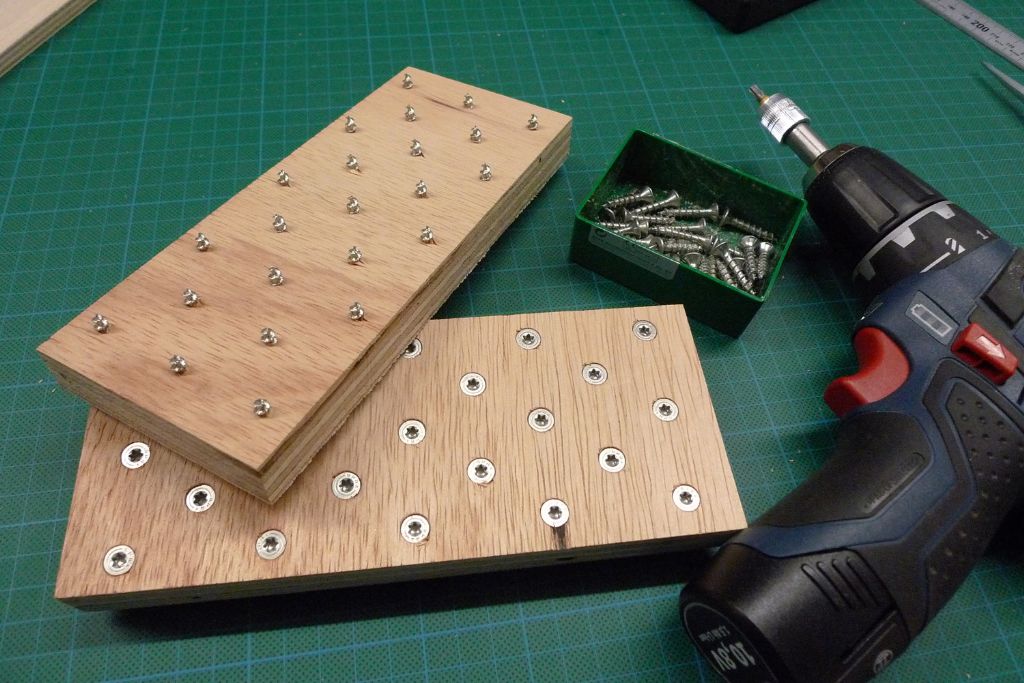
          … drilled and countersunk …

          verktyg255.jpg

          … so that a serties of woodscrews could be fixed through the plywood, to make up two studded pads.
          verktyg256.jpg

          The pads were further reinforced with back plates from 9 mm plywood glued onto their backs …
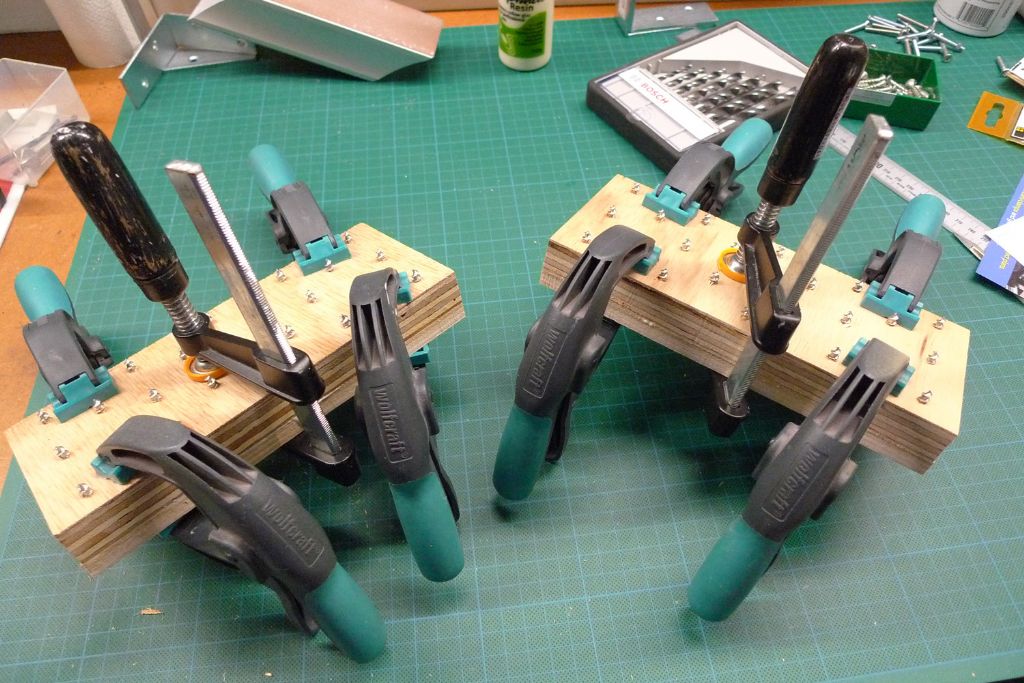
          verktyg257.jpg

          … and then secured to the plywood sliders, with a couple of handles added on top of each pad.
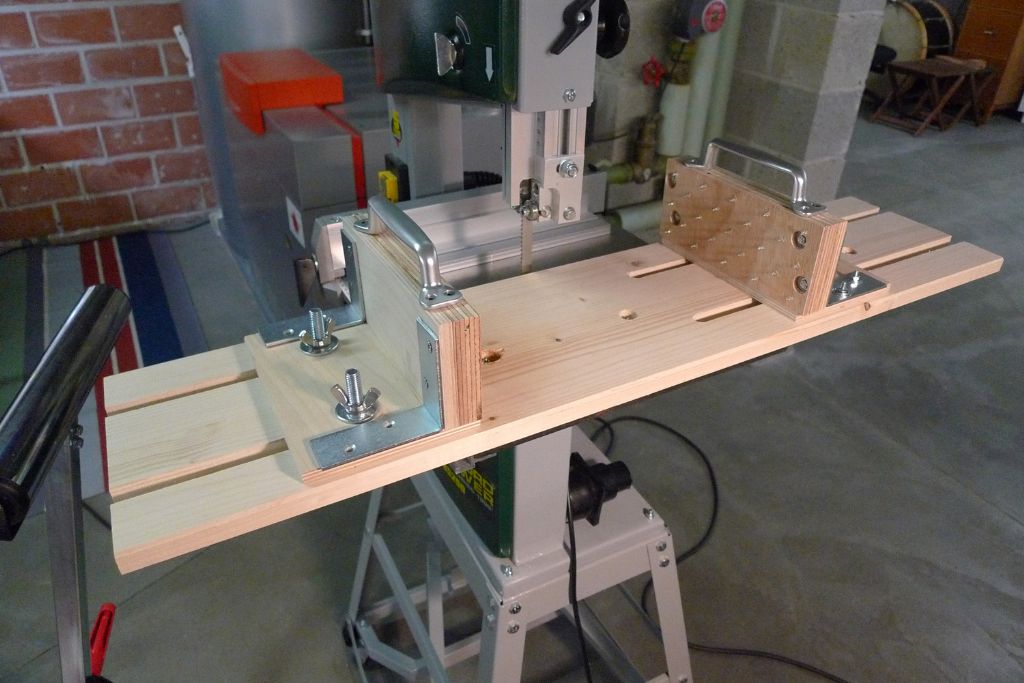
          verktyg258.jpg

          To be continued …

          Mattias

          Edited By Banjoman on 01/04/2018 21:49:11

          #76560
          Banjoman
          Participant
            @banjoman

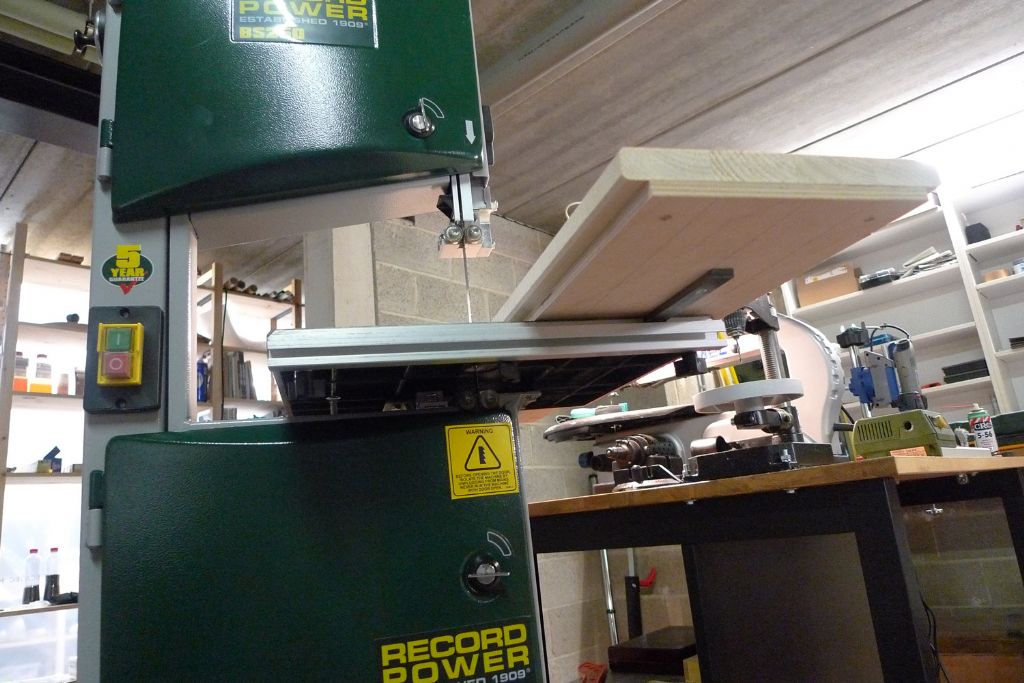
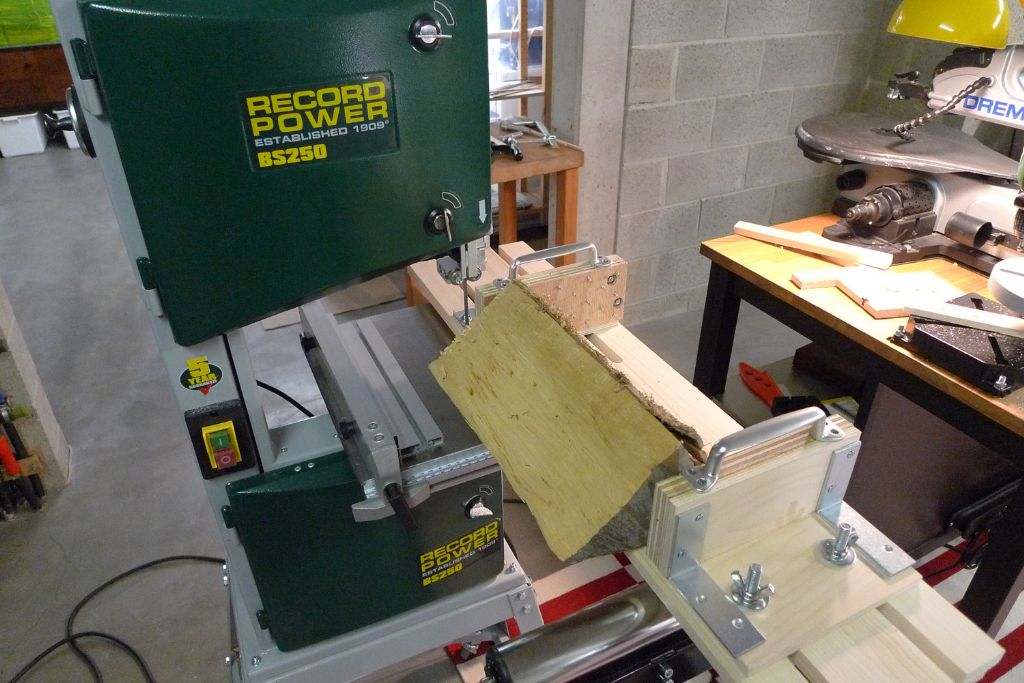
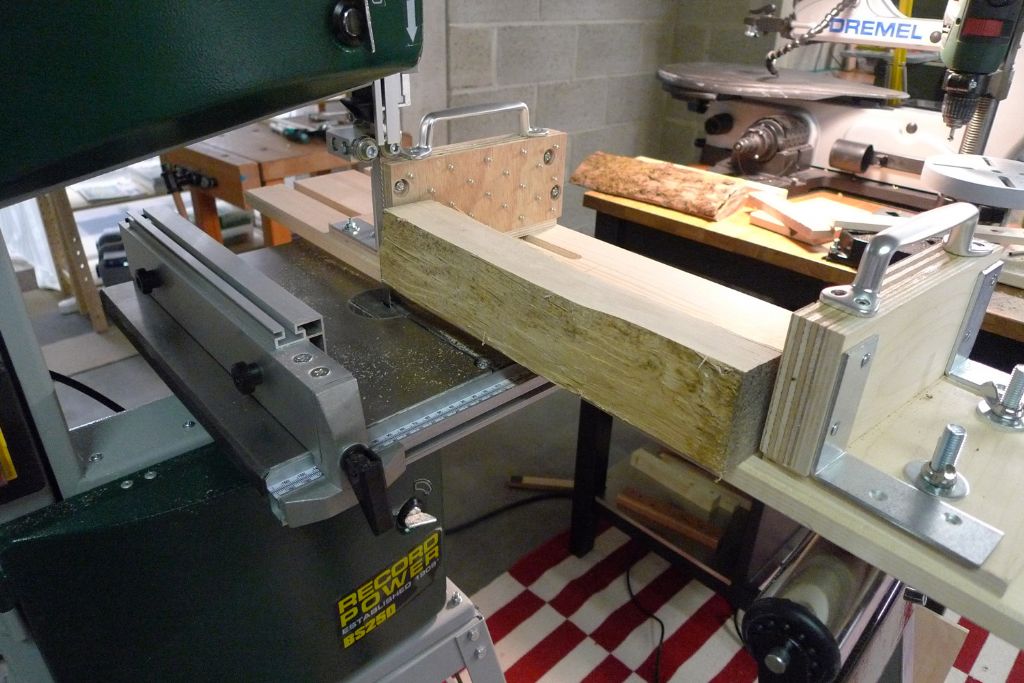
            Although there are still a few more bits and bobs to add to the cradle, it was now sufficiently ready to be put through its paces, so a nice piece of 35 cm long oak firewood was collected from the woodpile and held fast between the studded pads …

            verktyg259.jpg

            … to be gradually cut down …

            verktyg260.jpg

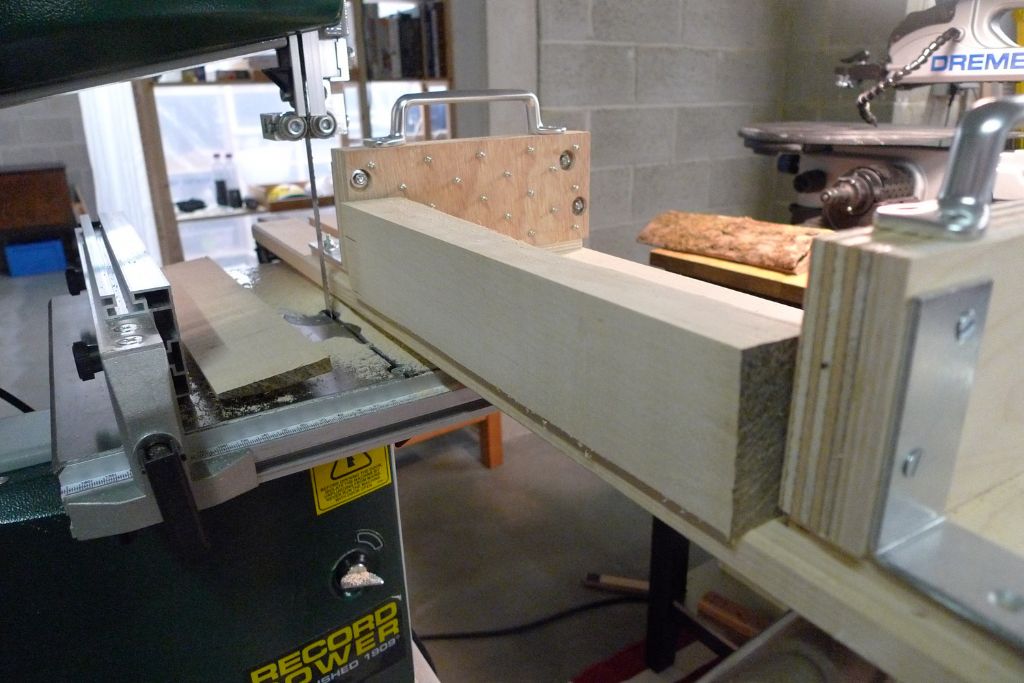
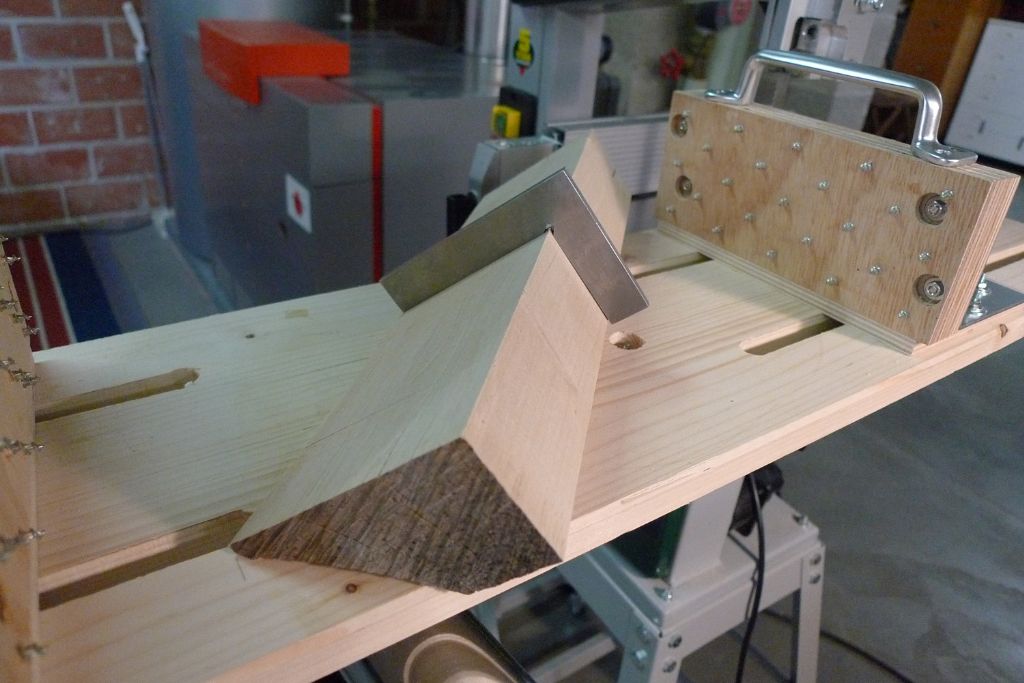
            … in several planes …

            verktyg261.jpg

            … until I had a piece with two faces at perfect right angles to one another!

            verktyg262.jpg

            The parallel fence ws the used to cut off a 5 mm slice …

            verktyg263.jpg

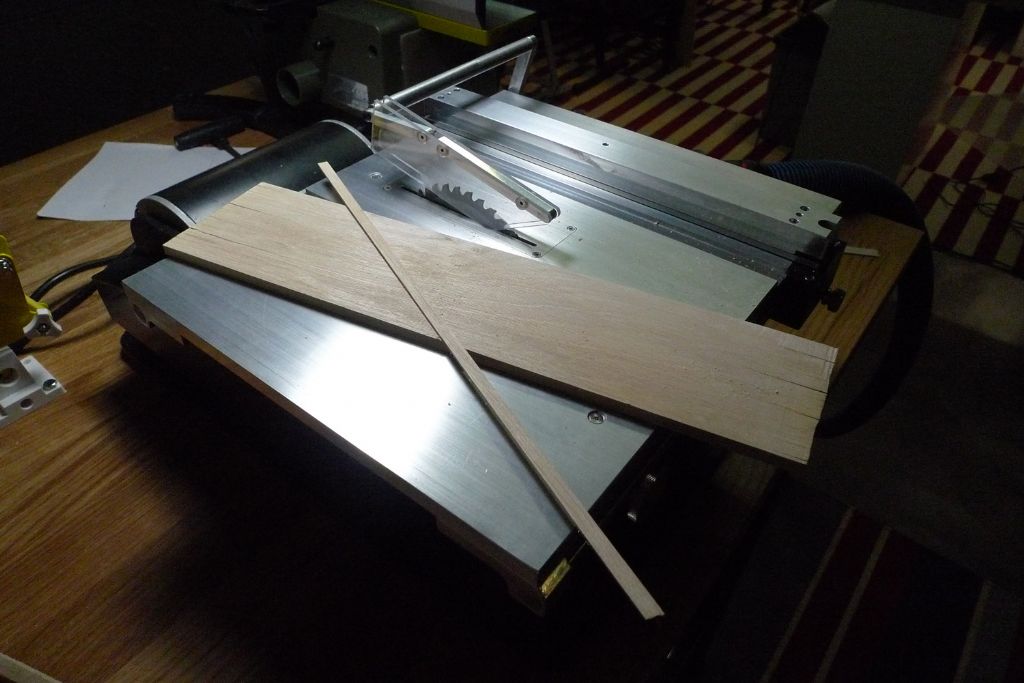
            … from which a nice enough circa 1.3 x 5 x 300 mm strip could be cut with the table saw.

            I still need to practice my cutting a fair bit to improve precision in all dimensions and directions, but at least the principle of thing works just as intended!

            Oh, and I don't particularly intends to use oak for my model work, but the woodpile was a convenient source for a nice, dry but most of all uneven and lumpy but not too large piece of wood, and also the fact that I can manage oak (albeit at a very slow pace of cutting for the largest cuts on the bandsaw) means I should be fine for basically any wood I might care to use for model work …

            verktyg264.jpg

            Mattias

            #77745
            Banjoman
            Participant
              @banjoman

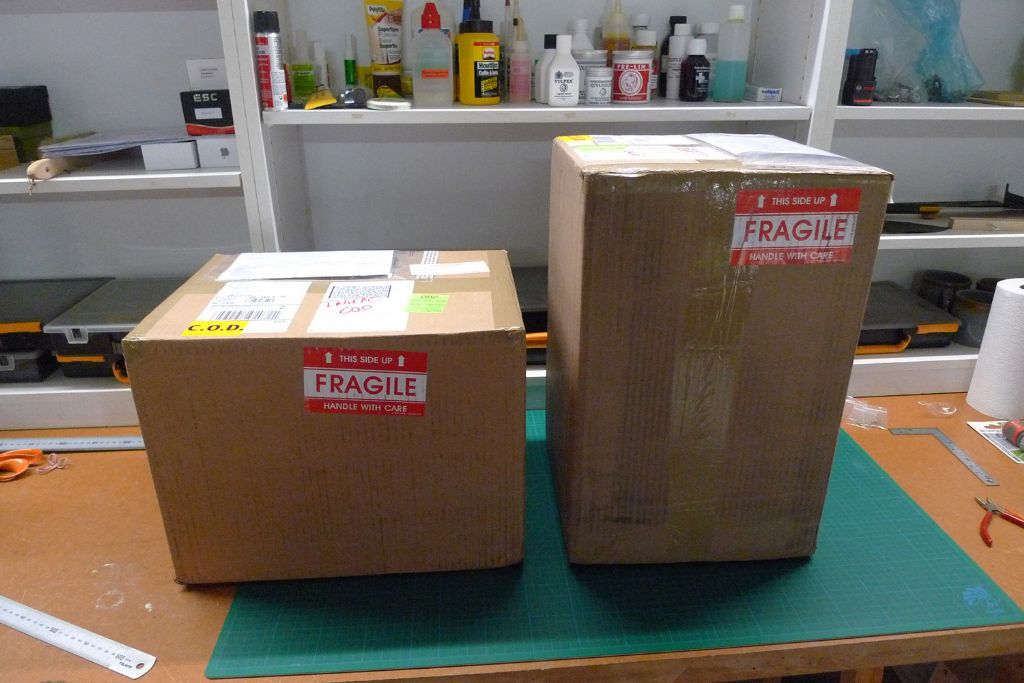
              Well! Yesterday, I took delivery of two large packages from the US of A …

              verktyg274.jpg

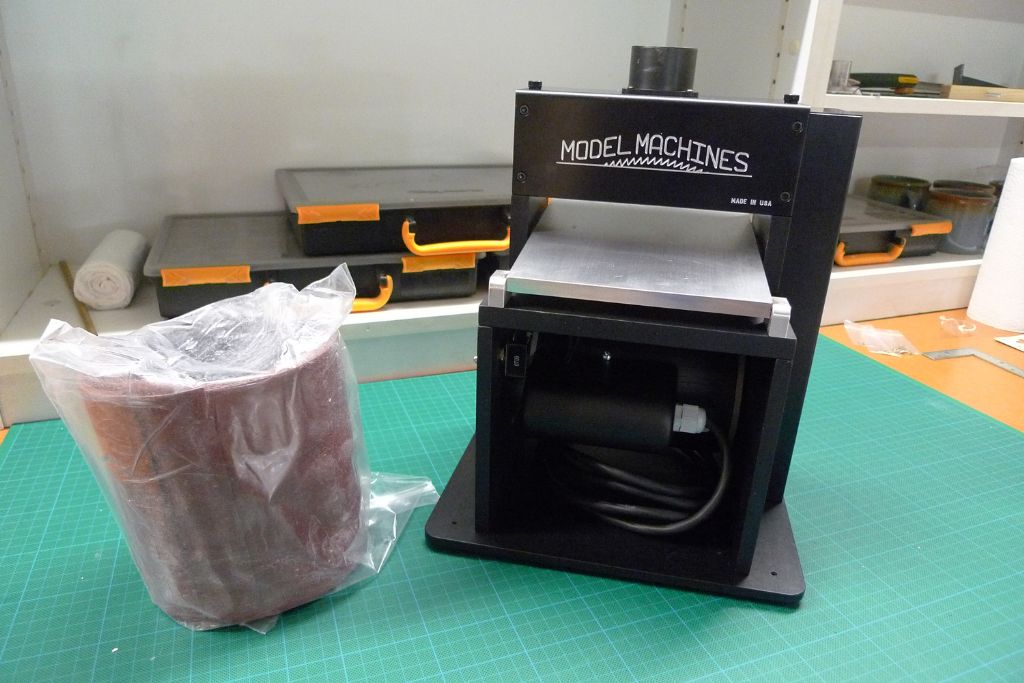
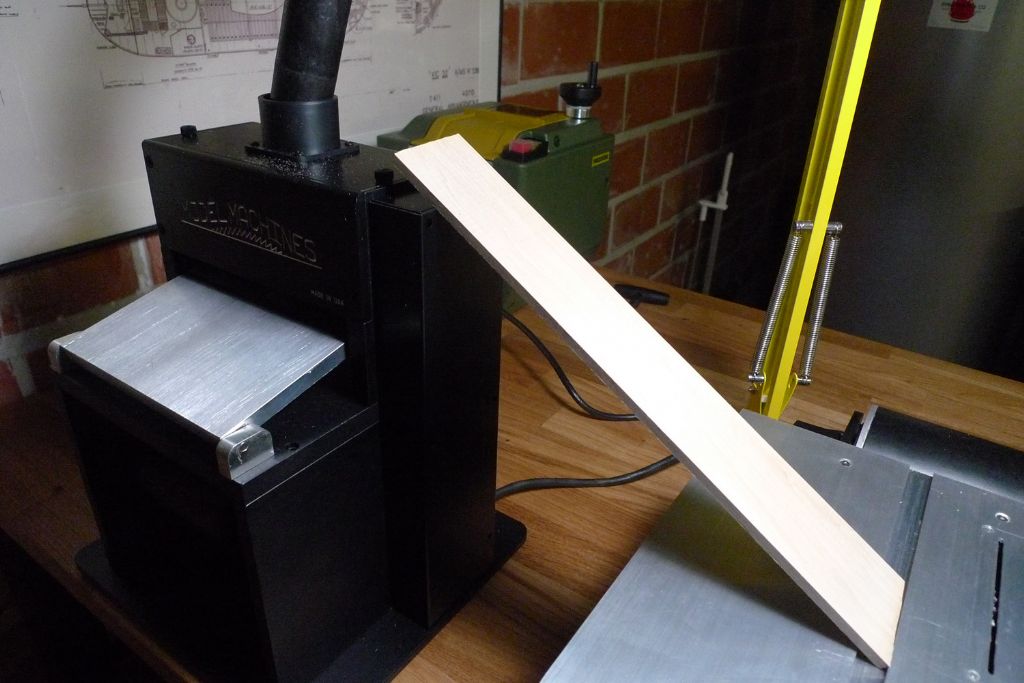
              … with a thickness sander in the larger one …

              verktyg275.jpg

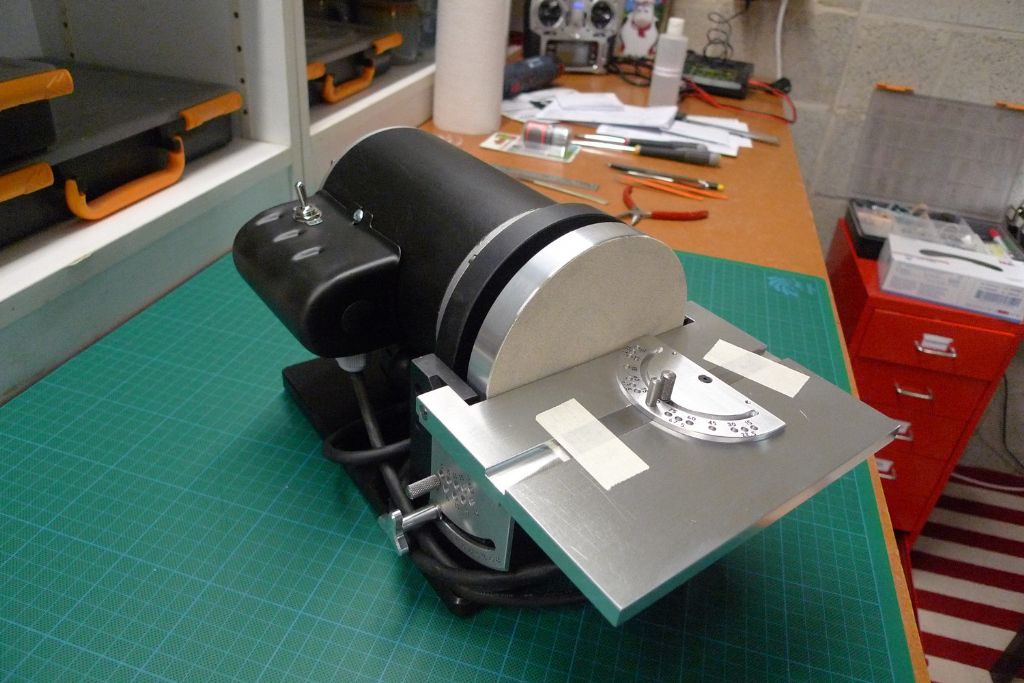
              … and a disc sander in the smaller; both from Byrnes Model Machines in Florida!

              verktyg276.jpg

              To give them both a wee trial run, I picked up the slice of oak that I'd previously produced with the resawing cradle on the bandsaw (see previous posts in the thread), and had since then also taken through my Proxxon planer and thicknesser.

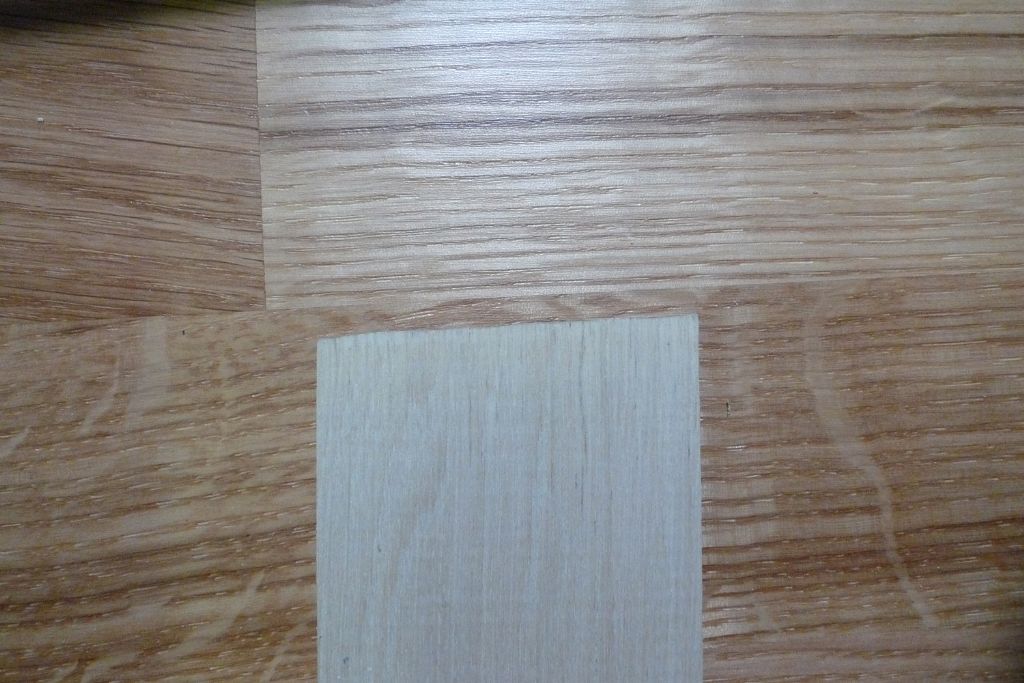
              When I picked it up it, it had a nice and smooth enough surface, but was of a slightly uneven thickness, with one long edge averaging about 5.5 mm and the other clocking in at around 6.25 to 6.75 mm.

              verktyg277.jpg

              By a suitable number of passes through the thickness sander, it was then taken down to exactly 5 mm thick, within a measured margin of error of +/- 0.02 mm.

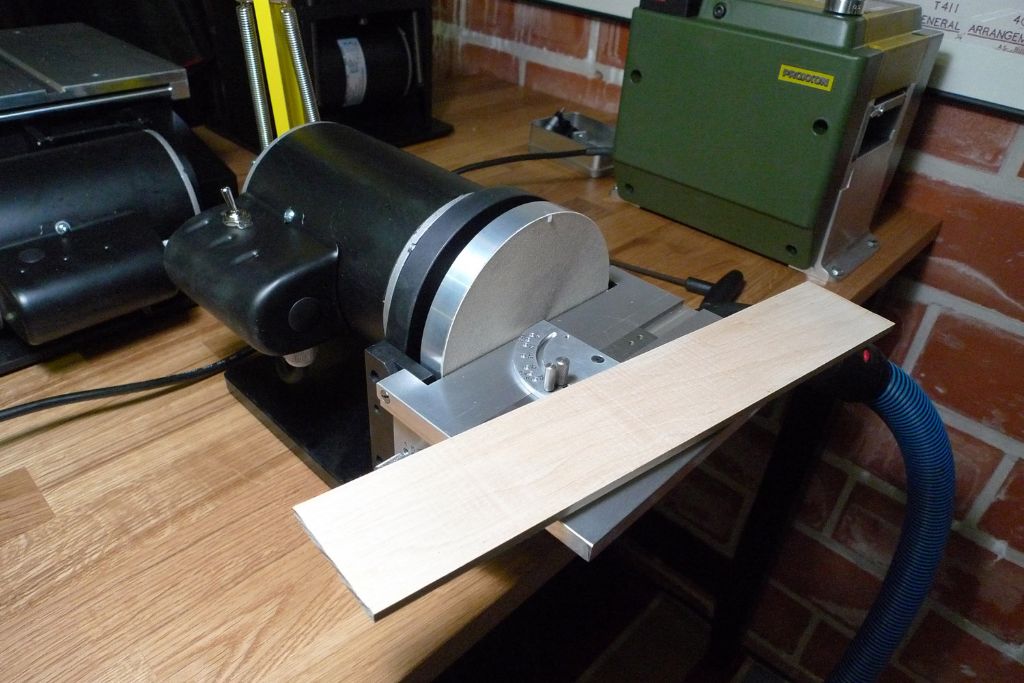
              The short ends had not been squared off …

              verktyg278.jpg

              … but the disc sander …

              verktyg279.jpg

              … sorted that out in a jiffy!

              verktyg280.jpg

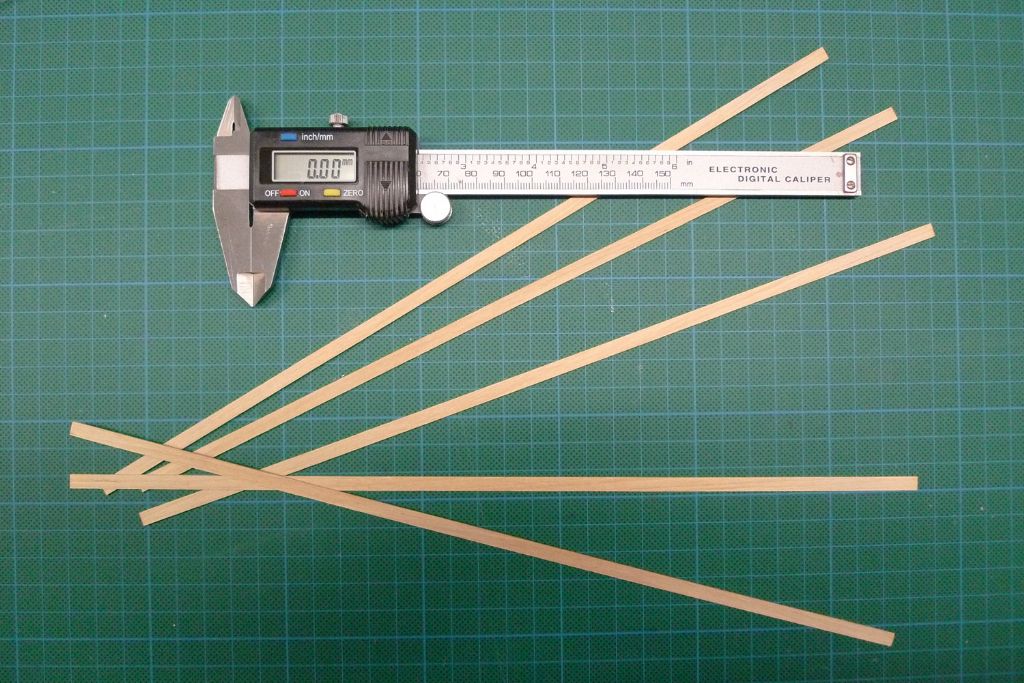
              I then proceeded to cut five strips off from the finished piece of oak, each strip between 1.3 and 1.4 mm thick on average.

              verktyg281.jpg

              These strips I then ran through the thickness sander until they were all 1.0 mm thick within a measured deviation of +/- 0.01 mm.

              verktyg282.jpg

              This to my mind is more than enough precise, and thus I now have a complete model timber sawmill in place with which I can produce all strip wood I need straight from (not too large) rough stock!

              I'm not saying I will never buy ready-made strip wood again, but I am no longer dependent on doing so; also, in particular for more exotic woods, I suspect that it will be considerably less expensive. For example, the pear strip I used to lay the deck on Moonbeam was something like £1.15 per three feet … Of excellent quality, and worth every penny, certainly, but it quickly adds up! Not that I think the savings will be so important that the machines will come anywhere close to paying for themselves anytime soon, but it is at least an added benefit.

              Furthermore, when you have to send off for it, it can be quite tricky to calculate just how much you need of various dimensions. By milling your own, you can produce any dimensions required as you go along, and if you run out of a smaller size, some additional stuff can easily be made up from the next larger one …

              Mattias

              Edited By Banjoman on 26/06/2018 07:07:01

            Viewing 5 posts - 26 through 30 (of 30 total)
            • Please log in to reply to this topic. Registering is free and easy using the links on the menu at the top of this page.

            Code of conduct | Forum Help/FAQs

            Advert

            Latest Replies

            Home Forums Soapbox Topics

            Viewing 25 topics - 1 through 25 (of 25 total)
            Viewing 25 topics - 1 through 25 (of 25 total)

            View full reply list.

            Advert

            Newsletter Sign-up