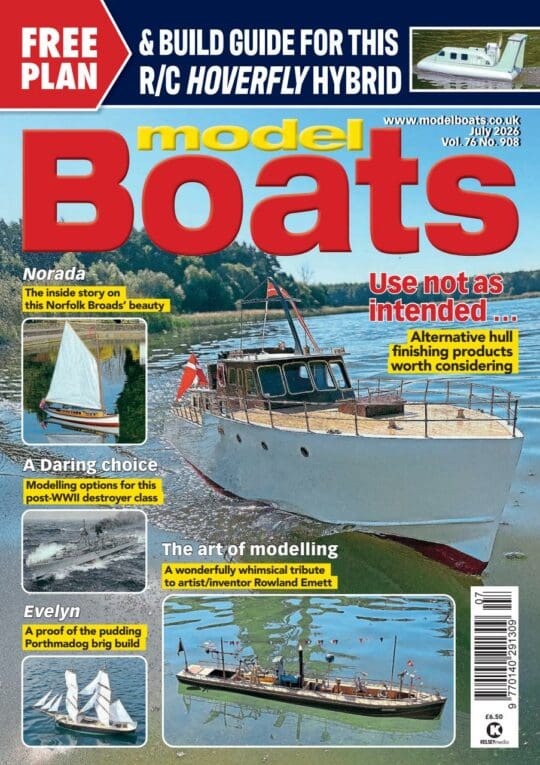
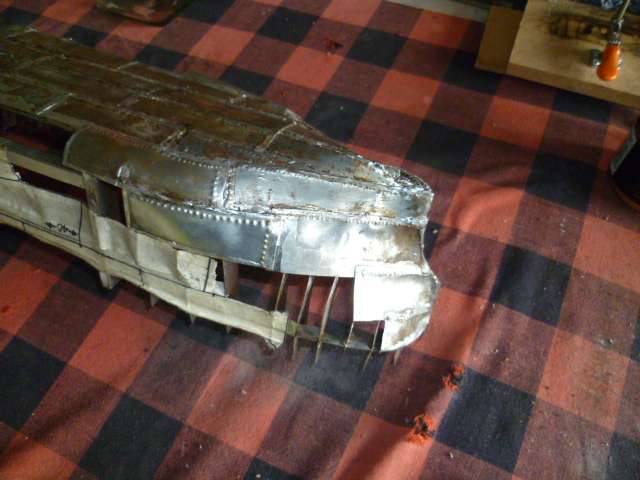
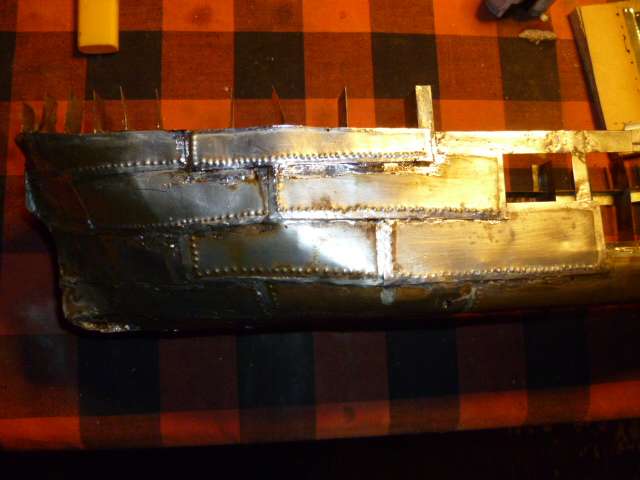
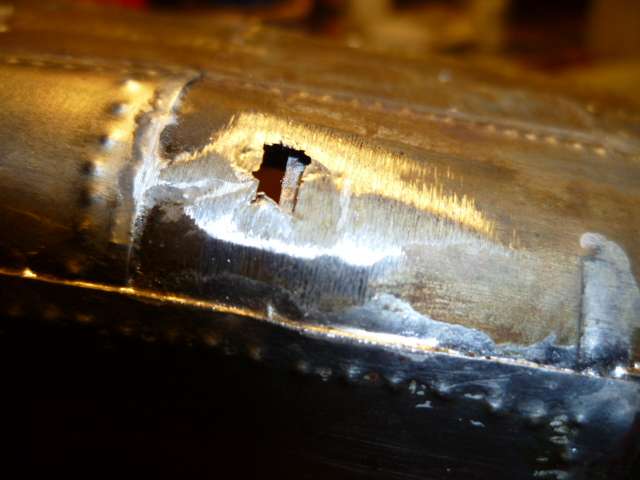
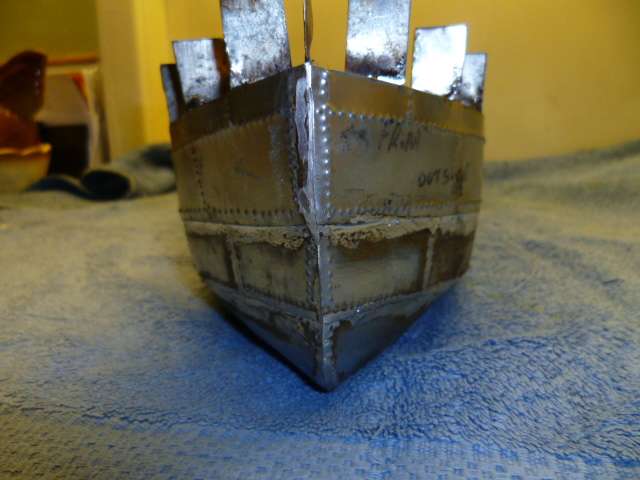
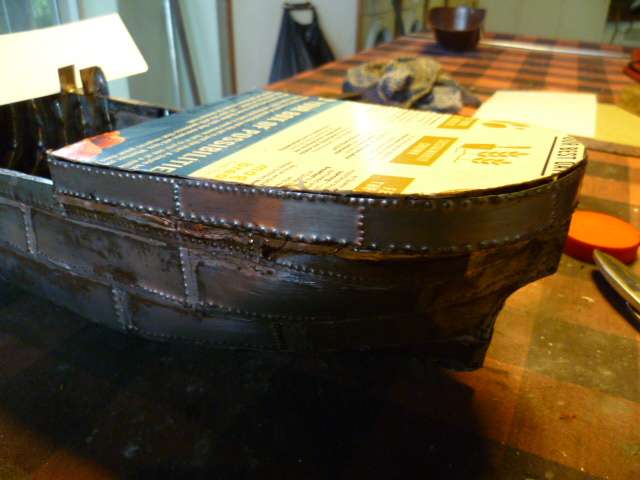
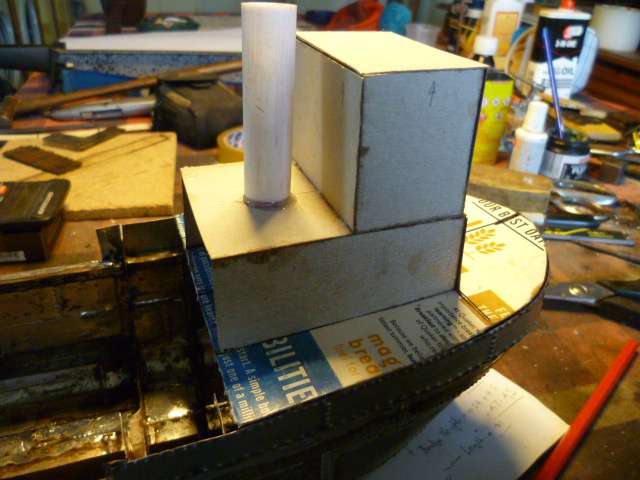
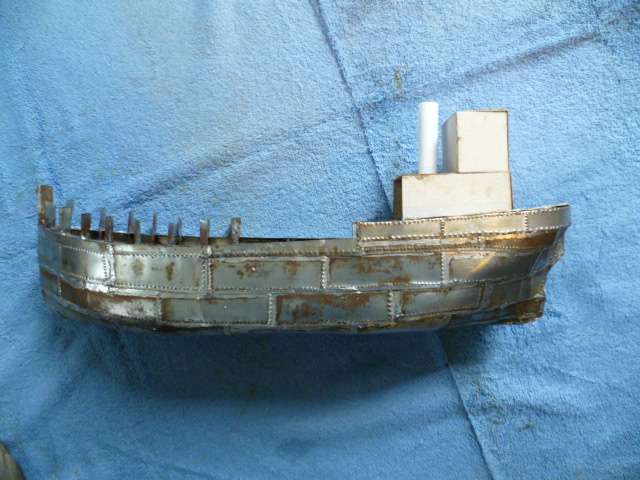
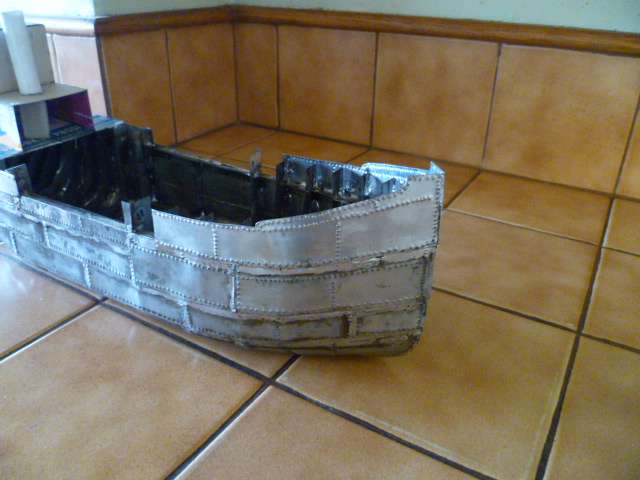
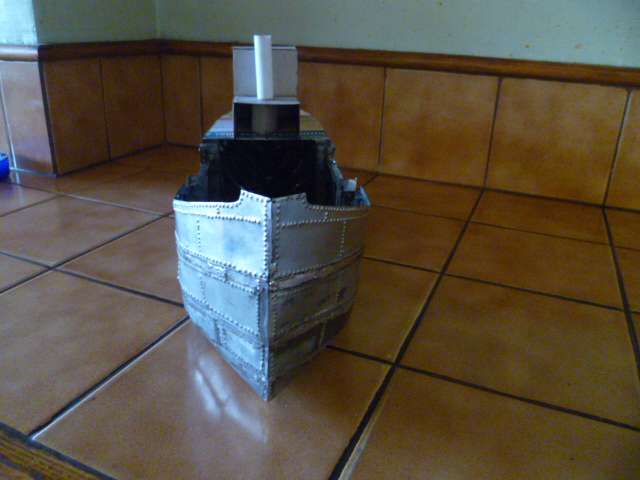
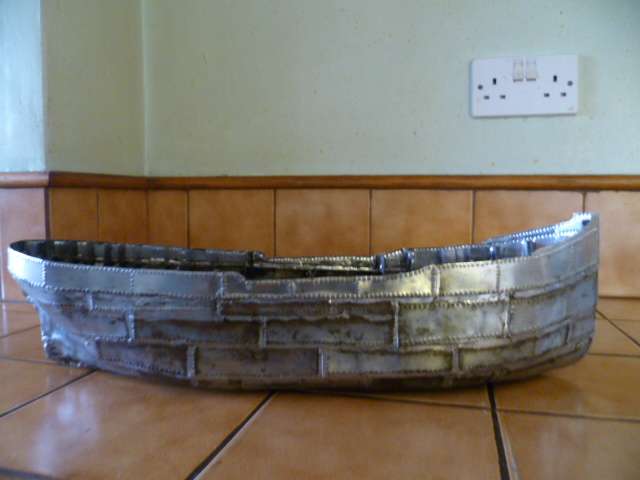
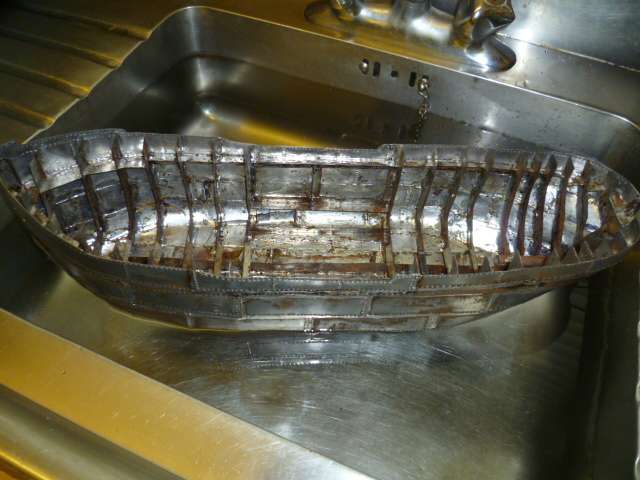
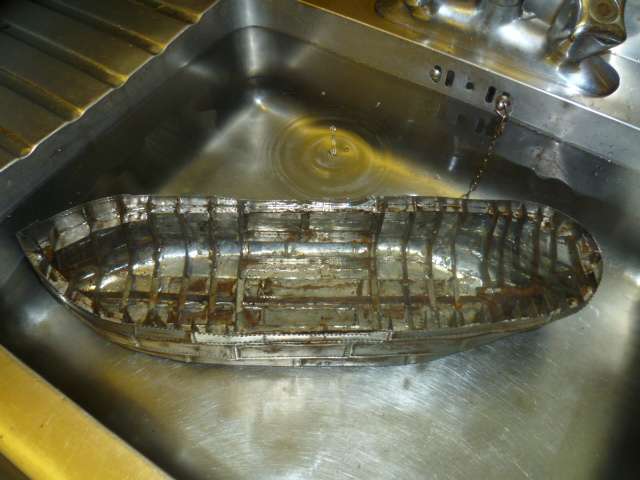
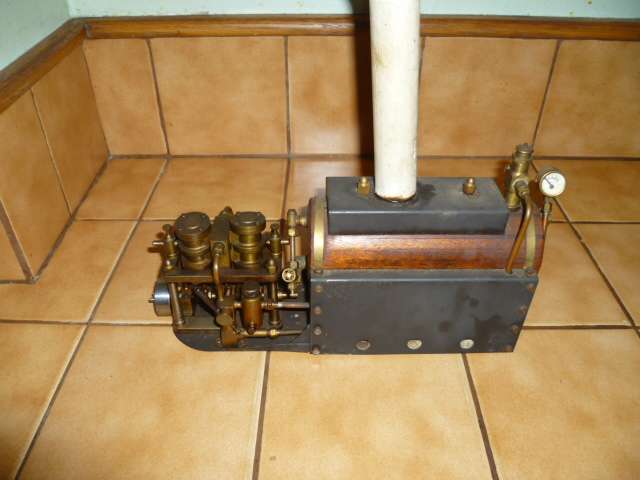
Tin Plate Clyde Puffer
Tin Plate Clyde Puffer
- This topic has 273 replies, 14 voices, and was last updated 1 year, 3 months ago by
 Colin Bishop.

- Please log in to reply to this topic. Registering is free and easy using the links on the menu at the top of this page.
Code of conduct | Forum Help/FAQs
Latest Replies
-
- Topic
- Voices
- Last Post
-
-
My Builds and Future Projects
Started by:
 Chris Fellows
in: Build Blogs
Chris Fellows
in: Build Blogs
- 1
-
13 hours, 45 minutes ago
Chris Fellows
-
Spring 25 as featured in Howards Way from the 1980’s
Started by:
 Ray Wood 3
in: Sailing Models
Ray Wood 3
in: Sailing Models
- 4
-
15 hours, 11 minutes ago
Chris Fellows
-
Hot Weather
Started by:
Tim Cooper in: All things floating
- 3
-
15 hours, 13 minutes ago
-
Motor & ESC options for small tug
Started by:
mejt2026 in: Beginners
- 2
-
16 hours, 6 minutes ago
Colin Bishop
-
Vic Smeed’s Silver Mist
1
2
…
38
39
Started by:
Bob Abell 2 in: Scratch build
- 11
-
2 days, 16 hours ago
Colin Bishop
-
Next model, Severn Progress?
Started by:
Stephen Garrad in: Scratch build
- 4
-
3 days, 23 hours ago
-
BACK AGAIN
Started by:
Bob Wilson in: Soapbox
- 4
-
1 week, 2 days ago
-
Dodgy Geezer sites.
Started by:
Charles Oates in: Collectors’ corner
- 4
-
1 week, 5 days ago
Dodgy Geezer 1
-
Lost article
Started by:
Karl Marforio 1 in: All things floating
- 7
-
1 week, 6 days ago
-
Todays Boating
1
2
…
215
216
Started by:
 ashley needham
in: All things floating
ashley needham
in: All things floating
- 86
-
2 weeks ago
Philip Oxley
-
Gas-Powered Triple Screw Boat
Started by:
Queequeg Quint in: All things floating
- 2
-
2 weeks, 1 day ago
Ray Wood 3
-
Getting Fed Up
Started by:
Len Morris 2 in: Soapbox
- 6
-
2 weeks, 4 days ago
ashley needham
-
Chris Craft 1964 Super Sports
Started by:
harry smith 1 in: Collectors’ corner
- 4
-
2 weeks, 4 days ago
-
Sea Queen By Aerokits 2025
Started by:
- 6
-
2 weeks, 4 days ago
-
Eezebilt RAF Fire Boat
1
2
3
Started by:
- 8
-
3 weeks ago
-
Lark Water Taxi
Started by:
- 2
-
3 weeks, 4 days ago
-
Magazine to Archive
Started by:
The Long Build in: News and Feedback
- 2
-
3 weeks, 5 days ago
-
This is Spooky
1
2
3
4
Started by:
 Tim Rowe
in: Sailing Models
Tim Rowe
in: Sailing Models
- 6
-
3 weeks, 6 days ago
Ray Wood 3
-
Nonsuch
Started by:
- 3
-
3 weeks, 6 days ago
-
Intro and first RC Boat completion
1
2
Started by:
 suzanner
in: Beginners
suzanner
in: Beginners
- 9
-
3 weeks, 6 days ago
suzanner
-
Thames Sailing Barge Stuff
1
2
…
31
32
Started by:
Ray Wood 3
in: Sailing Models
- 5
-
4 weeks, 1 day ago
 Richard Simpson
-
Wild Duck meets Eventide
1
2
3
4
Started by:
Tim Rowe
in: Scratch build
- 7
-
4 weeks, 1 day ago
Richard Simpson
-
Wivenhoe Lass – Fishing Boat – Scale 1/12th
1
2
Started by:
Ray Wood 3
in: Scratch build
- 6
-
1 month ago
ashley needham
-
Barrie Griffins Vosper MTB 379
1
2
3
Started by:
Jeff Glasser 1 in: Beginners
- 7
-
1 month, 1 week ago
-
Fairey Huntsman 31
1
2
…
6
7
Started by:
Chris Fellows
in: Build Blogs
- 16
-
1 month, 2 weeks ago
Chris Fellows
-
My Builds and Future Projects