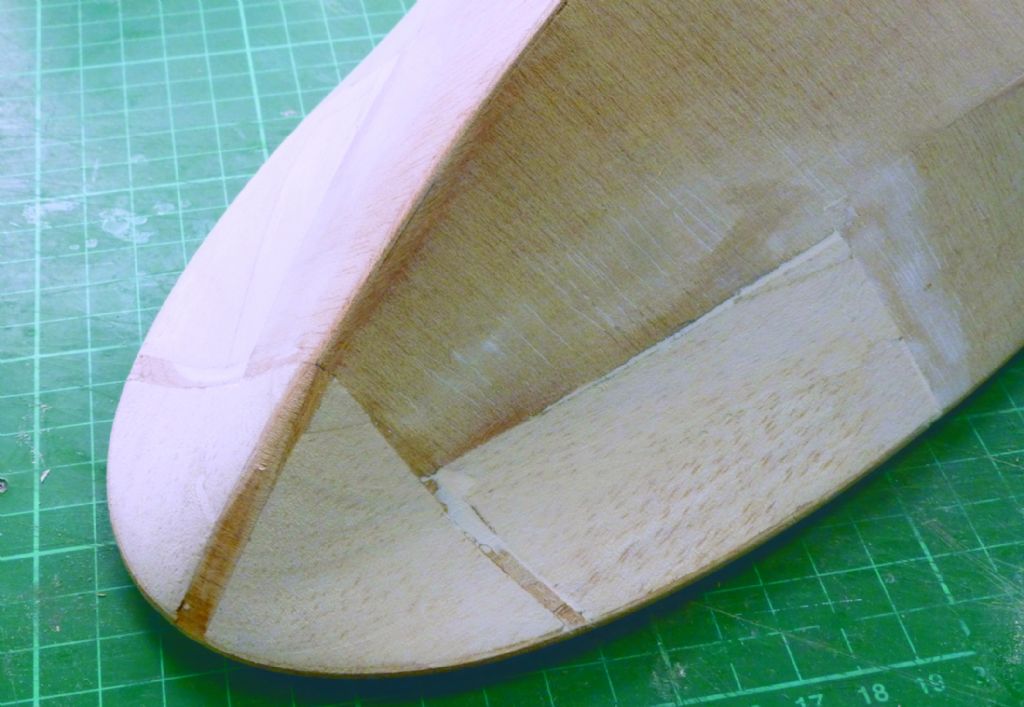
Update
I have built the roofs out of scraps from the kit, not exactly as the designer intended but the results are the same.
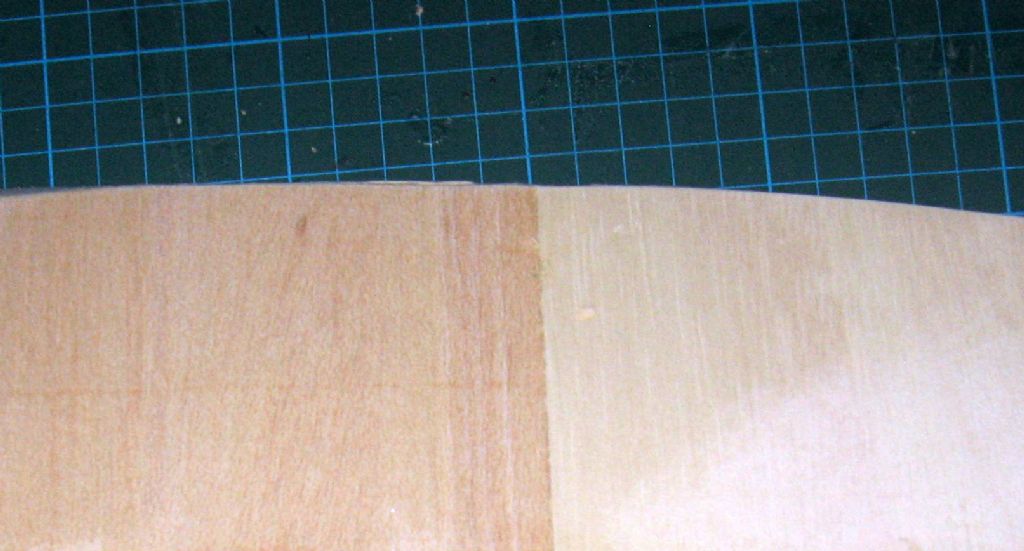
The scraps were trimmed to make the edges straight and cut slightly over length then glued and clamped into position.
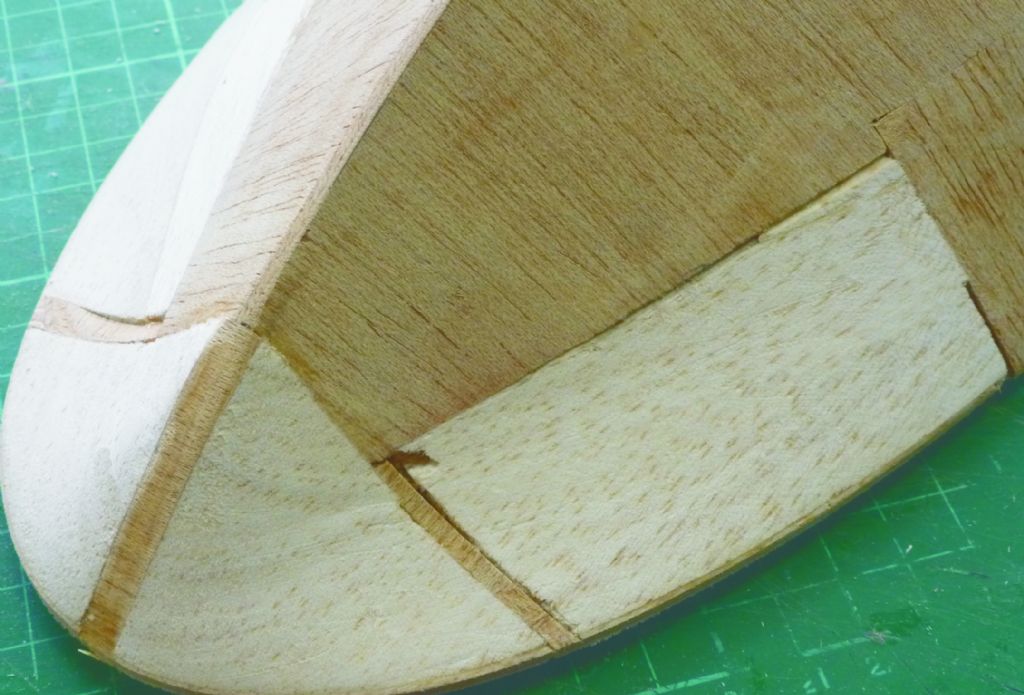
To make the roof edge come into line with the cabin walls the designer recommended cutting an angle into a couple of the roof planks.
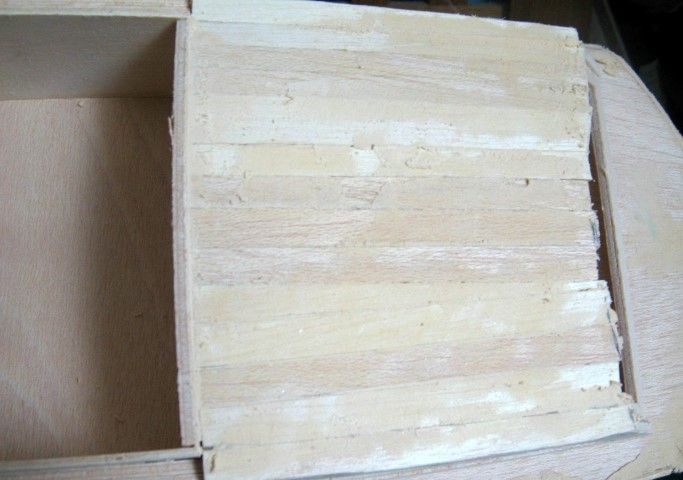
Roughly filled with plastic wood (other fillers are available) and sanded back before the second surface filler.
Note the over length planks ready for trimming to the window profile.
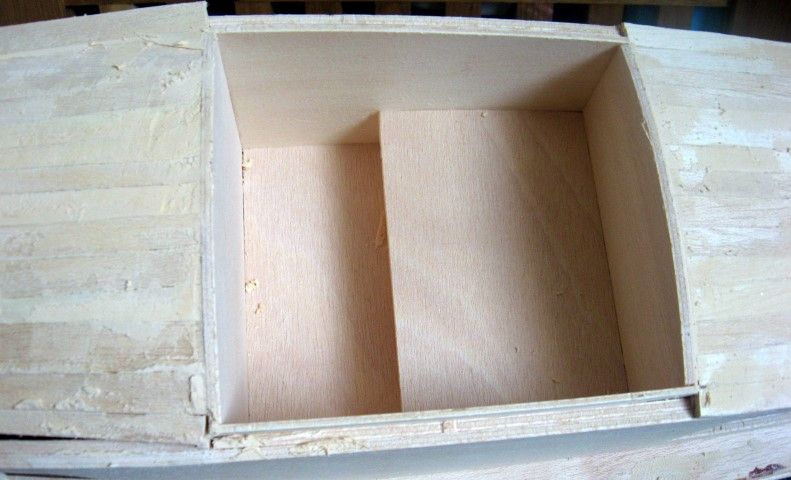
Plastic wood is more difficult to apply than some other fillers but when sanded back it gives a smooth and waterproof surface.
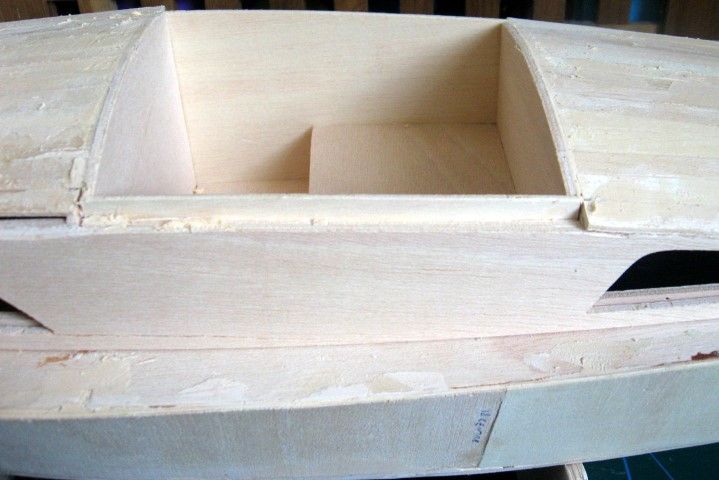
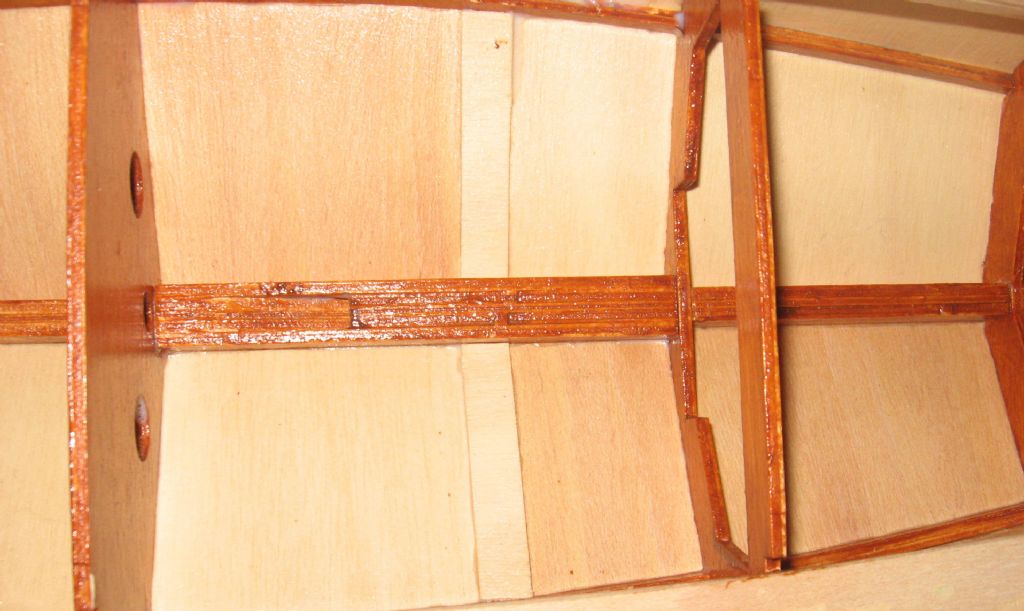
The cockpit parts are a nice snug fit and required minimal sanding before fixing into position.
I took care to ensure the cabin walls were in the correct positions and flat to the deck as it would be easy to introduce an inadvertent twist in the structure. Its an easy process to fit temporary clamps and fixings to the hull upstand to hold the cabin walls in position but if you are unsure about how this is done the designer covers the process in detail.
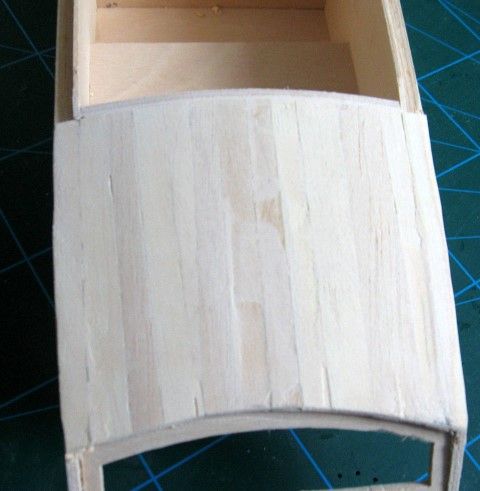
A rough trim cuts the roof planks back and can now be profiled to match the window head. More surface filling and careful sanding will produce a nice crisp finish.
Paul


