Yorkshireman build

Advert

Yorkshireman build

Home Forums Building Kits Yorkshireman build

  • This topic is empty.
Viewing 19 posts - 1 through 19 (of 19 total)
  • Author
    Posts
  • #45658
    Looverlijn
    Participant
      @looverlijn

      Early days yet but I'm a bit of a slow builder.

      img_0259.jpg

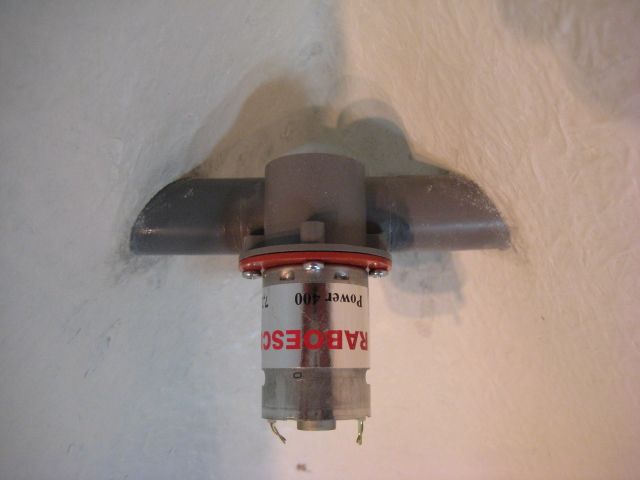
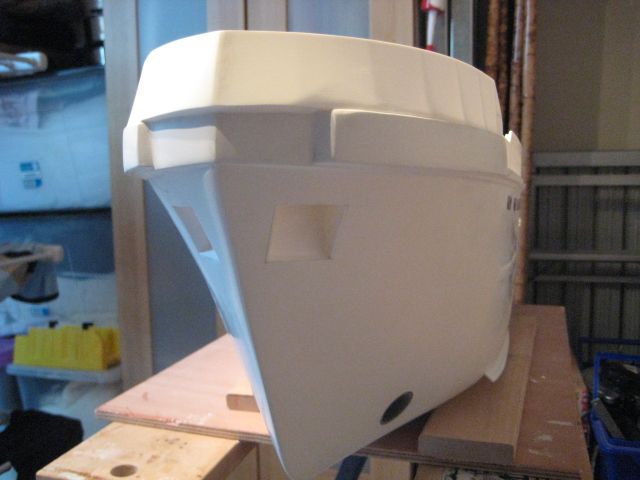
      Bow thruster

      img_0261.jpg

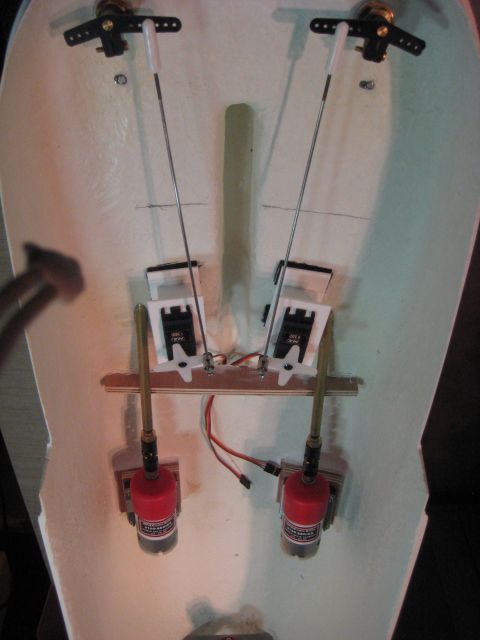
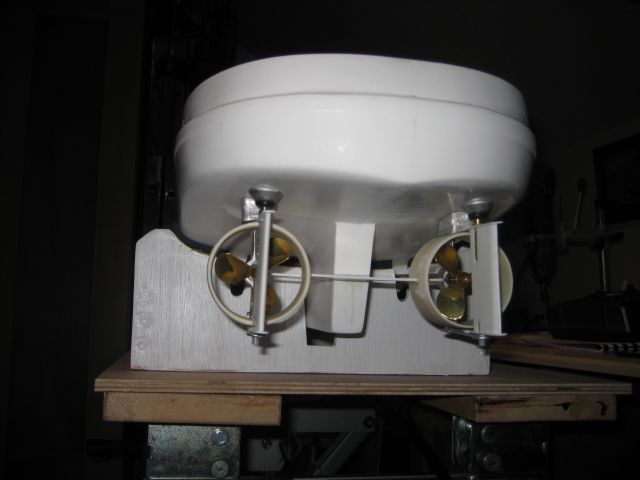
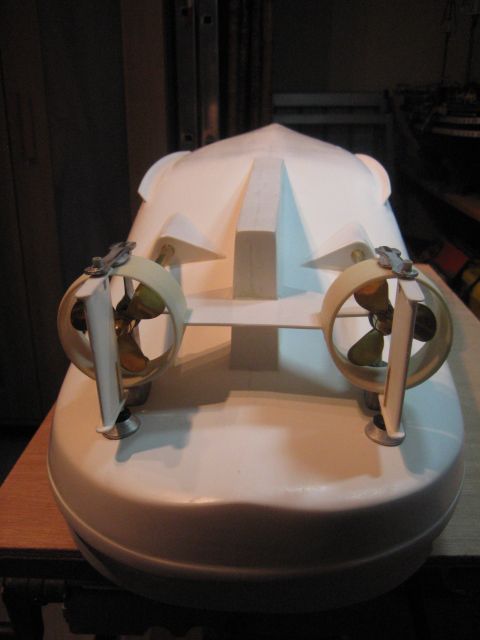
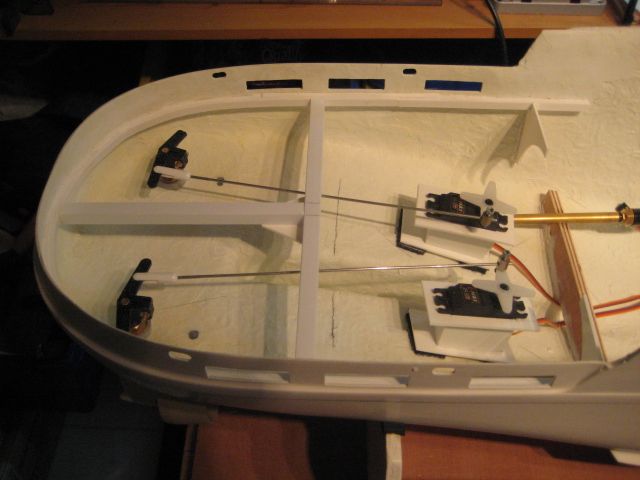
      Motors & rudders

      img_0262.jpg

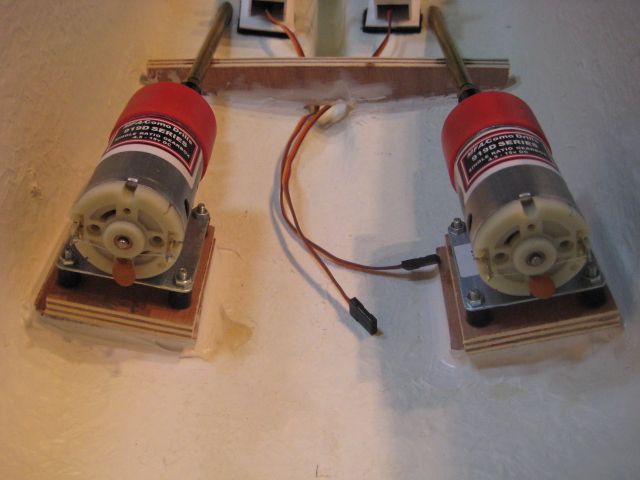
      Motors mounted on rubber shocks

      img_0263.jpg

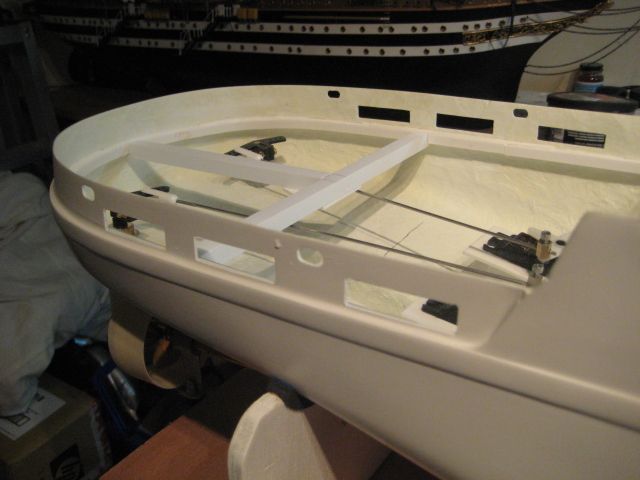
      The back end

      img_0264.jpg

      The back end (when capsized!)

      Advert
      #6140
      Looverlijn
      Participant
        @looverlijn

        Power train installation

        #45684
        ashley needham
        Participant
          @ashleyneedham69188

          Looverlijn.

          Looks good so far. I have not tried a bow thruster yet.

          Not sure about the rubber mounts. If you had a double coupling possibly, but I would have thought that movement of the motors on the rubber may strain the couplings and shafts on the single coupling as seen.

          Ashley

          #45697
          Looverlijn
          Participant
            @looverlijn

            Hmmmmmm! Hadn't thought about that Ashley. Since your post I have tried "wiggling" (technical term) the motors and they seem fairly steady but I guess the proof will be in the pudding as they say. The write up (from Model Slipway) notes that the black bearings are made from Acetal and water is its natural lubricant but also states that "light machine oil" can be added to the bearing ends to ensure that the shafts run smoothly. I thought that using oils which could seep out into the pond was an environmental no no.

            Paul

            #45698
            ashley needham
            Participant
              @ashleyneedham69188

              Paul. Likely if the motors are not that wobbly it will make no difference. A small drip of light oil on the inboard bearing now and then will not likely cause too much pollution (if at all). There are water soluble oils available. cycle shops may sell some for cycle chains…

              Ashley

              #45884
              Looverlijn
              Participant
                @looverlijn

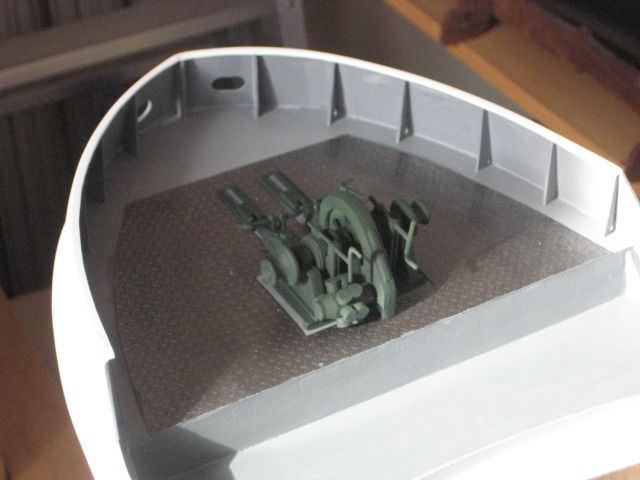
                Got a few more holes in the now (anchor boxes, etc) and I have a question now: Should the bottom of the Freeing ports (I think thats what theyr'e called) be flush with the deck or a slight lip (which is what I've got)?

                #45911
                ashley needham
                Participant
                  @ashleyneedham69188

                  I am not sure whats the norm here, however, the idea of the ports is to get water off the deck so a lip beneath the hole would not make sense to me ?? Would depend on how much of am lip there is, a couple of mm would make no difference, but say 5mm would keep water on deck.

                  Ashley

                  #46076
                  Looverlijn
                  Participant
                    @looverlijn

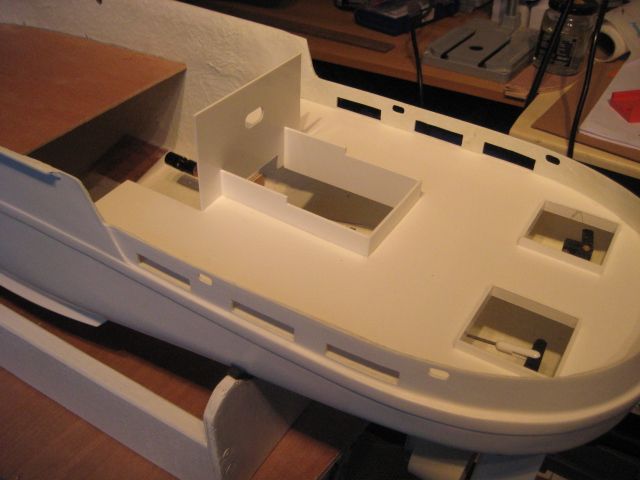
                    Some pics of latest progress:

                    img_0287.jpg

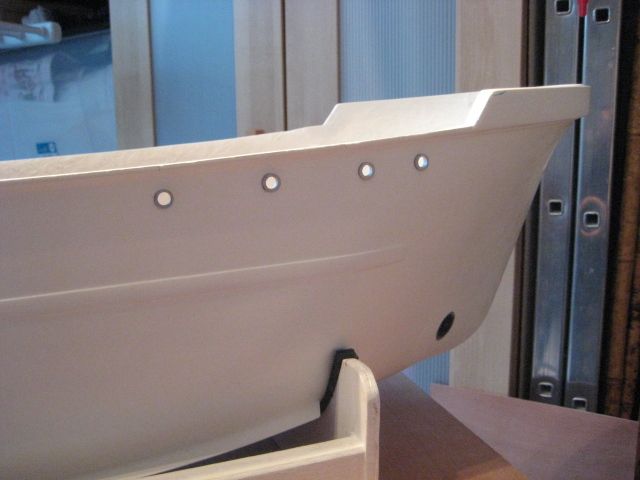
                    Freeing ports

                    img_0295.jpg

                    Portholes

                    img_0292.jpg

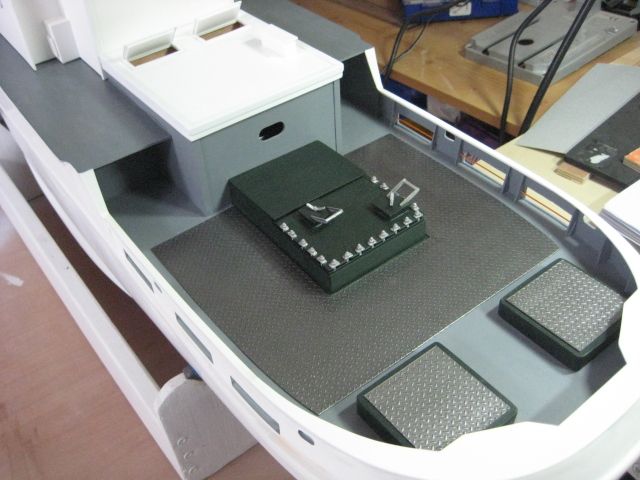
                    Cargo deck taking shape plus beginnings of sub-deck to hold electrics

                    img_0290.jpg

                    Rear deck supports

                    #46112
                    IAN_I
                    Participant
                      @ian_i

                      Hi JN …

                      The Slipway Yorkshire man kit build looks great, how are you getting on with the plastic as apposed to wood build..?

                      It is looking very good,

                      Best regards,

                      Ian

                      #46328
                      Looverlijn
                      Participant
                        @looverlijn

                        I'm quite enjoying the change and SWMBO likes the lack of sawdust around the house. The quality of the CNC sheets is first class and to say that the Yorkshireman kit has been around for quite a while is a testament to Model Slipway.

                        #46336
                        Dave Milbourn
                        Participant
                          @davemilbourn48782

                          It was substantially revised a couple of years ago to incorporate CNC-cut styrene parts and some modifications to make the superstructure easier to build 'square'. The etched brass sheet was also completely revised to include hatch hinges, handles etc.

                          Dave M

                          #46633
                          Looverlijn
                          Participant
                            @looverlijn

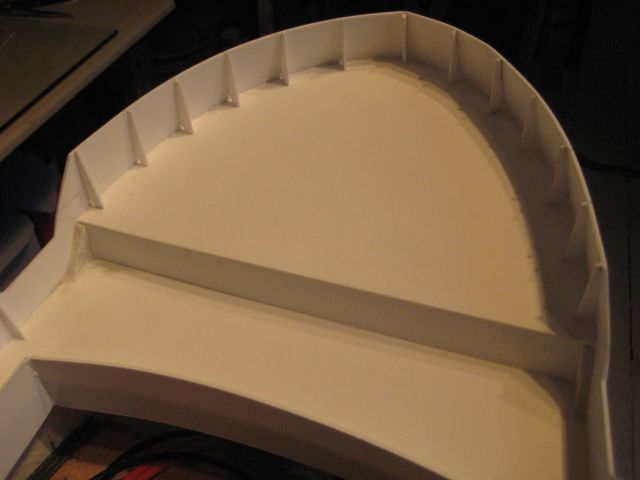
                            A few more pics of progress (told you I was a slow builder )smiley

                            img_0297.jpg

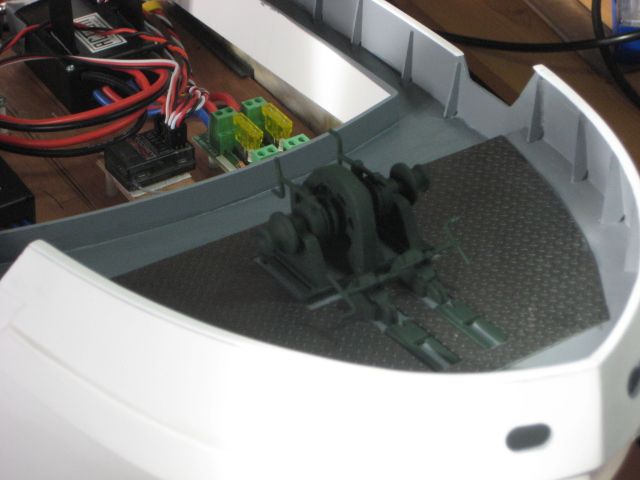
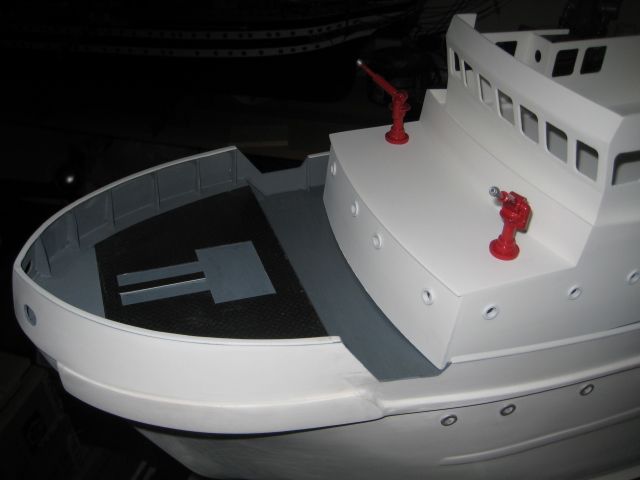
                            Bow bulwarks fitted

                            img_0298.jpg

                            The REALLY fiddly bits of the bulwarks

                            img_0299.jpg

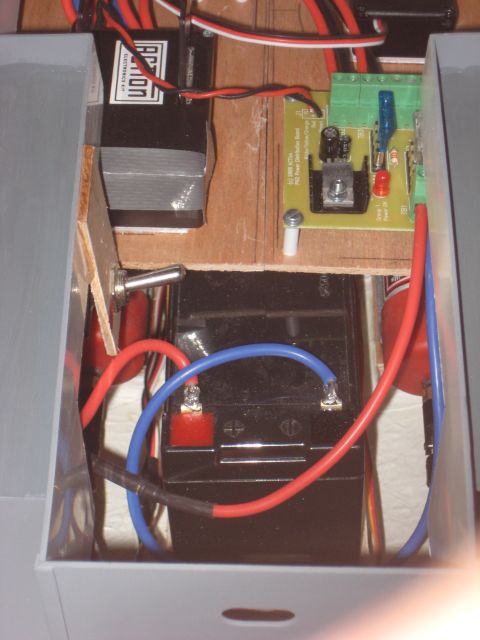
                            Starting to picture where the electrickery will go

                            img_0300.jpg

                            Main deck fitted

                            img_0301.jpg

                            Stern deck fitted, ready for main cargo hatch.

                            That's all folks

                            #47420
                            Looverlijn
                            Participant
                              @looverlijn

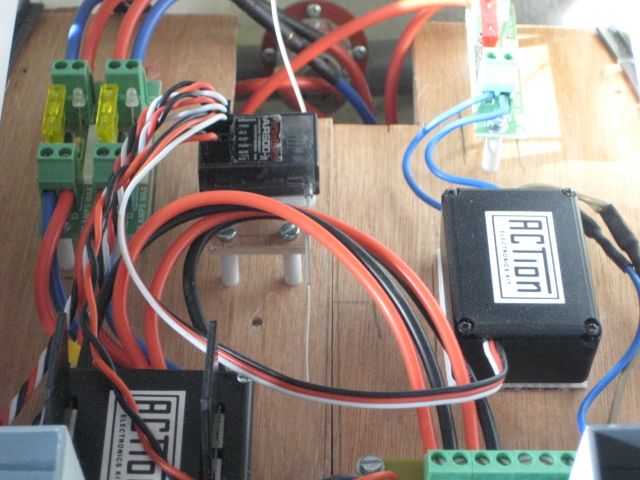
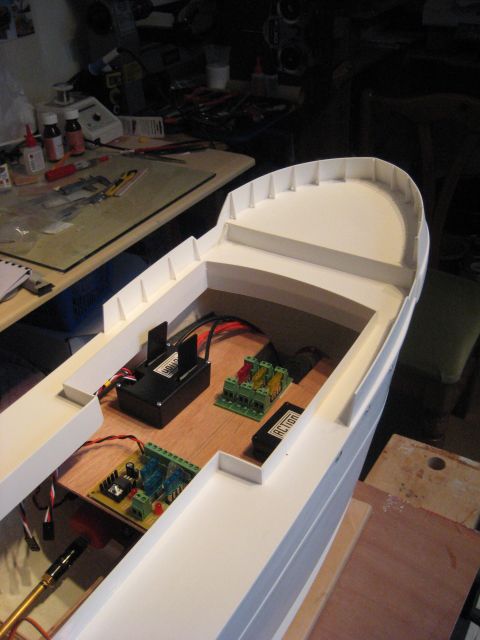
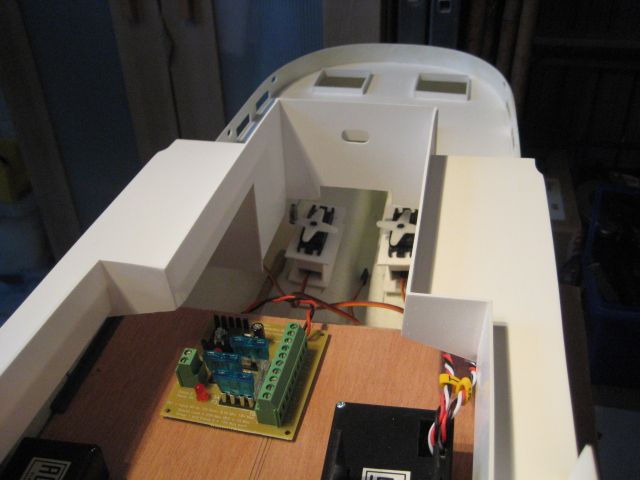
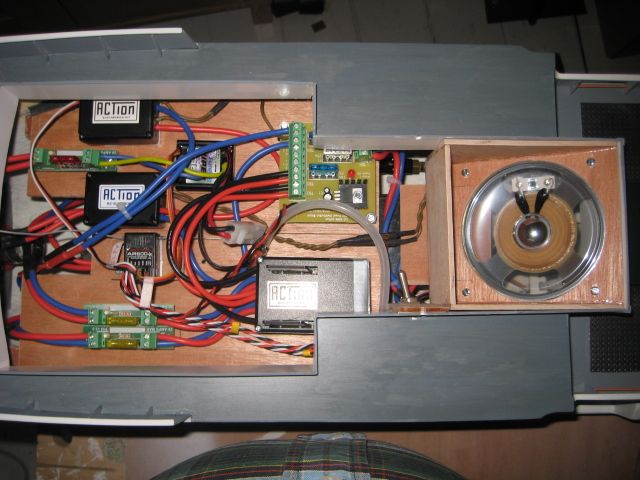
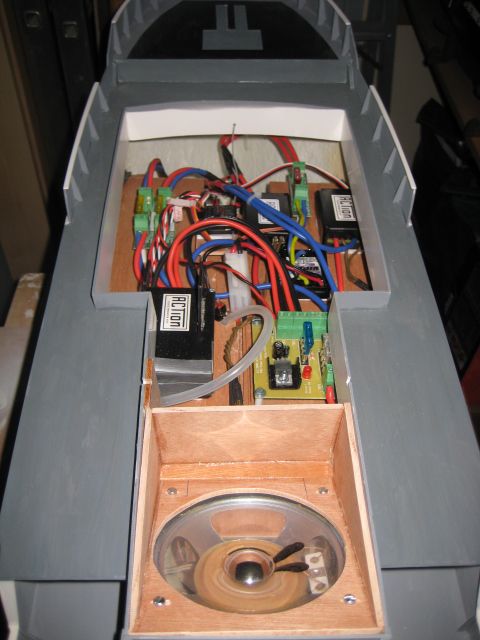
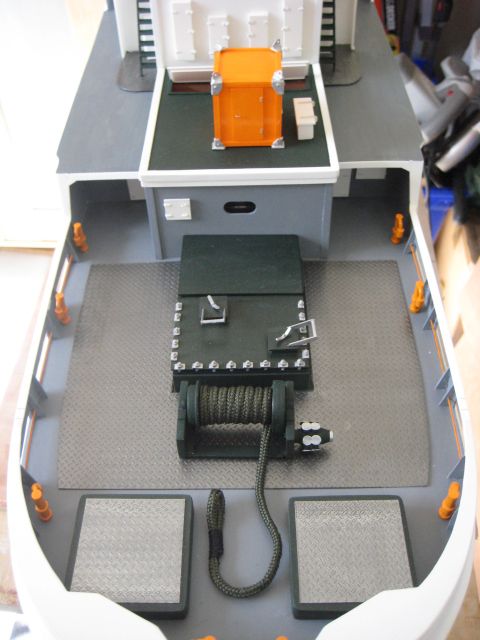
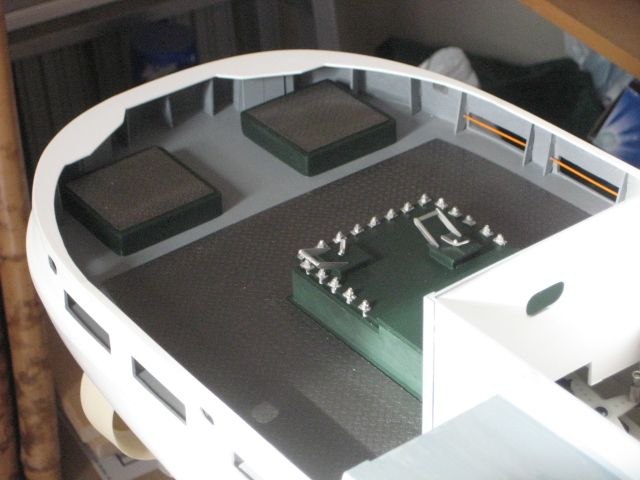
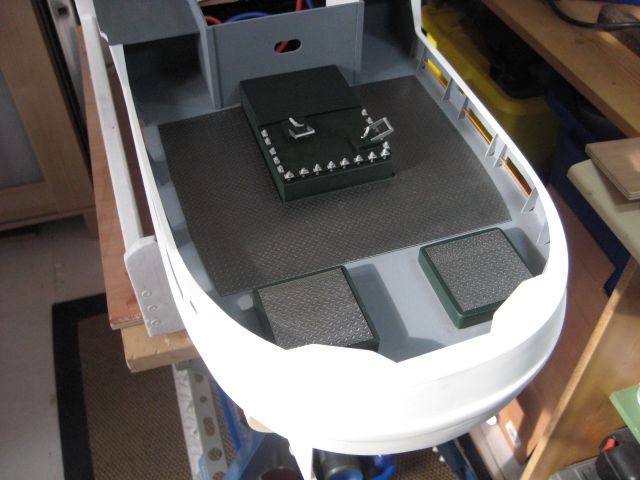
                              A few more pics of progress so far. Got all the electrics fitted and when I threw the main power switch… amazingly everything worked! (considering it all started off as half a dozen plastic bags from Action Electronics) well apart from the bow thruster – not a peep out of it. The P44 seemed to be working ok in that the relays were clicking but no volts were getting to the bow thruster fuse. Took it out of the plastic case, turned it over and there was the problem… the relays have 6 contacts and on one of them I had only soldered 4 duh! Put it all back together and the bow thruster buzzes away famously. I am really impressed with Action Electronics kit and was well chuffed when everything worked as it should particularly P94 handling of prop/rudder setup.

                              Other progress I'm really pleased with is the operation of the airbrush kit I got off the web, £50 got me a wee compressor and two airbrushes and the results are really first class. It's not for spraying large areas such as hulls etc. but for all the small fittings and stuff such as winches and cranes it's first class. I'm glad I didn't spend the extra £40 for a compressor with tank because the "on demand" compressor does a stirling job and is very quiet to boot.
                              img_0318.jpg

                              img_0311.jpg

                              img_0312.jpg

                              img_0315.jpg

                              img_0317.jpg

                              img_0313.jpg

                              img_0314.jpg

                              #47423
                              Dave Milbourn
                              Participant
                                @davemilbourn48782

                                If you're running the bow thruster on 12v and via a P44 then you're overdoing the ratings for both the relays and the motor. Those motors are rated only at 7.2v and the P44 relays are also only good for 3 Amps continuous. You'd really be better off using a small electronic speed controller to avoid the sudden current surge through the relays and the physical shock to the vane inside the thruster which occurs when the motor is turned onto full speed from dead stop. A 5 Amp one such as P81 would do fine and you could use the same channel as you presently use for the P44.
                                Other than that the installation looks as clean as a whistle and it does my heart good to see all those ACTion stickers!
                                Dave M

                                #47428
                                Looverlijn
                                Participant
                                  @looverlijn

                                  Dave,

                                  Many thanks for your comments, I must admit I hadn't thought about the shock to the thruster vanes when power comes on – water is very solid! at times like this. I do have a spare Mtronics 15 Amp speed controller, would this be ok to cushion the shock? Again it's a bit of overkill as you suggested a 5 Amp one but I've already got one redundant piece of kit (the P44) and I'm already over budget. I am also a bit annoyed with myself in that I misread the specs of the power distribution panel in that I thought there was a separate 6V supply instead of all 12V. Still, whatever solution presents itself the bow thruster is only going to be used intermittently so I might get away with it.
                                  Paul L

                                  #47429
                                  Dave Milbourn
                                  Participant
                                    @davemilbourn48782

                                    Paul

                                    The 15A ESC you have should be fine with the thruster motor; just remember to remove the red wire from its receiver plug to disable the BEC. As regards the voltage, if you have a computer radio then use the End Point Adjustment on the thruster channel to restrict the "movement" to about 60% each way. If you don't then a cheapo "buggy" pack of 7.2v will do quite nicely for powering it. It's not as if you're short of space in there. Here's a decent one at a very good price from a supplier you should know already **LINK**

                                    The separate power supply from the P92 is via a 5v flylead and is intended to power the receiver. It's not powerful enough to run a bow-thruster. You could use the P44 to switch a couple of 12v lighting circuits if you wish.

                                    Dave M

                                    #47430
                                    Looverlijn
                                    Participant
                                      @looverlijn

                                      Thanks Dave, I've ordered the battery and fitted the Mtronics so everything will be tickety boo as they say wink

                                      Paul L

                                      #47907
                                      Looverlijn
                                      Participant
                                        @looverlijn

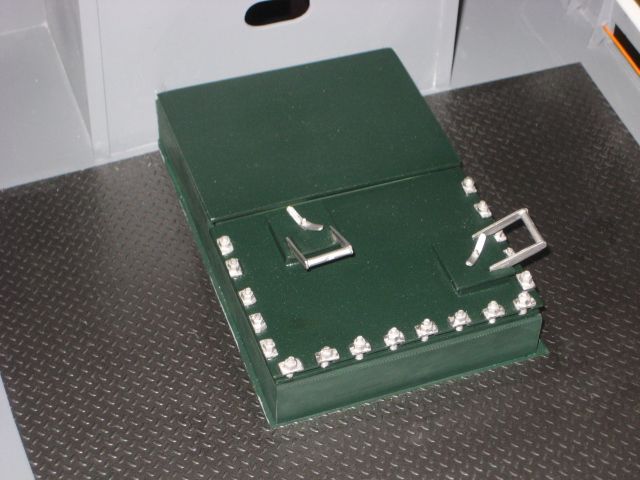
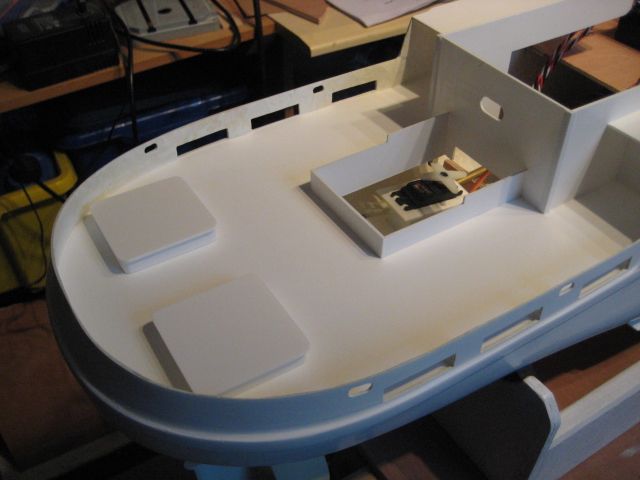
                                        Bit more progressand a bit of a watershed… have now fitted so many features that there is no more room in the hull! Plus the fact that I have run out of radio channels. Last thing to go in was the P13 sound unit and the massive (well 4 " speaker) for the hooter sound. Well pleased with the P13 – extremely LOUD. I took everybodies advice and built a proper sound box and then vented the sound out of 2 quite large hatch covers on the crane deck. Have yet to test the firefighting equipment as the inlet is nicely positioned at the lowest point of the hull so thats going to have to wait for a bit of decent weather to get the test area (paddling pool) filled with water.

                                        img_0325.jpg

                                        img_0323.jpg

                                        img_0322.jpg

                                        img_0326.jpg

                                        img_0327.jpg

                                        #48236
                                        Looverlijn
                                        Participant
                                          @looverlijn

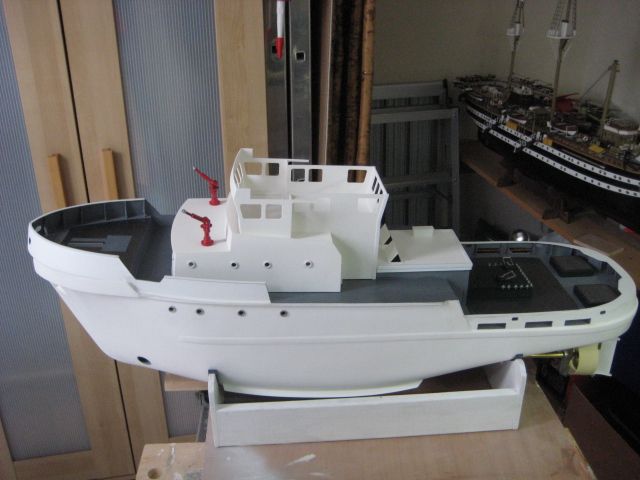
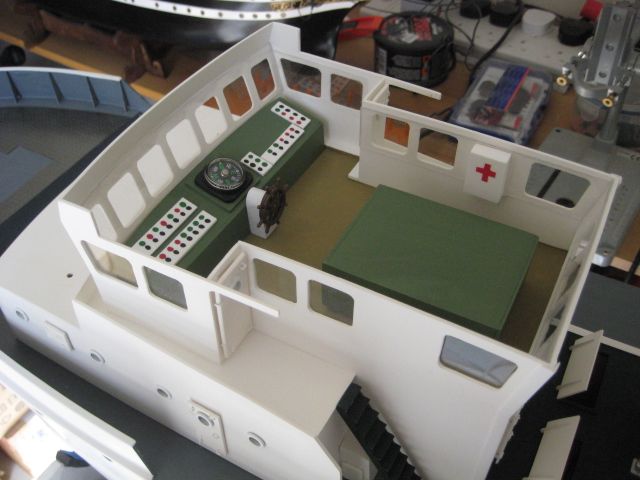
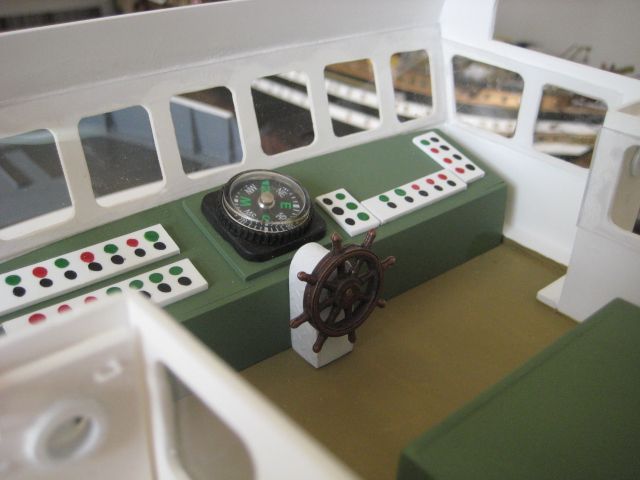
                                          A few more pics showing progress with the wheelhouse before the roof goes on smiley

                                          img_0332.jpg

                                          img_0333.jpg

                                          img_0334.jpg

                                        Viewing 19 posts - 1 through 19 (of 19 total)
                                        • Please log in to reply to this topic. Registering is free and easy using the links on the menu at the top of this page.

                                        Code of conduct | Forum Help/FAQs

                                        Advert

                                        Latest Replies

                                        Home Forums Building Kits Topics

                                        Viewing 25 topics - 1 through 25 (of 25 total)
                                        Viewing 25 topics - 1 through 25 (of 25 total)

                                        View full reply list.

                                        Advert

                                        Newsletter Sign-up