Sea Hornet 2015

Advert

Sea Hornet 2015

Home Forums Scratch build Sea Hornet 2015

  • This topic is empty.
Viewing 25 posts - 1 through 25 (of 67 total)
  • Author
    Posts
  • #58396
    harry smith 1
    Participant
      @harrysmith1

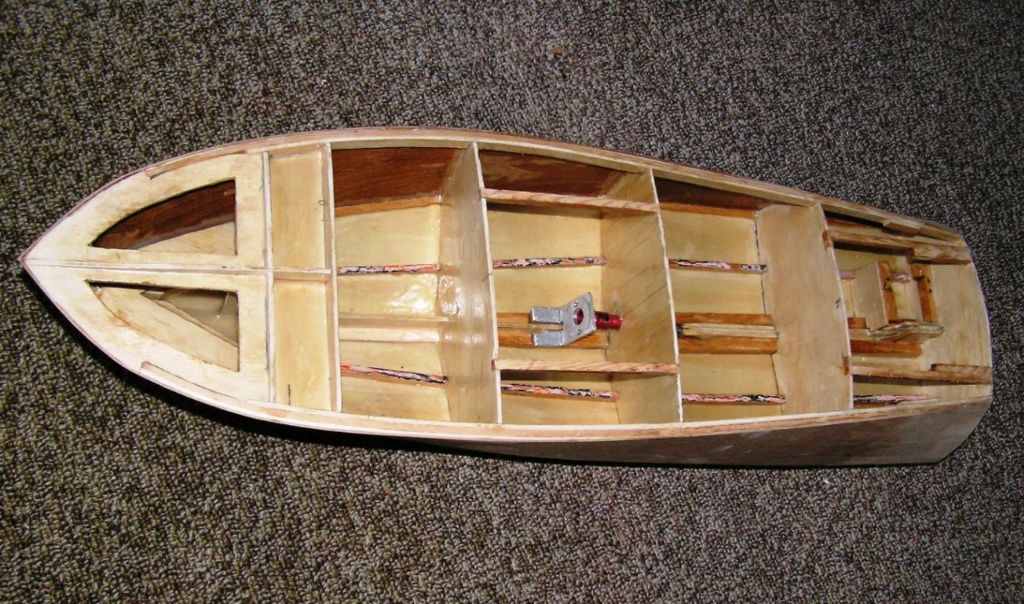
      I have started to build one from the original plans, which do not have the bulkhead plans, but, I measured from the waterline and was able to get the bulkheads.

      I added a prop support into the stern backbone to support the driveline and simplify the built also adding more support around the rudder.

      Using 2mm marine plywood for the bulkheads, bottom, deck and 1.5mm for the sides

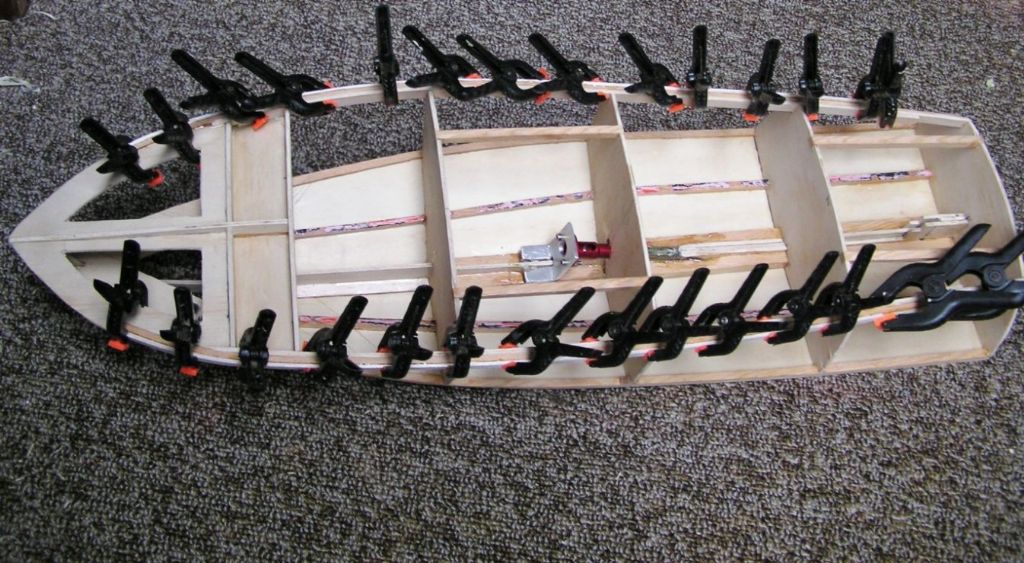
      I added stringers to the bottom to increase the frame strength as I am increasing the motor to brushless with a Lipo battery.

      Adding pics. into my Album.

      Advert
      #7017
      harry smith 1
      Participant
        @harrysmith1
        #58427
        harry smith 1
        Participant
          @harrysmith1

          Day 2

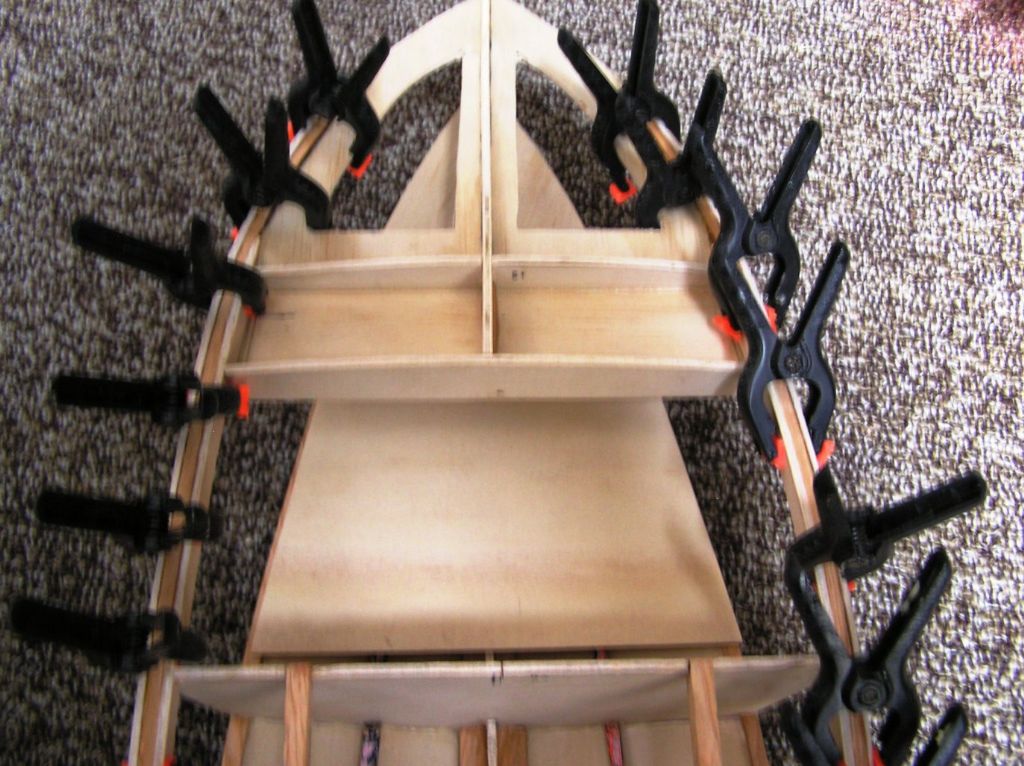
          Started on the bow end and breast hook.

          Parts arrived from Hobbyking.

          Driveline (codes BP22-S Prop and BP-22 Sleeve).

          Retrimmed the spline of the boat to fit the drive line.

          More pics in my Album

          #58475
          harry smith 1
          Participant
            @harrysmith1

            Added more breast hook bits and the first hull skin.

            Added more pics to my album.

            #58538
            harry smith 1
            Participant
              @harrysmith1

              Day 4

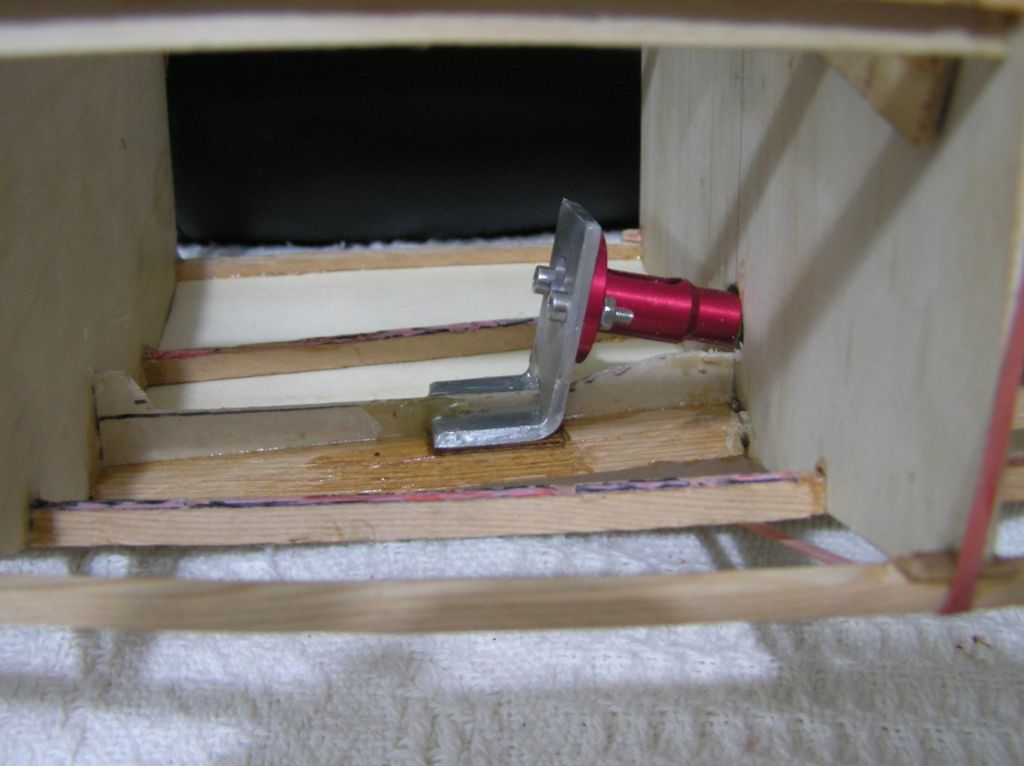
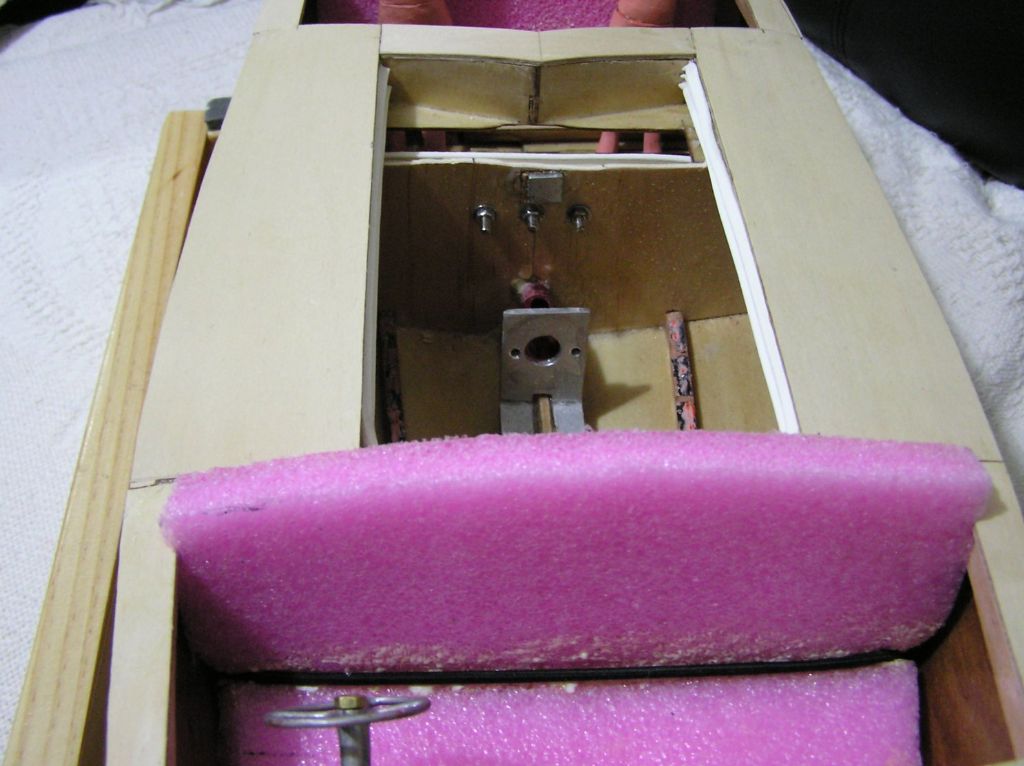
              Installed motor mount.

              I remade the original into alloy because I did not like original mount, it did not have a full circle between the motor and drive support tube.engine mounting bracket.jpg

              #58547
              harry smith 1
              Participant
                @harrysmith1

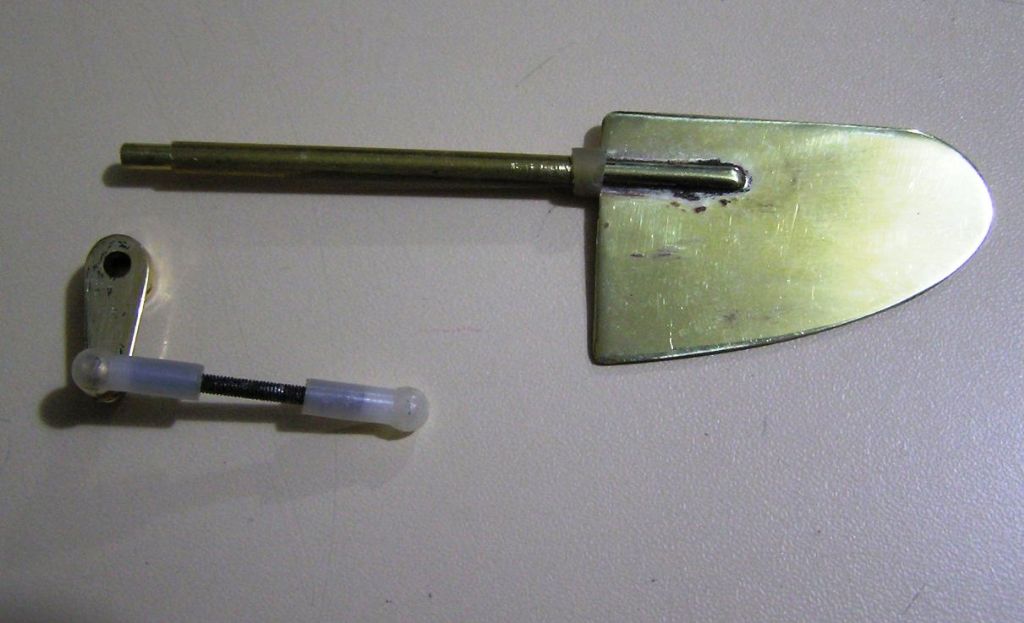
                Received rudder today.sea hornet rudder.jpg

                #58593
                harry smith 1
                Participant
                  @harrysmith1

                  Day 5

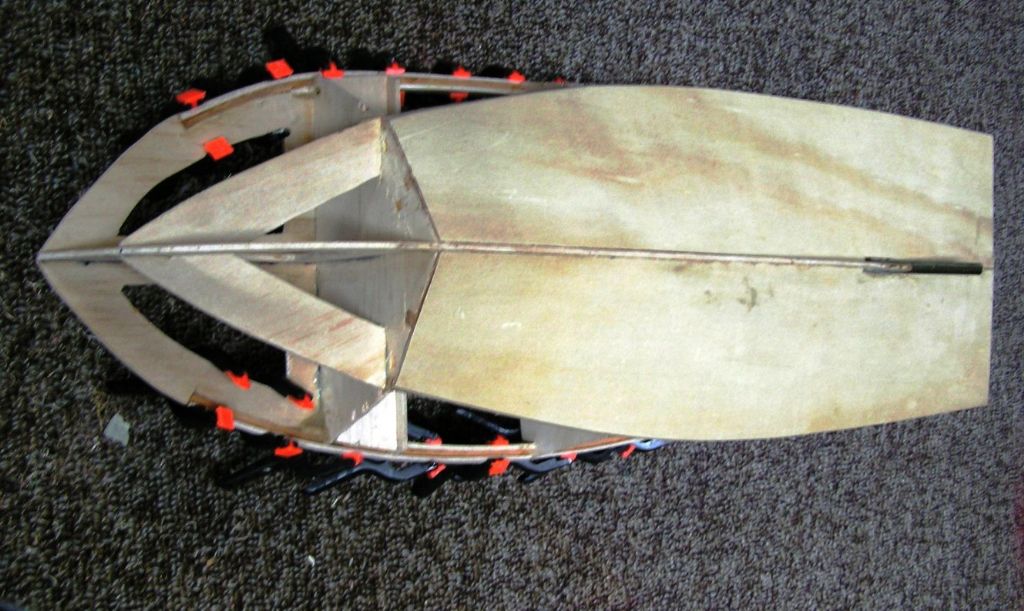
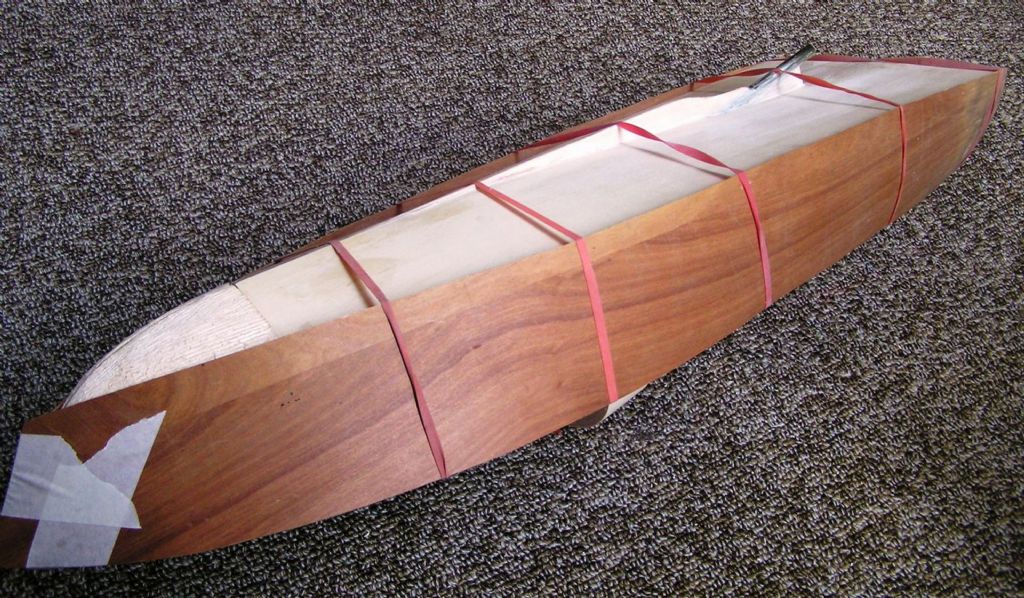
                  Added second hull skin.

                  second hull skin.jpg

                  #58656
                  harry smith 1
                  Participant
                    @harrysmith1

                    stern floor.jpgforward floor.jpgDay 6

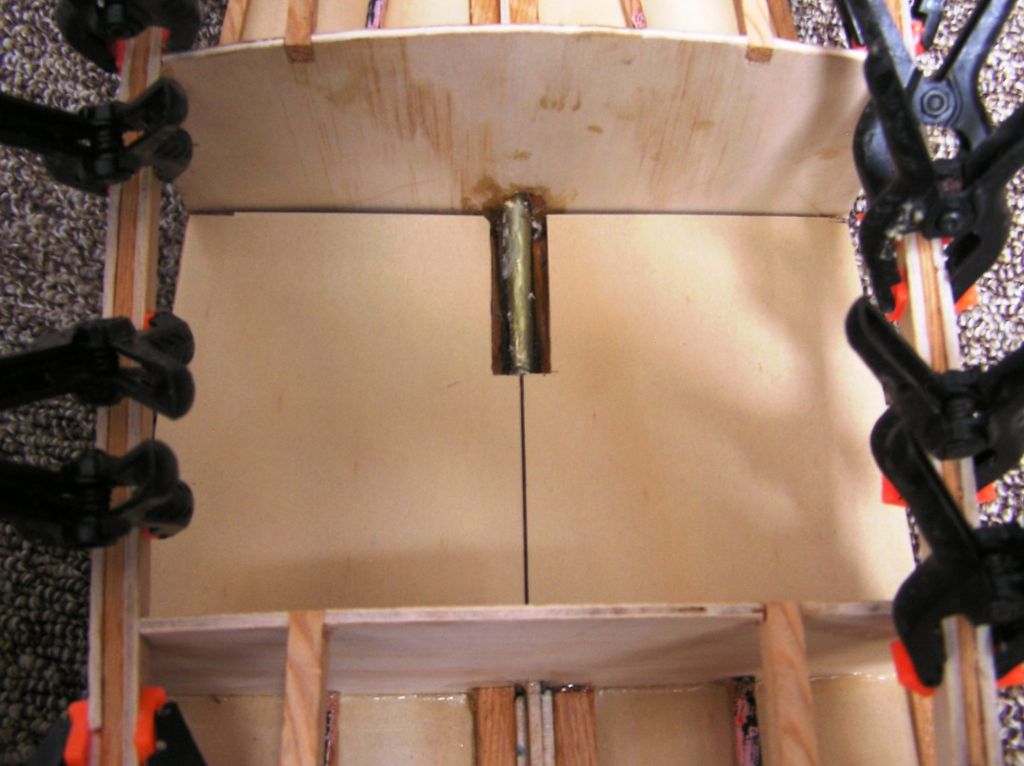
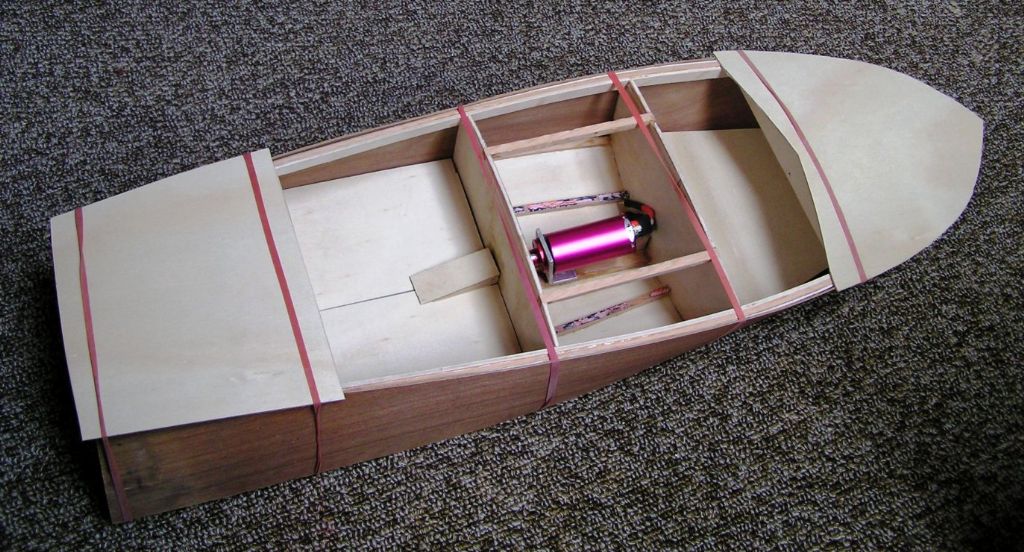
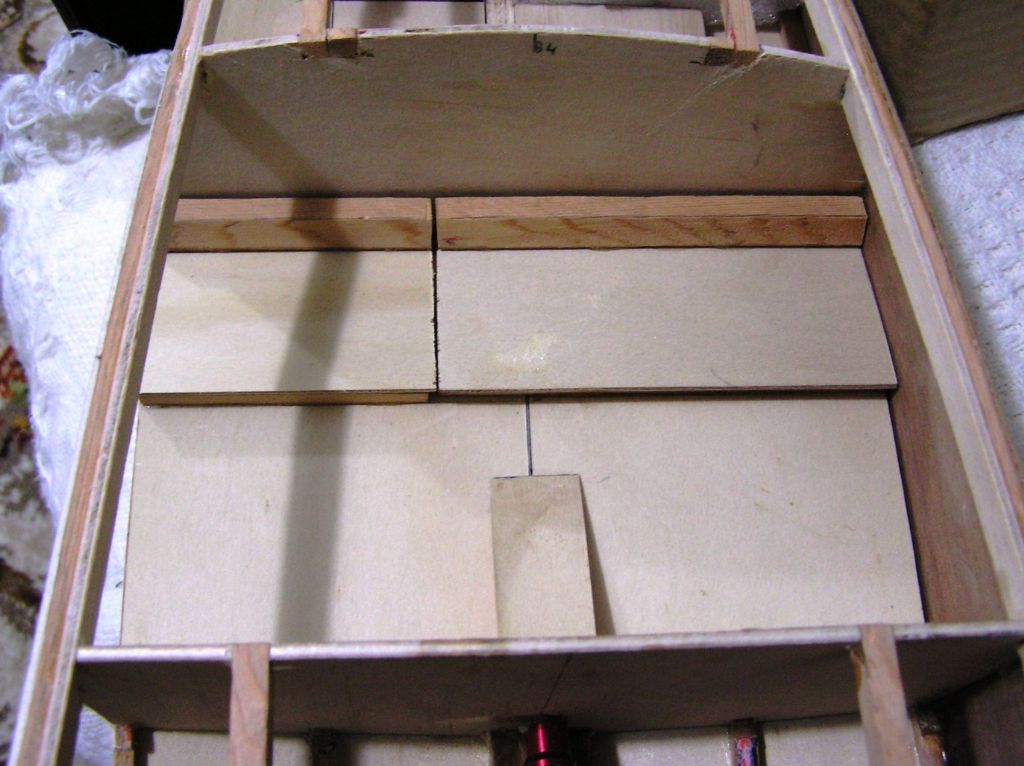
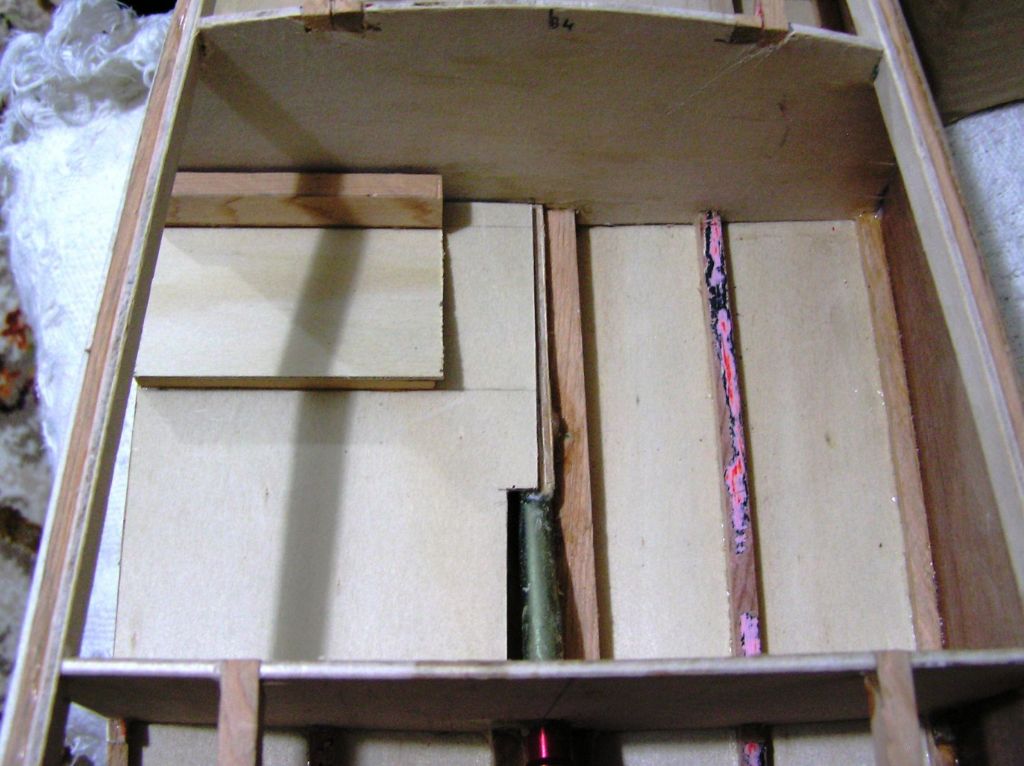
                    Made floor for forward, aft cockpit areas also the radio floor.

                    Very easy way for getting the floors to fit, cut the required width slide into place and mark using the bottom side stringers.

                    After a bit of steaming I glued in the topside stringers.top side stringers.jpg

                    #58674
                    harry smith 1
                    Participant
                      @harrysmith1

                      tops floor and motor.jpgbalsa bow blocks.jpgDay 7

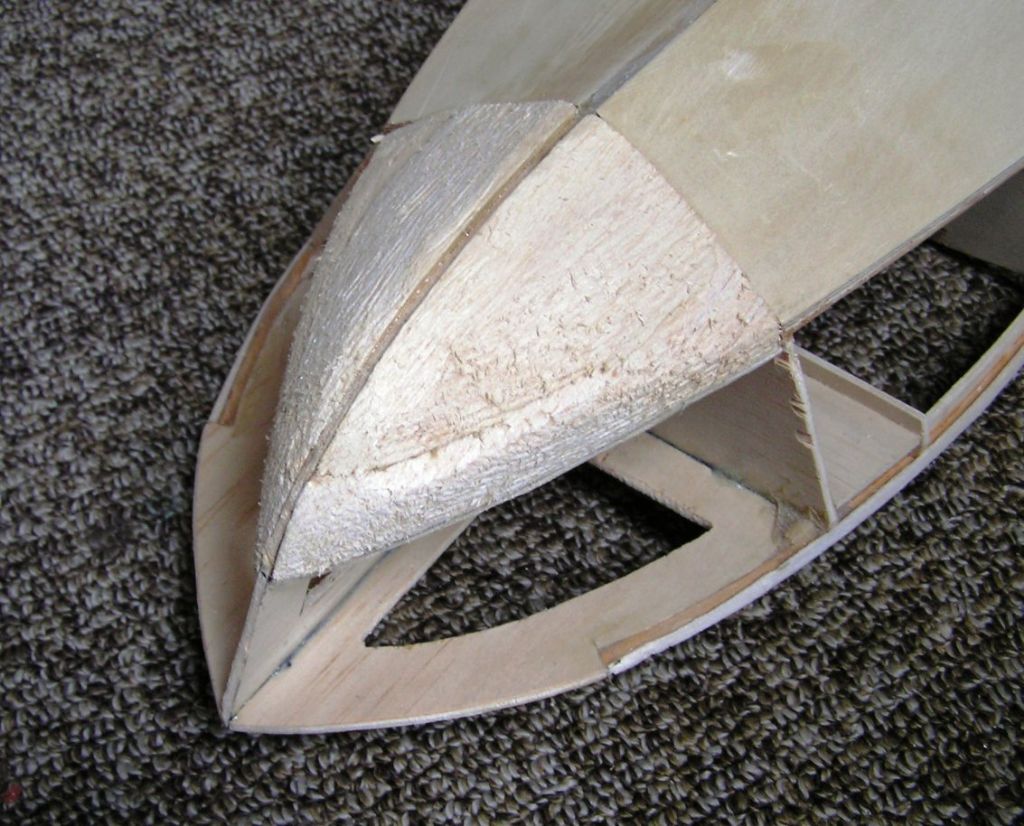
                      Added balsa bow blocks and steamed the plywood sides

                      Added cabin floors and split the rear one to get it in and out the hull.

                      Also planning to run extended battery and ESC leads under the floor.sides after steaming bottom 1.jpg

                      #58675
                      Colin Bishop
                      Moderator
                        @colinbishop34627

                        Looking good, a very neat job. Thanks for posting.

                        Colin

                        #58676
                        ashley needham
                        Participant
                          @ashleyneedham69188

                          Harry. Very nice. Should look a treat with the (Mahogany faced??) ply varnished…assume you will varnish, or paint??

                          Motor looks long and thin. Can I ask what Kv you have chosen and what battery voltage you intend to run?

                          Cheers Ashley

                          #58680
                          harry smith 1
                          Participant
                            @harrysmith1

                            Hi Colin and Ashley

                            The sides are 40 year old 1.5mm marine mahogany three plywood(no longer available), but its water stained.

                            So I tried to clean it up but no luck.

                            So I tested a piece with fibreglass resin plied with a piece of hard packing foam, it did not leave brush marks.

                            I gave it a quick sand with 120 grit, nice and smooth.

                            So I think of painting the sides maroon with a gold strip?

                            The top is to be planked(dark and light Tasmania timber).

                            What did you think of the rudder a fellow member made for me???

                            Battery 3S 2650mah 30C or 4S 2650mah 40C.

                            ESC car 45A or 60A (heap of room in the engine bay)

                            Motor I have a XK2845B-2000kv(280watts), a B28-57-15L 1900kv(750 watts)(THE LONG THIN ONE)and 2836-3700kv(700watts).

                            I also have a 3000kv motor on my Hobbyking outboard(it's on my 24" deep vee).

                            Prop 2 blade alloy32mm x 1.4 pitch(spare for the outboard) or the 30mm x 1.4 pitch 3 blade plastic which is in the Hobbyking BP22-S PROP kit.

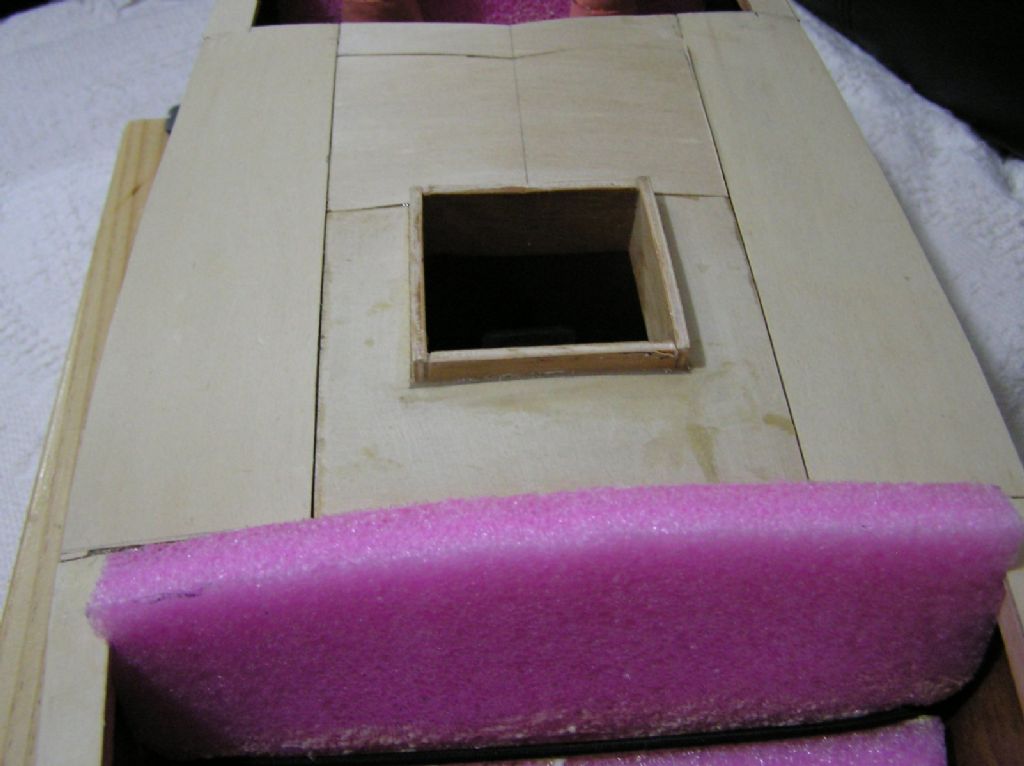
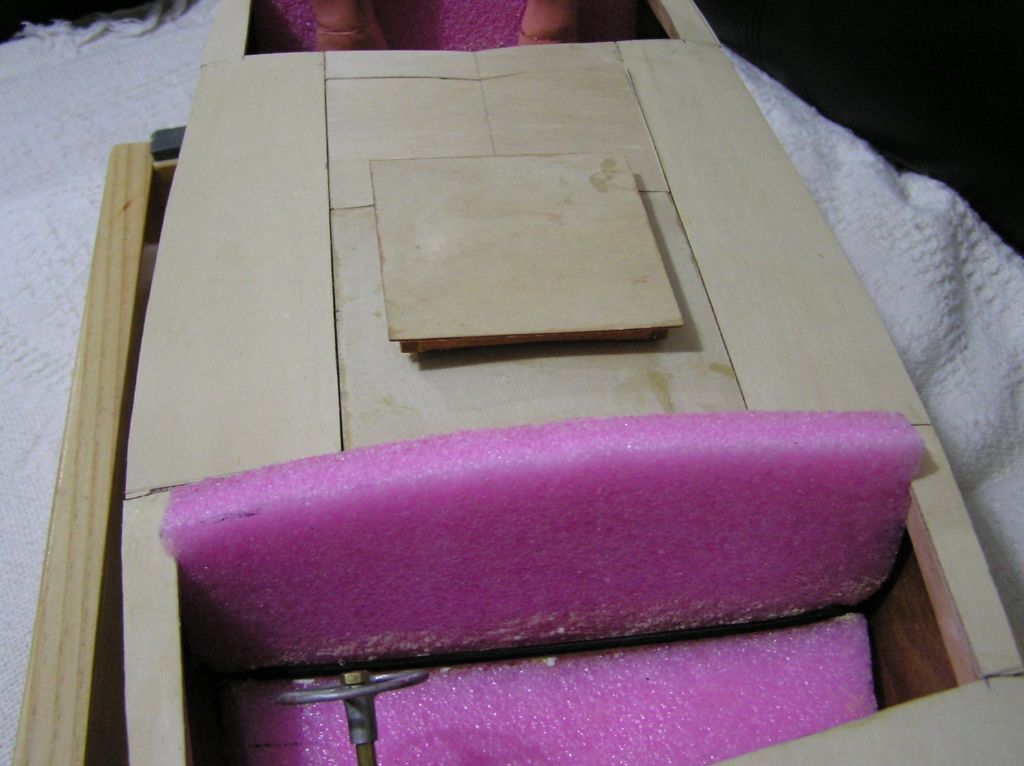
                            I am planning to change the engine cover setup and make it 100mm wide with a small hatch on top.

                            Extending the open section back to the rear wind screen so the planking looks better.

                            This will let me add an opening under the rear closed in dash for an air vent into the engine bay.

                            Also adding a closing door with seal and a weight, so if the boat ends upside down the door will shut the water out!!!

                            I HOPE!!!!!

                            #58688
                            Dodgy Geezer 1
                            Participant
                              @dodgygeezer1

                              The sides are 40 year old 1.5mm marine mahogany three plywood(no longer available), but its water stained…

                              Looks like there may be some still available…?

                              **LINK**

                              #58690
                              harry smith 1
                              Participant
                                @harrysmith1

                                I glued on one side today and installed rudder (dry, glue in later).

                                Also installed rudder servo.

                                Will install second side after making the seats and steering wheel.

                                Thanks Dodgy but the cost to Australia rules it out.

                                I found some a the local hobby shop 900 x 300mm, $60 Australia.

                                The local fibreglass shop has 2mm marine plywood which I am using on the Sea Hornet.

                                I will ask about getting some 1.5mm, if the price is passable.

                                #58709
                                harry smith 1
                                Participant
                                  @harrysmith1

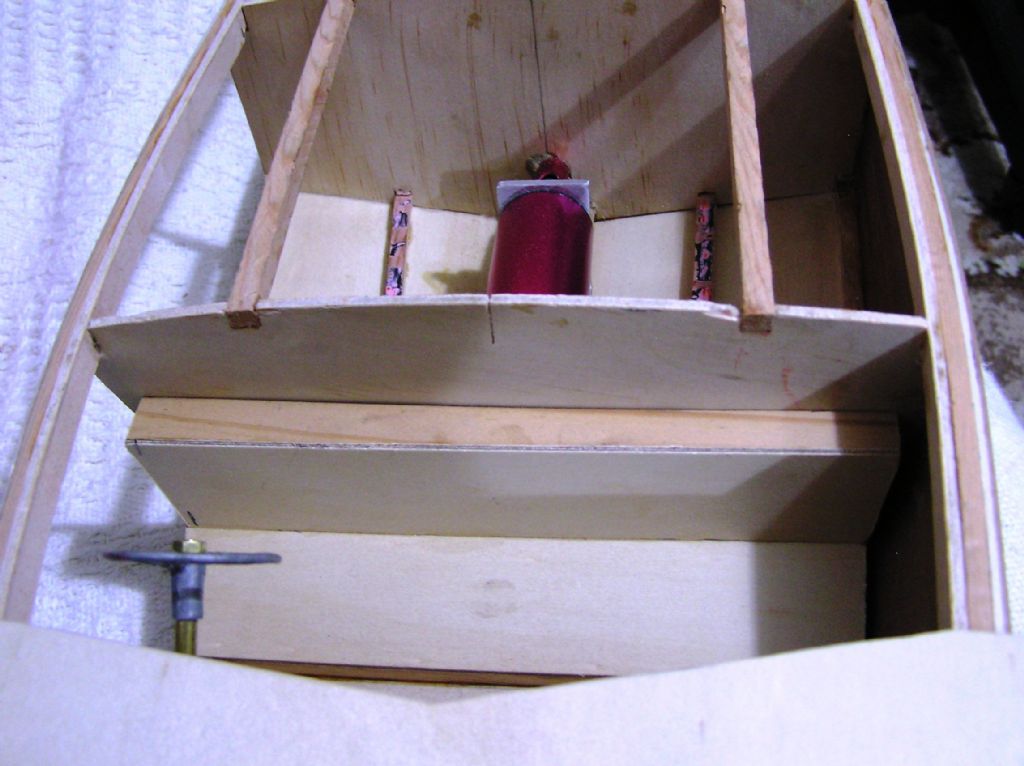
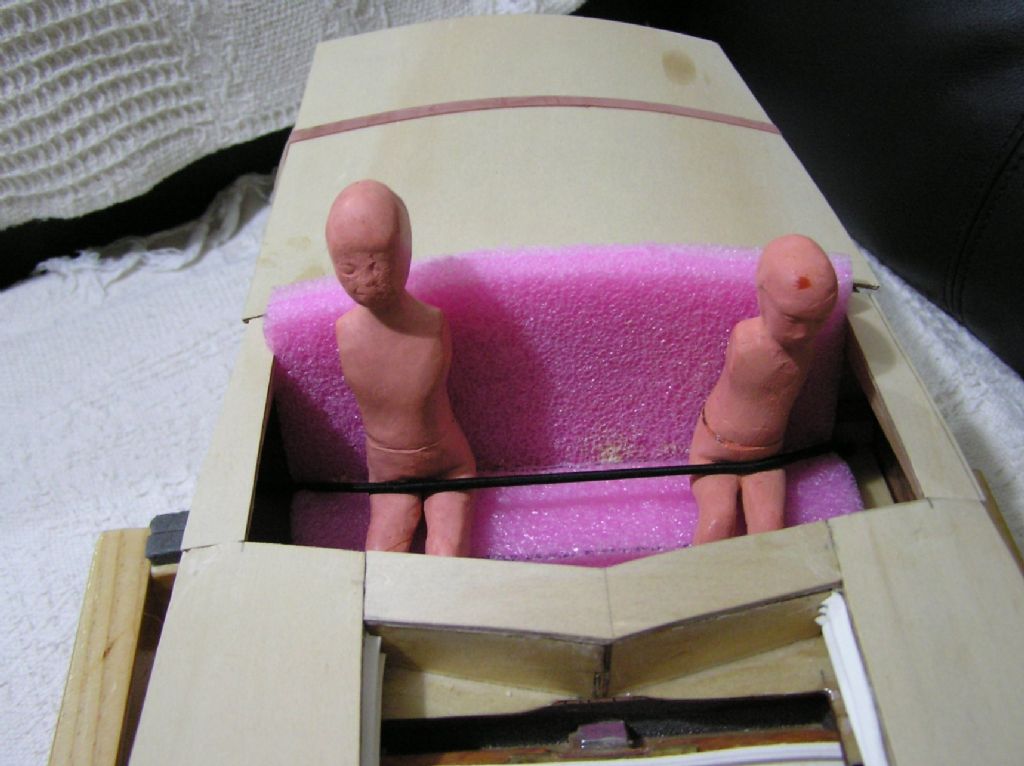
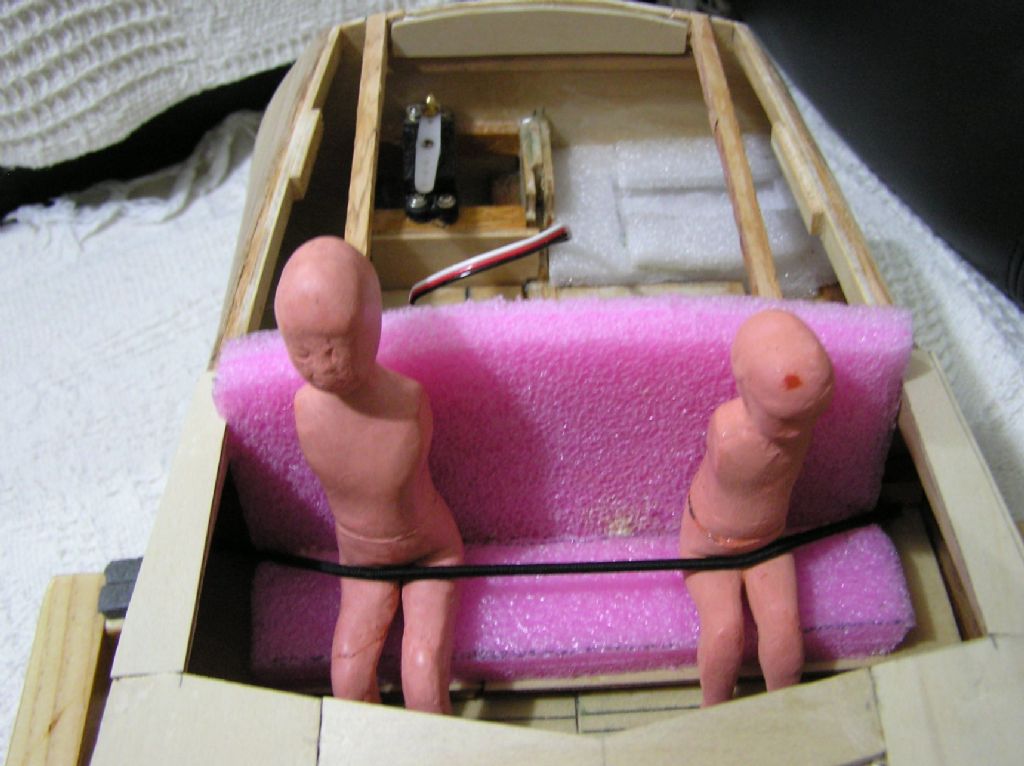
                                  aft seat.jpgaft floor part 2.jpgDay 9

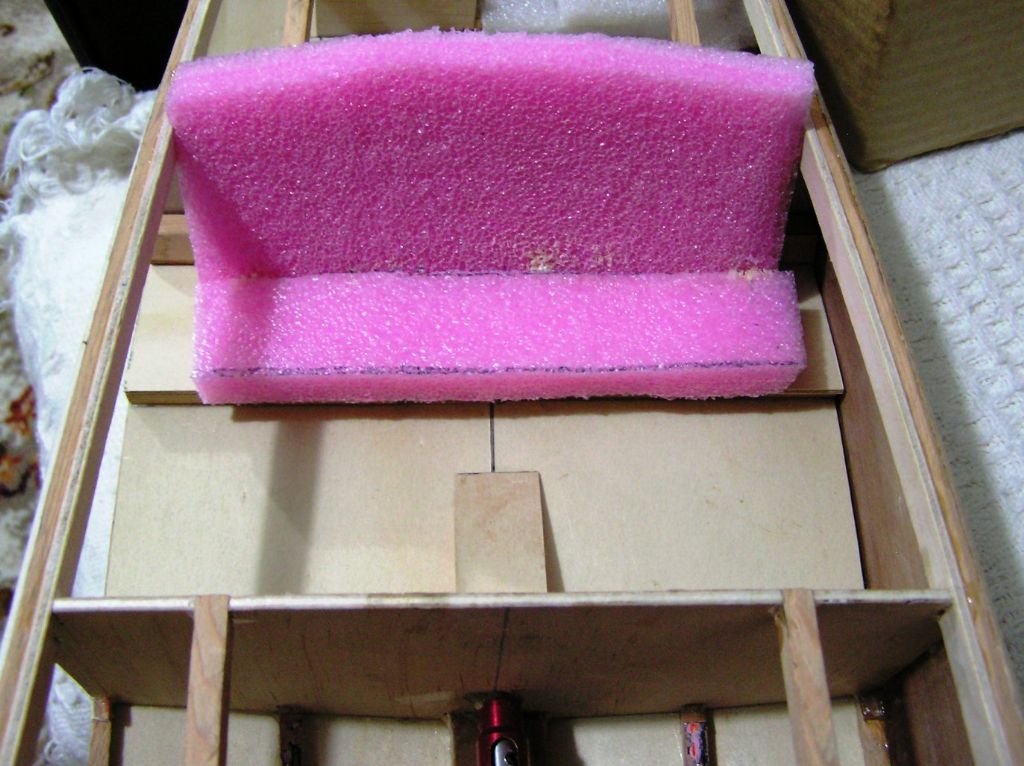
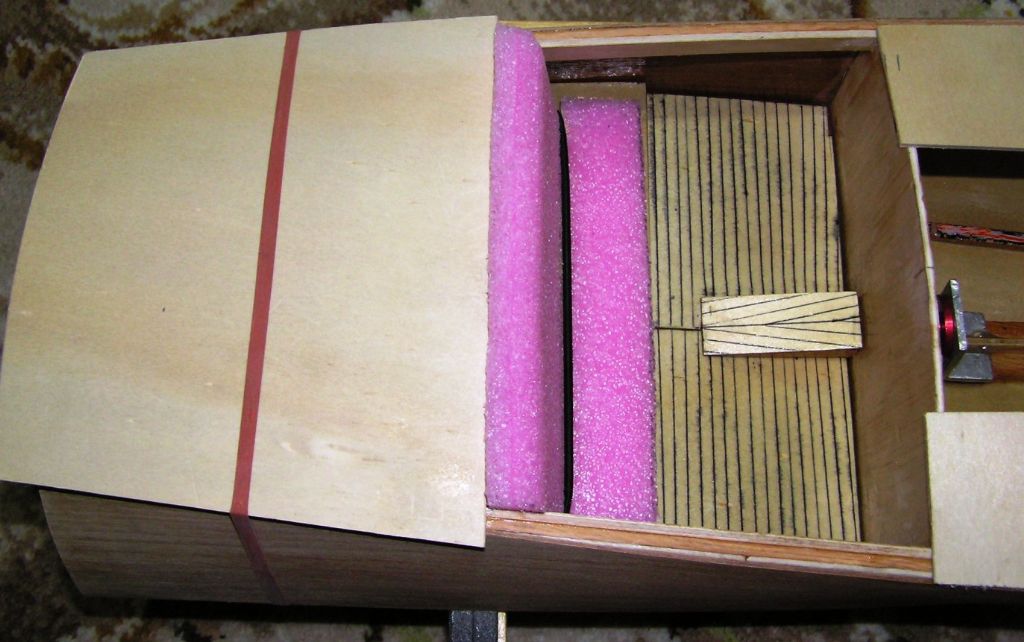
                                  Made aft seat in two bits, overlapping with the aft floor.

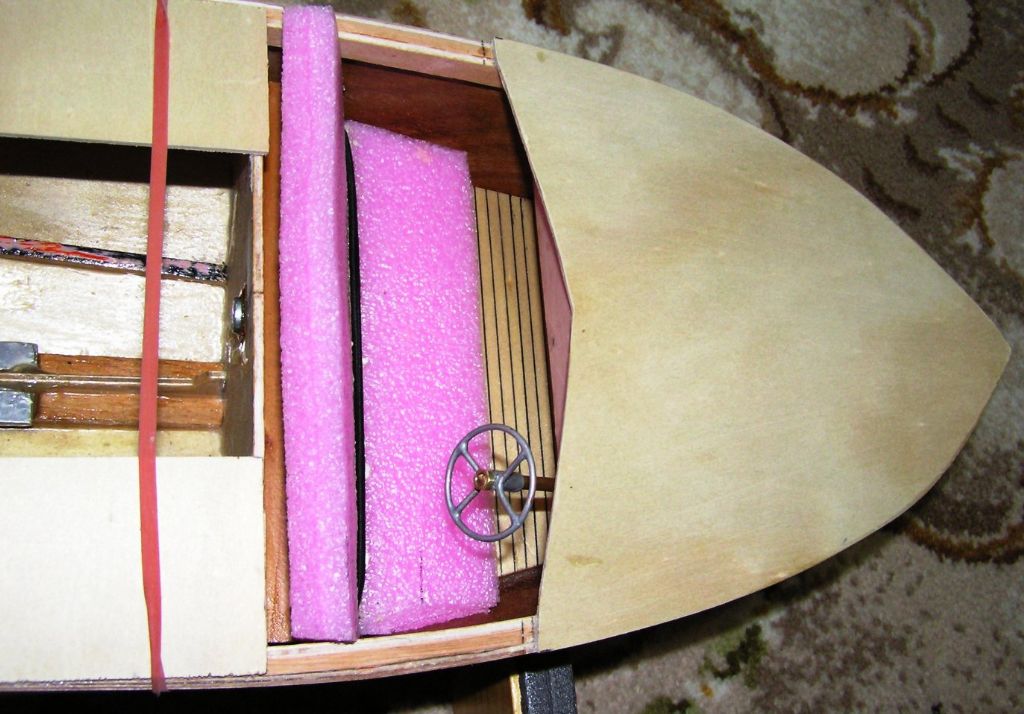
                                  Added foam for the seat(may help float the if it ends up the wrong way).

                                  Will have to ask the boss about making some seat covers???aft front part 1.jpg

                                  #58804
                                  harry smith 1
                                  Participant
                                    @harrysmith1

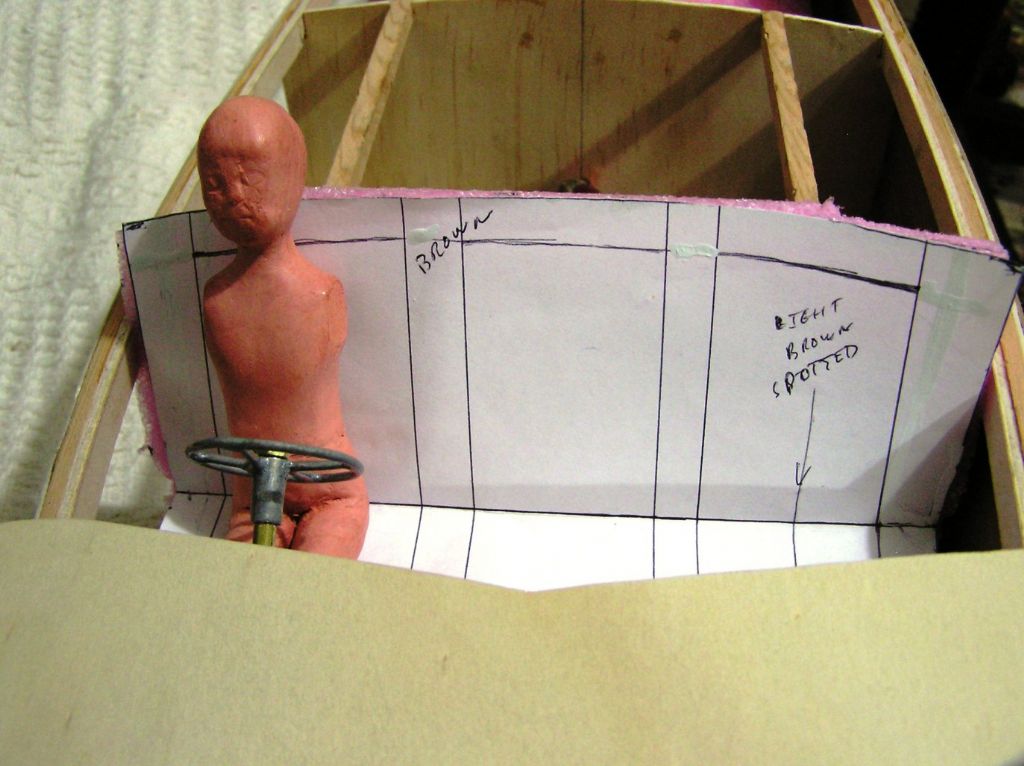
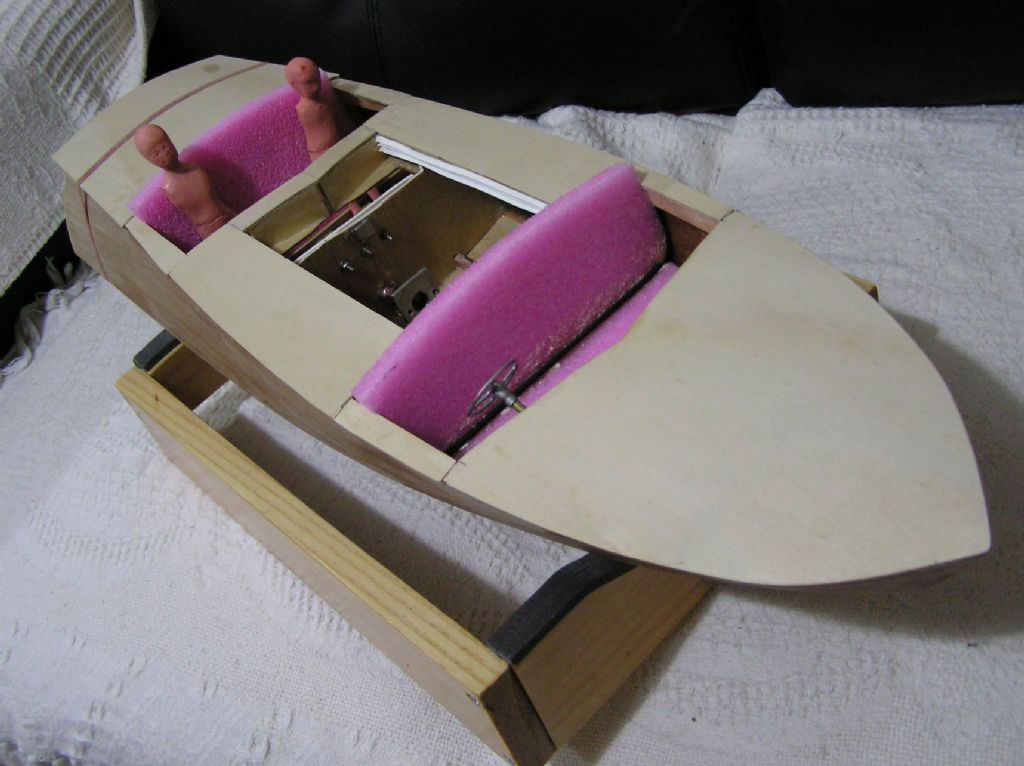
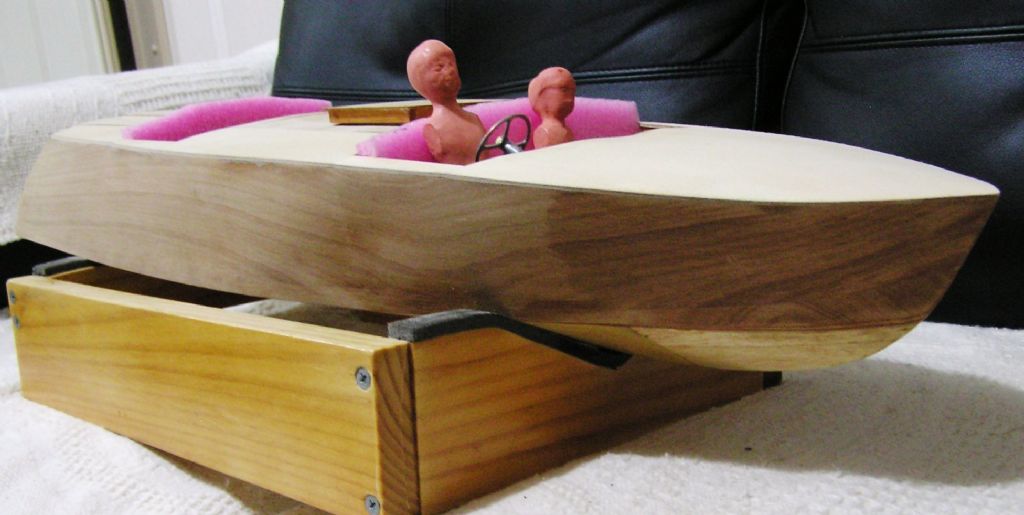
                                    forward seat and driver.jpgforward seat.jpgDay 10

                                    Made steering wheel and forward seat.

                                    Added an air dried clay driver (about 6" tall).forward cockpit and wheel.jpg

                                    #58840
                                    harry smith 1
                                    Participant
                                      @harrysmith1

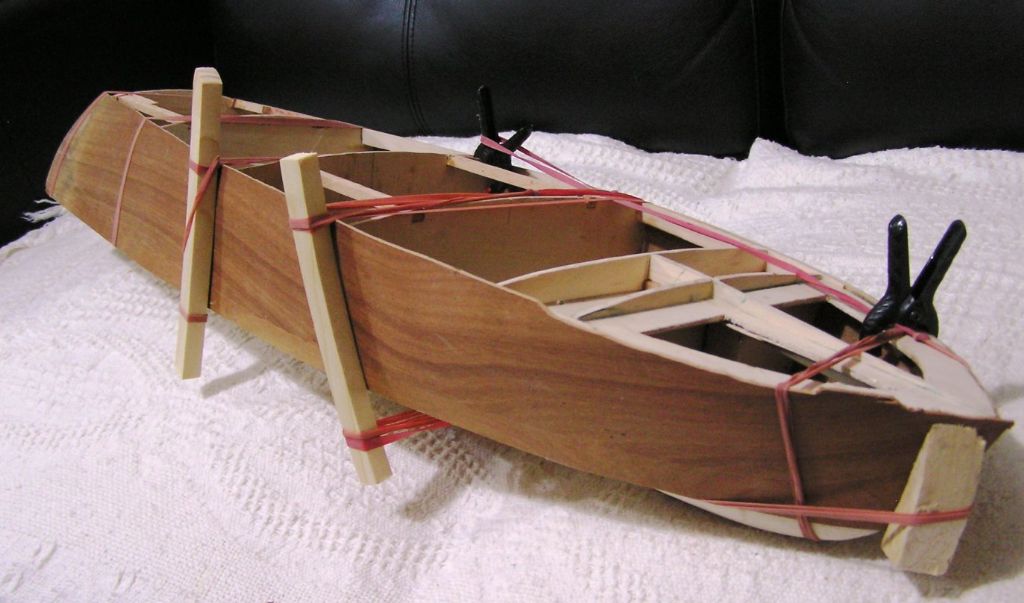
                                      Day 11

                                      Glued on the second side.second side.jpg

                                      #58855
                                      harry smith 1
                                      Participant
                                        @harrysmith1

                                        Day 11

                                        A nice warm day, so I fibre glassed the inside of the hull.fibreglassed inside.jpg

                                        #58974
                                        harry smith 1
                                        Participant
                                          @harrysmith1

                                          bow with seat.jpgaft with seat.jpgDay13

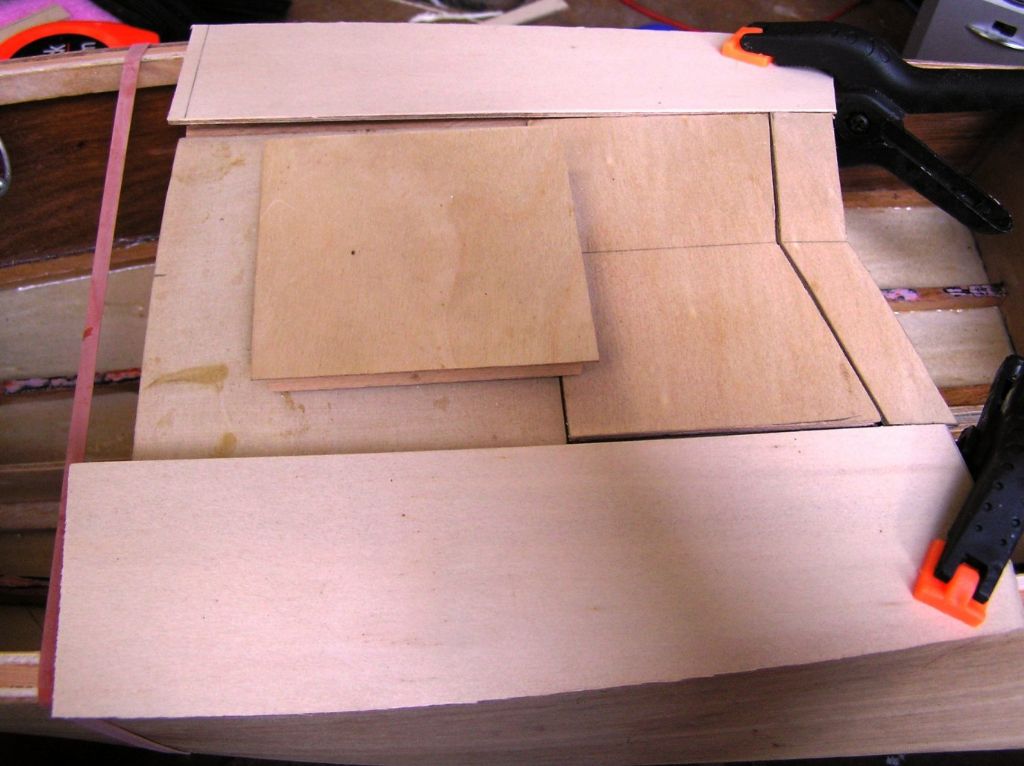
                                          Installed the bow deck and installed the seats.forward deck.jpg

                                          #59072
                                          harry smith 1
                                          Participant
                                            @harrysmith1

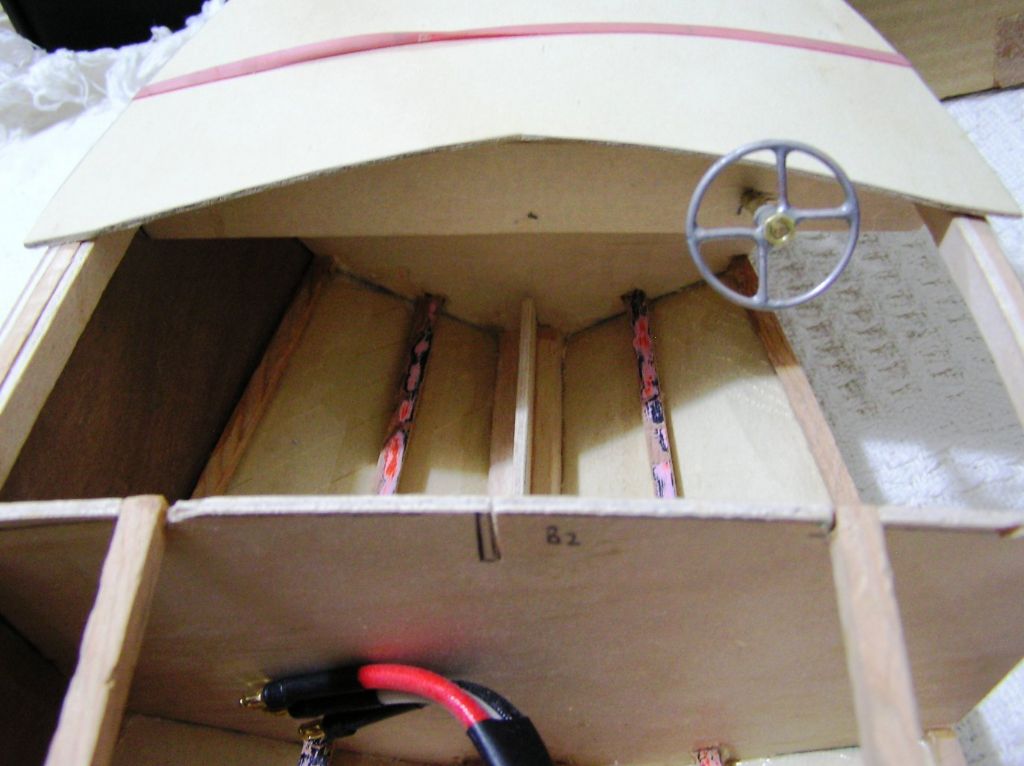
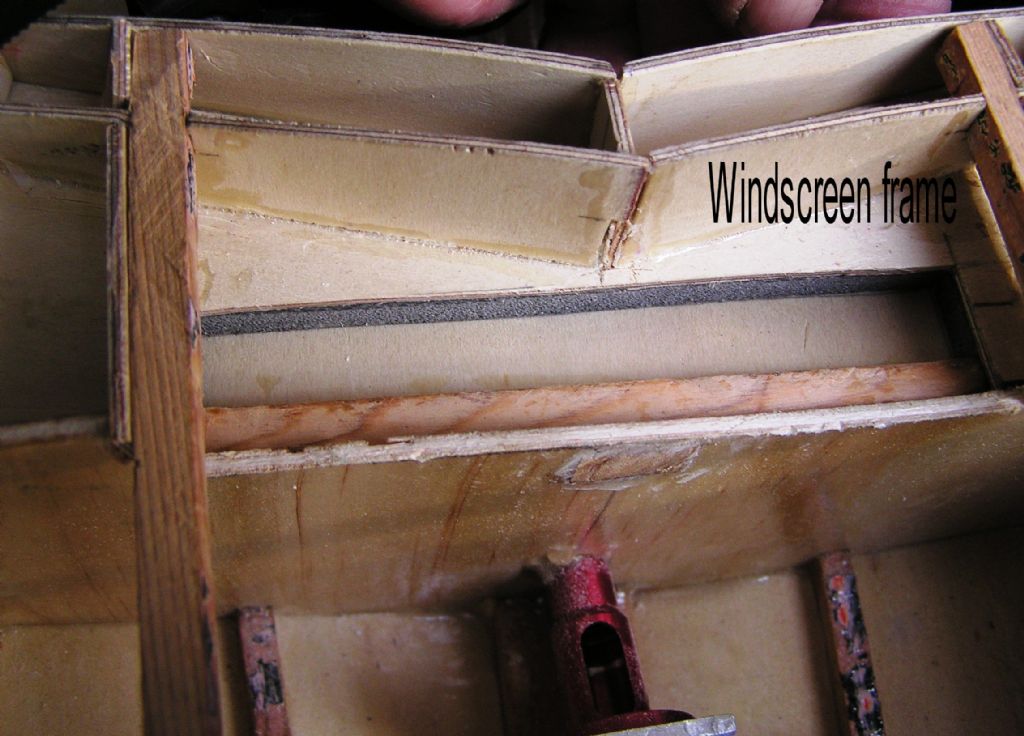
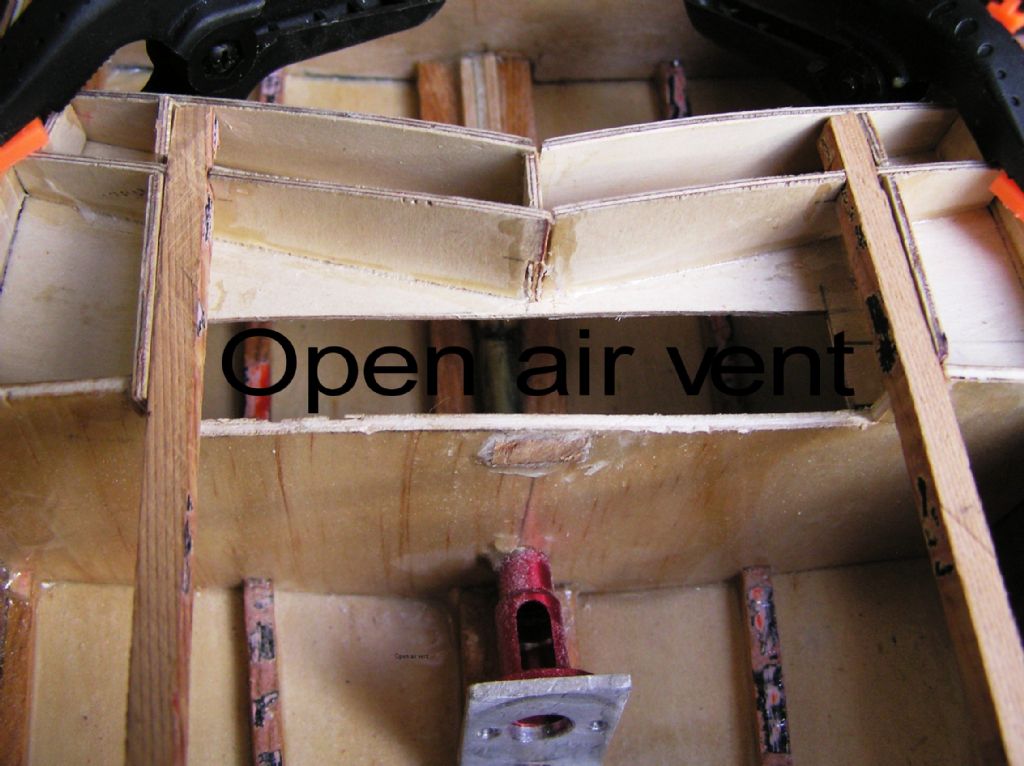
                                            engine bay airvent closed.jpgDay 14

                                            Made rear cockpit and added an air vent for the engine bay.

                                            Increased the length of the engine bay hatch back to the rear cockpit windscreen.

                                            Also made hinged door for the air vent and added door seal strip for water proofing.engine bay airvent open.jpg

                                            #59077
                                            ashley needham
                                            Participant
                                              @ashleyneedham69188

                                              Harry. It is all looking very workmanlike. I hope you are going to varnish the sides, will look lovely , especially the curved ends.

                                              Thats quite a motor you have there, watercooled?

                                              Ashley

                                              #59080
                                              harry smith 1
                                              Participant
                                                @harrysmith1

                                                Hi Ashley

                                                The side are going to be painted because of stains for water damage.

                                                The motor is not going to be water cooled as we have not water cool 90% motor and we do not have a heat problem.

                                                As for the ESC I am using the 60A car one from Hobbyking, we find these easy to programme, small, with reverse(only use 25%) and run cool at all speeds.

                                                The motor is a B28-57-15L 1900kv and I plan using a 2650mah 3S mounted behind frame B4.

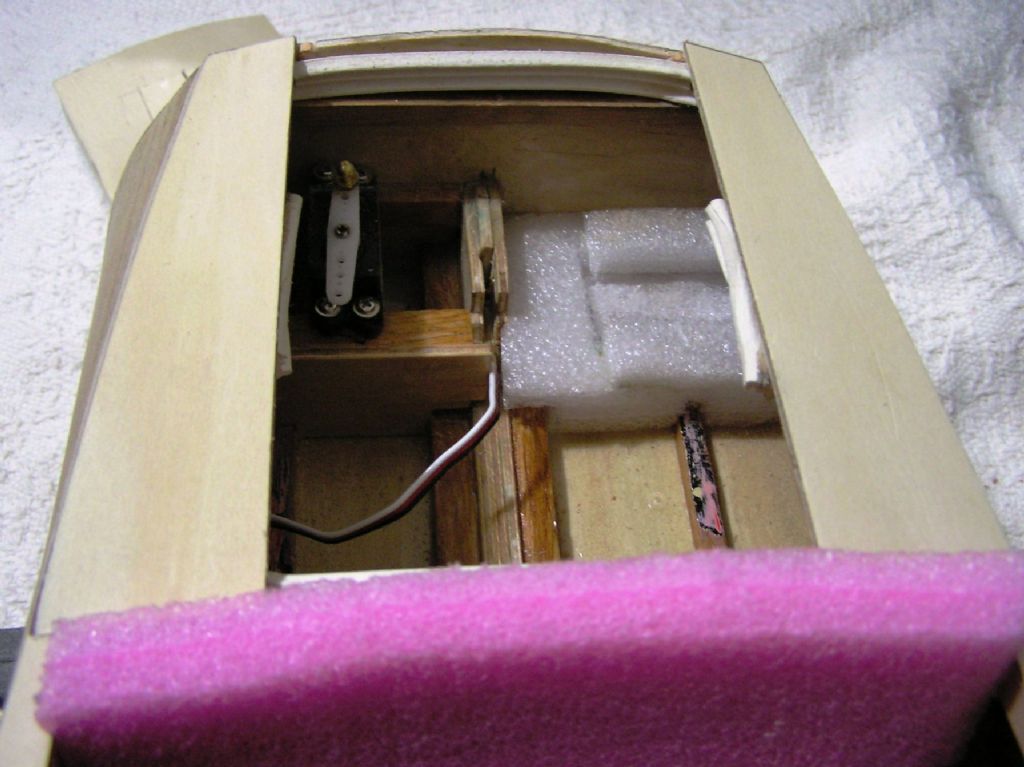
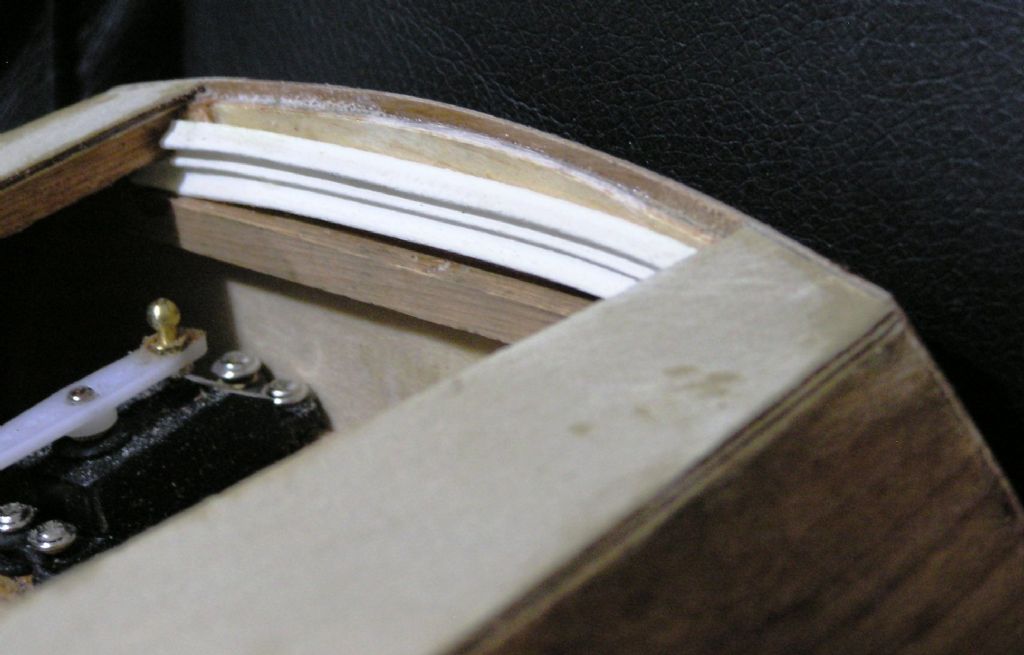
                                                I have modified the rudder hatch to get the battery and will run the power and ESC to receiver leads under the rear cockpit floor.

                                                I am testing a new setup for the engine bay with a hidden vent door which will shut and seal in case for a flip over.

                                                #59081
                                                harry smith 1
                                                Participant
                                                  @harrysmith1

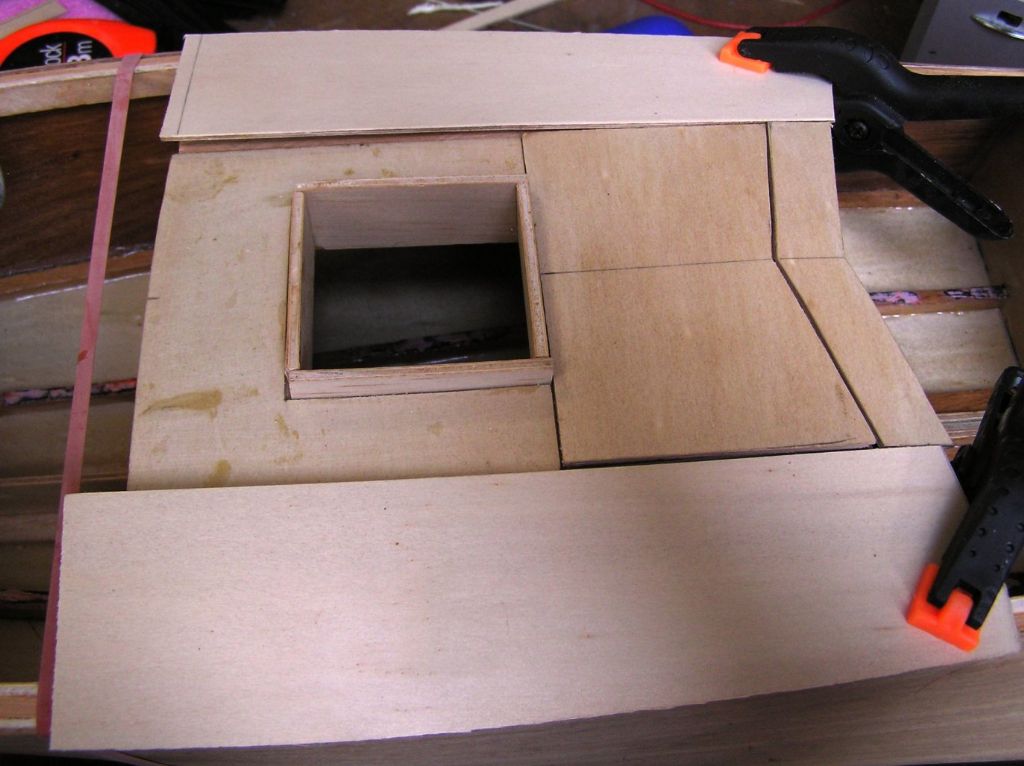
                                                  I started the engine cover and having a smaller engine hatch.

                                                  A bit for a mistake I did not setup the metal strips and magnets to hold down the cover before gluing on the cover.

                                                  Glued the magnets onto the frames and only used two magnets, not two magnets together as I did on the last boat.

                                                  These hold the cover on very, very well and so we live and learn.

                                                  engine opening.jpgengine hatch.jpgengine cover dry fit.jpg

                                                  #59281
                                                  harry smith 1
                                                  Participant
                                                    @harrysmith1

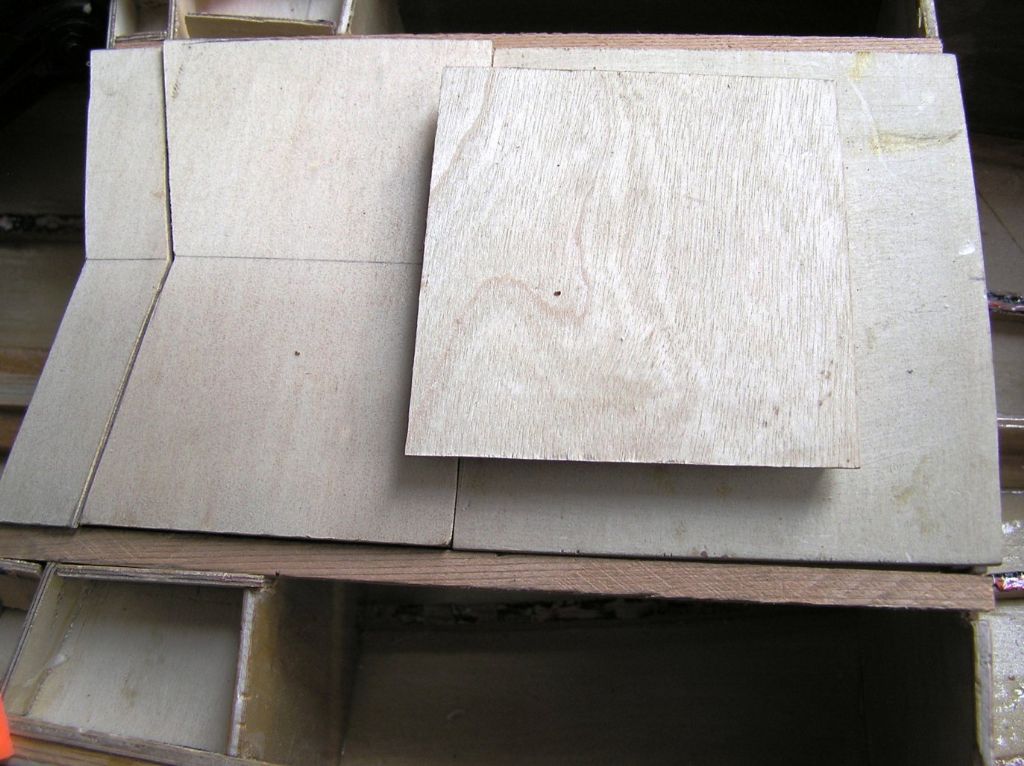
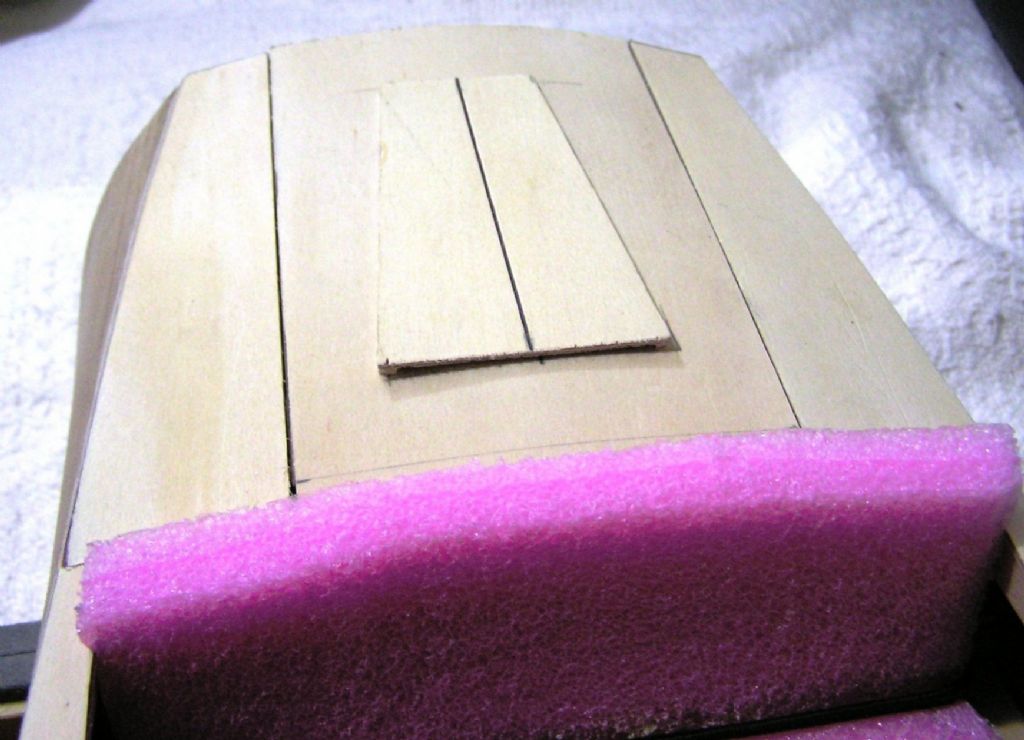
                                                    hull top view.jpghull rear seat 2.jpghull rear seat 1.jpghull engine small hatch open.jpghull engine cover on.jpgDay 16-21

                                                    It’s been a long haul.

                                                    I finally finished the engine cover with the extension back to the rear cockpit windscreen.

                                                    The hidden air vent door is working well with two square magnets to keep it shut and sealed in case of a flip over.

                                                    I added two small squares of lead to the door because the magnets are pretty strong.

                                                    I gave the hull a bit of a shake up and down.

                                                    The door stayed down until a final good shake it slammed shut.

                                                    It flips shut on turning the hull upside down.

                                                    The water trials will be interesting in is department!!!! Start on the rudder/battery/ radio cover next.hull engine cover off.jpg
                                                    #59728
                                                    harry smith 1
                                                    Participant
                                                      @harrysmith1

                                                      hornet open stern.jpghornet side view.jpghornet stern hatch.jpgDay 22

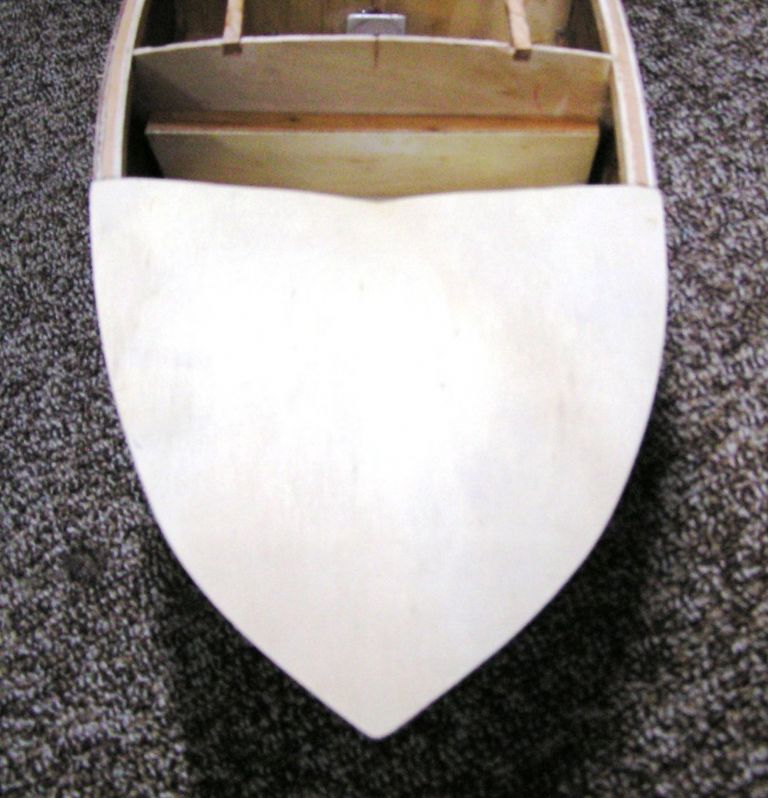
                                                      Completed the stern hatch with a rubber double door seal and added the false plywood stern bulkhead.

                                                      Applied a coat of fibreglass seal to the sides, bottom and stern.hornet seal strip.jpg

                                                    Viewing 25 posts - 1 through 25 (of 67 total)
                                                    • Please log in to reply to this topic. Registering is free and easy using the links on the menu at the top of this page.

                                                    Code of conduct | Forum Help/FAQs

                                                    Advert

                                                    Latest Replies

                                                    Home Forums Scratch build Topics

                                                    Viewing 25 topics - 1 through 25 (of 25 total)
                                                    Viewing 25 topics - 1 through 25 (of 25 total)

                                                    View full reply list.

                                                    Advert

                                                    Newsletter Sign-up