Funnels
BRIAN KING with some useful advice
Many years ago I had a friend who decided to build a working model of a lifeboat. I cannot remember of which class, but I do remember it was an open boat with a dirty great mast. As I had just made a scratch built fibreglass 48ft 6in Oakley he decided he wanted me to cast an eye over it.
Enjoy more Model Boats Magazine reading in the monthly magazine.
Click here to subscribe & save.
When I arrived I had misgivings, it was very well built, perhaps a shade too well built, like a brick-built toilet – only we didn’t use the word toilet in the workshop! Anyway, although the model was not quite finished it had a primer coat on the hull so I persuaded its builder to try it in my bath. Now that I’m on a water meter he wouldn’t be so lucky!
With bated breath we lowered it into the ‘oggin’ and it sank and sank, down to its marks and them some! PANIC! Working boats shouldn’t do that! Afterwards he told me he spent the next six weeks cutting bits out and cursing me at the same time, but why the cursing I’m not so sure. He eventually did get the model finished and sitting correctly. I lost touch with him eventually and I don’t know if he built any more boats, but I bet he never forgot the sight of his model sinking towards Davy Jones locker. It’s the sort of thing you never forget.
All this I remembered when I decided to build the funnel for my present model of HMS Colossus 1882, as funnels for working boats cannot be heavy. As a static modeller I like ships with circular section funnels, as these become a lathe job which as far as I’m concerned is a piece of cake. Unfortunately the last model of mine that had circular section funnels was HMS Victoria which had a very sad end in the Mediterranean.
Since then all funnels I have made have been of the now classic slab sided types which cannot be turned but have to be built up. Over the years I have developed a method of making this type which produces a nice light funnel which may not be essential for static models, but even here excess weight is not welcome.
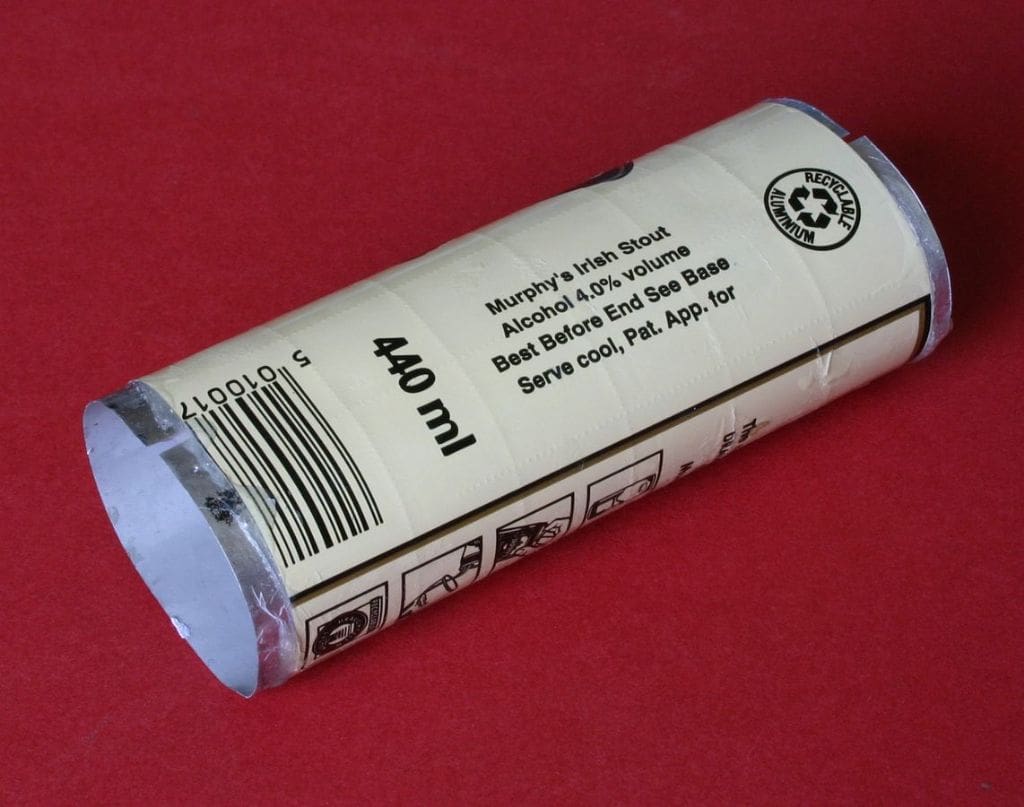
The method involves a laminating process around a former. I have used all sorts of materials for laminating, even paper backed wood veneer which works well as long as the grain lies up and down the funnel. The other material I’ve used is litho plate, which I understand is becoming difficult to find owing to the change in printing methods. I find the best material is old beer cans as the aluminium is high class and has the right properties for the job in hand, but I will elaborate on that later.
Getting started
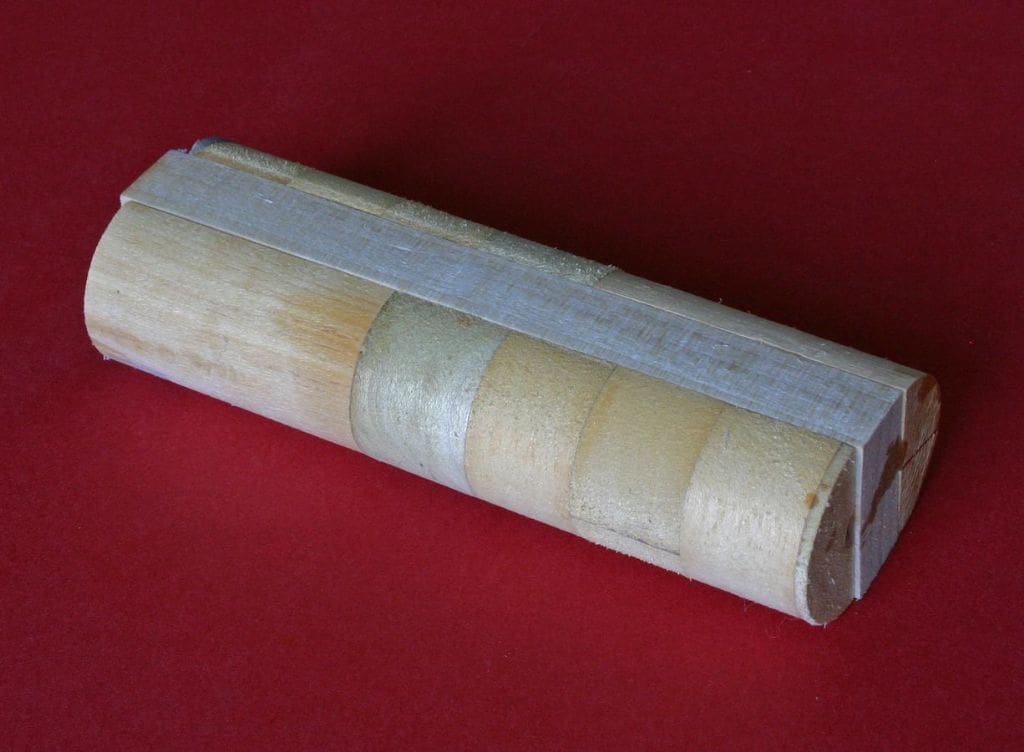
The first thing to make is the former. The overall dimension will be the final size of the job minus the total thickness of the laminate. I usually calculate the size of the former, which will also be the diameter of the rounded ends of course and make up a cylinder of this size. I then cut this in half lengthways. I find the best way is to use my band-saw with a ‘lay’ set up. Otherwise careful marking out and consequent sawing will be required.
These two halves should be identical. They are then glued to a central rectangular block to give you, in section, the interior shape of the funnel, Fig. 1.
I will explain the way I made my last funnel, but any of you still awake will have twigged that this technique allows any number of variations on the theme. Simply chose the method that turns you on or you think you can do best.
Laminating
I started by making the first layer of the laminate of litho plate. I cut out a piece of litho plate and fitted it to the former. I usually butt the ends as this first layer will be held in position by the final layer. Fig. 2 shows this first layer in place held with four half inch dressmaking pins. Note also the strips of paper. These have two functions: to prevent any glue penetrating the butt joint and gluing the whole assembly to the former and to provide a bit of extra clearance. Pulling these strips out first usually enables the former to be removed easily.
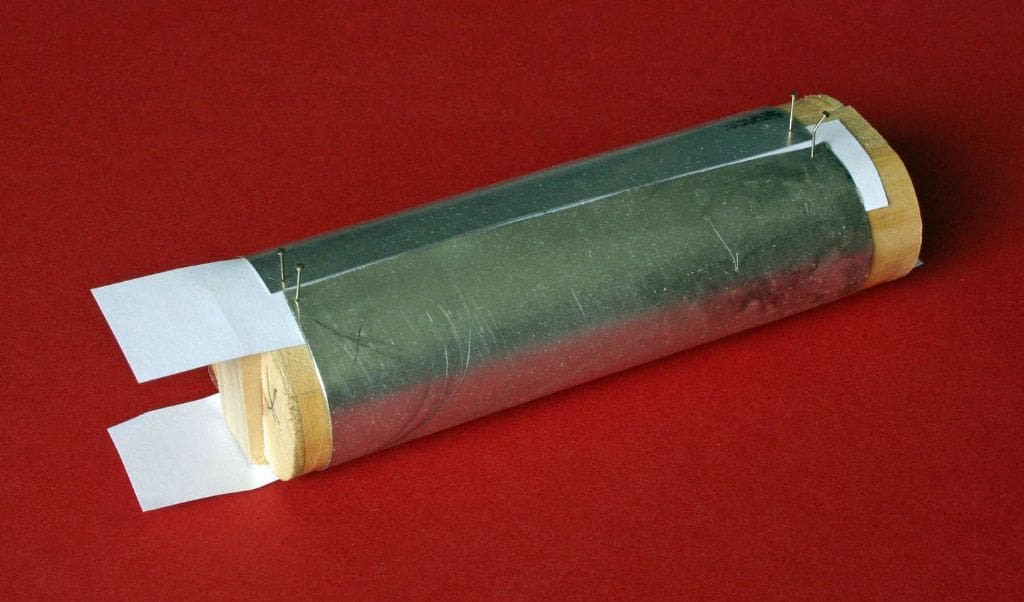
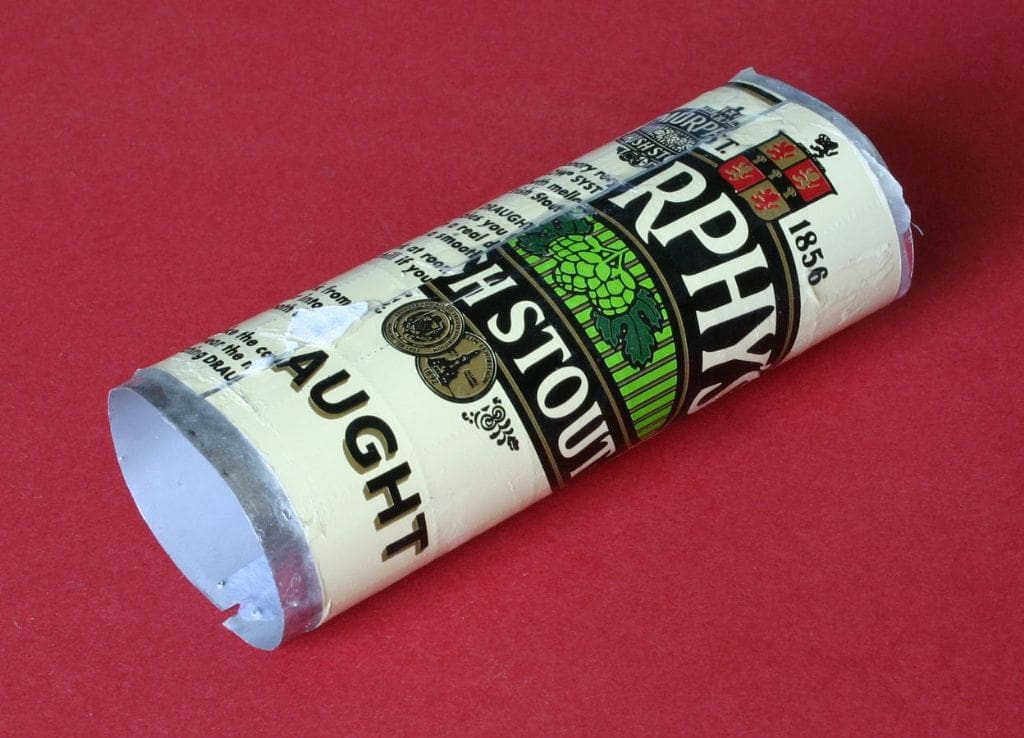
The top layer as can be seen from Figs. 3 and 4 was made from a beer can. I just cut the two ends out leaving a curly, roughly rectangular piece with some built-in curve already. Although, unfortunately it does not show on the pictures, I had scored the back of the sheet with an old alarm clock gear to simulate riveting. You need to find a suitably soft piece of card to lay the sheet on to allow the pounce wheel, for that is what your alarm clock gear wheel is, to do its job. The teeth of the wheel also need attention otherwise you get little lines instead of dots. The teeth need filing slightly each side and the wheel has to be mounted on a suitable handle. Otherwise the sheet needs to be fitted round the former to give a close butt joint. I usually arrange this on the flat opposite the butt in the first layer. However, I have in the past arranged the joint on the curved ends where it can be hidden behind a steam pipe.
I always use Araldite for this job as you need the rigidity of the glue line to add strength. If you make the first layer long enough you can keep the four pins in position when fitting the final layer which helps a lot.
With the glue finally set you can clean off the ends to length and cut about half inch of former to glue into the bottom of the funnel to act as both a fixing and to maintain the integrity of the shape. A further thin ring can be made from the former to be fitted at the top of the funnel. This is useful if a funnel cap is fitted which requires a location for the legs of the cap.
Before finally painting the funnel you may want to mark out and drill for any funnel stays.
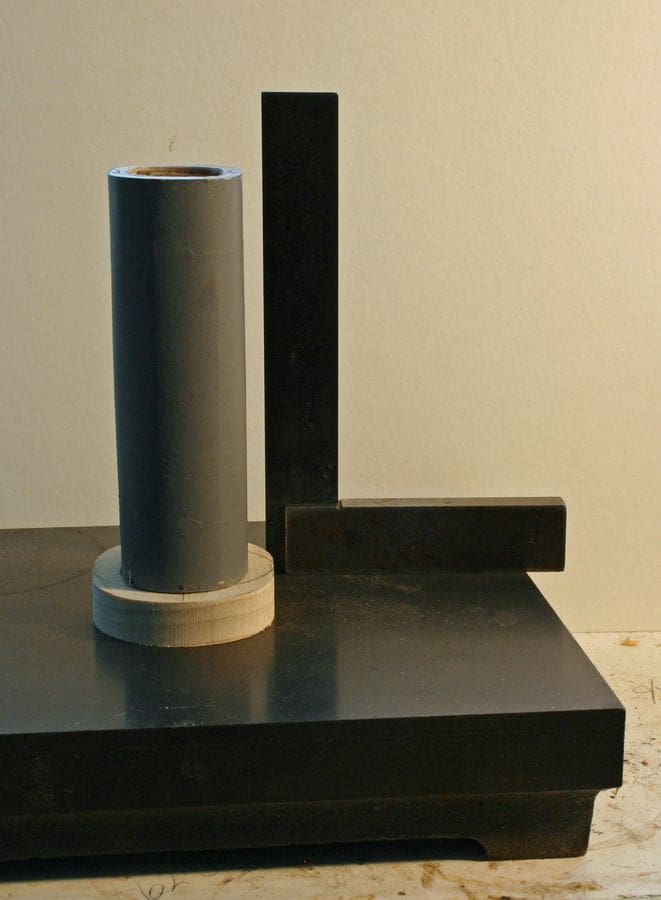
Fig. 5 shows the funnel assembly being tested for squareness. The top ring, described above, can just be seen at the top of the funnel. Finally the inside of the funnel is painted matt black including any fixing screws as it makes the exhibition judges happier!