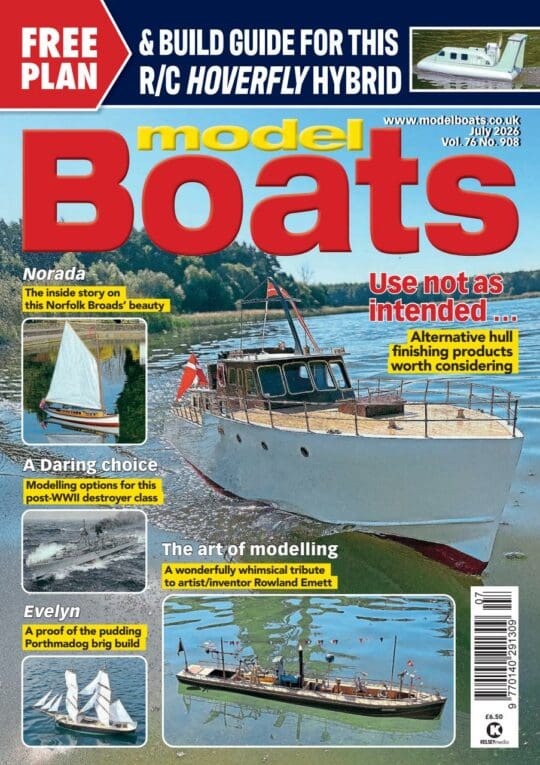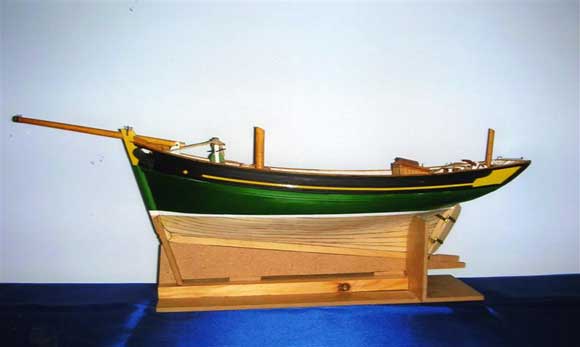
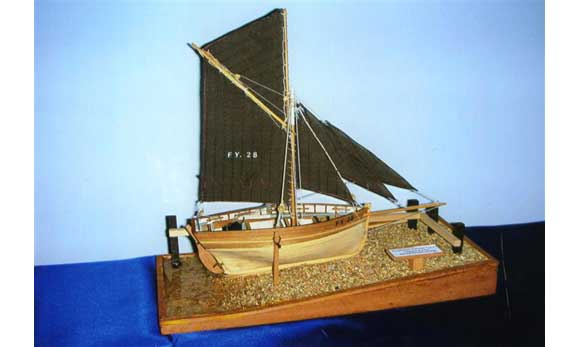
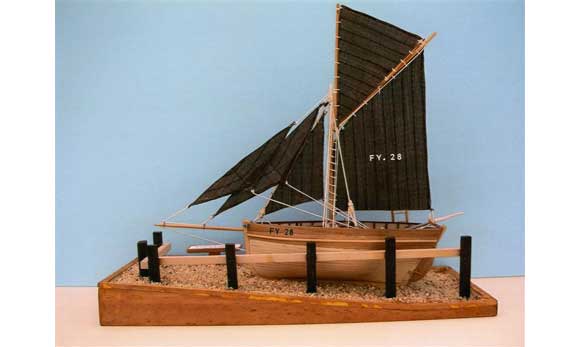
Compare Photos 1 and 2. In the second view, the French tuna fishing boat is displayed on an interesting stand. There is a strong contrast between the fine lines and colours of the boat, and the dark rigid framework of the slipway and mooring posts. My opinion is that this stand makes the model more attractive and eye catching.
When I visit exhibitions, I often feel similar models could be enhanced by placing them on a stand that is appropriate to their circumstances. The stand in Photo 2 was simple to make. As the fishing boat’s keel is deeper at the stern, a sloping slipway which would bring the waterline to the horizontal, was therefore logical. The wooden framework is simply lengths of ramin sections of the types sold in DIY stores, superglued together. They are coloured with one coat of dark walnut stain, so the framework took only a morning to build and colour. I had made a rough sketch before starting, but mostly it just evolved. The baseboard is MDF with a suitable moulding surround, also sourced from the DIY store. This moulding sits slightly proud of the baseboard to retain the sandy gravel. The beach effect was achieved by spreading over the base a copious layer of PVA white glue watered down 3:1 to make it nice and runny, and then sprinkling suitable sandy gravel onto it. An excess was sprinkled on, so that after the glue had set for at least 24 hours, the whole stand could be turned upside down to remove the excess sand. Whenever I go to a beach, I cannot resist collecting a bag of useful small stones or sand. Garden centres may also have attractive grits. After collecting, such sand or gravel needs to be washed to remove salt and silt or other debris.
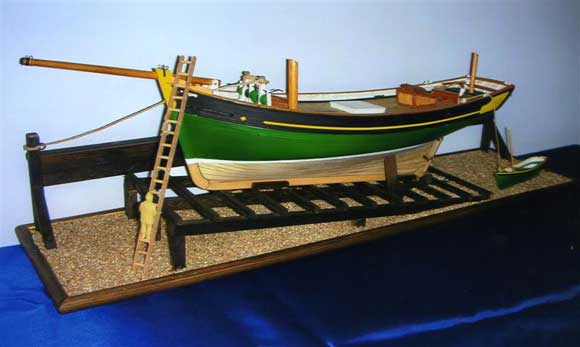
As Photo 3 shows, from the far side of the stand, the level of the horizontal framework is exactly at the waterline level. Therefore in this view the fine lines of the hull appear as they would when afloat.
Enjoy more Model Boats Magazine reading.
Click here to subscribe & save.
A ladder, a man climbing it and a small dinghy with mooring ropes make the scale of the fishing boat apparent. Many of the people who see this model, comment on how well the stand sets off the model.
Let’s look at some more examples. Photos 4 and 5 show my tiny (5 1/2in) Polperro gaffer (see MB March 08). Again I built a sloping stand made of MDF, surrounded by tapered ramin sections from a DIY store and the watered down PVA glue fixed the sandy shelving beach. The incline of the beach levels up the boat so that the waterline is horizontal. As with the French boat, when viewed from the opposite side, the hull above the horizontal tie appears as it would on the water.
Photo 6 shows the low tide level. The water effect is a resin called ‘Solid Water’ from model railway shops. It is a two part mixture and is very runny when poured into place. Therefore make sure that the area which you want to fill is leak proof. Otherwise, as happened to me once, you will be surrounded by a very sticky mess! The resin takes 24hrs to solidify and is very effective.

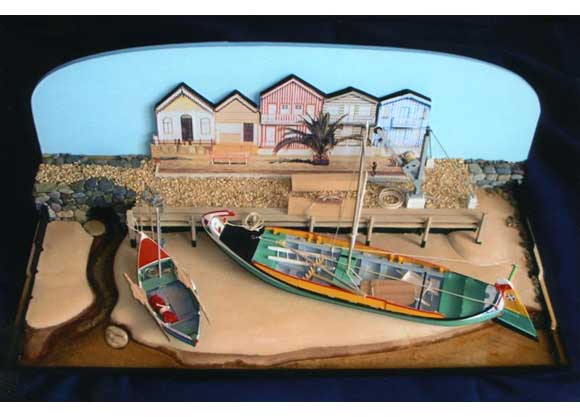
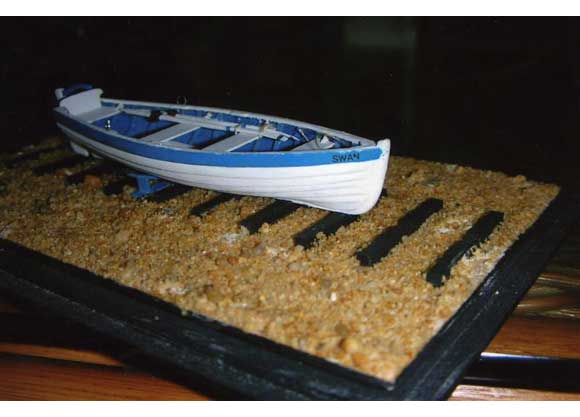
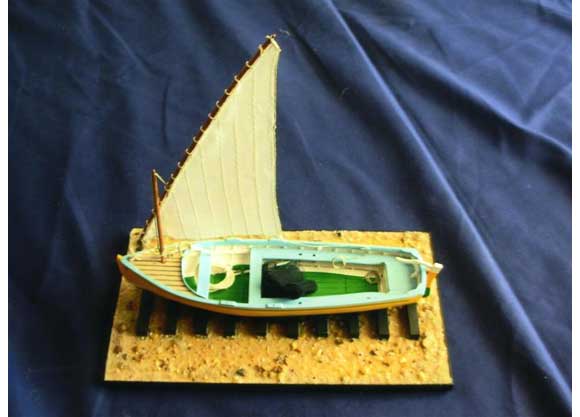

Photo 7 is of my Portuguese diorama (see MB April 07). It was only after I had made the larger boat called a Moliceiro, that I decided a base was needed. First this was just going to be a beach made of MDF with some shaping to add interest. Soon this became three layers separately coloured, dark brown for wet, medium brown for damp and natural for dry sand. Then I thought, how about a quayside, so I built one. That of course had to have a crane, as I had seen one on a similar quayside in Portugal. The stream needed a bridge, so stone walls were added. Then I thought a second boat was needed to fill some of the beach. Next, why not add some ‘solid water’? Finally I added some fisherman’s cottages in the local style. So, you can see how a simple stand can become an interesting diorama, much admired and fun to make.
Back to more simple examples. Photos 8 and 9 show some small boats nicely set off by the contrasting stony beach and black slipway timbers. Photo 10 is of my radio controlled 15in steam drifter, Cosmea, (MB Sept 07), in its carrying box for safe transit to the pond. Again, the base inside the box is sloping to level up the model and by lining the inside of the box with blue sheet card from a stationers, the model is nicely set off. I made the box from ply sheet with a drop in Perspex front to keeps the model dust free and safe from accidents. The outside of the box was tidied up with one coat of stone colour Cuprinol Garden Shades. The sloping base made of MDF is removable and becomes a stand for displaying the model at home. It has a recess to hold the keel in position. The stone colour used also for the base looks appropriate too.
So, my conclusion is, that for the right model an appropriate scenic stand can really improve the finished effect. I am not suggesting the idea is applicable to all models, but where it is appropriate, the display of the model will be much more interesting. Let your imagination lead you to new interests. Think: Can I stand it?