Welcome! This time we will be paying a visit to the Southern Model Air Show, beginning our holiday at the Modelmakers and Craft Week at Brean Sands, plus more on the building of the Springer tugs.
Southern Model Air Show
We were pleased to receive tickets for this event from Phil Knell, the marine organiser, who regrettably was taken ill just prior to the show, but we understand he is progressing well. The main show is organised by the Croydon Airport Model Flying Club, with the marine side of things looked after by Phil on behalf of the Cygnets Model Boat Club, who are based at Mote Park, Maidstone, Kent. The event took place over two days, 15/16th September at the Hop Farm, which is near Tonbridge, Kent.
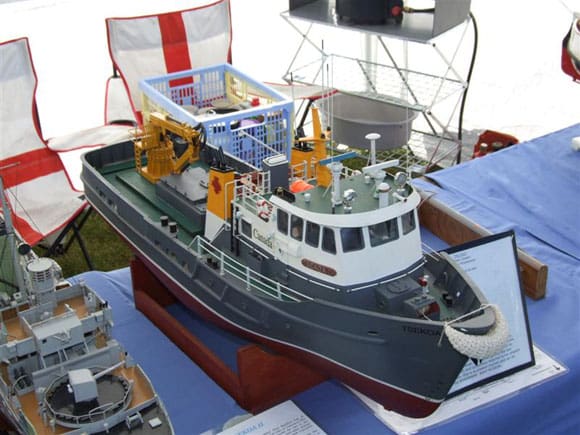
We arrived on the Saturday and made our way to the model boat area. This was, as last year, arranged in a U shape around the pool which was in use all day. The first club stand we looked at was that of the Capstan Club. I was attracted to this model of the Model Slipways Tsekoa II by Pat Kemp, as I was busy preparing my own model for entry into the MPBA Nationals but thats another story, Photo 1. Pat had made a fine version of this kit showing it as the earlier version, a buoy handling vessel for the Public Works of Canada. It was later sold on to the Canadian Coastguard Service and finished with a different colour scheme.
Enjoy more Model Boats Magazine reading.
Click here to subscribe & save.
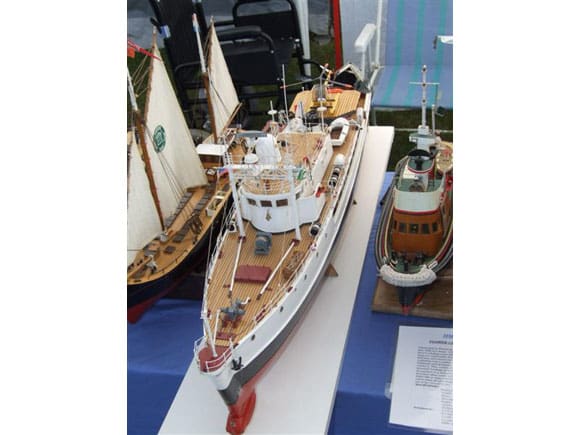
Nearby was this model of the Calypso from a Billings kit, Photo 2. The full-size vessel was used by Jacques Cousteau for marine exploration. Brian Hughes built this version in six months. He found it necessary to modify the battery position, making it lower in the hull, to improve the models stability. The model is propelled by two 380 motors and the helicopter rotor blades rotate.
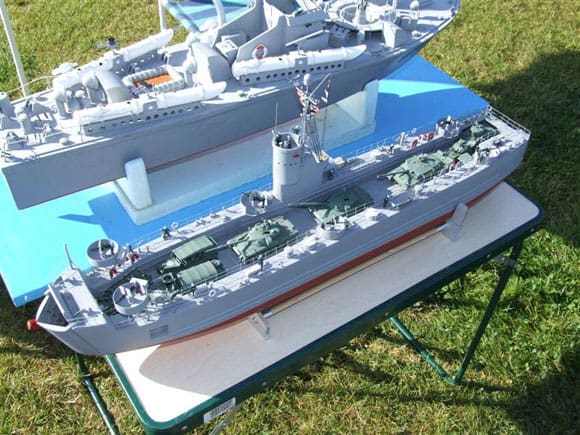
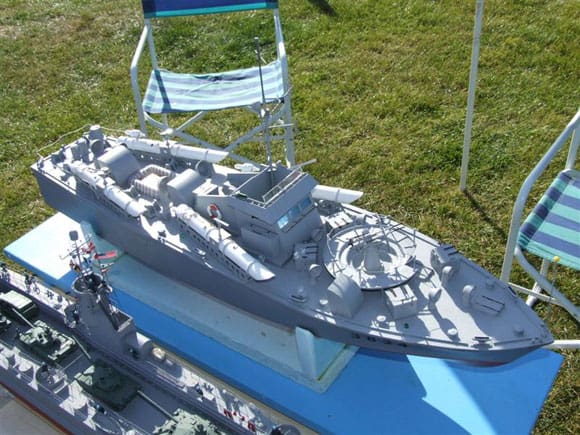
Adjacent to the Capstan Club stand was this one man display by Pete Francis. Pete had two fine models on show, a Deans Marine LSM and a MTB. Photo 3 shows the landing ship with the MTB in the background. The LSM uses two 385 motors for propulsion. The accessories came from the Airfix D-day Landing kit. The MTB, Photo 4, uses Accoms radio, two 550 motors and 6v 4amp NiCad batteries for power.
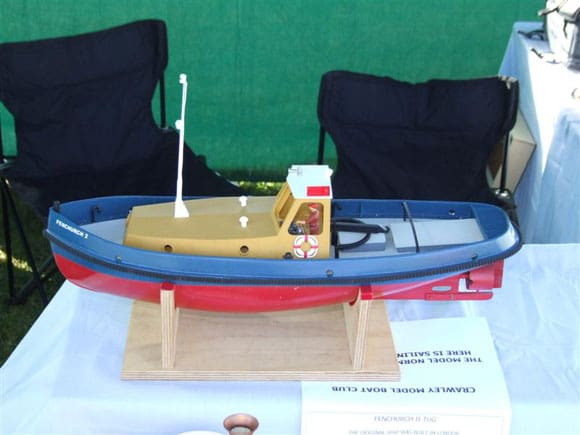
The Crawley Model Boat Club stand was manned by the Monk family, Carol and Chris (mum and dad) and John (son). John was displaying his model of the Fenchurch II tug, Photo 5. Based on a vac-formed hull, the superstructure was built up from styrene sheet. The other models on the stand were built using similar techniques.
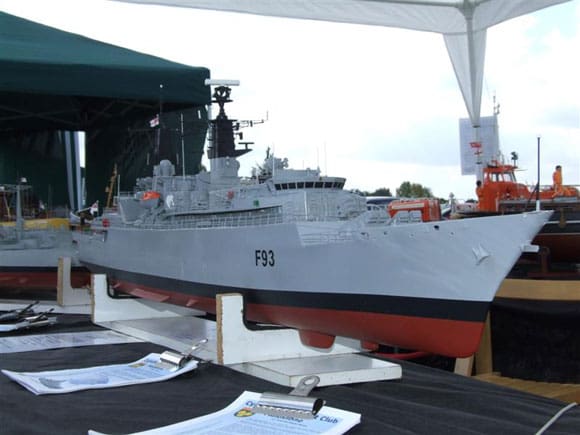
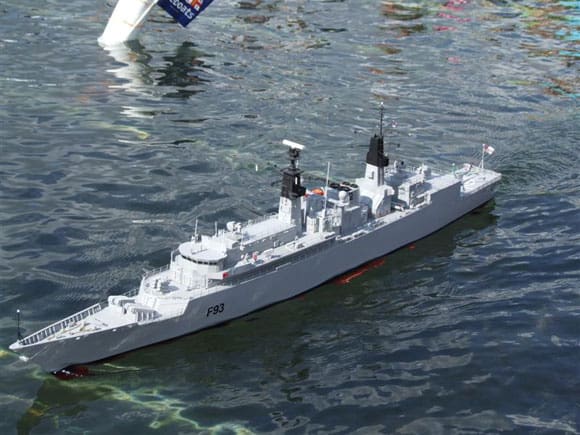
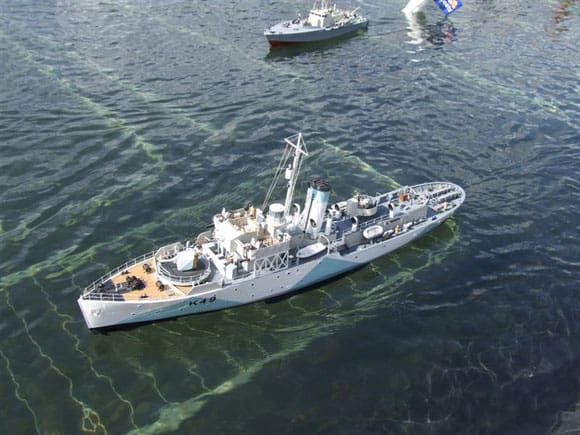
The Cygnet club stand had a large variety of models on show, from warships to yachts and most things in between. Peter Clayton had his model of HMS Beaver on show, Photo 6. This was based on a semi-kit from Sirmar (PSShips). Built to a scale of 1:96, the GRP hull is 59 1/4in (151cm) long with a beam of 6in (15cm). As this is a semi-kit, the parts supplied consist of hull, two sheets of full size (modelling) plans and ten packs of parts you build the rest yourself, from styrene sheet or ply. Peter was also using two Electronize 543-23 drive motors in conjunction with two Electronize 43X electronic speed controllers. Power was from a 6v 12 Amp SLA (Sealed Lead Acid) battery and Futaba radio was used. We saw the model in action on the water later that day, Photo 7. Good use of the pool was made all day. Photo 8 shows a nice version of the Matchbox/Revell Corvette.
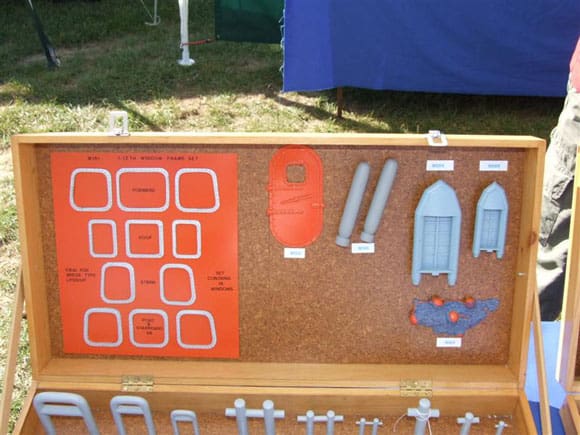
There was also trade presence at the show. ModelPower was down by the flight line selling their model power supplies to aircraft and marine enthusiasts. Here there were also the model aircraft traders, who this year were busy selling the 2.4GHz radios – suitable also for marine use, as well as numerous types of servos. Nearer to the boating pool were Hunter Systems selling electronic speed controllers, sound systems, radios and other miscellaneous electrical and electronic bits and pieces. Mastman was selling fibreglass Thames Barge hulls and fittings and Macs Mouldings had a range of resin lifeboat windows on sale, Photo 9, at a scale of 1:12 as well as their usual range of resin moulded accessories. This, like Wings and Wheels, is a comprehensive show encompassing many areas of the modelling hobby, from Daleks to aircraft and including model boats, cars and tanks. Our thanks to Phil Knell for the invitation. Check in the press for the 2008 dates.
Brean Modelmakers and Craft Week.
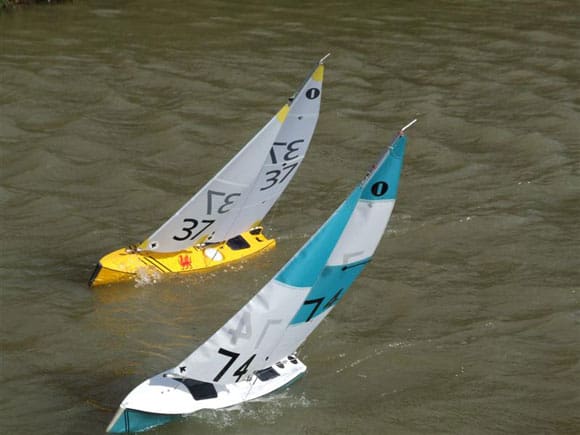
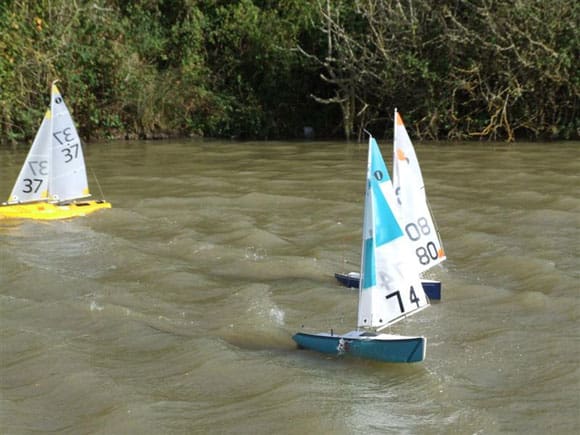
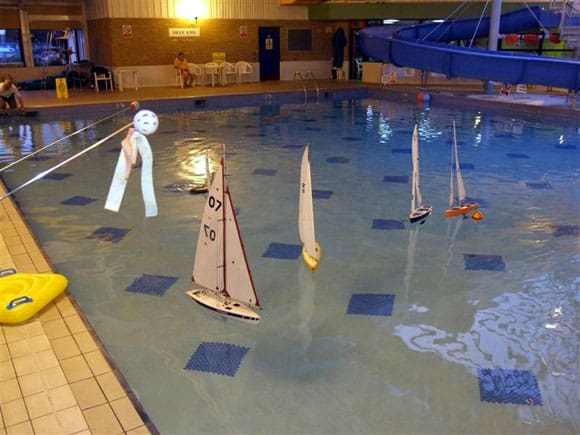
Doesnt a year go quickly? Perhaps its a sign of increasing years, but it doesnt seem that long ago since we were last here for our holiday. Activities encompass crafts for the ladies, children and gents, model car racing, aircraft flying and of course model boats. The format this time was much the same as previous years, although there was more small yacht sailing on the indoor pool due to the weather. Photo 10 is one example of the conditions the yachts were sailing in. I understand that both of those one metre boats had their smallest suit of sails on. No. 74, nearest the camera was sailed by Tom Riley and fellow Welshman John Jennings was sailing the yellow boat, No. 37. Photo 11 shows Tom in the lead again with a good part of his boat out of the water. It was easy to understand why it was decided to sail the smaller yachts inside, at least for this day. Organiser Barrie Stevens had organised two industrial fans for the swimming pool, so the fleet of smaller yachts began their competition here, Photo 12.
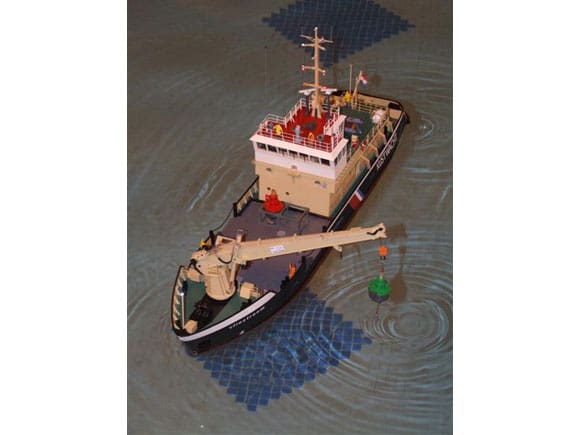
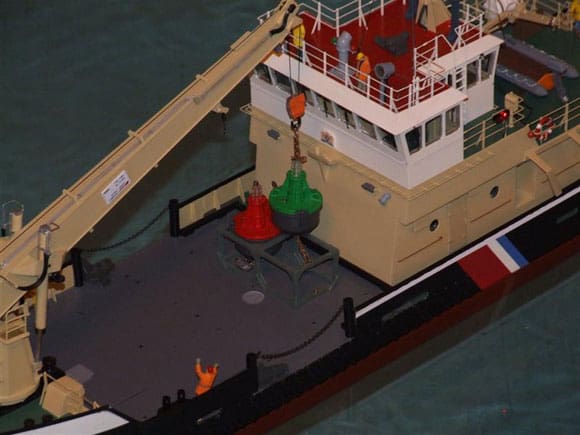
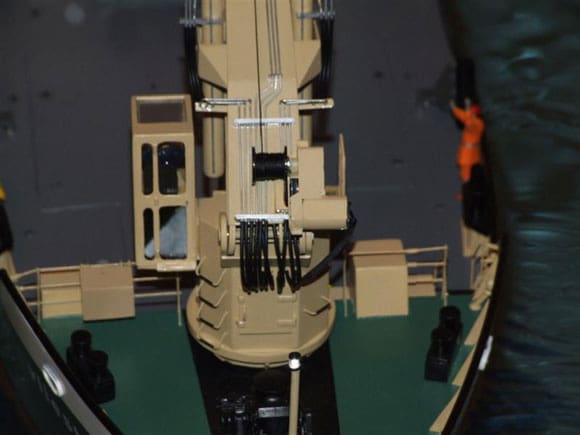
It was of course the scale boats that made most use of the indoor pool, although the outside lake was available for free sailing during the day when the yachts were not sailing. Terry Edwards made good use of the pool with his Model Slipway Vliestroom buoy handling vessel, Photo 13. This photo shows the crane deployed with the buoy being lifted from the water. Photo 14 shows the buoy being placed in its cradle on the deck. Terry has modified the kit crane to be fully functional. The main body of the crane is mounted on a 25mm tube which has an external gear fitted which in turn engages with a geared motor. This allows the crane to pivot. A camcorder motor and gearbox with a worm gear, operates the raising and lowering of the jib and a similar motor and gearbox operates the hook. This motor and gearbox can be seen in Photo 15 with the hook cable around a drum fitted to this assembly.
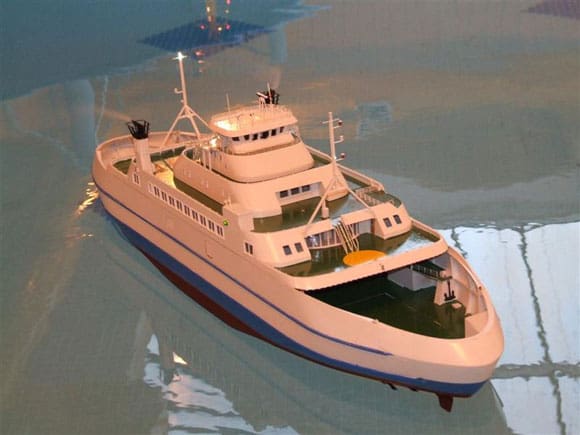
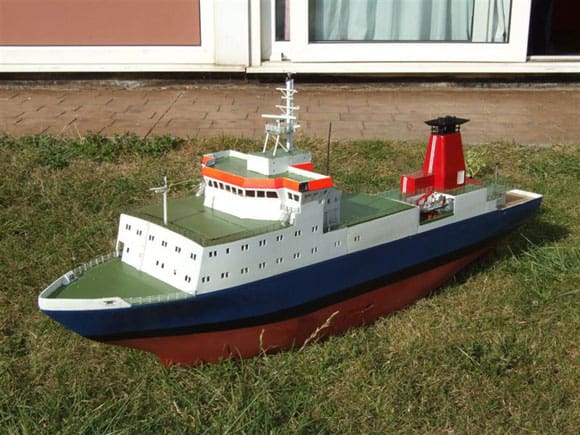
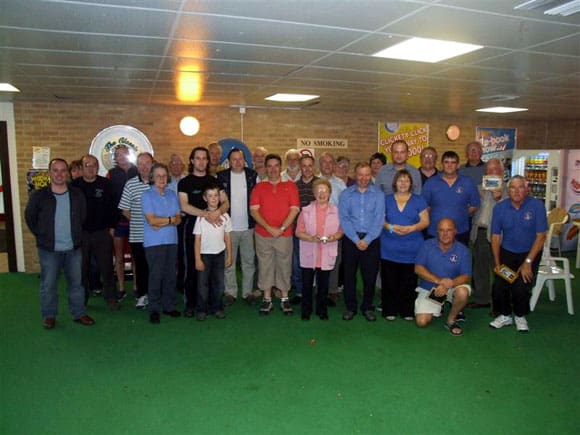
The Trevaskis brothers were here again with two new models. Neither model was complete, but they were absolutely packed with electronics. Kevins Sylt Express, a German car ferry, was sailing on the pool, Photo 16. This model was based on photos seen on the web. This had two Voith Schneider propulsion units fitted, one at the bow, the other at the stern. Brother Mikes model was also based on images taken from the web. He had built a model of the R.V. Maria S Merriam, a Baltic Survey vessel/icebreaker, Photo 17. The full-size vessel is used as a multi-disciplinary research platform and uses modern methods to investigate the sea bottom, water and atmosphere. The ship, and the model, is propelled by Azimuth thrusters. Next month, Ill look at both of these models in greater detail, but for now Ill finish off this years Brean holiday with a photo of some of the modelmakers taken on the last evening after prize giving had taken place, Photo 18. Again, check the press for this years dates.

Springer Tugs Part Five
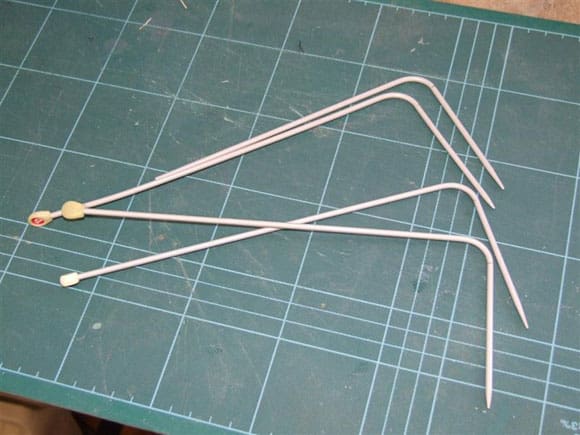
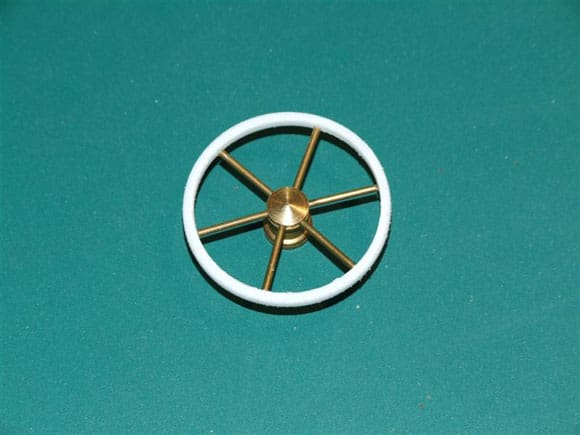
Before I continue with the build notes for this month, I have had a few enquiries via e-mail about where this model came from. Just to help to bring readers up to date, I found the Springer tugs on the RC Groups website: www.rcgroups.com/forums/docktalk. There are at the time of writing (early January 2008), 186 pages of information including plans on this site. Last month I built the basic superstructure. I decided to add a small amount of detail to this. I didnt want too much, as both tugs were to be used for tug towing and I didnt want detail that might be damaged. Many years ago I attended a talk at a MPBA meeting by Dave Abbott, who told us about visiting car boot sales and buying up knitting needles! He made the point that many of these were wood or aluminium. Well, I went on the scrounge at home and acquired some cast off aluminium needles, which were ideal for handrails for the after part of the superstructure, Photo 19. As you can see, these were duly bent to shape and eventually trimmed. I also looked for a suitable wheel for the wheelhouse. I had some plastic tube left over from some plumbing job in the past, and by careful use of my bandsaw managed to cut off two slices of plastic. Too much pressure or speed and the plastic simply melted, but with practice I got two suitable pieces to use. I also had in stock some old Billings fittings that were provided for one of their sticks and strings models, or in other words models of 18th century sailing ships. These were miniature capstans. The plastic ring awaiting cleaning up, and the capstan are in Photo 20. The capstan arms were trimmed to fit inside the ring and superglued in place, Photo 21. This gave me my ships wheel.
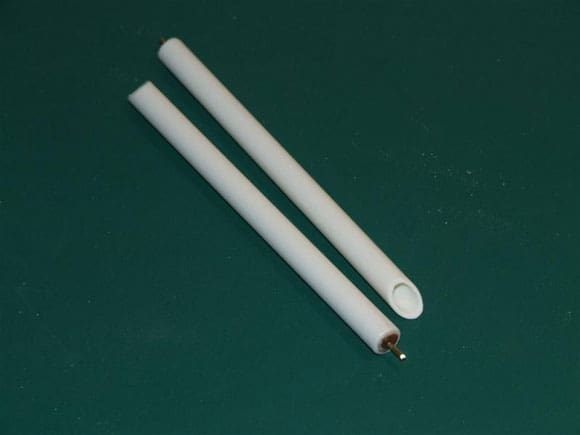
I decided a couple of exhaust stacks at the rear of the wheelhouse would look right and these were made up from rigid plastic tube that I had in stock. I dont know where it came from, I probably acquired it from one of the grandchildrens toys! Photo 22 shows these, with one end cut off at an angle and the other end blocked with a small piece of wood, glued in place and drilled to take a piece of 1:5mm brass rod to help to hold it in place.
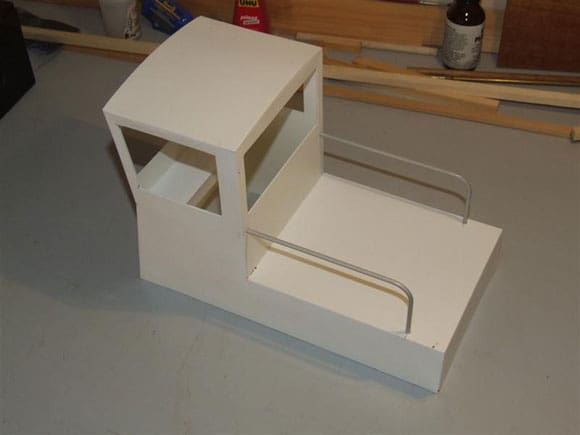
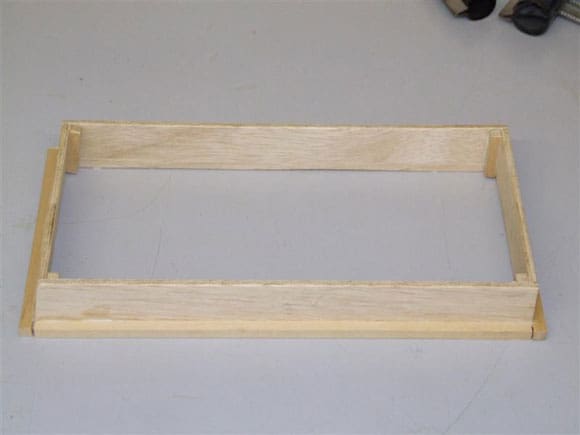
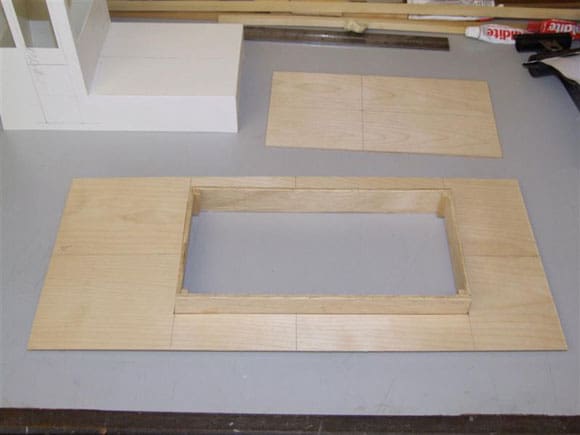
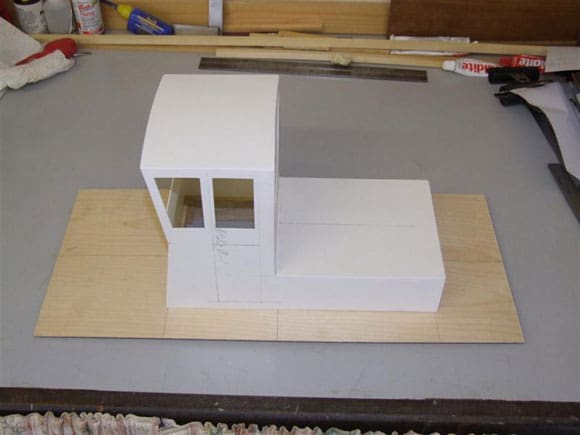
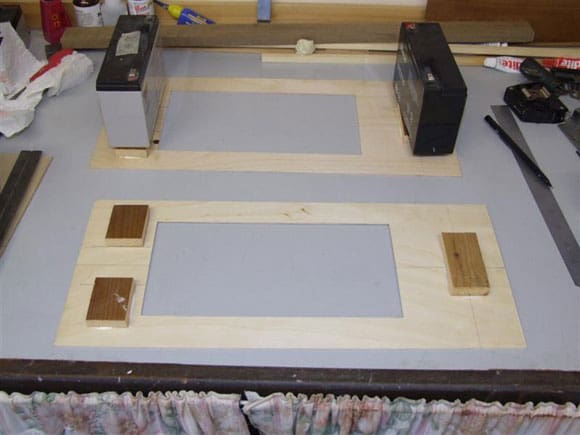
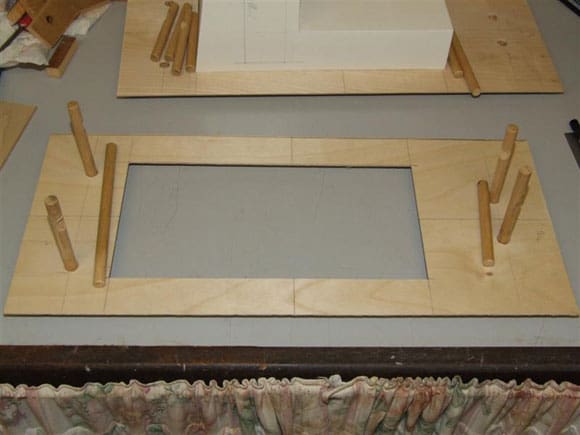
Photo 23 shows the superstructure with the handrails added. Note also the fitting of a dashboard in the wheelhouse. This was originally fitted to add rigidity to the structure, but also adds a mounting position for the wheel. With the superstructure now at its finished size, the coaming was made to fit inside. This was made deep enough to allow 1in (25mm) inside the superstructure plus the thickness of the deck, 1/16in (1.5mm), plus enough to fit the support/mounting strips 1/4in (6.5mm), Photo 24. This assembly was checked against the previously marked out deck and as all was well, the opening in the deck cut out. The deck was fitted over the coaming to check the fit, Photo 25. A final check was done by offering the superstructure into position, Photo 26. The coaming assembly was not glued in place at this time. The next step was to consider the towing posts to be used. I had decided to use a basic H arrangement which entailed two uprights mounted through the deck, plus a cross piece. As the deck was only of 1/16in (1.5mm) thick scrap wood. pads were glued under the deck where required, Photo 27. The single pad would be at the front where the towline would run between the pusher knees, whereas the two at the stern would be wider apart.
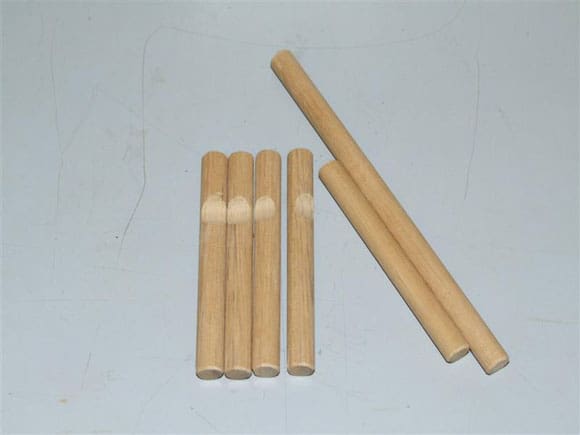
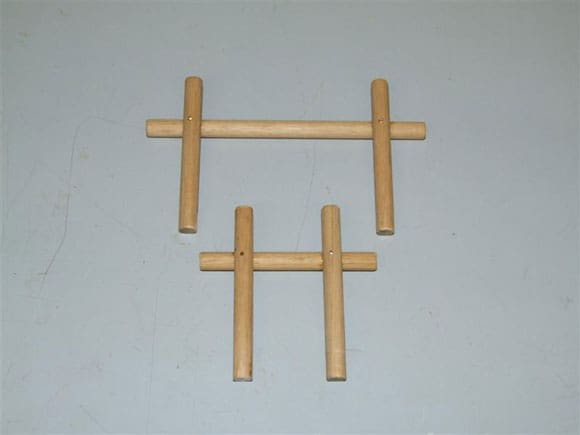
The towing posts were made up from suitable lengths of dowel, Photo 28, which were prepared for assembly. The uprights were placed in position and checked to ensure they were vertical and the cross pieces offered into position to ensure they were parallel to the deck, Photo 29. The various components were then glued, drilled and pinned together with 1/16in (1.5mm) brass rod, ready for fitting, Photo 30.
Well, thats all we have time for this month. Next month more detail on the Trevaskis Brothers boats, a visit to Mobile Marine Models and the continuation of the Springer build. If you wish to get in touch, please do so via the Editor or I can be contacted at [email protected]. Until next month, happy modelling!