Derek Owen explains how to craft a very simple boat to get you started.
Welcome to Part 1 of a two-part guide to building a simple wooden boat into which a small 3.5cc powered IC glow engine can be installed.
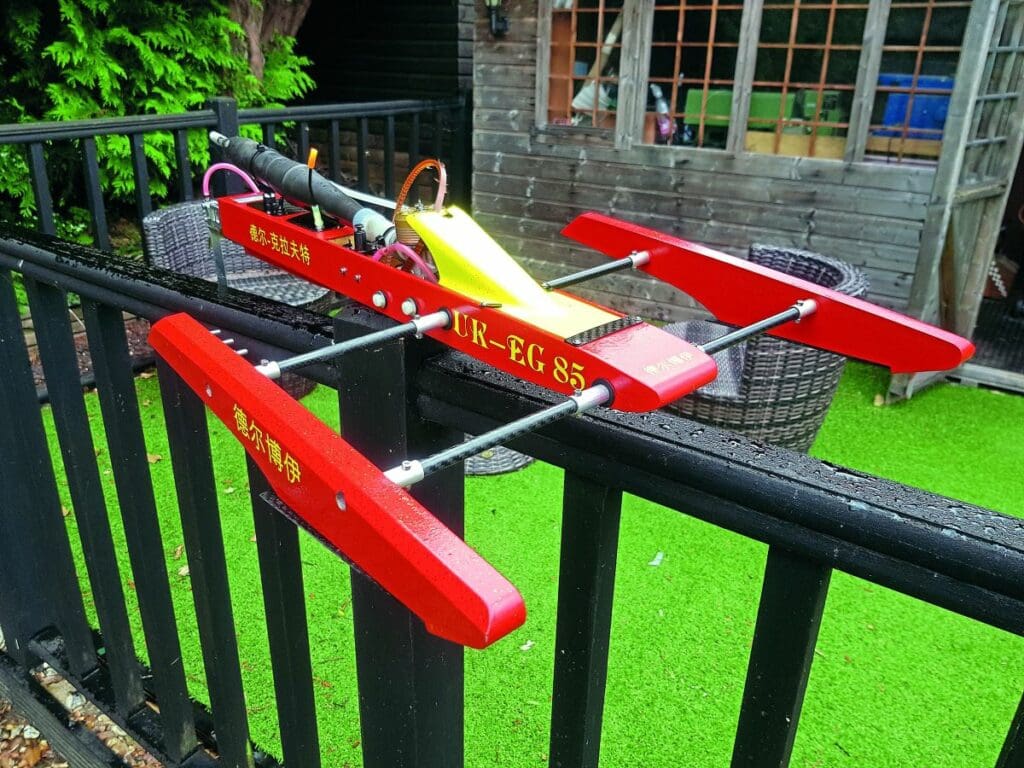
This will be based on the Keps 21 – an established outrigger boat built and designed by Niklas Edlund from Sweden, which is one of a number of plans that are free to download when visiting the NE-Stuff website (the following link will take you directly to the page in question: ).
Enjoy more Model Boats Magazine reading in the monthly magazine.
Click here to subscribe & save.
Don’t worry if you don’t want, or aren’t ready for, a full-on racing machine as, once fitted with a sport 3.5cc engine, this will serve as a great introduction to running a circuit style boat. With a full-on racing engine, on the other hand, well, that’s a whole different league! In Part 2, I will give you an idea of how such boats can be run and will provide a link to a video clip or two.
To start off with, though, we’ll this month be focusing on the build of the tub section of our racing hydroplane outrigger style boat, before moving on to the construction of the front sponson in the October issue.

Plans and prep
At the risk of stating the obvious, before getting started it’s always best to really study the plan you’re going to be working from, so that you fully appreciate and understand everything shown.
A good set of plans will normally note the best materials to use and list any associated items required. For the Keps we’ll be using Birch ply, although you will have to refer to the freebie plan for the varying thicknesses required for all the different parts, as my intention here is purely to provide an overview of how one of these boats can be put together even by someone with the most basic of woodworking skills.
As well as your Birch ply, you will need a good band saw, belt sander and pedestal drill, along with a steel ruler, a set square, a range of files, craft knives, clamps, and, ideally, a couple of lengths of aluminium angle to use along with these clamps to keep your build straight.
In terms of adhesives, I’d recommend the use 5-min and 15-minute epoxy glues (along with a supply or rubber bands and some weights to hold everything together until sure my glue has completely dried). I also favour a good cyno (superglue) – a bit controversial, I know, as there are modellers who would strongly advise against using superglue in the construction of a wooden boat model. Personally, however, I’ve never had a problem with this, as I tend to apply it to wood that has already had several coats of the epoxy resin soaked into its grain in order to seal it, and to further increase the overall strength of build.
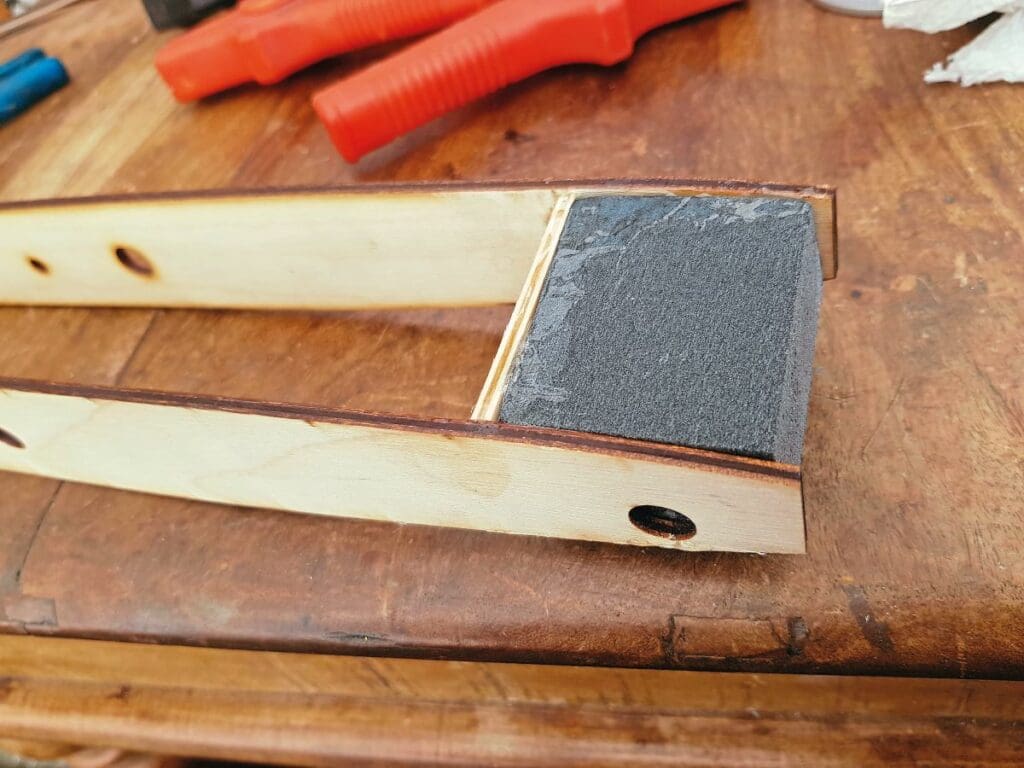
Naturally, you’ll also need various grades of sandpaper.
Immersing yourself in the tub…
So as not to get into hot water, my best advice is to forward plan as much as you can, and check, after each stage of the build, that you’re 100% happy with everything before moving on. While errors are very frustrating, they can be rectified, and it’s probably best to address them straight away, if for no other reason than to stop yourself from becoming demotivated. That said, let’s build…
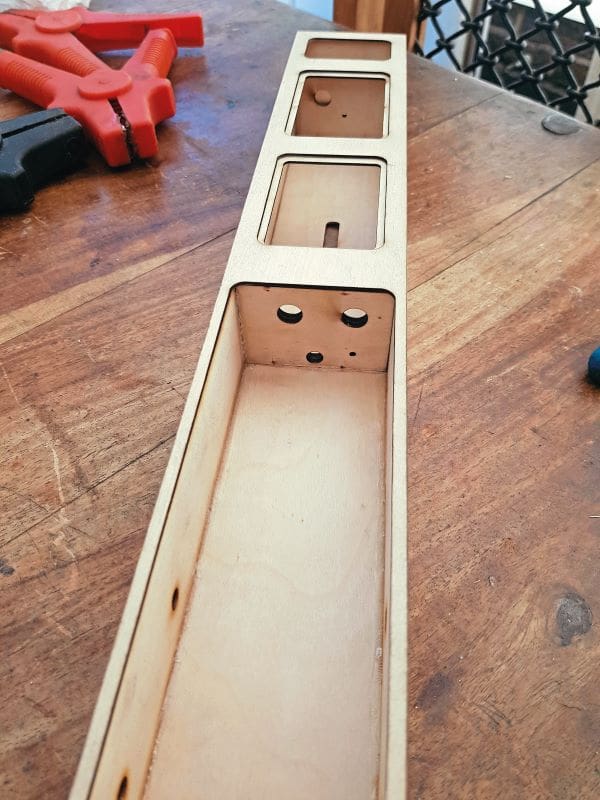
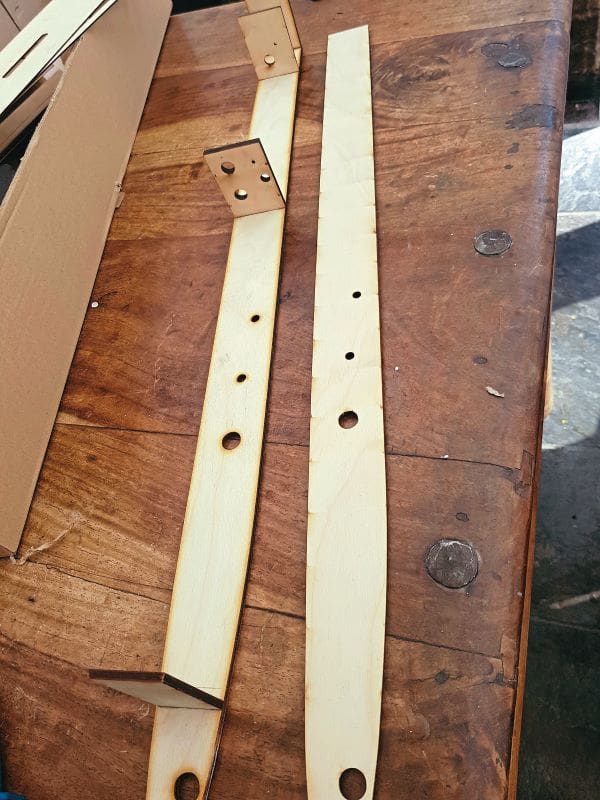
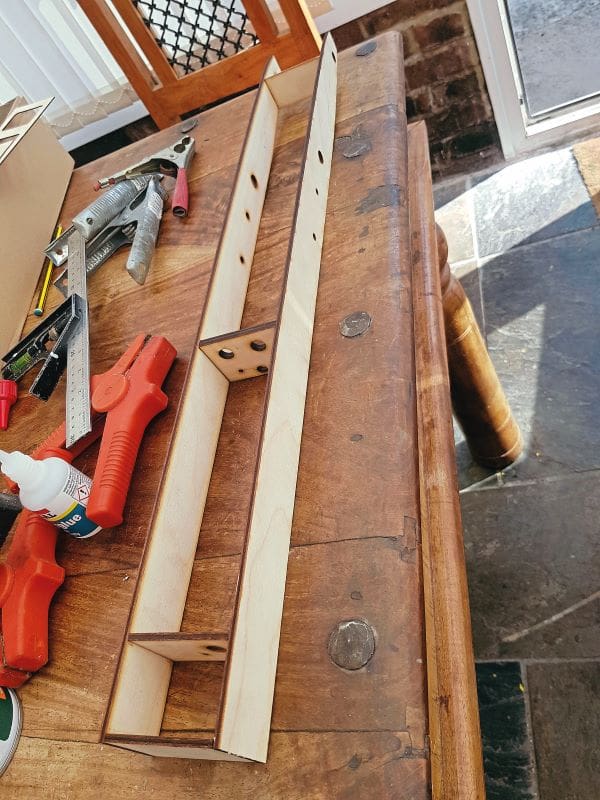
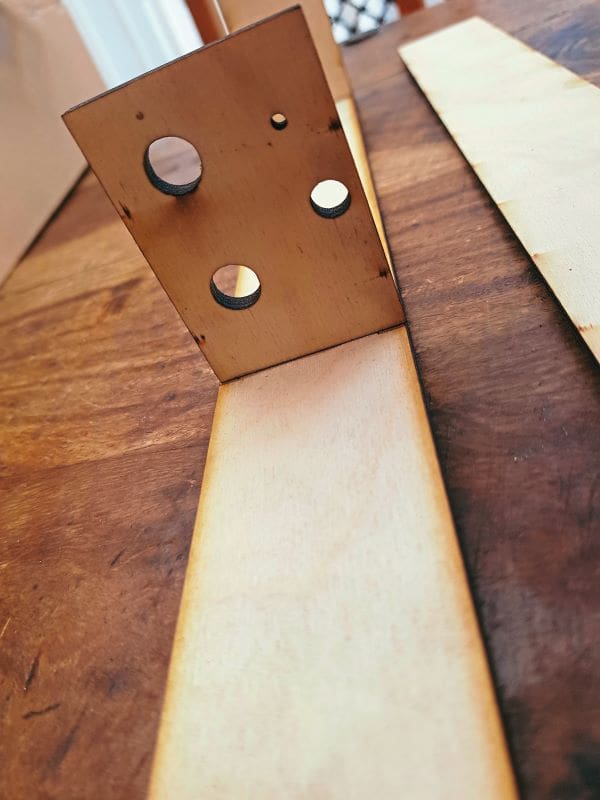
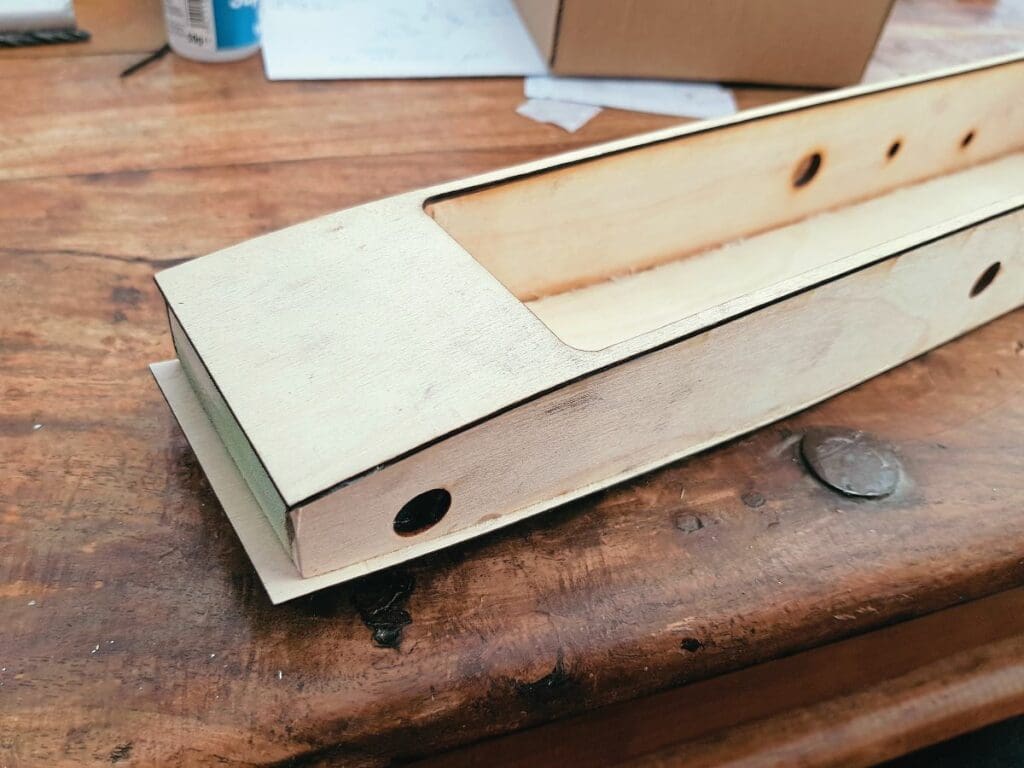
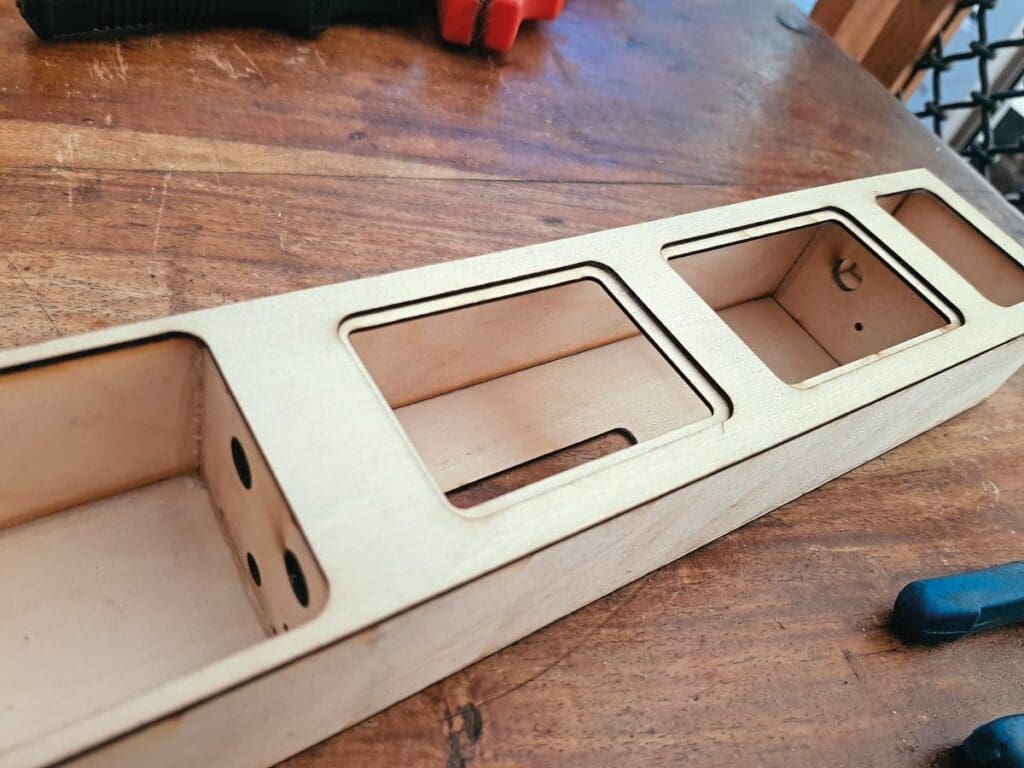
Once you’ve marked and cut the wood to shape, it’s a good idea to lay all the pieces out so you can check how they fit together and where to start gluing them. At this stage, pre-drill any holes noted on the plans, as you will find this much easier to do while your pieces of wood are still flat.
You’ll then need to stick the bulkheads along one side of the tub, keeping everything flat and square. Follow this by marking the other side of your tub so that the bulkheads are evenly matched to ensure the correct ‘squareness’ once glued. The use of angle aluminium and several clamps will keep everything nice and straight at this stage.
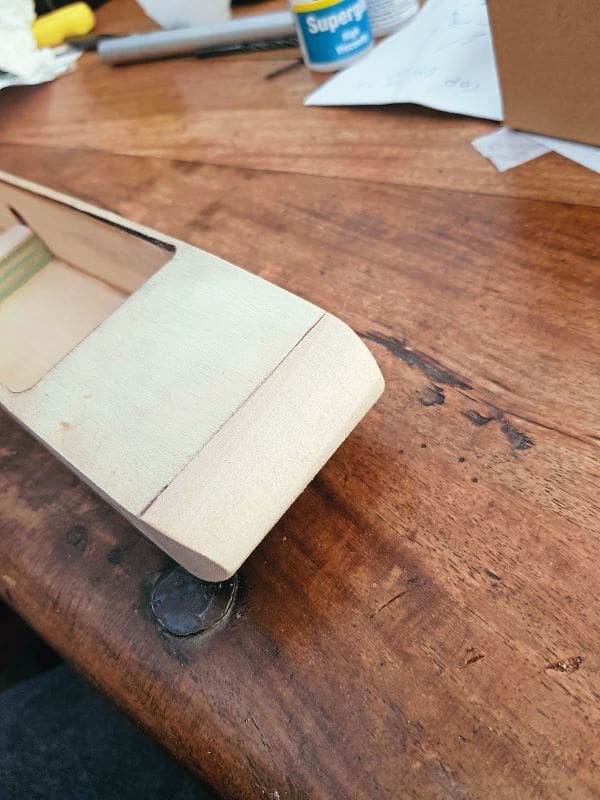
I thoroughly recommend inserting some high-density foam into the nose of your hull, as this is a great way of adding lots of strength without drastically increasing the weight of your boat. This can be glued in with epoxy resin.
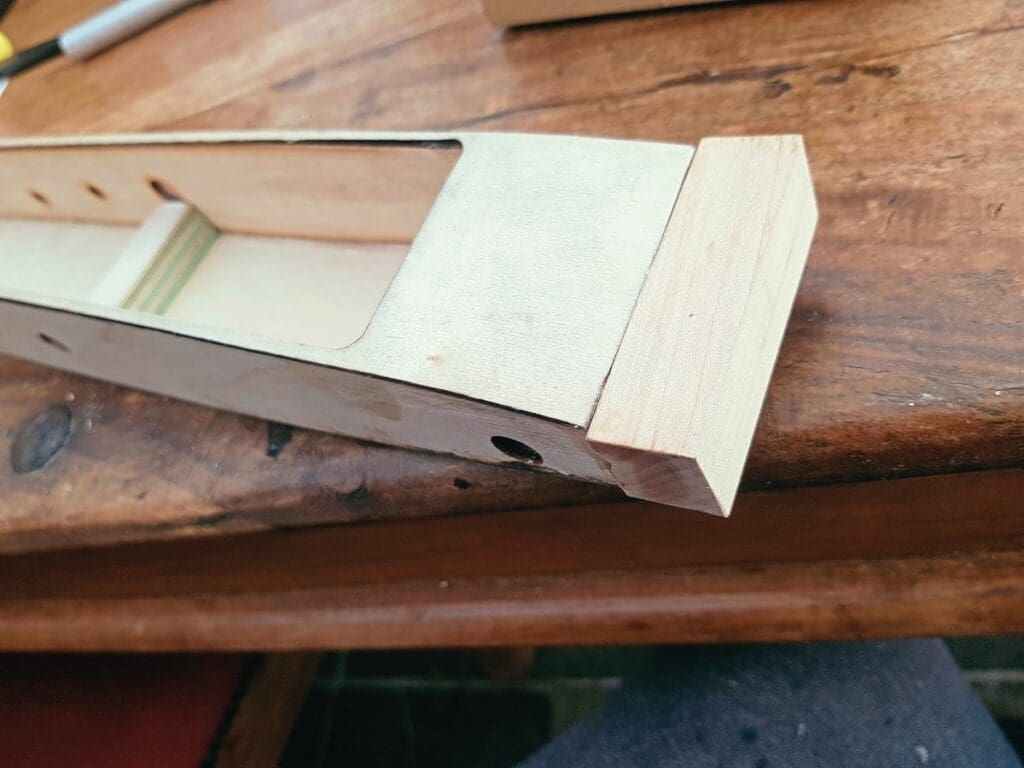
Once happy with your basic tub frame, and with its cut-outs done, you can then attach the top deck skin. This is where some weights and rubber bands will come in handy. If you are using superglue, then a clamp and your own two hands will do the job pretty quickly. Bear in mind, though, that positioning will need to be pretty accurate, as cyno glue bonds almost instantly. If that sounds scary, perhaps stick to 5-min epoxy here.
With your top deck skin firmly fixed, coat all your interior timber with a thinned down epoxy to create a good seal and prevent any water ingress.
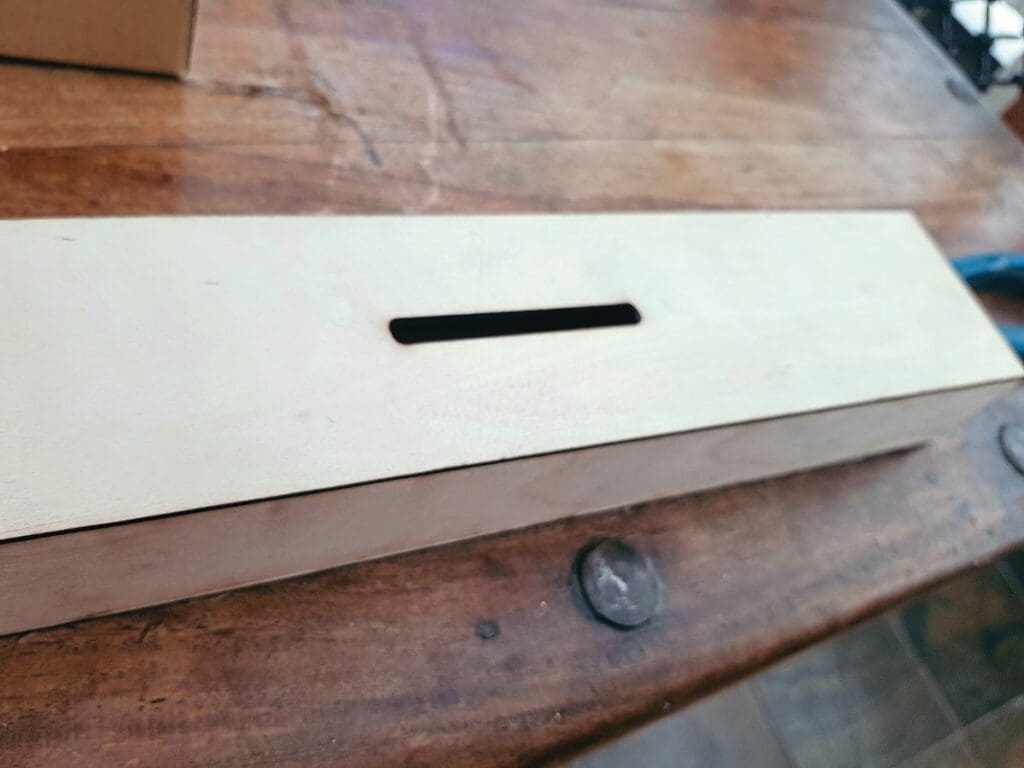
It’s now time to attach the bottom skin – although, again, only after having made any necessary cut-outs (e.g., the slot for your prop shaft tube). You will find the bottom skin easier to glue on, as this is, after all, a more solid and rigid section of the model.
You can, of course, make your top and bottom skins a tad oversize and simply trim them to fit once glued.
With your top and bottom skins all neatly trimmed and sanded, you can now add any blocks or strengthening skins as and where you feel they may be required (taking care, of course, not to substantially add to the weight of the model). Although it won’t happen overnight, you will come to develop a knowledge of, and instinct for, any possible weak areas when model boat building.
At this stage I like to coat the whole build with a thin coat of epoxy and leave it to fully cure. This helps to keep any contaminants from getting into the wood. Even the transference of natural oils from your hands, for example, has the potential to affect adhesion when applying finishes to your wood.
For my outrigger boats I glue either carbon tube or aluminium tube in place through the tub; I always use 10- or 15-min epoxy here, just for the added strength of the bond.
The plan shows where to drill holes for the motor mounts and the control arms in the bulkheads – a task which, as previously mentioned, is best tackled at the start of the project. This guidance, however, is based on the plan’s recommended hardware for the build (including the strut and rudder). A plan will often specify more than one manufacturer’s products, hence giving you options; however, should you opt for own individual choice of motor and hardware, this may necessitate build deviations. For example… In this instance, the strut is at the rear, next to the rudder in which the drive shaft locates. The plan shows a slot in the underside of the tub which the shaft can be passed through and then epoxied into place. But, if you’ve gone for parts other than those recommended, you have to consider an alternative set up and where holes will instead need to be drilled. In any case, make sure these holes are vigilantly sealed with thin epoxy, ensuring no bare wood is left exposed.