|
Land Wasser Schlepper – Mid Production To see higher resolution photographs used in this review, please see the GALLERY ALBUM.Phil Greenwood: Enjoy more Model Boats Magazine reading. Click here to subscribe & save.
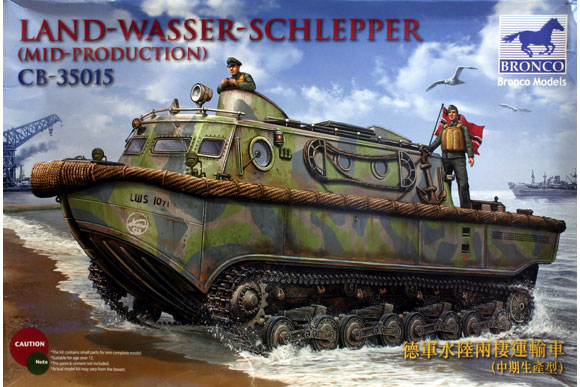
The kitIt’s here! An awful lot of people have been looking forward to this one, partly because it’s a modern kit of such an unusual vehicle that’s only be seen in resin before, and also because it’s by Bronco, who are fast making a name for themselves by producing high quality kits of either Allied or unusual vehicles. You won’t surprised to learn that I have no references available whatsoever for this vehicle, so won’t be looking at any dimensions etc. Let’s just take a look at the kit and see if it whet’s your appetite! Inside the box there are nine large sprues of tan coloured styrene, and one smaller transparent one. There’s also a separate one-piece lower hull and a separate deck. Add to this a decal sheet, photo-etched fret and a fabric Kreigsmarine flag (I think!), and there you have it!
|
|
|
|
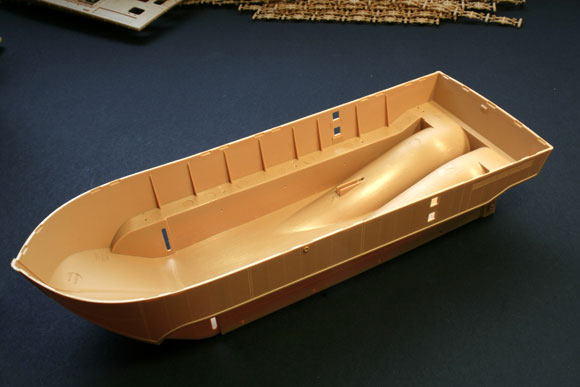
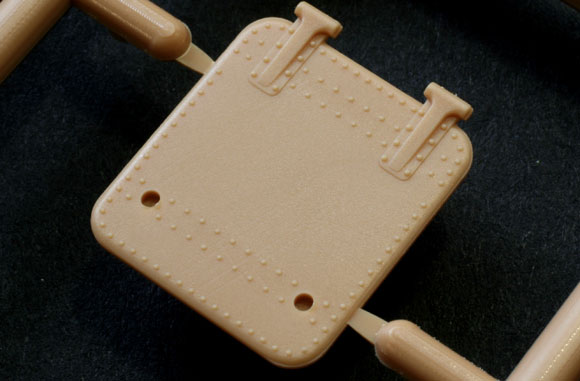
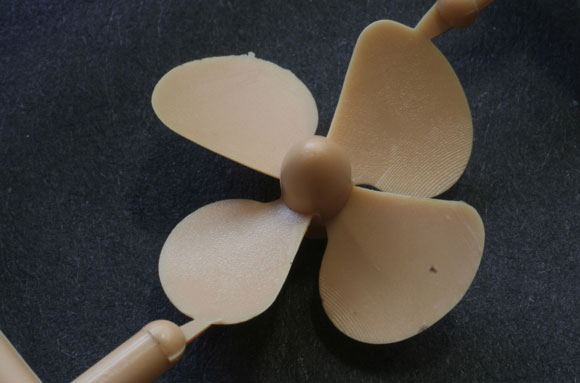
The first thing that strikes you looking at the sprues is that the parts are cleanly moulded. Very little flash, and no ejector pin marks in awkward places…which is a huge achievement given that the upper hull walls and roof has extensive detail moulded on both sides! The detail on the lower hull is incredible. Extremely fine rivet detail has been moulded in place, and although there are some ejector pin marks on the inside, these will be fully covered when the model is built. The sides of the hull appear to bend slightly inwards, but given their length this is to be expected, and when I tried a test-fit of the deck, the fit was absolutely perfect! In fact, if you follow the instructions, fitting the large recessed deck is the very first construction step, everything else being built onto this large hull/deck assembly. Somewhat more usually, the next step is to assemble and fit the running gear…as well as the screw assembly! So that will make it a bit different then! Although the instructions don’t detail fitting the tracks at this early stage, they are of the individual link type, and will need removing from the multiple small sprues they’re supplied on (Pic 14), and cleaning up. Careful clean up will be worth it, as if you look closely at pic 44 you’ll see how nicely these are moulded, and at last…a set of workable styrene injection moulded, individual track links included with a kit! On the deck of the vehicle, towards the rear, we’re given two very nice PE screens to fit along with separate frames. When you fit these it will be worth carefully removing the plastic from underneath them, although be aware that this will leave a space where the engine should be. It’s a nice option for when the inevitable aftermarket sets start appearing though.
|
|
Construction continues with a wealth of detail to fill up the cavernous interior. As I mentioned earlier, even the cabin walls are fully detailed on both sides, since their inside surfaces will be fairly visible on the completed kit. This presents a problem with fitting all that transparent plastic to represent portholes and windscreen, but the Bronco moulding on these parts is superb! They’ve moulded the portholes integrally with the riveted surround frames, so if you’re extremely careful when masking and painting, these will really look excellent! The kit can be built as either a Type A or Type B vehicle, yet having no references, the only visible difference I can see between the two is the location of a narrow slot on the rear upper hull. It actually looks like a slot for an indicator arm…although there are four, two at front and two at rear, it’s only the position of the rearmost two that change between the types. Bronco have cleverly allowed for this by moulding both integrally with the hull, and invisible from the outside, but depending on the one you want removed, you can ‘press-out’ the one you need from the inside. There’s so much internal detail, that it’s not until we get to page nine of the instructions that we are to begin assembling the external fittings. Here again, the vehicle looks really ‘busy’ with a wealth of detail, and will need some great painting and weathering to make the most of it.
|
|
Marking OptionsThe marking schemes offered I found a tad confusing. On page 14 there is a full page diagram showing ‘LWS1071’ in a three colour camouflage scheme, which appears to be a Type B. The final page shows one Type A and one Type B Early, and then ‘LWS1071 – Late’ again marked as ‘Repainted’. Looks the same to me? Anyway…you enjoy the pics, and I’ll go have a lie down and think about it. ConclusionWOW! Seriously. There is so much detail in this kit that it is absolutely begging to be built. The only downside I can see is that the rope bumpers shown around the hull on the box art are not included, so you’ll either have to make your own or wait for aftermarket ones. I have no idea of the retail price as of yet, but if necessary you can always sell your wife’s car? Seriously recommended! Great kit! Thanks to Bronco for the review sample!For details on this and all other Bronco kits, please see their website: Bronco Models
|
LandWasser Schlepper Mid-production
Enjoy more Model Boats Magazine reading every month. Click here to subscribe.
Article Tags:

