Ecranoplan Orlyonok A90 – Ницца катер!
Ashley Needham with something a bit different


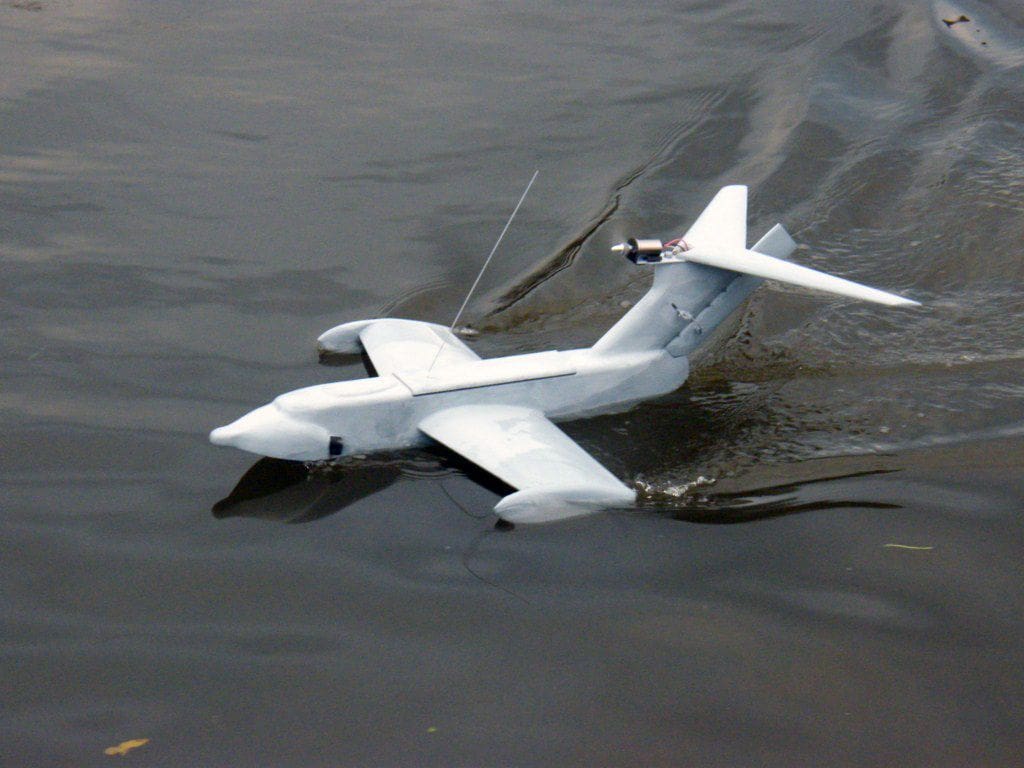
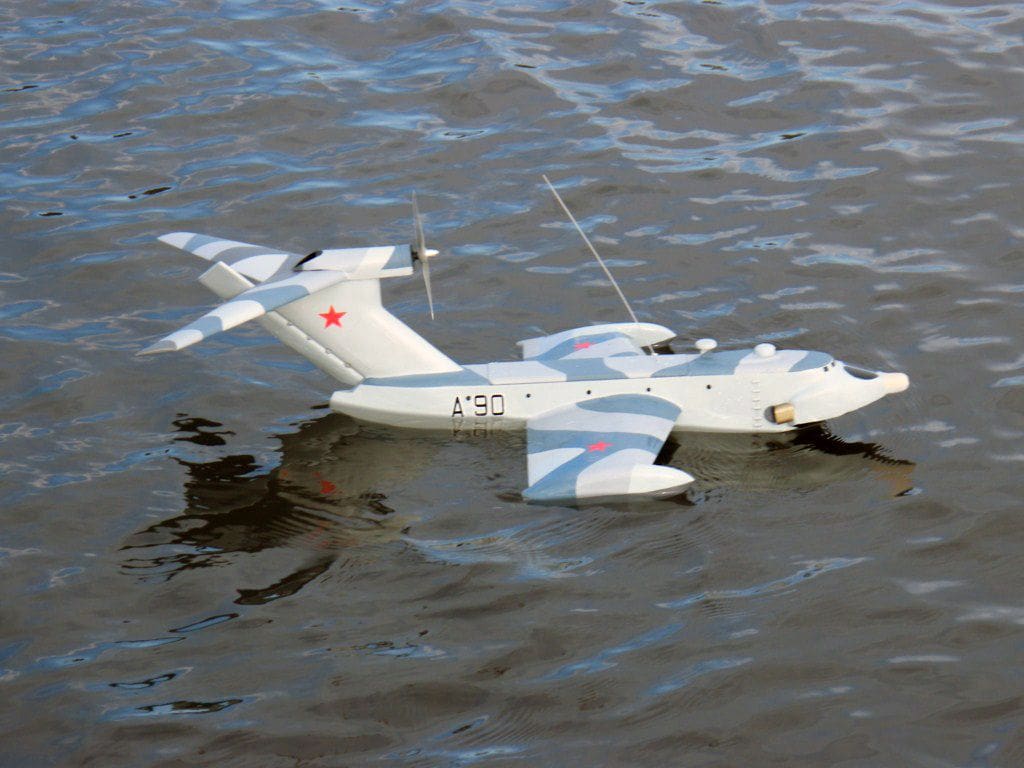
Ecranoplan is the Russian name for a plane that uses the wing in ground (WIG) effect principle to achieve flight. The appearance of the original big Russian craft was a major discovery, and as it was seen at a naval base by the Caspian Sea, they called it: ‘The Caspian Sea-Monster’. This craft is a second derivative, the Orlyonok A90, of which five were made for the Russian Navy in 1979.
Enjoy more Model Boats Magazine reading in the monthly magazine.
Click here to subscribe & save.
The theory
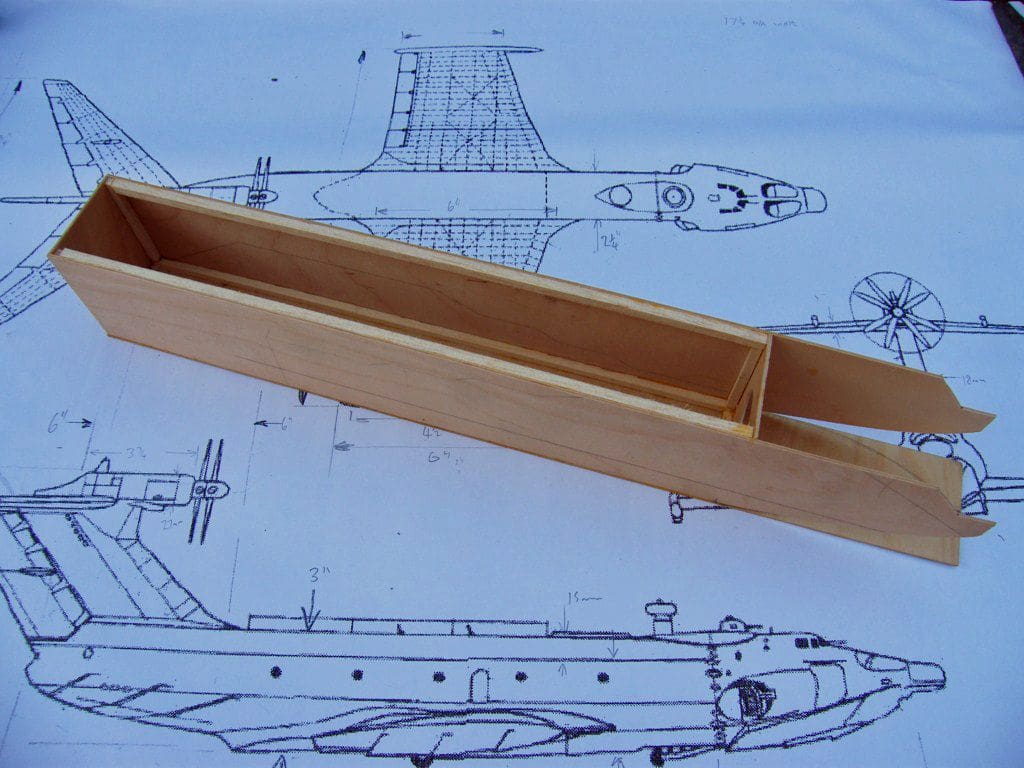
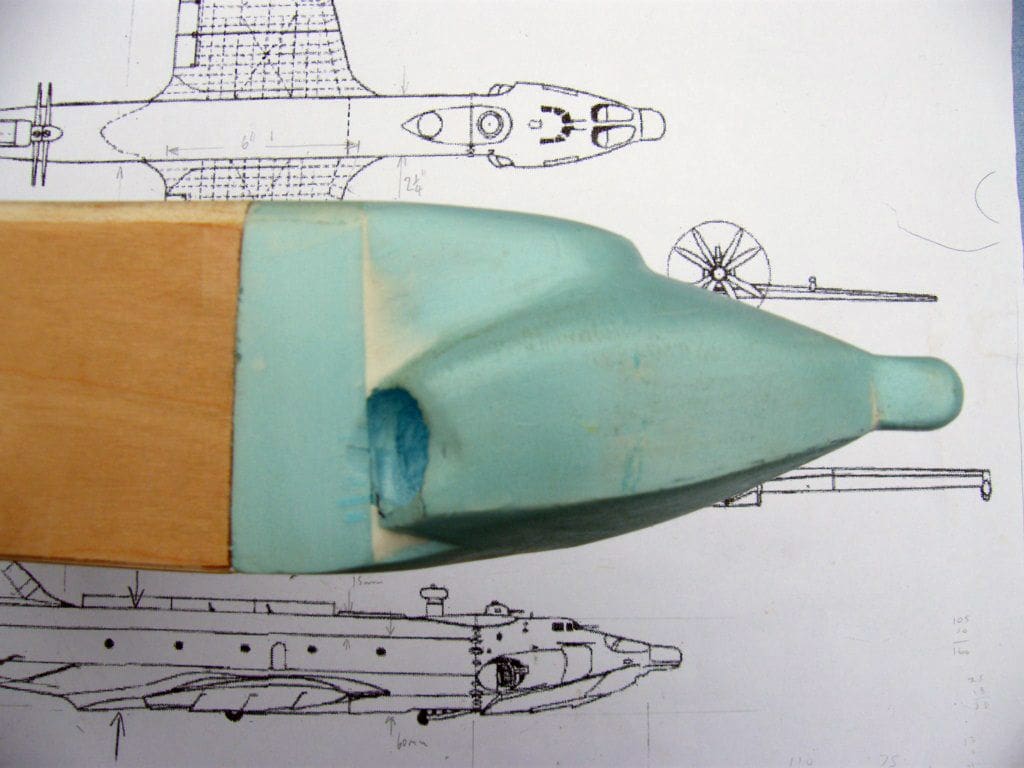
Unlike the other flying boats I have made (which don’t really fly), this one would have to be fairly fast to look convincing and with only a single tail fin mounted propeller, I needed a very powerful small motor and so have gone brushless. As to plans, three-view drawings are easy to come by and by using my usual photocopier approach a large set were soon to hand giving what I thought to be a workable size of model, namely an overall length of 30 inches and a wingspan of 17 inches. In fact the body is only 24 inches (600mm) in length and 2.25 inches (58mm) wide, but the rear fin overhangs somewhat.
The build
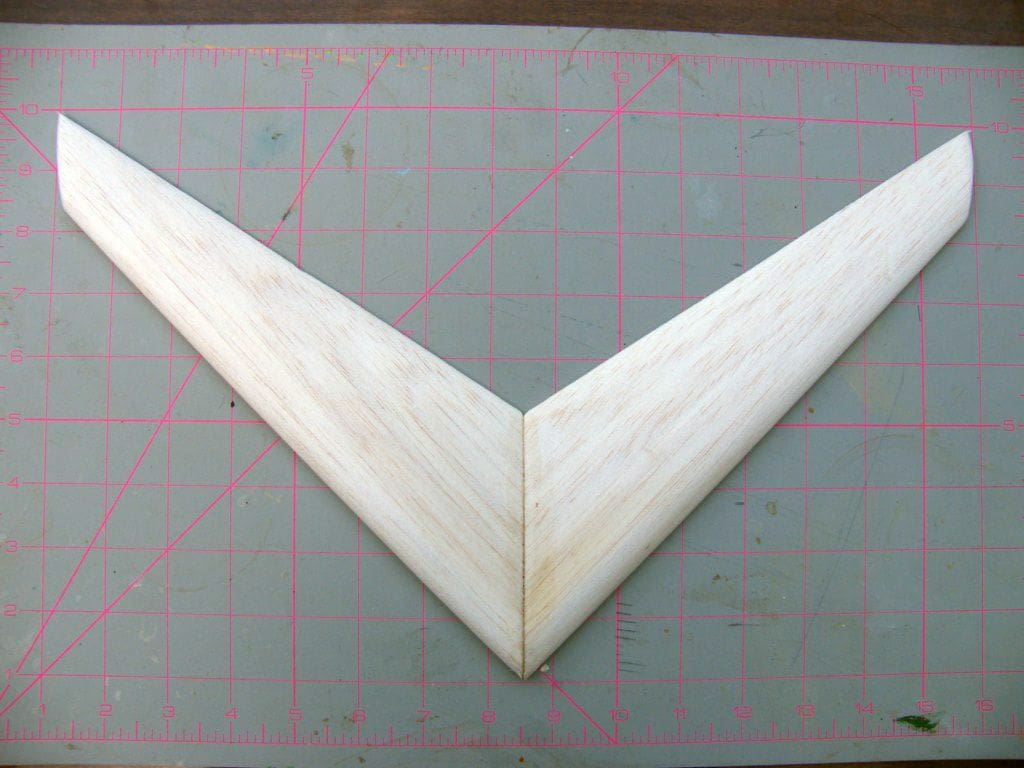
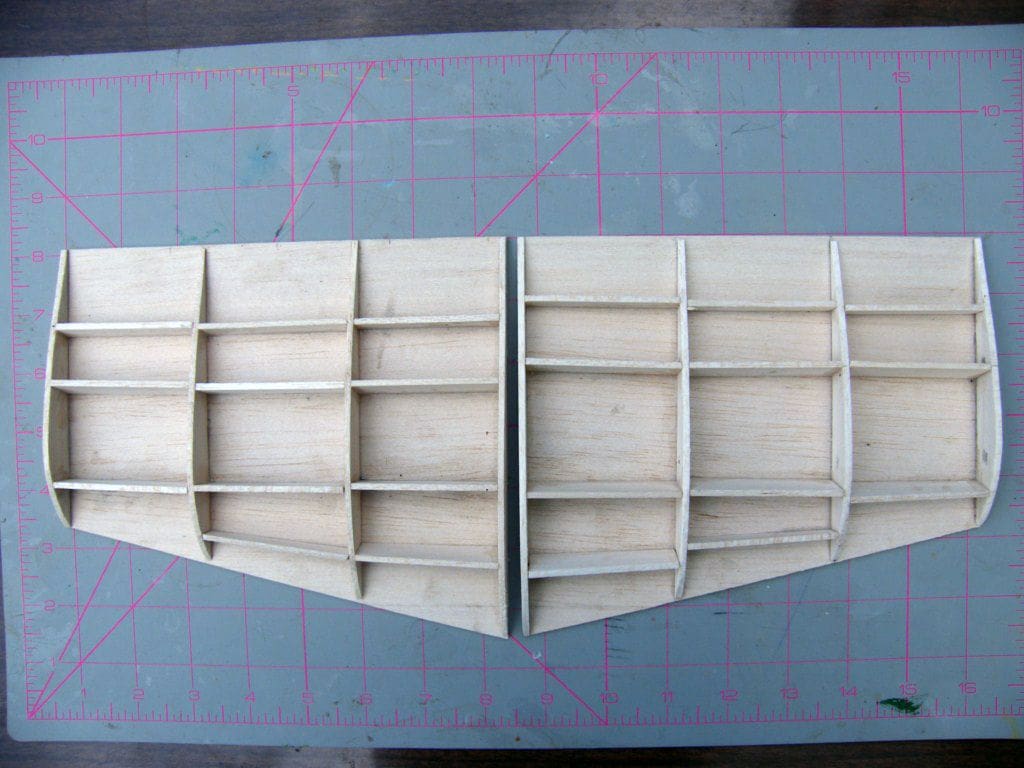
I should call this section, ‘Trial by sanding’ really, as everything I made required major shaping by sanding. However starting the build was easy as the body is a long thin box made from 1.5mm ply and balsa glued with yellow Aliphatic waterproof adhesive with a 0.25 inch balsa top, cut for a hatch to access the interior. The short stubby wings with flat bottoms were made out of balsa, covered in very thin balsa sheet and then doped to strengthen and waterproof them.
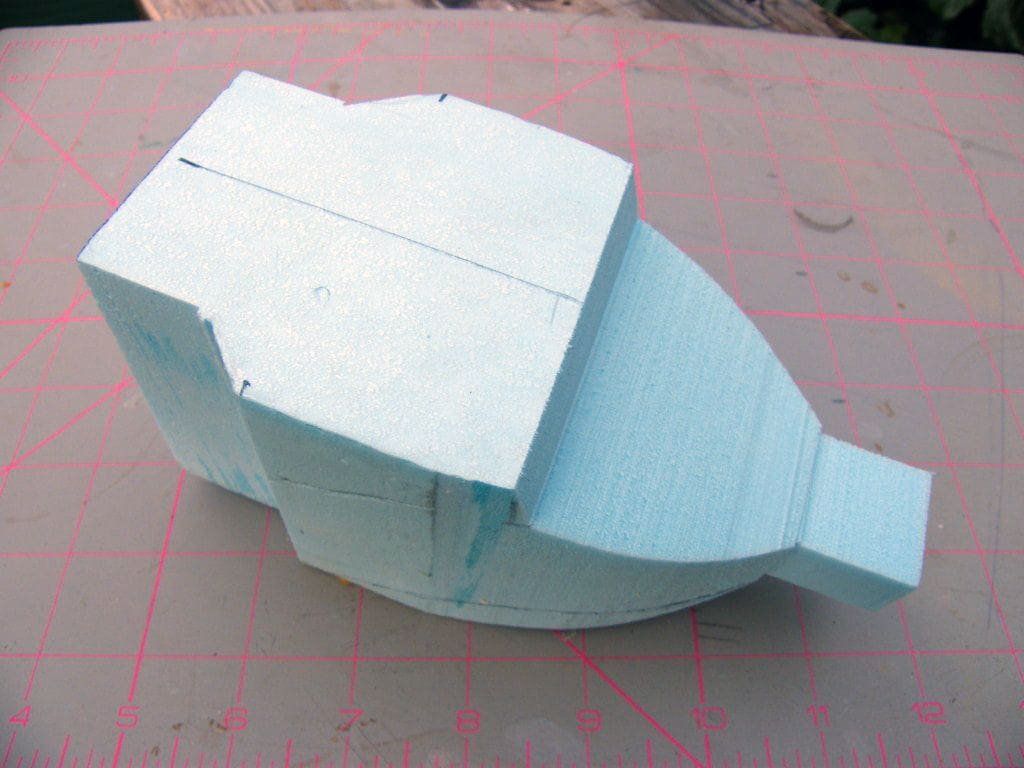
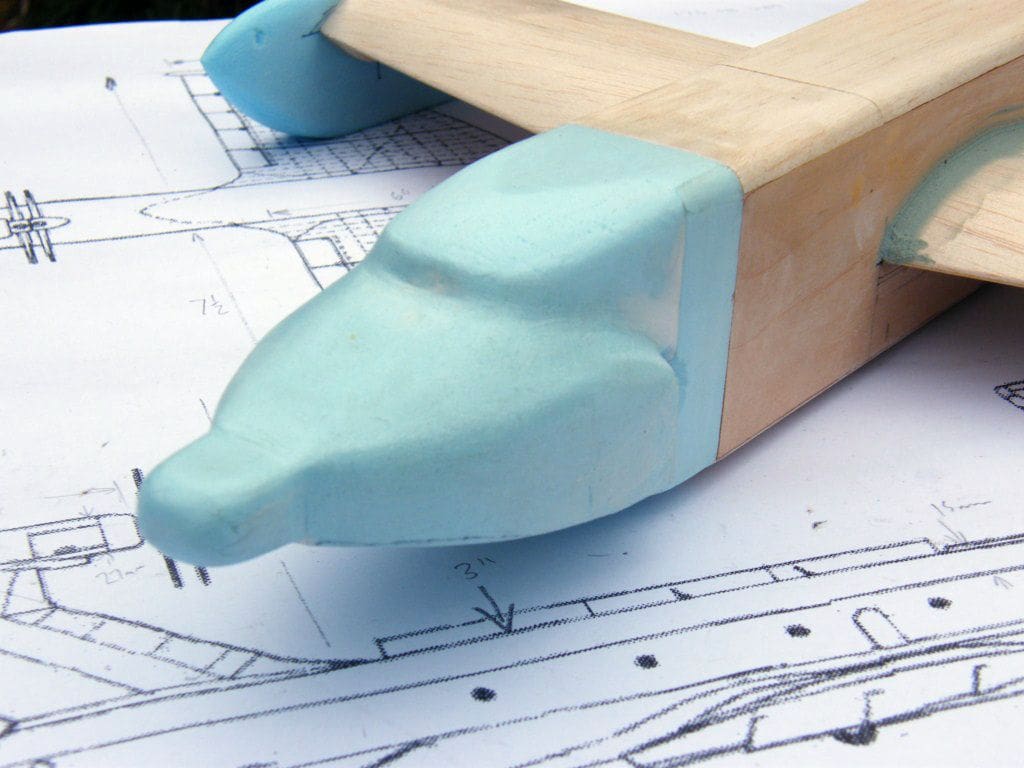
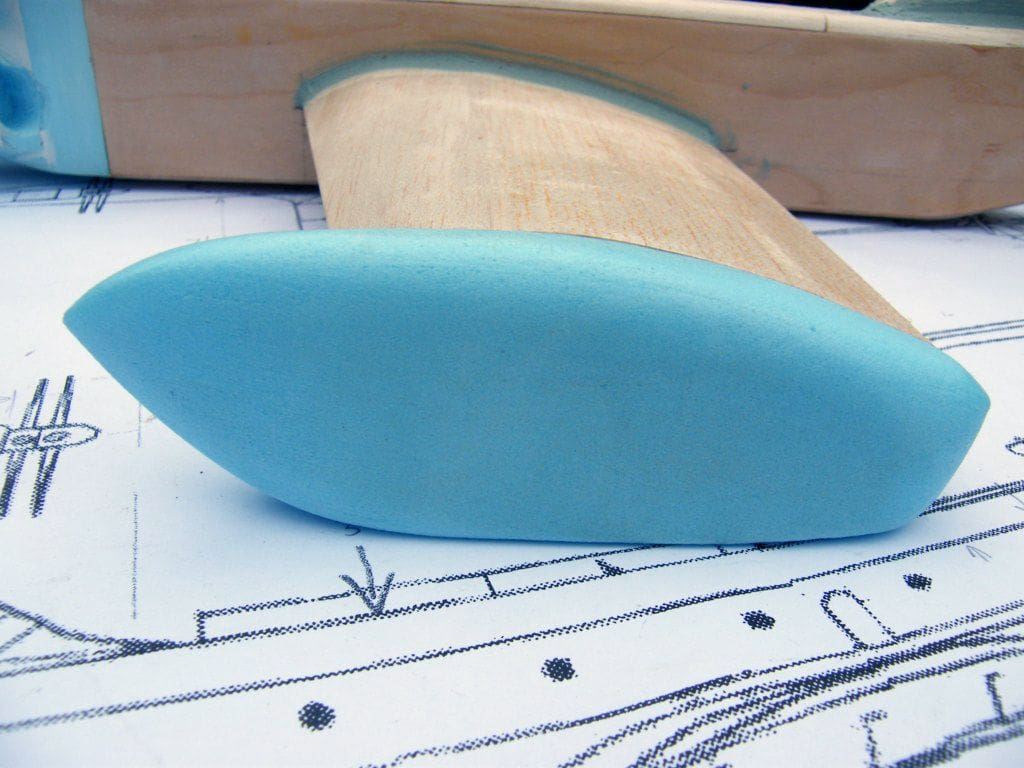
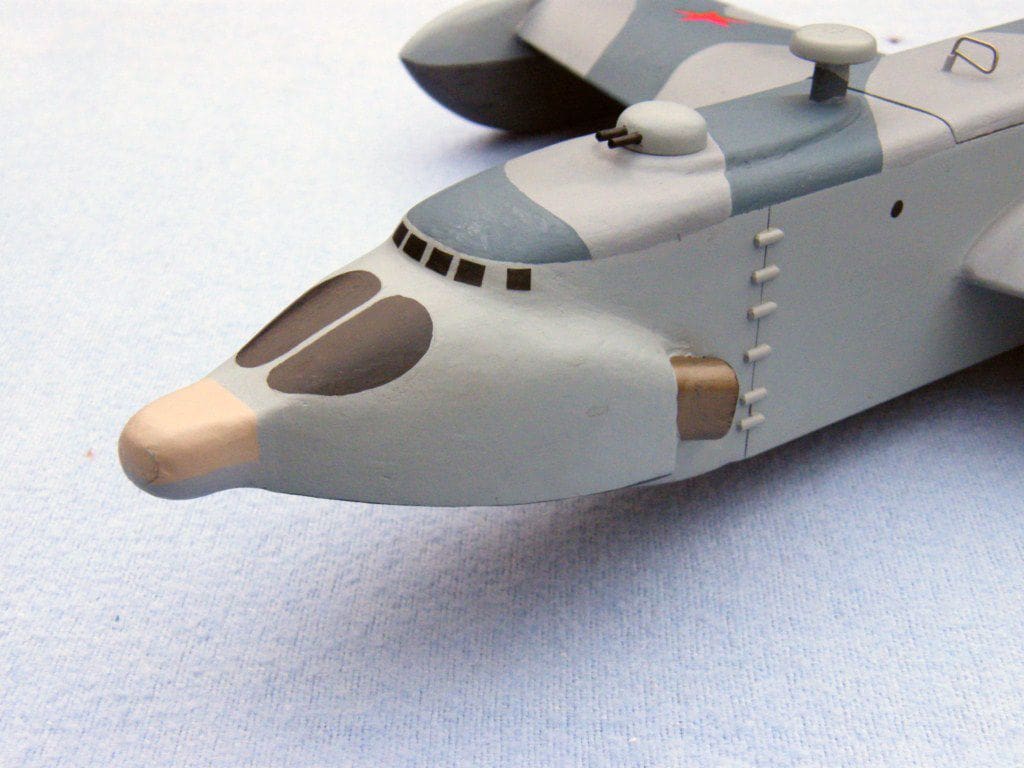
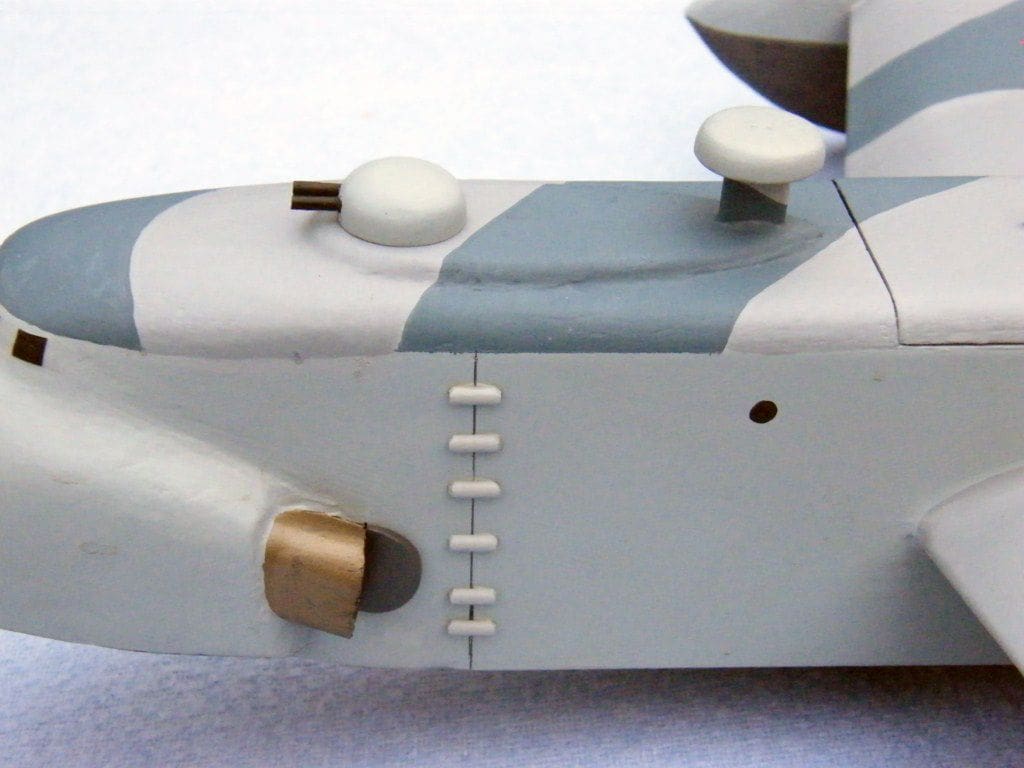
The nose section was a tricky blighter as it is all curves and I could see no option but to carve this out from solid, and so I used a block of medium density blue styrofoam. The tricky bit is that you have to get not only a reasonable profile, but the sides have to be symmetrical as well. However, with a bit of nifty bandsaw work, carving and sanding, something acceptable if not an exact copy was finally produced, and to harden it several coats of Acrylic varnish were applied. The auxiliary jet pipes are oval section PVC tubing, but I didn’t want to risk cutting holes in the front for the jet intakes as this would seriously weaken the nose in the likely event of a collision with a concrete pond bank and so these have been painted on instead.
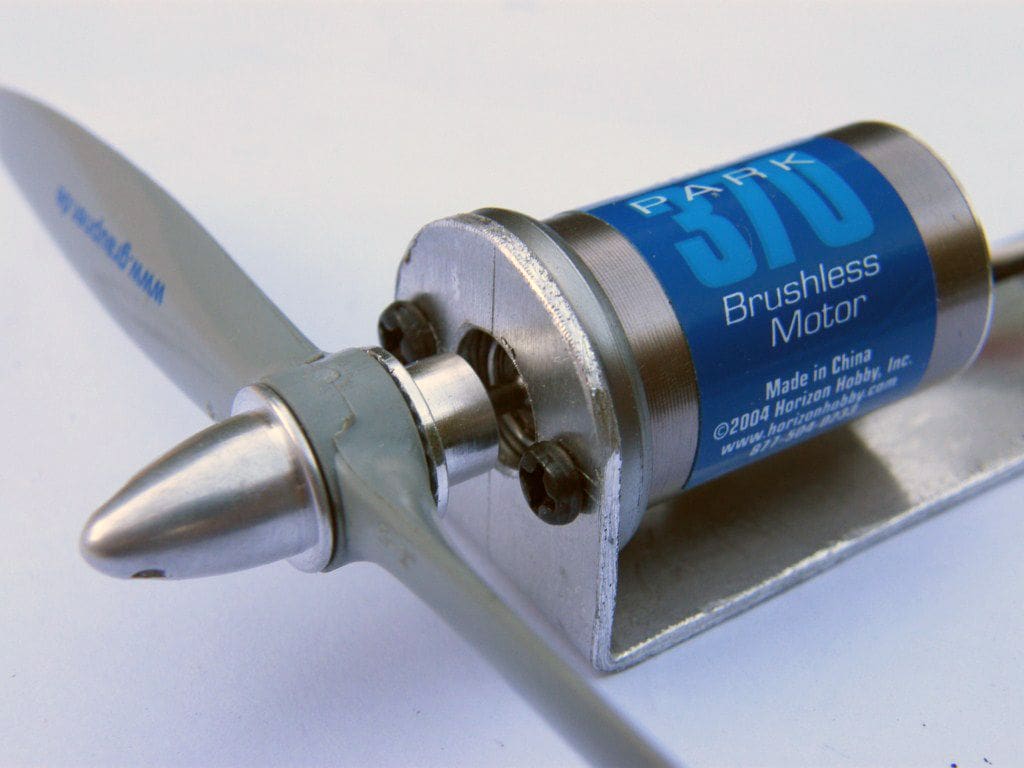
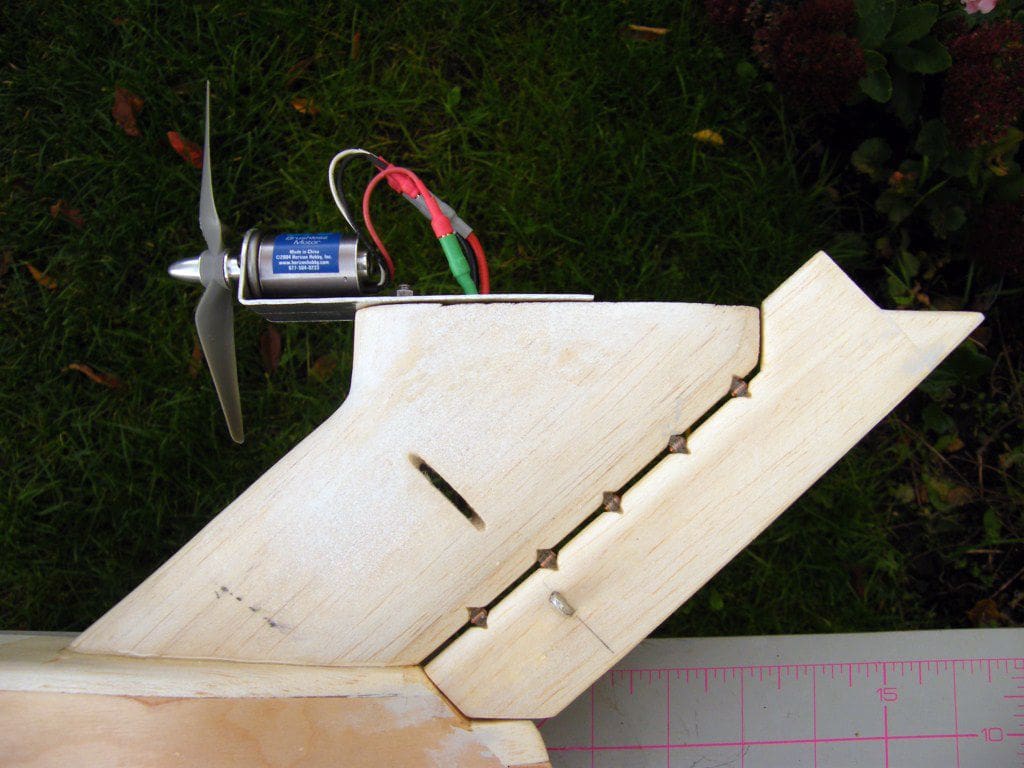
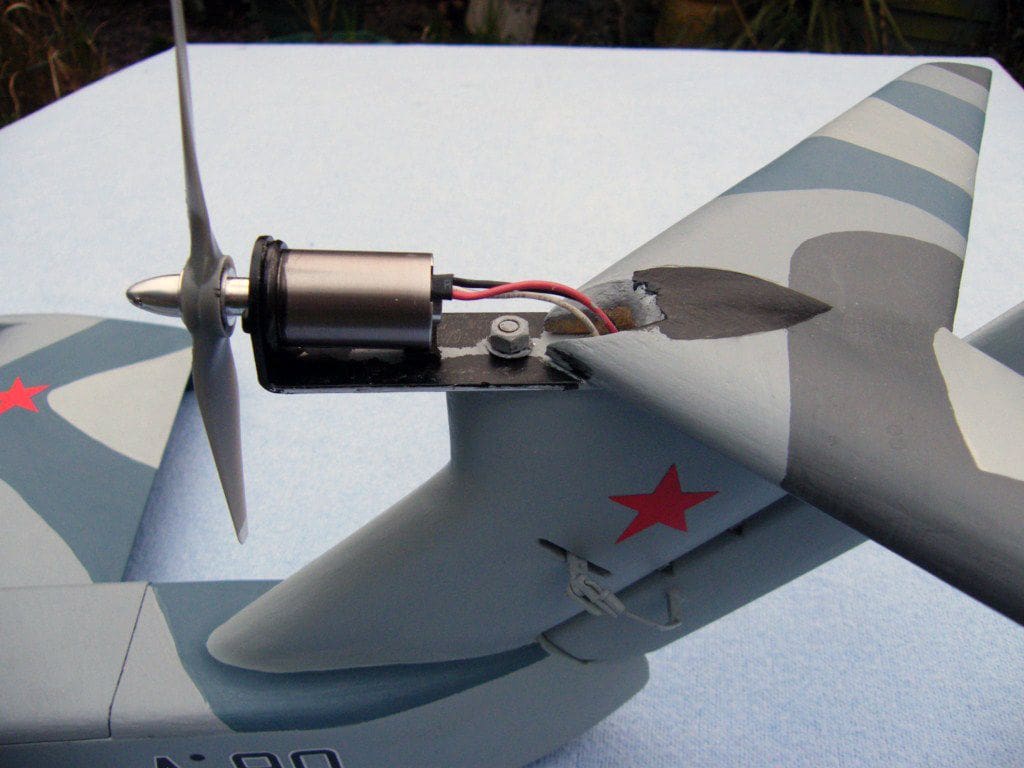
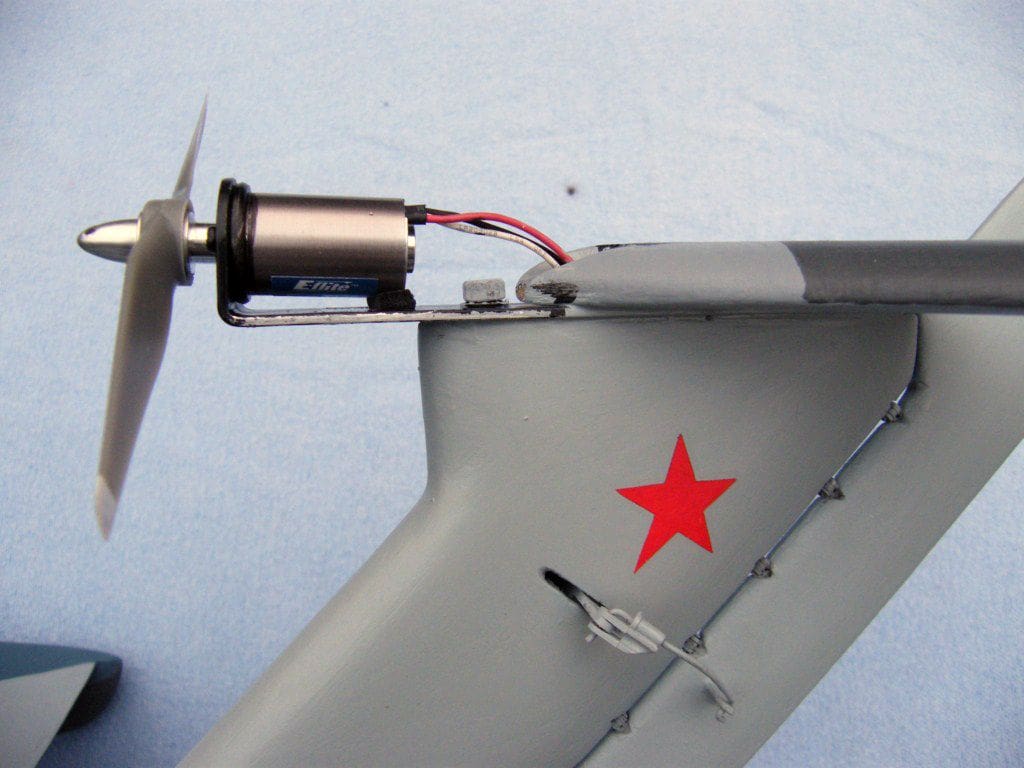
Most of the work went into the rear tail fin. First off it has to carry the propulsion unit, namely a Kuznetsov NK-12MK 11,000Kw turboprop(!), amazingly only 20mm in diameter by 30mm long, and at 3600Kva (which translates to 3600rpm per battery volt). Okay, actually a Park inrunner brushless motor, but I will leave you to do the math’s as to the revolutions on 9.6v, but the propellers are all safe to 40000 rpm, or so they say! This unit is screwed to an alloy bracket drilled with a hole to let the wires drop through the hollow tail fin and also drilled to take a 4mm bolt. This bolt is set into the fin with epoxy as a mechanical joint to counter any high frequency vibration shaking the bracket away from its glued surfaces. The rear tail plane is glued on to the aluminium bracket and is from 12mm balsa sheet. Two pieces were cut out together and sanded to the same profile with the whole thing then set on to the rear tail fin with Isopon P38 car body filler.
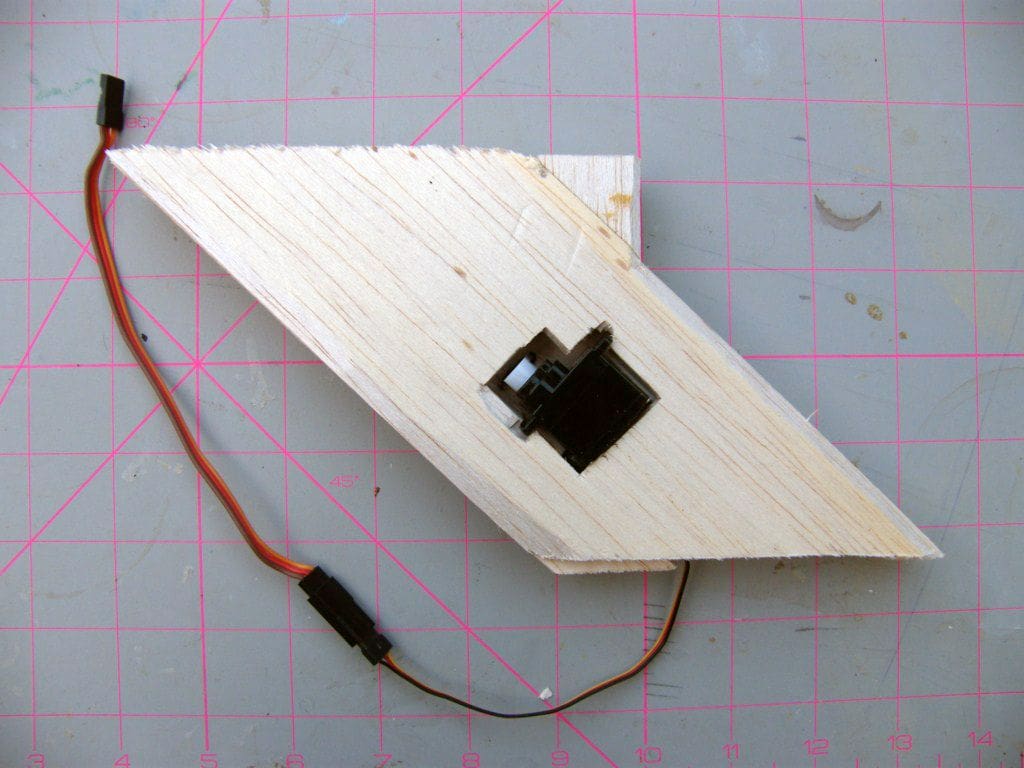
The rudder (air) then had to be fixed to the rear of the fin on little individual pivots, this being ‘current aircraft practice’ apparently and anyway it had to be operated and moved somehow. Again, current practice is to have a servo actually in the wing or fin as they make them very small nowadays, so having already made the fin I had to cut a slot in one side for the arm to stick out and then of course have an access hatch the other side so as to install the servo in the first place, or to remove it in case of trouble. On the basis that these things rarely go wrong, I stuck a thin card patch over the hole, which can be cut out and replaced and repainted if I ever do have a fault. Worryingly, there appeared to be a lot of wires in the fin possibly giving rise to RF interference, but there are further advantages with a brushless motor in that they do not need any suppression, as they have no brushes……..
Having sorted that lot out, the craft began to take shape. Various appendages including the nose were glued on to the fuselage and this is when I began to realise just how top-heavy the craft would be. The fuselage is relatively long and thin, the wings are not very wide and there is nothing sticking up other than the fin. This would be okay normally, but the fin has a motor, the prop’, aluminium bracket, tail plane, servo and motor wires in it. Not good news, but of course unavoidable, so having bath tested the fuselage with all the bits piled on top and a spare 9.6v NiCd battery pack installed, plus having emptied the water out after the third capsize (the wings float very nicely on their own!) a waterline was established which enabled me to glue the wings on JUST clear of the water at a slight upwards incidence to give the right effect and cut down water resistance. These wings should really be at the bottom of the fuselage, but the drag on a model would be too much I thought. Having waited a full six minutes for the five minute epoxy to set, it was back to the bath to establish just how it all floated as the wing ends made from blue foam added buoyancy. The model would need a modicum of stability as it was not intended to actually take-off.
After all this, the wings and tail were blended into the fuselage body with filler and sanded. Several items like the servo and the nose jet pipes had to have their openings fettled and painted before being sealed in place.
Despite the multiplicity of parts the total weight (including motor and esc) was 425g, to which had to be added approx 235g of 9.6v battery. Not too bad, but we would see at the pond.
Trials and tribulations
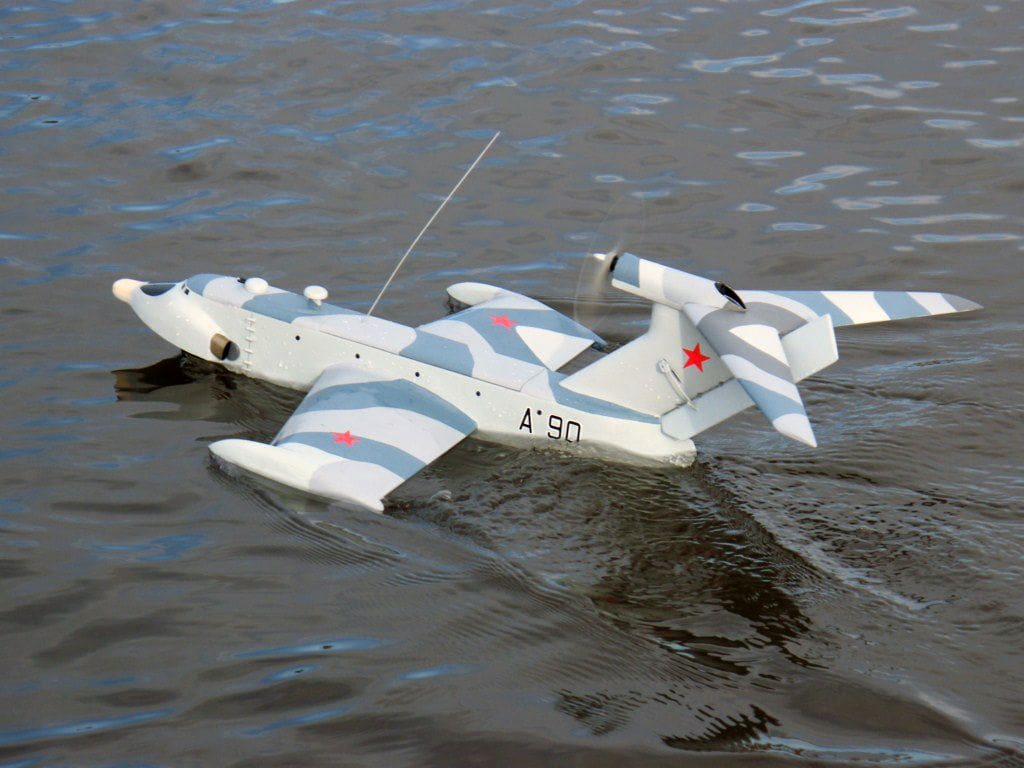
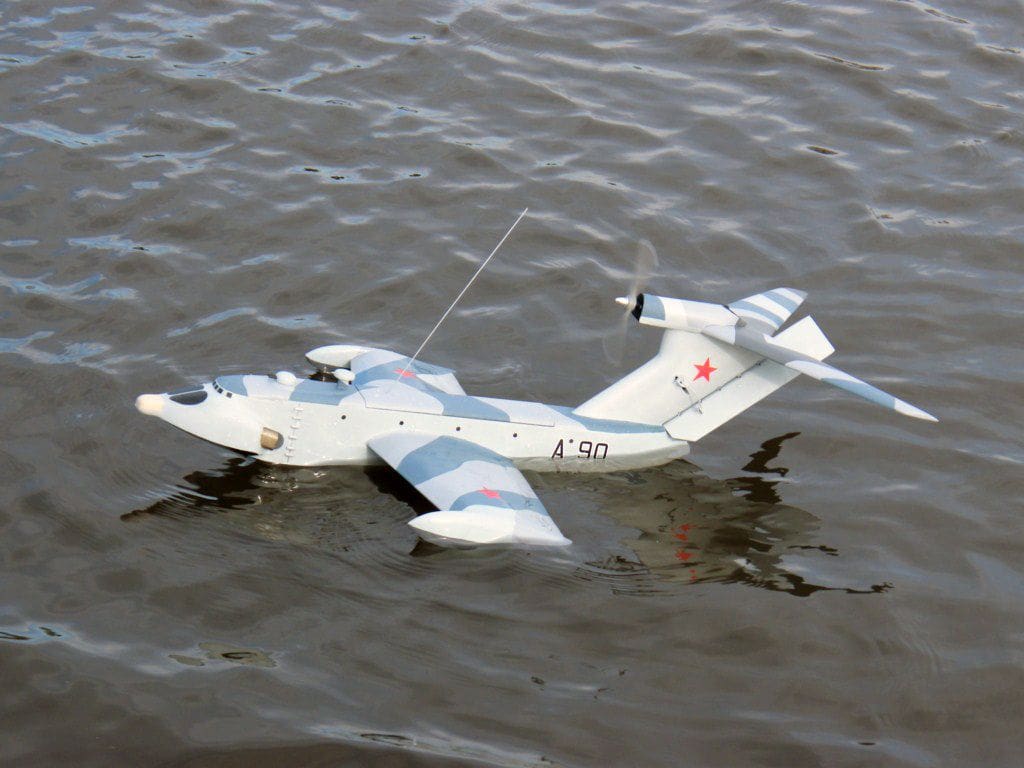
There is not very much inside the fuselage, only a small receiver and a very small esc and battery, so the electronics were velcroed in place and the battery was left loose for the time being as I had a suspicion that once on the move, there would be a trim change required and some re-positioning would be required. For the first test a 7.2v battery was installed, the 9.6v still being awaited, and the craft dropped in at the shallow end of the pond for a trial run. A bit of a disappointment at first as water was washing over the outer wing sections, and it was not as fast as I thought it could be, even with the 7.2v battery. I moved the battery to the rear in stages and the attitude was much improved (the tail lifts by about 20mm when power is applied) and the wings were now dry, however the rear edge of the wing was now touching the water. So much for bath testing! Swapping propellers improved things a tad, before trying my ancient 9.6v NiCd which showed the way, as the speed almost doubled for the 20 seconds before it died! Manoeuvrability and stability on the other hand were very good, wind permitting, and it finally held a straight line after several outings and experiments when I fitted a skeg under the stern. As you can see no propeller guard has been fitted due to the design of the craft and so a degree of caution has to be exercised when operating the model on the pond just as you would for a ‘park flyer’ model. I make it a point only to use full power well away from the pond bank and not to ‘fly’ it too close to the edge either.

Finishing off
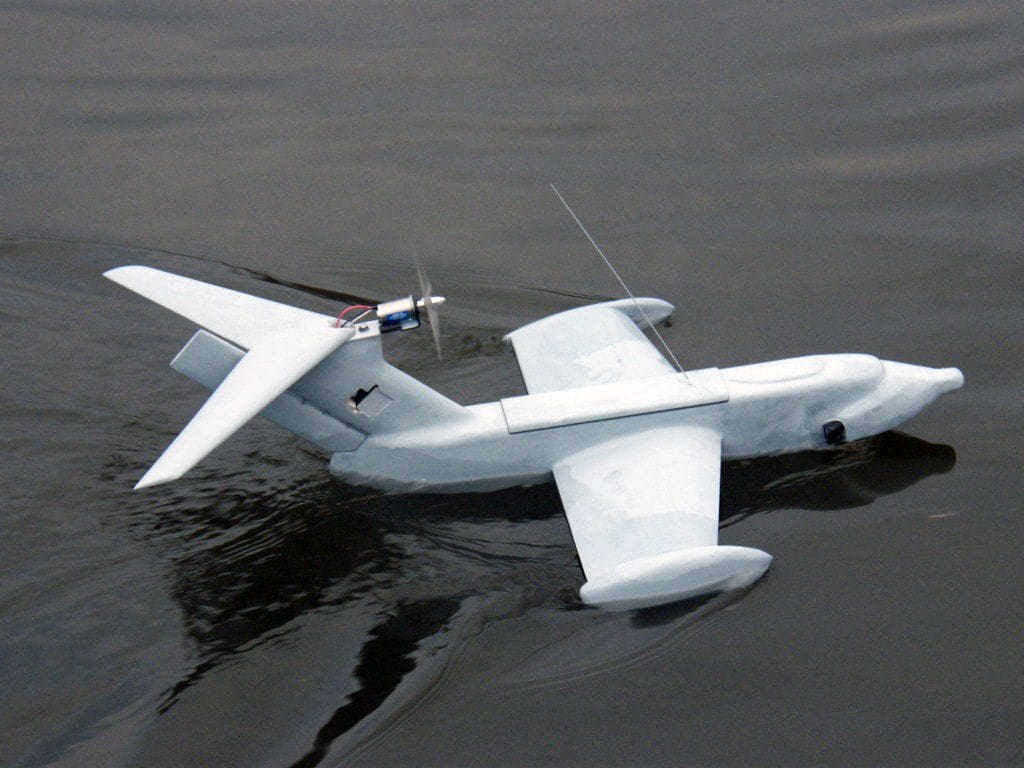
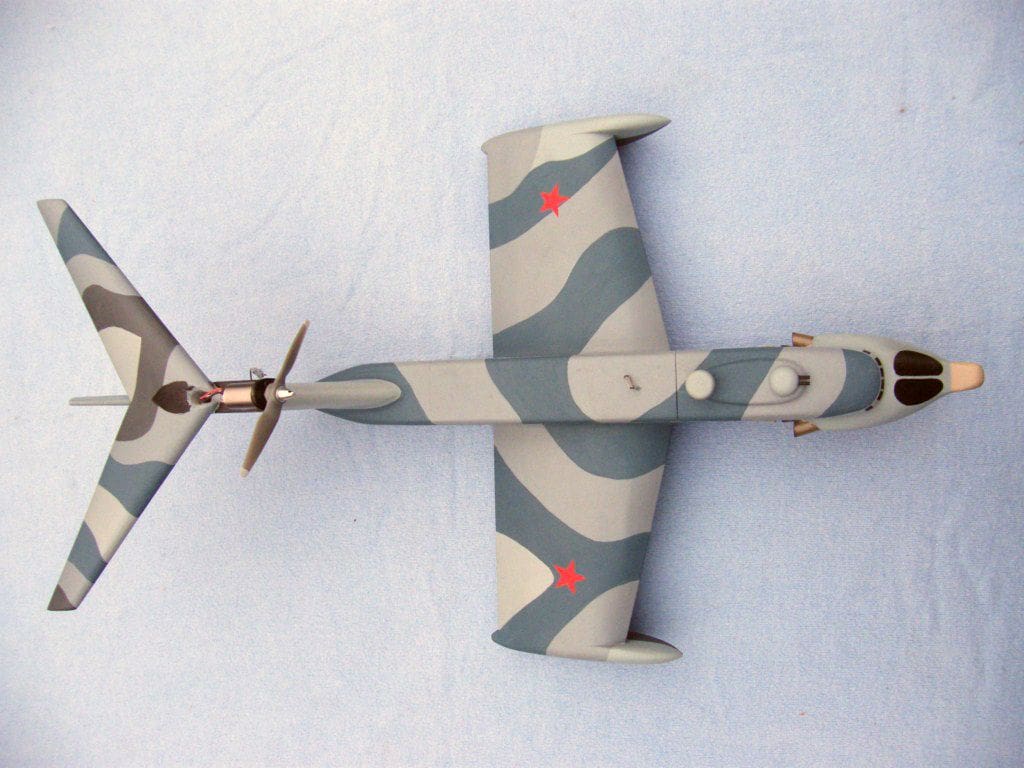
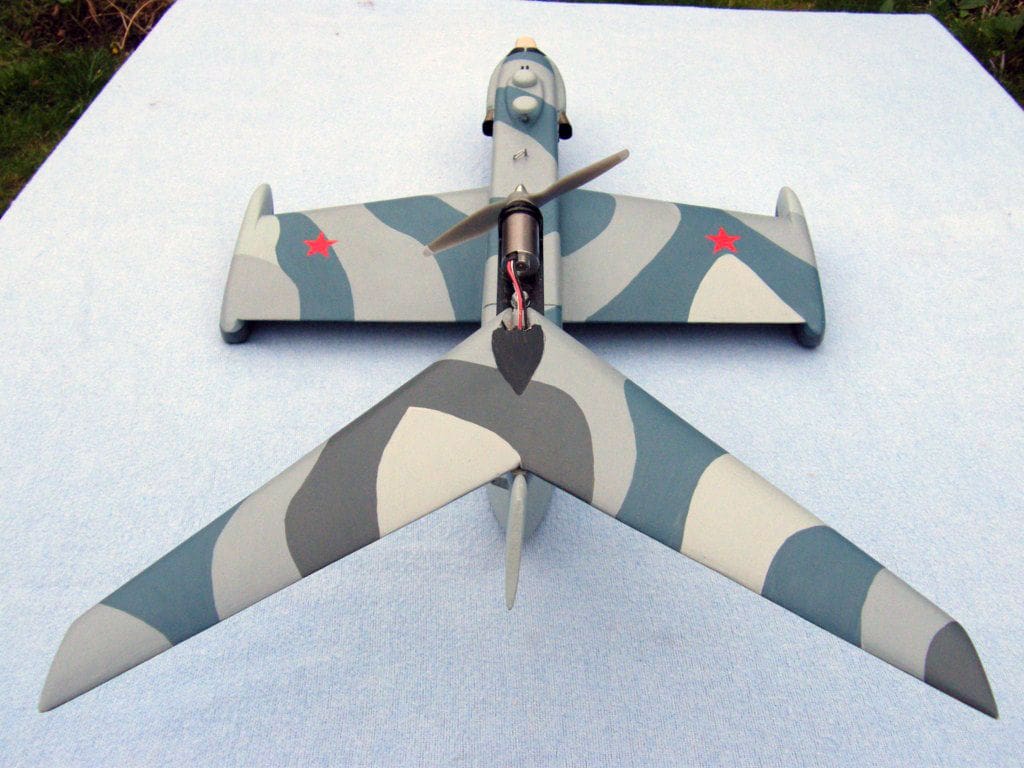
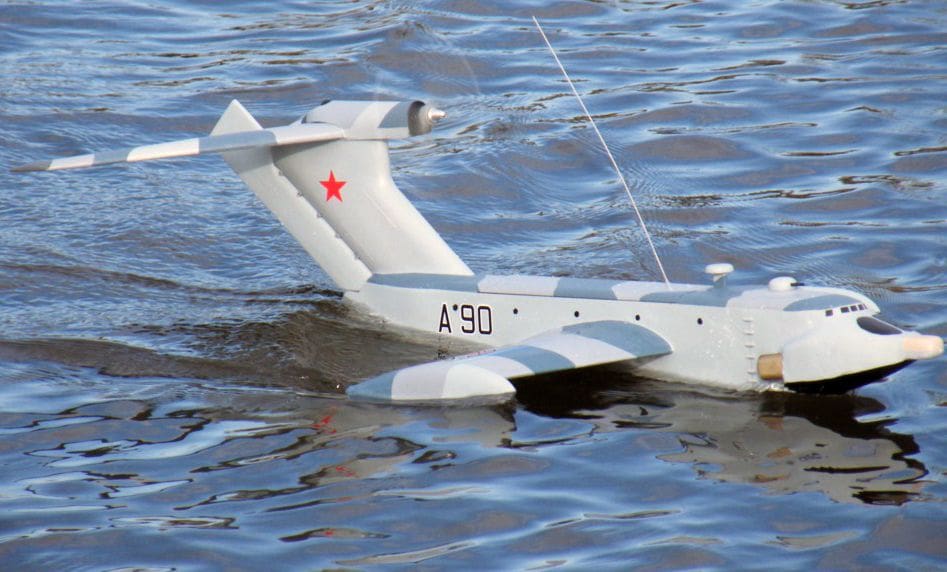
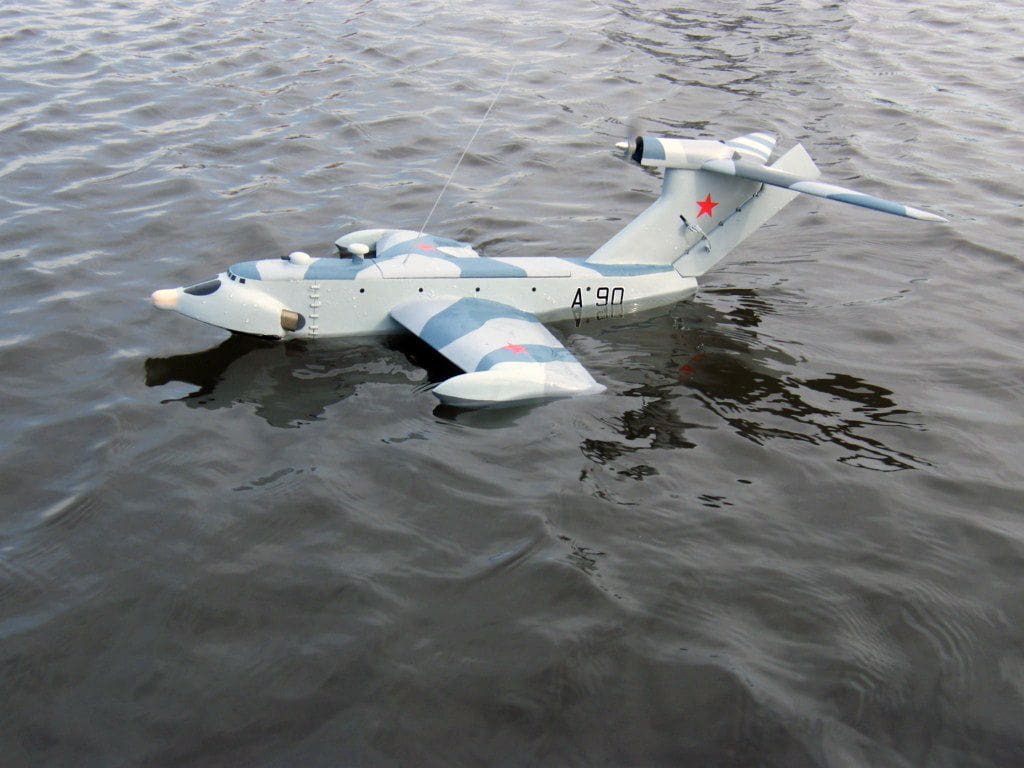
The only thing left to make was the engine cowling, which was of thin card, rolled up and varnished. When dry it was cut and trimmed and it sort of clips over the motor bracket, secured by a spot of glue. In Russian service the craft were simply painted a flat grey which is a bit boring really and so I decided on a ‘what if’ camouflage scheme similar to current Russian air defence fighter colours. Lettering on the side was from my spares box, so no expense spared there!
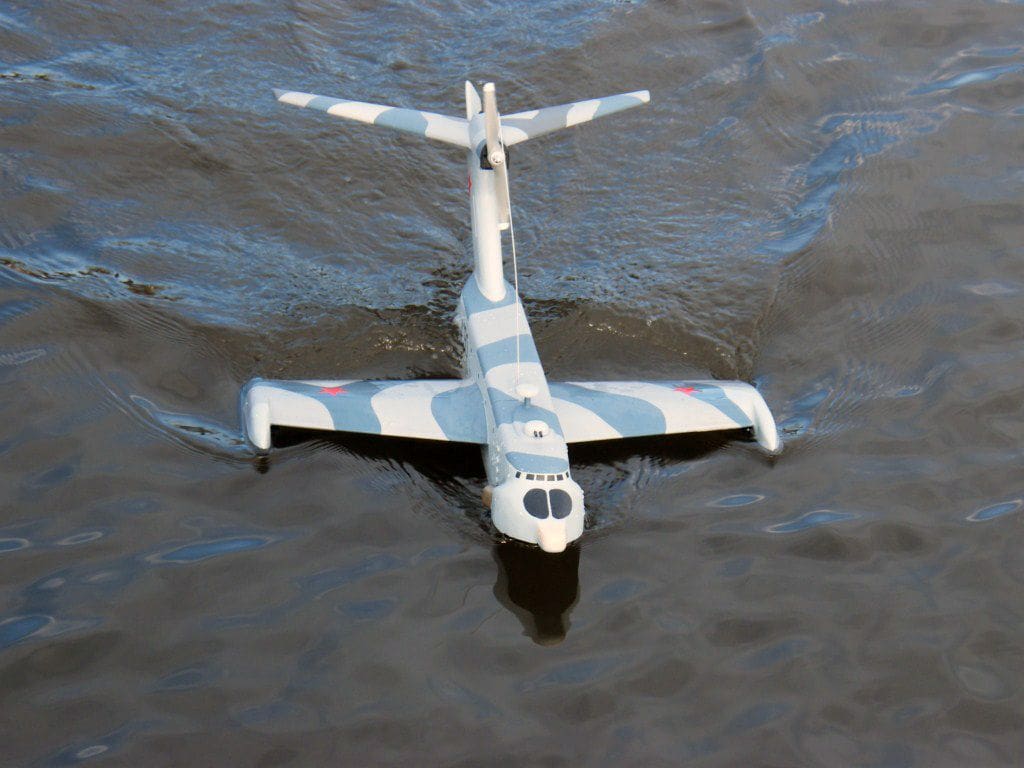
I chose A90 as it is the aircraft model designation and finished off with some traditional Russian red stars. Hull portholes and cabin windows were pasted on and varnished. As you can see I am a stickler for authenticity! The curious ladder looking bits behind the nose are actually clamps and hinges. The Ecranoplan was designed as a fast assault transport and the entire front folds out the way for loading small tanks or whatever, but it is fixed on this model. Lastly after tests, the wing floats were sanded right down in stages effecting a material improvement in the model’s performance and aesthetics or in other words, it looked better!
On the open sea – second trials
How did it go then? In a word -WOW!
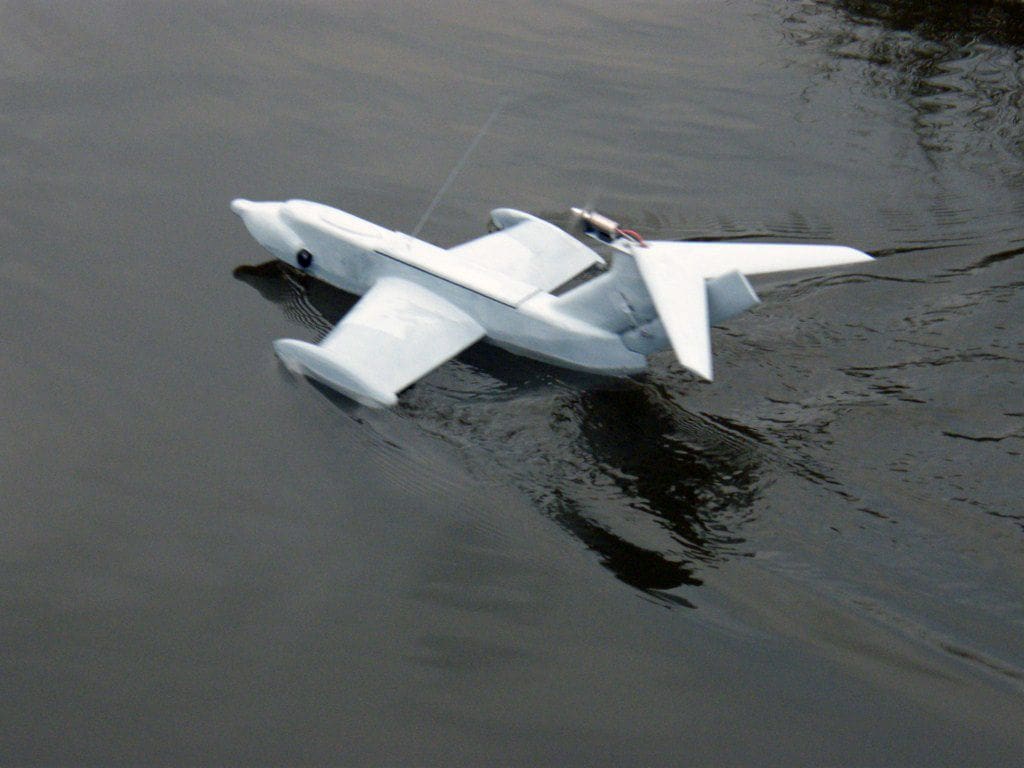
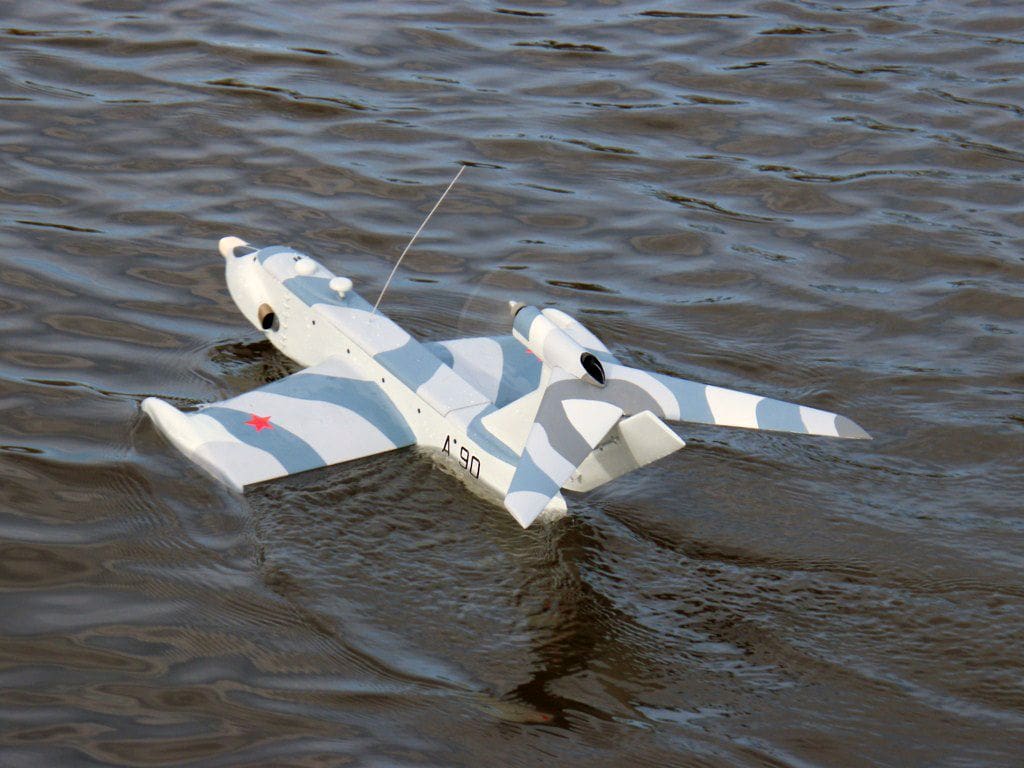
The motor makes all the right noises when advancing the throttle and Ecranny (easier to say) shoots forward like a scalded cat. It is as fast as I had dared to hope it would be and the current draw hovered around the 7 to 8 Amp mark, well within the motor and battery specification. General steering depends on the amount of wind present and the turning circle follows normal skimmer practice as it will spin in its own length, which is handy as there is no reverse on the aircraft esc. It zips across the surface on full throttle in a fairly convincing Ecranoplan manner with daylight under the wings on a calm surface and is very stable even on full throttle turns, remaining perfectly flat on the water. Even more performance could be had by installing an 11.1v LiPo battery, but then it might actually take off and I am not that brave.
For something really different this may be the very thing; the Russian on the pond. Simply outrageous!
Addendum.
What does ‘Ницца катер’ mean? It is Russian for ‘Nice boat’.
Reference material:
www.hypercraft-associates.com/apracticalguidetowigmodels.pdf is a very interesting paper on the practicalities of making a real working model Ecranoplan.


