Pat Keough, a South African reader, describes his model
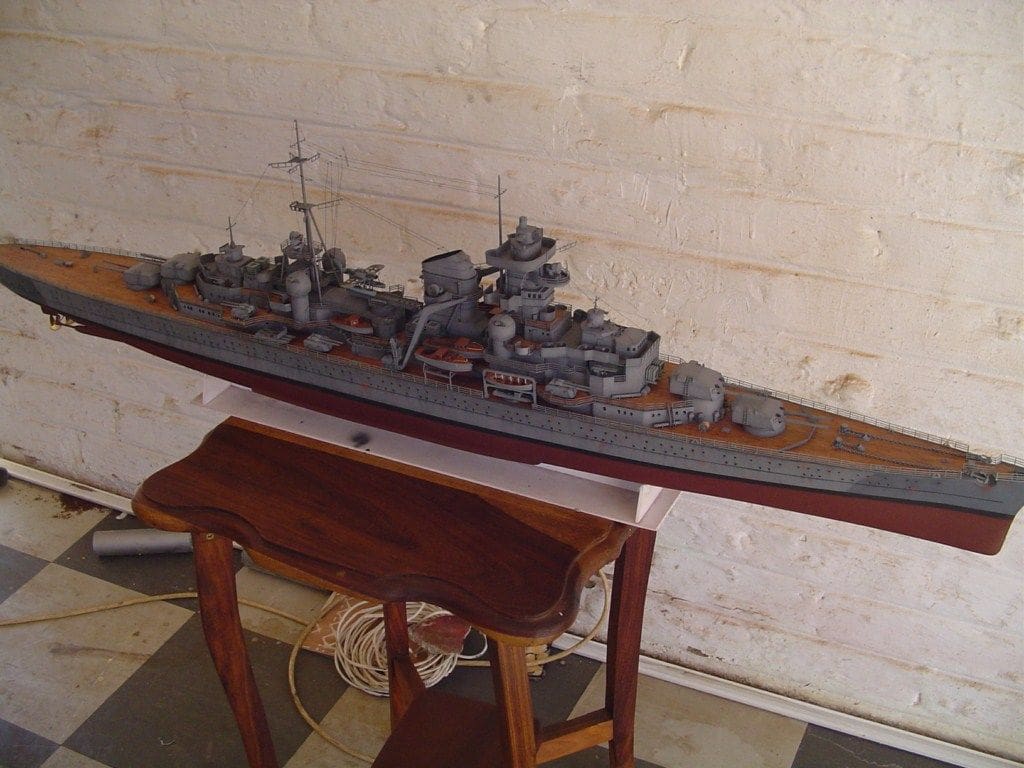
Having completed the model of KM Bismarck some years’ ago, I felt that it would be fitting to build a model of the heavy cruiser KM Prinz Eugen that accompanied the battleship on her first and last sortie. This model, due to the fact that I worked very slowly and to some extent lazily, took me 18 months, rather than the 12 months it should have done.
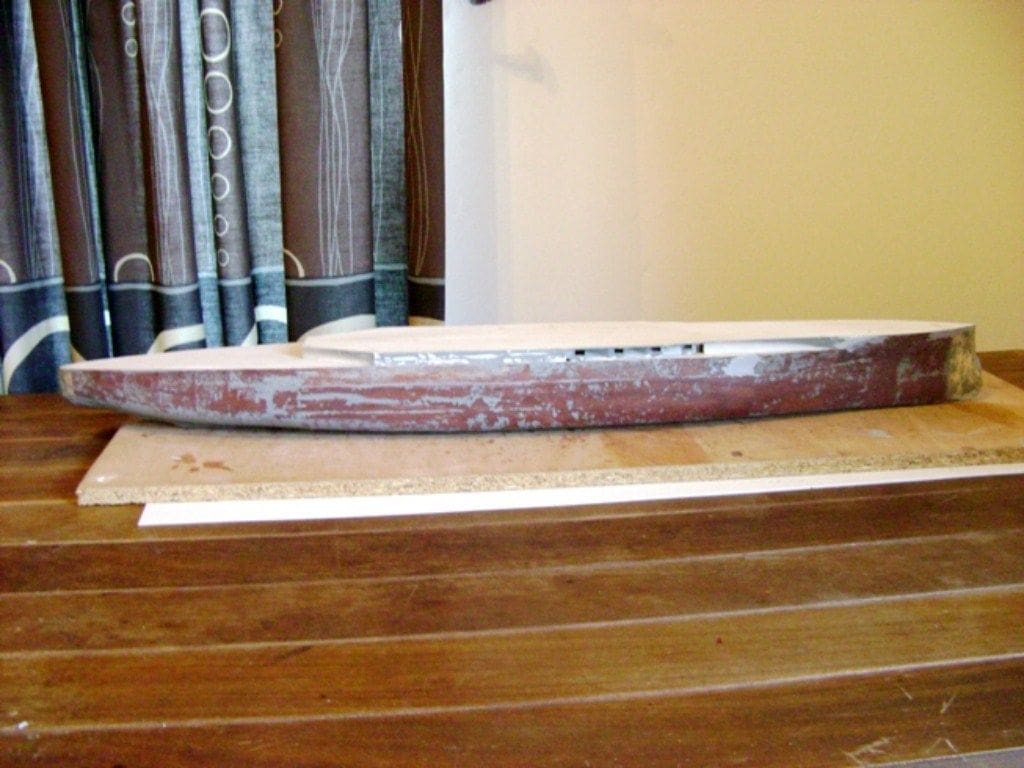
Basic hull construction
Enjoy more Model Boats Magazine reading in the monthly magazine.
Click here to subscribe & save.
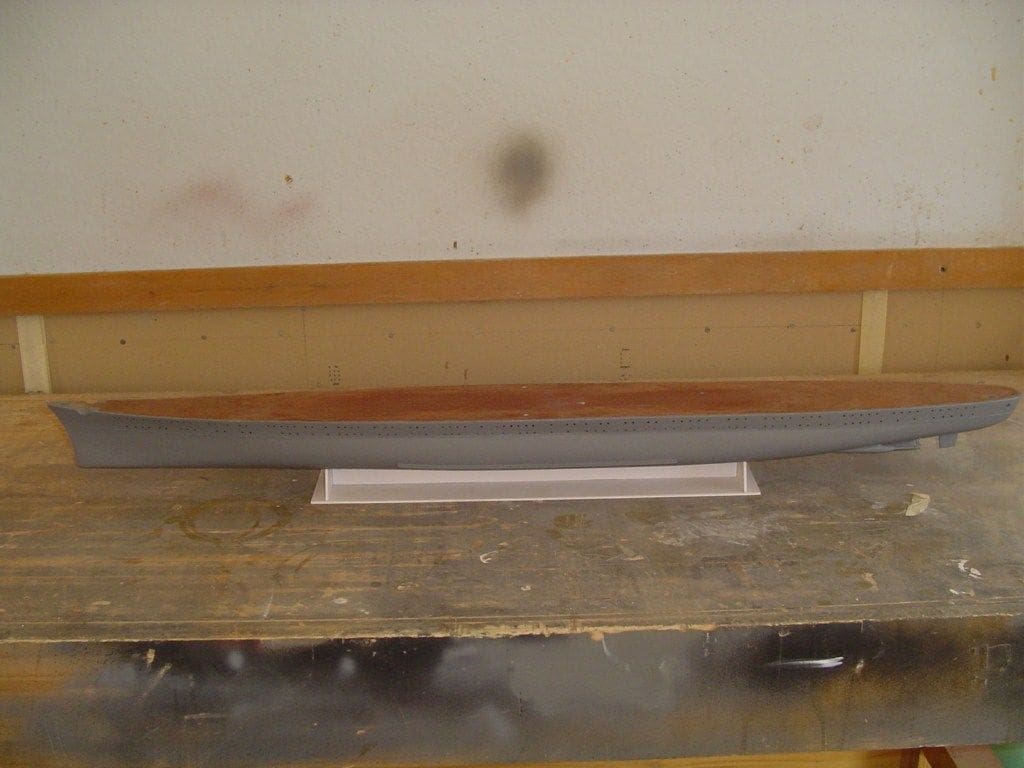
My normal method is to cut the frames to form the hull from ABS plastic and punch out the holes for the stringers in each of these frames. There were 15 punched holes on most of them and a total of 31 frames. This took me a few days of effort to complete together with the filing out of all the holes to ensure each was an exact 4 x 4mm. The frames were then set into the keel which was a piece of sapele mahogany. This is a hard wood with little potential for warping and this comes in handy ensuring the hull is straight and true.
This keel, together with its ribs, was screwed to wooden baseboard and all the stringers were then fitted in place and glued with superglue. The fitting of the stringers was one of the critical parts of the hull construction since mistakes made make it very difficult to glue the veneer hull plating correctly in place.
Once all the stringers were in position the deck was fitted to the framework so that it would form an integral part of the hull. The veneer hull plating used was Meranti which is a very fine grained wood cut down to a thickness of 0.7mm. There were two layers of veneer applied to the frames and then it was all sanded smooth as far as possible ready for a coating of GRP resin. Anyone who has worked with fibreglass (GRP) will know just what a mess it can make and not to mention all the lovely little pieces of glass fibre that find their way onto your skin!
Two layers of GRP resin were applied and allowed to set by being baked in the South African sun for two days – ideal curing conditions! Then the real fun began, turning the hull’s now rough(ish) surface into a smooth slick exterior. It was during this that I learnt a neat trick that speeded up the work considerably. On previous hulls I had sanded the fibreglass itself down to a smooth surface, which took days of elbow grease. On this hull, it was sprayed with general purpose primer and then sanded with 100 grit wet or dry paper. Once the surface felt reasonably smooth all the sanding residue was washed off and there were now highly visible grey patches on the hull where there were areas below the surface that had not been sanded. These were filled with Tamiya white plastic filler, lightly sanded and the hull sprayed again. With the next full hull sanding and subsequent washing down, the number of blemishes was noticeably reduced. So the process was repeated until the grey primer coat remained even after each sanding. You can even alternate between red and grey primer, so visually help see the effects of rubbing down.
Detail work and superstructure
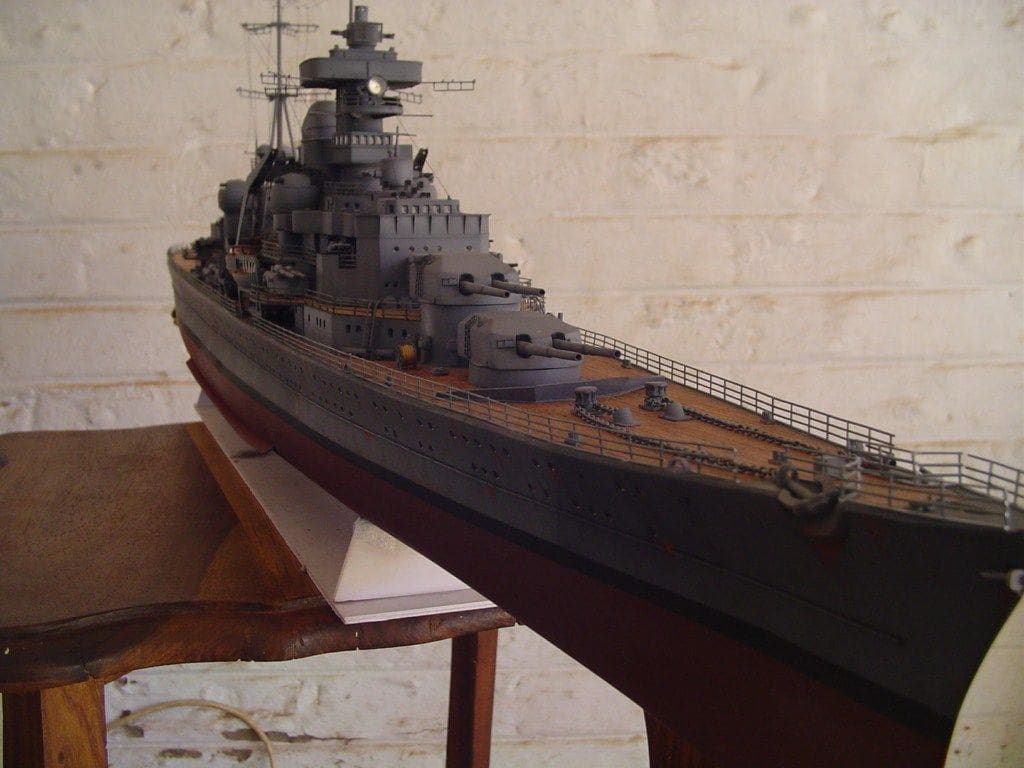
All the hull portholes were then drilled by hand, 92 each side I think and the deck planking followed next.
Once again veneer was used for deck planking and it was cut into 2mm wide by 25mm long strips, laid one by one and fixed with superglue. The width of the strips is actually a little too wide to be in scale for a plank that was in reality only seven inches wide. To produce such a plank of true scale width, the veneer is too difficult to cut., so a little bit of modeller’s licence here. Approximately 500 of these tiny planks were applied to the sub-deck.
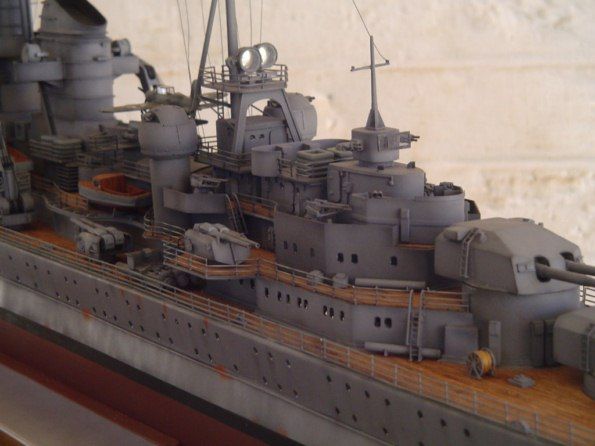
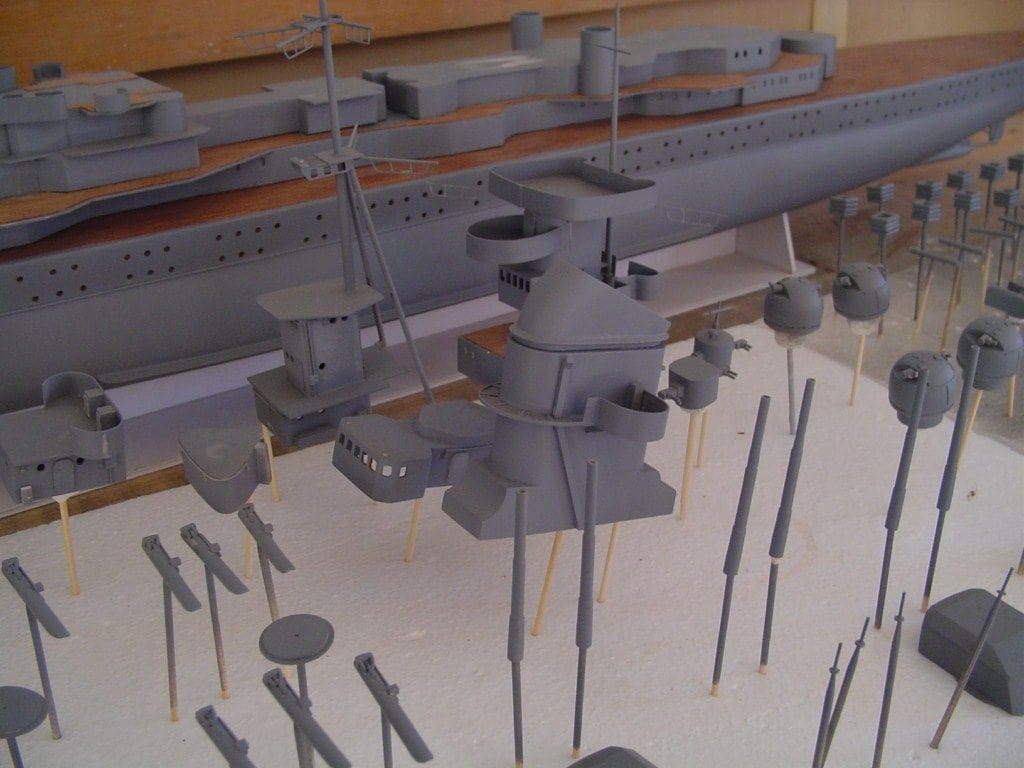
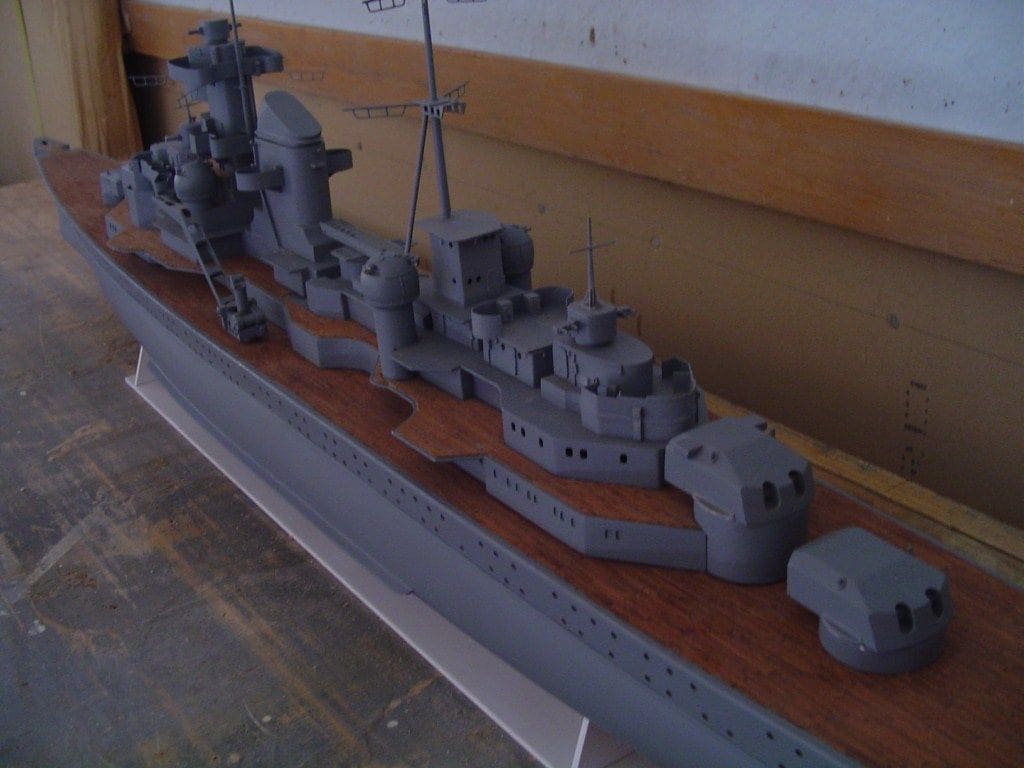
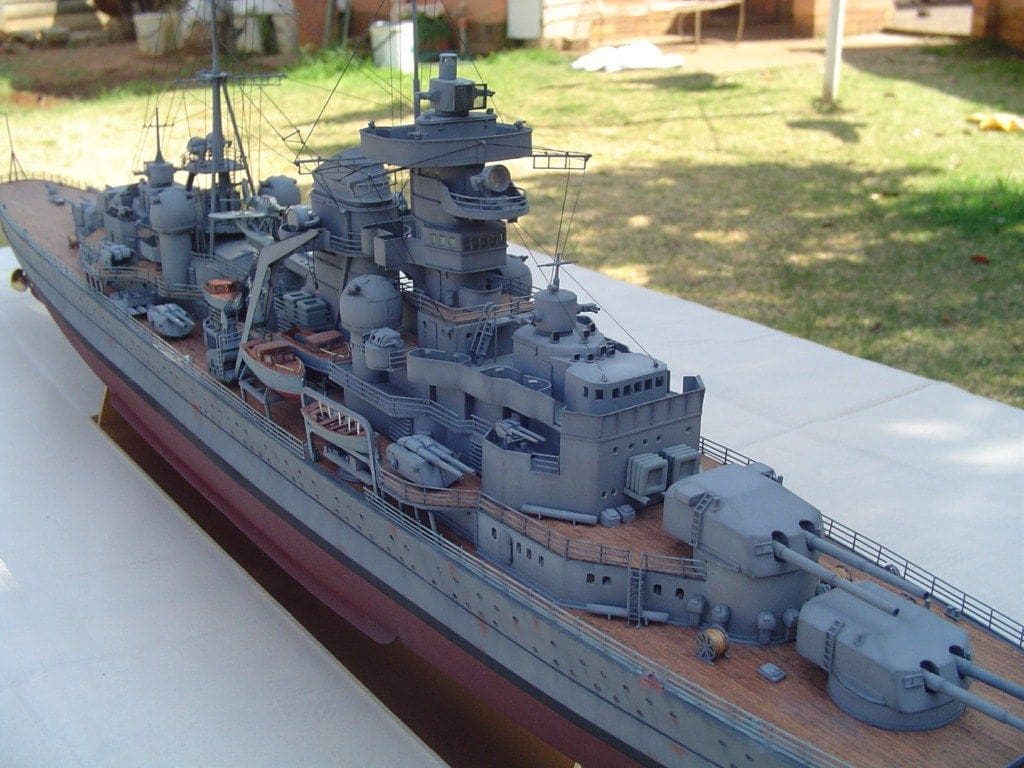
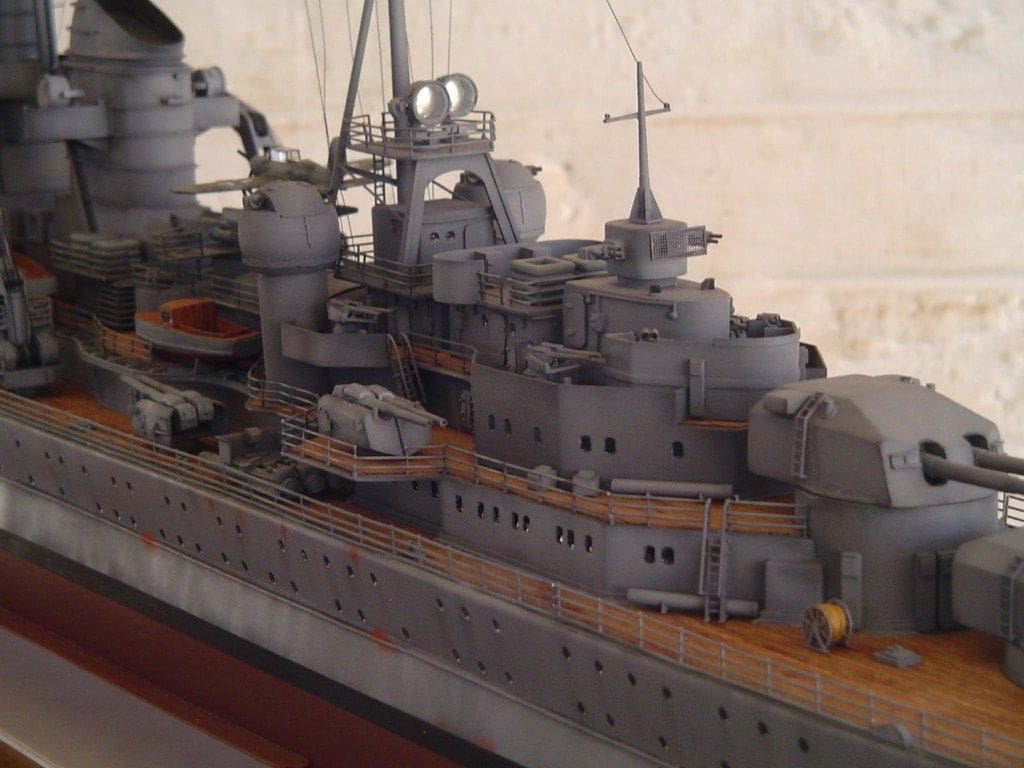
The superstructure was built from 0.9mm ABS plastic which cuts easily, is easy to glue with solvent adhesives and sands well with mild grades of wet and dry sandpaper. The main armament was cast from a single master turret mould and seem to have turned out reasonably well.
Members of my Johannesburg model club suggested weathering the model, which I did but now regret, because although done lightly I am not really happy with the final appearance of the model and would really have preferred a standard ex-dockyard finish. Following completion of KM Prinz Eugen work has commenced on two models of HMS Warspite. Why two? Well, one is the WW1 version and the other is the WW2 1942 version.
If anyone wishes to correspond with me about this model and the hobby in South Africa, my email address is: pdkxyxkoshcom.co.za. (substitute @ for xyx)


