Douglas McGhee describes his models

Introduction
Perhaps this article should be entitled ‘Geriatric Wanderings of a Modeller now in his 90th Year’ as for a few years now, I have lived in a small flat in a sheltered housing complex and my workspace is now just as small as the corner of my father’s bench in his garden shed of the 1930’s. These restrictions now determine my kitchen table modelling projects, but my main interest has always been in stand-off scale model boats which allows considerable freedom in their design and construction.
Enjoy more Model Boats Magazine reading.
Click here to subscribe & save.
The GRP moulds are about 20 inches long, and do not need to be too robust. One gel coat and a lay-up coat with one inch wide loose weave glass tape seem to be adequate. To improve the rigidity of the hulls, a stripwood inwale is always bonded into them before removing the hull from the mould.
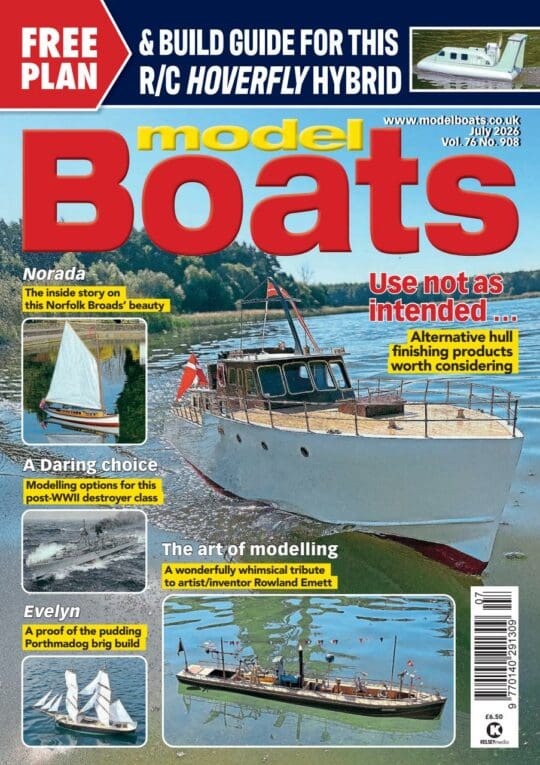
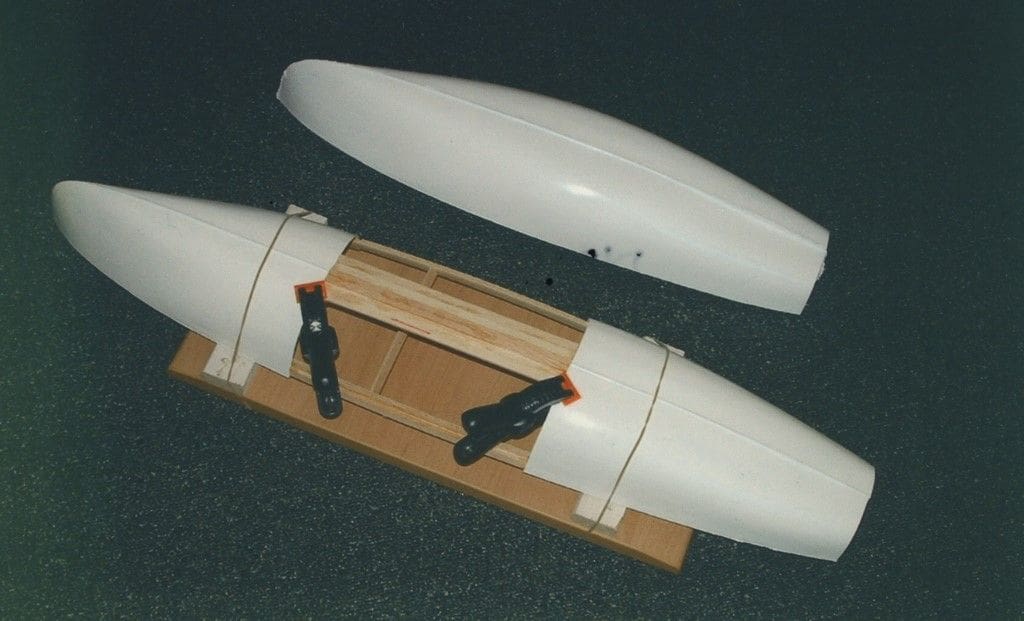
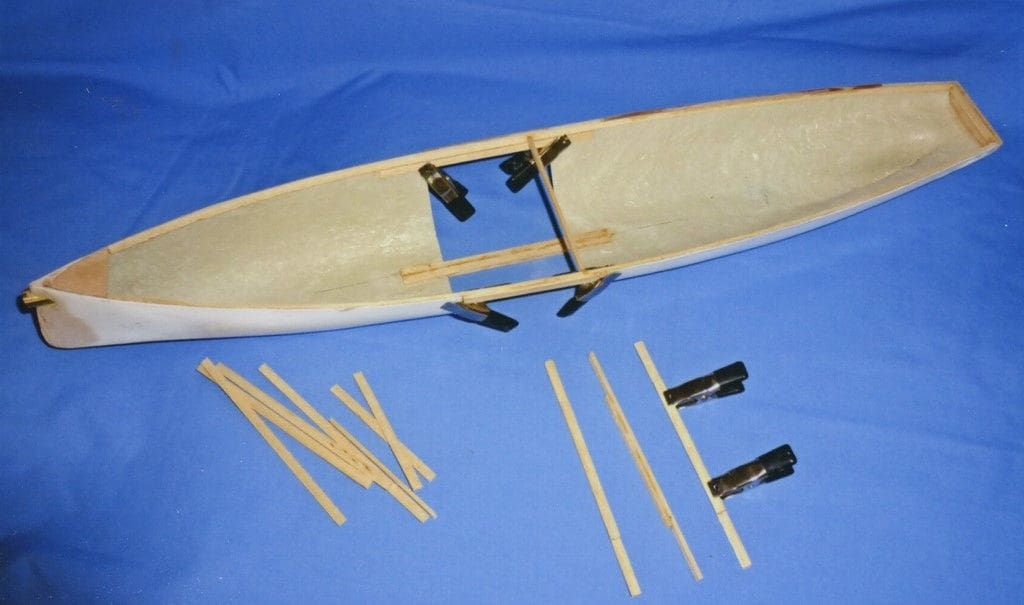
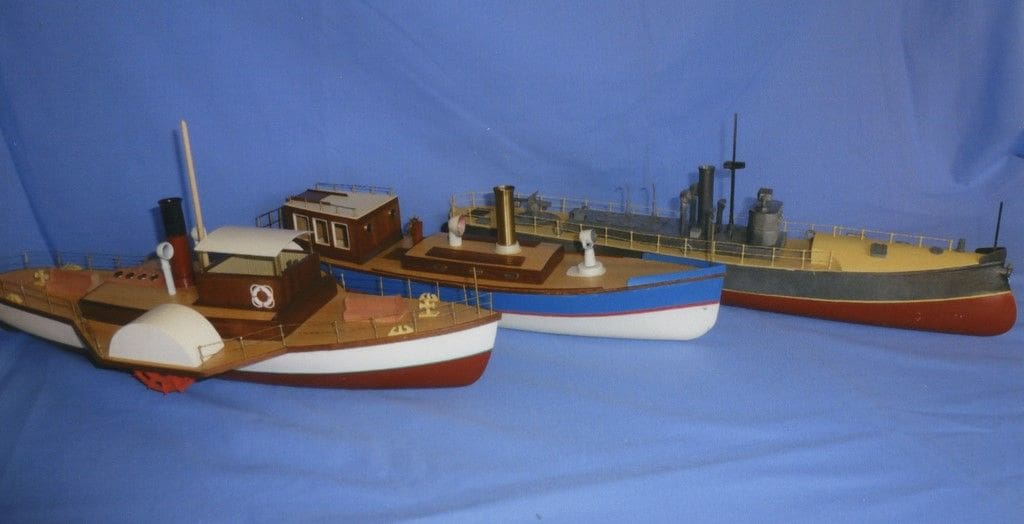
Photo 1 shows two models from the same 19 inch hull mould. The Torpedo Boat Destroyer is actually 32 inches long and the lake steamer is 23 inches long and Photos 2 and 3 show the ‘cut and shut’ technique to lengthen the basic 19 inch hull, the stripwood inwale being a useful register to ensure satisfactory alignment of the two half pieces. The first of these last two pictures also shows the assembly being held by elastic bands to a flat board to avoid any twisting. A piece of styrene is then wrapped around the stringers and with GRP resin brushed over them and the spacers, and we now have a hull ready for new design projects resulting in Photo 4.
Paddle wheels
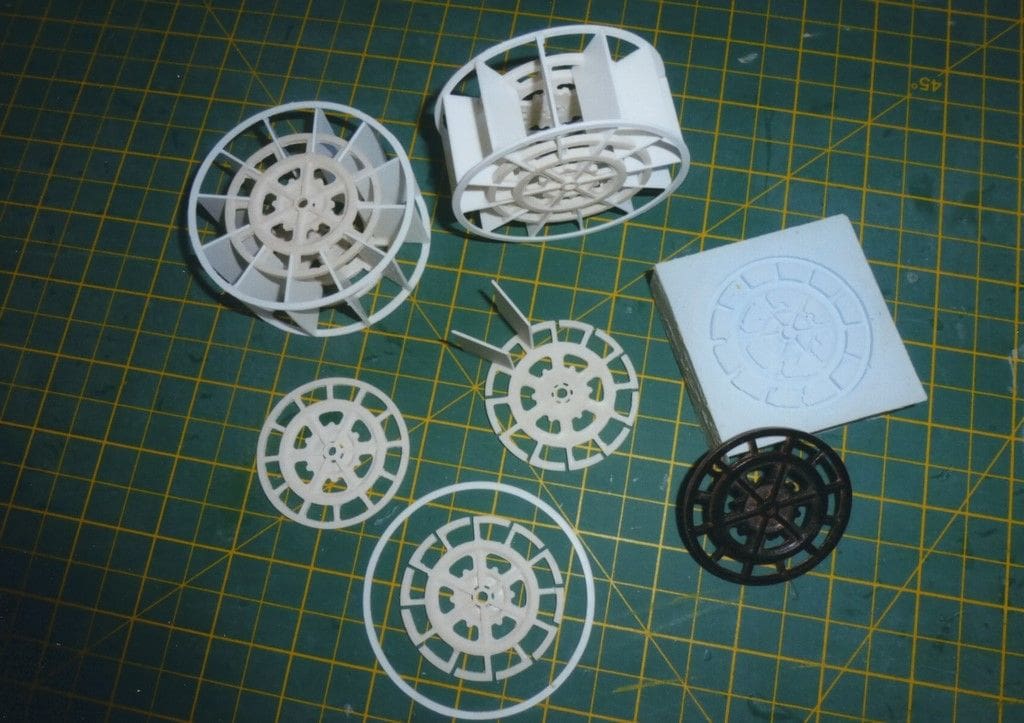
A paddle wheel can be a model engineering project on its own, so here is a simple solution which can make the finished wheel look more complicated than it really is. The pattern for the basic framework was the end of a commercial cotton reel, cast in silicone rubber.
Photo 5 shows the pattern, mould and resin casts together with blades cut from 1mm styrene. The resin castings are quite brittle and are better cut with a mini drill and abrasive disc and they can also be rearranged to suit a stern wheeler layout.
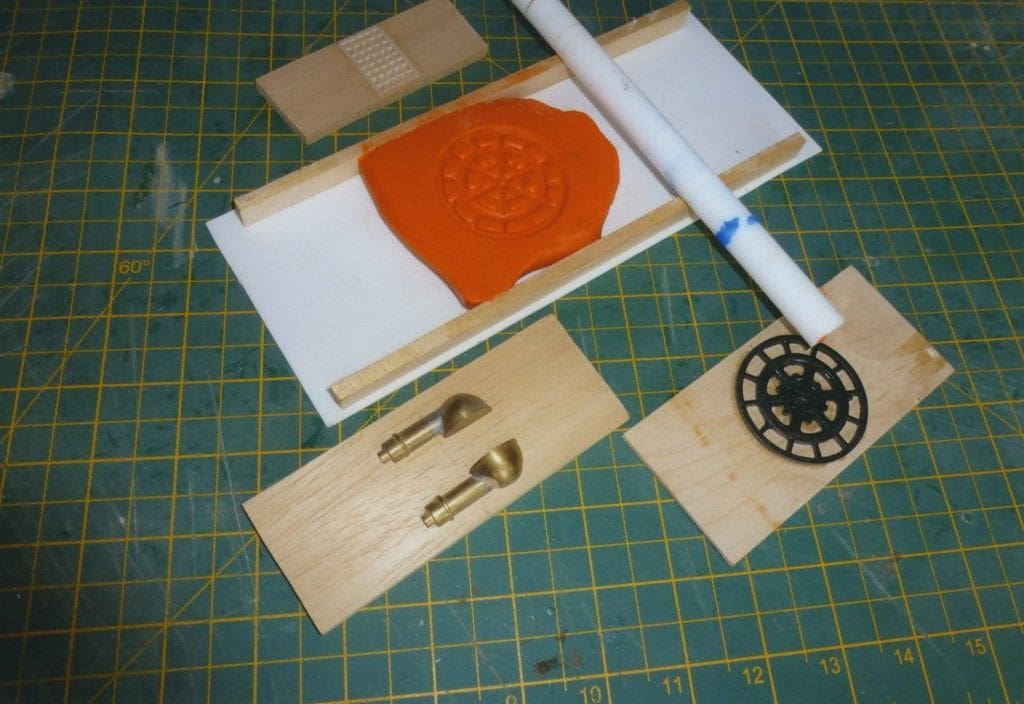
Silicone rubber can be quite expensive if only a few casts are required and Photo 6 shows the same pattern used in plasticine. Roll out the Plasticine like pastry to a predetermined thickness and press into it the pattern down to its full depth, a release agent not being needed. I an sure that I have seen this mould making idea before, perhaps in Model Maker many moons ago?
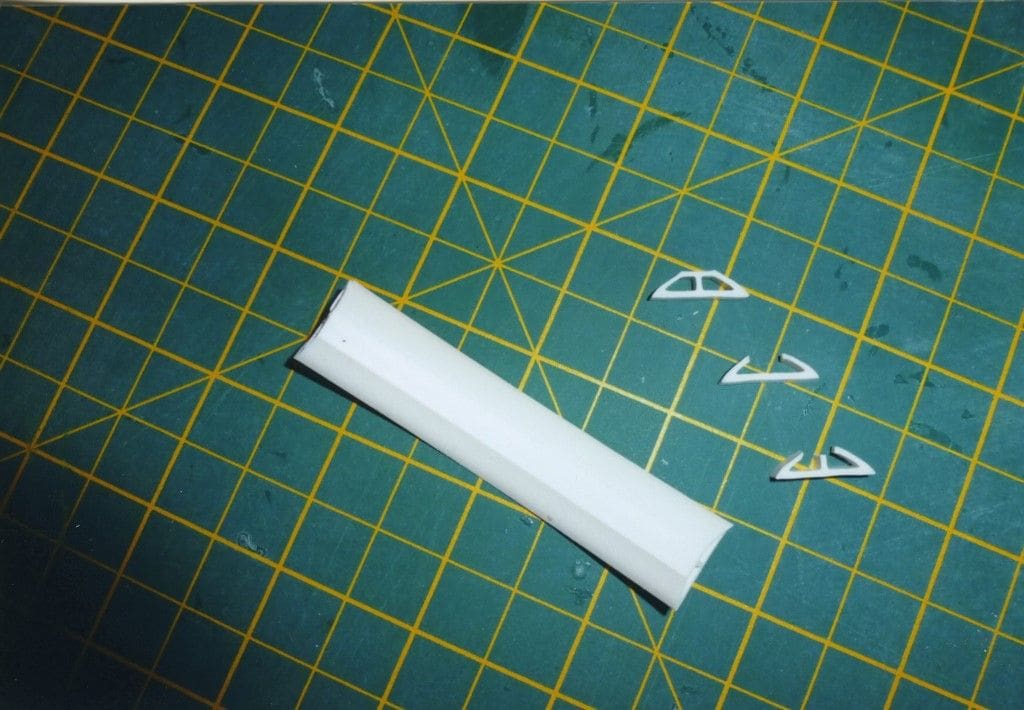
Model shops are sadly now out of my mobility range, but superglue, epoxy resin, craft knives and even laying-up resin, can all be bought in a shopping mall if you look carefully. In the GRP moulds and resulting hulls I now use dressmakers binding tape (the starched variety) instead of glassfibre tape. Offcuts of bath sealing strip can also provide an endless supply of fairleads as shown in Photo 7.
More models
Everything gets smaller with age – the workshop, the models, but without the constraint of a scale plan one can just arrange the size and position of deck openings for internal access to suit the now arthritic fingers, so there are some benefits.
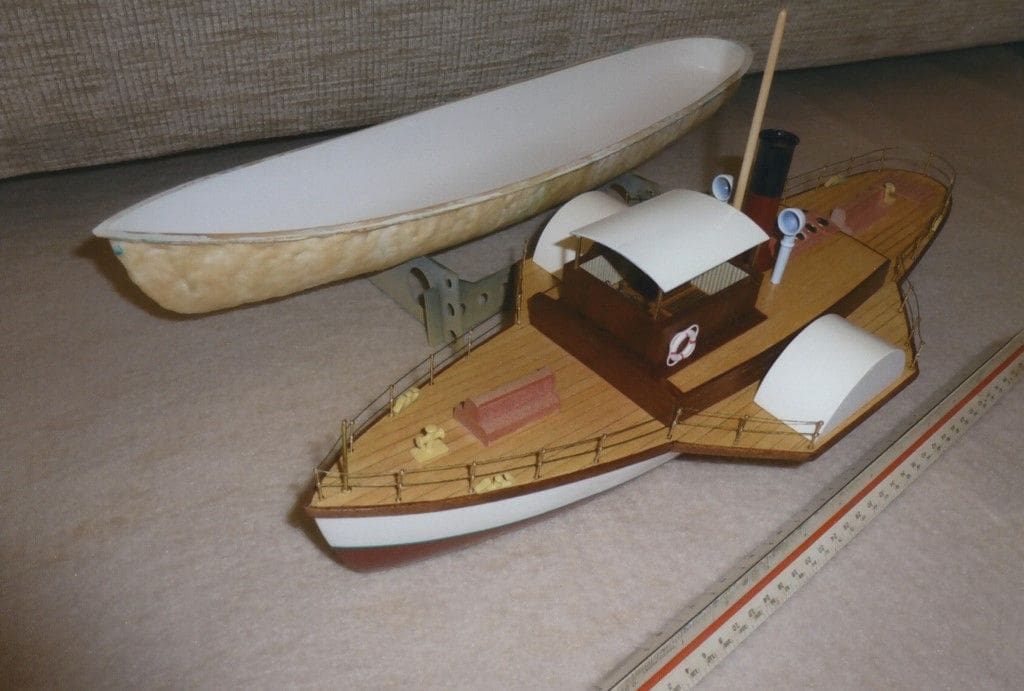
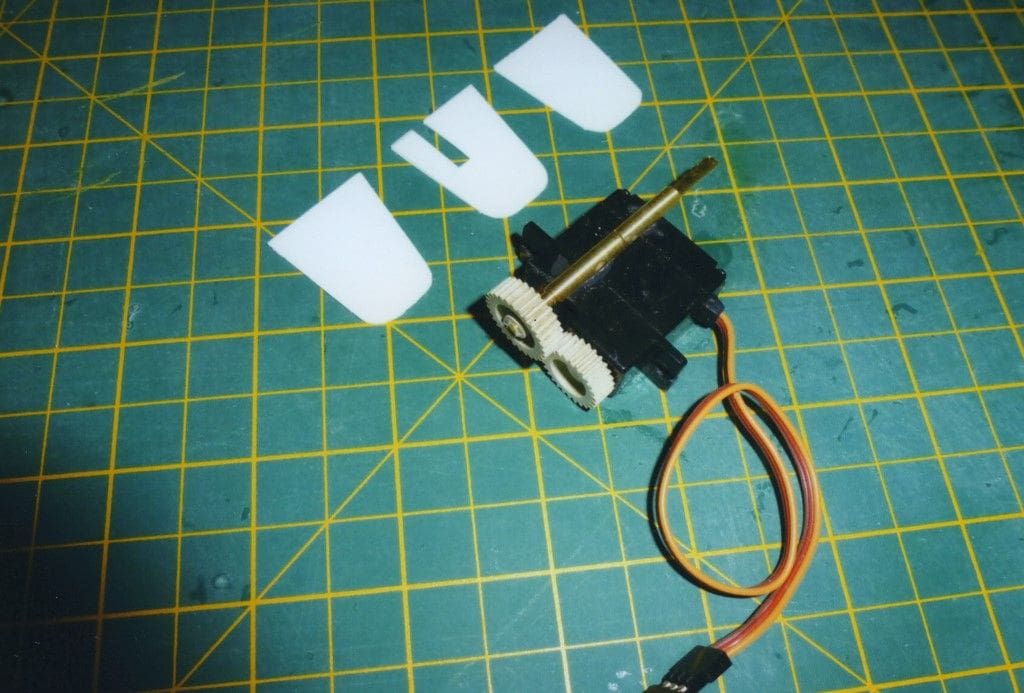
In Photo 8 the GRP mould is only 18 inches long and is used for the paddler, and the models shown in Photo 9. Internal space in such models is at a premium, even with micro-sized equipment and Photo 10 shows a compact steering unit fabricated from redundant gears, brass and styrene.
Card or styrene?
Styrene in its various forms is a most attractive material for us model makers with limited space and equipment and as static card model kits are quite popular, it seemed to me that styrene sheet could also be used for a working model in a similar format.
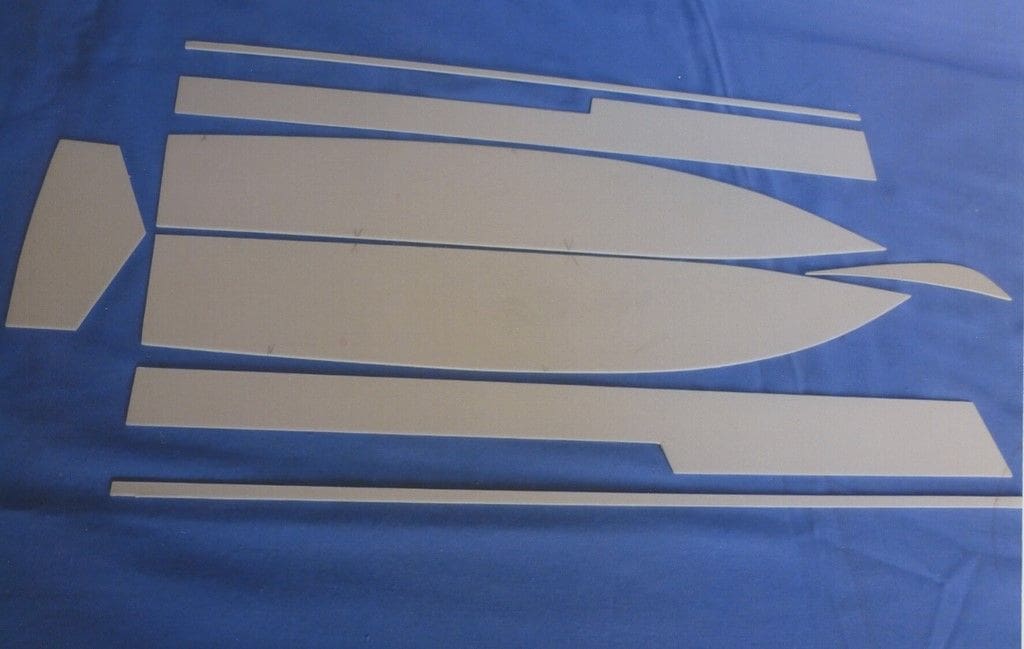
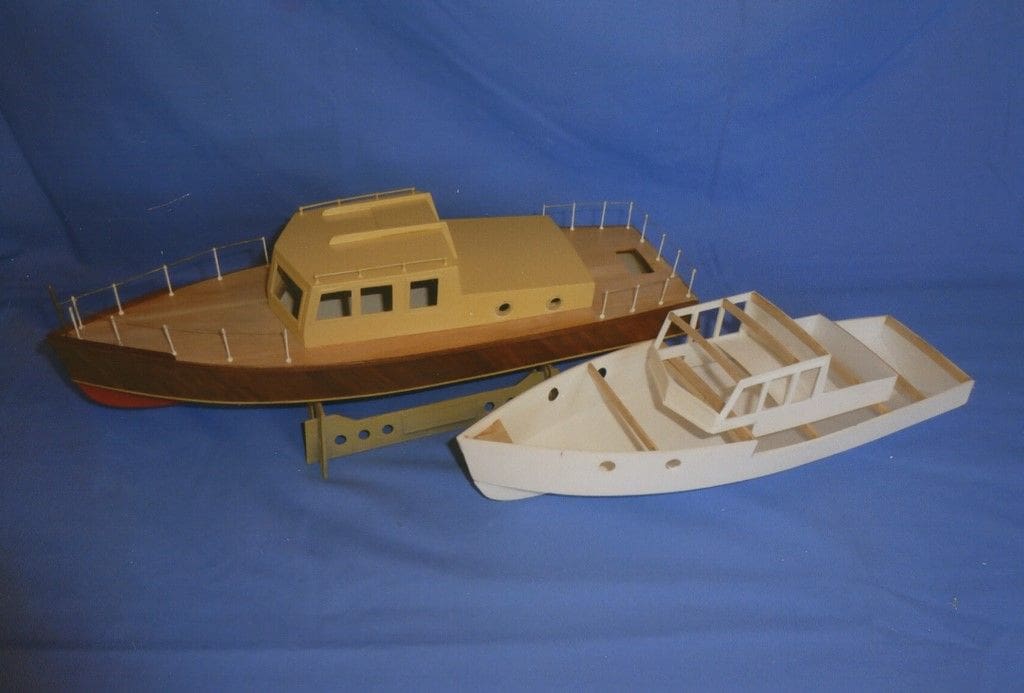
A packet of conventional A3 card and a roll of sticky tape were enough to investigate shapes that could be assembled to look like reasonable boat hulls, and a few that were not! So Photo 11 shows the patterns and Photo 12 has two models developed from them. The incomplete model in this last picture illustrates the simple construction from 1mm styrene and the completed version has simulated diagonal planking and an opening just in front of the transom for a compact micro steering servo, as mentioned earlier.
Superglue is sparingly used to tack the panels together and in this order:
1. Glue inwales to deck edge of side panels.
2. Tape and glue two bottom panels together.
3. Tape and glue transom.
4. Tape and glue side panels working equally from transom forward.
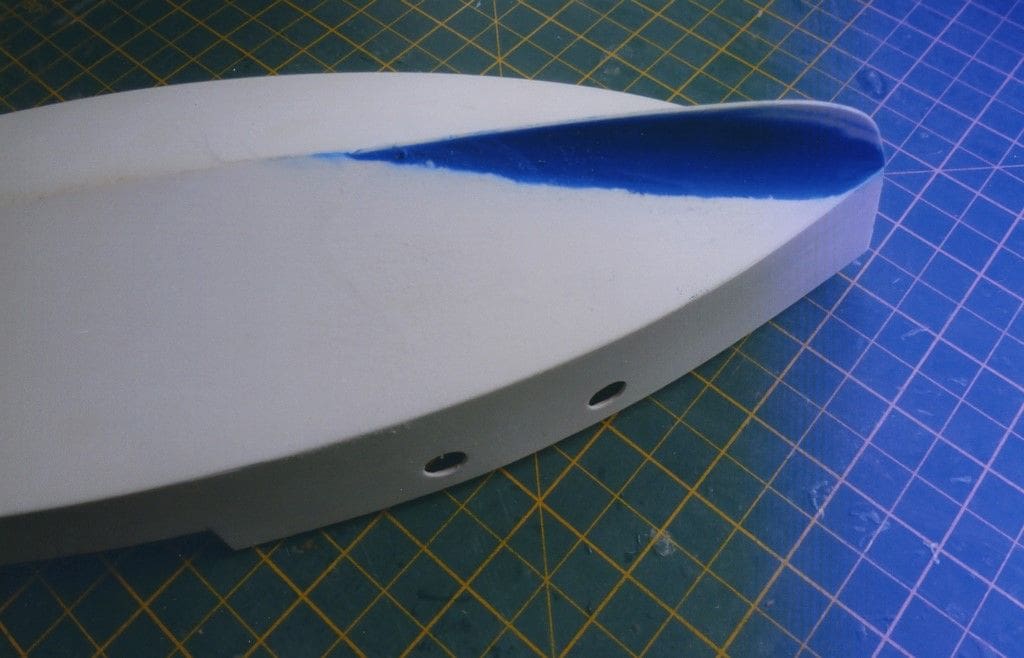
If the hull is now without twists or any irregularity, run a bead of epoxy along all the internal joints, but if a fault persists, then set it up on a board. After removing the tape such a hull is remarkably rigid even before the deck beams are fitted and a fore keel, when trimmed and glued in place, improves its appearance. Here it is faired into the bottom panel with filler as shown in Photo 13, although it has to be admitted that blue Plasticine has been used for contrast, but I am sure you get the general idea.
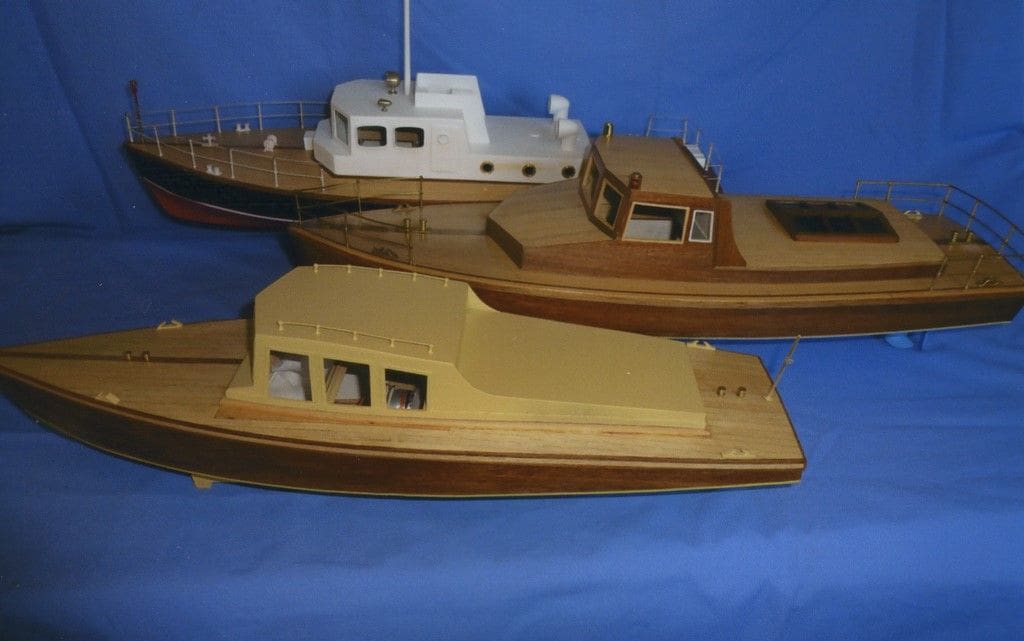
Photo 14 shows three models, all about 23 inches long, built using this method of styrene modelling.
Conclusion
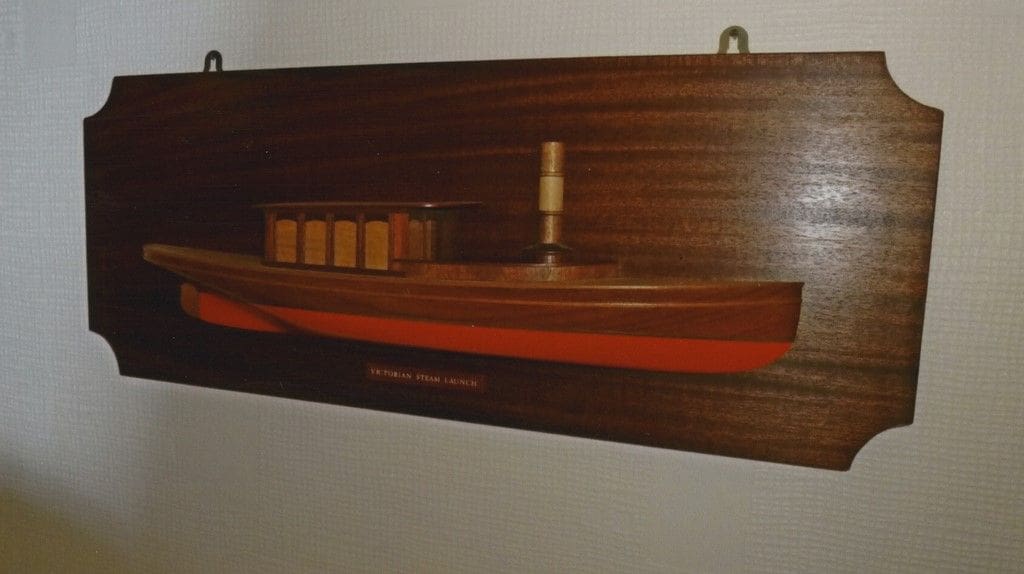
I hope the foregoing has given readers some ideas to perhaps apply to their own model making activities and as I wrote earlier, the space for this activity is a corner of my small flat in a retirement complex. Of interest perhaps is that the patterns (I don’t like the term ‘plug’) used for creating GRP moulds that are no longer required, can be used as half-models as shown in Photo 15, all of which perhaps shows that one doesn’t need the equivalent of the Mercedes Formula One factory to make models that can give infinite pleasure. I hope that I can write again in ten year’s time for this magazine…..
(Douglas is a remarkable man, he having had articles published in this magazine some years ago, and he has shown here that age and working space need not be a barrier to pursuing this great hobby of ours – Editor)