PAT KEOGH’S creations
The time has come the walrus said, to speak of many things, of shoes and socks and sealing wax, and cabbages and kings!
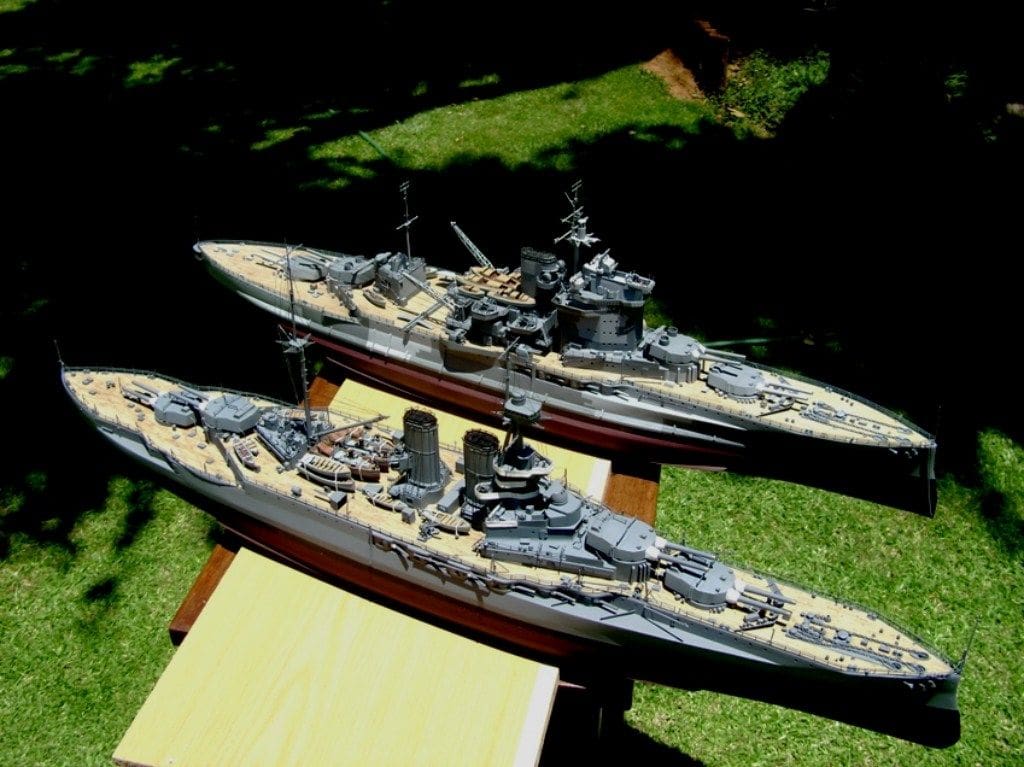
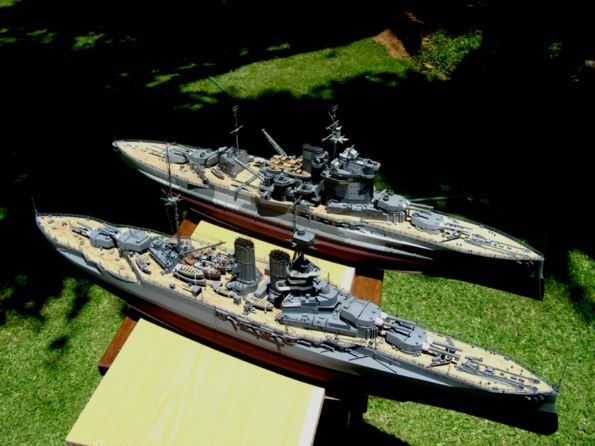
My story of the two models of HMS Warspite started with an article in Fine Scale Models some years ago with twin models of USS Tennessee, one at the time of Pearl Harbour and the second after her reconstruction that followed from that event. Thus for a long time I had it in mind to do a similar project. So after I completed KM Prinz Eugen I decided that as Lewis Carroll had said in my introductory words, to do a similar project myself.
Enjoy more Model Boats Magazine reading in the monthly magazine.
Click here to subscribe & save.
The ship I choose was HMS Warspite. I had a set of plans by Norman Ough and also the Anatomy of the Ship book for HMS Warspite.
After a lot of thought and reading about the ship and also how to convert the scales of the various drawings to a standard size (rounded off by a beer or two!), construction began on 5th January 2009. The two models were finally finished on 5th January 2011 exactly two years later. This is also the first time I have built two very similar models and it was not an easy task.
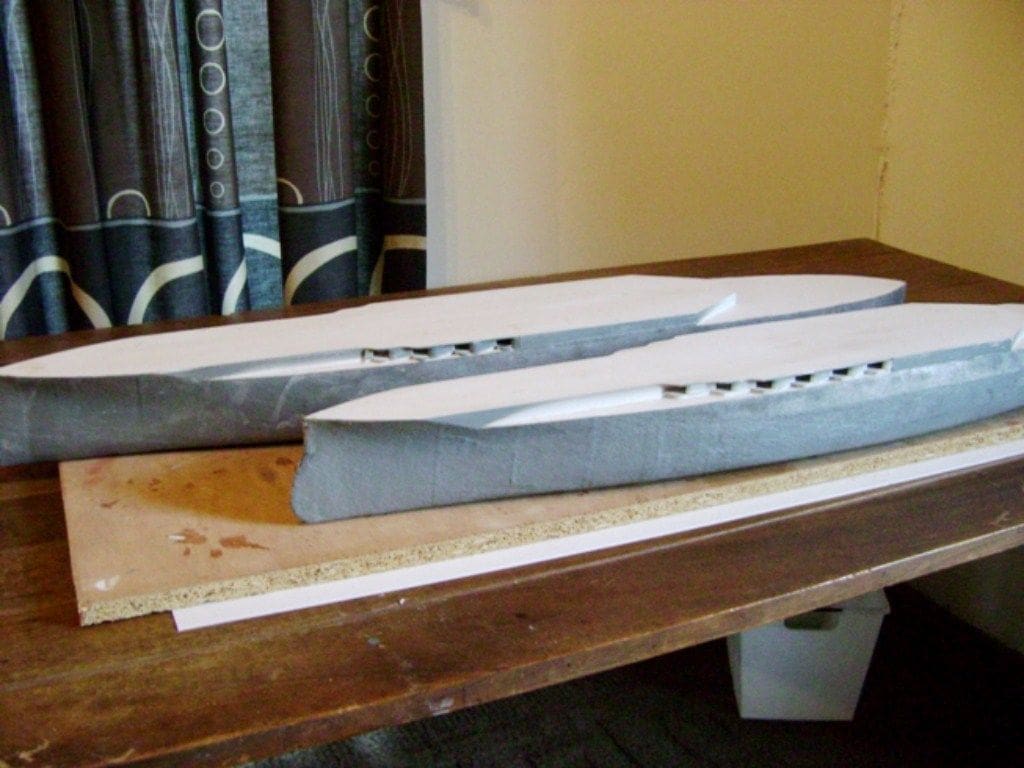
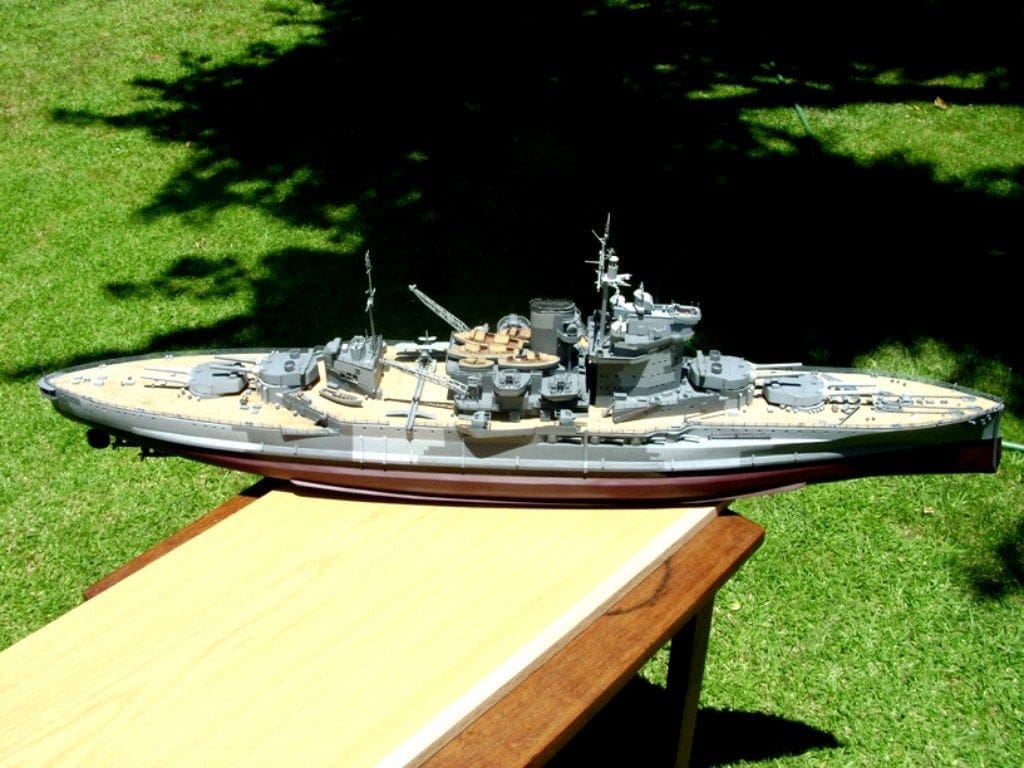
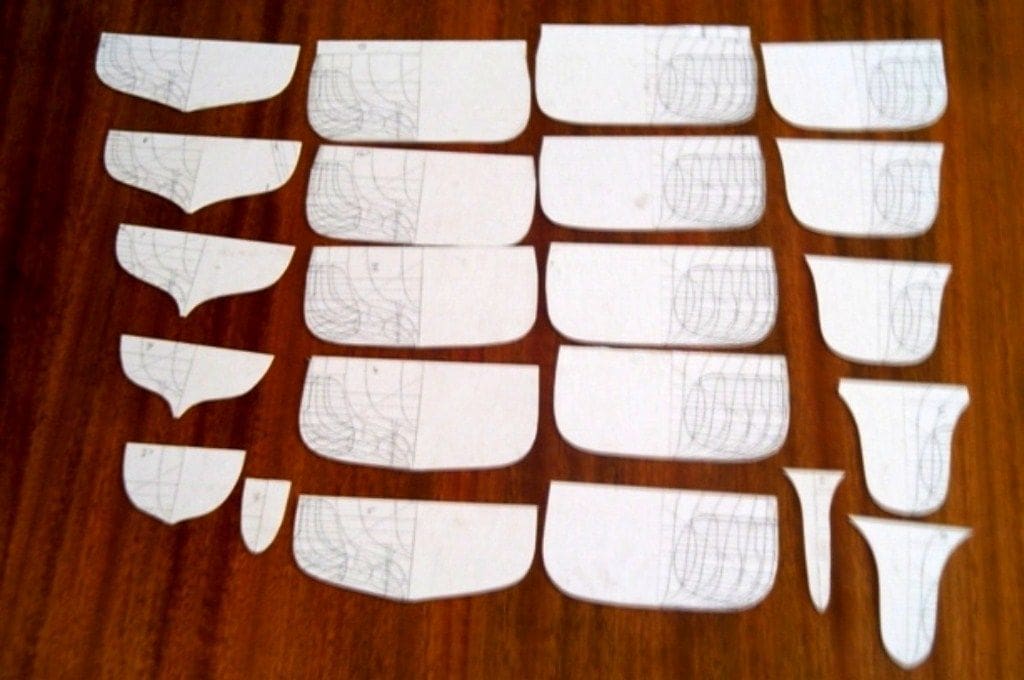
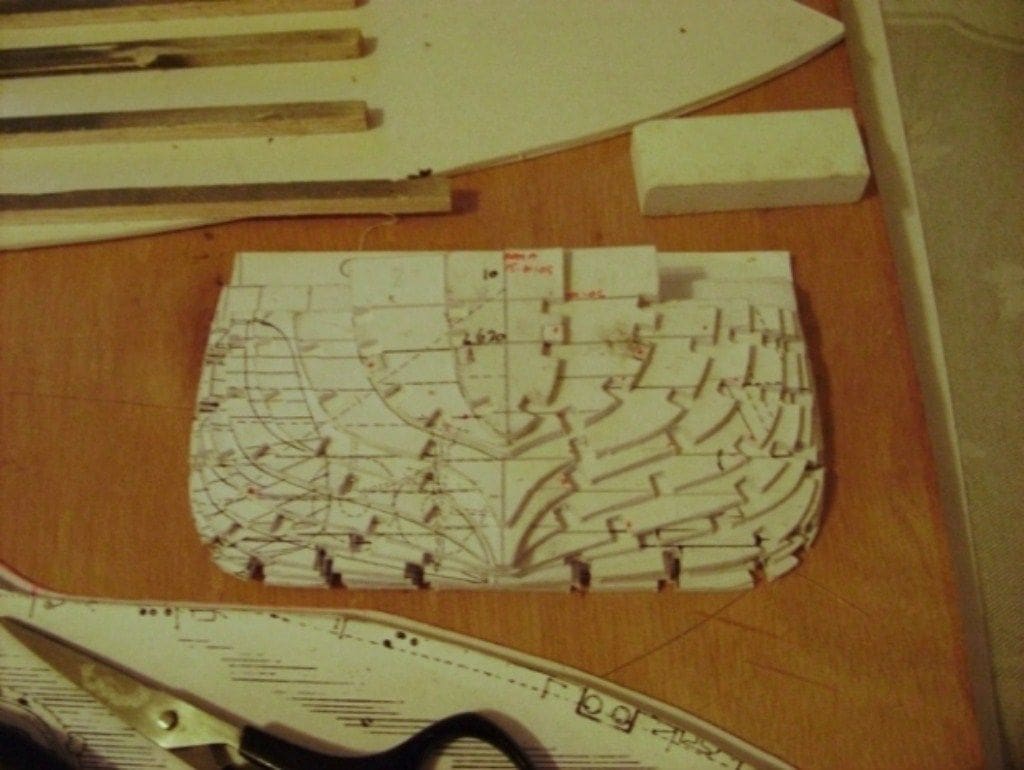
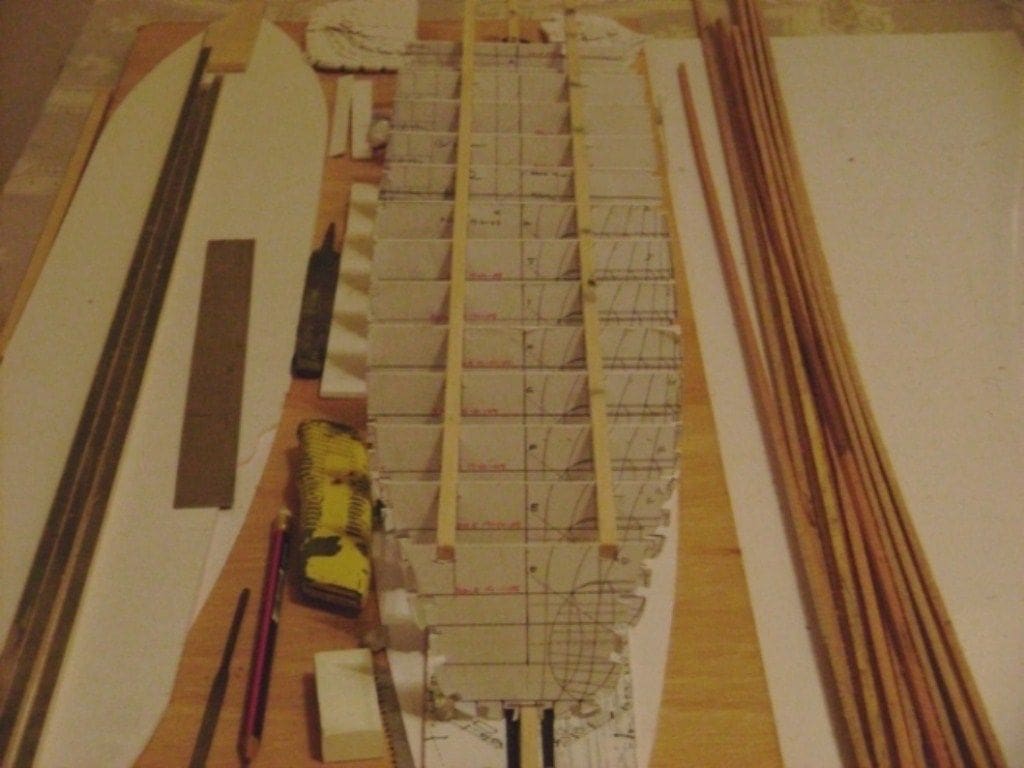
Hulls
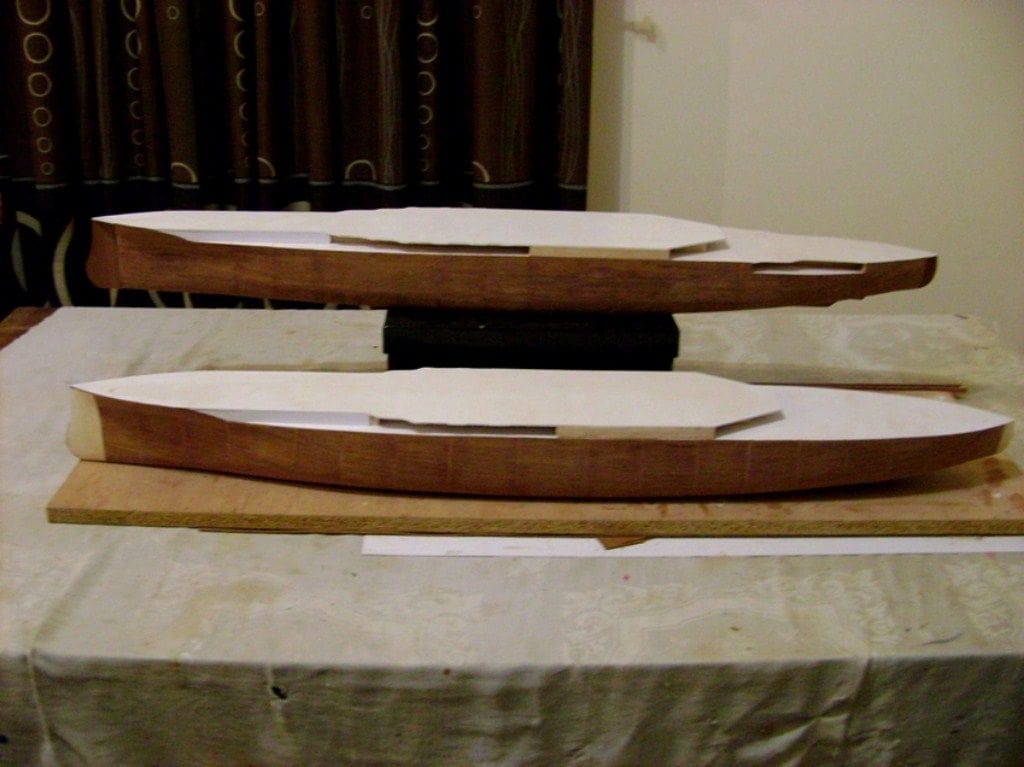
As for my earlier KM Prinz Eugen, the construction of these was by cutting out the frames from 1mm ABS plastic and the decks from 3 mm ABS plastic in order to ensure a rigid and strong structure that would not twist whilst the application of the planking veneer was being done. Numerous holes were cut in each of the frames for the stringers, this being a long and tedious process as there are about 12 holes per frame and 28 frames in each hull The stringers were then put in place into the frames and then the fun started.
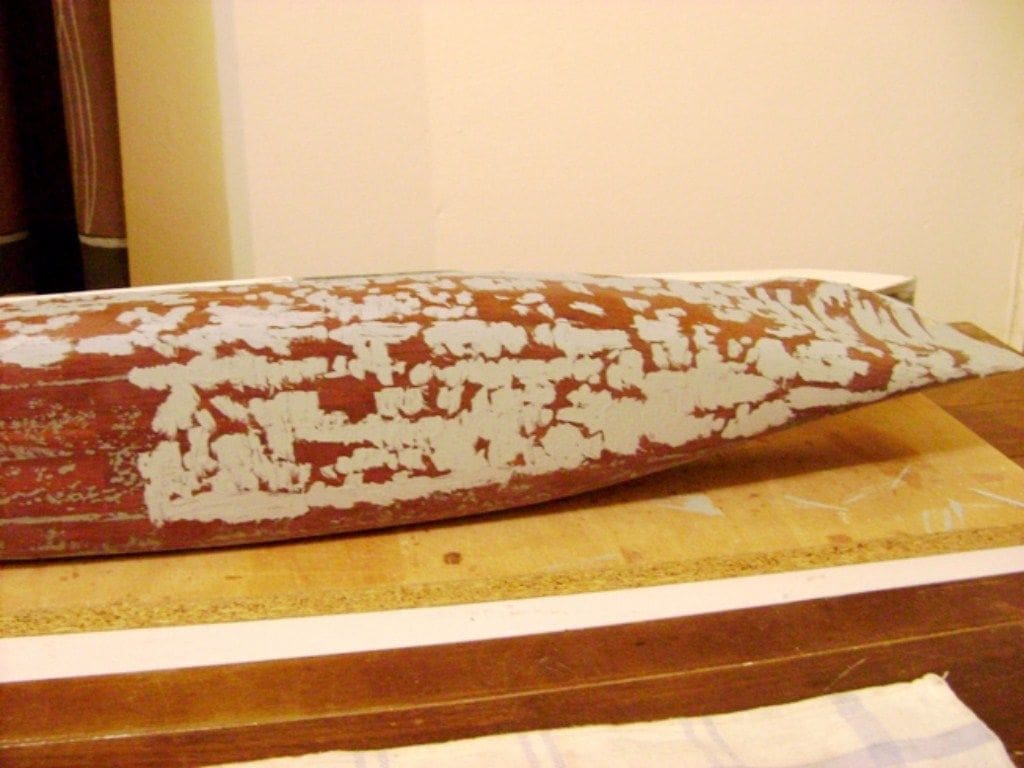
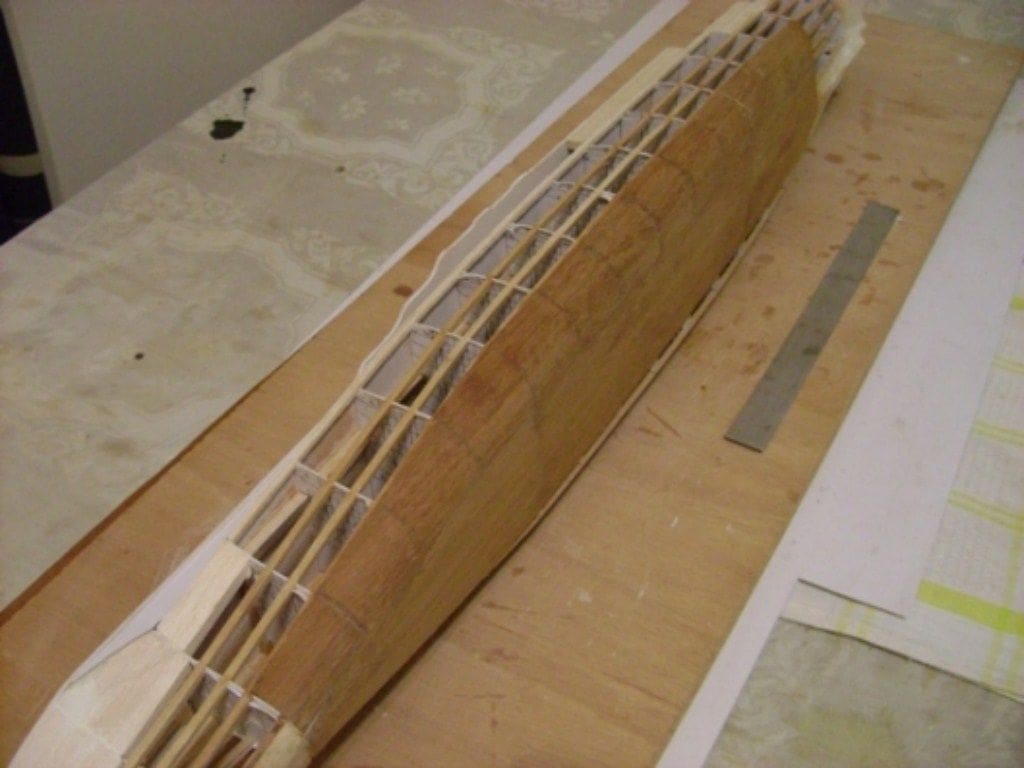
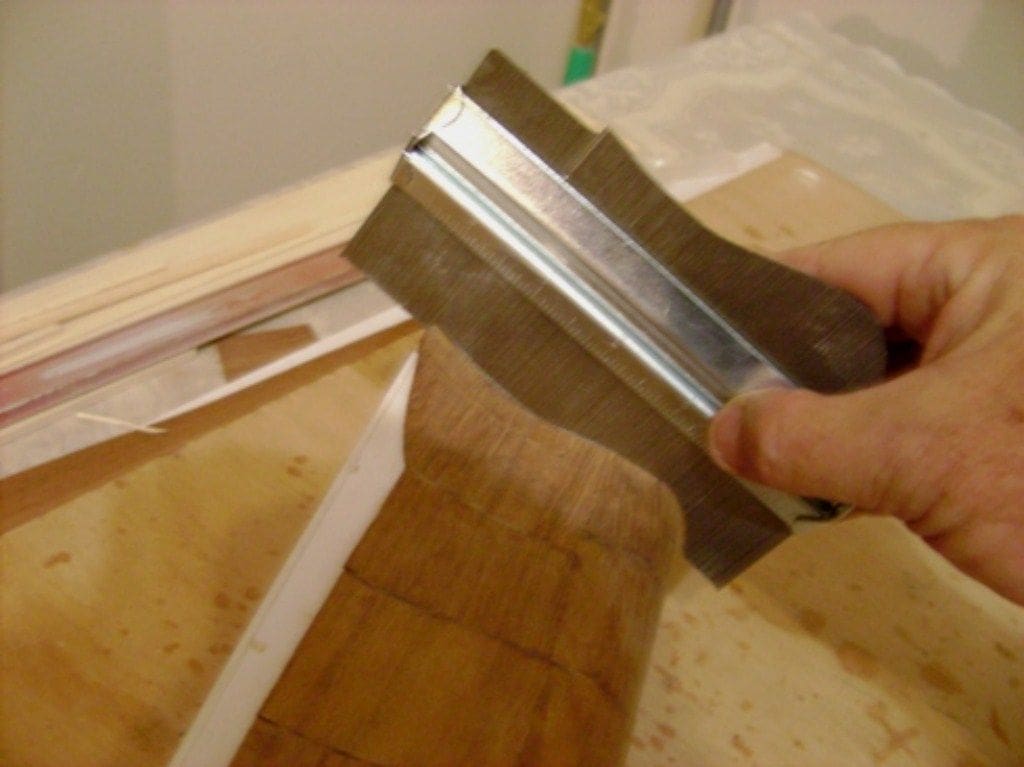
The entire hulls were covered in two layers of Meranti veneer and sanded to a good finish, thus double the work and almost double the time! At first both hulls were constructed as the hull of the WW1 version of the Warspite and then one was converted to the WW2 hull. This is where I had to use the drawings in the book and convert all the measurements from whatever scale they were to the same scale. Fortunately a rocket scientist formula did this for me without me having to go into overdrive for the conversions. Both hulls were then covered in two layers of GRP resin and silk cloth and allowed to cure for at least two days. This resulted in a very rough surface which required a lot of work to smooth. From experience, I have found that to complete this process more easily, spraying the hulls with grey primer before the first sanding and then filling up the grey patches with Tamiya plastic filler makes the task much easier. This process was repeated until I was satisfied with the finishes of the two hulls.
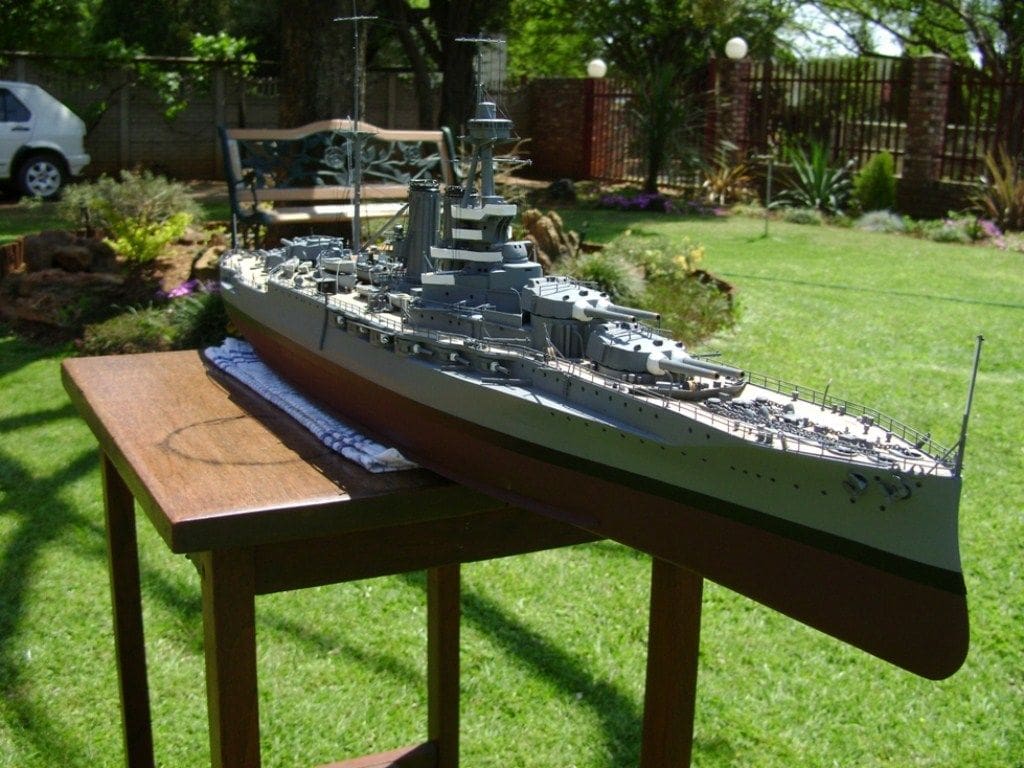
Conversion
To convert one hull to the WW2 version was a matter of adding the armour and the torpedo bulges. Also the original six inch secondary armament per side was reduced to four from six and the quarter deck was reshaped. As it so happened, both completed hulls were of an identical size except for the alterations. Hawse holes were drilled, but one moment of inattention on one hull and the high speed Dremel tool ripped a huge hole in it. Fortunately this was simple to repair, or was it?
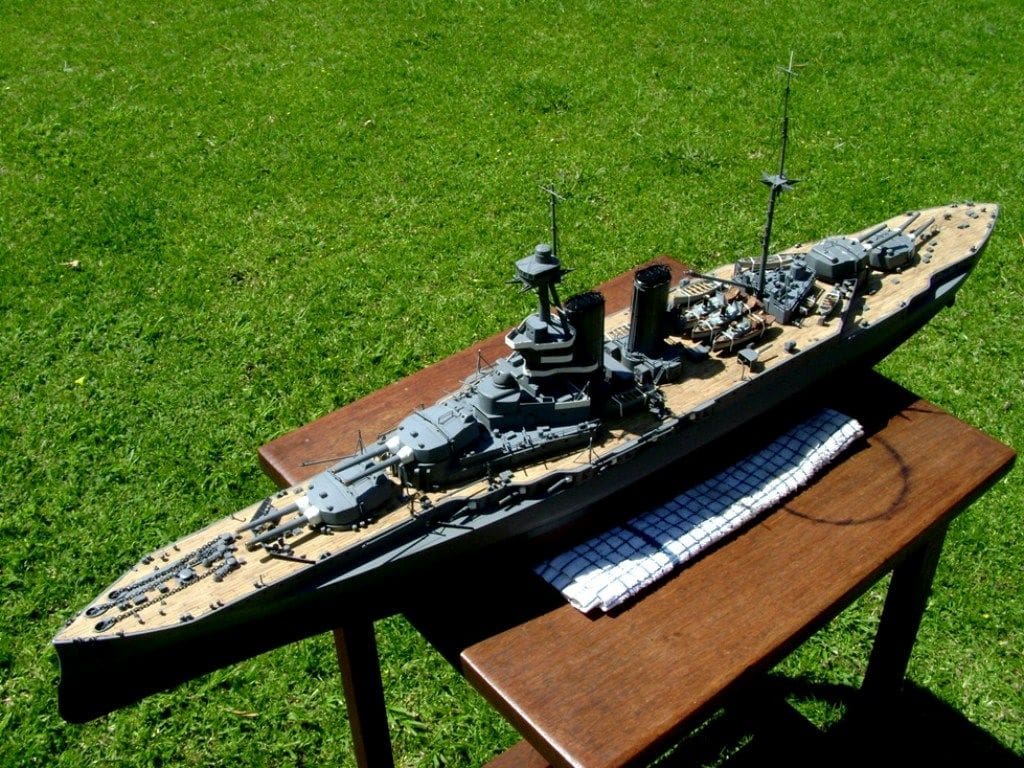
Superstructures
These were built using ABS plastic, which is very easy to cut and glue and when finished gives the appearance of a metal construction. An application of Tamiya plastic filler with a bit of sanding, and imperfections are then easily removed. Painting is also very easy because plastic, once given a coat of primer (to double check for imperfections) is ready for top coat painting using Tamiya acrylics applied in this case with an Iwata airbrush. As it so happened, I completed the WW2 version first, then the WW1 model afterwards.
Conclusion
Looking back over the building of these two models, I can only say that this was the most interesting, exciting and in many ways most difficult project I have undertaken thus far, but the results have been worth the effort!