Stephen Day’s model and its lengthy gestation
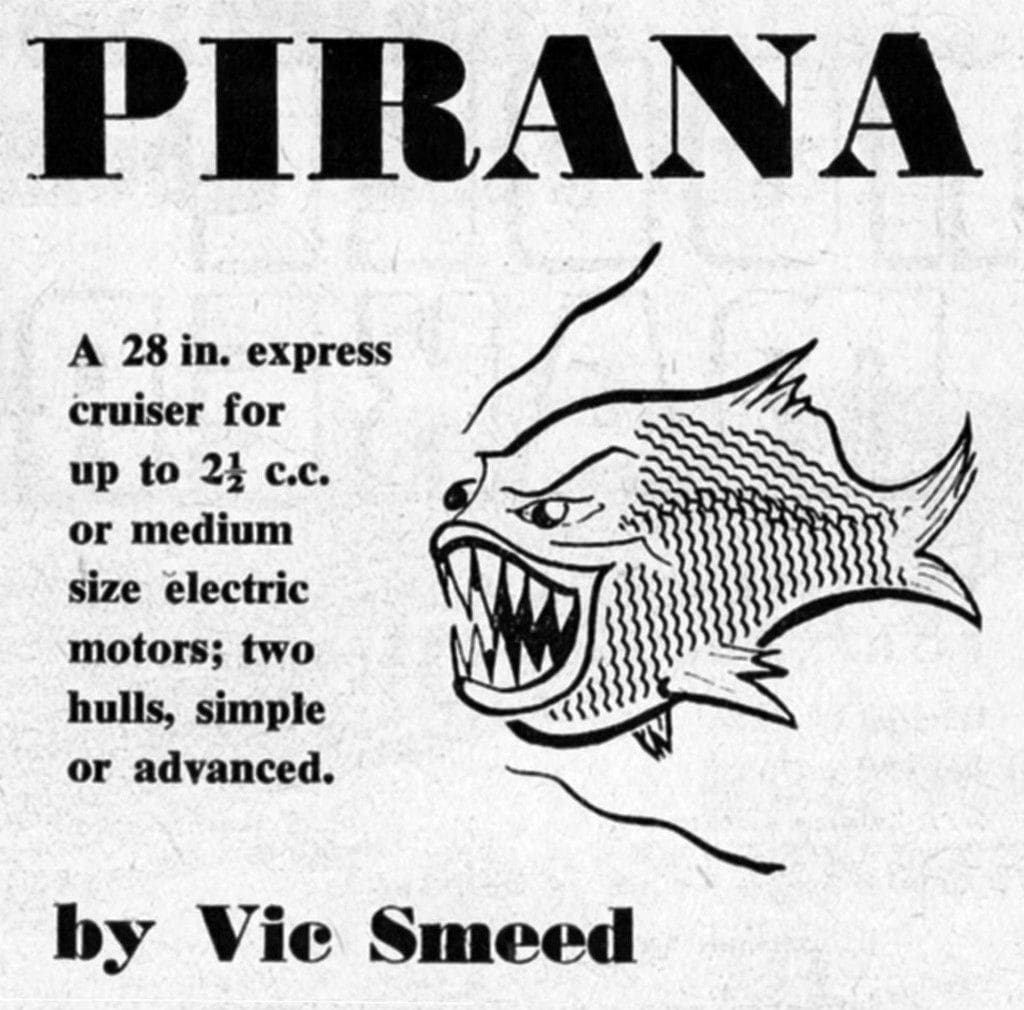
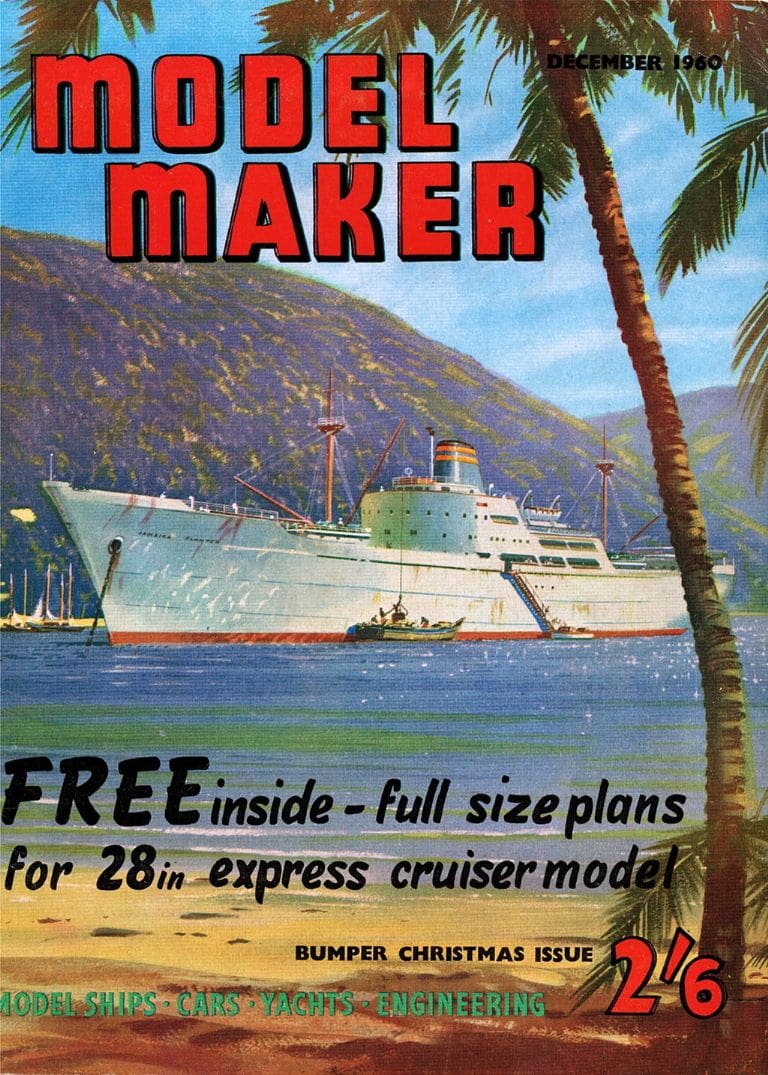
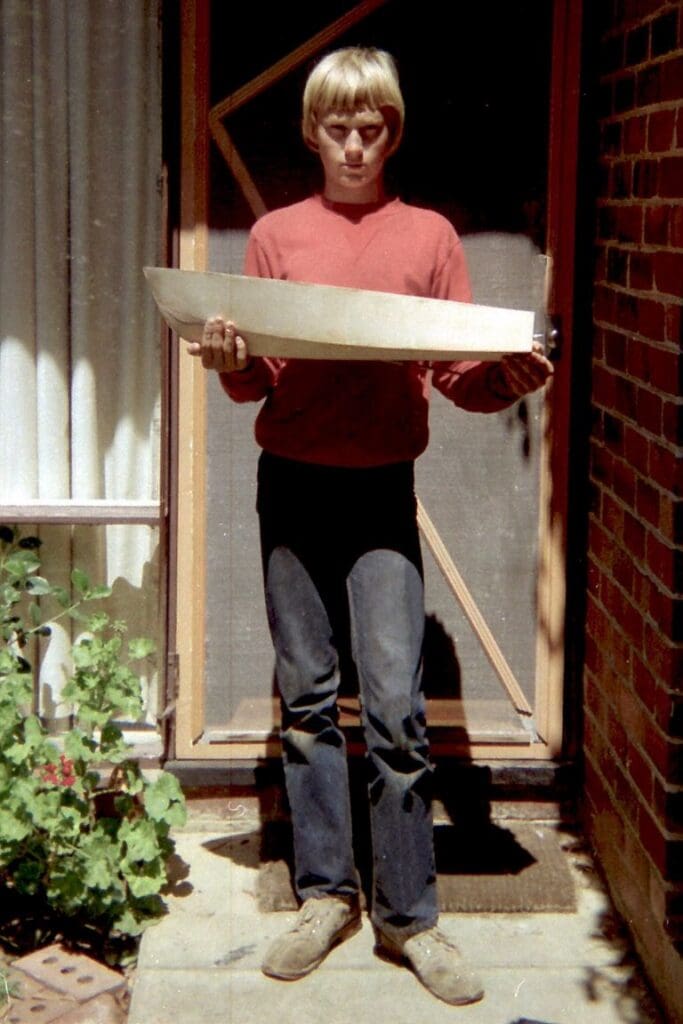
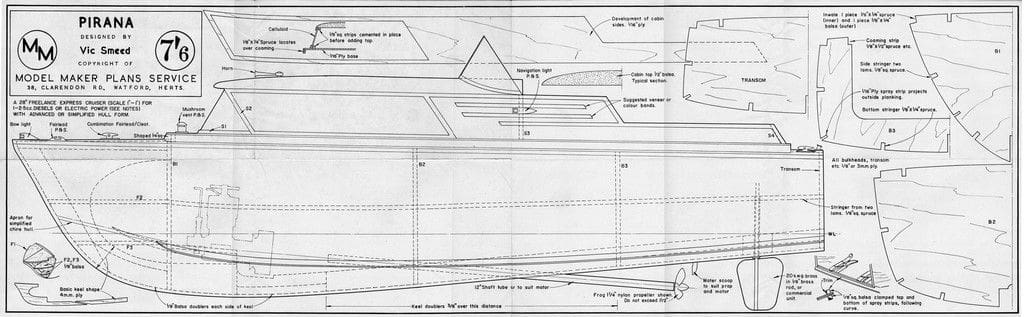
At the age of 16 and having built many plastic kits, I was encouraged by my father to scratch build my own model and he thought that Vic Smeed’s Pirana, one of the free Model Maker plans in his collection, would be a good starting point. The simplified hull version was selected and aircraft quality ply and spruce purchased, all a little over the top for the project all those year’s ago.
I won’t go into detail about construction in the 1980’s, as it was all quite conventional for the time. it being glued together with 24 hour Araldite (messy stuff when you’re young) with a homemade propshaft which was to later cause serious problems. The hull was sealed with a large amount of polyester resin, both inside and out, adding a lot of weight to it and not much strength as it so happened, but clearly I still had a lot to learn, as I was only 16.
Enjoy more Model Boats Magazine reading in the monthly magazine.
Click here to subscribe & save.
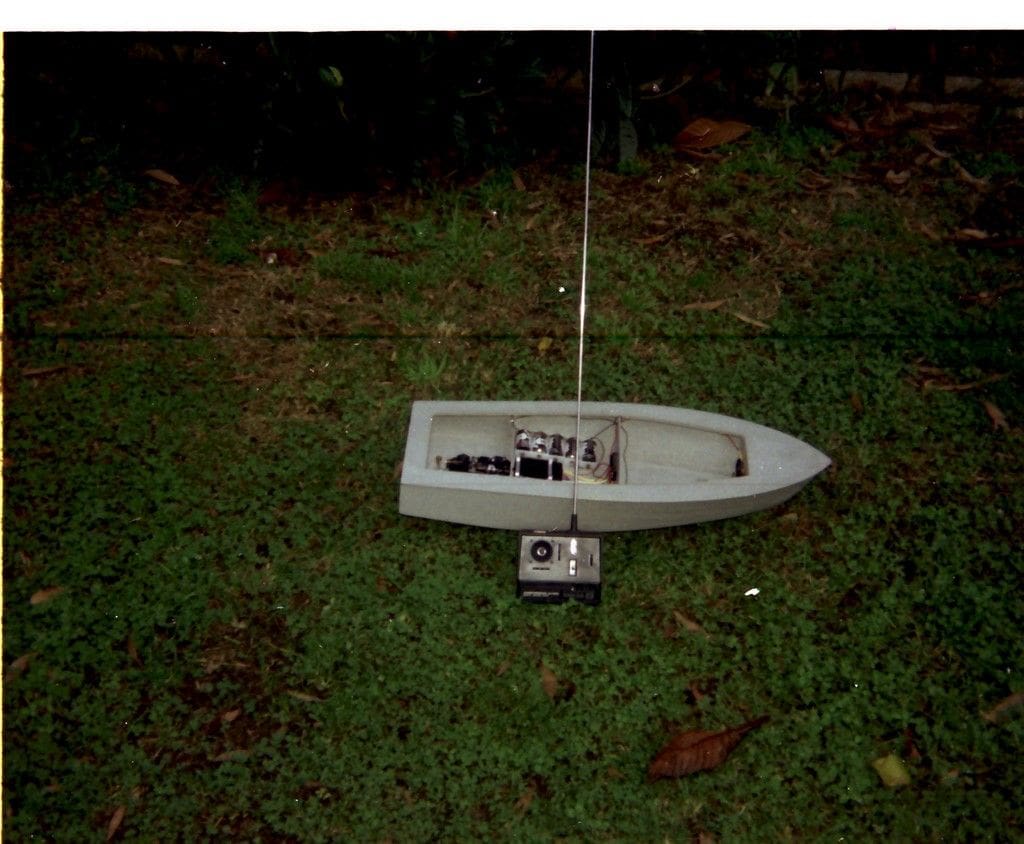
After painting it in an automotive undercoat, a Johnson brushed motor turning a plastic Graupner three bladed propeller through a spring coupling was fitted. Motor control was via a 10 amp 12 volt electronic speed controller and energy supplied by ten NiCd cells, the latest power source on the block in the 1980’s and quite expensive bearing in mind my only source of income was a newspaper round.
On the water – take one
The big day finally came and with great anticipation and everything bench tested, Dad took me and the boat to the nearest available pond. Nudging the throttle until it was fully forward, to my horror the expected high speed boat produced little more than a gentle bow wave with a lot of noise from the propshaft. To say I was disappointed would be an understatement as the so-called speedboat went no faster than a crawl, was totally ignored by the swans on the lake and it fried the batteries on the second run. Discharge rates of batteries were another of many things I would have to learn in the year’s to come.
A few years later…..
The next attempt, after a gap of several years, was to purchase a 7.2v, 700mAh pack of high discharge NiCd’s, which immediately led to the next problem as the 10 amp speed controller promptly overheated and died. Technology at the time, and cost, meant that 700mAh was actually among the higher amperages one could easily and cheaply purchase. Also, the spring type coupling couldn’t cope with this extra power(!) and the noise coming from the propshaft was terrible, due to its thin-walled housing and small diameter, yet very long shaft and the tube being unsupported at either end of it.
This was partly solved by adding an external skeg which supported the outer end and a bush was inserted halfway along the tube. A new electronic speed controller (still pretty much in their infancy then) was purchased and installed. This worked for a time until it too ‘smoked’. I was now bitterly disappointed and amongst other things, lost all faith in fancy electronic speed controllers.
Two more years….
A mechanical speed controller was installed, but the five minute running time on the 700mAh NiCd’s wasn’t long enough and performance was still nowhere near what was anticipated, so in what was perhaps a retrograde step, a heavy 12v SLA gel battery was installed and why not two 7.2v NiCd packs in series? Well, the resulting 14.4 volts would exceed the motor’s 12 volt rating, but the forlorn hope was that at 12 volts this would help move things along a bit giving a reasonable turn of speed, which surprisingly it did, but the trouble was the motor then overheated and seized, but with a lot of energy left in the battery this caused overheating of the resistor on the speed controller, which in turn burnt a hole through the top of the watertight compartment. To add insult to injury, the boat was now stranded amongst prickly bushes at the water’s edge, so many scratches and abrasions were collected when retrieving it. Not a good day one could say and as it so happened, Pirana was put to one side once again.

A bit later – back to the drawing board
It was back to this now as I didn’t know what to do with Pirana, so took it to a hobby shop, where the guy told me to take it to someone nearby who raced such boats. That man’s advice was to try a gear reduction which would lower the shaft’s rpm thereby reducing whip in it, this being a ‘why didn’t I think of that’ moment.
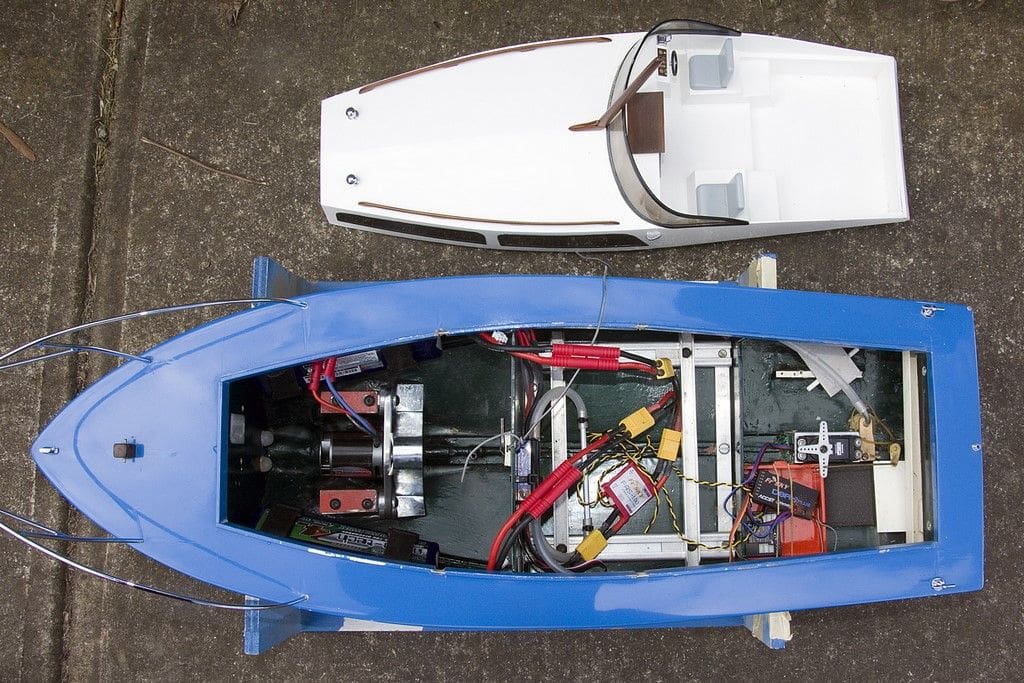
So to achieve this, a new internal mount was made and installed, plus a support for the propshaft housing at its inner motor end. The motor mount itself was fabricated from aluminium tube with brackets soldered to each side and this tube was machined with a ‘land’ each end for O-rings to hold the motor in place and provide a seal to possibly add water-cooling at a later time. Tamiya 3:1 gears were fitted and various sizes of two bladed propeller purchased to test.
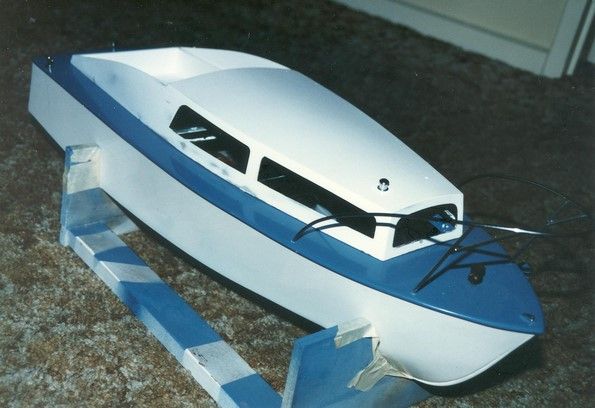
The burnt hole was plugged, a fan added to the speed controller, and then it and a heat sink were mounted on a plate so there was no direct contact between the things that got very hot and things that could burn. An adjustable battery mount was made from aluminium and the hull’s inside repainted and a second pack of NiCd cells wired in series for 14.4 volts. Spurred on by all this, it was decided to change the cabin, which I didn’t like the look of. Looking through dad’s old Model Maker magazines there were some plans for a Fairey Huntsman and the shape of its cabin appealed, so a new unit was designed, similar in appearance, and made using 1/8 inch ply formers with spruce stringers, all skinned in 1/16 inch ply. Perspex was heated in the domestic oven (best not to do this when one’s wife is at home) and shaped over a tinplate former to be the windscreen. The window frames were cut from sheet styrene using metal templates and all the glazing was tinted using Tamiya ‘Smoke’ clear paint.
A new bow pulpit rail was fabricated from bronze welding rod with silver soldered joints and then chrome plated, along with other fittings made from brass. The cabin (and hull) were once again finished with automotive paints, sanding down between the numerous coats until a decent glass-like finish was achieved.
On the water again
Back to the pond once more with great anticipation, and at last (now some years’ hence from when I was 16) the performance was getting closer to that expected, but the next issue was radio interference caused by arcing of the motor brushes.
Using an old(ish) AM radio didn’t help with the receiver aerial that looped around inside the hull making it all much worse. After trying different capacitors across the brushes with very little improvement, the Surrey Park Model Boat Club (Melbourne, Australia) were very helpful and after accepting their advice, a mast was added, poking the aerial wire up through it and this was a huge improvement for the r/c side of things.
Several year’s later….
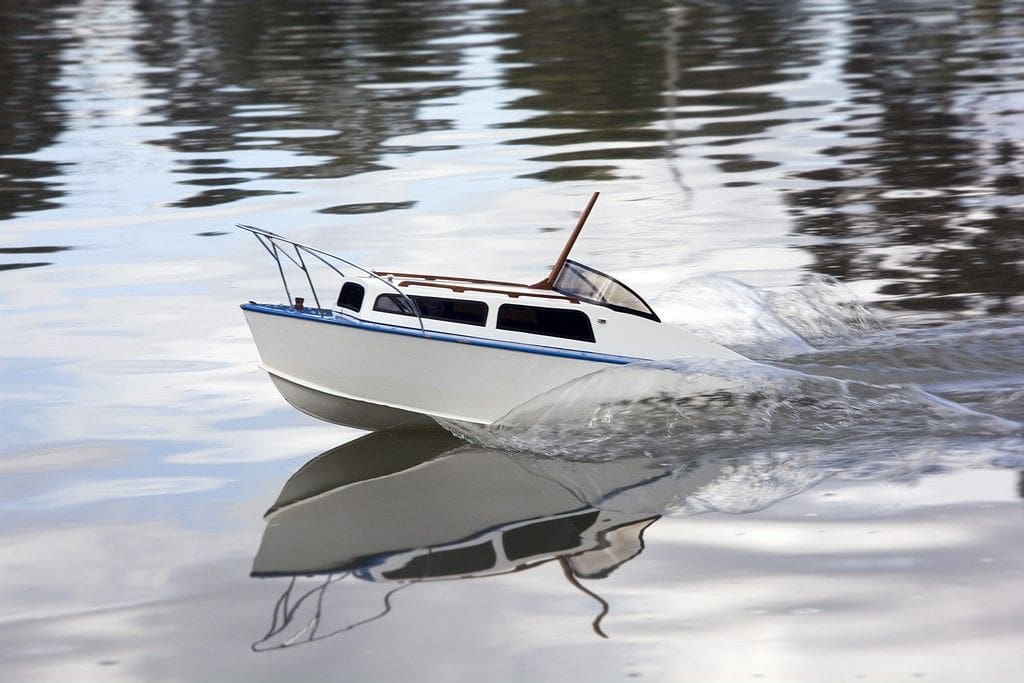
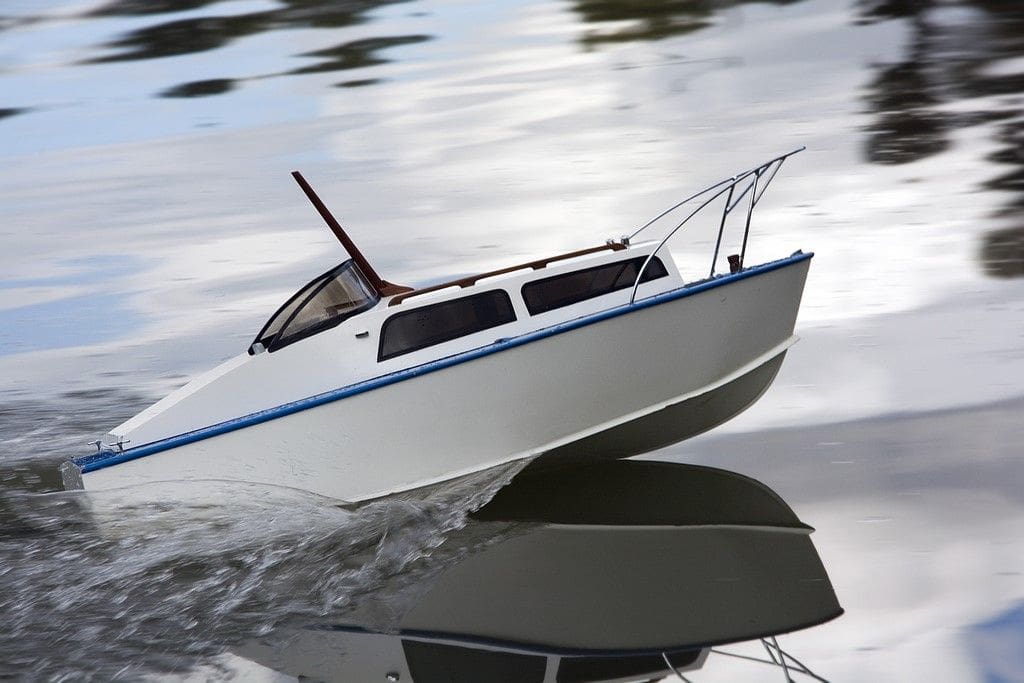
A few more years down the line and the motor gave up, to be replaced with another brushed motor, but of a higher performance. This motor wouldn’t fit into the existing aluminium housing so a modification was made, the revised version providing easy gear adjustment. New capacitors and copper tubing was wrapped around the motor for water-cooling it all (as well as the brushes). Next came a new water-cooled electronic speed controller and a propeller from Prop Shop in the UK. This new arrangement worked well, but the hull still seemed to push a large amount of water out of the way and it never planed properly. It was now suggested that spray rails be fitted to the hull, which made good sense (another ‘why didn’t I think of that’ moment) so it was off home for yet another modification.
Wow, what a difference those spray rails made, the boat now planing properly for the first time, and it had only taken three decades to get there!
Later I stumbled across the Broadmeadows Model Boat Group, website:
These are an informal group of model boat enthusiasts in Melbourne’s north-west who gather once a month to sail their creations at Northcorps Lake, which is closer to home than the other mentioned club, so Pirana now gets a lot more use than previously. The most recent upgrade has been a 2.4GHz r/c with telemetry, a brushless motor and controller, LiPo batteries and a change of electrical connecting plugs from Tamiya to the XT60 type, so you can see we are now truly into the second decade of the 21st Century.
I have been amazed at the improvement in performance by this simple modification, but the side effect has been that another speed controller has ‘fried’ – perhaps the story of my life. So yes, the motor, speed controller and batteries have been changed yet again, but this has now resulted in a huge surplus of power.
The end?
In conclusion, this little story spans three, nearly four, decades and even now Pirana is not quite finished, there being no crew, a repaint beckoning and a new stand would be nice, but are our models ever really finished?
Enjoy your hobby – Stephen Day
(Stephen is to praised for his lengthy development over such a period of the Vic Smeed designed Pirana. Some of the pictures printed here have been supplied by his friend John Parker – Editor)

