ANTHONY ADDAMS creates a period yacht based on a Fairwind kit
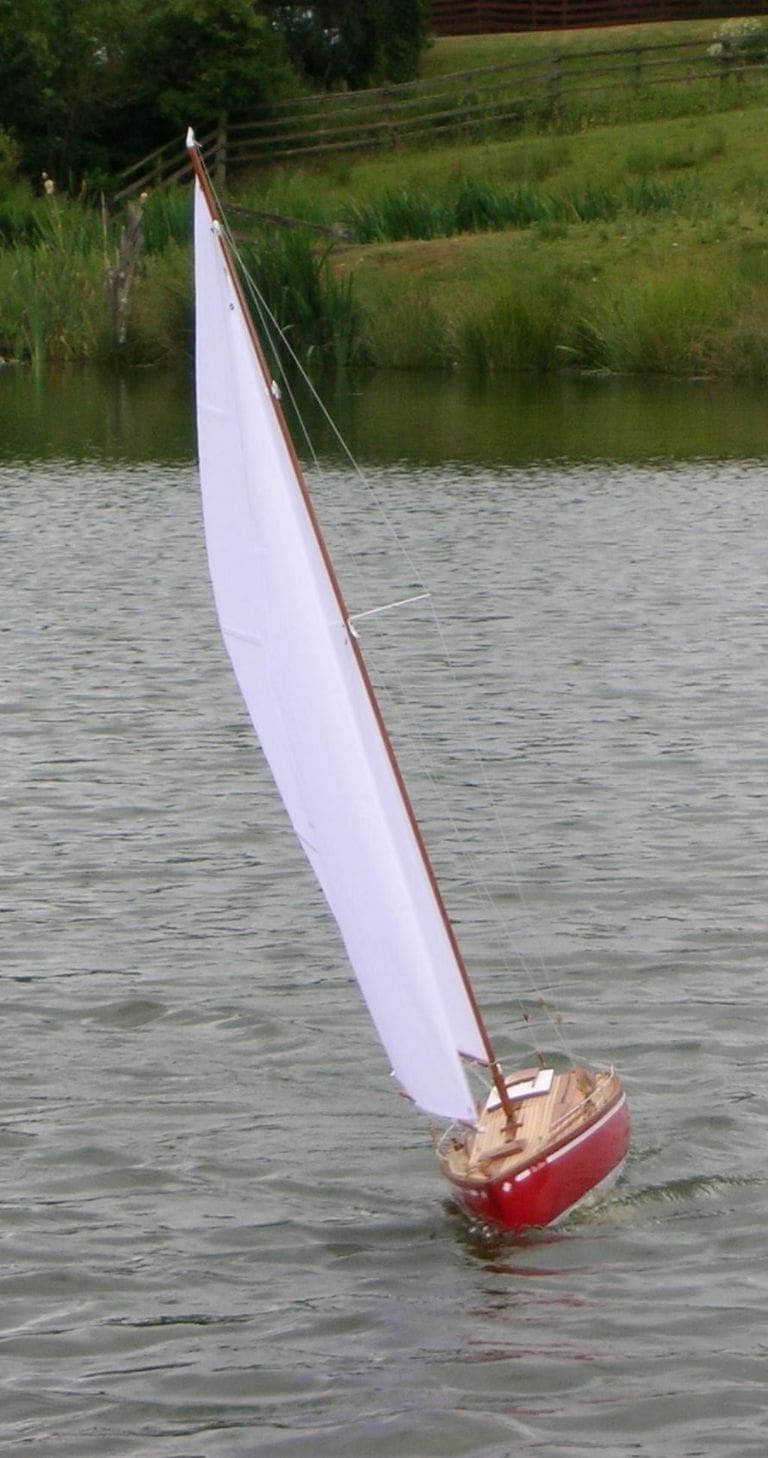
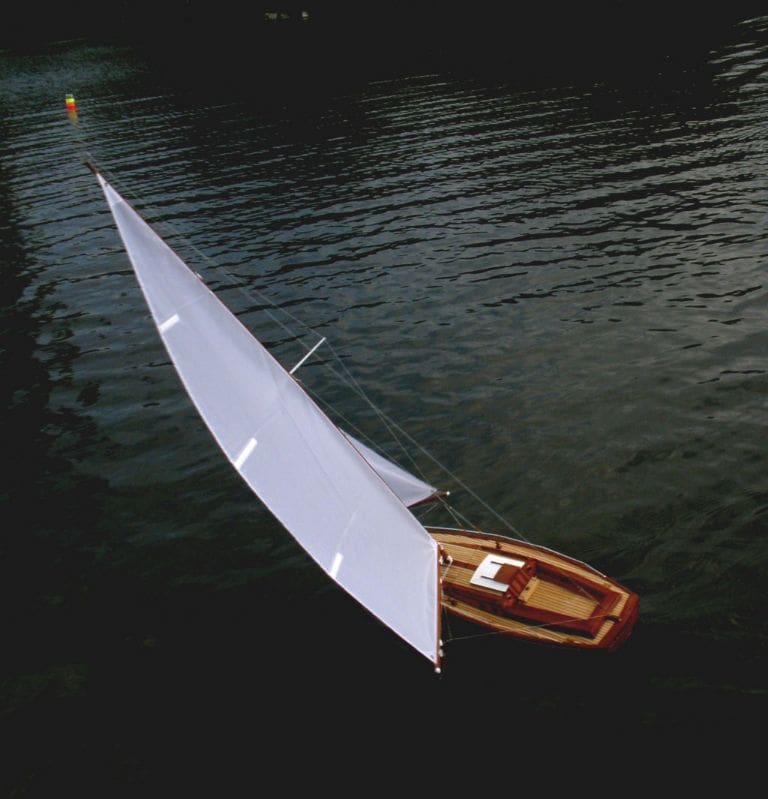
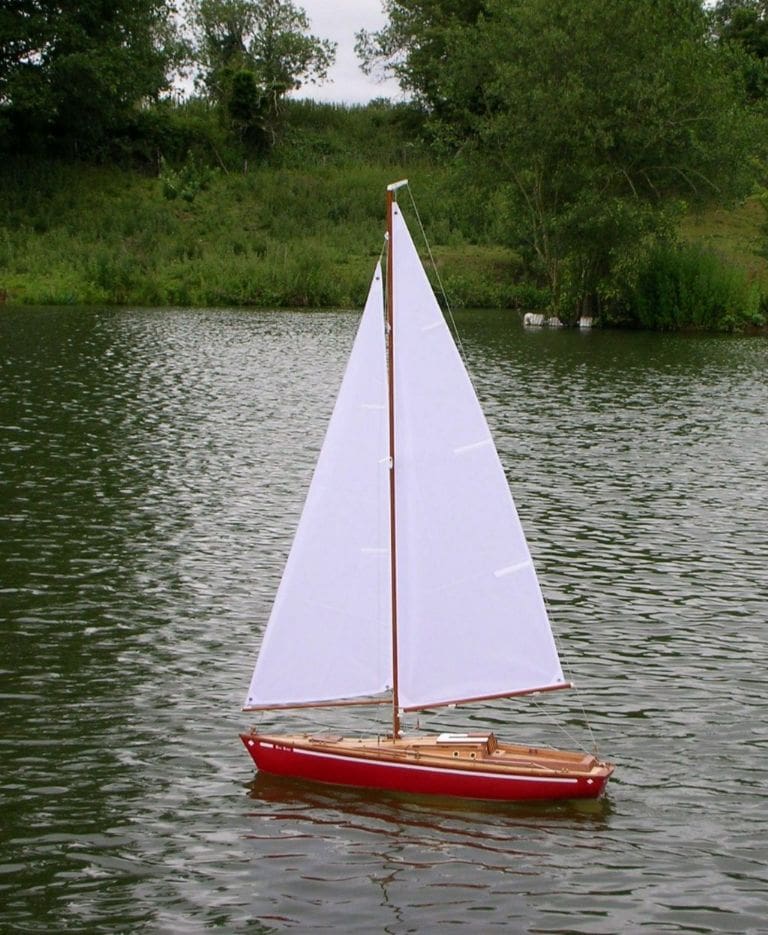
The pleasure I get from sailing Sea Bird is immeasurable, Photo 1. In over 50 years I have never had an r/c model yacht, so this is the story of Sea Bird.

The Kyosho Fairwind kit
Enjoy more Model Boats Magazine reading in the monthly magazine.
Click here to subscribe & save.
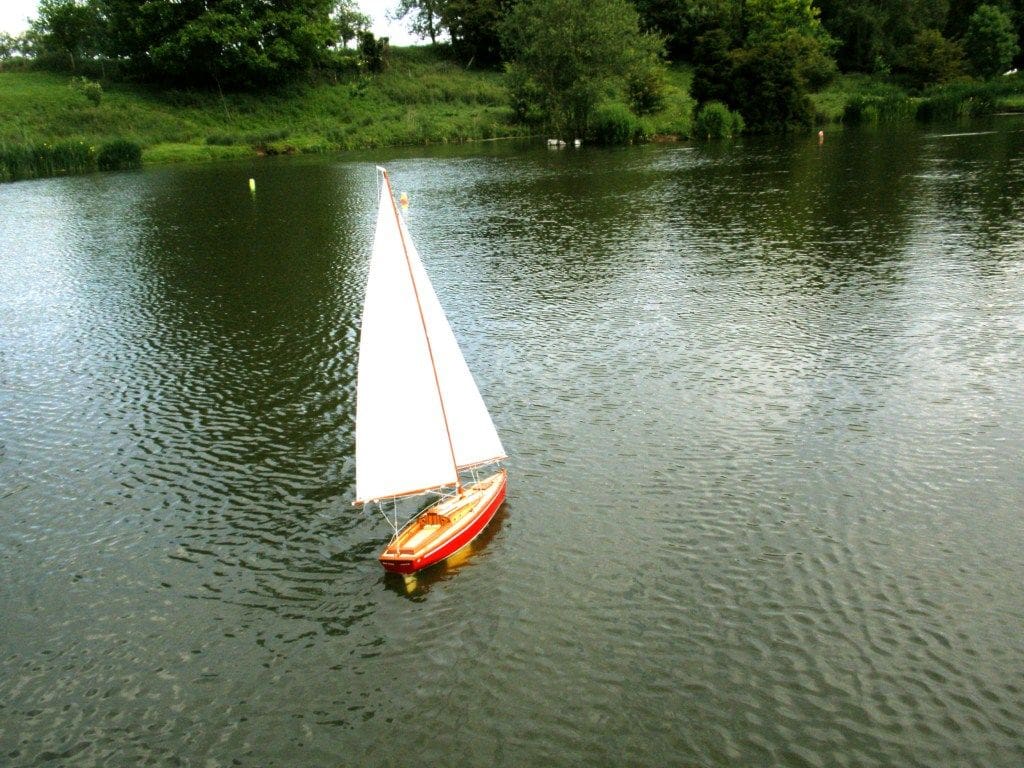
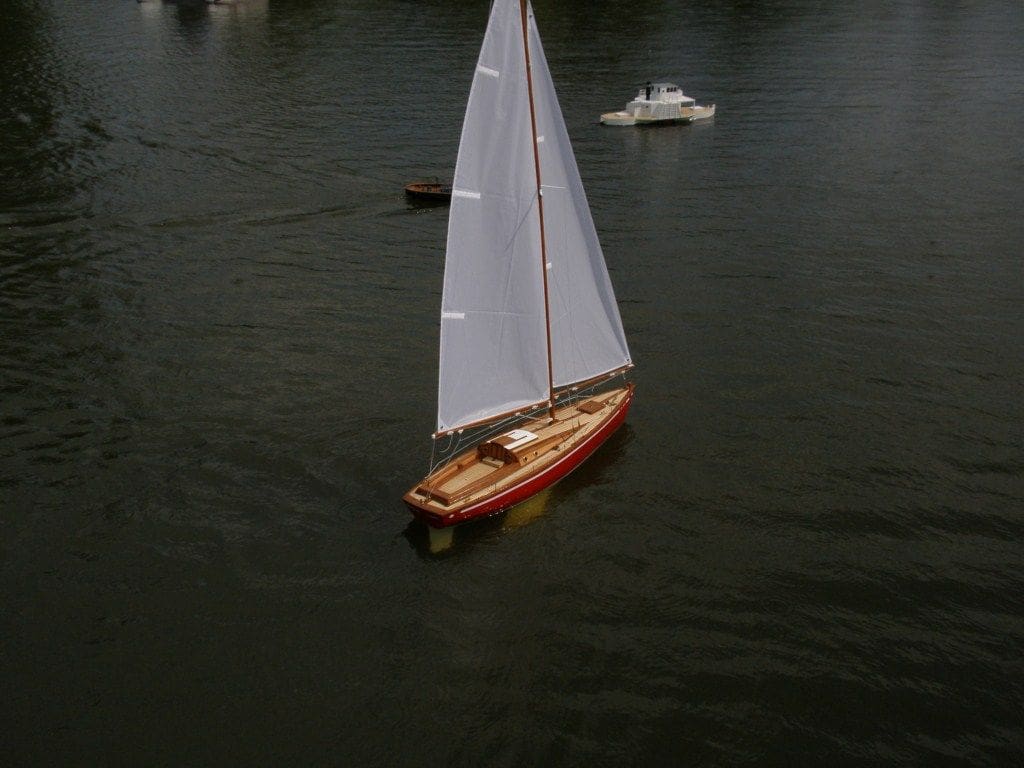
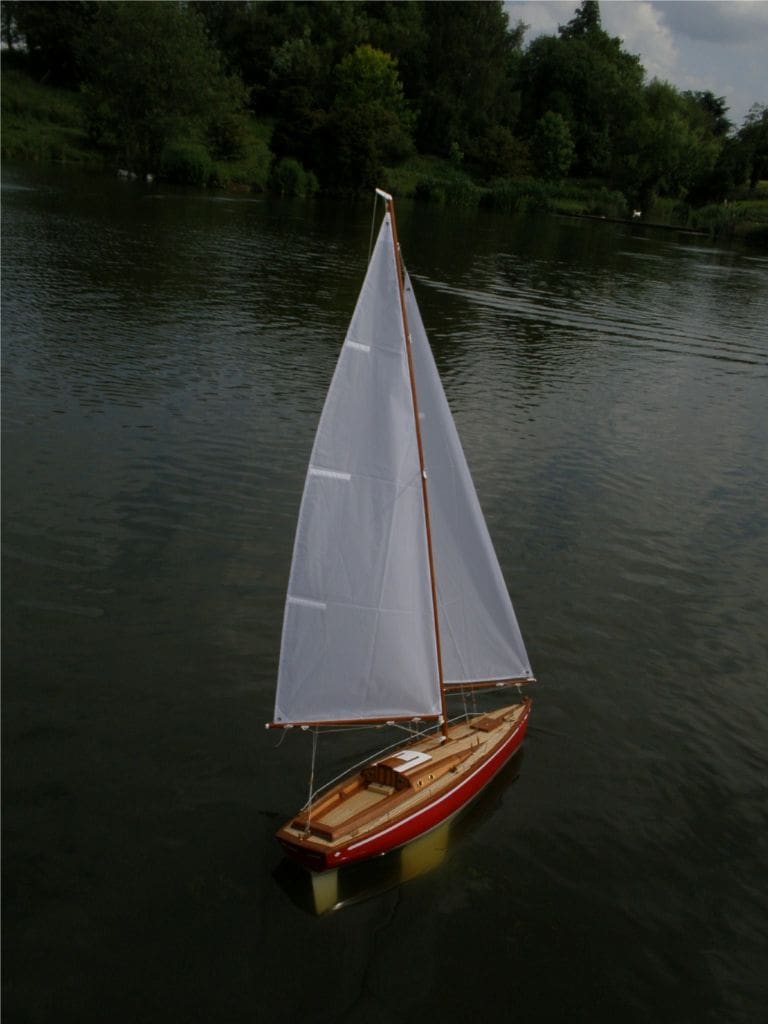
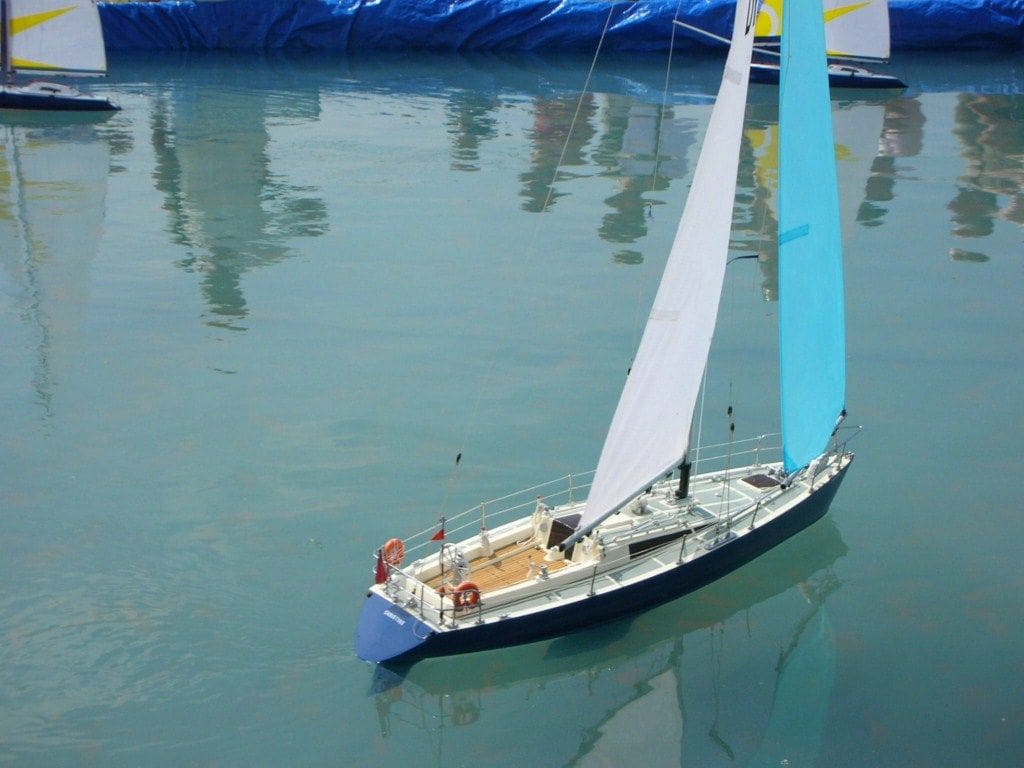
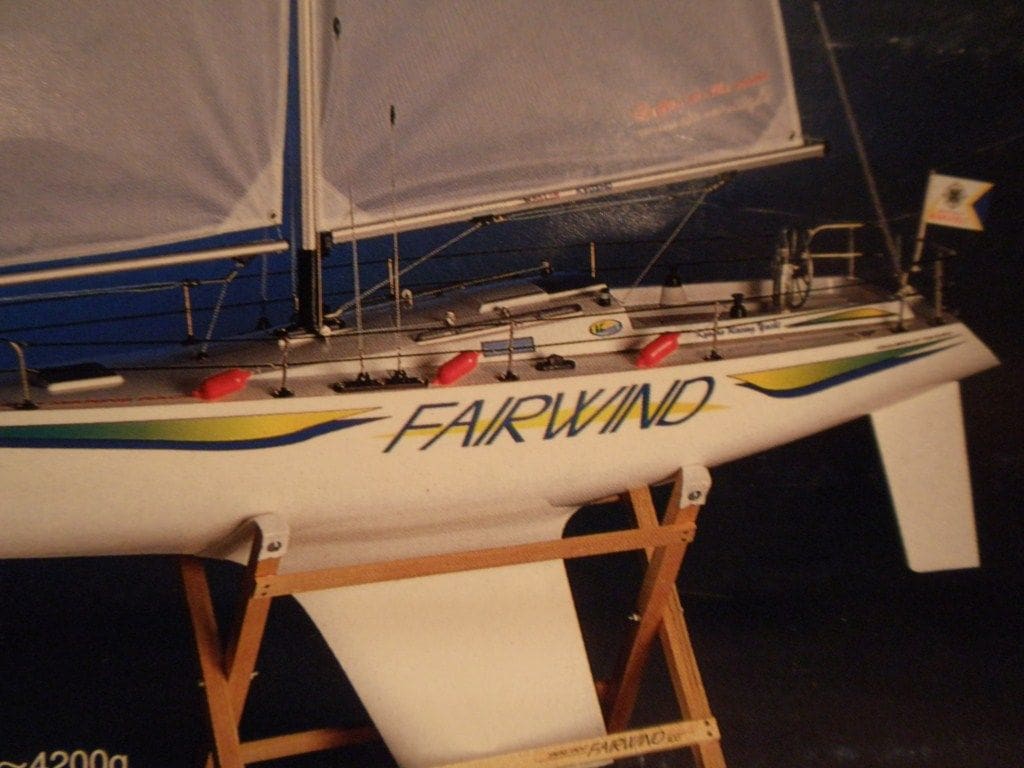
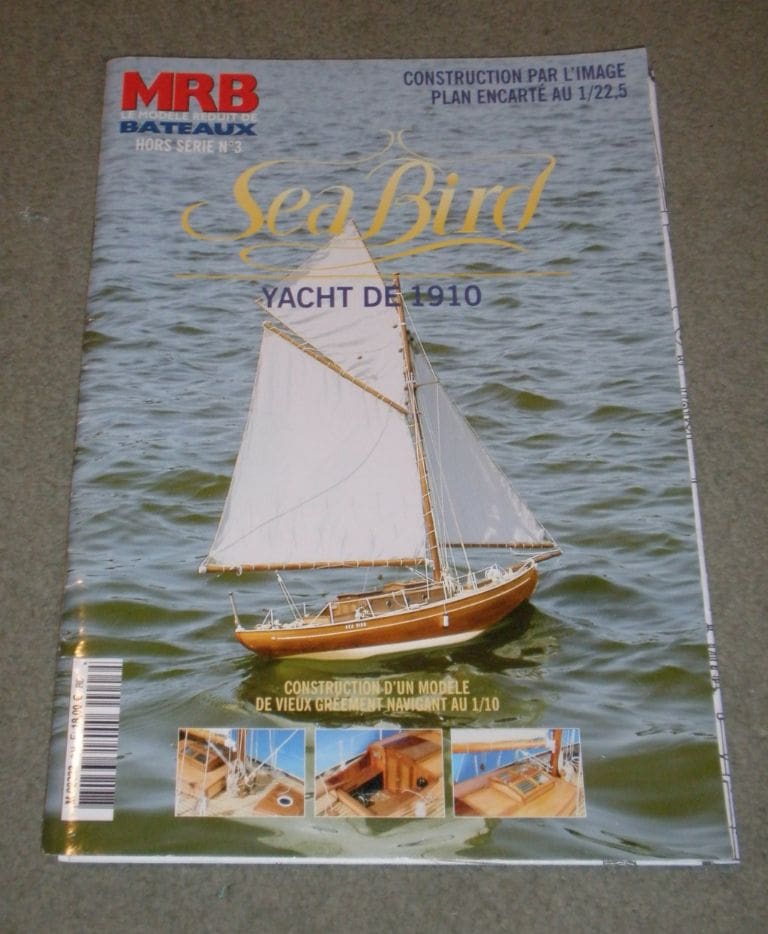
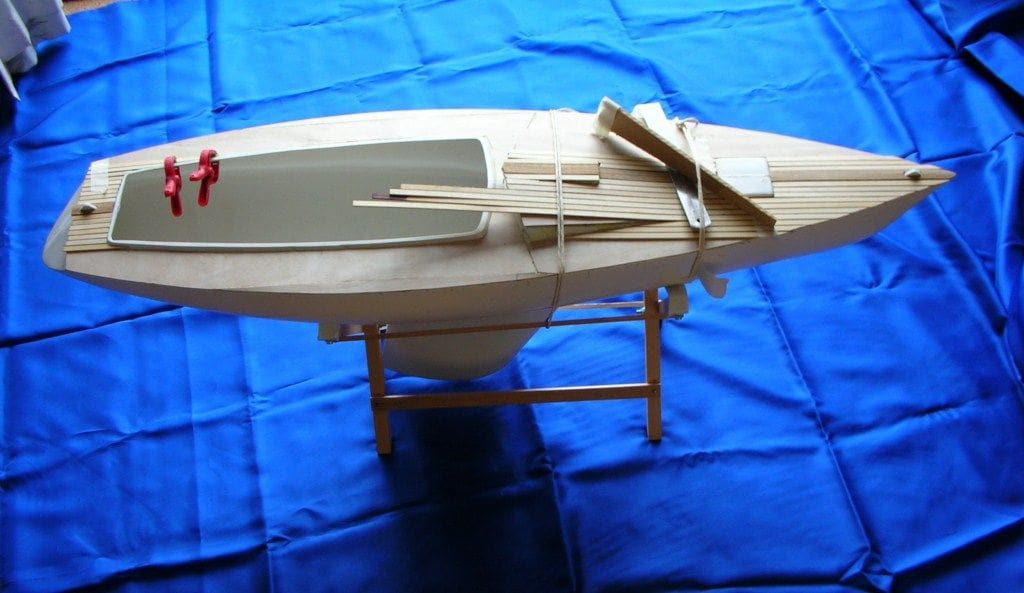
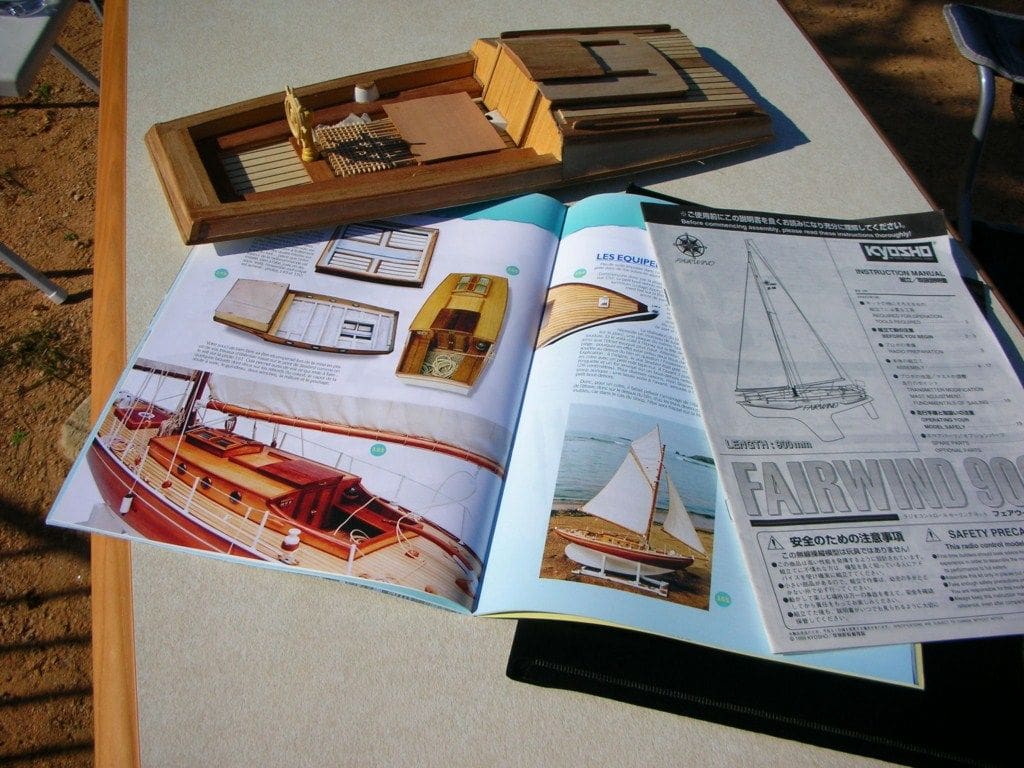
This kit has been popular for some years and I wanted something quick to build to get on to the water. It is 850mm long which is large enough to sail well, but not too big to store and transport. I liked very much the standard (but improved) Fairwind yacht named Christine owned by Ron Smith, Photo 2. Ron painted his hull blue and added many racing yacht fittings to create a really authentic scale yacht. A standard Fairwind would be roughly as in Photo 3. However, my intention to build the model as ‘ex-box’ was changed when MRB, a French model boat magazine, arrived. They produce occasional supplements (like MB Specials), one of which I ordered. This was the Hors Series No. 2 Sea Bird, a 48 page booklet full of construction photos, diagrams and plans for building a period yacht, Photo 4. MRB intend to produce these from time to time (this was No. 2), but they are specific to one craft and are also quite expensive. I also have a small library of French reference books, Photo 5, to which I regularly refer. Yes, the texts are in French, but the pictures tell 90% of the story and I can muddle through the words sufficiently. The French model making community have a strong following for scratch building of period models of all descriptions and of course in France there are numerous lakes which often have excellent supporting leisure facilities. Until recently, a nominal 35 hour working week, with retirement often before the age of 60, has certainly boosted their leisure activities. It was from my French books that I got my inspiration for the Portuguese diorama (MB April 2007), and the gaffer Lily (MB Mar 2008).
Anyway, I thus became inspired to transform Fairwind into a 1920’s yacht. This would require planking the deck and cabin mouldings plus a lot of detail work. Sycamore was selected for the creamy white deck planks, set off by walnut for a contrast. Both are fine grained hardwoods which cut cleanly and readily sand to a smooth surface.
A foundation of plywood
All areas that were to be planked needed a sub-deck of plywood to enable the top planking to be firmly glued down using PVA adhesive. This glue is easy to use giving time to position the planks and being colourless, it does not show on curing. It also does not stain the wood either, but PVA will not adhere to the ABS hull and deck mouldings, so I chose to use contact adhesive to bond thin plywood sub-decks to the hull and upperworks. I was quite surprised how many pieces of plywood were needed to cover all the various surfaces of the cabin and cockpit.
Deck planking and caulking
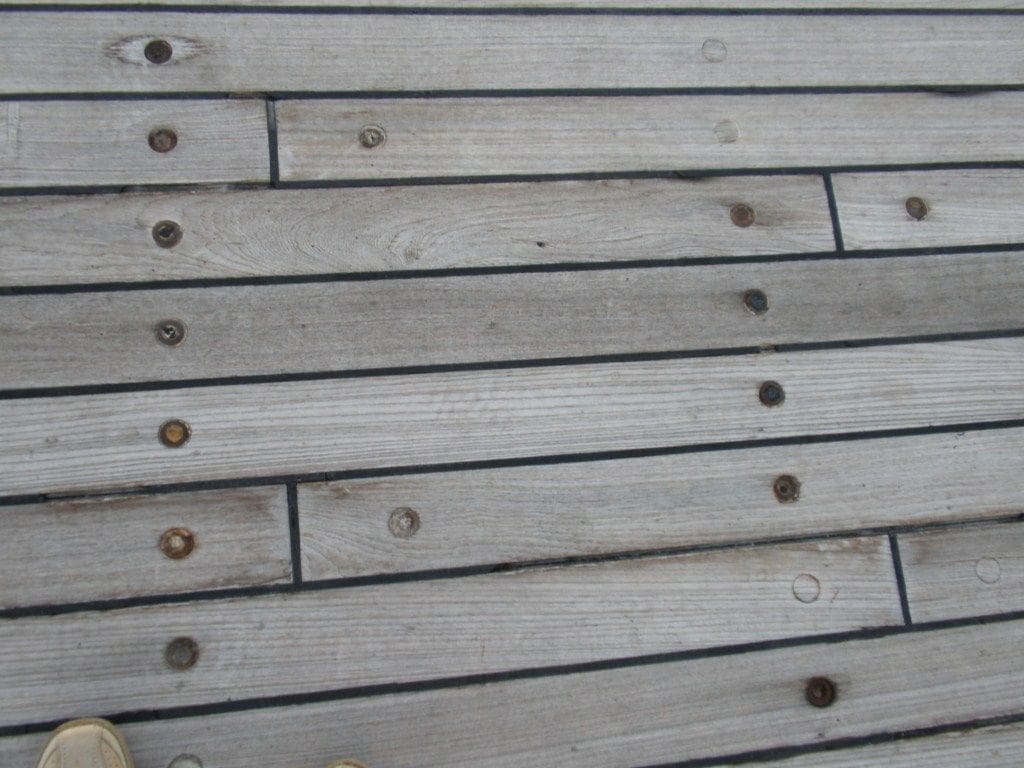
Photo 6 is of the weather bleached deck on a real yacht. The sycamore strips I had were of superb quality, but a black strip was needed between to each plank before fitting to achieve a similar appearance. I had no suitably thin black ebony strip that would have done the job, so I decided to insert between each plank an additional thin strip of sycamore, with its upper edge pre-painted matt black. Making such strips was easier said than done, but by using a jig, equally wide and equally thick strips were produced for the task. Each strip was painted black on one edge and then glued ‘edge on’ to each plank in readiness for laying them.
Planking
Photos 7 and 8 show the ply under panels, the edged planks and work in progress. Walnut planks were applied on the deck centre line, gunwales and as additional decorative features. Planking was outwards from the centre line keeping the planks straight aligned fore and aft. Some yachts have planks set to the curve of the deck edge, but this would have been pushing the limits as far as I was concerned!
Cabin and cockpit
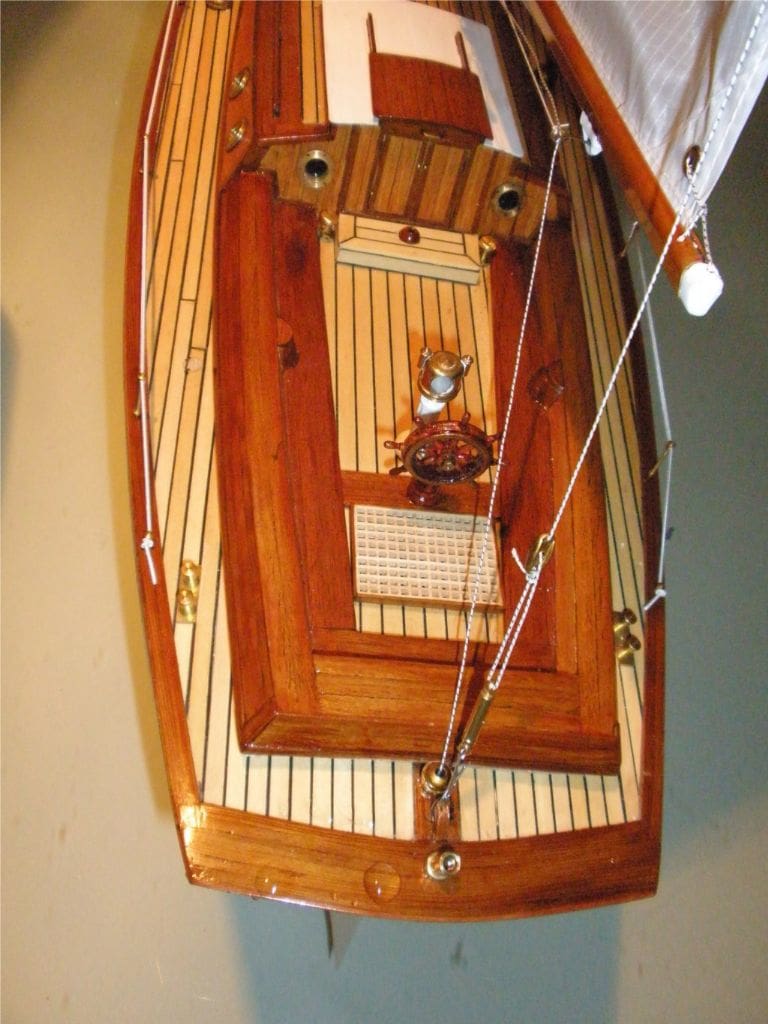
Photo 9 is a view of the cover of the Sea Bird MRB book and the finished cockpit and cabin of my version. Okay, not quite the same as in the booklet, but the inspirational source nevertheless! The horizontal scale of the model is about 1:12, but the high level of the floor of the cockpit means the vertical scale of the cockpit to cabin is about 1:60. This could not be helped and one has to think about it to notice it and become aware of this. A couple of doors were added to the front facer of the cockpit and the sycamore used around the cabin was stained with Ronseal Light Oak Satin Varnish, to contrast with the walnut framing, Photo 10. This last picture also shows the somewhat shallow cockpit. But , it is just a model and does not claim to be 100% perfect scale, but a decent representation.

Sawing off the stern!
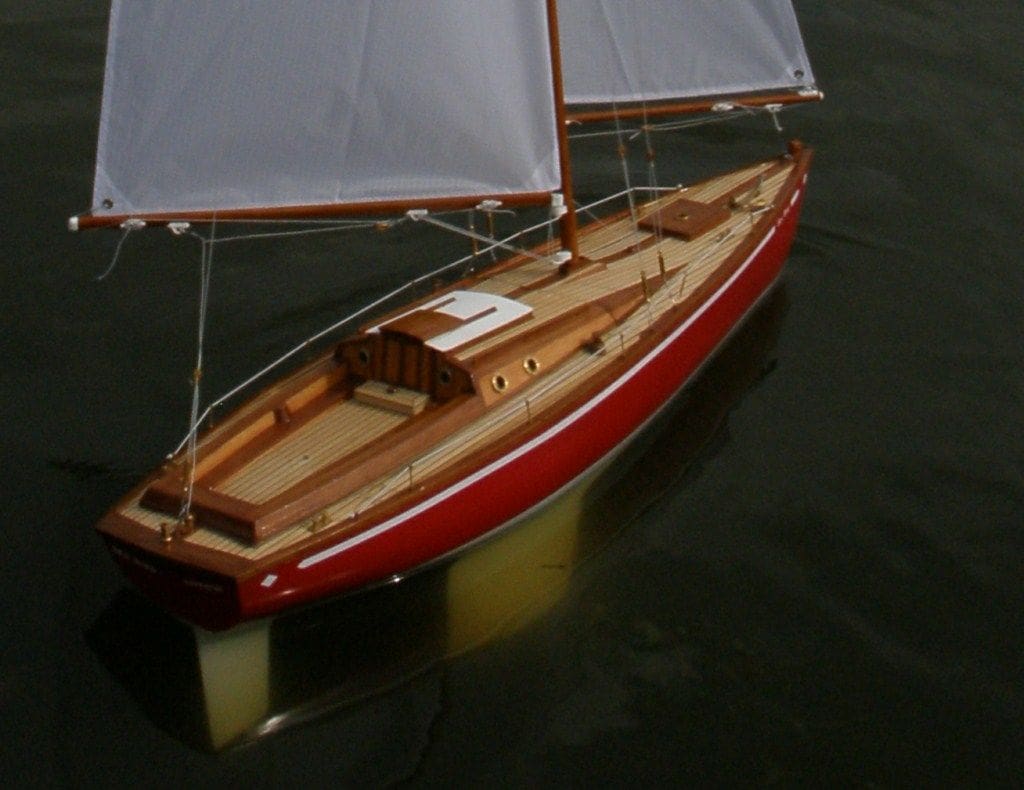
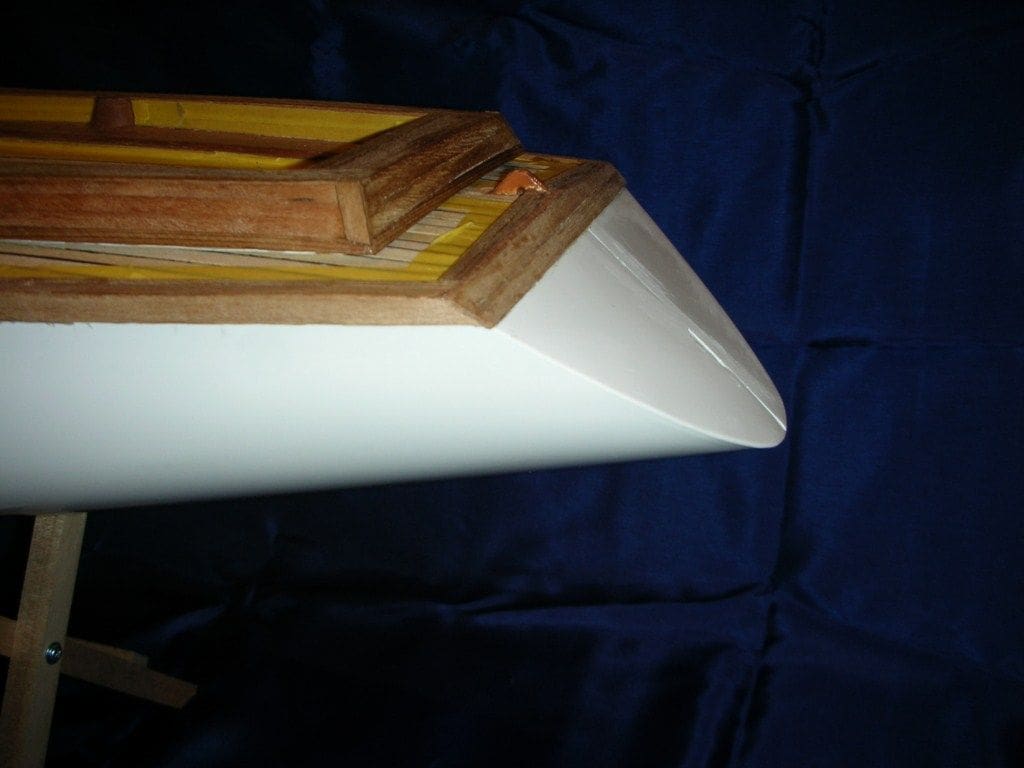
The sharp eyed amongst you will have spotted in this last picture, which is of the finished model, that the original Fairwind stern section has now disappeared!
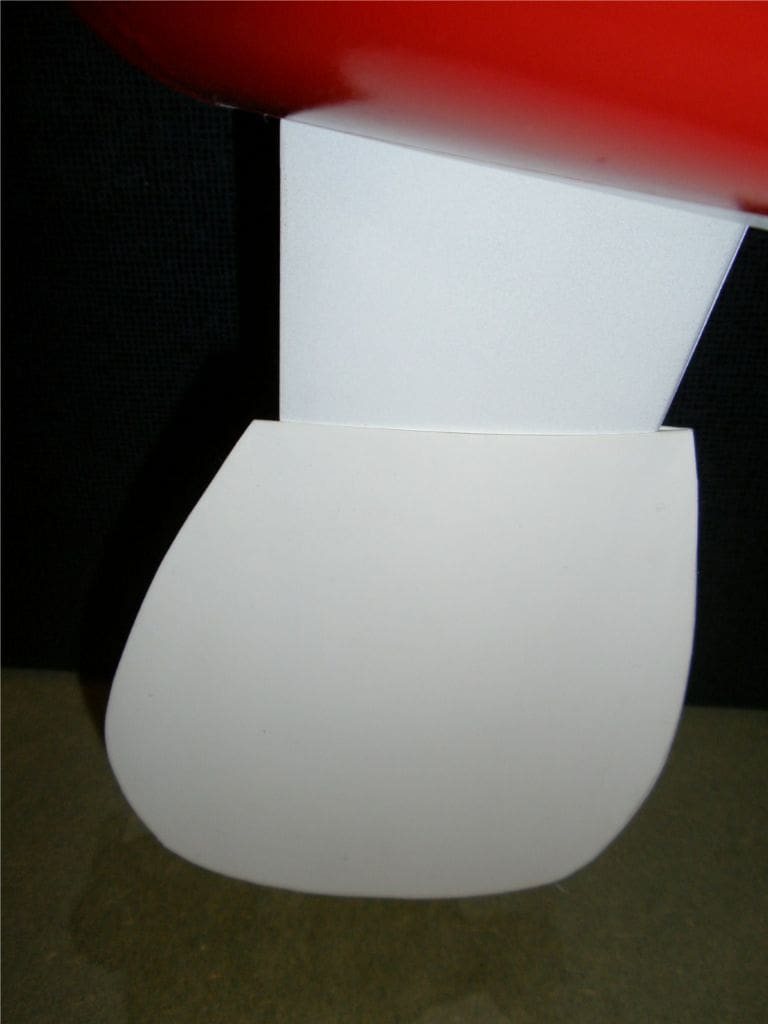
When Ron Smith saw my model at the deck, cabin and cockpit planking stage, he commented that the modern racing yacht stern, Photo 11, did not look right on a period style version of this yacht. So, what to do? After thinking (and thinking again!) I took the plunge and grasped the tenon saw to butcher the after end of the hull. The technical problem was that the new transom would not be flat, but curved across the beam of the hull, so how best to cut?
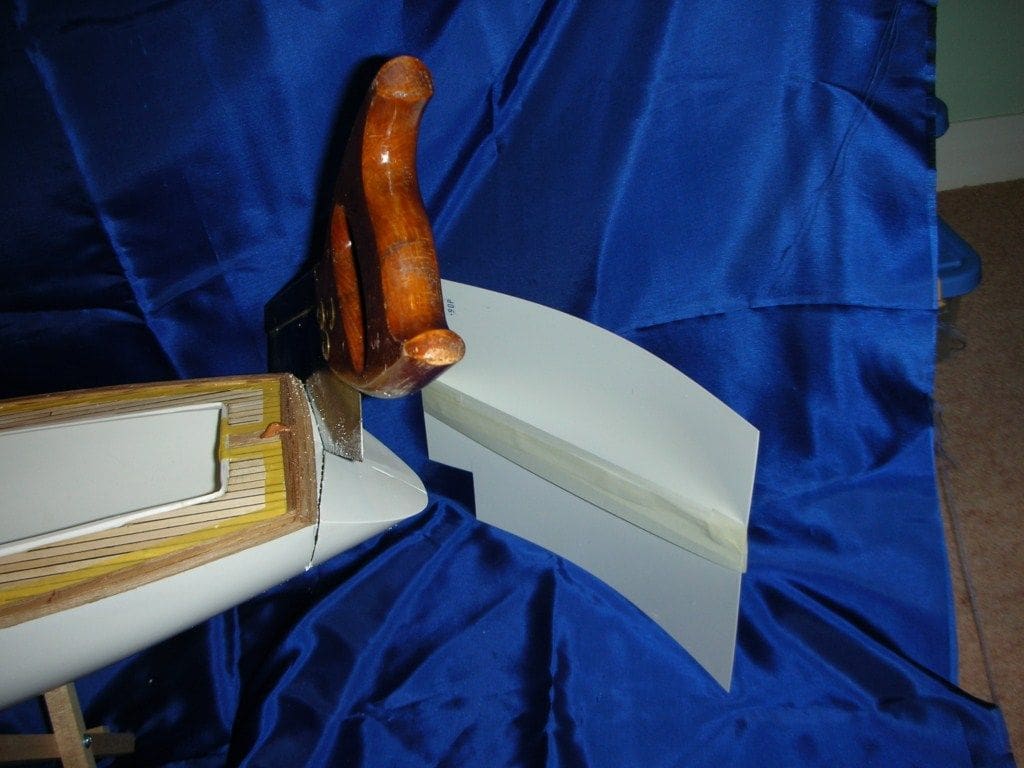
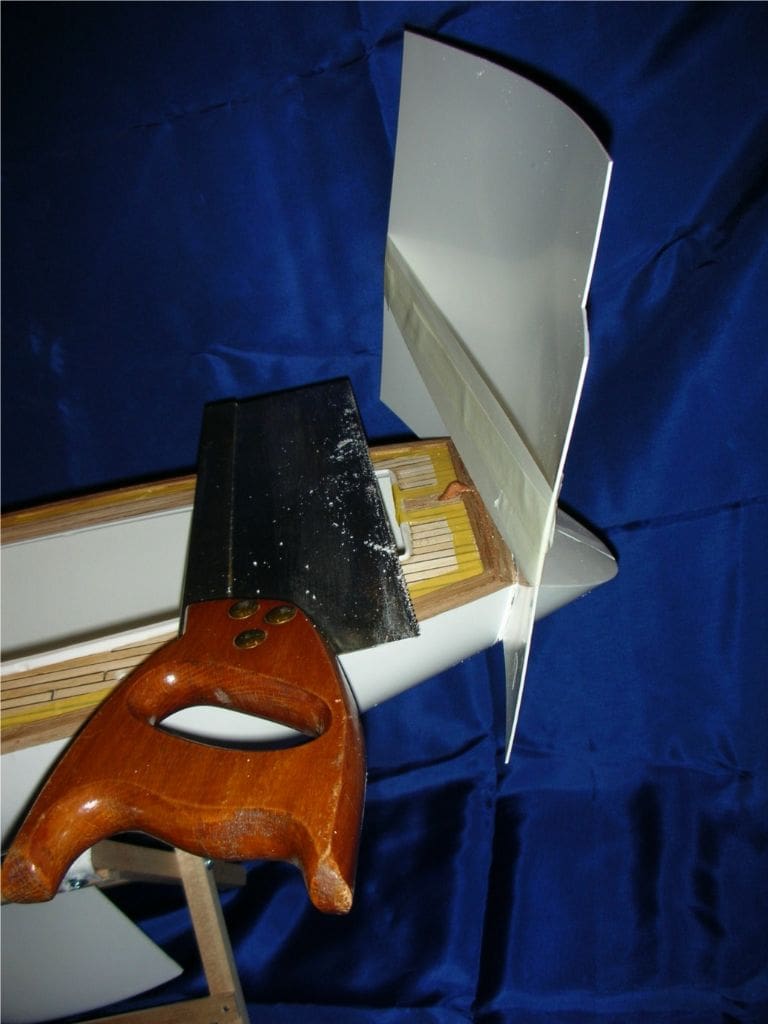
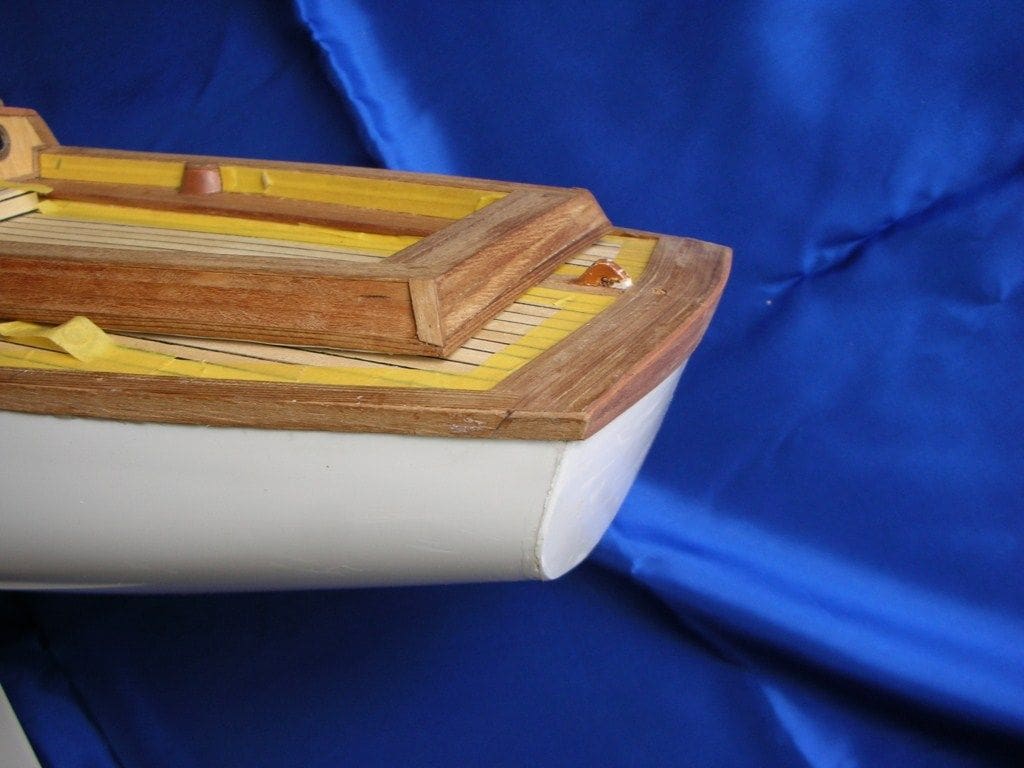
As Photos 12 and 13 show, I took a piece of styrene sheet and using masking tape pulled it into a suitable curve. This was the template and would also become the new transom. Holding the template at a suitable angle, the hull was marked to show the intended line for the first inch of the saw cut. A one inch deep cut was then made at each side. The template was then inserted into these saw cuts, which gave me the line of the next inch of saw cut to be marked. By further repeating this process, the original stern/transom section was completely removed. Using the styrene template a new transom was prepared and glued in place. All that was then required was to ‘tidy up’ the woodwork as in Photo 14.
I am actually grateful to Ron for suggesting this drastic surgery, as the result was a significant enhancement of the model. The waterline length of the model was reduced by just 2.5 inches, but this has not caused had any discernable difference in the sailing characteristics of the model when compared to a standard Fairwind. In particular, the rudder shaft is still in almost the same position as originally kitted.
Sealing the deck planking
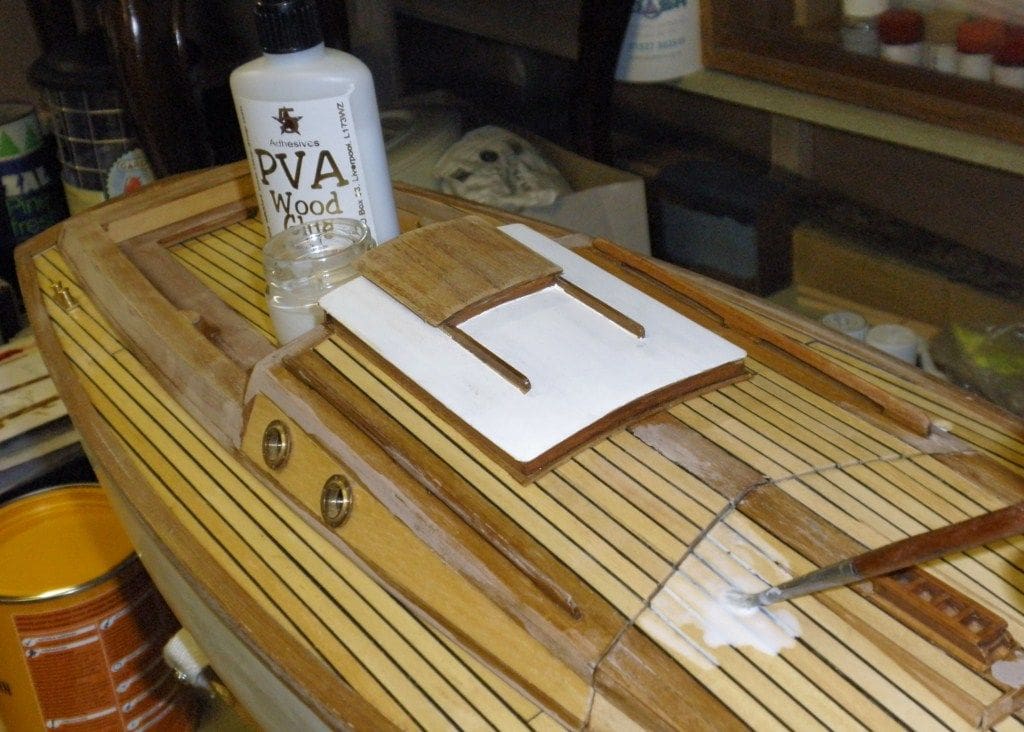
The planked deck could be vulnerable to water damage if any spaces between the planks were not filled. The solution was to dilute PVA glue with an equal amount of water to form a very runny mixture. This was liberally applied, Photo 15, to all the deck areas except the walnut, in such a way that the mixture would penetrate any fissures and soak into the wood. Two coats were applied and as this PVA sets perfectly clear and with a matt finish, is then invisible. This method has proved successful and durable after sailing the yacht a number of times.
Varnishing the walnut
I wanted the brown walnut to have a nice lustrous gloss, so using spare pieces of wood, every possible varnish or stain from the workshop was tested to see how it turned out. Sadolin Antique Pine Gloss as used on timber doors and windows proved to be what I was after. It is a thick and sticky varnish, but if thinned with white spirit it becomes very easy to apply with a small brush or a cloth.
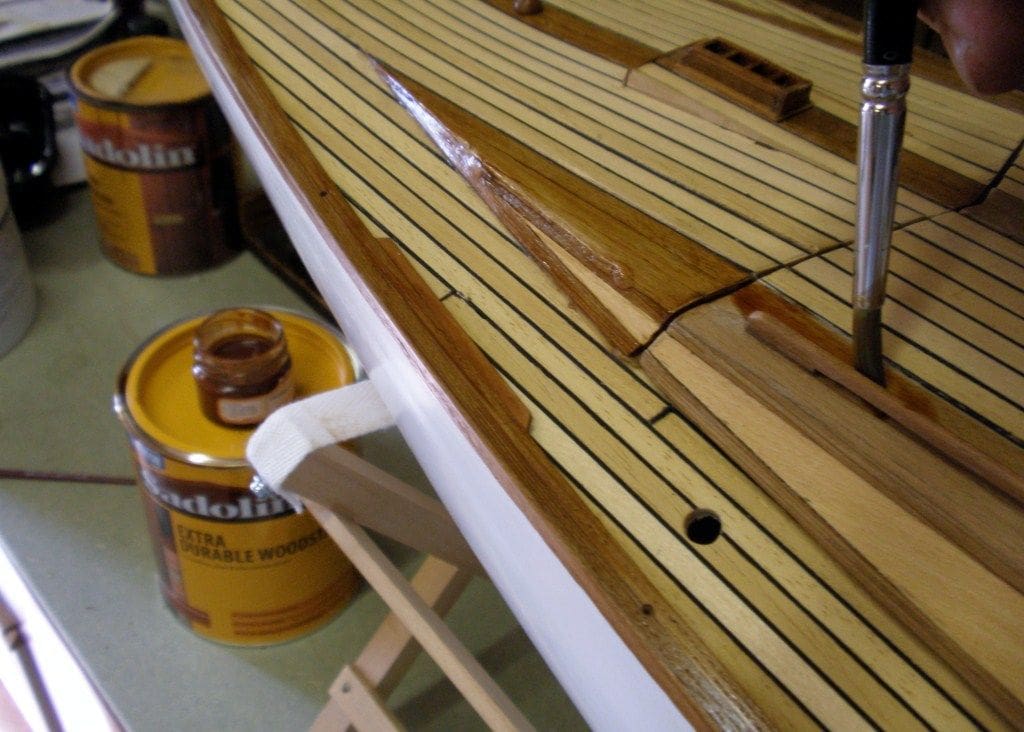
After a final sanding, a generous coat of grain filler and sanding sealer was applied to produce a very smooth surface to the walnut. Next, all the adjacent white planking was masked, to avoid any staining from the Sadolin. Then using a clean cloth soaked with the thinned Sadolin, six or seven coats were applied. These coats dry quite quickly and by using a cloth, brush marks don’t occur either. This whole process is a bit like French polishing, however a brush did have to be used for some of the fine walnut detail woodwork around the cabin, Photo 16.
Painting the hull
I wanted a red hull, white below the waterline, to make the yacht easily visible on our club pond.
The first step, after thoroughly cleaning the hull and masking off the wooden deck, was to spray it with a white primer undercoat. This was followed by two top coats of gloss white, all from automotive aerosol spray cans. It was my first foray into spraying using this medium, so it was a bit of a learning curve.
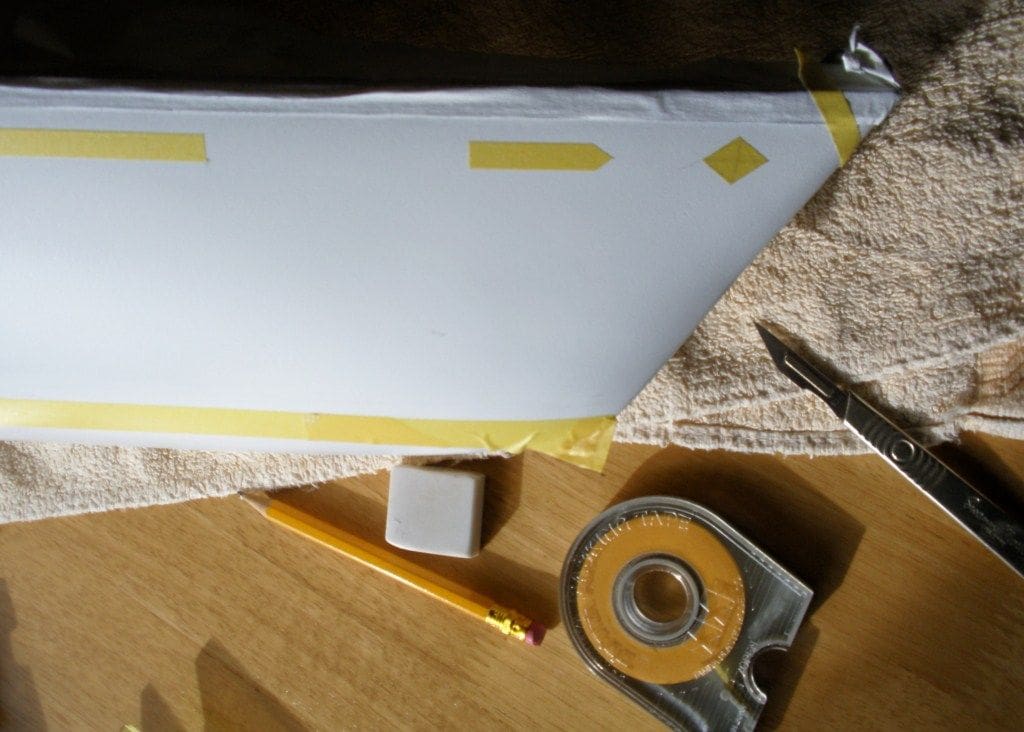
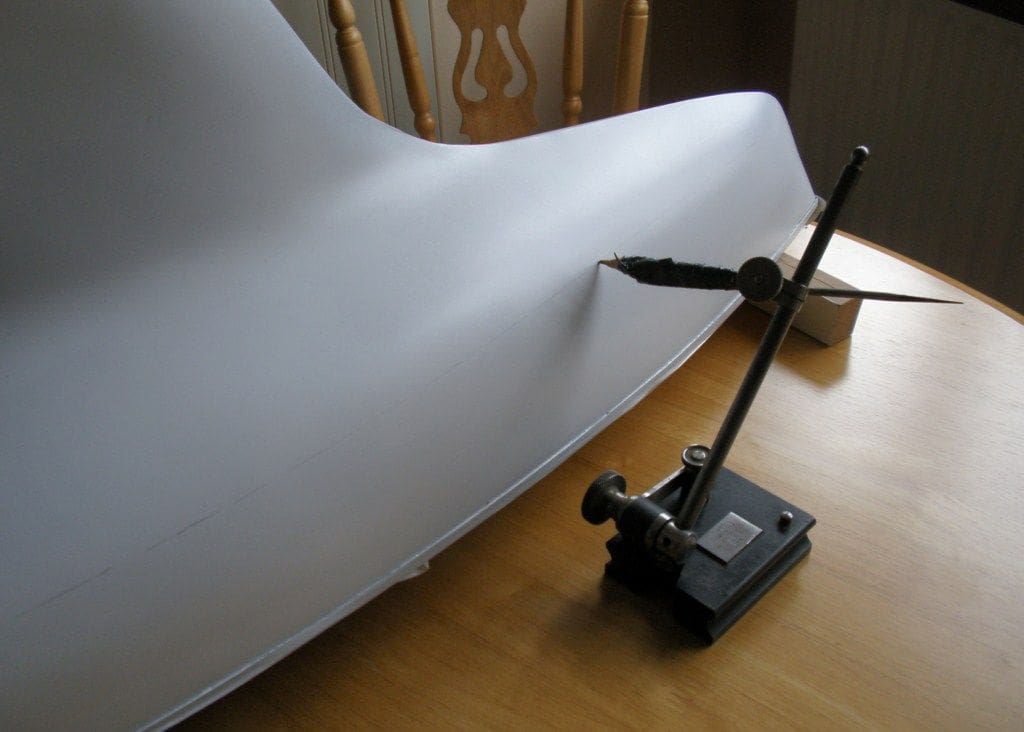
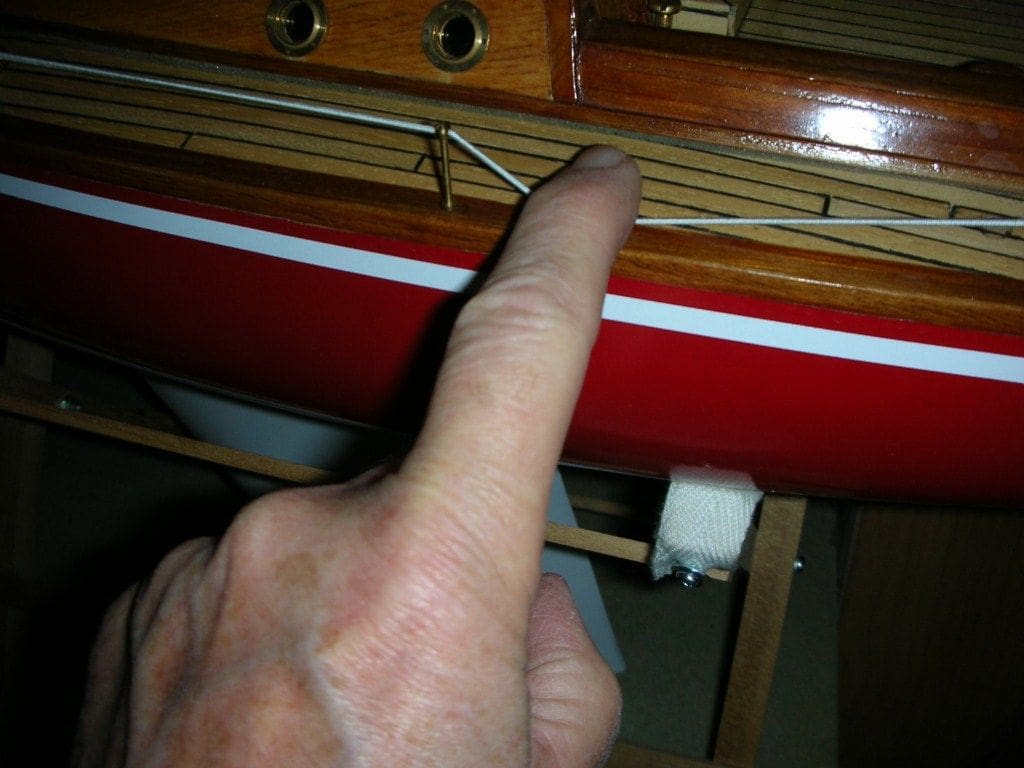
The next step was to masking the coach line below the gunwale (with decorative diamonds at its ends), Photo 17. For marking the waterline I use a workshop scribing tool. fitted with a pencil. With the hull upturned and supported to ensure the desired waterline would be horizontal, the scribing tool was eased round the hull to draw it in pencil, Photo 18. The main hull colour was Ford Colorado Red from the automotive spares emporium.
Deck fittings
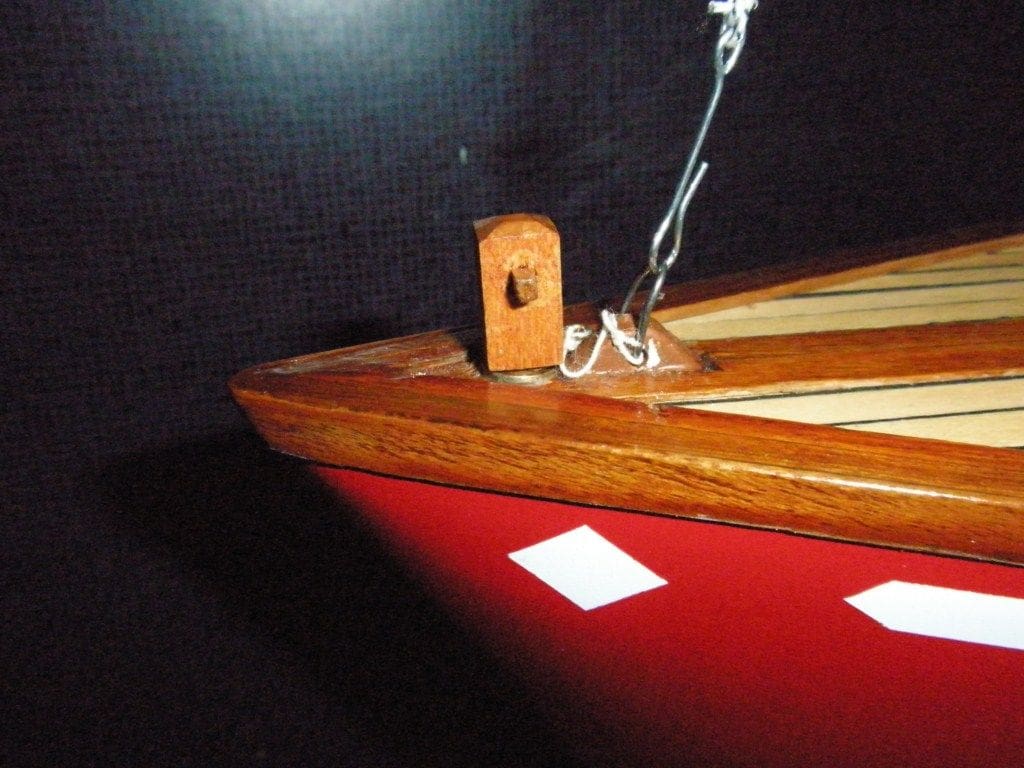
Acquired during recent years, I had accumulated some nice brass fittings suitable for this model. These included; portholes, anchor, ship’s wheel, binnacle, jack staff, bollards and rigging items. A grating for the helmsman was a made from an Artesania Latina accessory pack, with an added walnut edge. The drainage hole for emptying any water from the hull was drilled at the bow (on the deck!) and disguised with a walnut mooring post, Photo 19.
The cabin and cockpit unit (which is also the main access hatch) is secured with two brass bolts instead of the single screw of the original kit. This allows much greater pressure to be applied to the foam sealing gasket. This seal has proved completely watertight in operation
The lightweight cabling between the stanchions is of shirring elastic. This is handy stuff for this purpose as it is sufficiently flexible to adsorb knocks and the occasional stray hand, Photo 20.
Mast and booms
The mast and booms in the kit are of aluminium and a trial fitting demonstrated that they looked awful on this ‘period style’ model yacht. How to easily solve the problem? Well, there existed these aluminium parts in the kit, that were the right shape, height and weight, so the simple solution was to paint them to match the overall style of the model.
First, the aluminium was given two coats of red oxide primer as a key by a coat of Humbrol matt cream. This was brushed on quickly thus leaving some red oxide streaks. The cream was intended to be much the same colour as sawn wood. To achieve a wood finish of the colours of typical varnished yacht spars, two coats of the thinned Sadolin were now applied. The effect of the streaky red showing through from underneath the varnish gave a subtle grain effect. Model boating colleagues are quite surprised when they realise the spars are actually aluminium, Photo 21.
Ballasting
I could not get the recommended lead shot, so some lead flashing was cut into small pieces. After weighing to the specified weight, the keel was filled with them and a small amount of Portland cement was mixed with a little water and a poured over the lead, to hold it all in place. As it so happened, the model floated just about correctly on its intended waterline.
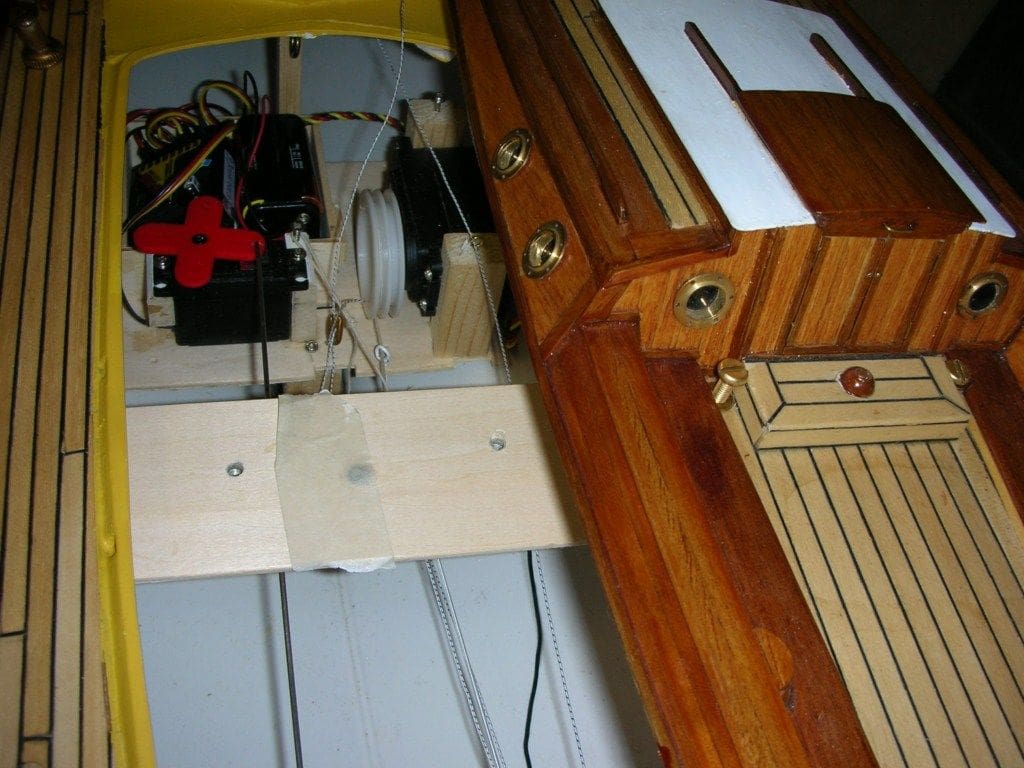
Radio control
This was all installed very much as in a standard Fairwind, bearing in mind nothing much had changed mechanically, Photo 22. However, the mainsheet feeds through the deck at the stern rather than the removable cockpit for convenience. There is a waterproof On/Off switch disguised as a sail winch. I usually check that everything works okay whilst at home; screw down the hatch; go to the pond; switch on; check it all works and go sailing. There is thus no need to fiddle around inside the hull at the pond side.
Rudder
A good friend advised that in high winds, the standard Fairwind rudder would have insufficient leverage. So a removable sleeve that fits over it was made, Photo 23. This is just two pieces of thin styrene sheet cut to shape and their fore and aft edges glued together. Once slipped over the existing rudder, the enlarged version is created. There is no need to glue it on as it fits quite securely under its own pressure.
Sailing and conclusion
On the water, the model makes a grand sight and is quite distinctive and perhaps more important, is a bit different. When told that this started out as a Fairwind, fellow modellers are often surprised, and by using the kit as a basis, there was no need to manufacture masts, booms and sails. If there is no (or little) wind , provided the rudder extension is fitted, the rudder can be manipulated a bit like a paddle to move the model on the water, albeit slowly!
This has been an interesting project with the most drastic modification to the stern occurring after the model was well on the way to completion. The end result is a personalised model, loosely based on the project from the MRB magazine group, and of course I do now have a functioning r/c scale yacht.