DAVE PETTS’ Mini-Series
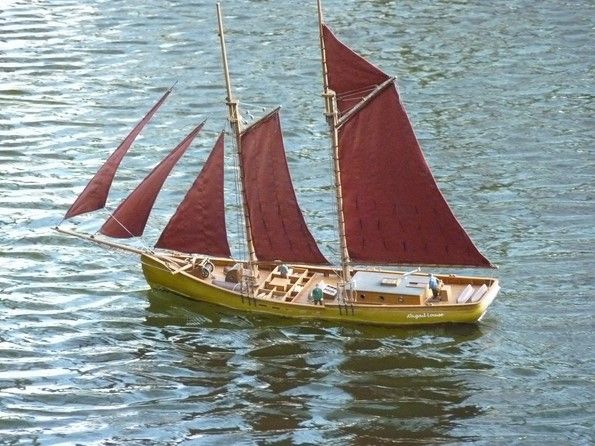
I have never really had any interest in any form of purely static model, as for example I believe that a model aeroplane should actually be able to fly, so you will appreciate that these articles are all aimed at functional craft as opposed to static display models. For this reason. the rigging is kept to a bare minimum on these functional models, but there is still enough visually to keep the casual observer happy. So, yes there are shrouds, backstays, forestays and the all other rigging necessary for a practical scale sail model, but not absolutely everything as per the full-size ship. So for example, there may only be three shrouds rather than four, but the model still looks more than realistic enough for all but the most avid shroud and foot rope counter!
Shrouds
Enjoy more Model Boats Magazine reading in the monthly magazine.
Click here to subscribe & save.
The method described here has proven to be effective and durable over the last five years and at the time of writing still shows no sign of wear and tear on one of my older scale sail models.
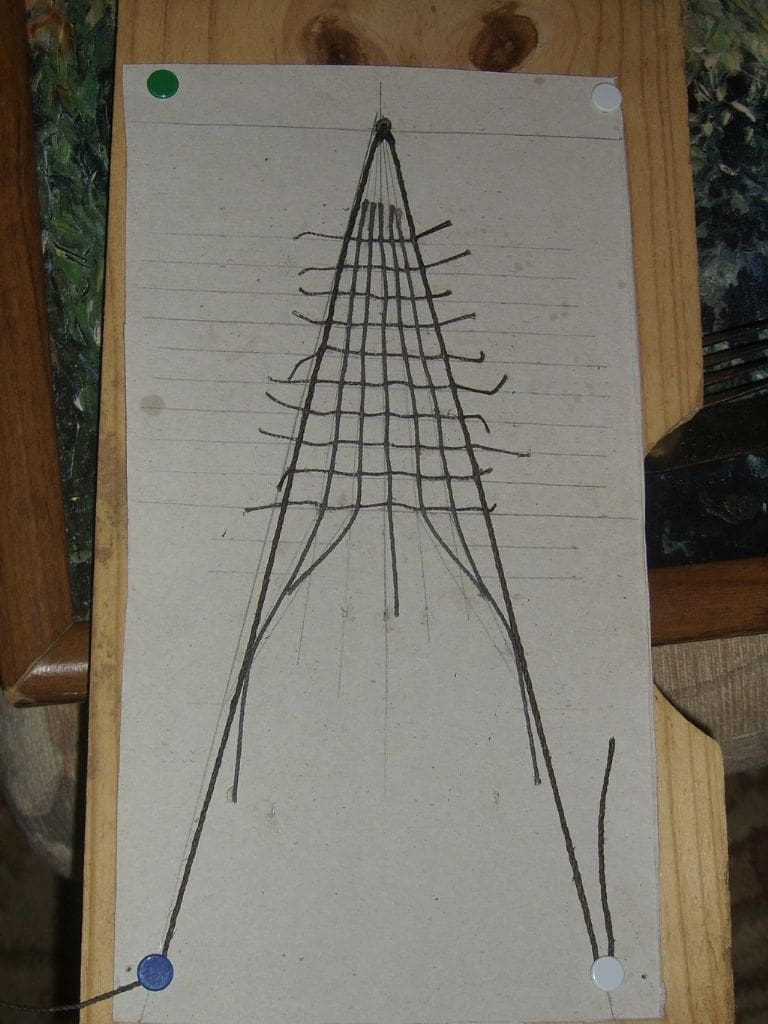
With the mast (s) in place on the model, the distance from the gunnel to the correct securing position higher on the mast needs to be measured. This length is then marked on a piece of card, such as that from the inside of a redundant cereal box. Next, measure the spacing between each ratline on the gunnel and mark this on to the card. Draw lines connecting the gunnel positions to the upper mast securing position and representing the number of shrouds required. We should now have a basic template which should then be mounted on a suitable piece of wood and covered with baking paper to act as a non-stick backing. Drawing pins are as good a way as any, for holding down the baking paper.
For the vertical shroud ropes, a thicker and pre-stretched cord should be selected. This is best soaked in warm water, weighted and left to dry overnight before use, This pre-stretching should prevent the shrouds going slack in the future.
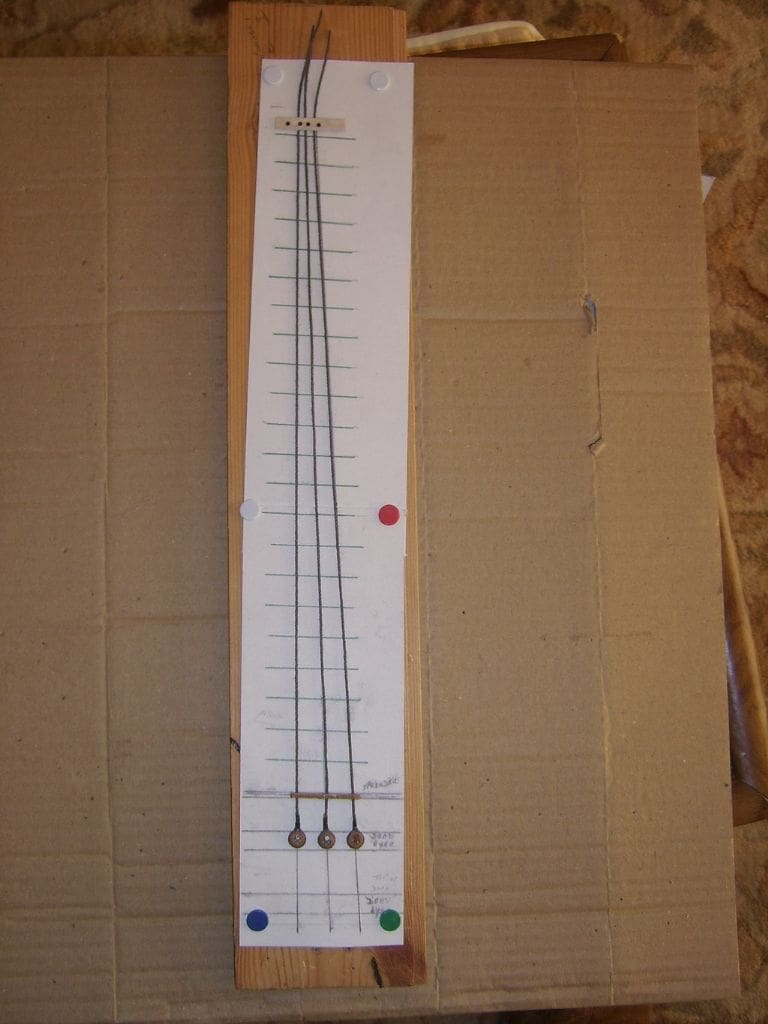
Photo 1 shows the template with (in this case) three shrouds with their attached deadeyes already attached, if you get my meaning! Note how a shroud cord passes round the circumference of a deadeye and the cord is then secured to itself by ‘whipping’ rather than just a simple knot. Depending on the scale of the model, ‘whipping’ usually looks much better than just a knot, if you have the patience to do it. The deadeyes are each held in place on the template by a pin though one of their holes and at the upper end, the shroud cords are clamped by a small piece of pinned wood. It is also best to leave some surplus cord at the upper end of each shroud at this stage as it is easy to cut to length later, but much harder to lengthen a cord that is too short!
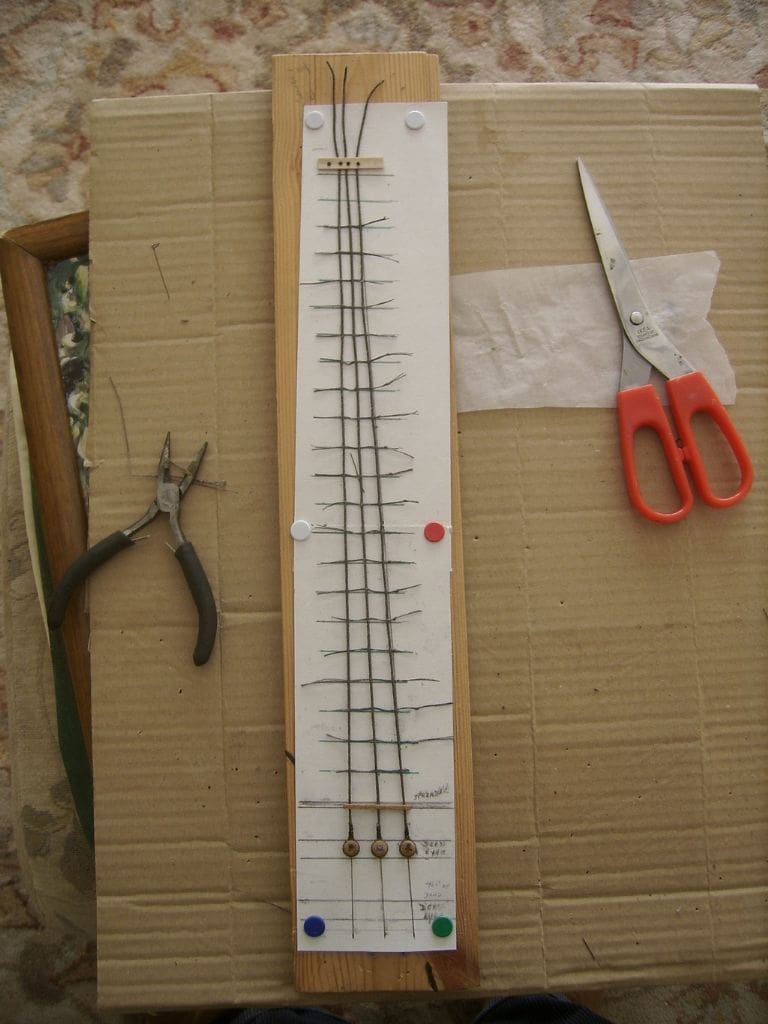
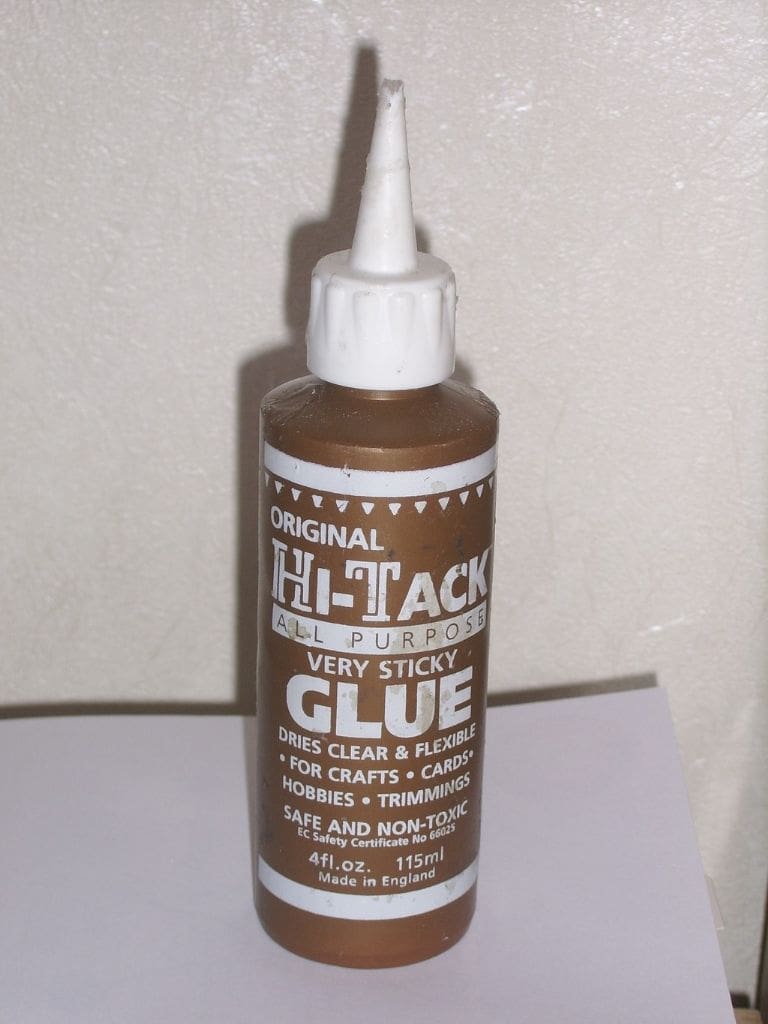
For the horizontal foot ropes, Photo 2, a smaller diameter cord looks much better, which is threaded through a needle and is then literally then stitched through each of the vertical shrouds. To secure, a dab of Hitack all purpose glue as in Photo 3, is more than adequate for security. This adhesive is used by dressmakers and is water resistant and in five years not a single foot rope has come adrift. This glue can be obtained in many haberdashery shops as well as the Hobbycraft chain of stores. Once completed, the shroud can be removed from the template and attached at the top of the mast using a small U-shaped bracket made from brass rod, its legs being fed through the whipped eyes already prepared.
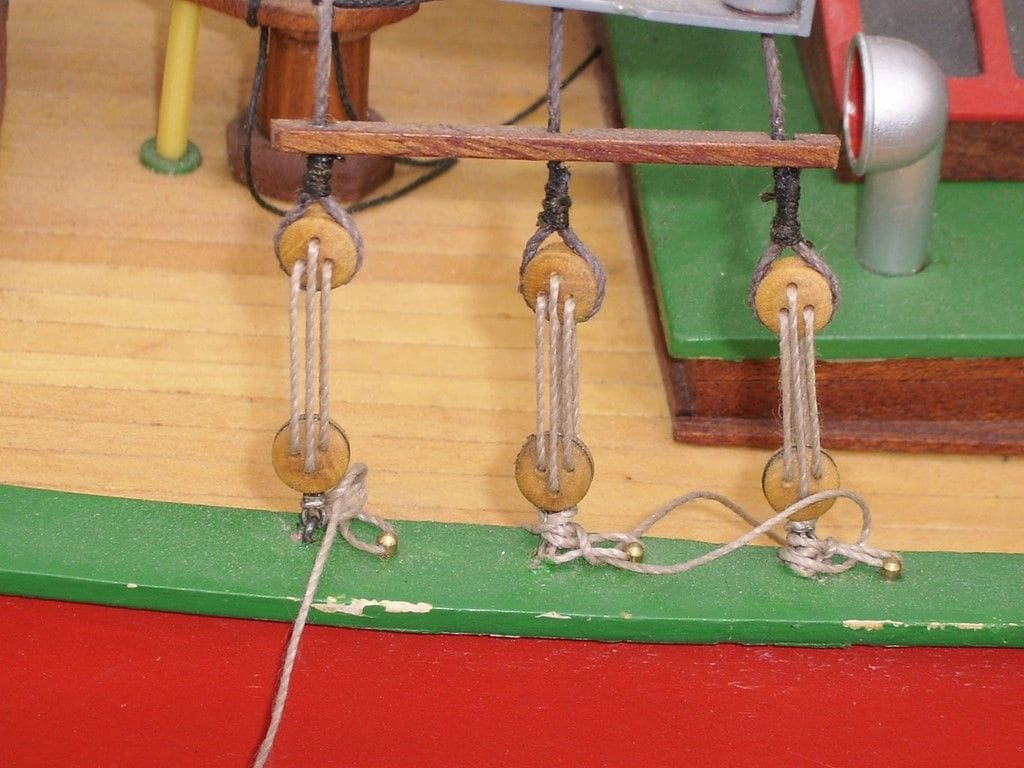
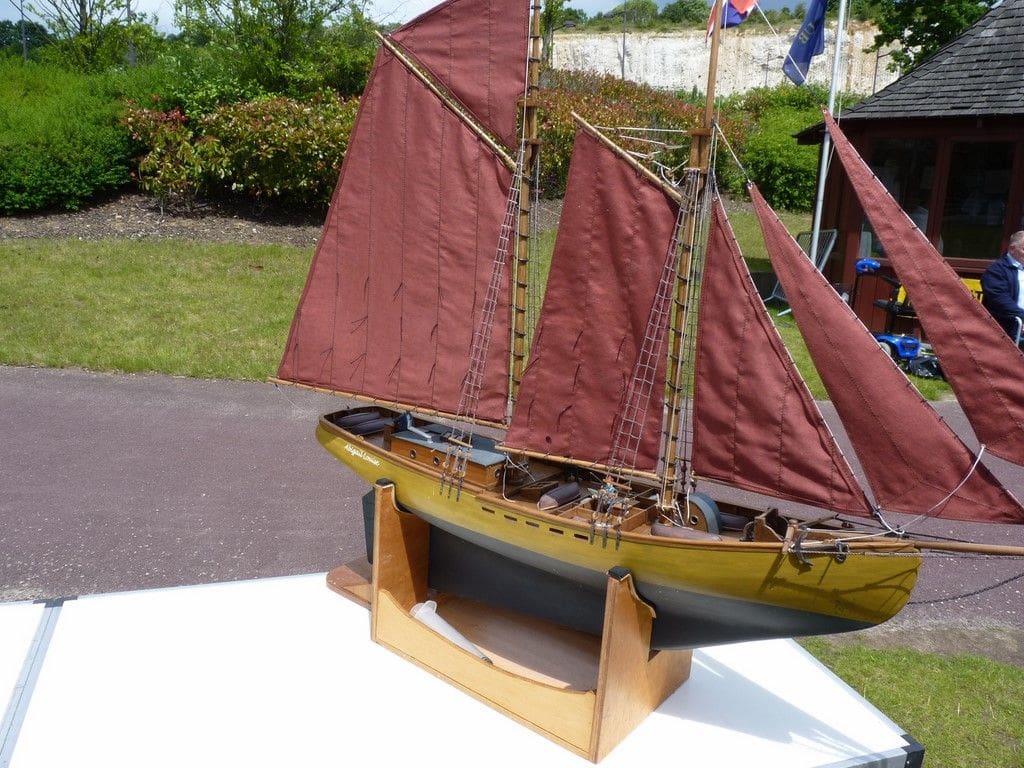
At the deck gunnel end, the shrouds are usually attached to the hull using a pair of deadeyes, one of which is already attached to each shroud. This task requires some dexterity, but if you gauge the height of the upper deadeye, threading between it and the lower deadeye is straightforward enough as in Photo 4. Aim for just a slight tension on this cord and there will usually be a gap of about one inch between the two deadeyes, although it could be more or less depending on the scale of the model. Please note that the two middle holes on the deadeyes are always the furthest apart. Photo 5 is a close-up of the shrouds/ratlines on the Grand Banks Schooner.
To make the bowsprit netting, the principles are the same as for the shrouds and ratlines, Photo 6. Again, please note that the foot ropes are just threaded through the main cords and secured with a small blob of the Hitack adhesive with no knots required. These foot ropes are never taught, which makes it all a bit easier.
In the next issue we shall cover the elements of sail making.